About the studio, and tight spaces
The following blog post is based on another two questions I got via Twitter.
Frank, give us some tips on building your own studio
and
Frank, can you give some tips on working in tight spaces
*
*
Let’s start with the working in tight spaces.
In reality we as photographers are a lucky bunch.
When you are creative with the space you get (and you should) you can literally create a shot in any location you can think off. Also in tight spaces. The best thing to remember however in tight spaces it to let the space be part of your shot. The space should be an addition to your shot and your model could for example interact with the space. So let’s see some samples.
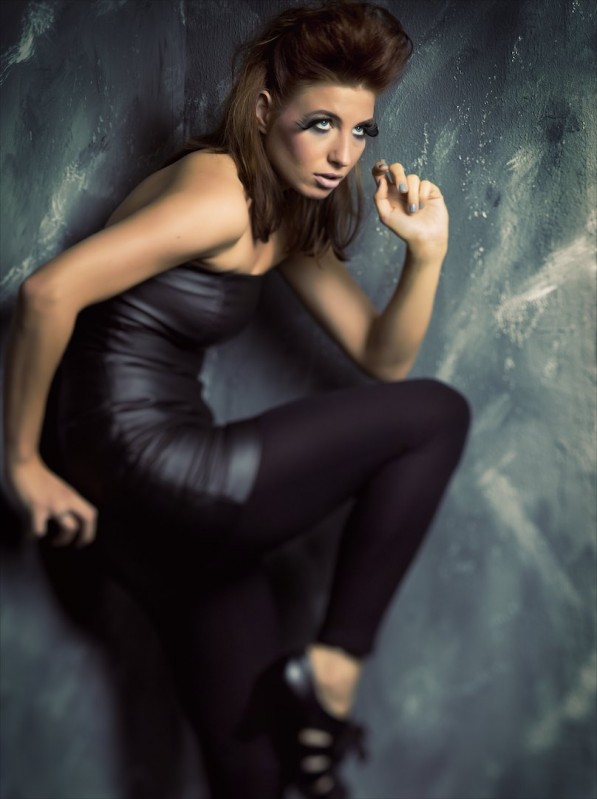
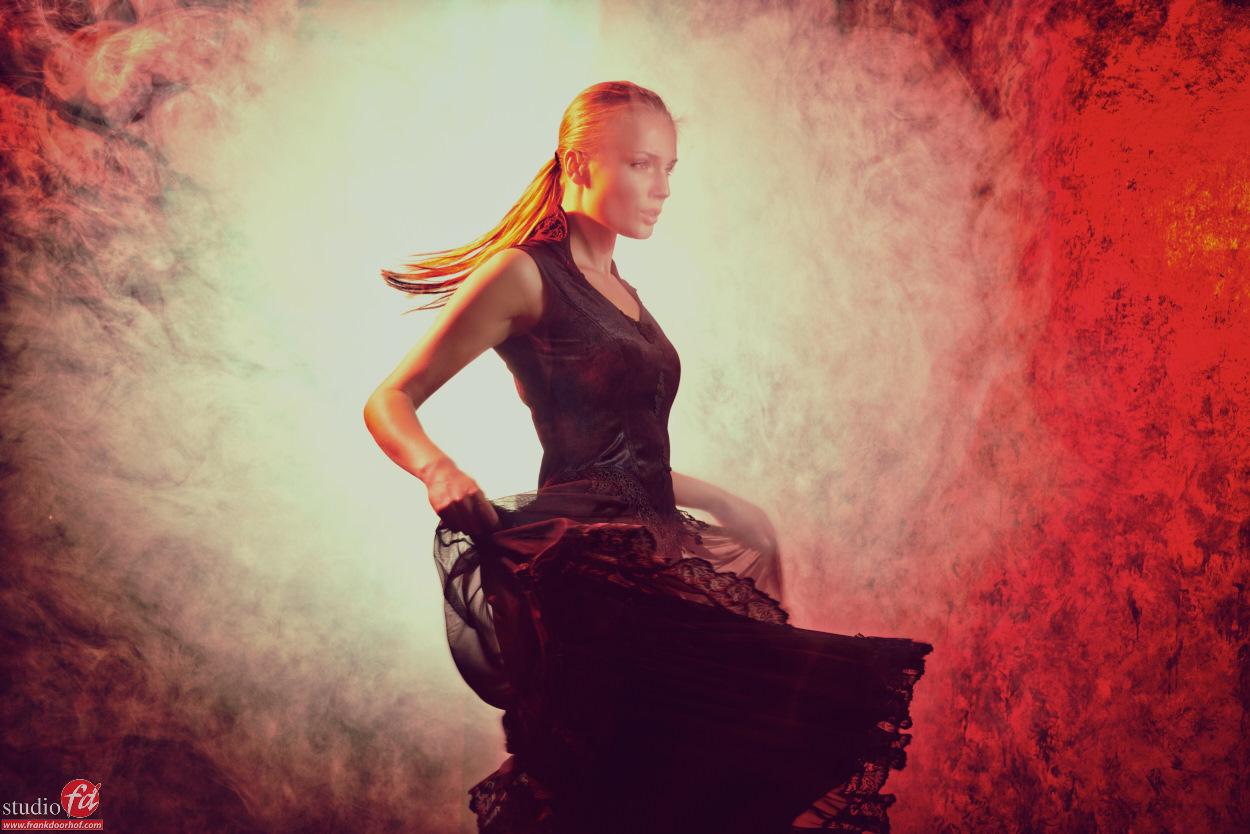
This is a 1x1mtr corner in our studio and probably one of my favorite places to shoot this kind of shots. You can really let the model work her poses.
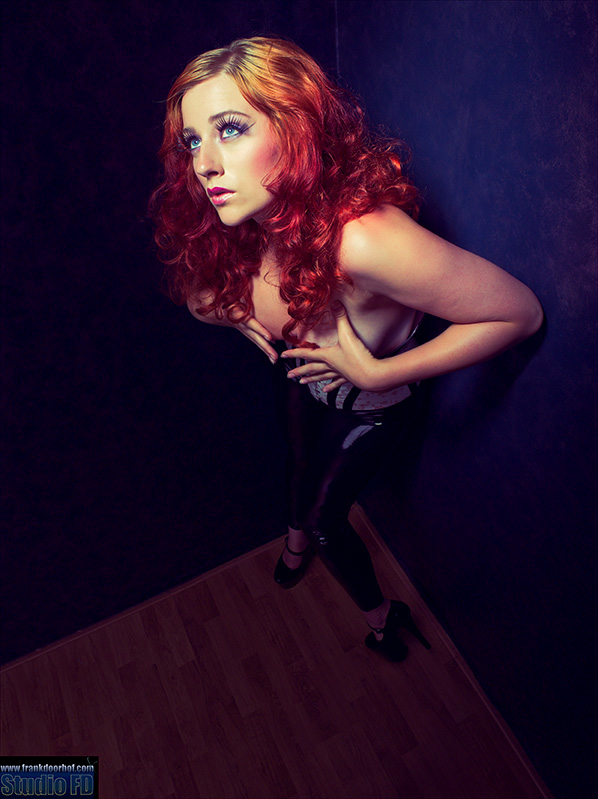
When you can't move back using a wide angle and a small ladder will be a great option. And you can do this in a very tight spot.
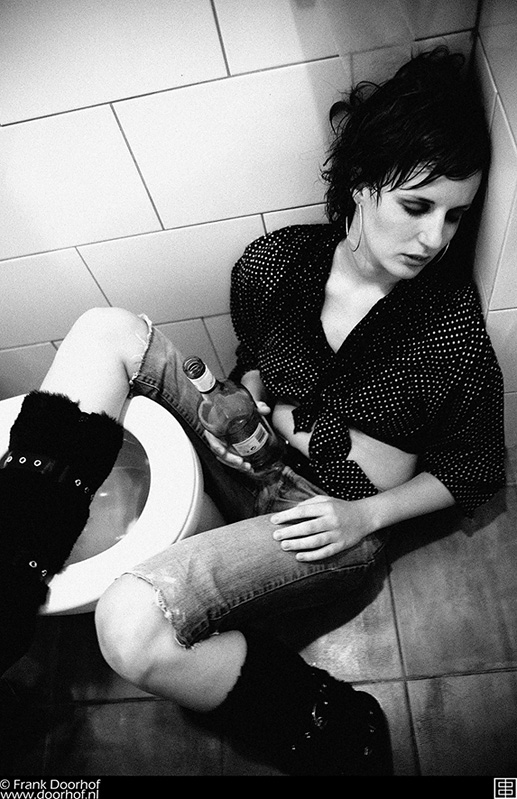
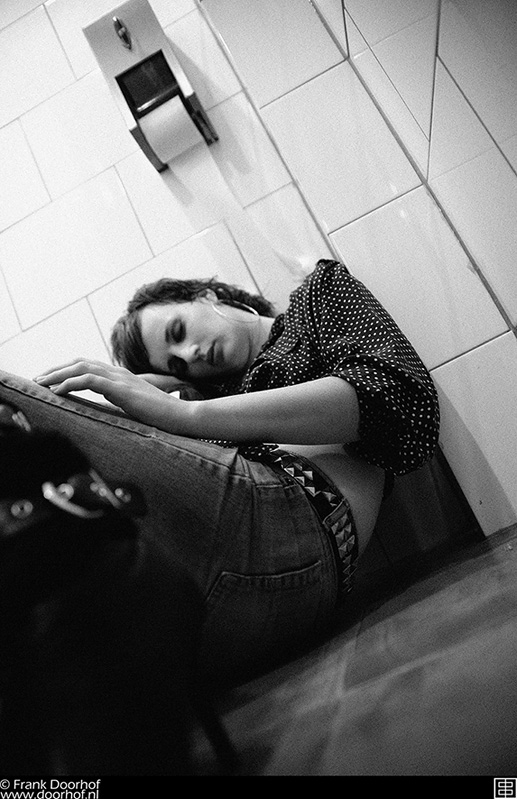
As a joke I once said I could even manage to pull of a shot in the restroom, and I had to prove it.... yeah not one of my brightest ideas.
The best advise I can give you is.
Work with what you are given, maximize your results in that location and “earn” the bigger locations.
*
*
Your own studio
Ok, so it is possible to work in tight spots, but what about your own studio. I can almost write a book about this but I will keep it short and simple because I don’t want to loose my readers. So here are some quick tips about your studio.
1. Realize it’s always too small.
Whatever you build, make or remodel. Within a few weeks you get used to it and it will be too small. We’ve remodelled our studio several times, and every time it got bigger, and every time I thought that it would be good enough for the coming years… very soon you will realize we are like goldfish, we adjust to the bowl. So when you think that it’s big enough and you have the option to build larger, do it.
2. Open spaces.
In the past our studio contained several rooms and the shooting area, over time I found out that it worked much better to remove all the rooms and make the whole studio open, meaning the floorplan is totally open without any walls. We moved our makeup room to the side, removed the stairs and put them in the back (and it now doubles as posing area), and our relax room is now on the second floor, where we had room to spare. This means that when I need more makeup area I can do that but when I’m shooting I can use all the room I without being limited by a wall from the makeup room.
3. Length and height.
The length of the studio is vital. The more you can get the better.
By moving further away we can use longer lenses, meaning our angle of view is smaller and we can better place the model on a seamless background. When moving to the back far enough you can even have a model jumping with her arms and legs stretched without her leaving the seamless. When you can’t move back and are forced to use a shorter/wider lens you will very quickly see the edges of the seamless.
The height is important because you will have to hang your seamless or canvas and in most shots it’s very pleasing to shoot from a slightly lower angle up. When you are using a lower ceiling you will very quickly run into space problems, meaning you will see the seamless system in your shots.
4. Color.
You might think that black is best, but nothing is farther from the truth.
Working in a black room for a while day is very depressing and not something I would advise.
However working in a completely white studio is a disaster when you want low key shots or a good control over contrast. My personal favorite is using a studio with medium gray walls, it’s a good solution against light spill but it’s not so dark that it feels depressing after a long weeks work.
5. Airflow.
Often forgotten but VERY important.
We work with makeup artists and they love to use spray cans with hair products, we love smoke and of course when it’s summer and I teach a workshop it can get a bit “smelly”. So before this winter we used a big heater for the winter and for the summer we would ventilate the room. The main reason we did not install and airco was the size of the room and budget. But recently we decided to go for an airco system and I have to say, we should have done it years ago. During the mornings and evenings I will use the airflow function and it will ventilate the room. During winter it heats the room and in the summer it’s very cool. So make sure you calculate this into your plans.
6. Light control.
Make sure you are able to darken the studio. Nothing is more frustrating than working in a studio where you can’t see your modeling lights because there is too much ambient light. So invest into some good curtains that darken the room. You will thank me for it later.
7. Seamless and canvas is so……… (boring)
Well no it isn’t, but sometimes I just am bored with seamless.
Several walls in our studio are there for painted or covered with wallpaper. This gives you a lot of options and different looks.
8. Props, materials etc.
The DIY market is your best friend.
Buy materials that have curves, structure, are translucent etc.
They make great backgrounds, material to shine light through etc.
They don’t have to cost much money but they rock.
9. Clothing, chairs etc.
The recycling store can be your best friend. You can often buy second hand vintage clothing, old chairs etc. for next to nothing and use them as unique props. Of course you can buy a posing chair, but for that money I can buy a lot more props that also look incredibly cool in a photoshoot. Also look at demolition companies or junk yards. Often the people working there love images of models (in lingerie) and are in 99% of the cases giving away “junk” in exchange from some nice images with that piece. I often return the junk after a few months and get new stuff, and they get new images. Now that’s recycling 😀
10. Last but not least….. powerrrrrrrr
No light without power.
Make sure you have enough outlets in your studio, every 4-5 mtrs is ideal, and get the good ones that don’t break. Also get extension cords which you can throw around the studio to have power everywhere you want, I use 4 outlet units so I never run out of outlets. Pricing is very cheap so don’t forget them.
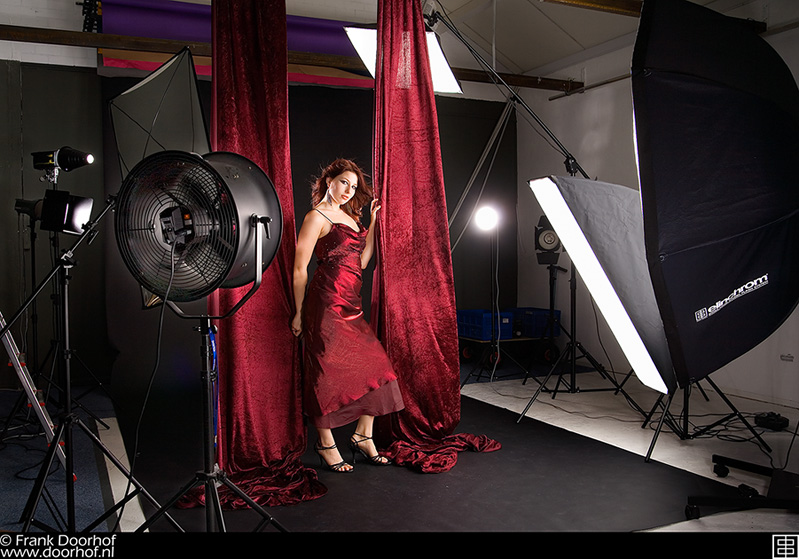
Just for fun here is a video from our studio.





Thank you. That’s the beautiful pro end — As an amateur my problem is always the lack of vertical space in modern houses. Something to aspire to build
Height is indeed very important.
A good solution would be to not use seamless but wallpaper and make themed setups.
Thanks Frank – great knowledge.
I built a small (portable) portrait studio in my Father’s room with two Elinchrome Bxri 500 strobes- but unfortunately I found these excellent lights too powerful for my portrait needs in tight spaces. :(((
I cannot reduce its output as much as I need.
Miklós
Hi,
You can always use ND filters on the strobes.
But what kind of modifiers do you use ?
I find that on the lowest settings with the DO and striplights on ISO100 I often have a nice range, but than again I don’t shoot below f5.6 in the studio.
Thanks for sharing the knowledge Frank!
I think, especially in dog events, i have to practice shooting interesting angels and use nice props. Probably I have to build some interesting but portable backgrounds.
Mostly Lighting cannot be adjust in between shots (different set-ups takes too much time. People are queuing sometimes for more than 30 minutes)
Some events are indeed killing for creativity, but than again… deliver what the customer pays for and earn a living.
Not all shoots have to be the creative ones.
Hi,
I’m wondering if it’s ok to buy studioflashes (BXRI 500) to use in a room of which the (white) ceiling is only 2m60 high. I’ll have more reflection but I can always use grids to limit that I guess.
Grids can limit that indeed, but you can also paint the walls and ceilings 😀
Thanks for your answer. The “room” is actually my living room so painting the ceiling grey is not an option. I’ll have to learn to live with it 🙂