Tag Archive for: workshop

A special Christmas scene with a beautiful background

Christmas is a special time of the year

It’s a time where I hope we all find some time off, warmth or comfort.
It’s a time where it sometimes seems the world is just a bit more quiet.
And of course it’s a time of joy and celebration.

For me when I think of Christmas I always see a Charles Dicksens like scene, but with more warm tints and of course glowing lights. Let’s say a bit Fashion vs Charles Dickens.
During a recent session in our studio I joined the group for the last setup in building a small set with a Christmas tree.
We used our new scenic ClickBackdrops background, to get some some extra warmth I’m using a red gel from the left side aiming down from a high angle, this way it gave our model a nice accent and also side lit the tree a bit.

As main light I’m using the small Quicky softbox from Geekoto, this softbox it great for aiming your light to a smaller area than a conventional softbox and it worked great for this shot of Felisa.

I used Photoshop AI to extend the background and add a slight part to the Christmas tree and fill up the an area that was empty.
Boris FX was used to add 3 extra lights in the tree, making it all fit together.

When you try to get the image 100% right in camera, it’s often very easy to add what’s needed (if anything).
Using Photoshop AI this way is a great update and will really push the limits of what we can do creativity with photography.
Personally I’m not a big fan of text to image claiming as art, but using it to add to your photography where you build the set, setup the lighting, styling, makeup etc. I think it’s a great tool to make it possible create images much closer to our vision than ever before.


Working with a scenic backdrop tutorial video

A warm scenic backdrop

It is a great start, but you can do much more with that backdrop than just use it as is.
In the previous blog post, we discussed creating depth in a scenic backdrop and I showed you some examples.
Today the video we shot during the workshop with Felisa where I explained the lighting setup and of course, how we build the set.

If you have any questions feel free to reach out, or leave comments.


Check the Scenic Backdrop Tutorial below

How to create depth in a scenic backdrop set

Today it’s about depth

Don’t get me wrong, I have nothing against creatively using AI. But for me using it to replace backdrops in all your shots, or even worse creating something from text to image and calling it art. Well, it’s not my thing. Today I’ll show you how to create depth in a scenic backdrop set.

When I shoot or teach the workshops I always try to use materials and backdrops in the studio. This means my images are 99% shot on set.
I always leave some marking, because I also use generative fill to extend a backdrop. Take out some things I didn’t see on set. Or just extend a set. But the whole idea, setup, etc. was done as much as possible in camera.

So why is that so important to me?

When I look at a picture I want to see depth.
And this is the one thing often lacking in AI-replaced backdrops, yes it looks great for an SF set, or Cosplay (use it a lot in those setups) but when you try to create something real, at least for me, it mostly fails because the backdrop and the model don’t “connect” in a natural way.

But what is different from using a scenic backdrop you might ask?

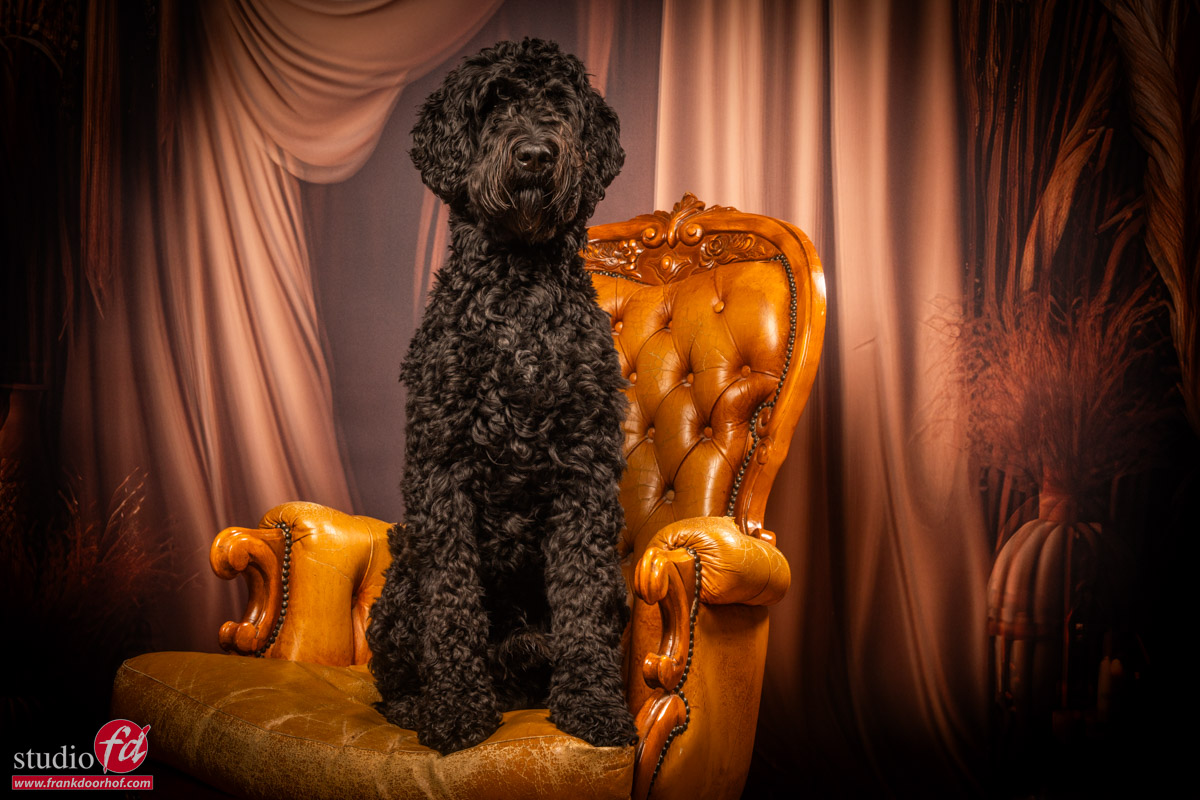
With a scenic backdrop, we use a backdrop that literally has a scene printed on it.
Using this as a backdrop can give you a great sense of depth even if it’s just a flat print. The reason is that if you place your lighting on your subject correctly and match the angles on the backdrops (very important to read the shadows), your light, model, shadows, etc. will all interact with the backdrop. Thus creating a much more believable setup.

But that’s not all.
It’s still just a model in front of a backdrop. This is why the least you can do is for example use a chair that is similar to the backdrop in style/color. Or maybe just the opposite (be creative). By angling the chair and your subject, and matching the light mood/color and angles you already have something really nice looking.

How to create depth in a scenic backdrop set How to create depth in a scenic backdrop set

But of course, we want more

One part of the workshop is set building.
And the scenic backdrop is great for this. this backdrop can help enormously by creating depth.
By adding props to the set you can not only create more depth in your image but it also looks a lot more realistic. Our mind seems to have less trouble with the “flat” background if it sees a lot of things in front of it.

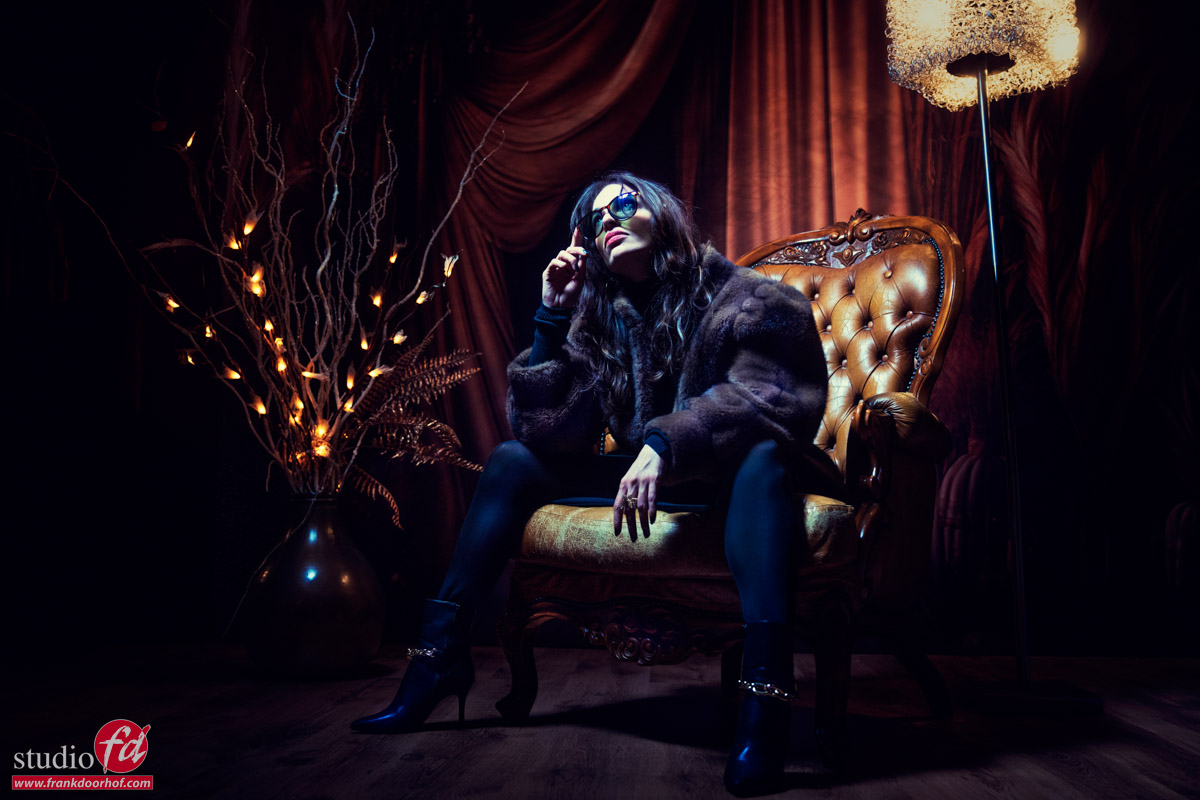
During the workshops, I, of course, love a challenge. So in this case I added several continuous lights in the setup.
I’m using a nice focussed beam of light on my model via a small softbox on the lowest setting. And use the shutter speed to let in the amount of light from the continuous light I like.

How to create depth in a scenic backdrop set

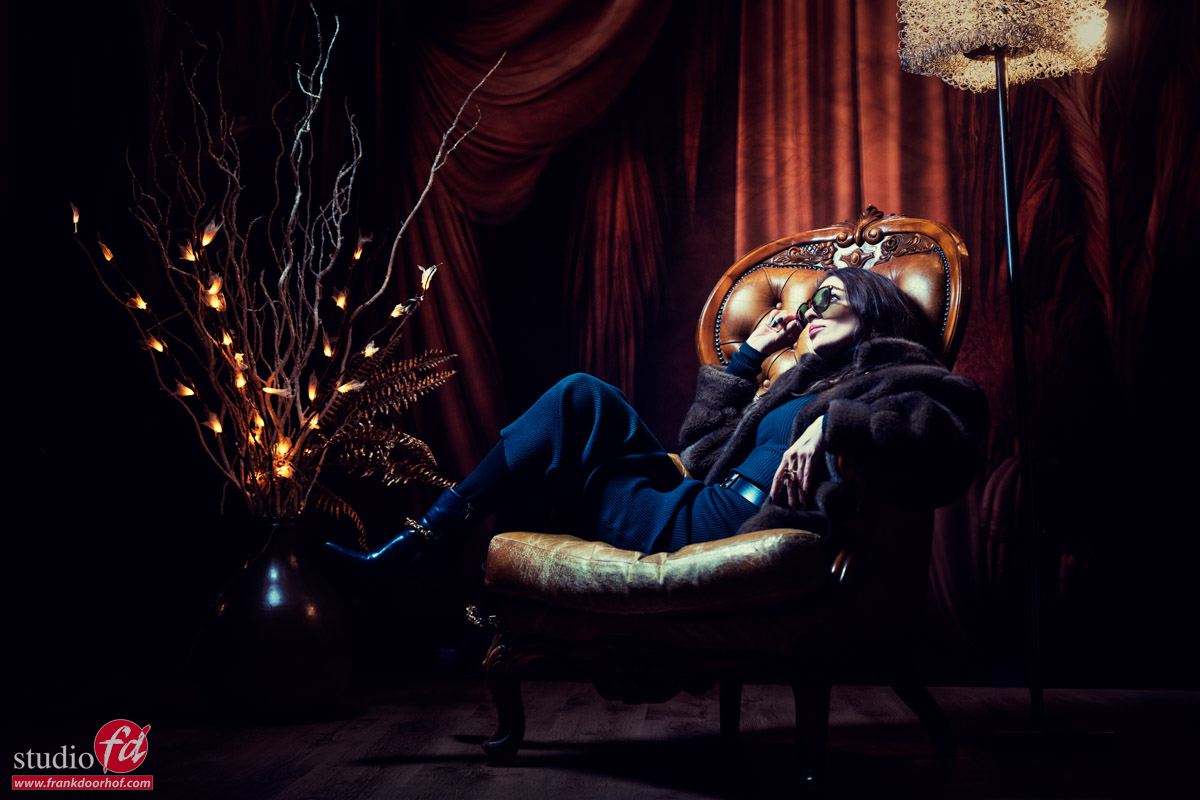
So far so good, I really like this shot.
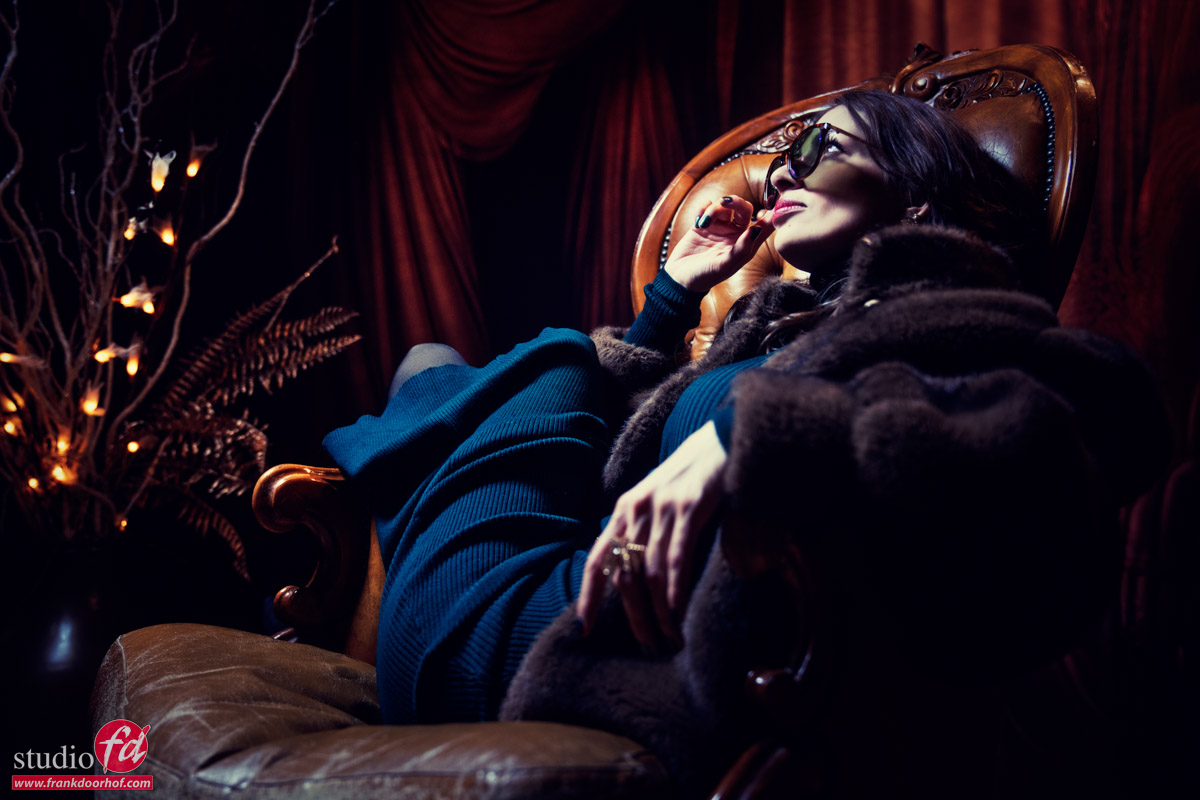
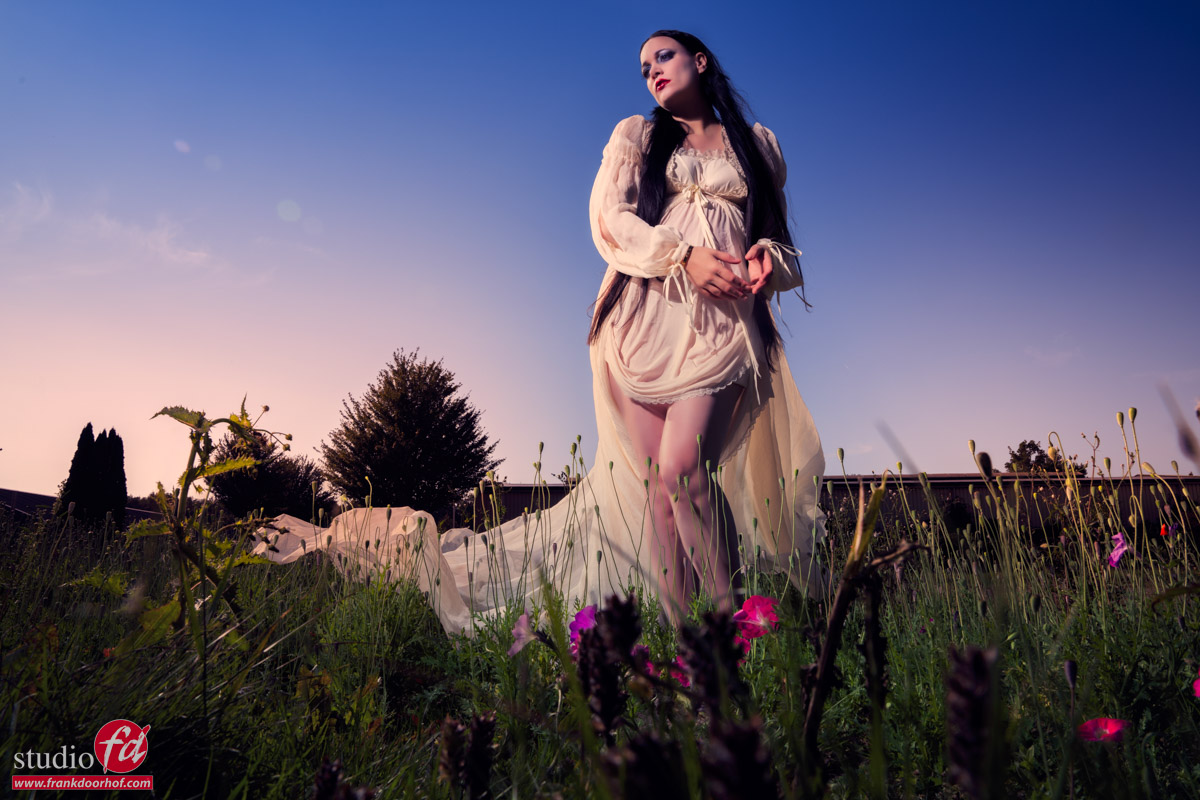
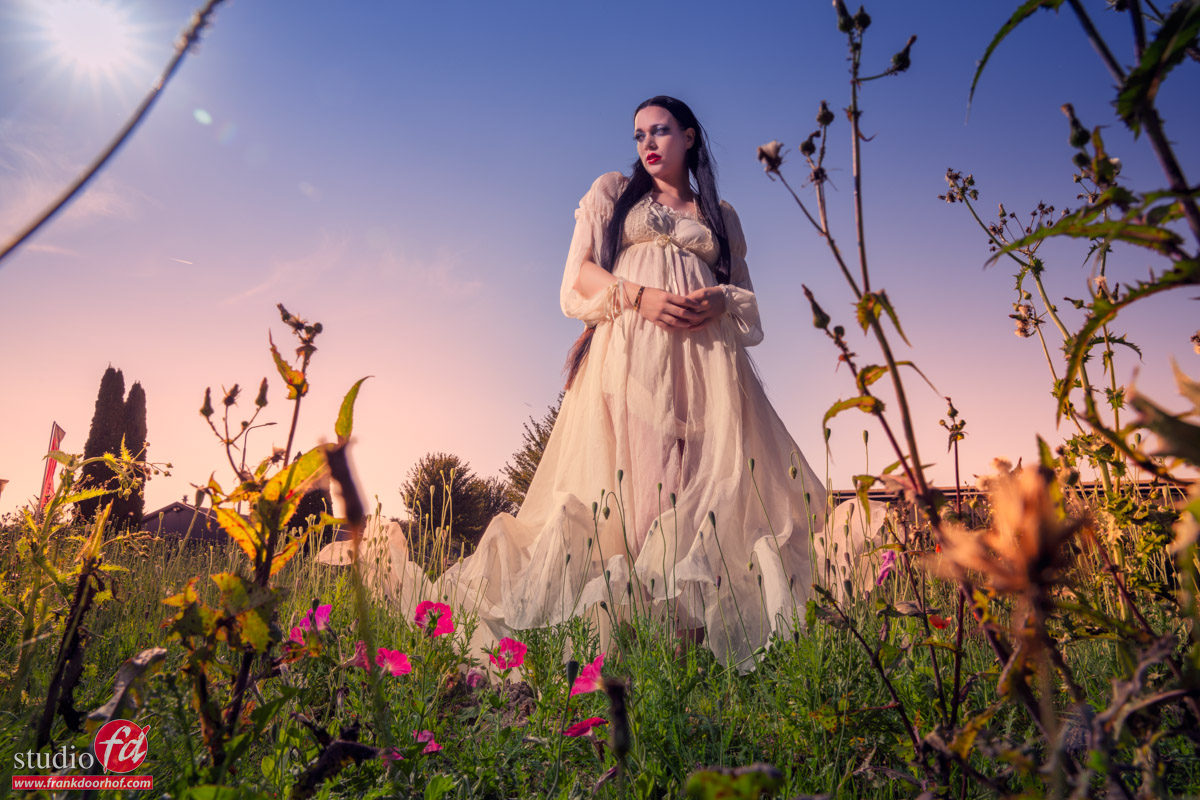
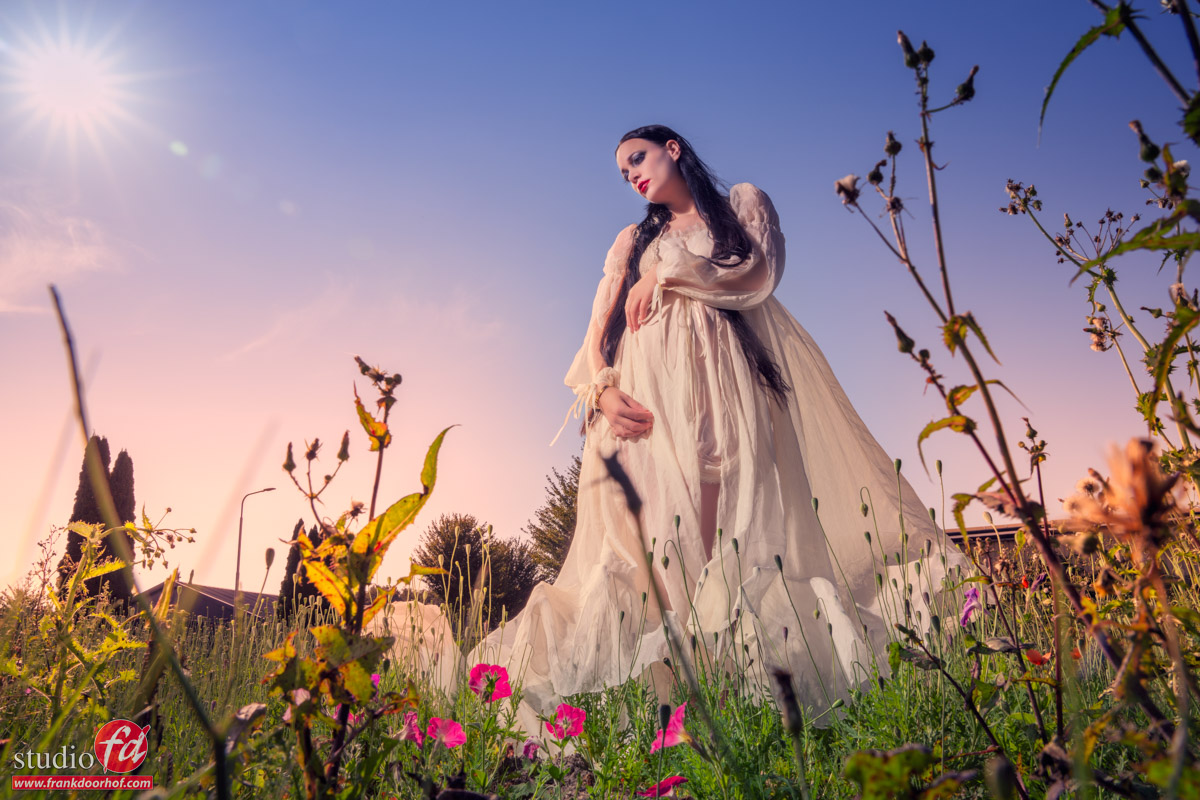
But when you want the sense of depth to be a bit more exaggerated it can be nice to also take some shots closer by with a wider angle.
This really draws the viewer more into the shot.

I also always tell the attendees of the workshops to shoot from different angles.
By changing the angle you can change the mood of a shot almost completely.

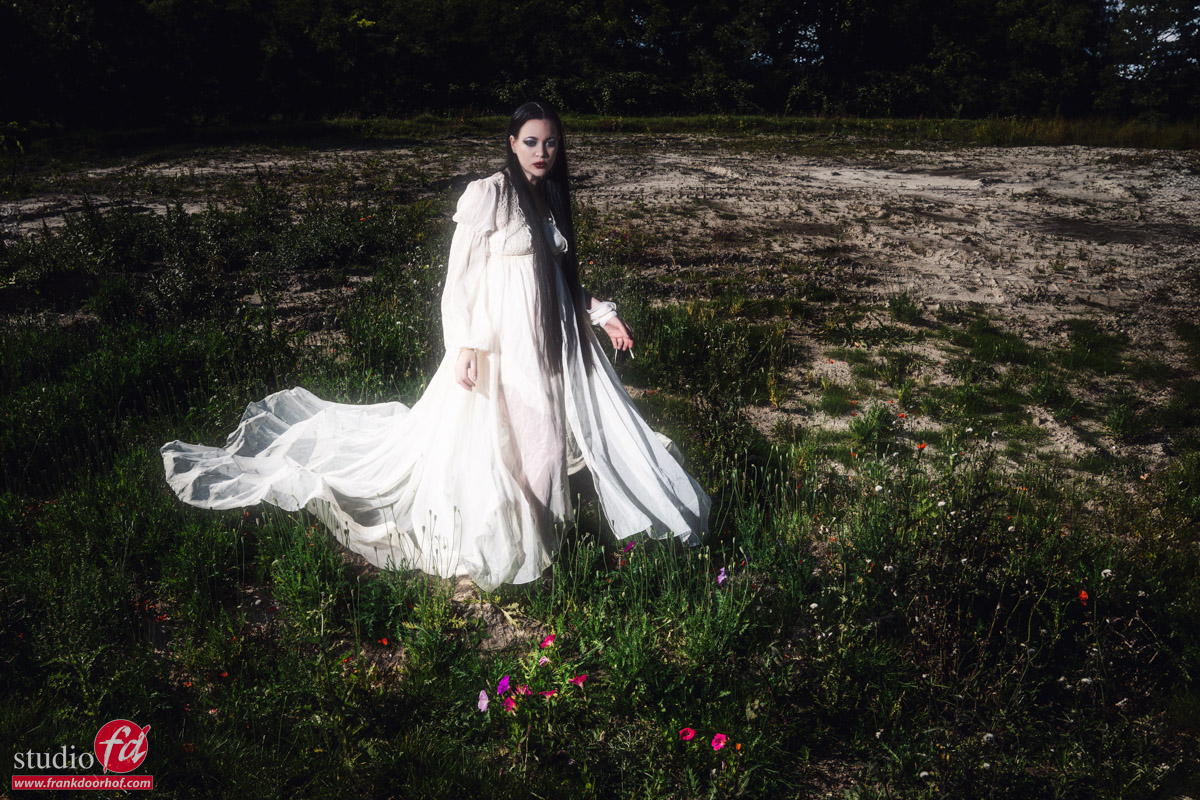
In the first image, I’m shooting from an elevated position down. It’s not my favourite shot to be honest but it does give you a different view.

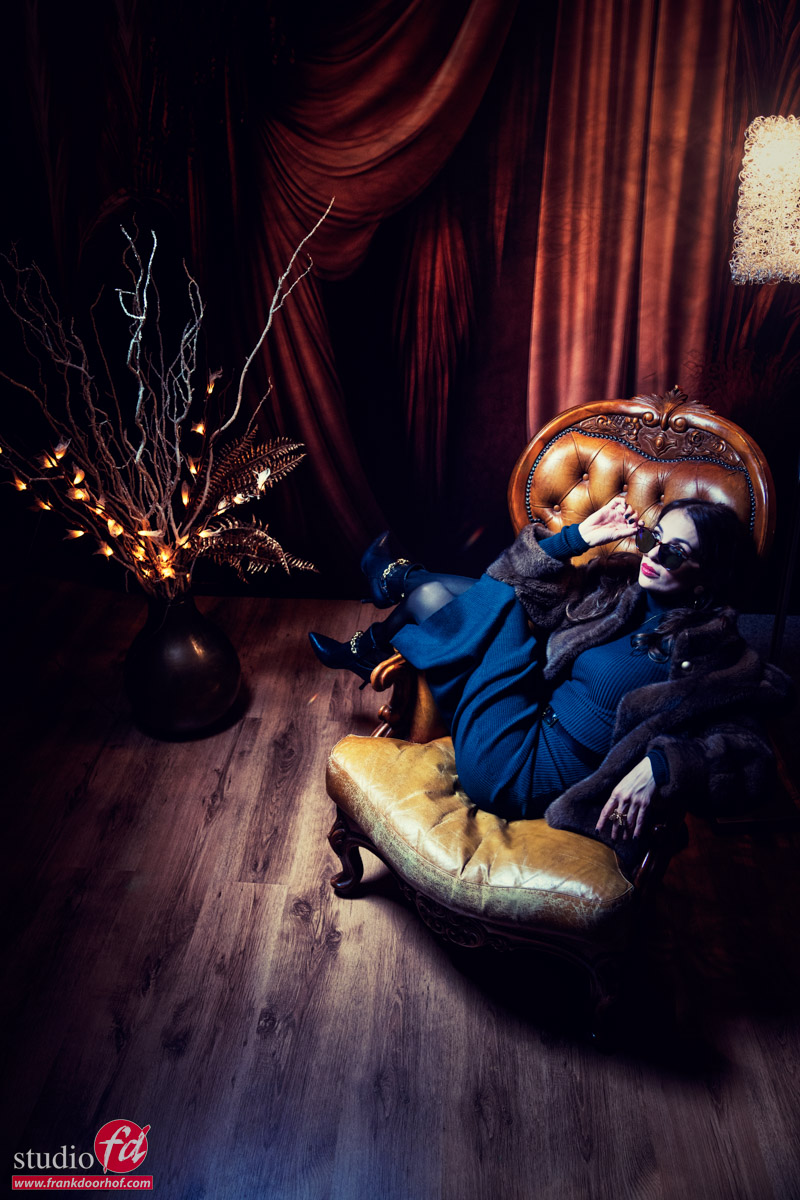
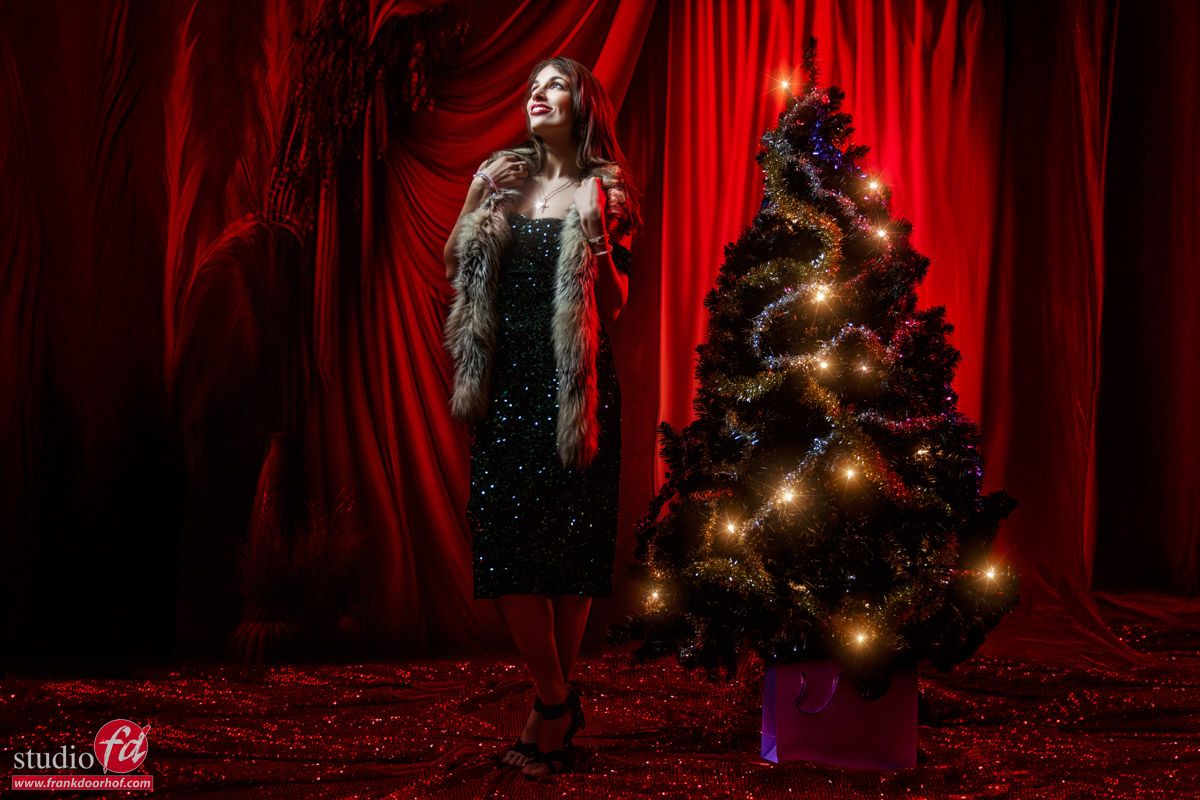
When I shoot from a lower angle the whole look changes. Of course, I also asked our model Felisa to take a different pose, for the simple reason it gave the shot much more depth by the leading lines. But also much more power which was more fitting for the whole angle. But of course, opinions differ and that’s why it’s always smart to shoot from all angles 😀

The workshops

How to create depth in a (scenic backdrop) set is one of the questions I get a lot in the workshop

When I teach a workshop I always start with a Q&A
During the Q&A the attendees can ask whatever they want and during that period I actually “build” the workshop. This means all the questions are incorporated into the sets we shoot that day. This way I can always challenge myself, but also have different kinds of images for the attendees and myself. Every single workshop is unique.

If you also want to visit a workshop, check out photography-workshops.eu
All workshops are in Dutch, but if you let us know in advance we can change them to English.

If you can’t travel to our studio, we now also offer full-day 1:1 online workshops.
In our studio, with a model, 4-5 cameras, and a direct line for questions, plus you get all the RAW files to play with.
For more info: see here


Using the foreground to add dimension to your images

Sometimes we need something extra

We all know that when we want to show scale it’s handy to include something to show the scale.
In the case of a mountain we can of course place some people in front but today we are doing something else.

During the workshop “on location in Emmeloord” the challenge is to find locations that look not so interesting but still create some cool images.
If you ever visited our studio you know there always was an old building just in front of our studio, it didn’t look nice but it had some great walls to shoot against 😀 one of them actually made it into my signature ClickBackDrop backgrounds.

Recently they demolished the building and we ended up with a large empty building area.
Of course a great option for this workshop.

The lighting setup was pretty simple, one Geekoto with a large reflector shooting on manual mode.
During the workshops we have to shoot with so called universal triggers due to the different camera brands that are used during a workshop, this means we can’t use extra options like HSS and ETTL.  

The setup itself was ok.

But I wanted something more. Something to give the image more dimension and framing.
Because I’m shooting from a very low angel I decided to include a few of the flowers in the frame.

This already made a huge impact.
But because Nadine is pregnant we also needed a slightly different pose, and I slightly tilted the camera for a nice effect and include the sun.

I also shot on extra image from a slightly higher angle to experiment with.
I ended up with a darker look which to my surprise became the favourite image for Nadine 😀
So always shoot something different, you never know what hits the spot.

Now that we talked about the setups and the framing of the shot, let’s take a look at the video from this setup.

Also want to visit a workshop?

Today I showed you one of the  different sets we did during the workshop outside with Geekoto strobes “on location in Emmeloord” with Nadine.
During the workshops I always try to use 3-4 different setups explaining different techniques and of course it’s a great way to get a good addition to your portfolio.

If you think “that’s for me”
Than visit photography-workshops.eu for the Dutch workshops.
But if you are not living in the Netherlands or don’t speak Dutch we also have other options.
If you let is know 2 weeks in advance I can teach the workshop you want to visit in English.
Or if you can’t travel to our studio we also now offer the option to get a full 1:1 experience with 5 different camera angles, lightroom/Photoshop view and a talkback channel, you also get all the raw files and retouched results from the workshop. Visit our online workshops page for more info.