Tag Archive for: styling

Two light sources

Two light sources

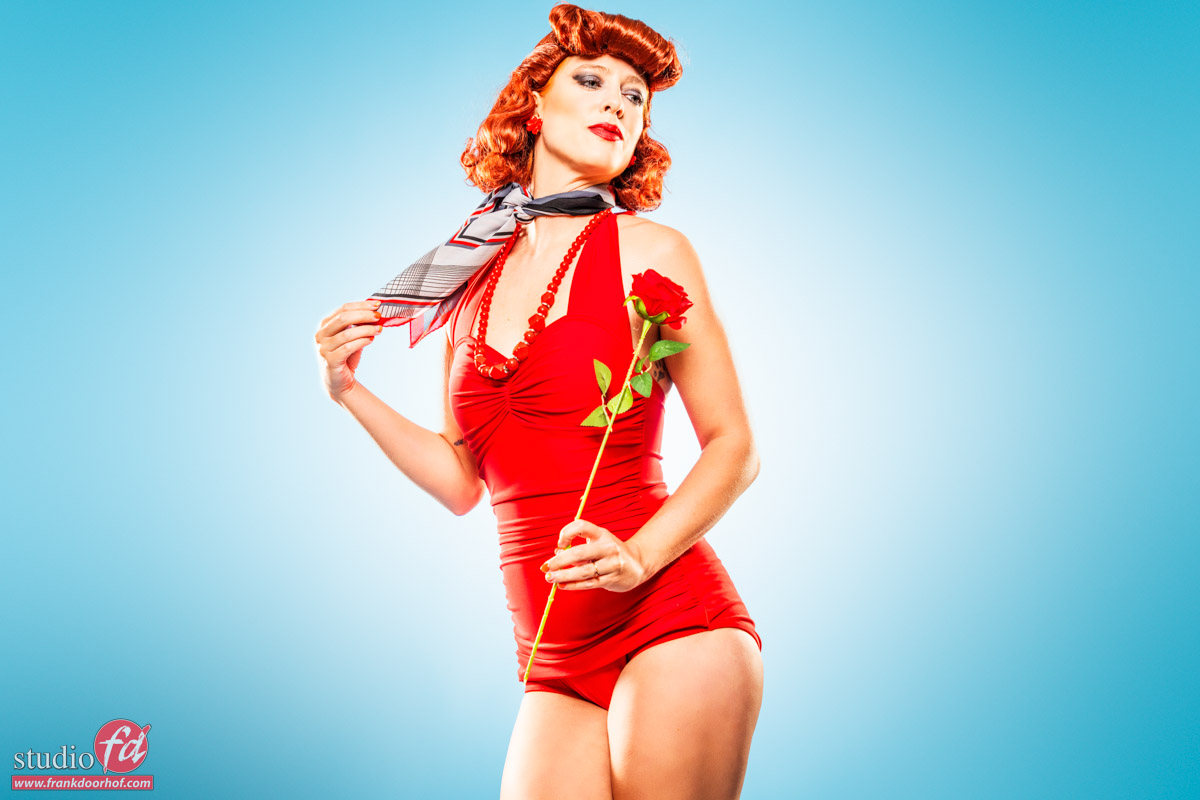
As you know the light shapers we use determine how the light behaves on our model, set, and background.
lass=”yoast-text-mark” />>When you look at a light shaper, it’s pretty easy to predict how the light will fall on your subject, just follow the lines of the ribs. Today it’s just about 2 light sources and one background.

Today, a quick tip about light shapers


During the workshops, we always work with different light setups. And one of the setups in the essential lighting techniques is working with, for example, the Geekoto Lantern for a very broad light source, and, for example, the Rogue FlashBender  XL in strip light setup

Now when you hear a broad light source, you might think it always means flat lighting. But that’s not necessarily the case.
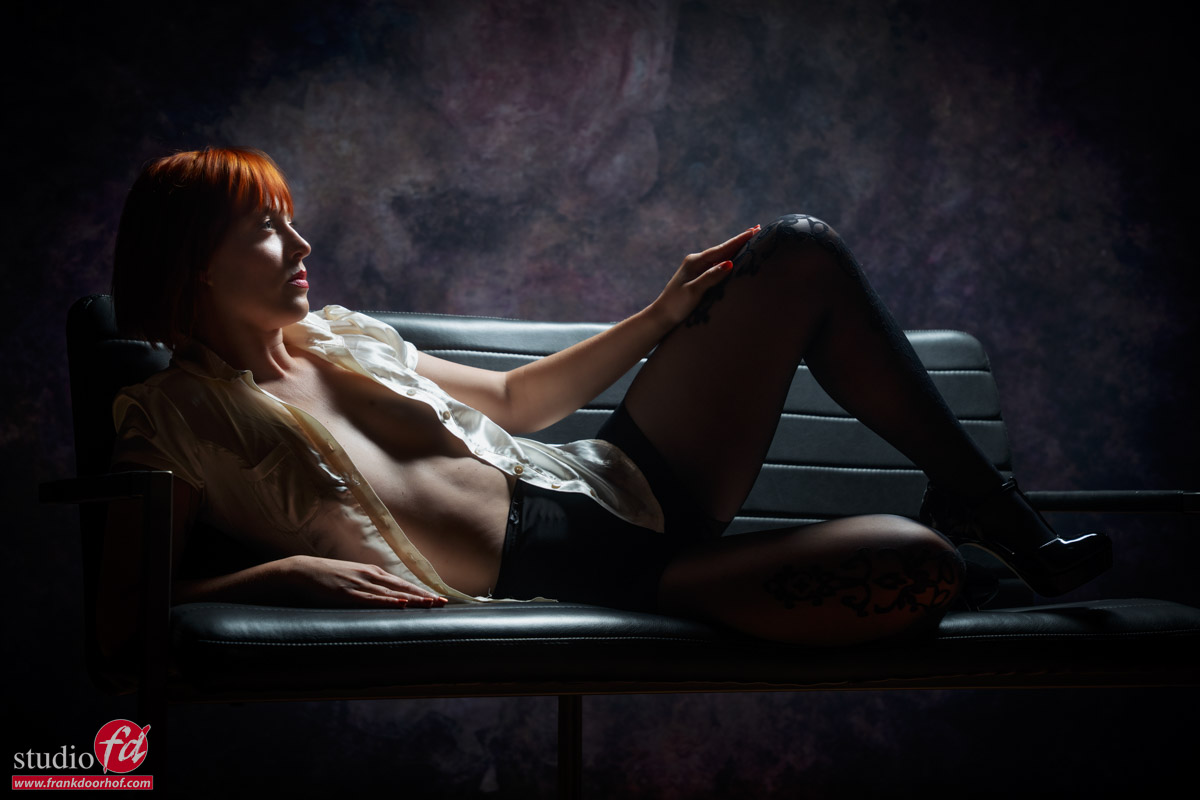
When you move the light source to the side of the set, you get a beautiful shadow site on the model. And because of the open sides of the lantern, it will also light the background. If you think the shadow side is a bit too dark, you can easily place a reflector on that side because the lantern is a very broad light source. So, it “always” reflects back on a reflector on the other side.

two light sources

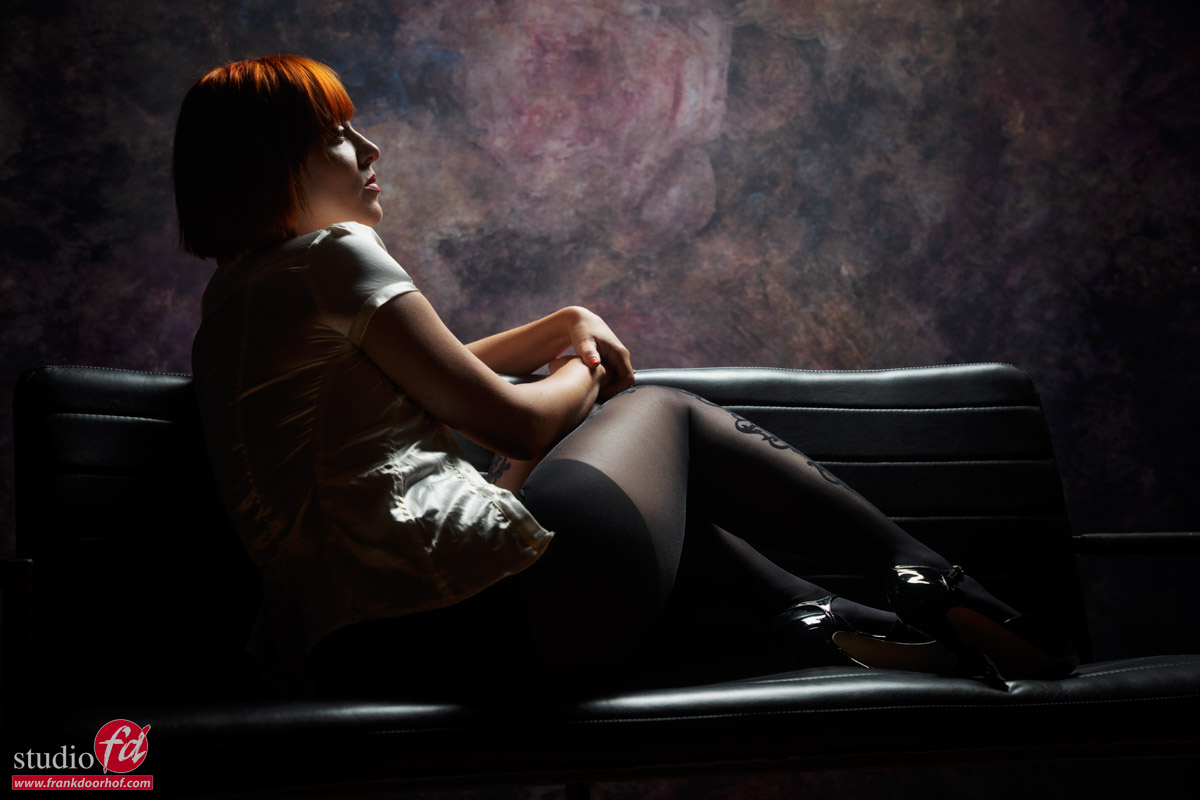
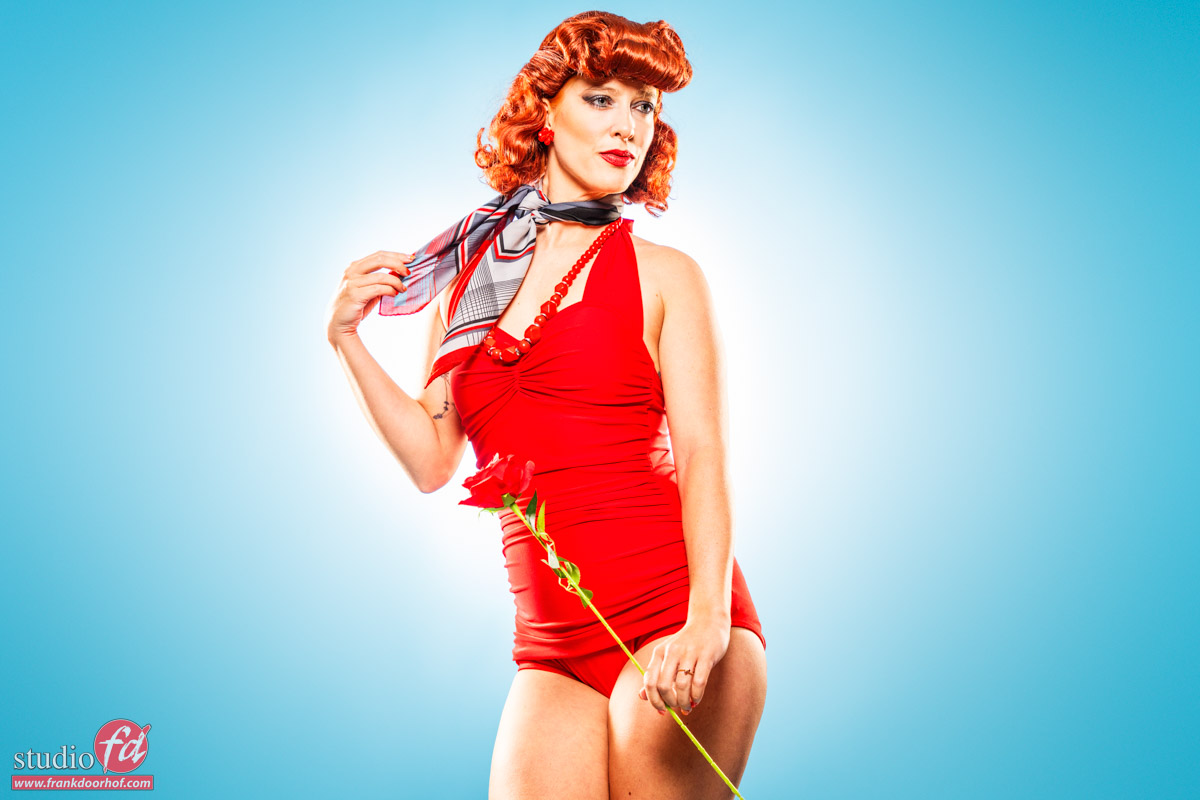
But of course when we use a background with a floor part, I always want to shoot a full body image.
With the same light setup.

two light sources

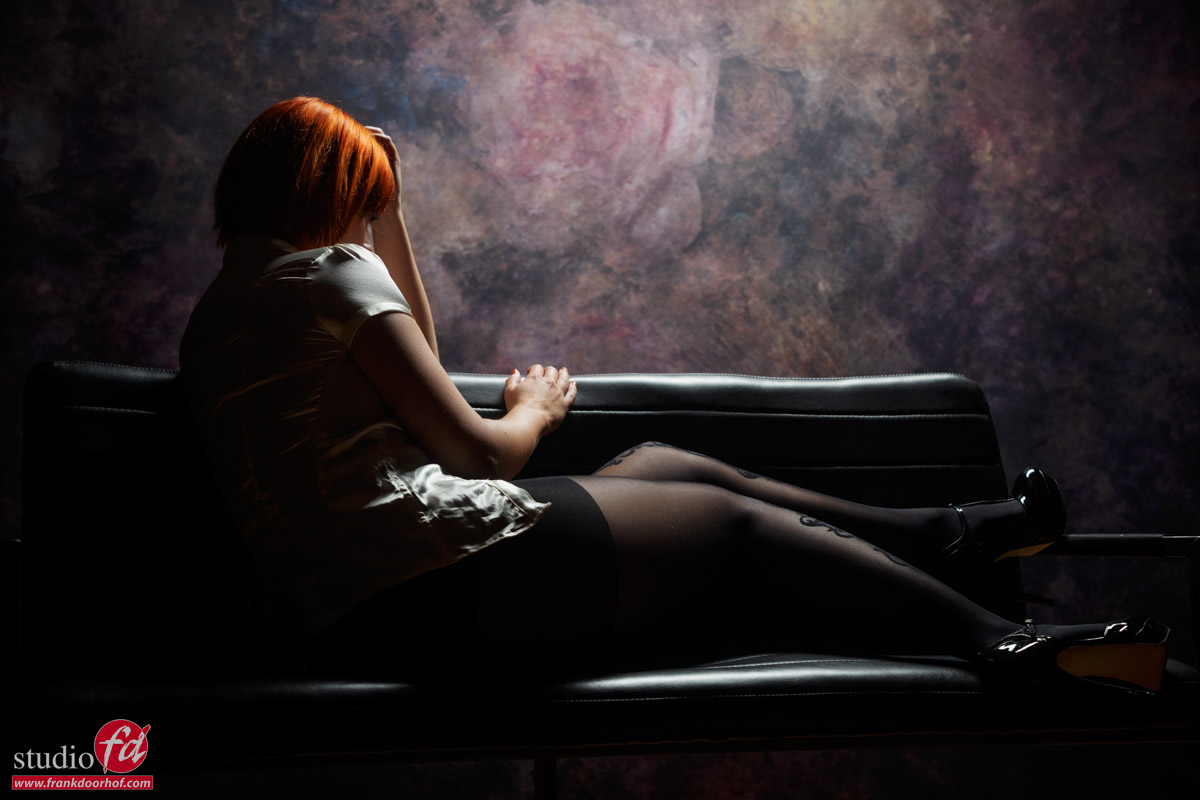
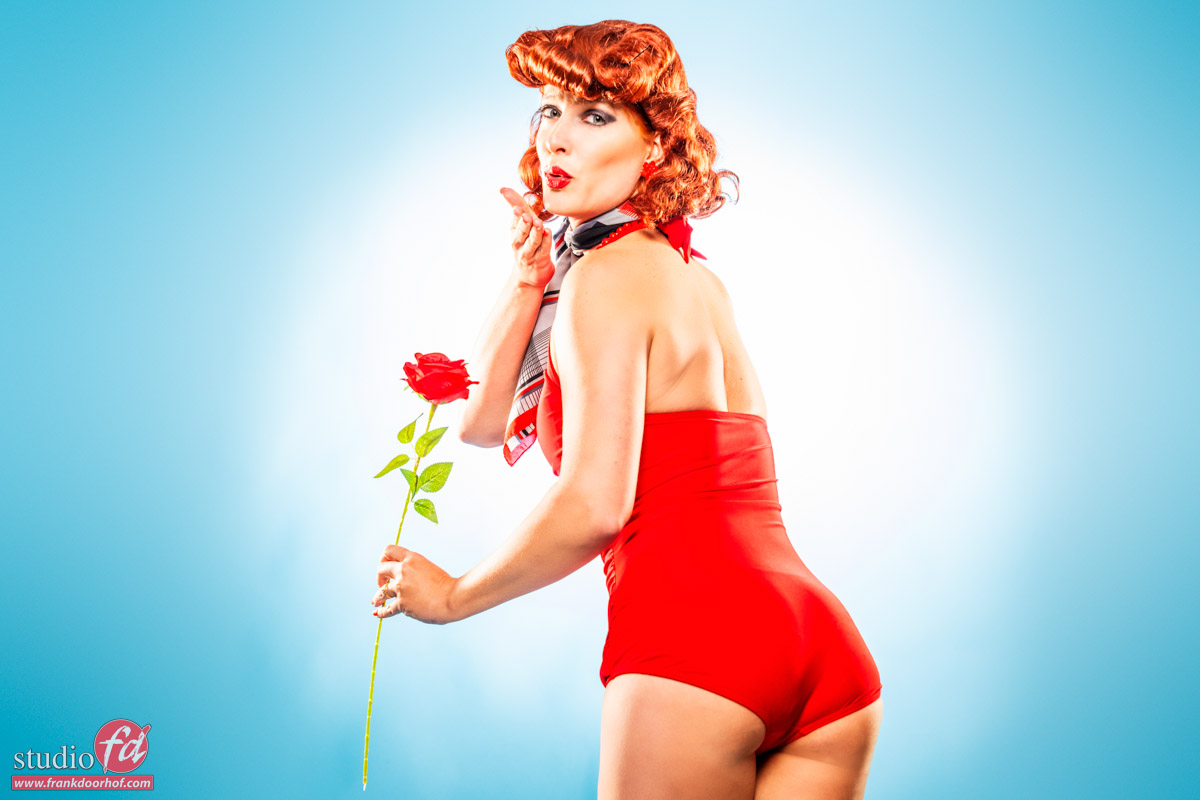
Well that’s ok, but what about adding some motion, and a lower angle.
It’s not perfect, but during the workshops I often take 3 shots and let the attendees shoot.
two light sources

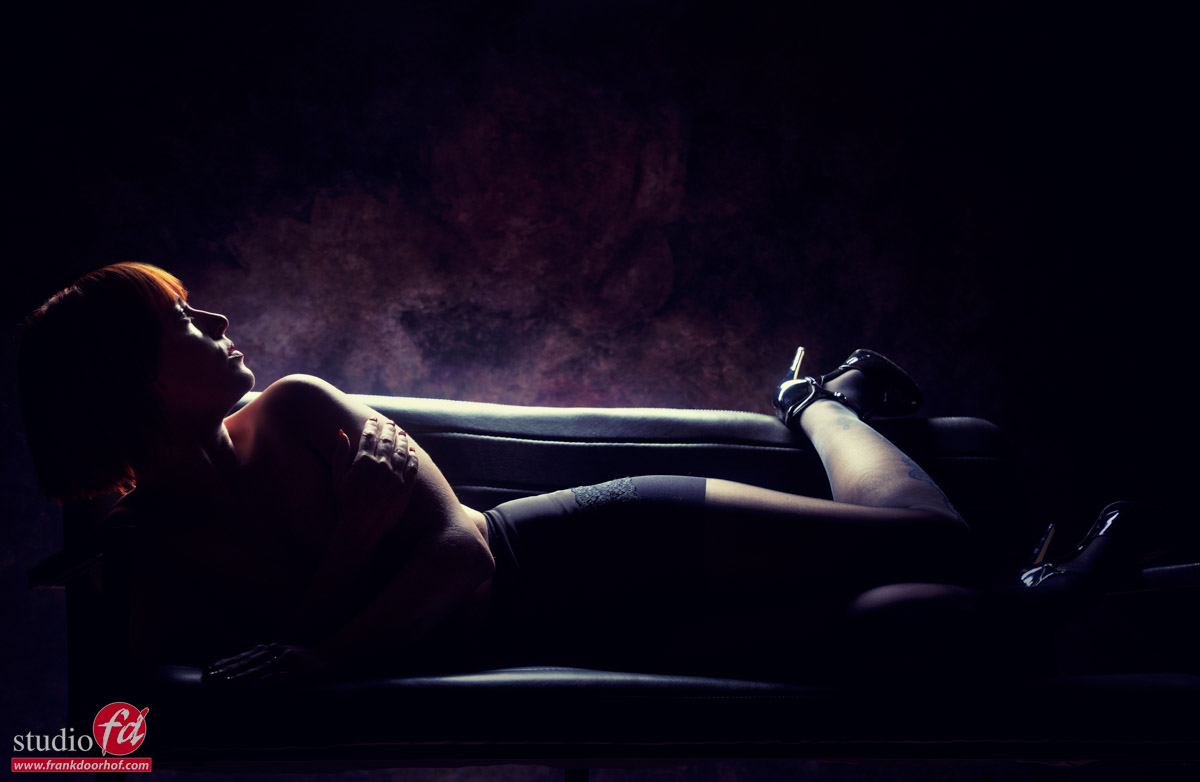
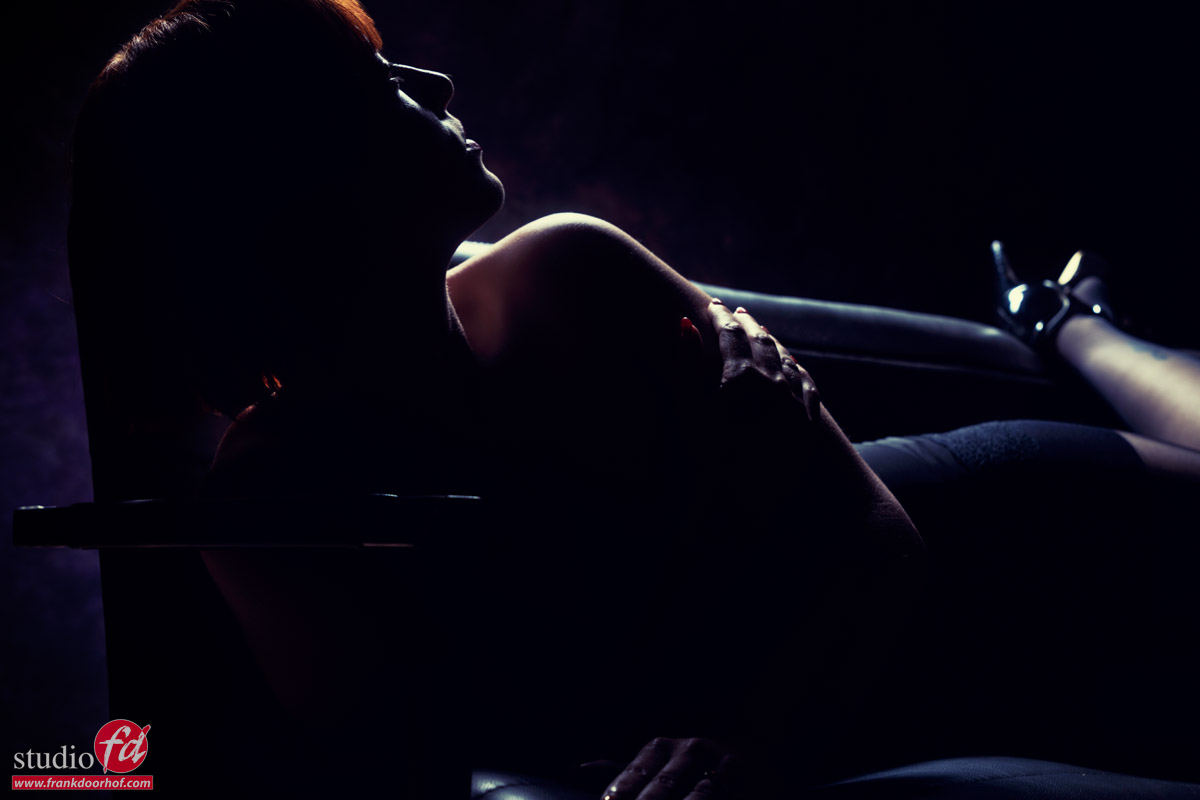
And even with a broad lightsource like the lantern you can still shoot very high contrast images, just use an extreme angle for some beautiful almost silhouette like shots.
Clients absolutely love these.

Now I was doubting about all the mess in the back, but… somehow it also really helps in the shot in this case.
The more I looked at it the more I thought “let’s just keep it in, it looks cool”.
So sometimes maybe leave the mess in the shot….


Let’s change the light

For the next setup I’m using the Rogue FlashBender XL from the side and slightly above the model.
We will upload a video in the blog soon to show it during the workshop

As you can see with the FlashBender the light is much more focussed on the model. You can’t see anything in the background. And even the brighter background doesn’t show up. But also due to the more focussed light beam you now get much deeper shadows. Using a reflector is now also becoming  more complicated because you have to angle it very precisely.

For high contrast images the FlashBender can be placed very close to the model. Due to the fact the strobe is aiming straight up in the striplight you always get indirect diffused light. In other words very nice and relatively soft for a very small light source. But if you like to light your complete model you can just move the FlashBender further away. Or take the strip light off and attach the softbox diffuser, also there the trick is: indirect diffuse light.

Rogue FlashBender v3 XL Pro

Also want to visit a workshop?
Visit www.fotografie-workshops.nl


What a beauty, a yellow Ibanez RG505r

Modelphotography is loads of fun

But of course as a studio we also regularly shoot products.
And in essence you can use the same techniques you use for modelphotography on your products to spice it up.
And let’s be honest a product against a white background is very boring and been done way too often to make it a challenge. In our studio for example we use a Bresser product table or for the larger products white seamless, and although those images are great for a webshop it doesn’t really capture the attention of a viewer in a way they “WANT” that product.

But when we add some nice backgrounds, maybe a prop like a chair instead of a flat surface, add some accent lighting (and when color is not 100% vital add a color gel), maybe some smoke and before you know it you have a totally different product shot.

These images I shot during a small 1:1 workshop explaining our Geekoto system.
And when I have the chance I of course pick one of my guitars to act like a prop.

The one that started it all

In this  case (for the guitar lovers) the guitar that started it all, the whole metal/shred scene. The Ibanez RG550 in Desert Yellow, 1995.
Now the fun part, this is actually not a RG550 but a RG505r, it’s still the RG550 but only manufactured for the European market and has a different neck and black headstock, the R is for the fingerboard which is Rosewood, instead of the standard maple.

Ok so now why this information?
When we shoot a product or a business I always want to know what the product is, or what the company does, and most of all, which mood fits the product/company.
People often underestimate how much difference photos can make, a company can get a totally different “vibe” by using different angles or lighting. So we have to make sure we know exactly what we shoot.

We now know this is an important guitar in history.
We also know that they were know for the extreme colors.
Also the face there is a different neck and headstock in this sample.
And of course it’s a very versatile guitar mostly used for fast playing and rock/metal.

With this information I’m deciding what to do

For the first shot I’m using a nice “royal” looking chair.
This chair was the closest I had to something “royal”, also the blue works very nicely with the yellow.
I’m shooting from a lower angle to make sure I get that HERO pose here.
The headstock has to be in the shot, because it makes it clear it’s a RG505 and not a RG550. If you don’t know this detail it could very well mean your client will decline the whole series.
Because the pick guard and the yellow is very reflective we have a problem with reflections from the strobes.
This is where you always have to remember the “angle of incidence is the angle of reflection” so make sure you shoot under a different angle from the reflection. You can literally see this in the viewfinder. Also the yellow has to be nice and saturated.

We know that color has a luminance part and when we lower the luminance the color will become more saturated.
So to make sure I don’t have any reflections and my yellow is nice and extra saturated I’m angling the guitar slightly away from the main lightsource, it’s just a very slight angle but it does take away any glare and reflections plus it just makes the yellow a bit more saturated, combined with the blue from the chair it created a very nice and popping contrast.

Mainlight is a Geekoto GT200 with our Geekoto S26 softbox with grid
For a special effect I’m using a Geekoto GT200 with a blue gel from the side.
To get the lens flare nice and smooth I’m using the K&F concept black diffusion filters

Now this looks nice but…. I’m missing that “ROCK” feeling.
So lets pump up the power on the blue strobe to get more blue and flare in the frame.

Ok, now this is a lot nicer.
As you can also see that the angle under which you shoot makes a huge difference in “projected power”

But what if you want a lot more power in your shot.

So far I’ve been shooting almost straight on, so for the final shot I’m now shooting from a lower angle and from the side creating a totally different look. The shadows have a much larger part in the final look, and the blue gel has a much nicer effect.

Now in this final image you also see the reflection on the tremolo arm much better and thanks to the diffusion filter it gets a beautiful glow. Also as mentioned before the shadows have a much larger part in the final look. But by shooting under an angle you can also see that the blue light on the chair looks much more evenly.

So when you think you get the perfect shot, always try it from at least 2 different angles, you might be surprised how often you will use the extra images.

If you have any questions feel free to post them below this post, or on social media.

And before I forget

When you want the colors to be perfect it’s always necessary to use a colorchecker.
I’ve been using the Calibrite colorchecker passport for years and can highly recommend them.
When you shoot with gels make sure you take the colorchecker passport photo without the gels.
Shoot the colorchecker as flat as possible with your mainlight in the correct exposure (remember luminance is a vital part in your colorcoordinates) and you will get a perfect base every time you shoot. After that it’s of course the creative part to change colors, but the advantage is that when you need perfect colors, it’s there, but also that all presets you create will give the correct results, because they all start from the same base settings. This is something a lot of people forget when they claim they don’t need a colorchecker or lightmeter, it really saves loads of time on location, but even more when retouching.


Working with the optical spot from Westcott to create stunning images

Creative light shapers are awesome

When you want to create something different than the standard photo there are a lot of options.
You can add some props, add a nice backdrop, maybe add some smoke and accent lights etc.

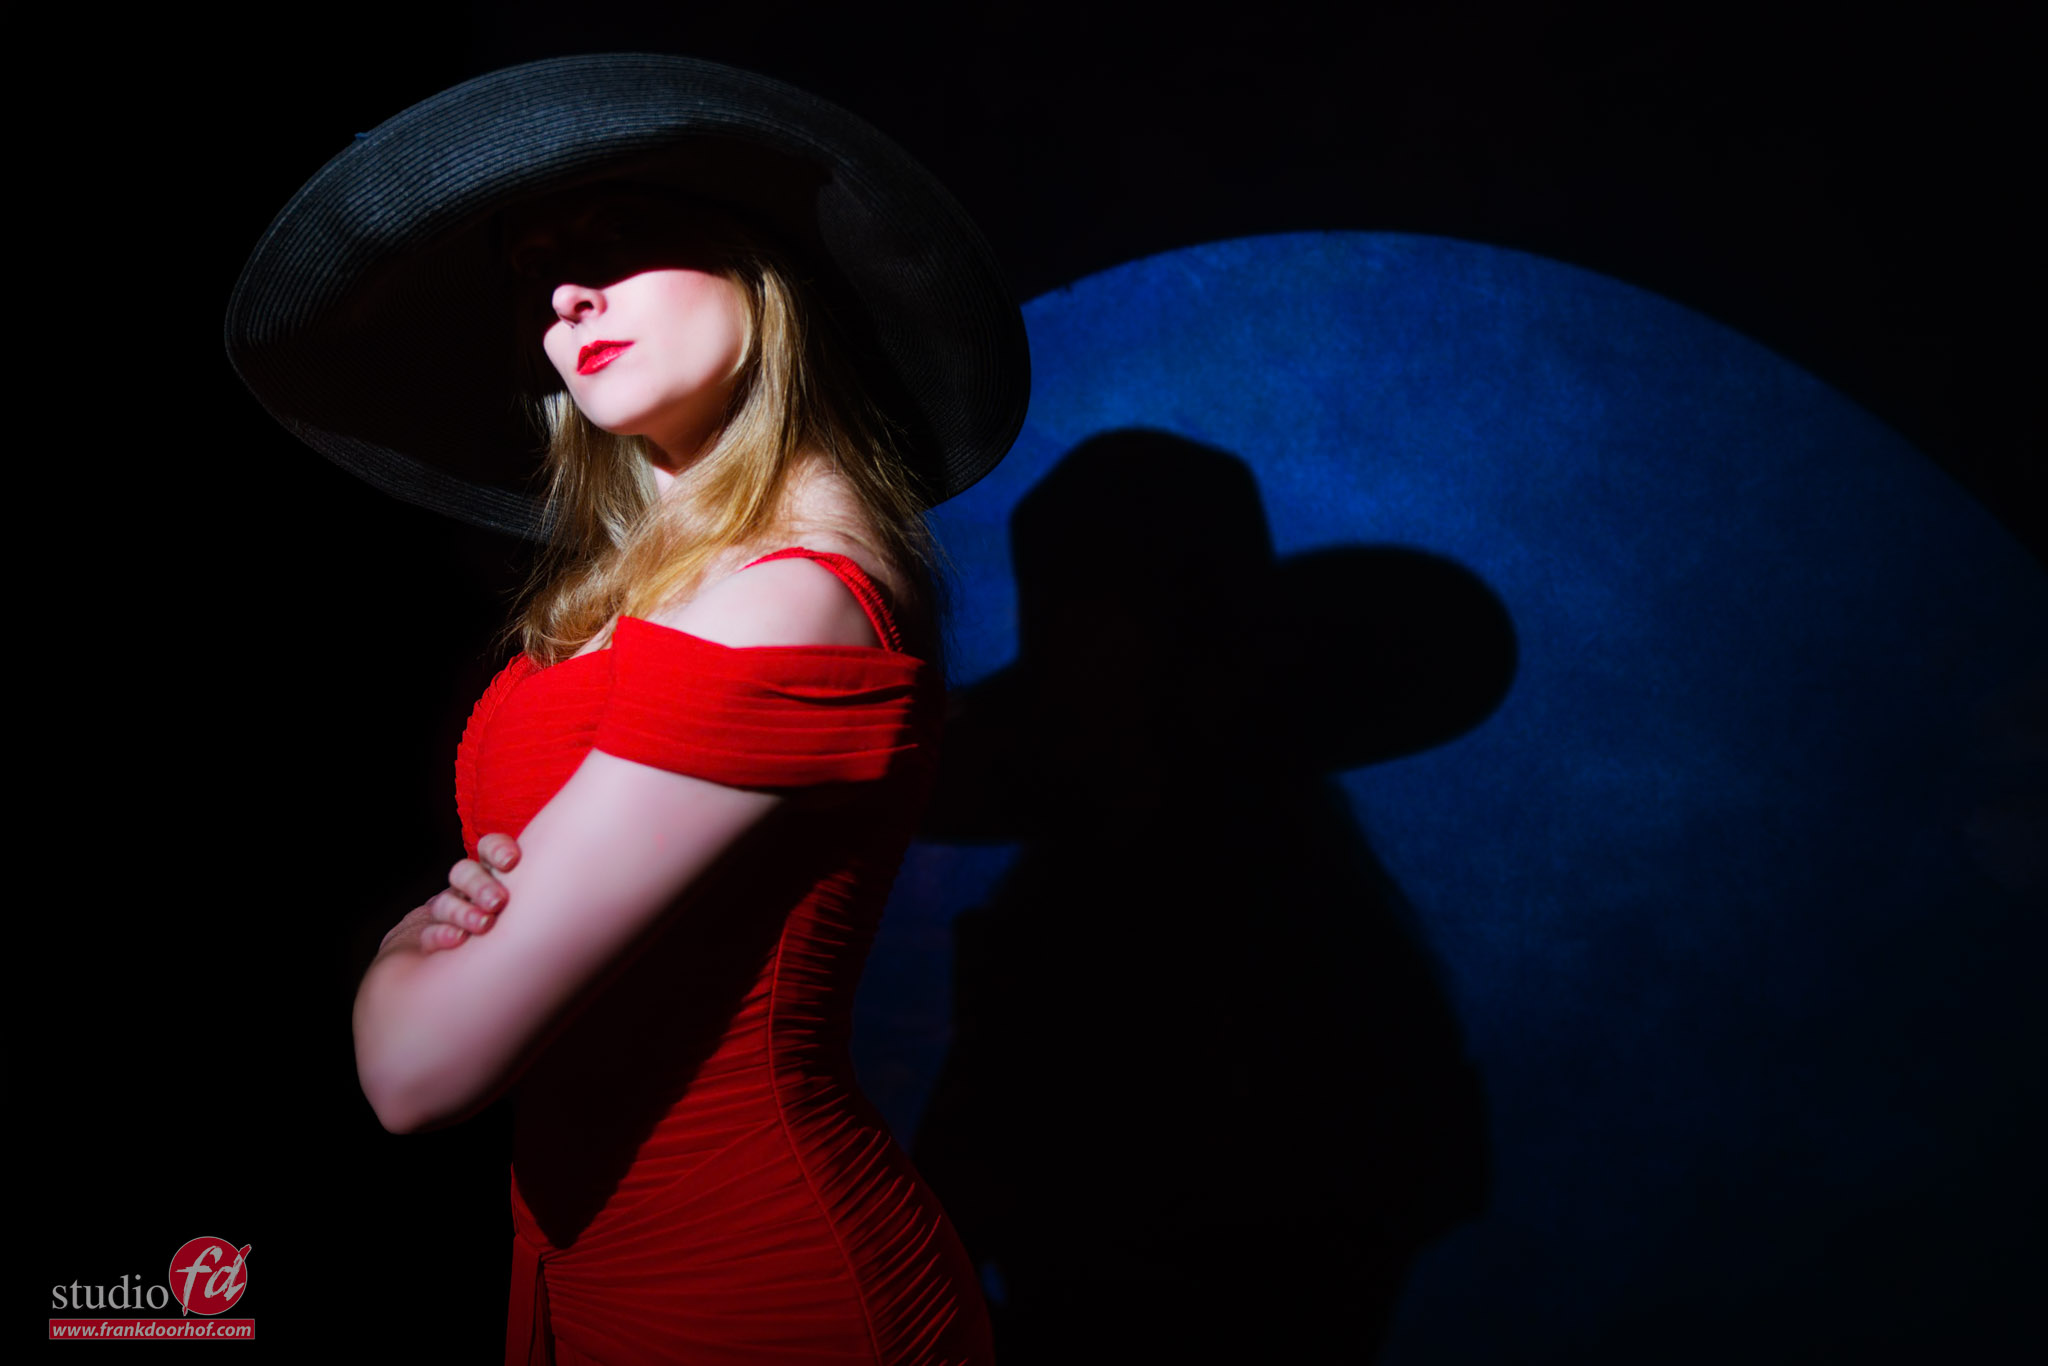
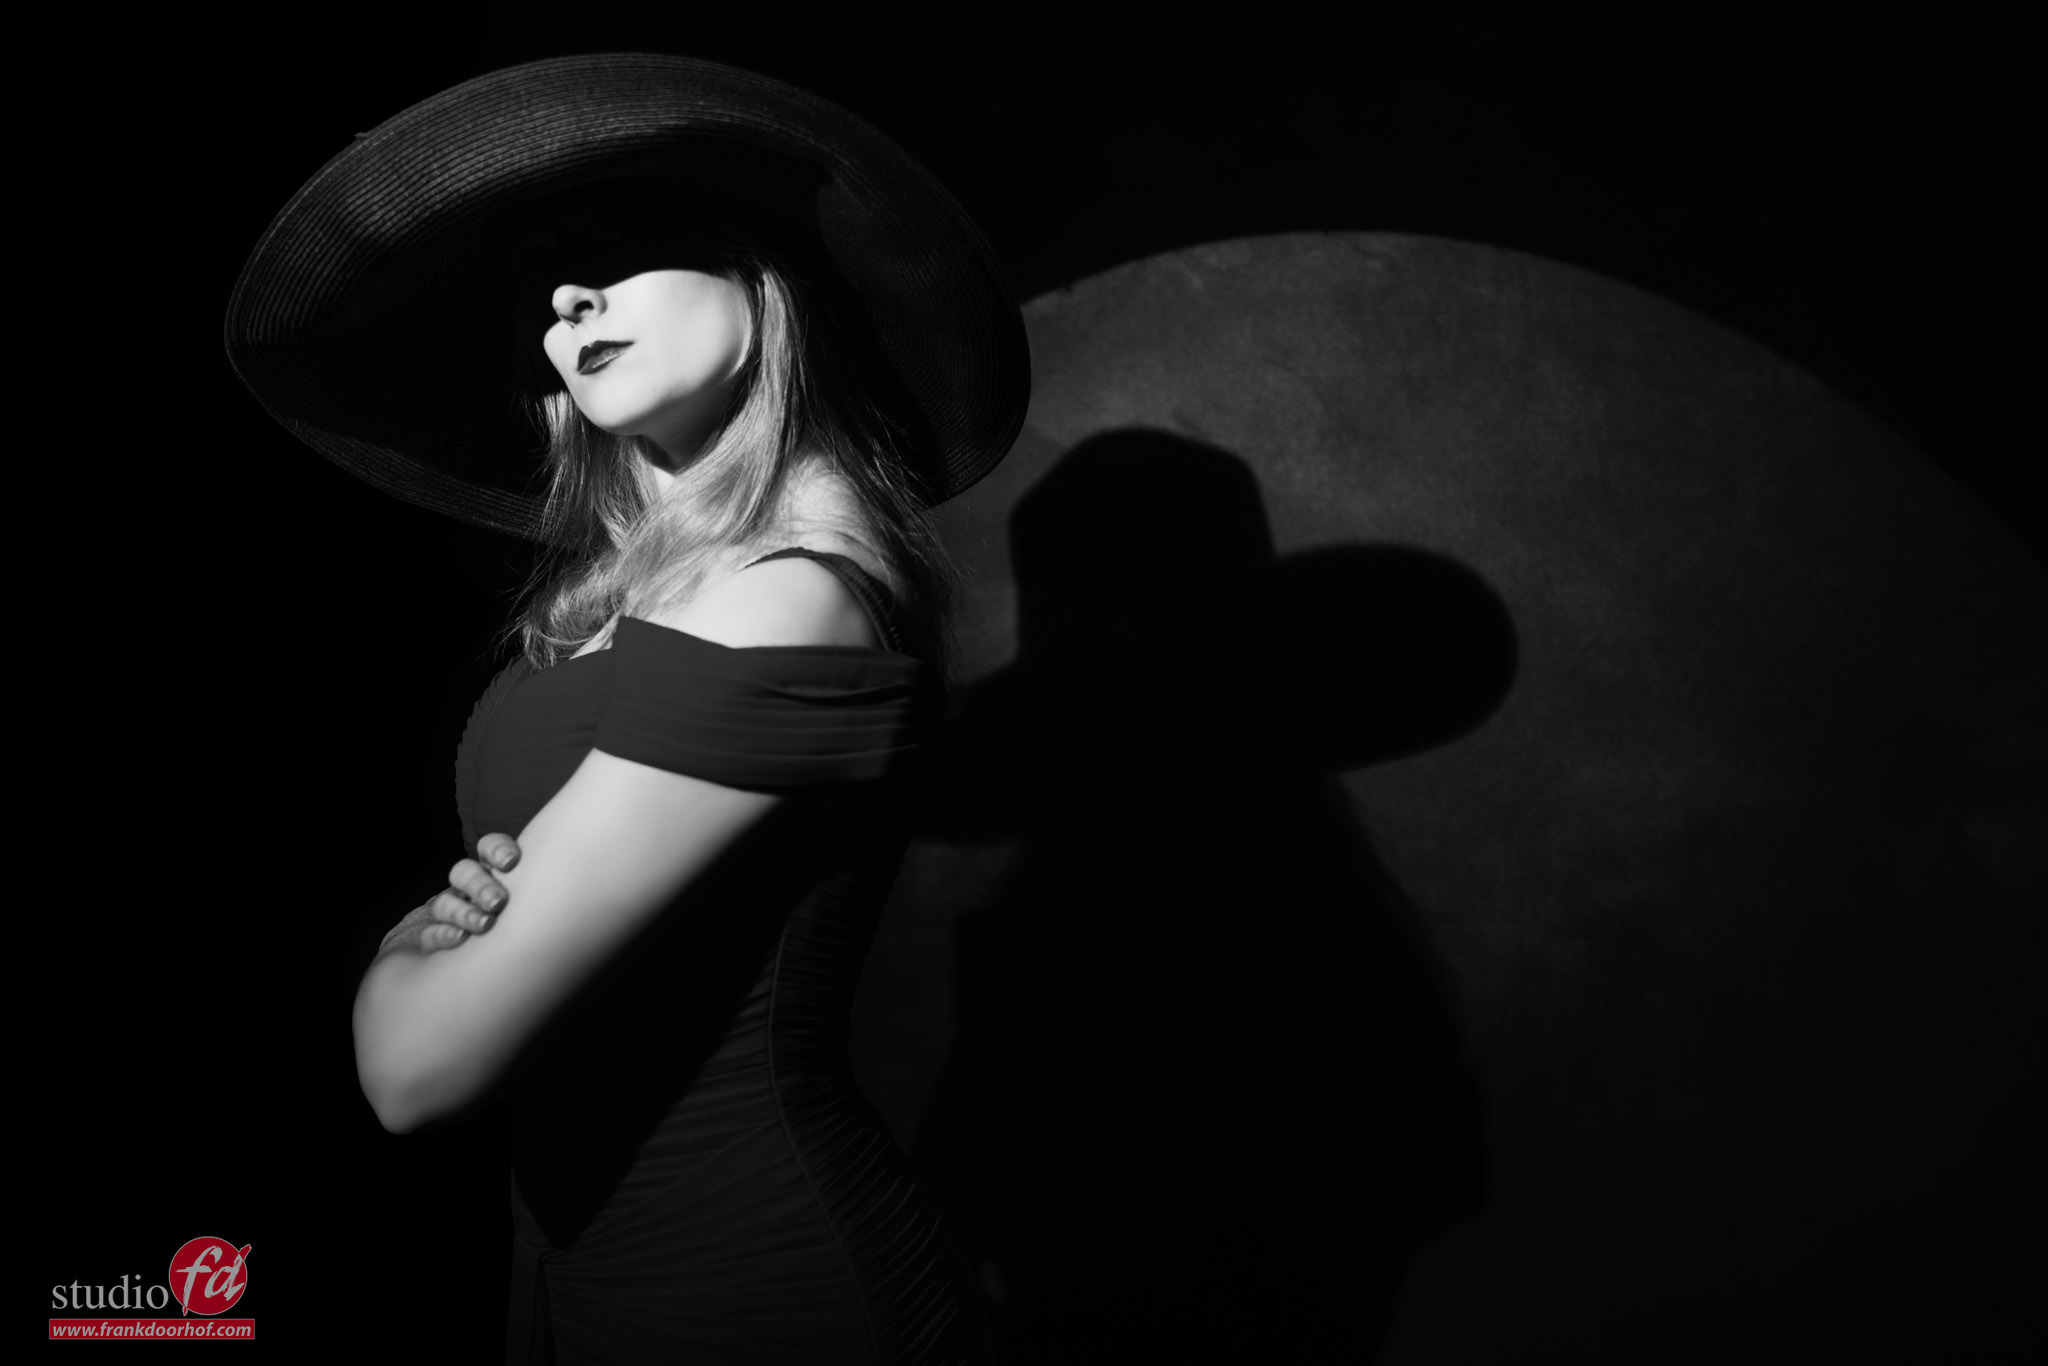
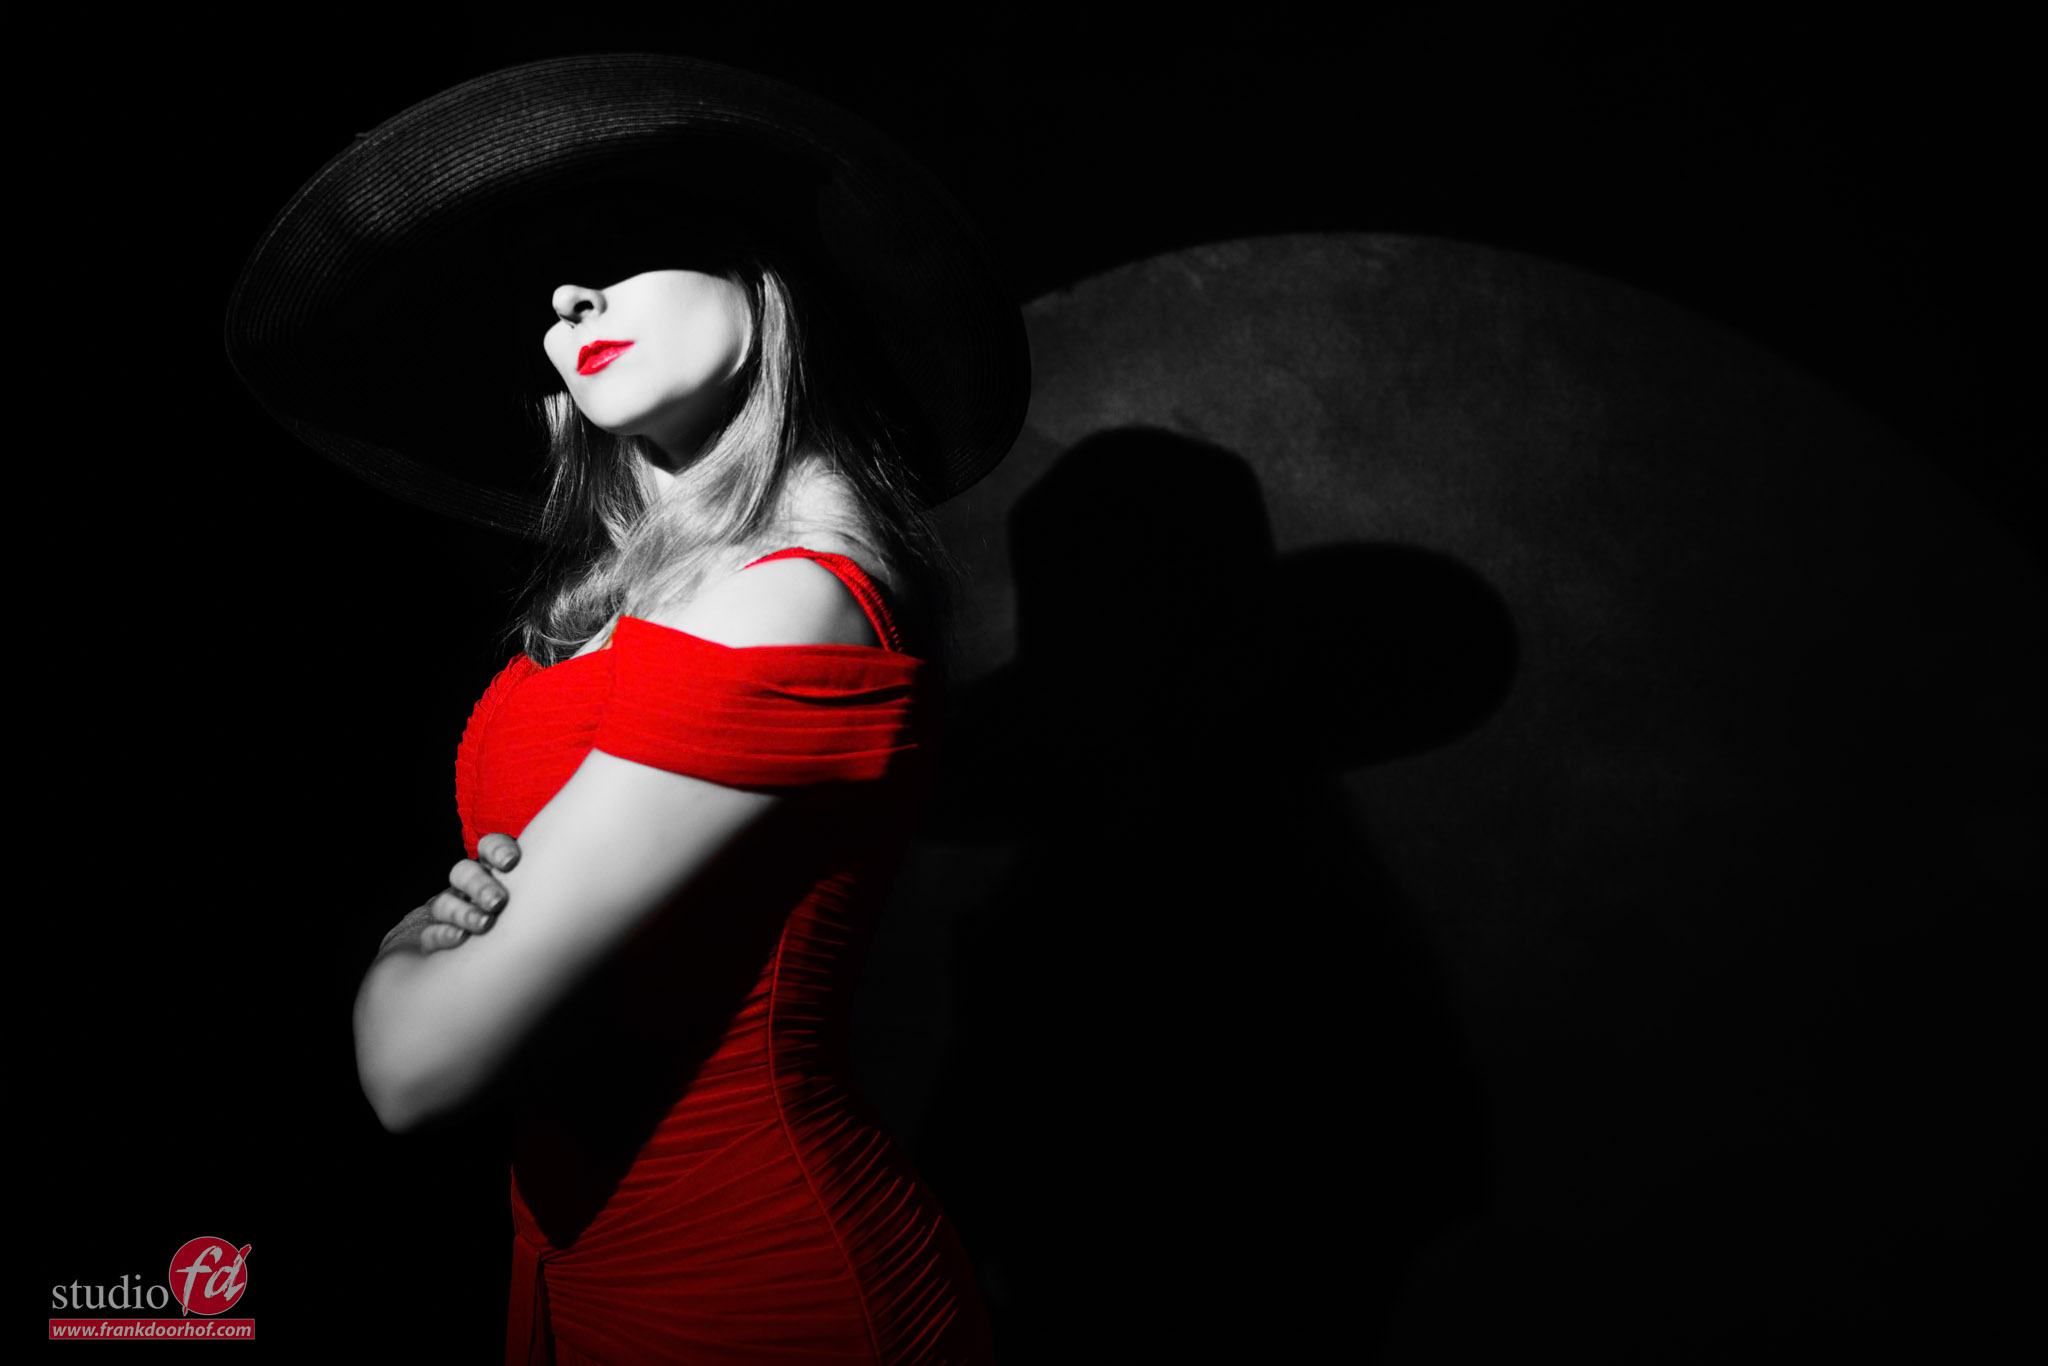
But something that will really spice up your shoot is without a doubt an Gobo projector, or optical spot.
In this video tutorial I’m using the Westcott Lindsay Adler optical spot for three completely different sets with our model Lois.

You get to see the lighting setups, all the photos I shoot and of course the technique is explained in depth.

As an extra bonus I also demonstrate the Rogue (Frank Doorhof) Flashbender.

Digital classroom is made possible by :
BenQ
Rogue
Cascable
Calibrite

Using loads of flowers in a set for an awesome pregnancy shoot

Styled pregnancy photo shoot video

When your model is pregnant it’s time for some extra shots, especially when the model is our friend and stylist Nadine!

Every pregnancy is unique, and when we shoot a pregnancy I always try to find something fitting for the model.
I think we all know Nadine, and with Nadine, it’s impossible just to shoot some images of her belly. So during a recent workshop, we decided to shoot different setups all aimed at a part of Nadine’s character and of course my input 😀

it was a load of fun, Nadine got several totally different pregnancy shots, and well… we got some cool behind the scenes videos.

Today the video about this shot.

In the video, I show you the lighting setup and explain the idea behind the shoots.
We always appreciate a like and subscribe to our YouTube channel.

You can read more about this shoot in another blog where we accidentally caught some amazing shadows.