Tag Archive for: studio photography

Why the blog or website is more important at the moment

Frank Doorhof blog

Back to square one?

When we started with the internet (ok now I feel old) we used dial-up connections and a small booklet to write down the websites. And of course, as a company, we dreamed about having our own website on this amazing (but incredibly slow) internet. This article is about our Frank Doorhof blog, and why we (and you) need a website.

It wasn’t long before that dream came true and our company was on the World Wide Web.. We have several websites. FrankDoorhof, Studio FD (Dutch) and Photography-workshops.eu 

You can read English blogs on FrankDoorhof.com and Dutch blogs at StudioFD.nl

More reach means more customers

But how do you lead people towards your website? At first via the (believe it or not) newspapers, flyers, and stickers on our products and invoices. But then….. the revolution of social media started to happen.
In the Netherlands for a lot of people, it started with websites and discussion forums. For me, it was a site called Dutchheaven which really made a huge impact on how to reach people and network Plus there was a discussion forum and chat room.

Not a lot later in the Netherlands, we saw a new network called Hyves. In essence, you could compare this to Facebook. It was not yet interesting for a company, but it was a great way to get in contact with people with the same interests as you. And slowly of course also companies started to discover “social media”.

Social Media took over

When Hyves stopped most people (if not all) went to Facebook.
This was the first time for us that we really started to use Facebook for our business including the Photography studio and workshops. And it worked like a charm. Direct contact with your audience, a nice and clean interface, great messaging, and no spam.

Frank Doorhof Blog

Social media? or filtered media?

When I take a few steps back and look at the social media landscape at the moment, I have to be honest it’s not good. Facebook filters a lot of messages and comments, which means I don’t see comments (random), followers don’t see all my posts, and the last year using the message function is a disaster because 90% is spam with messages about my page being deleted (don’t click on those links :D) and deleting them is a one by one deal (please add batch delete).

But it isn’t much better on other platforms.
Instagram is nice, but there is no real community with discussions, for sharing images it’s great just like Threads, but it’s hard to explain techniques or lighting setups in depth when you can’t use links or layouts.

LinkedIn is nice but not for everyone in your target audience.

And X (Twitter), what can I say?
It has changed a lot, some things are better but I have a lot of issues with the hate, no moderation, and an enormous amount of fake news and conspiracy theories. Plus the limit on characters makes it almost impossible to explain lighting setups etc.


The solution: Don’t build your brand on rented land

Our website has been online for a long time and has always aimed at sharing photos but most of all also sharing techniques, tips and tricks, videos, and of course, answering your questions. In the last decade or so, the focus might have shifted away a bit from the website due to the immense popularity of social media. But as mentioned before I think it’s time for our website to be the main focus again.

I’ve been adding loads of new articles about lighting, photography in general, results from Digital Classrooms, and a lot more in the last few months, so I’m sure you will find something you like. And I will continue to add articles to the blog, so make sure you add them to your bookmarks,  or……

Frank Doorhof's Blog

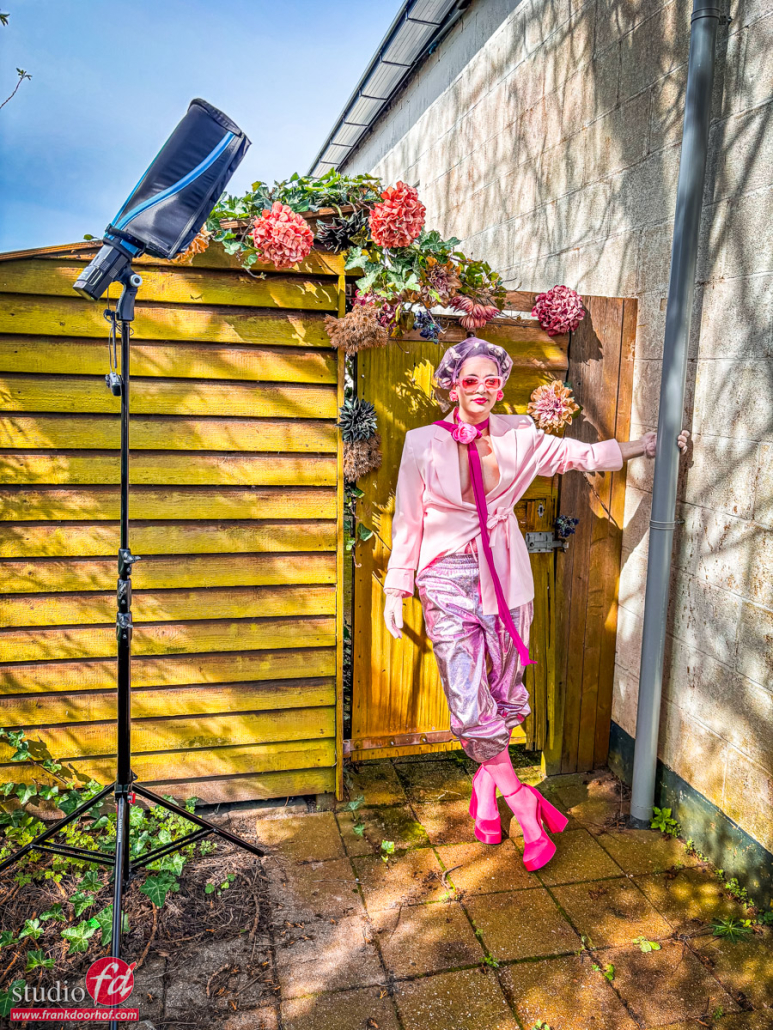
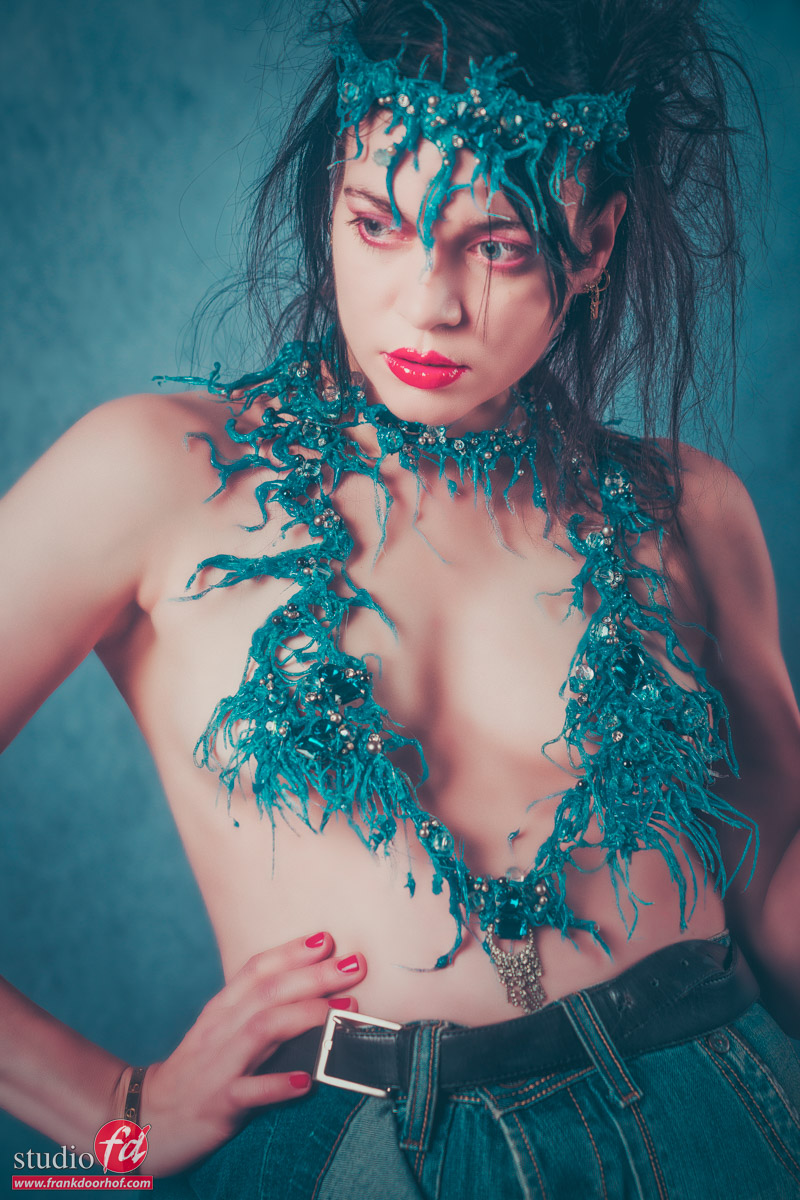
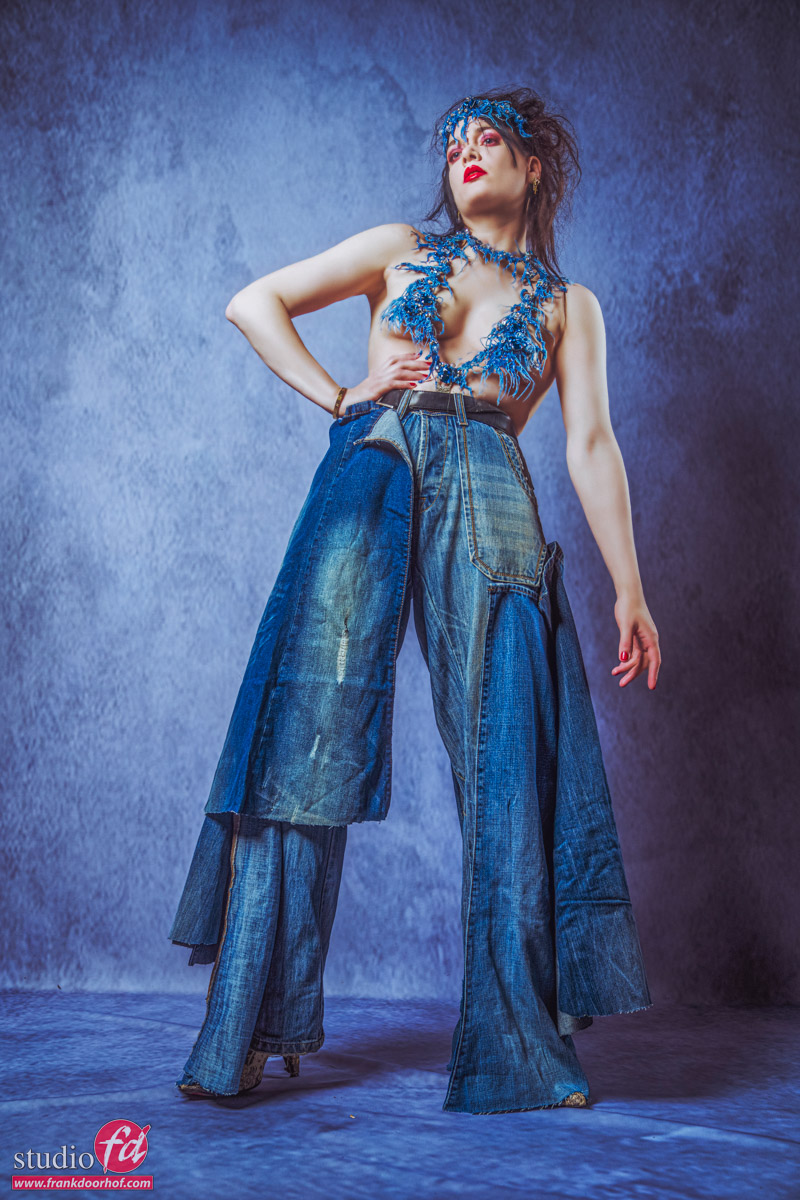
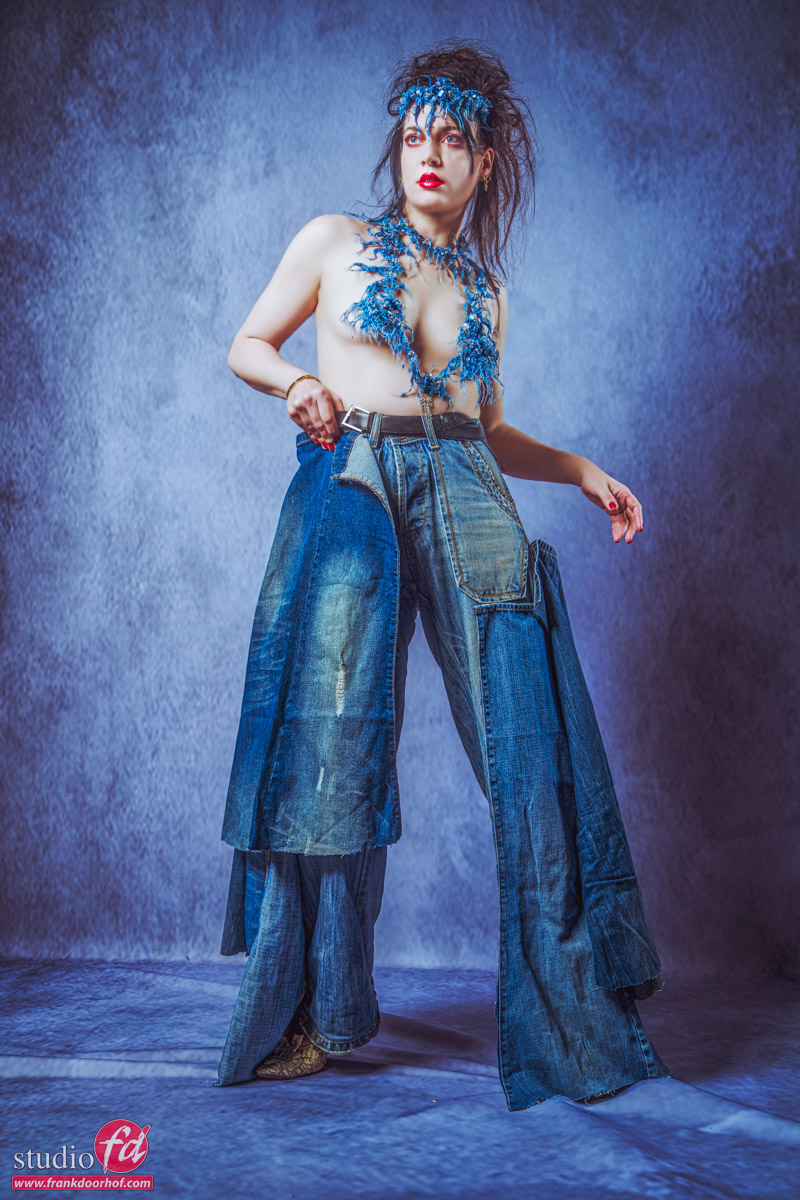
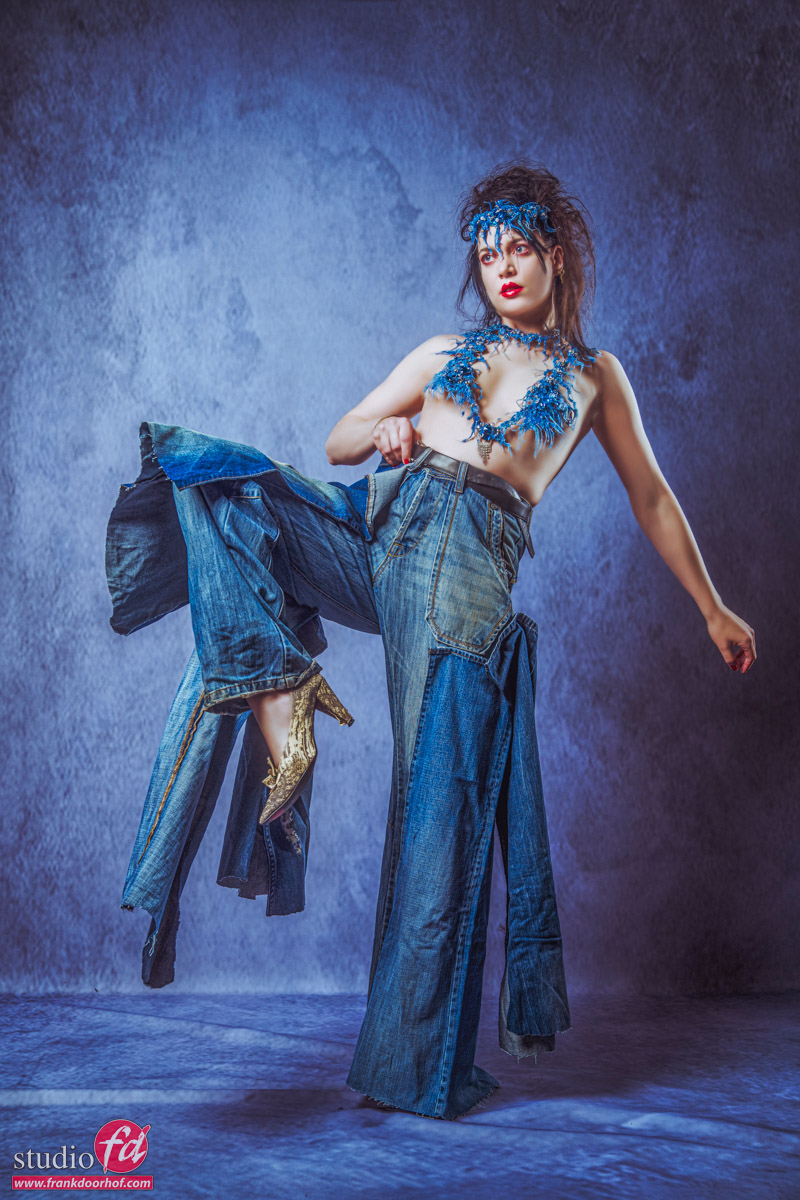
on our blog, we share how-to lighting setup, including results

Building a community

As mentioned before one of the strongest points for education is that you can always ask whatever you want and get an answer or opinion from the community or the site owner. And this is exactly what makes social media great for connecting people and education.

So under each article, you can leave a comment on the blog
Feel free to ask questions, share your work, or just share your tips about the subject. Registration is 100% free and you help us to build the community which leads to more articles.


Conclusion

I think a lot of people and companies have been focusing a lot on social media in the last decade or so. However, the generation now is leaving school is already a lot less active on social media. I think that’s why it’s now the right time to, besides your social media presence, also to focus on a nice website where your clients can connect instead of just watching static pages.

Feel free to add your opinions, and share the article with your social media followers 😀

Do you want to be updated on our news updates?  (We don’t send out spam)
Subscribe to our Dutch newsletter
Subscribe to our English newsletter

Responding to the Frank Doorhof Blog also helps our ranking on Google!  So other people can find us too.


Thanks again for your support

Frank & Annewiek Doorhof


How to photograph awesome guitars in the studio, and an alien ukulele

Awesome products to shoot

In todays blogpost it’s time to combine two of my passions, guitars and photography.
It’s always fun to do the Digital Classroom livestreams, and although most is aimed at model photography I also sometimes like to throw in something else.

In this episode I take some pictures of 2 of my favourite guitars and an alien ukulele
I show the lighting setups, how to use smoke, how things go wrong and a lot more.

But before I link to the episode, let’s show the results.

In these images you see the Ibanez Jem guitars.
The black one is the Jem 777VBK (Rosewood fingerboard)
The white one is the Jem 7V WH (ebony fingerboard)

Having some fun with a theme

The final photo is just for fun.
When I saw this Ukulele I just had to get it, not just to experiment with but also to use in a photoshoot, because let’s be honest… it’s cool 😀

During the broadcast I promised I would make a special version of this one.
It’s a bit cheesy, but somehow I like it 😀

Curious how I shot these?

Now you might wonder how I shot these?
Well you are lucky, because here is the link to the full almost 2 hour episode.
If you have questions feel free to ask.

The competition

During the broadcast we talked about the Tourbox give away, if you missed that part….
Create a cool video of you creating your art and tag it with the tags #photographer #photography #tourbox and we will select two winners who will win a Tourbox and a free Lightroom video from me. Make sure you also tag me of course.

The BenQ discount code

For the BenQ 10% discount code email me at [email protected]

Using two or three umbrellas for a perfect white background a video tutorial

The white background

Is often one of those backgrounds we all use once in a while, and some have even build a complete career around it.
When I started out with my learning process I was lucky enough to find out about Dean Collins so I started using a lightmeter almost immediately which makes setting up a white background (and everything else) a lot easier and faster. But still I ran into a lot of problems.

Over the years I’ve tried different ways to shoot this setup.
At one point I was using two strobes on the background, two strip lights as accents and one main light.
The problem always was the floor. The accent lights would give double shadows, this by the way was solved by angling the strip lights slightly up and using grids, but that didn’t solve my other problem, the floor itself.

The miracle of plexiglas

When using the standard setup the main issue was always the floor.
The background would be nice and white, the model was perfectly lit, the accents were nice, but the floor….
You can do it in Photoshop but then you have to edit every single shot, plus it looks the model is floating, so I added some shadows.. and realised it must be possible to do it faster and easier.

Enter, Plexiglas.
By placing transparant plexiglas on the floor you can redirect the light and create a perfect white background which seamlessly blends in with the background, it’s a simple trick of reflections. And the cool thing… you can also use transparant plexiglas on other colors, it’s always giving an awesome reflection.

I’ve talked about this extensively in this blogpost, but today I also show you in the video how I use three and even two umbrellas to create the perfect white background for a full body model including accents… yeah it’s really possible and super easy (and cheap).

Gear used :
3x Geekoto GT400
1x Rogue travel kit with the black umbrella and sleeve (main light) and the white umbrella.
1x Rogue white umbrella.

The nice thing about the Rogue umbrellas is that they are made of Fibreglass which makes them very durable and super easy/light to setup.

In this video I show you how the setup works.


Awesome fashion shots with a complete set on a roll

Fashion shots with Nadine

One of the things I absolutely love are the fashion shots they did in the ’60s-’70s. In today’s blog post, I used that era as inspiration for a more modern “Frank” approach 😀
So continue ready how I made these awesome fashion shots with our model/stylist Nadine.

In today’s blog post, we talk about posing, lighting, and backgrounds.

I’m using our Geekoto GT400 flash unit with a Geekoto 48″ softbox without the grid.  You could add a striplight from the other side to give a little bit of accent light.
During the workshop/assignment, I often shoot both ways because they can both give a totally different look and feel. Sometimes the client (or myself) likes the accent light more with certain poses and clothing. And sometimes the basic setup works best. If you want to go really “crazy” you can even add some gels to the set. But today we kept it more basic and as you can see the striplight just opens up the shadows a bit on one shot and gives a little bit of accent on the other. On the Geekoto commander, I can quickly change the settings of my strobes.

My main light I will normally not change, but accent lights I often adjust during the shoot.
Because I’m shooting tethered I can clearly see the effects of the setup and this also means I can more easily adjust my lights on the fly. Especially for the accent lights shooting tethered makes it possible to quickly adjust the lights to fit the poses and mood without leaving my spot 😀

Styling

Nadine did the styling for this set herself (as usual). She made the top with diamonds and glue. and sew a lot of jeans together.
We wanted some more unusual poses, and for me, it’s important that the model will find her/his own poses and “flow” through them. So I will often just coach which way to look or turn. But try to let the model find the poses her/himself. This way you prevent falling into the same poses over and over, plus it will just look way more natural.

Let’s take a look at some shots and then I’ll explain a bit more about the background and setup.

an awesome fashion shot with model/stylist Nadine


Backdrop

As you can see on the images I’m using a special background.
In a short time, this has become one of my absolute favorite backgrounds.

In this shoot I’m using the Click Backdrops Soft master grey background in the larger size pro fabric, this means it’s possible to use it as both the background and floor part. With this material, it’s also very easy to use tinting or gels and still get a very nice-looking effect in the background/floor. Here I’m using a slight (well okey slightly more than slight) blue tinting.

Motion

Now when we shoot images like this I also want a little bit of motion in the shot.
Motion doesn’t always mean models have to go crazy or leave orbit. You can add a little bit of motion by just raising a leg and slightly standing on her toes. Always remember that the model should point the toes downwards, otherwise, it looks really bad.

As you can see, just adding that little bit of “action” really enhances the shot.
It doesn’t mean the others are bad, they are just different. And again, you will sell more and get more clients when you offer variety in your work.

Angles

Most shots you’ve seen now have been done from a relative “standard” position.
However, when you want to enhance the action a bit it can really help to get a little bit closer to the model and shoot from a slightly lower angle with a slightly wider lens. This is one of the reasons I love to use the 24-79 F2.8 Gmaster from Sony.

As you can see the result is pretty amazing.

Phot

Photoshop for awesome fashion shots

I’ve used generative fill in Photoshop to fill in the sides.
By the way, did you know you now also find generative fill on the iPad in Photoshop?
And it works just as well for most things, which makes the iPad another step towards a real pro device.

Close up

Anyway, let’s continue.
Full body shots are great of course, but never forget to also get some close-ups.
Here I’m using a different tinting, but it’s the same setup.

another awewome fashion shot with Nadine

If you have any questions feel free to reach out.
We really appreciate a share on social media.


Check out the short I made


Adding some color to totally change the look and feel, also with Nadine 

See how I used the Soft Master Grey backdrop with Claudia