Tag Archive for: speedlights

Behind the scenes during the workshop in Oss with Geekoto small flash

In todays episode of the vlog we take you behind the scenes during our workshop in Oss.
This is the second and final part of the vlog about the workshop weekend that started in Pelt Belgium.

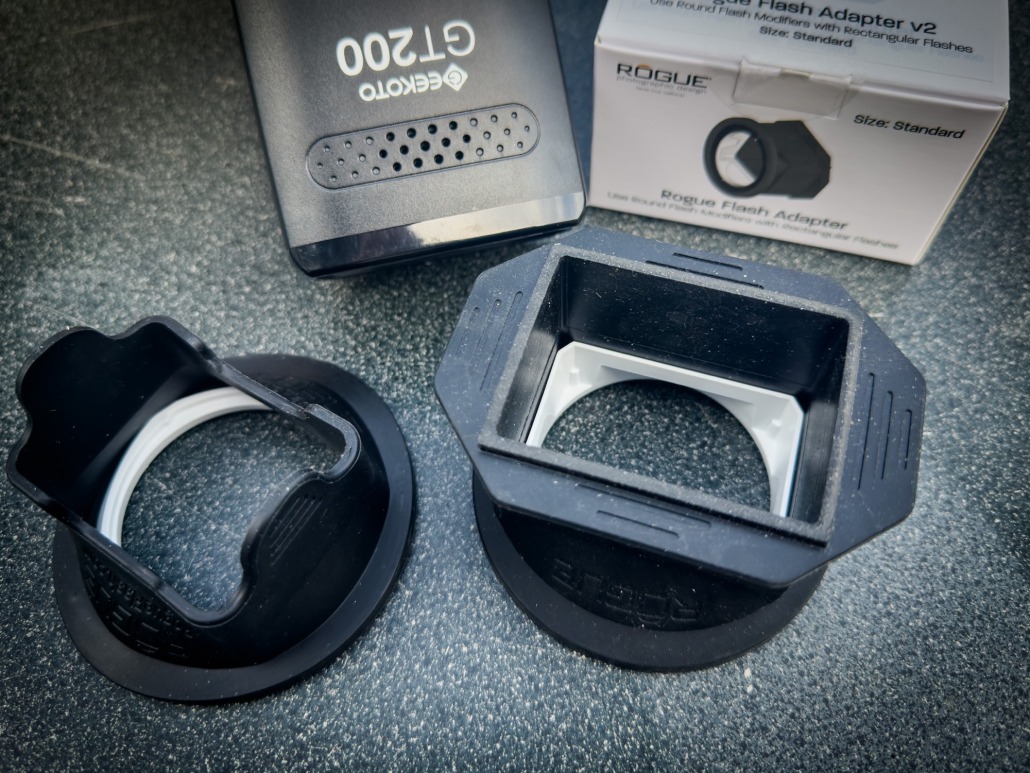
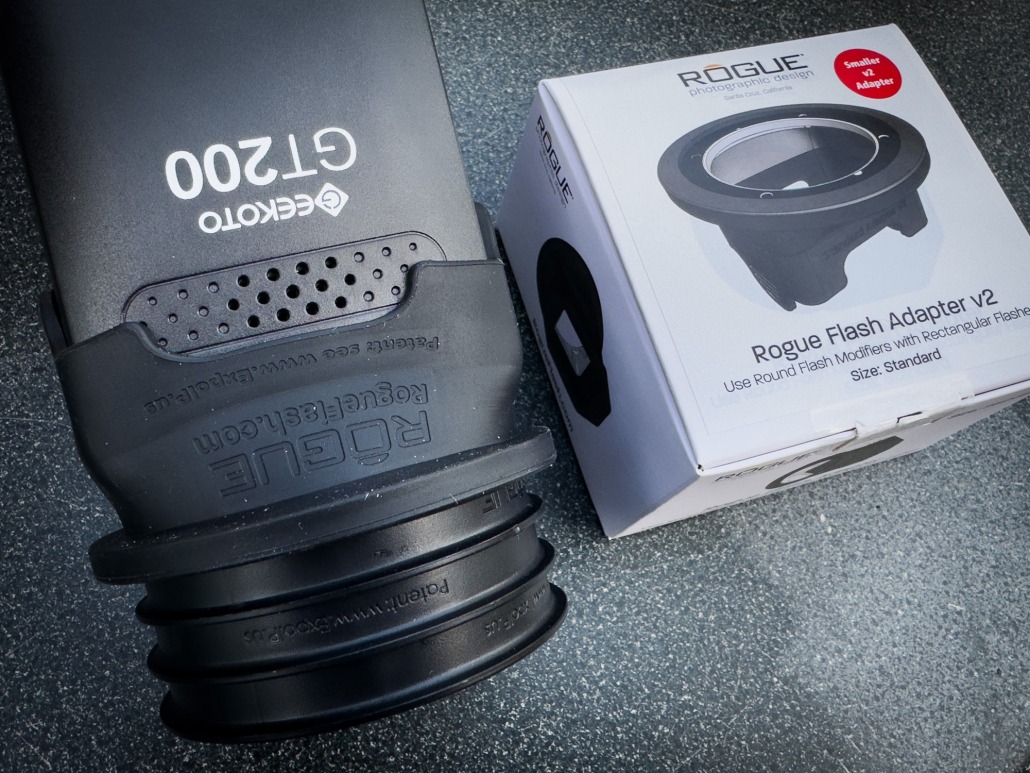
During the workshops the theme was “working with small strobes to create great images”, so we used our Geekoto strobes and accessories from Rogue and Nanlite to show you don’t need to break the bank, and can carry a complete studio in your bag to get great images.

With the Geekoto’s I’m able to bring my camera, lightmeter, 3 strobes with grips, 2 Rogue magnetic systems, Flashbender and Rogue Umbrella, iPad etc all in one backpack or rolling case. That’s very nice if you love working on location but don’t want to shoot different images than in the studio. And with 200-250 and 400W versions supporting ETTL and HSS you will be able to work under almost every situation. If it’s too dark, or if you want to work in the studio, there also is the option of using the build in modelling light.

For us the Geekoto is the perfect hybrid between a speedlight and studio strobe.


In case you missed it…
Here is part I

Combining/mixing light sources

One of the questions I hear a lot during workshops is the problem of combining/mixing light sources
Now let’s first do the easy stuff.

Combining/mixing light sources: strobes and speedlights

This is one of the things that happens quite often, and in all honesty, it’s a bit of figuring out stuff but when you get it, it’s pretty easy.
There are some different solutions, so let’s quickly go through them.

  1. the first one is the easiest
    Use a system that uses the same trigger for their speedlights and strobes. And nowadays with brands like Geekoto and Godox the line between studio use and portable is getting smaller by the minute.
  2. Use a cable trigger
    Very old-fashioned but it still works, get a cold shoe with a cable connector and use the trigger for your studio strobes and the cable for the speedlights, or the other way around.
  3. Use a system that can learn the pre-flash
    Most speedlights have a small flash before the main flash and sometimes you can disable this, but often it’s not possible some strobes, like the Elinchrom system, have the option to learn the pre-flash, and now you can use your speedlights to trigger the studio strobes via the optical slave.

Of course, there are more solutions, like optical slaves, IR, etc. but today I want to talk about something that is a bit more tricky.
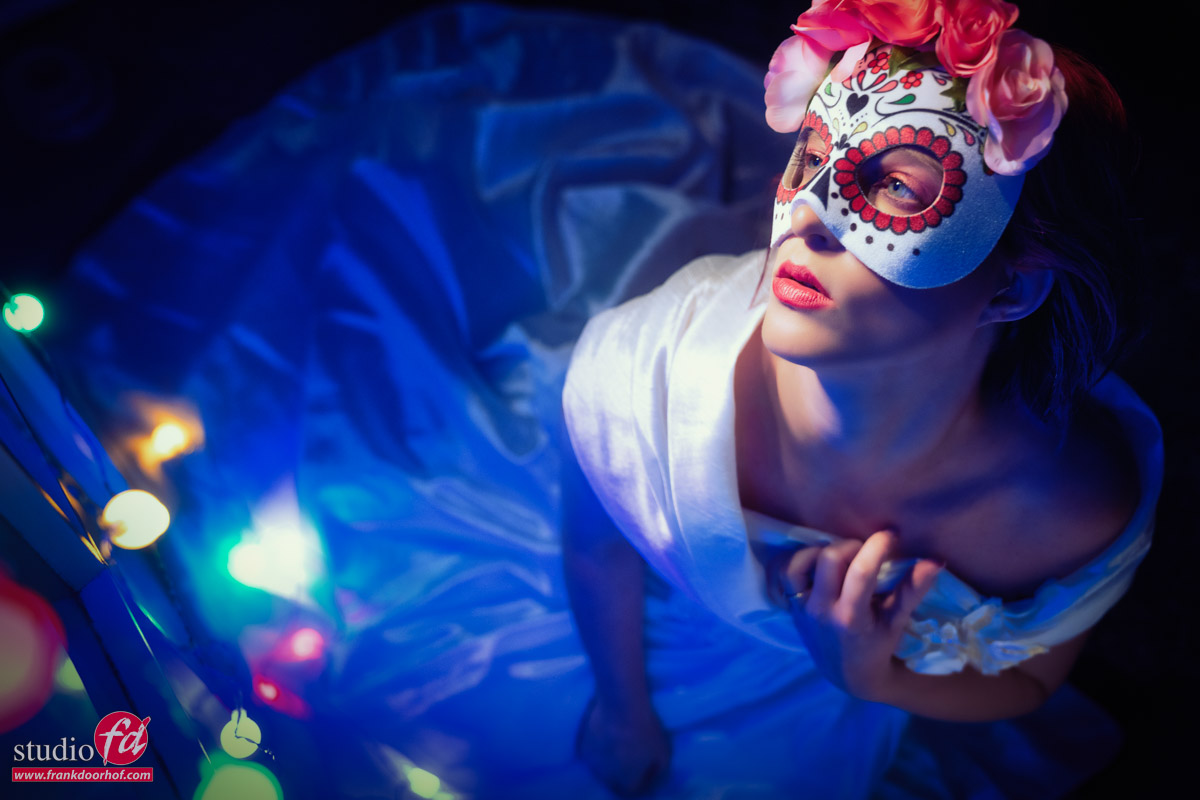
Combining/mixing light sources: continuous lighting with strobes

To get a proper understanding of what’s going on I always joke that this is as close to HDR (not Highly Destructive Retouching) as you can get with one exposure. So what’s going on.

When we look at the way continuous lighting is captured it’s a matter of the longer you keep the shutter open, the more light enters. But when we do the same thing for flash/strobes it doesn’t really matter how fast the shutter speed is, as long as it’s within the so-called X-sync (often 1/125) it will render properly.

So when we want to mix strobes with continuous lighting we actually already know what to do, but it’s still important to talk about some issues that can/will go wrong 🙂
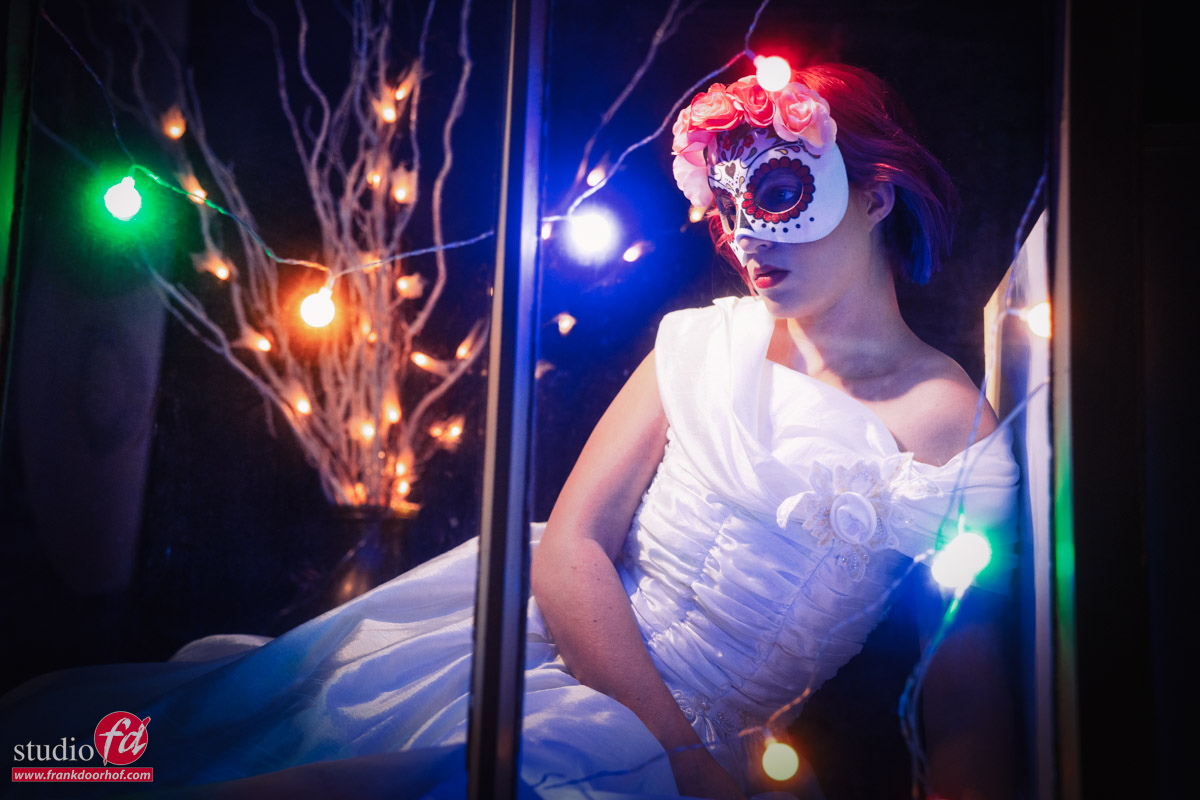
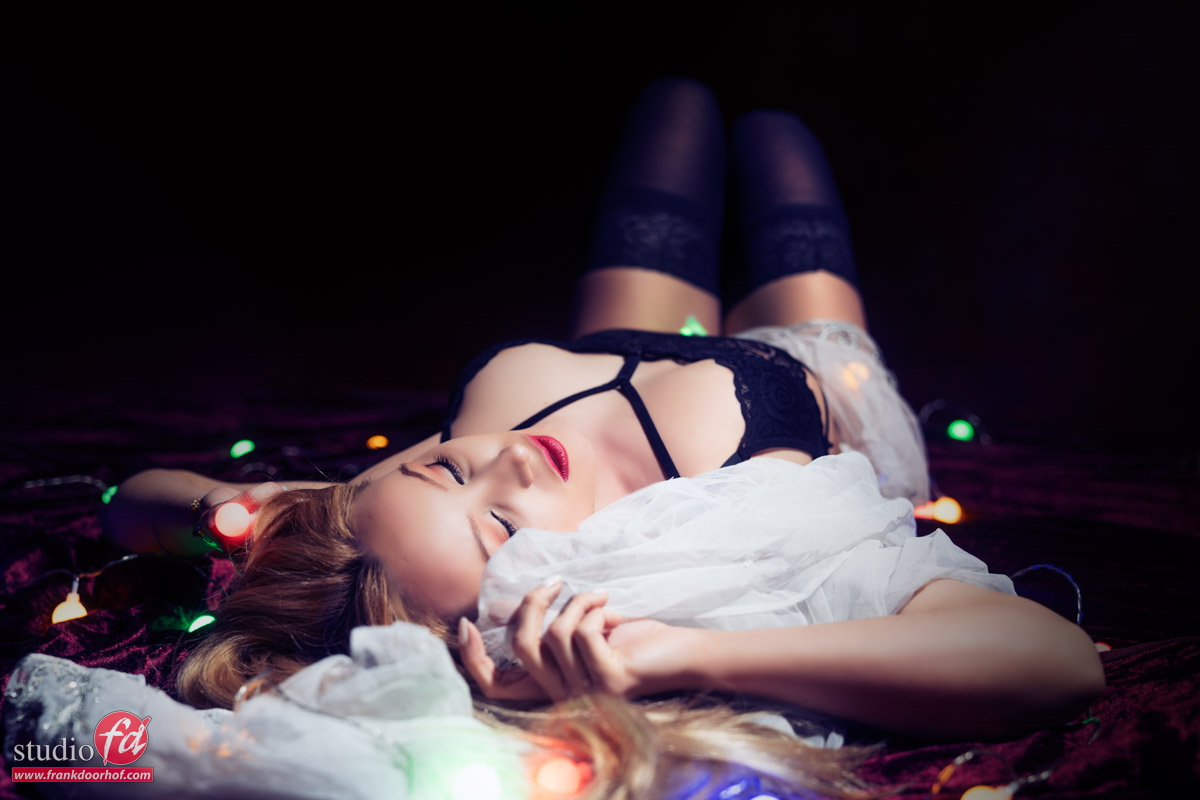
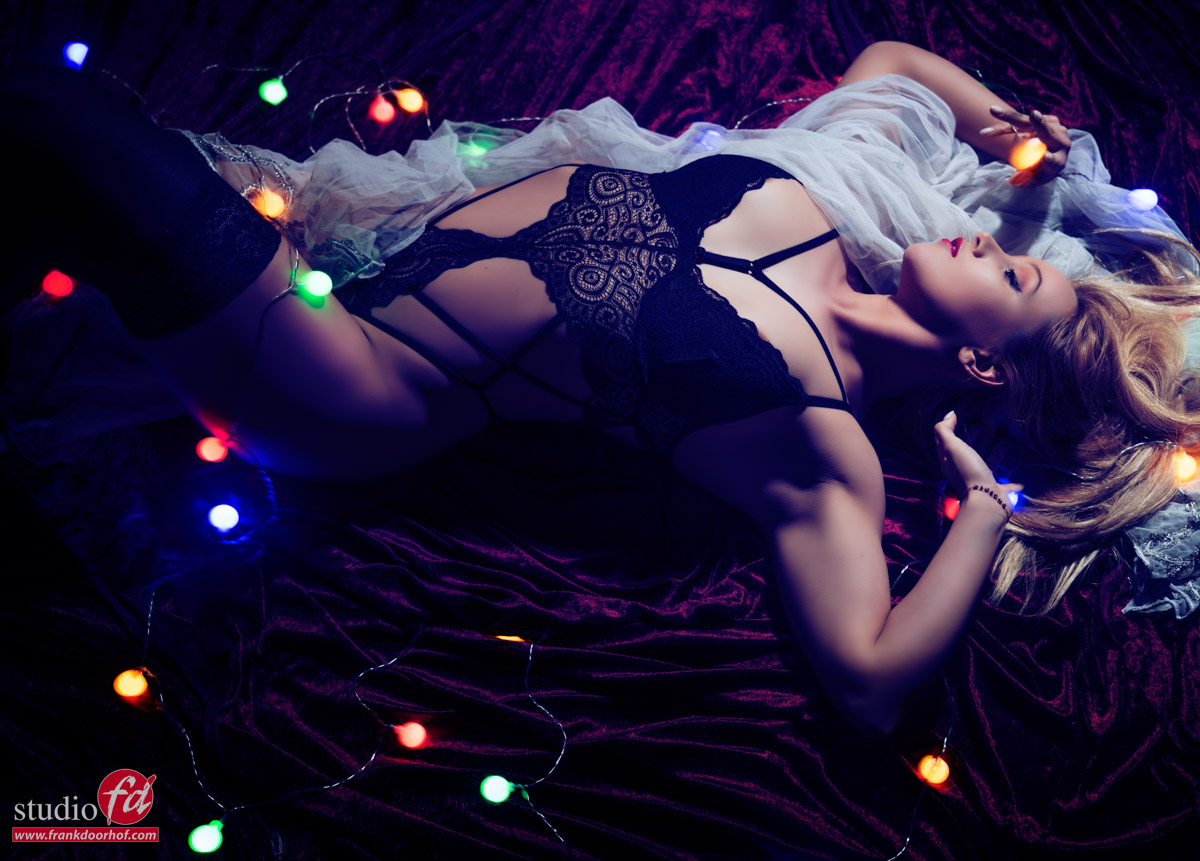
another example of combining/mixing light sources. Christmas lights, lights in the branches and flash on the model

Output

The first thing is of course output.
Our Hensel studio strobes are much more powerful than a lightbulb.
So we have to make sure that we keep the output of our strobes as low as possible when we want to mix them with for example Christmas lights. But how do we do that ?

  1. Buy the right strobes
    When buying strobes it doesn’t make sense to get 1000W strobes with 3 stops of range. You will get a lot of light but 1000W is really a lot and 3 stops range is not that much. A much wiser investment is anything between 100 and 400W for studio use with loads of stops, for example a 400W strobe with 6 stops of adjustments will give you more than enough output but it also makes the lowest setting ideal for mixing it with continuous lighting.
  2. Use the right light shaper
    When you use a Hensel 14″ reflector you already know you can never mix this with continuous lighting (as is) simply put, because the 14″ reflector gives you so much light output it’s hardly usable in the studio (perfect for outside to kill the sun).
    But for example, a striplight with a middle diffuser and grid literally eats light so this is perfect for lowering your strobe.
  3. Be smart
    if you don’t have the options I just mentioned always remember that a white T-shirt also does wonders to tame your light output, do make sure you don’t create a fire hazard 😀

Now that we understand that we have to lower the strobe output the rest is easy.
What I always do…

I choose the lens with the fastest aperture and the DOF I like (in most cases just f2.8)
Now with the new EVF cameras, there is an awesome way to set up your lights.
In the past I would use the light meter and try to meter the output of the Christmas lights, which sounds easier than it actually is, because you don’t want the lights to blow out (not seeing the colours) but you also want a modest output, it’s a fine balance.

With the EVF you just choose the option WYSIWYG (what you see is what you get) and dial in the way you like the continuous lighting. I always keep my camera on Manual mode for this (using strobes) and set the aperture on a setting I like (often f2.8 or faster), lock the shutter speed to something I know I can keep steady (often 1/30) and now I use the ISO to dial in the effect I like. And because of the EVF you literally see the end result getting closer in front of your eyes in real-time. I can’t stress how much this setting on EVFs has changed how you can accurately set up complex lighting situations.

Now that we know for example that we need ISO400 f2.8 1/30 of a second to get the result I like, it’s a simple matter of grabbing the light meter and adjusting the strobe until it hits f2.8 at ISO400… and …. well that’s all folks 😀

Let’s take a look at some samples I shot during workshops.
But don’t stop reading, there is a whole part under the images.
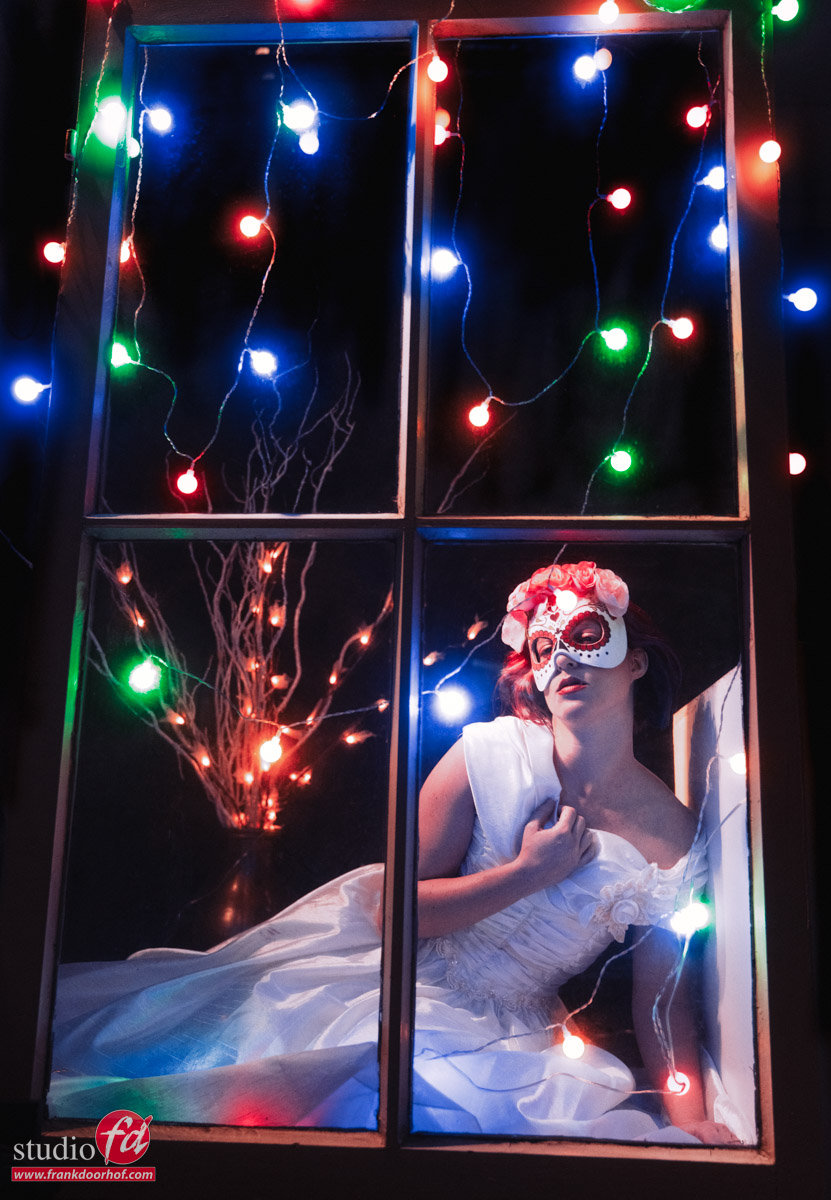
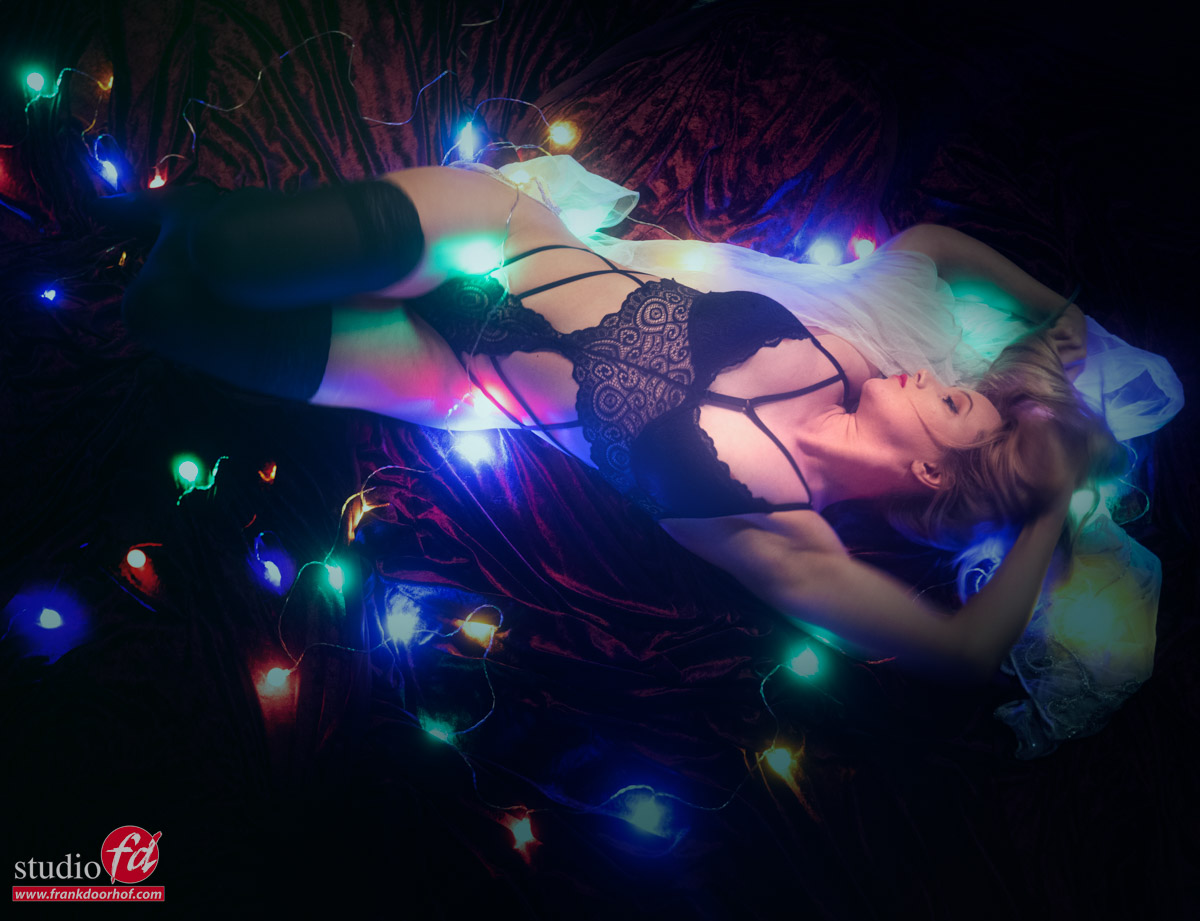
see the YouTube short about this workshop

I do have to add one more thing about combining/mixing light sources.

If you want to wow your customer or have more options yourself and you don’t want to change anything in aperture or strobe output I always advise setting the shutter speed as fast as possible and the result to the darkest you like. So let’s say f2.8 ISO1600 1/125. The added benefit of this method is that if during the shoot you realize you want the lights to be brighter you don’t have to panic or change something. You simply grab the shutter speed dial and lower the shutter speed. The model will still be correctly lit (the flash is just a pulse) but the continuous lighting will become brighter.

Combining/mixing light sources: Day-to-night

This is also super handy when working outside with the day-to-night technique.
No more need to use spot metering outside.
Just take the EVF and dial in the look you like (as long as the shutter stays at your X-sync) and after that use the light meter to get the strobes to the settings for aperture and ISO you just saw in your EVF. If you keep it as dark as possible you can literally light the background by just changing the shutter speed. Customers really think you’re a magician 😀
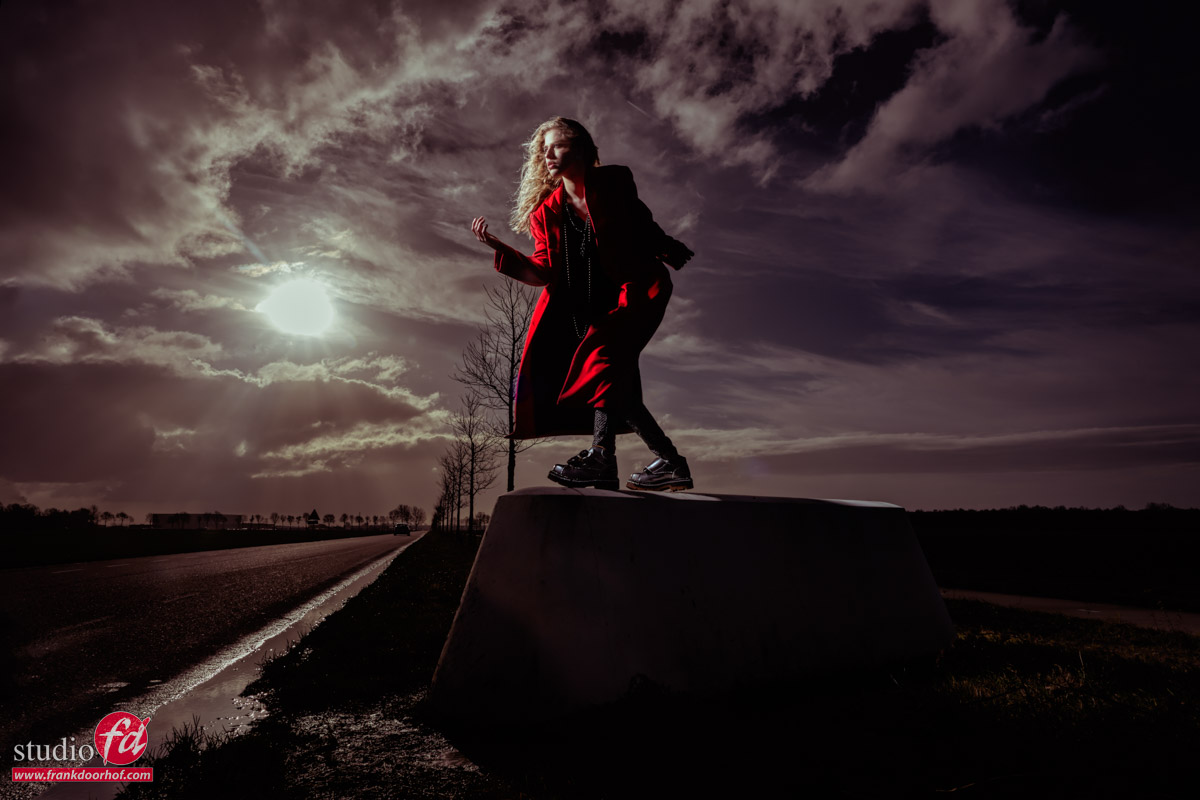
Day to night. Combining/mixing light sources. The sun in the back and flash from the left

check out this video of a workshop outside

Some final thoughts

You hear me talking about the X-sync a lot during workshops, live streams, and in articles. Let me explain a bit why.
When we think about DSLR cameras when we take a photo the mirror flips up and the first shutter curtain opens followed by the second one, the faster the shutter speed, the faster these two follow each other. As you can imagine when you use strobes there is a pulse of light that is very fast (often 1/2000 and up) so when you want your image to be correctly lit you need to make sure BOTH shutter curtains are not covering the sensor, and in most cameras that are every shutter speed below 1/200 for their own speedlights and 1/125 for most strobe systems. If you shoot faster there is often a distinct black bar covering your image, that’s your second shutter curtain.

When we take into account the 1/125 rule all strobes can work in normal operation mode (later more) and you can use a normal flash meter to meter the light.

This is of course a limitation that has haunted us photographers for decades and there are solutions.


One of the most known solutions is HSS (High-Speed Sync) this makes it possible to shoot at shutter speeds up to 1/8000 without the horrible black bars. In simple words, the strobe fires several times a second covering the whole censor in different periods of time. It’s an amazing system with many drawbacks, but it does have more positives than negatives. One of the negatives is without a doubt you need a special flash meter that can meter HSS, for example, the Sekonic 858. If you use a system like this you still do the same thing as mentioned in the article but you can also make the scene darker very easily by raising the shutter speed.

BUT…. do beware that when you enter the realm of HSS the output of the strobe falls dramatically so personally I would be a bit careful with planning a shoot whether you are on the edge of HSS or not.

Other solutions to break the X-sync are :

Leaf shutter lenses
These lenses are pretty heavy in weight and price but they are awesome.
Most of all the quality is often perfect, but due to the design, you can often shoot at shutter speeds of 1/750-1500 and sometimes even higher.

Specific digital cameras
And not even the most expensive ones, my Point and Shoot Fuji camera from years ago was actually able to shoot with strobes on 1/2000 which at moment stunned me because I didn’t know this, imagine my surprise when I saw a cheap camera doing the same and even faster than my 20K+ medium format setup with leaf shutter lenses. (Don’t tell Annewiek).
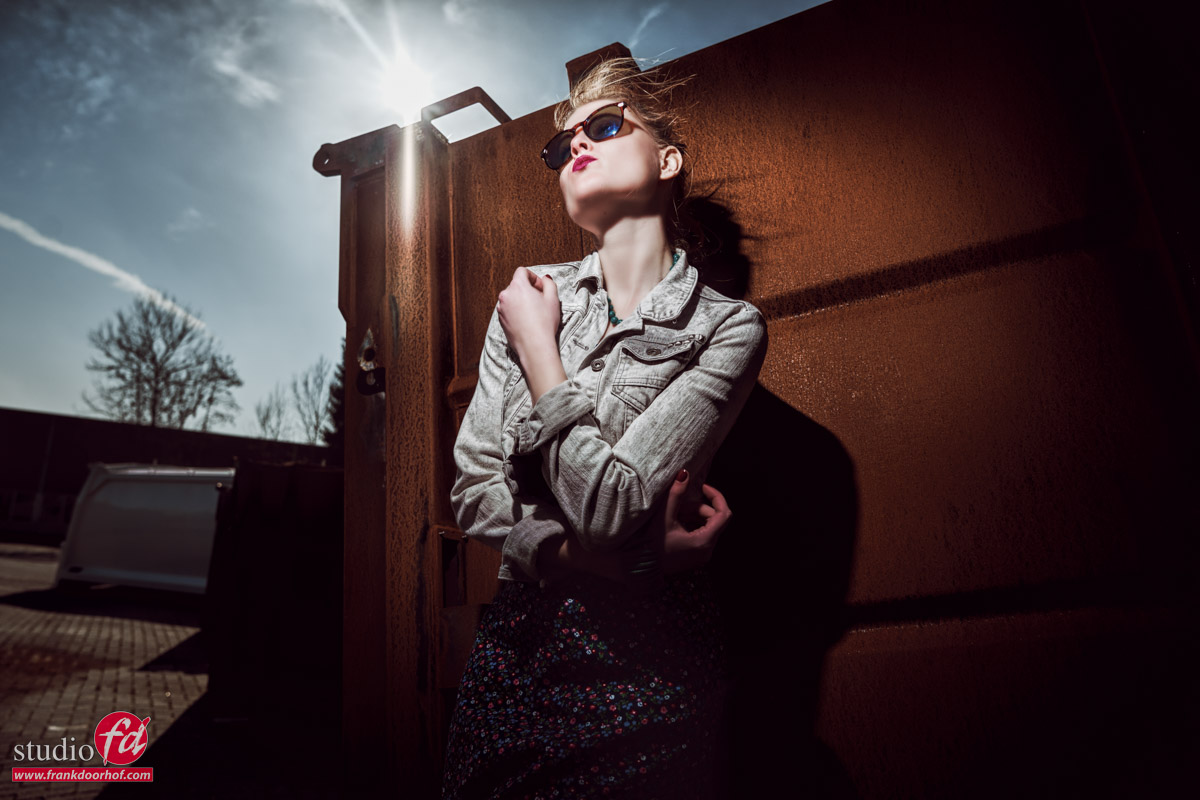
Combining/Mixing light sources: in this case flash and the sun

Conclusion

Working with different light sources in one shot is great to really set a mood, or sometimes you just have to because it’s part of the area you are shooting in. So don’t panic and just remember that X-sync rule and that the strobe is always a pulse and the continuous lighting just builds up over time.

Next time we talk about light metering on location to fight the sun and how to combine/mixing light sources
 

Nadine and the Rogue snoot

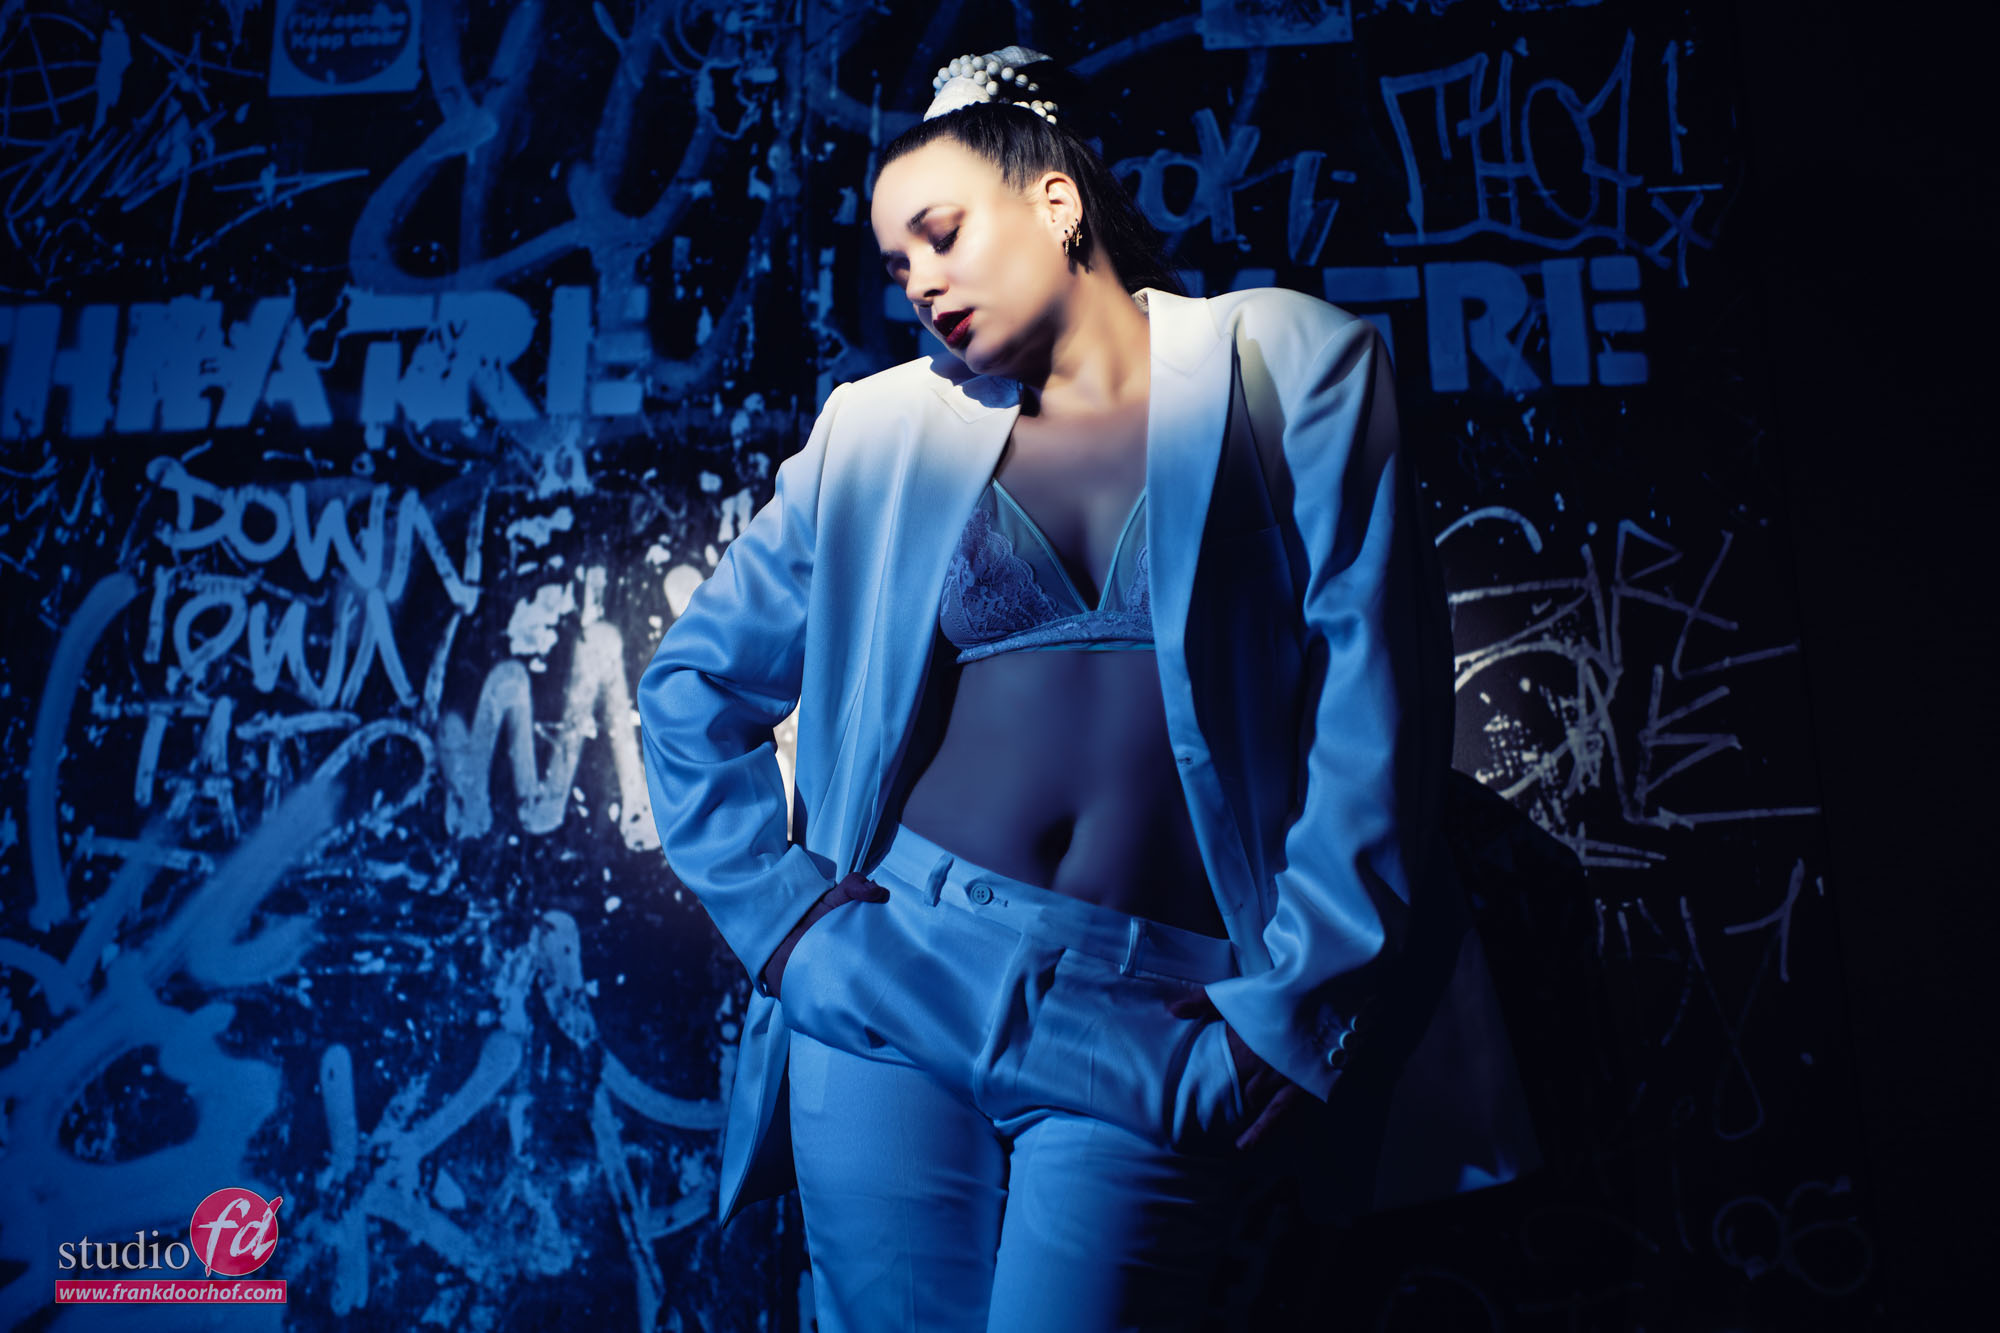
In todays blogpost some images we shot with our model/stylist and allround cool girl Nadine.
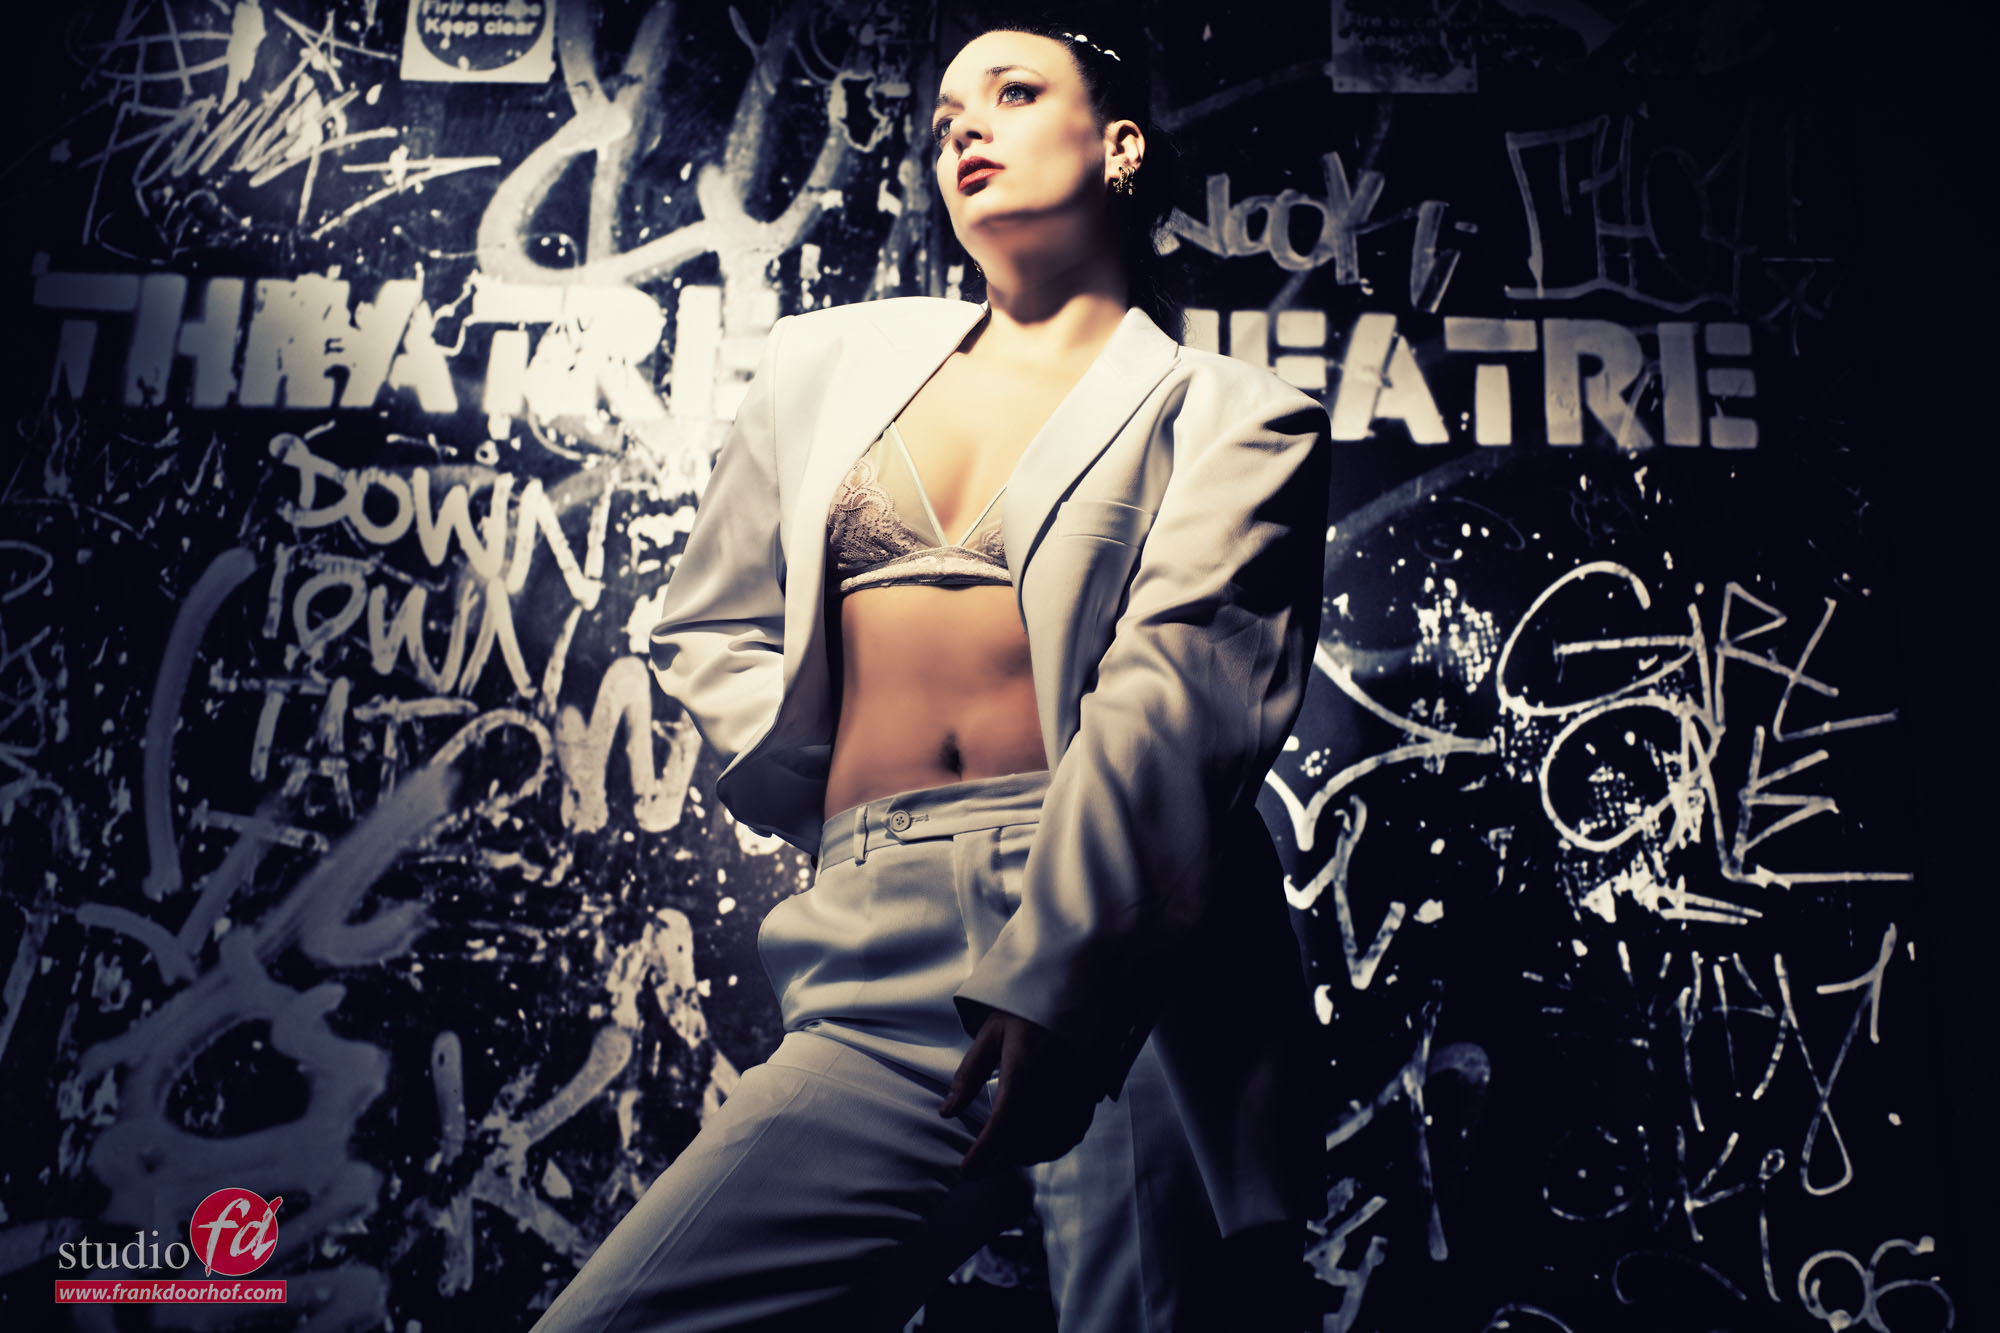
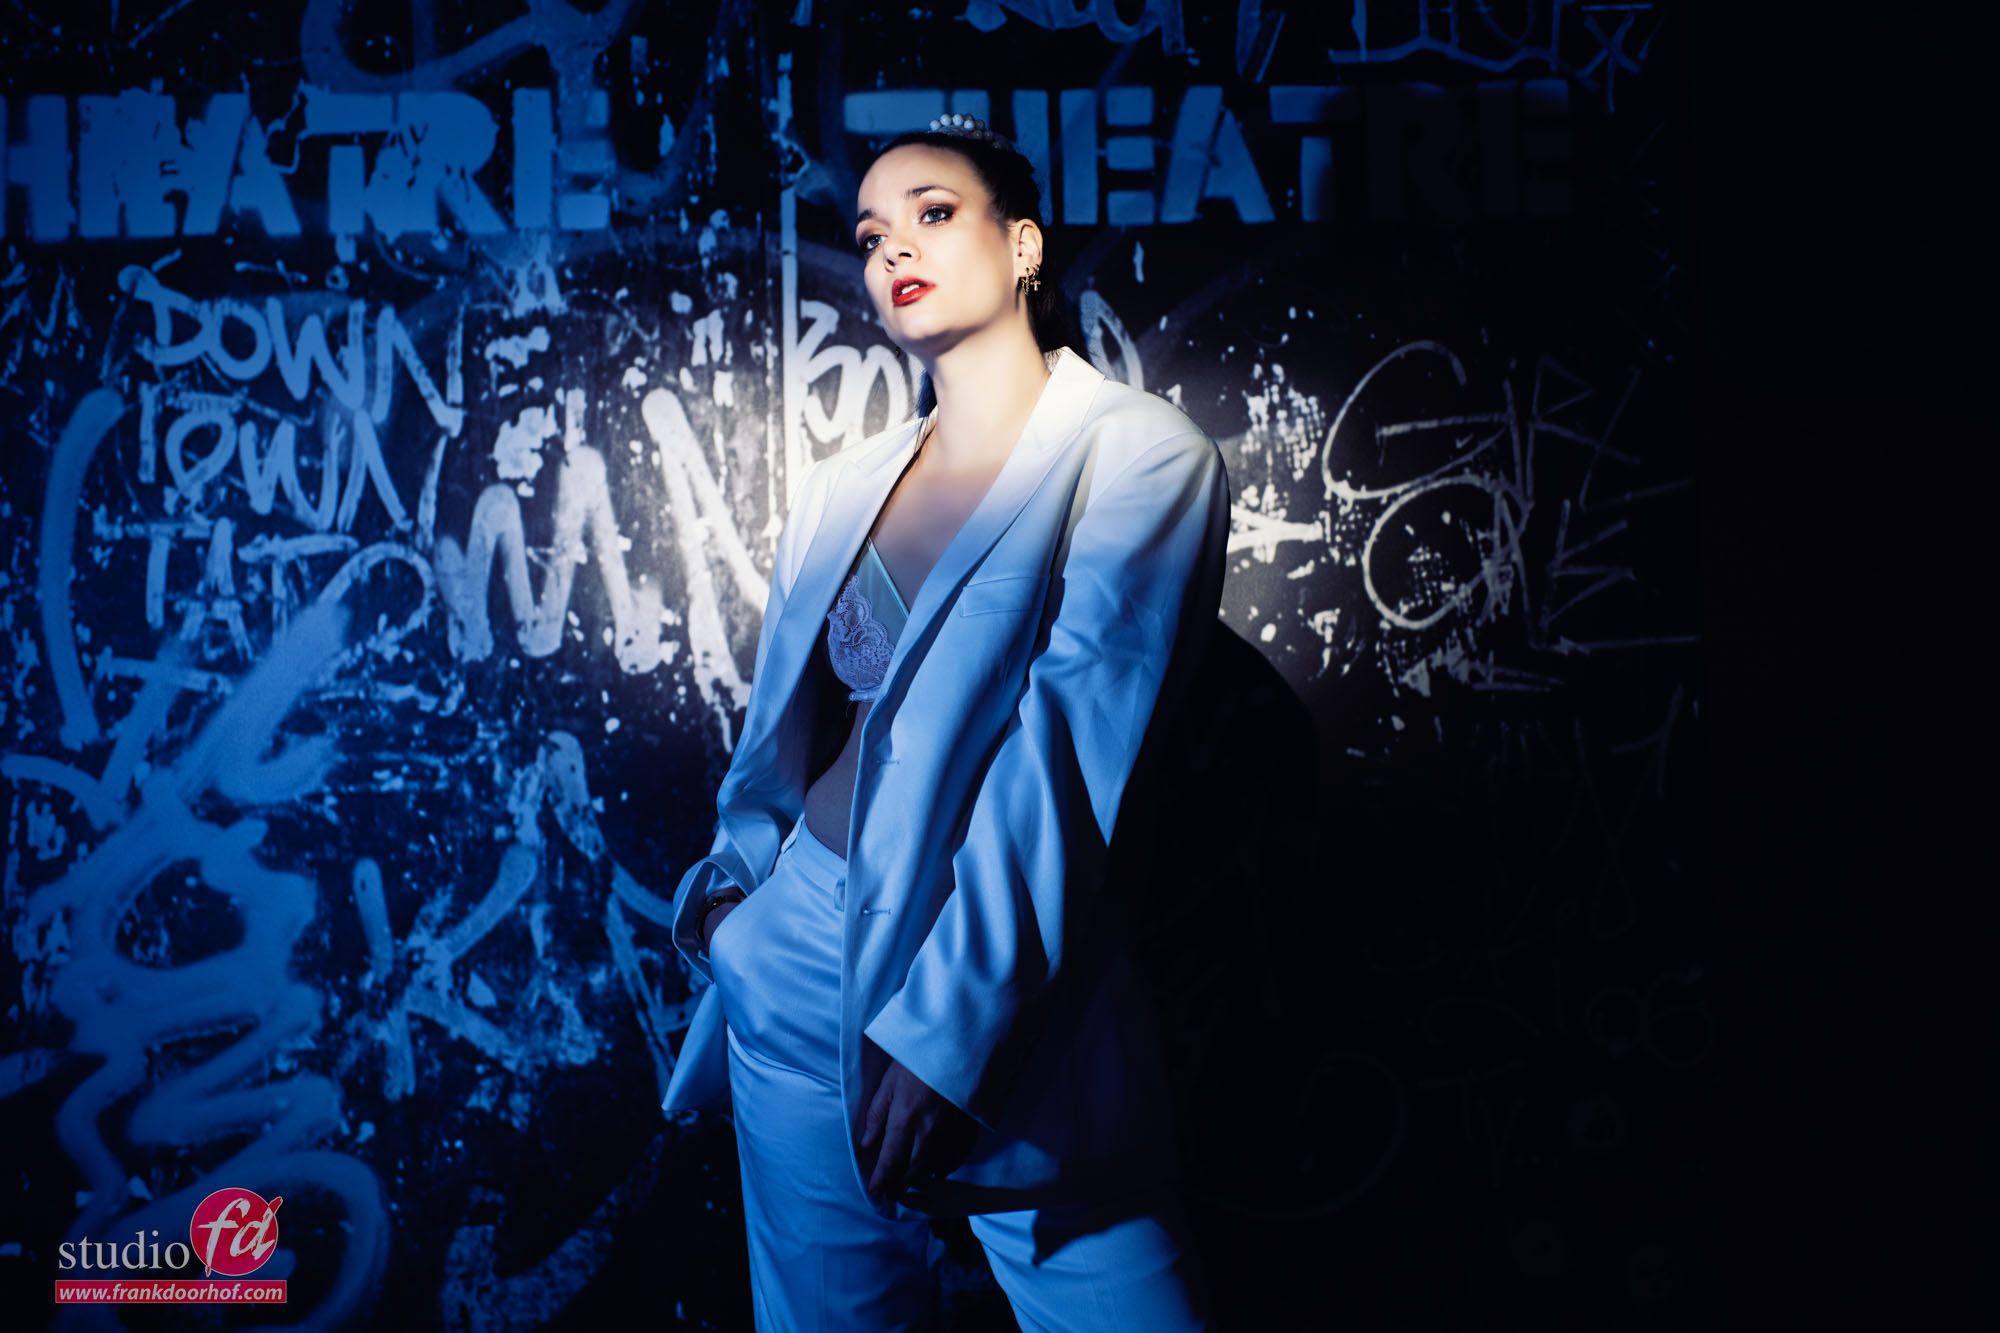
The backdrop is our Graffiti door from ClickPropsBackdrops.

I’m using our Rogue snoot here on a Nissin speedlight.
To get an extra “nasty” edge to the light I did not use a diffusion panel inside the gel holder.
You normally use this to get a more rounder “nicer” quality of light (and most of all softer), all things I didn’t want for this shoot.

So lets take a look at the images and what I changed during the set.

The first image was shot with just the snoot on a pretty wide setting.
I love the harsh quality of light in the center and the softer edges, it really gives the light a dual personality if you know what I mean. And for this setup I really liked that almost Rock and Roll lighting.

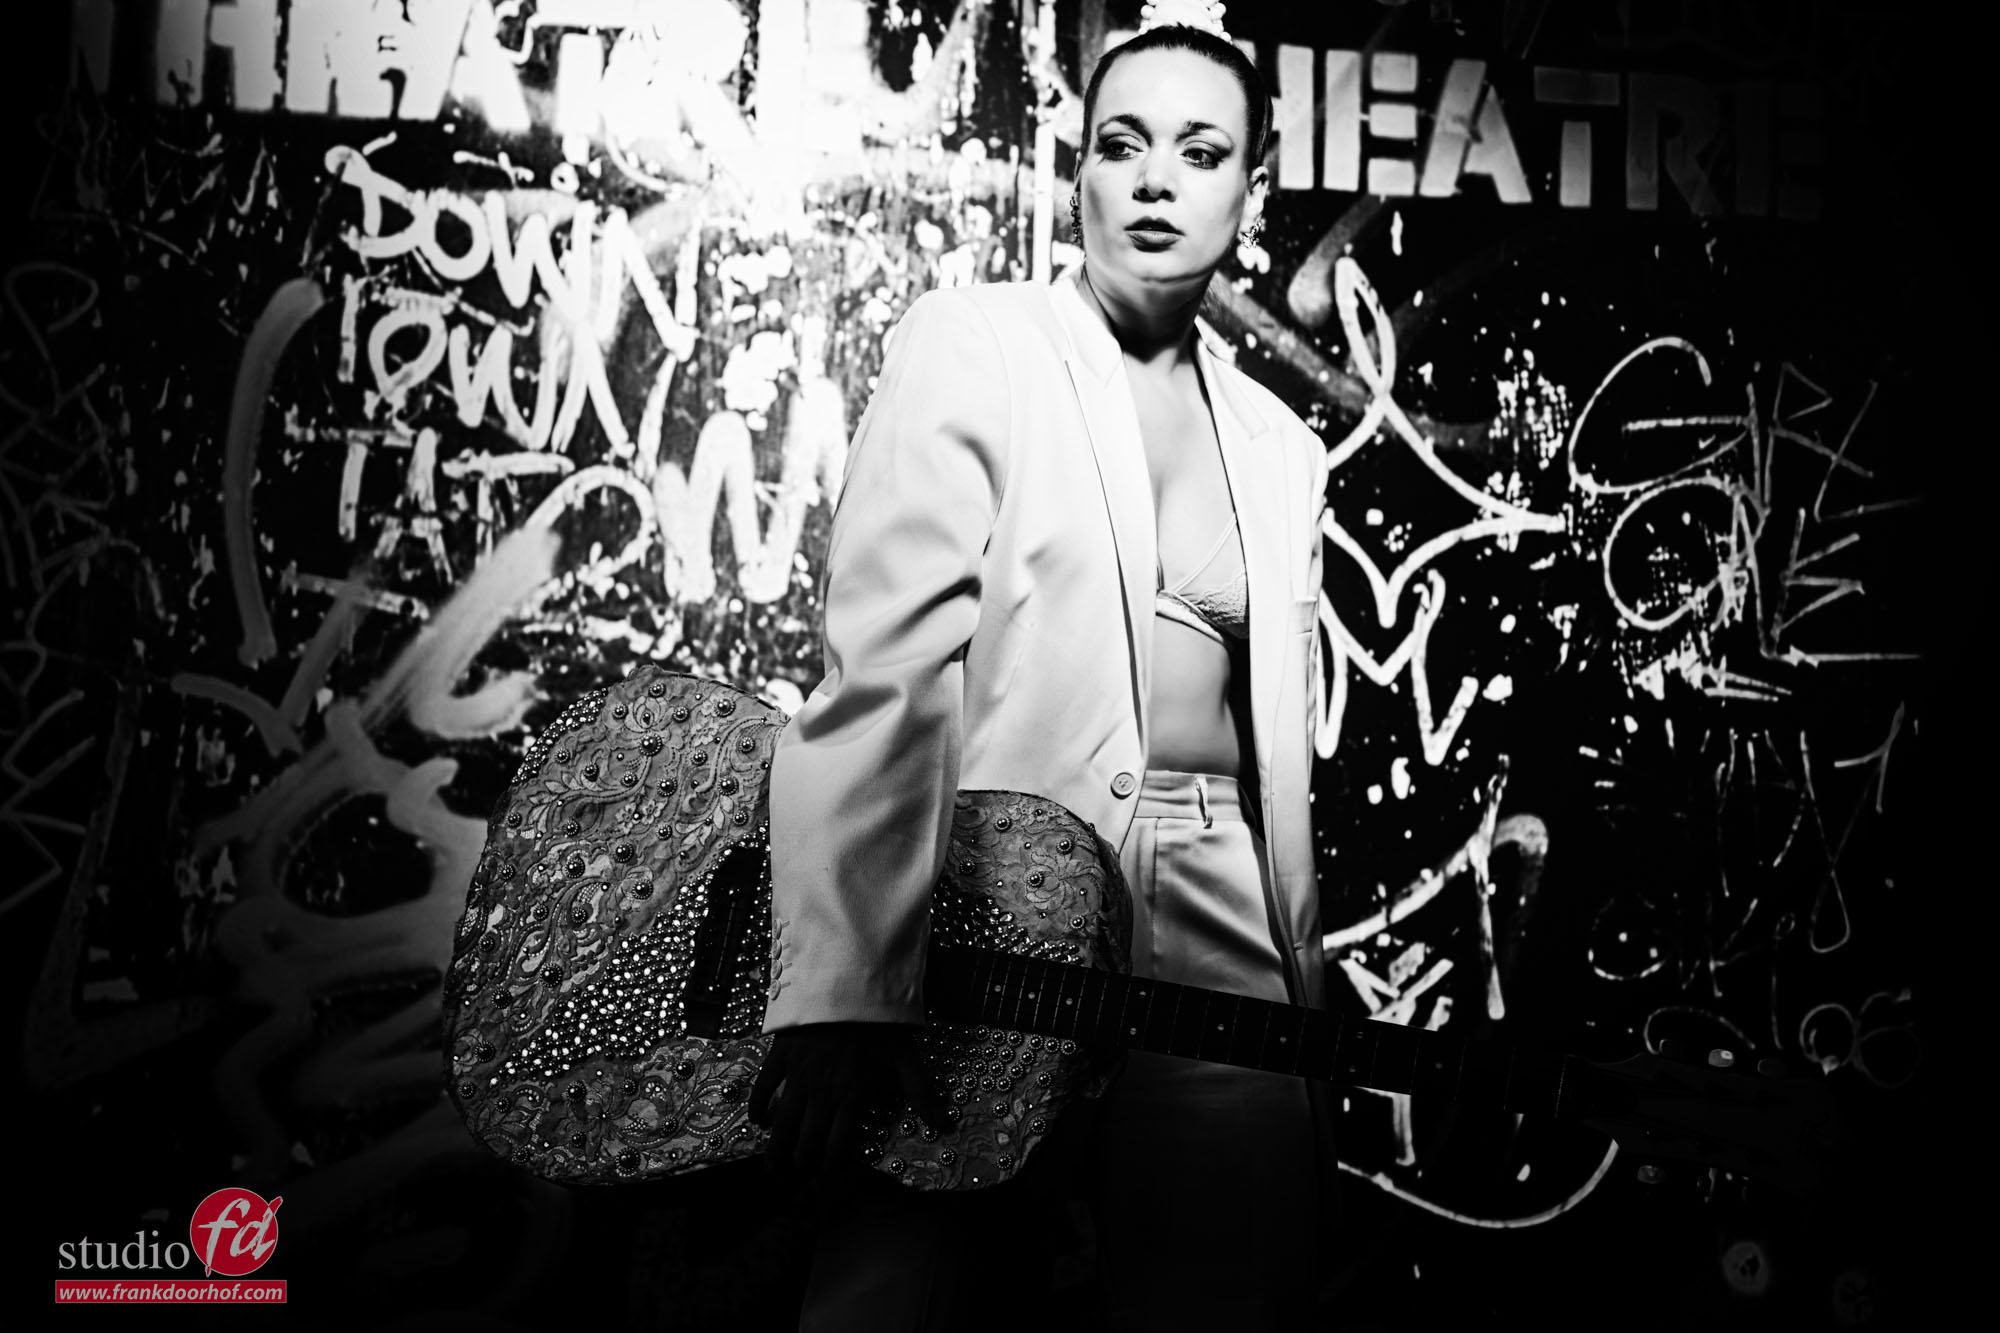
However for the next two images I decided to open up the shadows.
I’m using the omnidirectional dome from our Rogue magnetic system here with a blue gel. You just place it in the same line as your main light source and meter it a few stops below the main light.

I really love the effect.

And with Rock and Roll lighting…. we need some black and white.

And a guitar…..


The Rogue products are available via www.frankdoorhof.com/shop or at your favourite camerastore selling Rogue.

Our brand new fiberglass umbrellas

For our Dutch visitors, please also read this blogpost on our Dutch site.

Umbrellas?
Yes I know.
Often the first light shaper you get when you buy your first strobes.
And let’s be honest, the quality of those photos are not all that, Right?
So in most cases we immediately start saving up for soft boxes, but they retail for a lot more money, and when you finally have the budget to invest in soft boxes… the quality often doesn’t jump up immediately right? But it does.

Well it’s easy to explain actually.
When we buy something new, we take time to test things and figure out how to get the best out of it (we paid for it right?)
And believe it or not, often the softbox indeed gives you much better results after a few days, but does this mean that umbrellas are limited?

I would like to say the opposite.
The main reason most photographers don’t use umbrellas anymore is because we still remember the problems and results from umbrellas connected to that first period, but… we didn’t know what we know now right?

A new friend
Let’s be totally clear, I’m without a doubt in the category that didn’t really like umbrellas. But I’m also the first one that will admit he was wrong… and very wrong (well ok not that wrong).

The main thing about umbrellas is the way you use them.
When we look at the new kit from Rogue we get two different kind of umbrellas.


First we have the white one
This is a 86cm umbrella you can use as shoot through, or reflective.
This is also often the kind of umbrella that gives beginners headaches for the simple reason the light goes everywhere. But in all honesty that’s also the power of this light shaper.

This umbrella is literally awesome to light white backgrounds.
Where with other solutions there is always some hot spotting on the background, it’s also very difficult to also include the floor, let alone also give the model a slight edge light. When you place the white umbrella correctly and adjust the distance to the preferred result you could in essence light the full background evenly, the floor AND give your model a slight accent light.

The main reason the even lighting of the background becomes more and more important has connection to the new cameras that use a soft shoulder and don’t clip highlights as easily as in the past, meaning if you get a hotspot behind your subject it can literally reflect back into your camera washing out the image and most certainly destroy detail in fine details like hairs (especially with a blond model). With umbrellas you prevent this from happening.

The white umbrella gives a beautiful soft omnidirectional quality of light and is also great to use a fill in flash, especially with larger sets and situations where you simply don’t have the room for a large soft box, or where you need a wide area of a room/set covered with light. But also think about larger groups etc. omnidirectional light is always handy.

The black one
The other umbrella is the black one.
This one is used in a reflector setup and is delivered with a nice soft light sleeve that is very easy to attach and has an opening for both speedlight and larger monoheads (we use it on our Hensel Experts and speedlights).

The main thing about the black umbrella is the softness of the light when used with the sleeve, but also the spread when used without. Let me explain.
When you use a standard softbox the light is in 99% of the cases placed in the back of the softbox aimed at the front or sometimes at a diffusion panel in the middle of the box. With an umbrella (and a little bit on a beauty dish) you don’t work with direct light, but actually with reflected light, and this means you get a MUCH nicer and more even light output. Meaning softer light from a MUCH smaller (in depth) light shaper.

The other thing I really like about the black umbrella is that you can opt for both the super soft quality of light with the sleeve, but also for a much harsher quality without the sleeve, making it one of the most versatile light shapers I actually have in our studio. Well ok the Westcott Lindsay Adler projector takes that spot but that’s something completely different 😀 (and more expensive).

The black umbrella I use a lot for fill in flash where I want a beautiful soft quality of light but don’t want the light hitting the rest of the set. Often I place this light 2-3 stops under the main light for an effect you just can’t do in post processing without adding loads of noise and detail loss.

Take for example this setup.

As you can see a very nice “dark” setup with loads of mood and atmosphere.
Normally I would use a large 1.20 softbox (800 euros) for this, first of all it takes up a lot of space (can’t take it with me on location) and it’s expensive for just fill in. With the black umbrella I took of the sleeve and added a small reflector to really focus my fill in light.

By the way that’s also something I love about umbrellas, they look so simple but you can change the rod distance, add sleeves, shoot through or reflect AND use other light shapers to really change the total look of the shot. How about for example using a grid inside the reflector… have to try that soon 😀

But you can also use the black umbrella for something else.
How about placing it above our model and aim it so the model is lit and the background. Add some Black diffusion filter on your lens (KF concept black diffusion filter 1/4 in this shot) and you get some interesting results from just one strobe.

Of course our cool ClickPropsBackdrops background also helps 😀
Ok, lets take a look at the disadvantages and advantages.

Disadvantages
I have to be honest I’ve been thinking about this a lot. So I decided to do it differently.
The main disadvantages of the umbrellas are often two fold.

First there is the control of light
especially when you start out you simply don’t have the proper knowledge to really use the umbrellas to their full potential. The setup can be quite difficult, not because it is difficult but because a small adjustment can give you a huge difference, in the past I would label this as hard to setup, but now that I’m a lot further in my journey I actually call it “mind boggling opportunities for many different looks”.

This about changing the distance of the light source itself, maybe making it leak on the sides on purpose, or using a reflector with or without grid, how about…. and….. you got it, you have to be able to use it to it’s max potential to really see the benefits. But when you do it will beat probably almost any light shaper you have for broad light, because let’s be clear, an umbrella is not a snoot, but it can easily replace most softboxes. So this argument I think is mostly experience and understanding of light.

The second one is a big one, construction
And this is a big one.
Most umbrellas I used in the past were easily broken or bend making them unusable in a few weeks/months of use. And although they are cheap I never really ordered new ones and just replaced them with using softboxes. The main advantage of these new Rogue umbrellas is that they are not only compact without sacrificing use cases, but their base is made from fiberglass, and that’s a BIG thing, these umbrellas will last a long time, and for lightshapers that are great on location (and in the studio) it means they get a bit more abuse than a softbox that is only used in the studio, so a sturdy construction (and a handy carrying bag) are I think essential.

To be honest this is about it, from what I can think off.
You could add wind on location, but that also goes for softboxes, and an umbrella with a sleeve is less prone for wind problems than without of course, so I would not really add this to umbrella specific.

Advantages
Ok, are you sitting down?

Price
The price of the whole kit is in Europe around 100 euros. Which gives you the white and black umbrellas, a sleeve for the black one PLUS a carrying bag, you do wonder how anyone can afford NOT to have one, right?

Usability
You name it, and you can probably light it with an umbrella.
White backgrounds.. no problem (saves on background reflectors which can’t be used for anything else)
Beauty portraits… no problem
Fill in light…. absolutely awesome
Full bodies, portraits, whole sets, the umbrella can do it all.
But most of all it fits on every brand and both speedlights and monoheads (studio strobes) but even on led lights you can place umbrellas.

Space
This is perhaps the biggest one.
Get large softbox quality in a very tight space. Especially on location, but also in the studio, I often fight with the space to fit all my lights in there. I often demo on trade shows where I only have a space of perhaps 3×4 meters which is really really tight if you also have to place your lights. So often I will bring one striplight and some reflectors or a beautydish, but add an umbrella to your kit and you can also use super soft light in tight spaces.

Conclusion
I never really looked at umbrellas the last few years, sometimes when I needed one I would pick one from storage to find out a rod was broken or it wouldn’t open nicely because something was bend, meaning most of the cases I would just not use it and grab my softbox again (safe and it worked). The new Rogue umbrellas forced me to look seriously at umbrellas again and I totally fell in love with it. It really fits my way of photography where I love to experiment with modifiers and don’t really like the one trick pony light shapers. And the umbrella is far from a one trick pony.

The umbrellas are now available via our webshop in the Benelux, or via our supported dealers.
More info on rogueflash.nl for Dutch customers and www.rogueflash.com for international customers.
I HIGHLY recommend picking up one kit and an extra white umbrella to be able to do almost anything you encounter.

See our live stream where I introduced the umbrellas via our Digital Classroom series.
This was the first time I really used them, and it’s live… so you really see me experimenting with them and finding new use cases.

But there is more, so lets take a look at some samples.
With smoke I always love the wrap around effect on my model, but I also want to see the detail in the smoke and a bit of light on the background, normally this means a 3 light setup. With proper placing the black umbrella we did it with one during a workshop smoke.

Here another setup with the umbrella and one accent light for the lens flare.
Normally I would use a softbox as mainlight. Now in this case we have plenty of room, but look at the space the umbrella needs and compare that to an average 1.20 softbox, I think it’s easily to see the huge advantages of using an umbrella 😀


And let’s add some more images I shot with the umbrellas.