Awesome fashion shots with a complete set on a roll
Fashion shots with Nadine
One of the things I absolutely love are the fashion shots they did in the ’60s-’70s. In today’s blog post, I used that era as inspiration for a more modern “Frank” approach 😀
So continue ready how I made these awesome fashion shots with our model/stylist Nadine.
In today’s blog post, we talk about posing, lighting, and backgrounds.
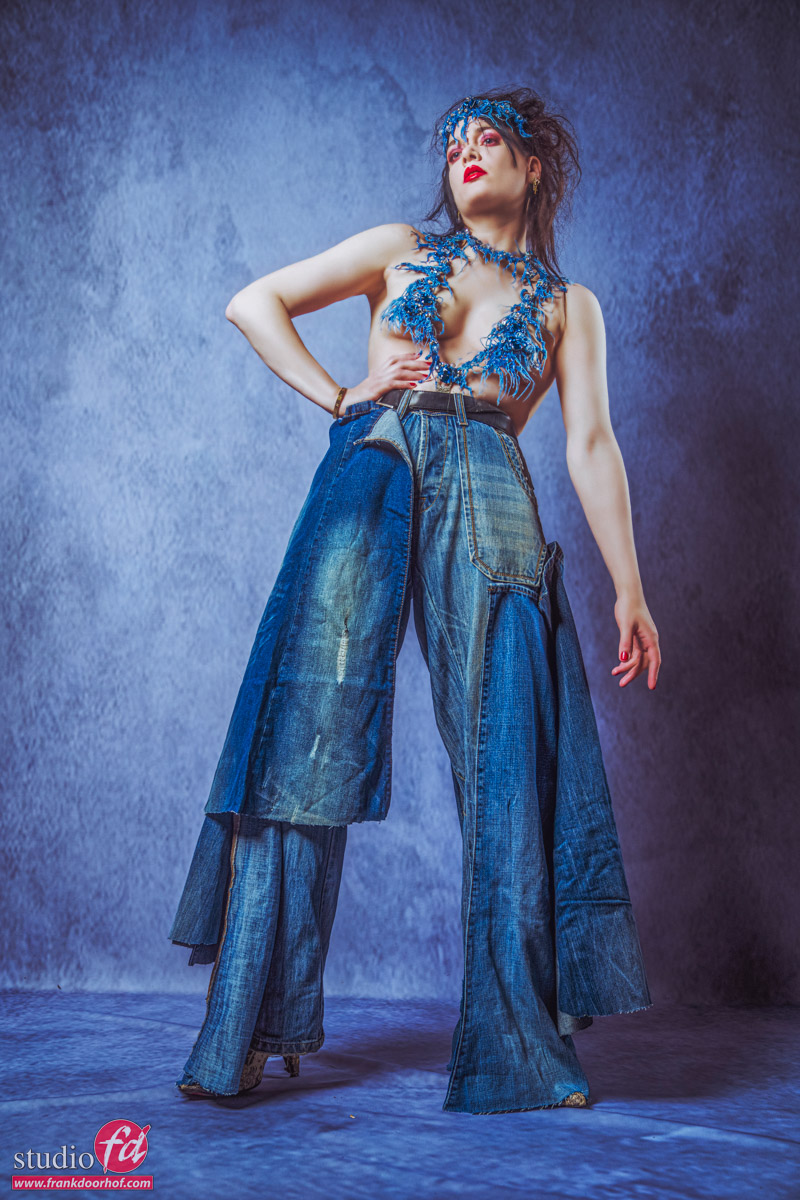
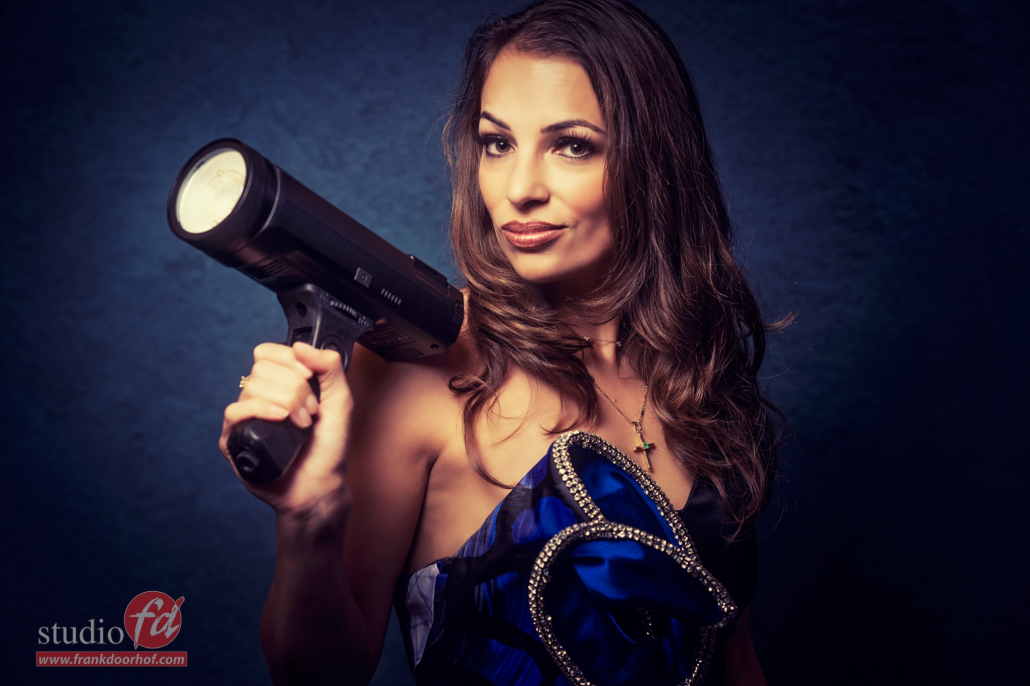
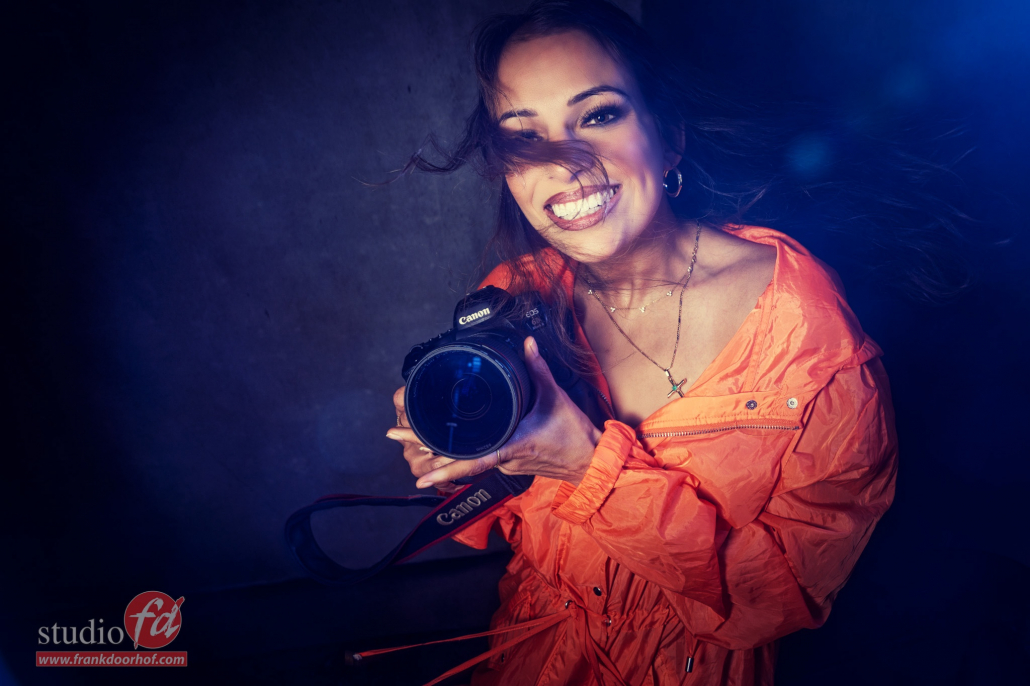
I’m using our Geekoto GT400 flash unit with a Geekoto 48″ softbox without the grid. You could add a striplight from the other side to give a little bit of accent light.
During the workshop/assignment, I often shoot both ways because they can both give a totally different look and feel. Sometimes the client (or myself) likes the accent light more with certain poses and clothing. And sometimes the basic setup works best. If you want to go really “crazy” you can even add some gels to the set. But today we kept it more basic and as you can see the striplight just opens up the shadows a bit on one shot and gives a little bit of accent on the other. On the Geekoto commander, I can quickly change the settings of my strobes.
My main light I will normally not change, but accent lights I often adjust during the shoot.
Because I’m shooting tethered I can clearly see the effects of the setup and this also means I can more easily adjust my lights on the fly. Especially for the accent lights shooting tethered makes it possible to quickly adjust the lights to fit the poses and mood without leaving my spot 😀
Styling
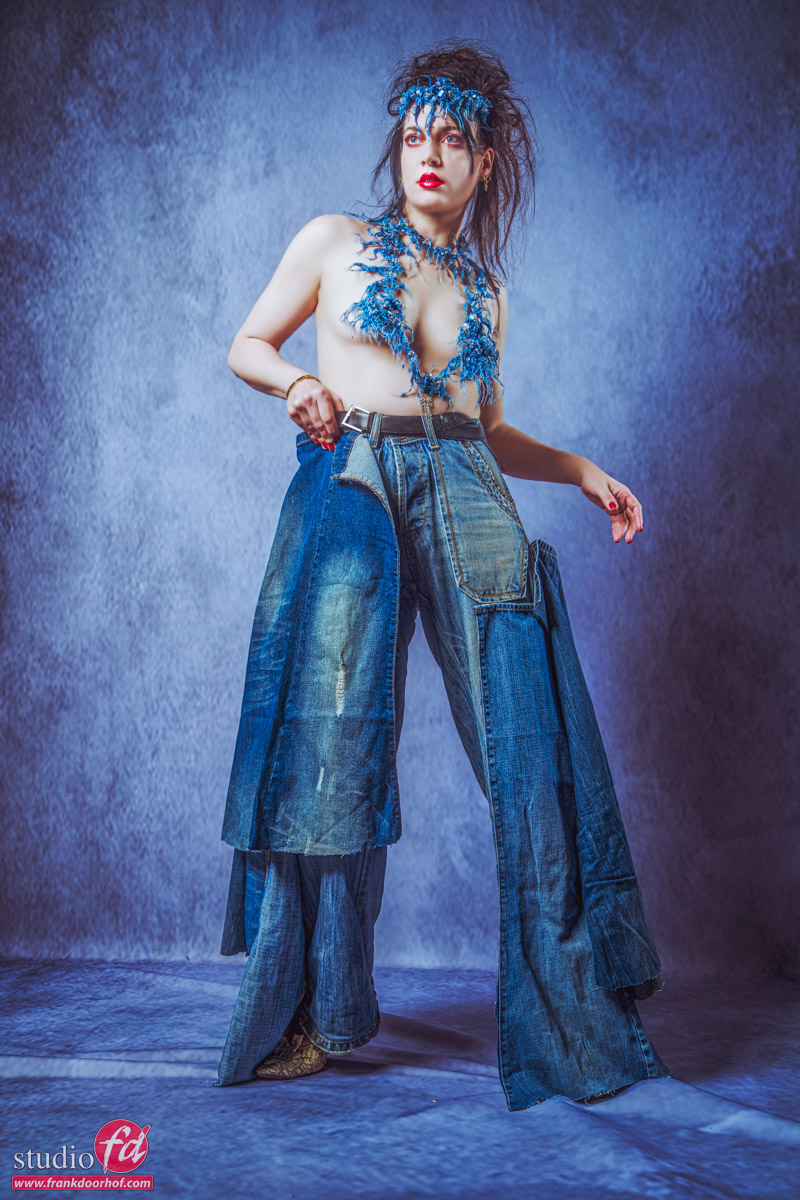
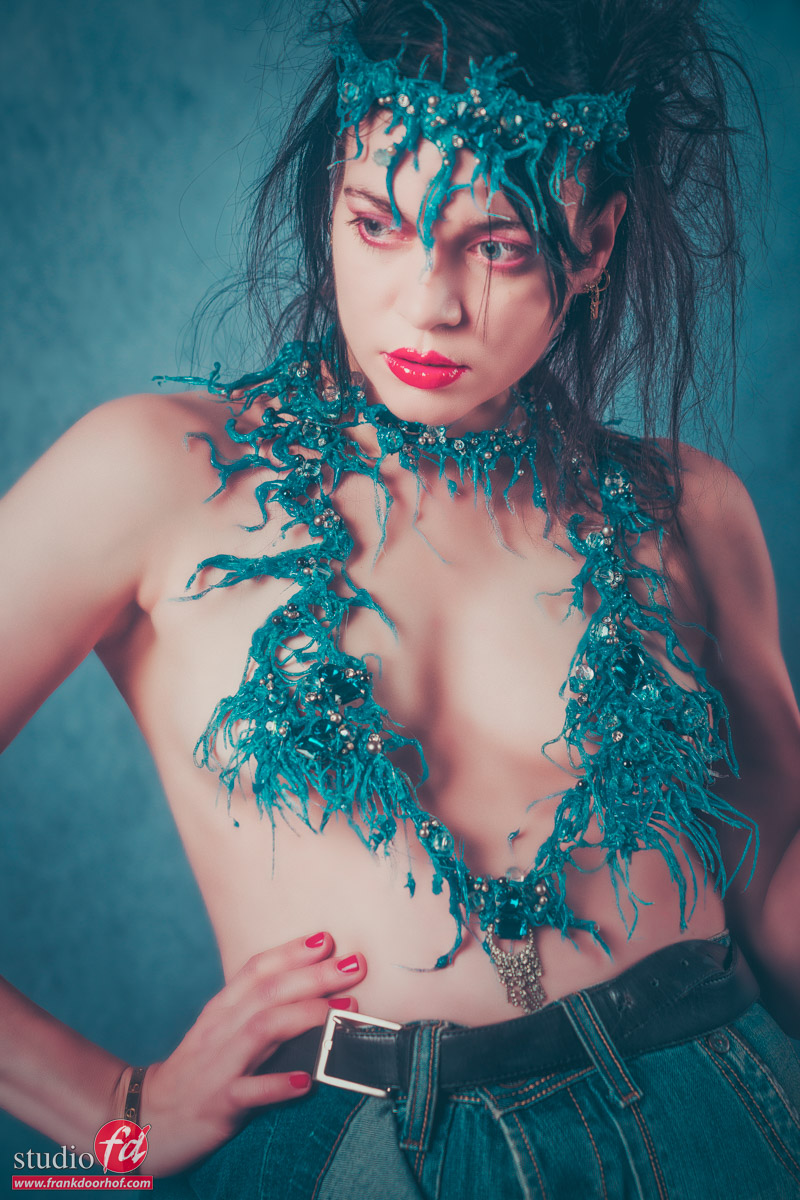
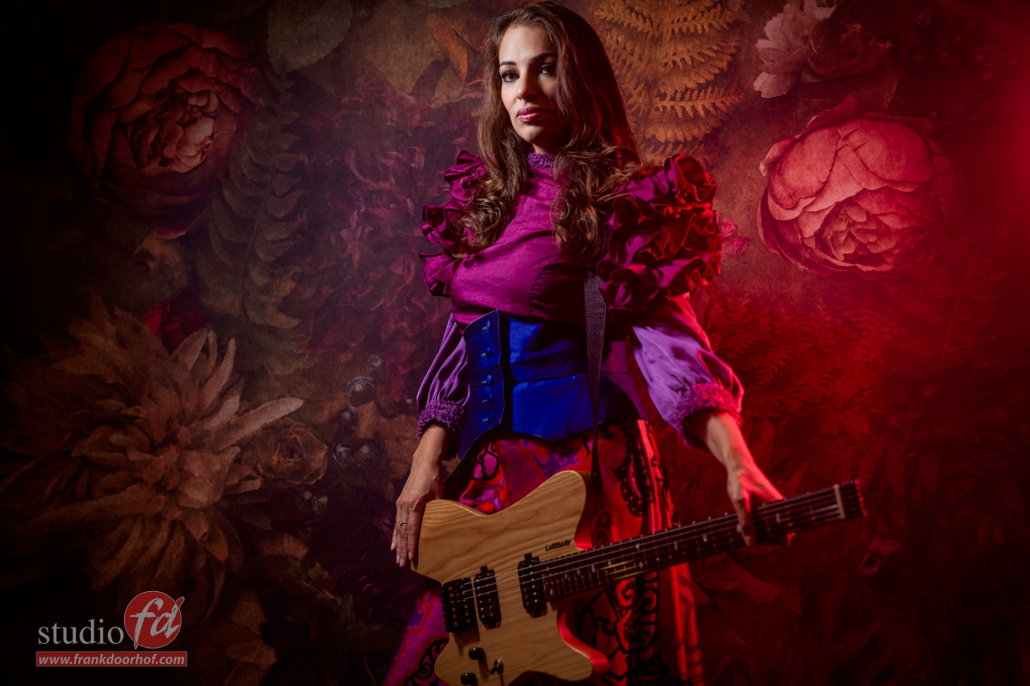
Nadine did the styling for this set herself (as usual). She made the top with diamonds and glue. and sew a lot of jeans together.
We wanted some more unusual poses, and for me, it’s important that the model will find her/his own poses and “flow” through them. So I will often just coach which way to look or turn. But try to let the model find the poses her/himself. This way you prevent falling into the same poses over and over, plus it will just look way more natural.
Let’s take a look at some shots and then I’ll explain a bit more about the background and setup.

Backdrop
As you can see on the images I’m using a special background.
In a short time, this has become one of my absolute favorite backgrounds.
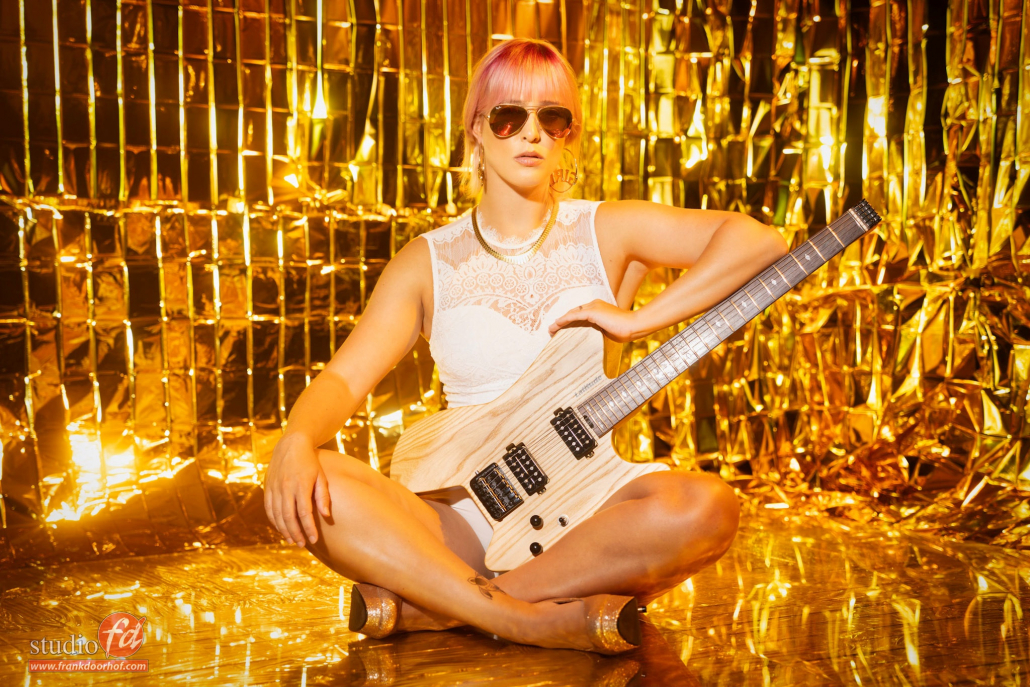
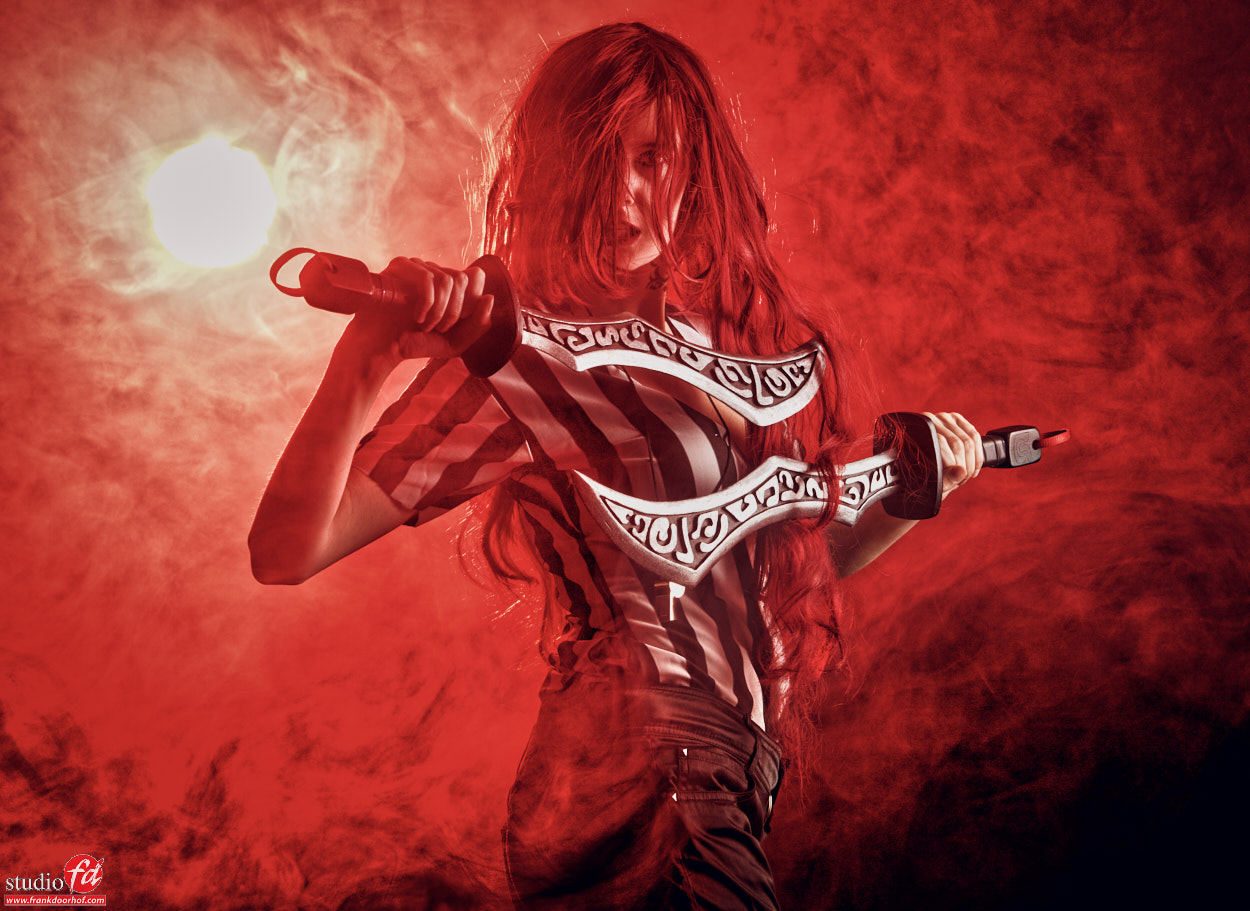
In this shoot I’m using the Click Backdrops Soft master grey background in the larger size pro fabric, this means it’s possible to use it as both the background and floor part. With this material, it’s also very easy to use tinting or gels and still get a very nice-looking effect in the background/floor. Here I’m using a slight (well okey slightly more than slight) blue tinting.
Motion
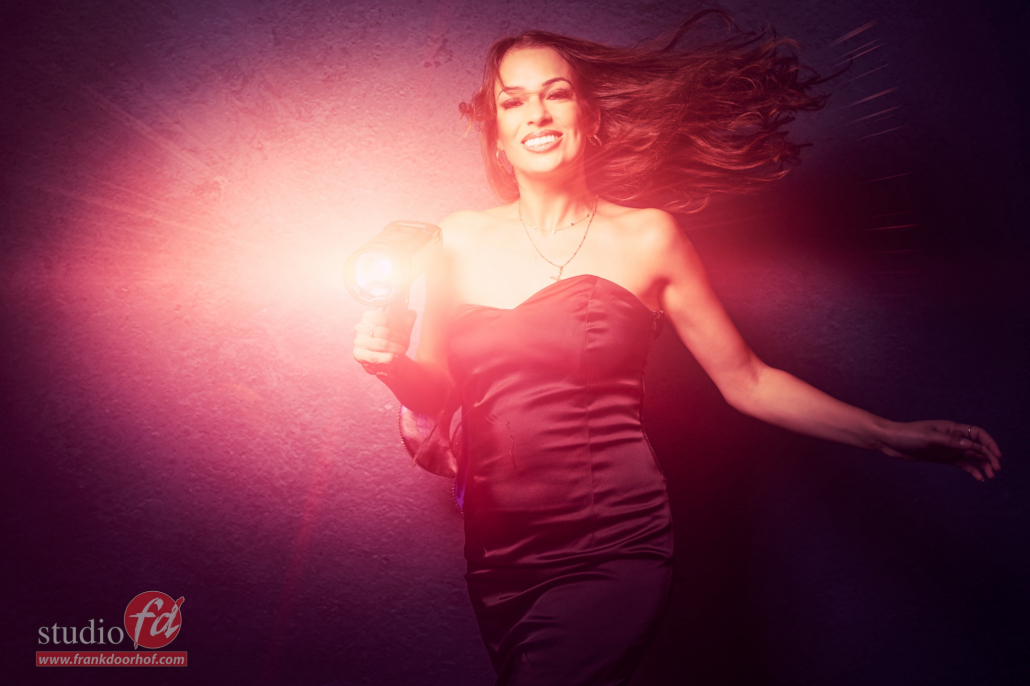
Now when we shoot images like this I also want a little bit of motion in the shot.
Motion doesn’t always mean models have to go crazy or leave orbit. You can add a little bit of motion by just raising a leg and slightly standing on her toes. Always remember that the model should point the toes downwards, otherwise, it looks really bad.
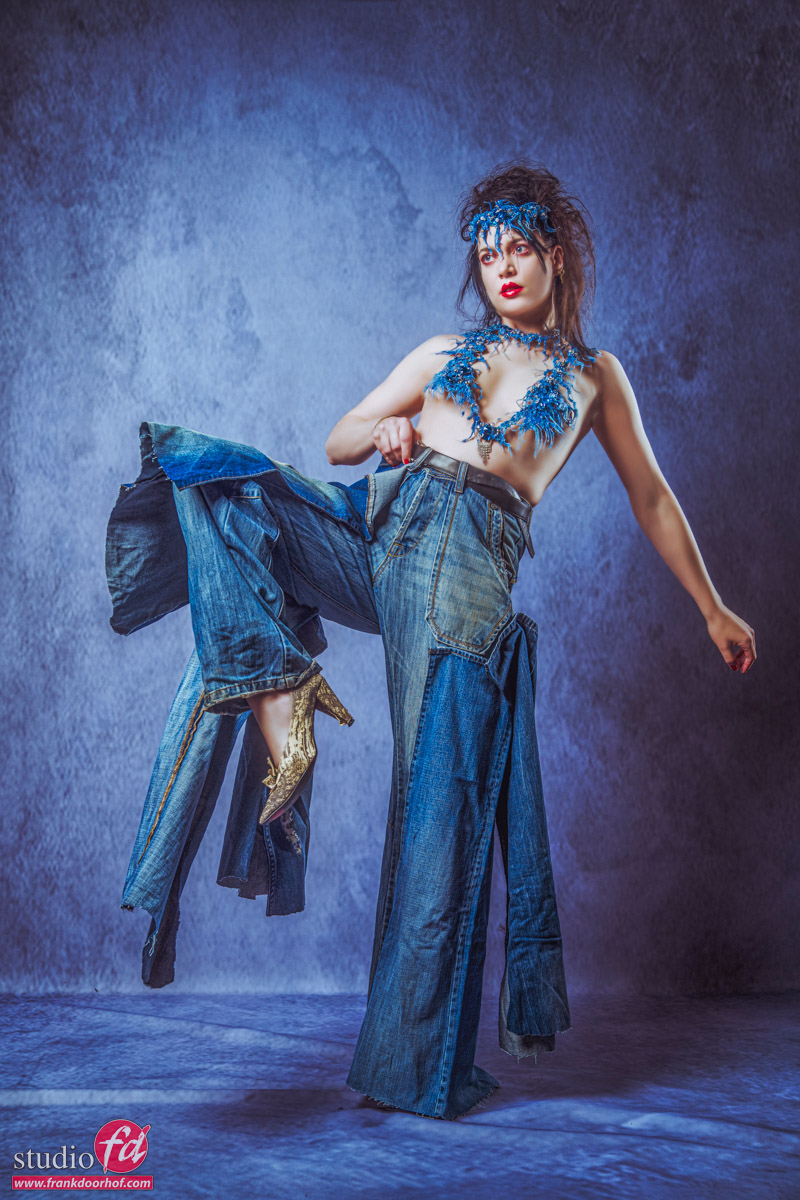
As you can see, just adding that little bit of “action” really enhances the shot.
It doesn’t mean the others are bad, they are just different. And again, you will sell more and get more clients when you offer variety in your work.
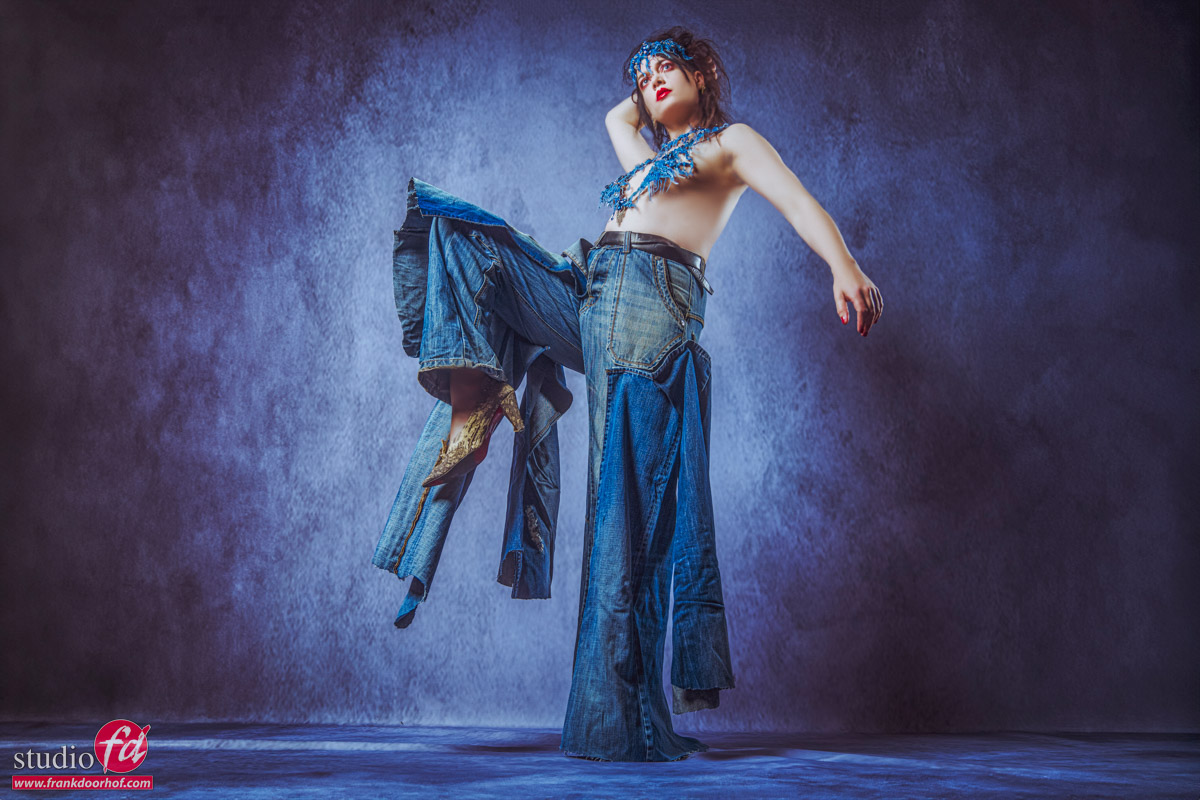
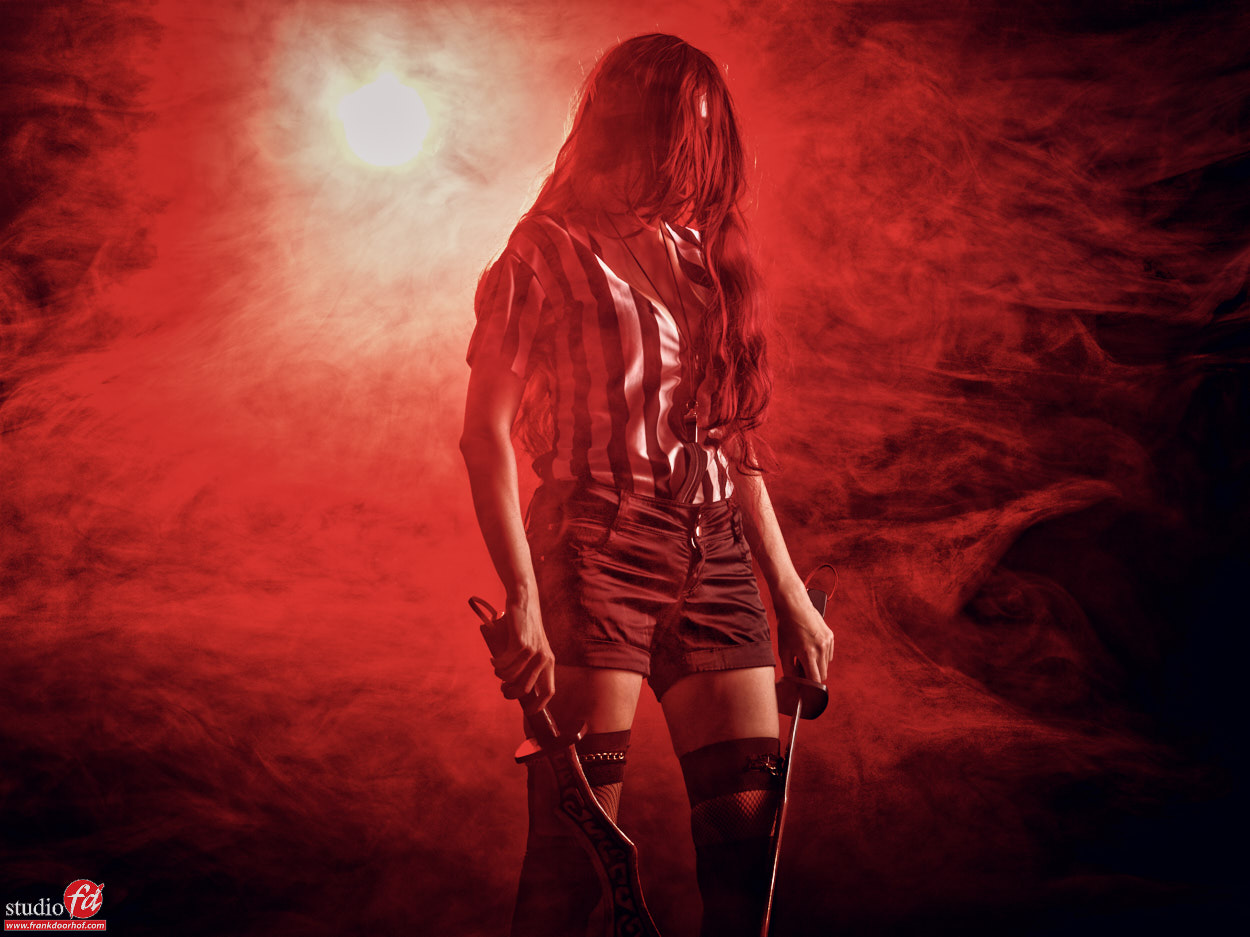
Angles
Most shots you’ve seen now have been done from a relative “standard” position.
However, when you want to enhance the action a bit it can really help to get a little bit closer to the model and shoot from a slightly lower angle with a slightly wider lens. This is one of the reasons I love to use the 24-79 F2.8 Gmaster from Sony.
As you can see the result is pretty amazing.
 Phot
Phot
Photoshop for awesome fashion shots
I’ve used generative fill in Photoshop to fill in the sides.
By the way, did you know you now also find generative fill on the iPad in Photoshop?
And it works just as well for most things, which makes the iPad another step towards a real pro device.
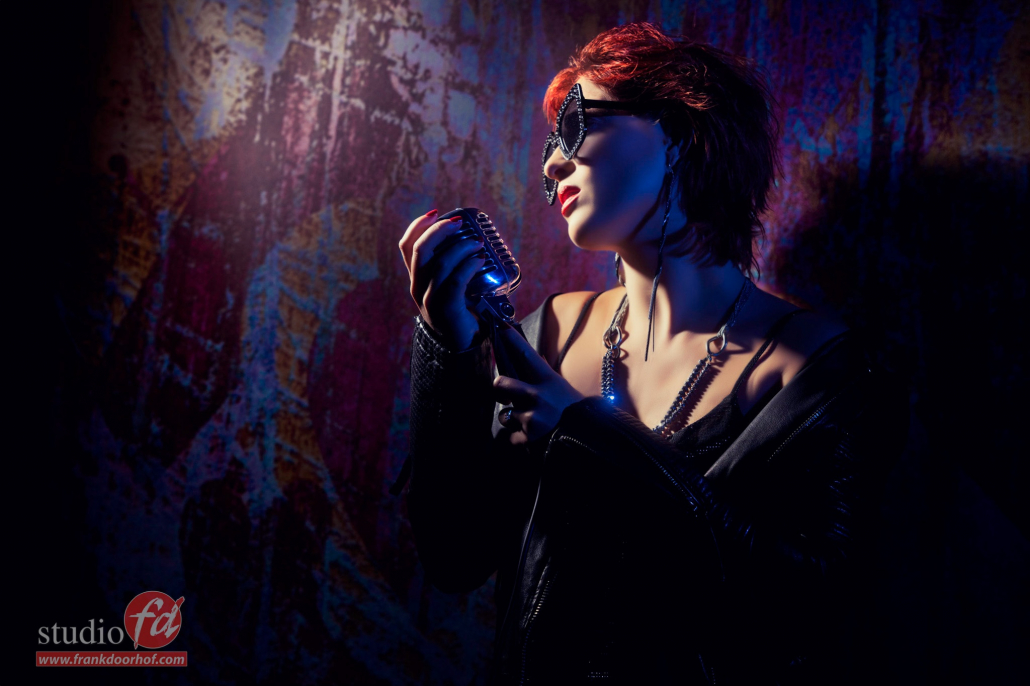
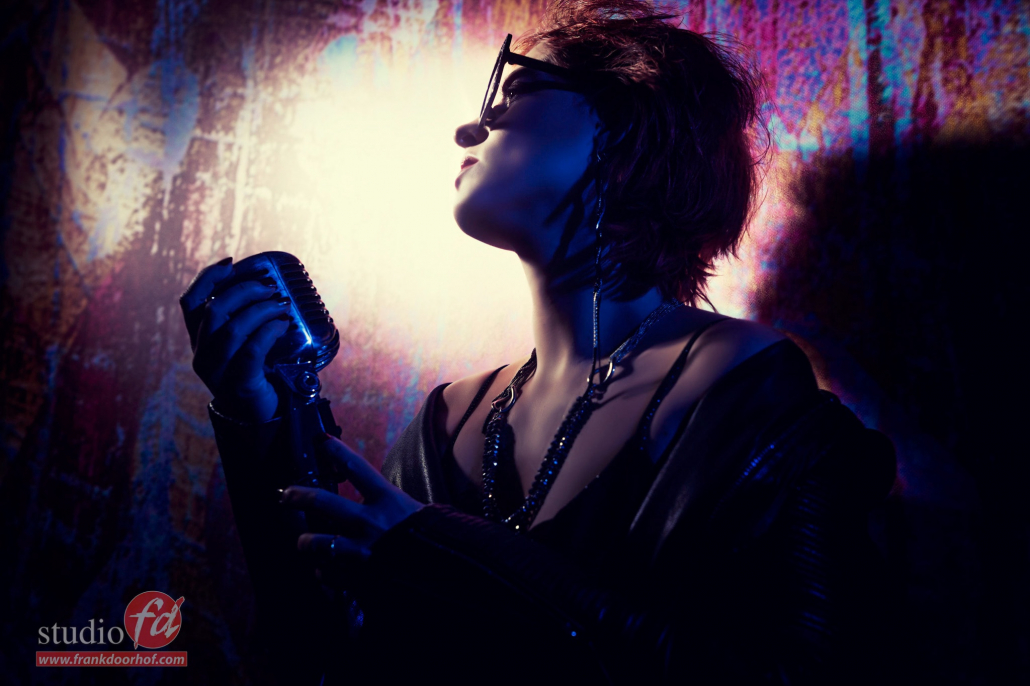
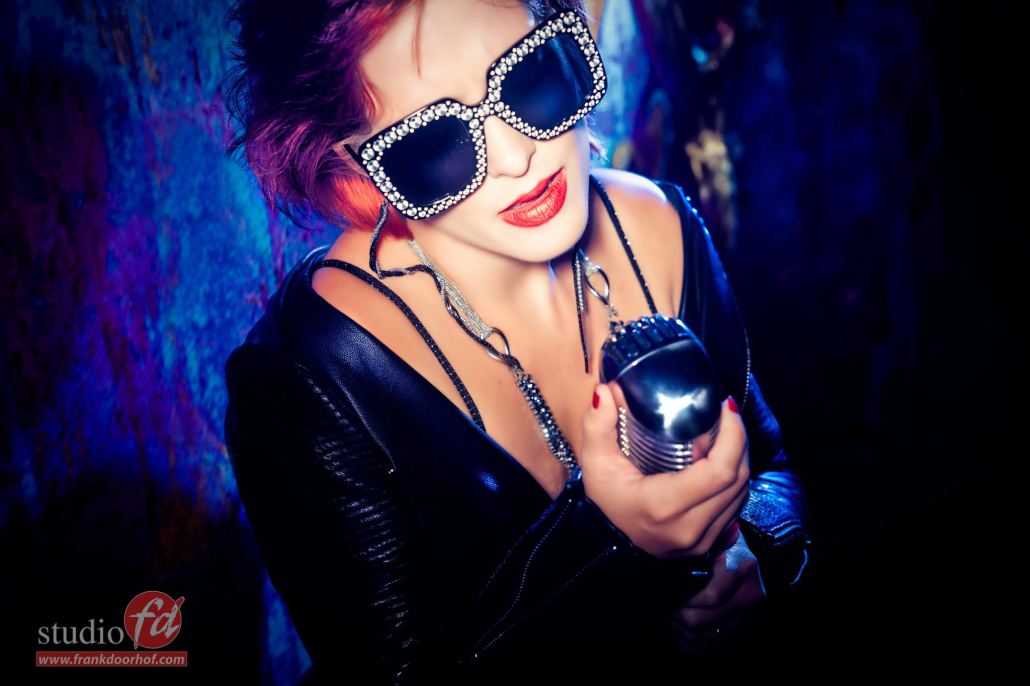
Close up
Anyway, let’s continue.
Full body shots are great of course, but never forget to also get some close-ups.
Here I’m using a different tinting, but it’s the same setup.
If you have any questions feel free to reach out.
We really appreciate a share on social media.
Check out the short I made
Adding some color to totally change the look and feel, also with Nadine
See how I used the Soft Master Grey backdrop with Claudia


You must be logged in to post a comment.