It became creepy really fast
It was meant as a Christmas card
But I think when you see the end result you will agree that it’s not perfect for that.
During the workshops some of the sets are “fixed”, but most of the sets can be changed on the spot, and to be honest one of the coolest things for me about the workshops is when the attendees are getting creative. The original idea was our model Felisa on the chair with some nice Christmas lights around her, smiling and being nice and cozy. Well that didn’t happen.
According to the attendees it was much more fun to tie Felisa to the chair in the style of “home alone”, well at least we had that Christmas time captured right 😀
But as a horror fan and because this was shot during the “alternative light” workshop choosing a large softbox to light the whole set was out of the question. During this workshop we are allowed to use ledtubes, but the idea is to use light sources that are not designed for photography.
In this case we did need to light up Felisa’s face.
It would have been easy to use a snoot and for a example a Lume cube, but I wanted something more creative.
So we opted for a small flashlight, the problem was that the flashlight spread out way too much, so just take a piece of cardboard and cut a small stripe in it and use it to focus the light,
The Christmas lights are cool, but they don’t emit a lot of light, so top open up the shadows I’m using a larger Nanlite ledtube set on blue to open up the shadows and just add some extra mood to the shot. You could use a blue gel on a lightbulb but this was easier 😀
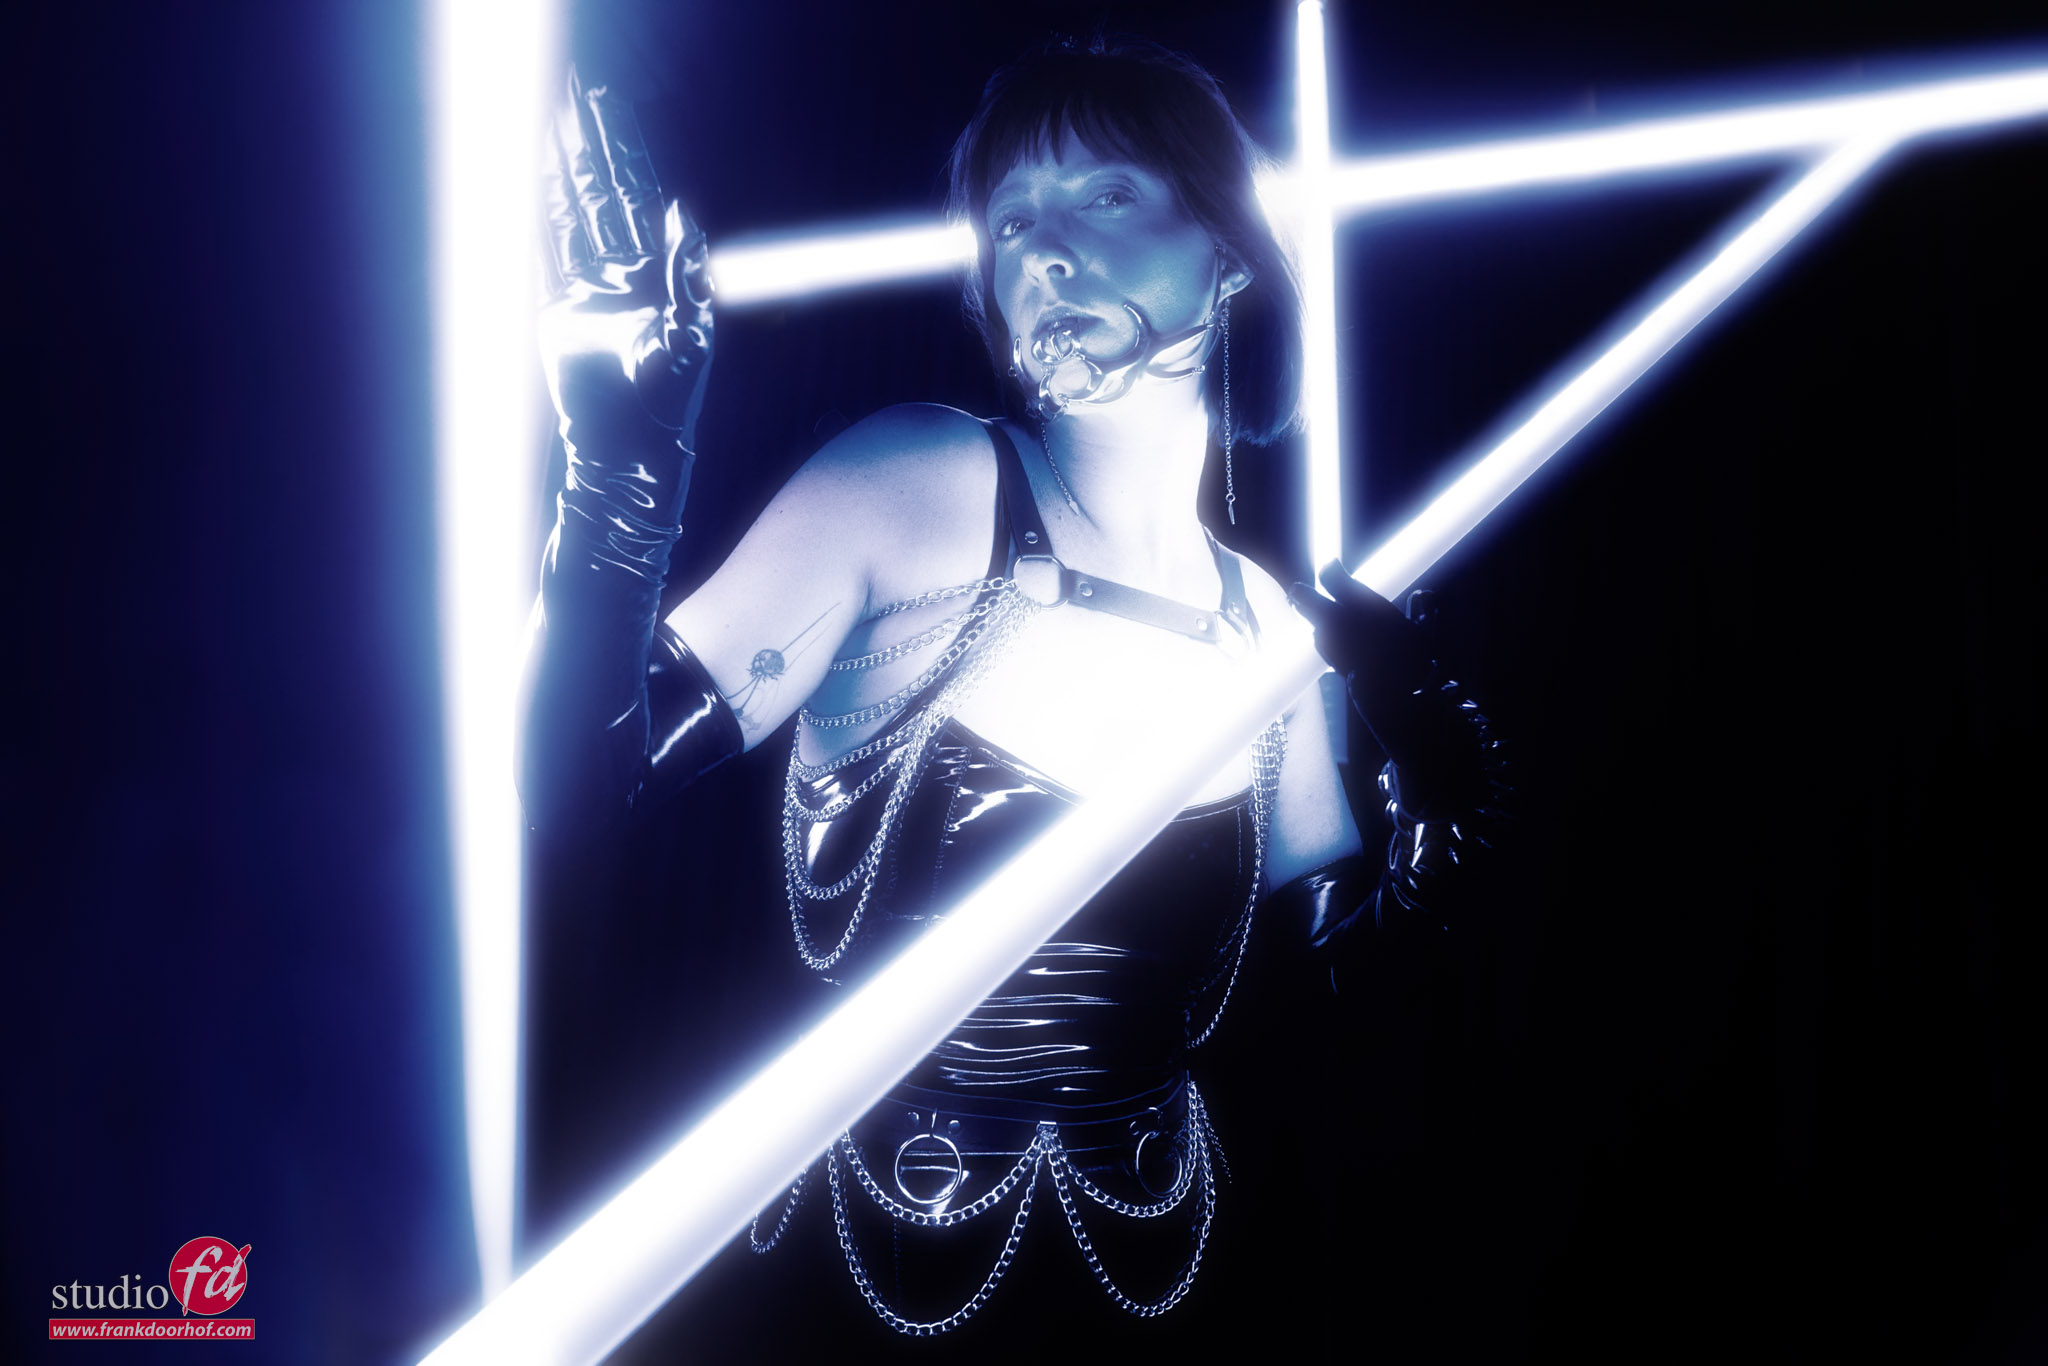
Let’s take a look at how it looks as the first setup.
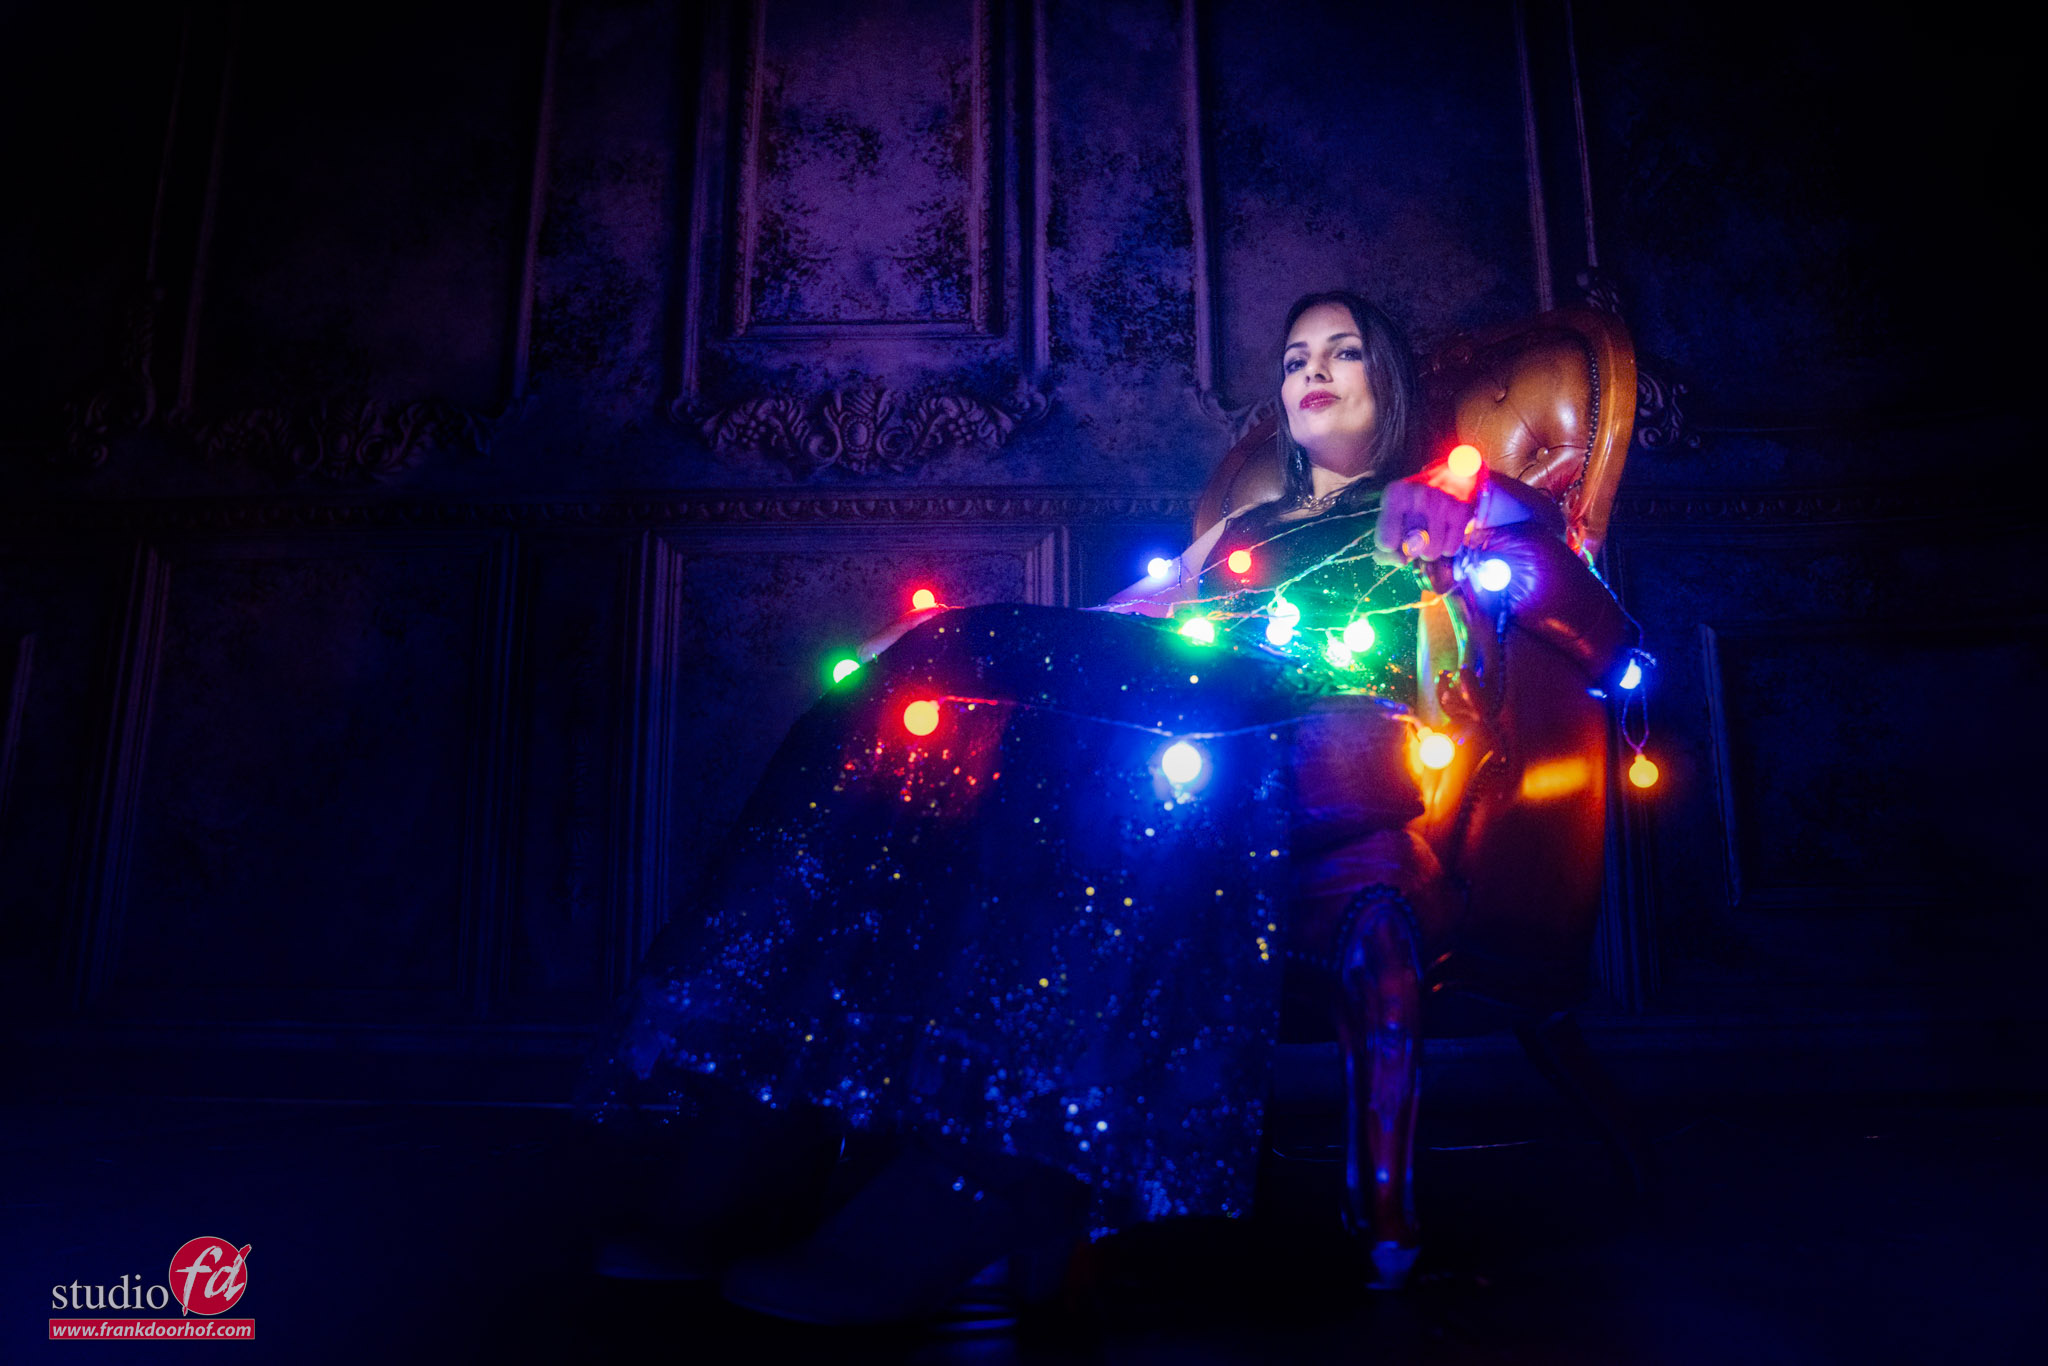
Not bad at all
But what would happen if we add some smoke.
Well the problem is that with a setup like this the smoke will hardly show up, we need some extra light.
And this is where you’re sometimes very lucky.
In the next image you see what happened when we turned on the studio lighting, two spots that we normally have on during the workshops, but turn off when working with continuous lighting because they are pretty bright.

MUCH better
But, at this moment the flashlight was losing some power as you can see in the face, but I still love it and it gave me a bit of an Addams Family vibe.
And that’s the moment I thought “let’s have an exorcism”, and Felisa can scream, so let’s add some extra drama.
Of course we needed some extra effects, so why not use a smoke machine that can blow bubbles that explode when they hit the model.
Now in all honesty, this could have been a lot better, but during a workshop I’m limited in time, sometimes this is frustrating like with images like this, but I still think we got a cool end result.

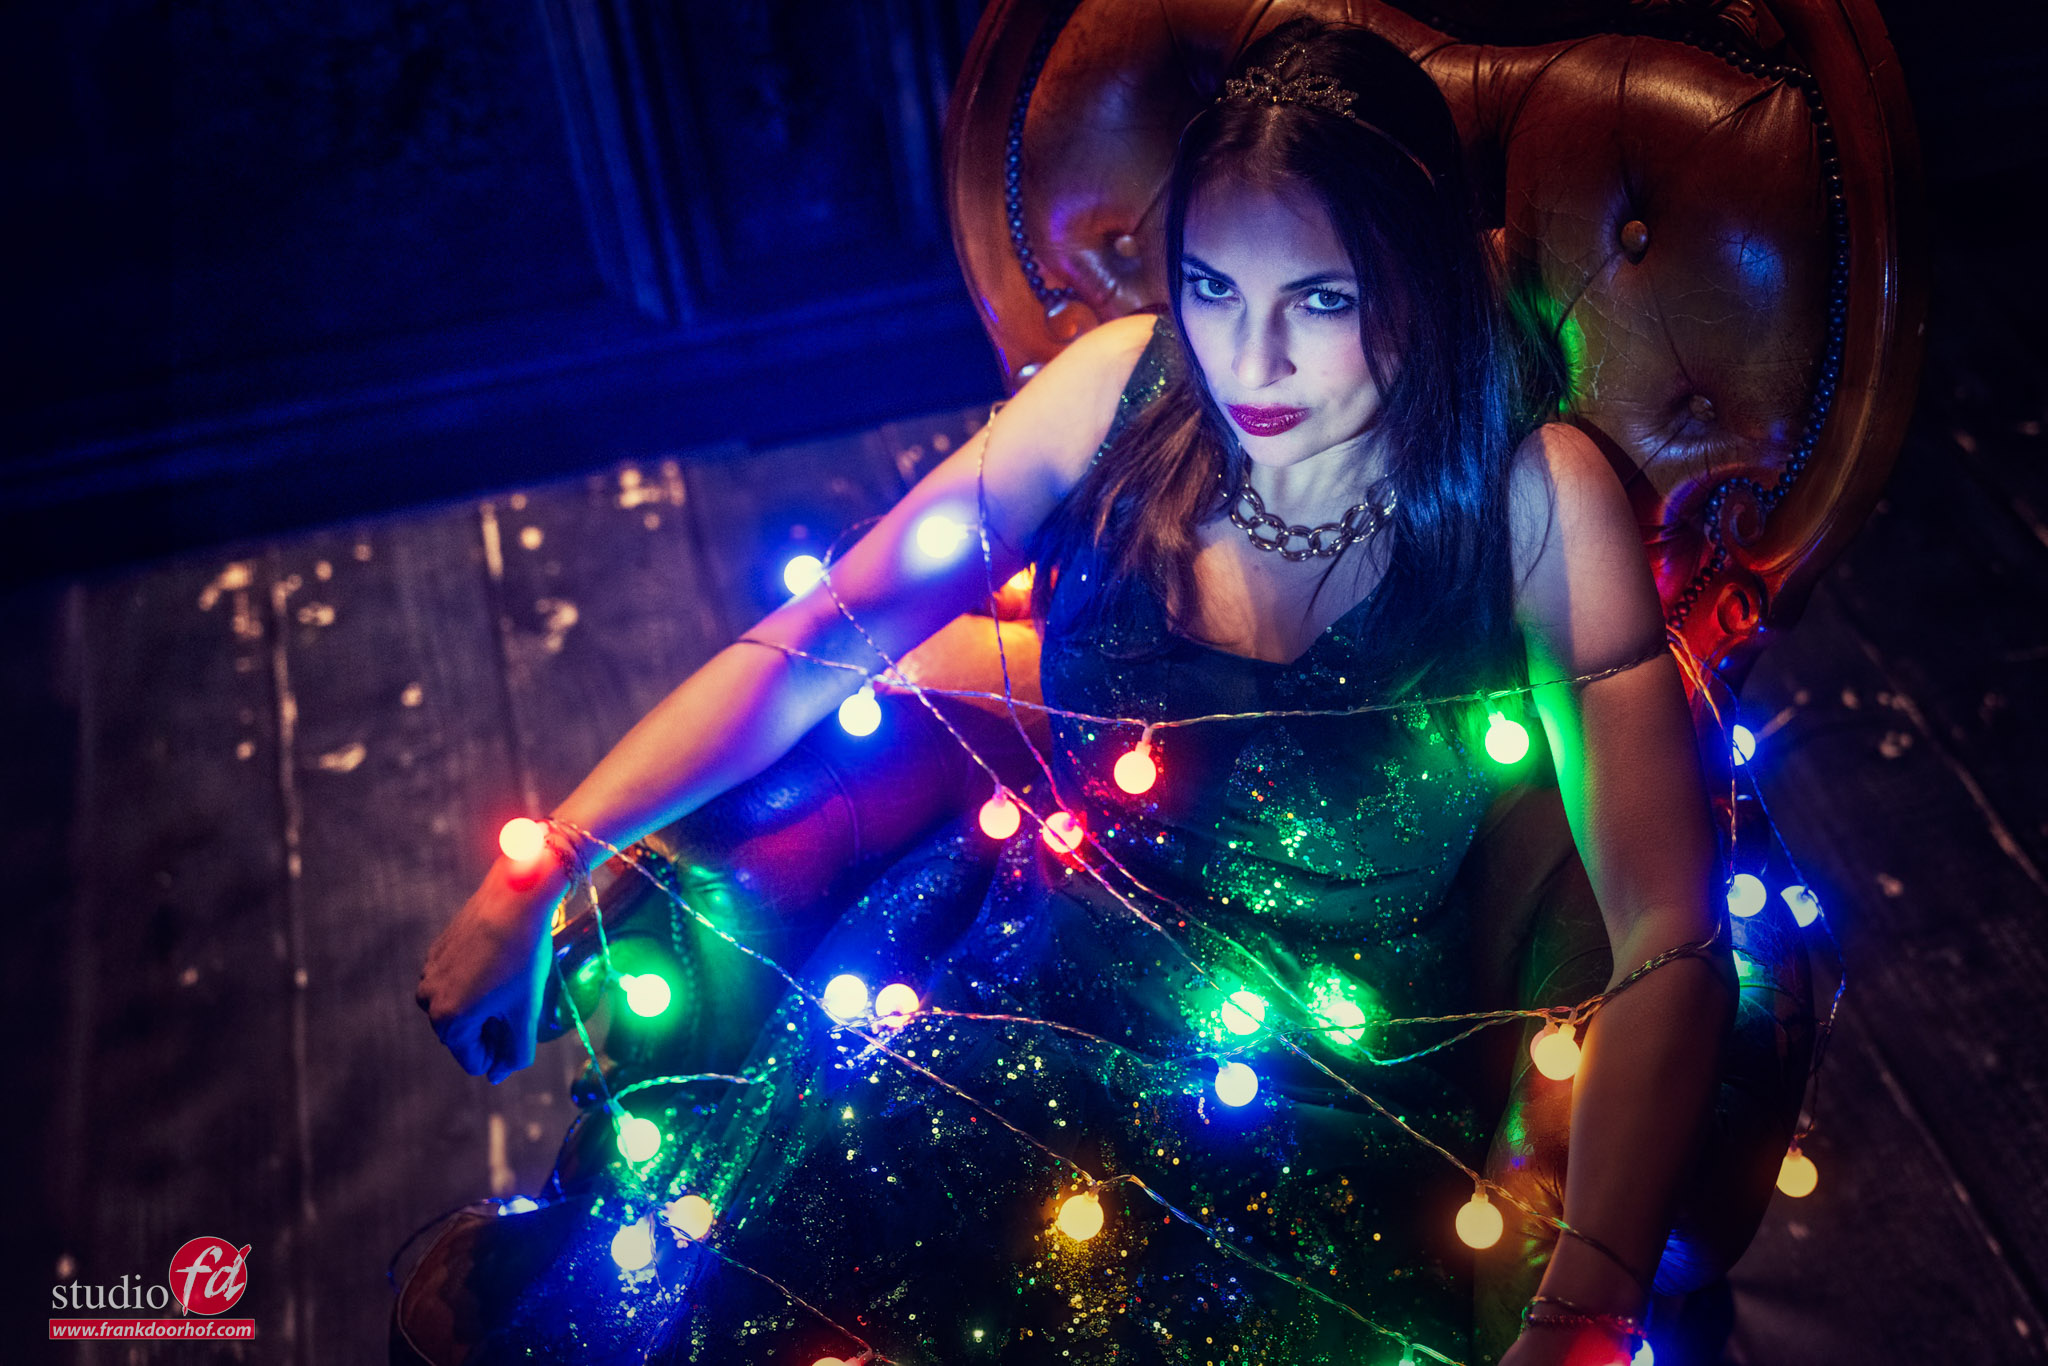
Angles
And of course, as you know by know.
MOVE around your model, and try different angles.
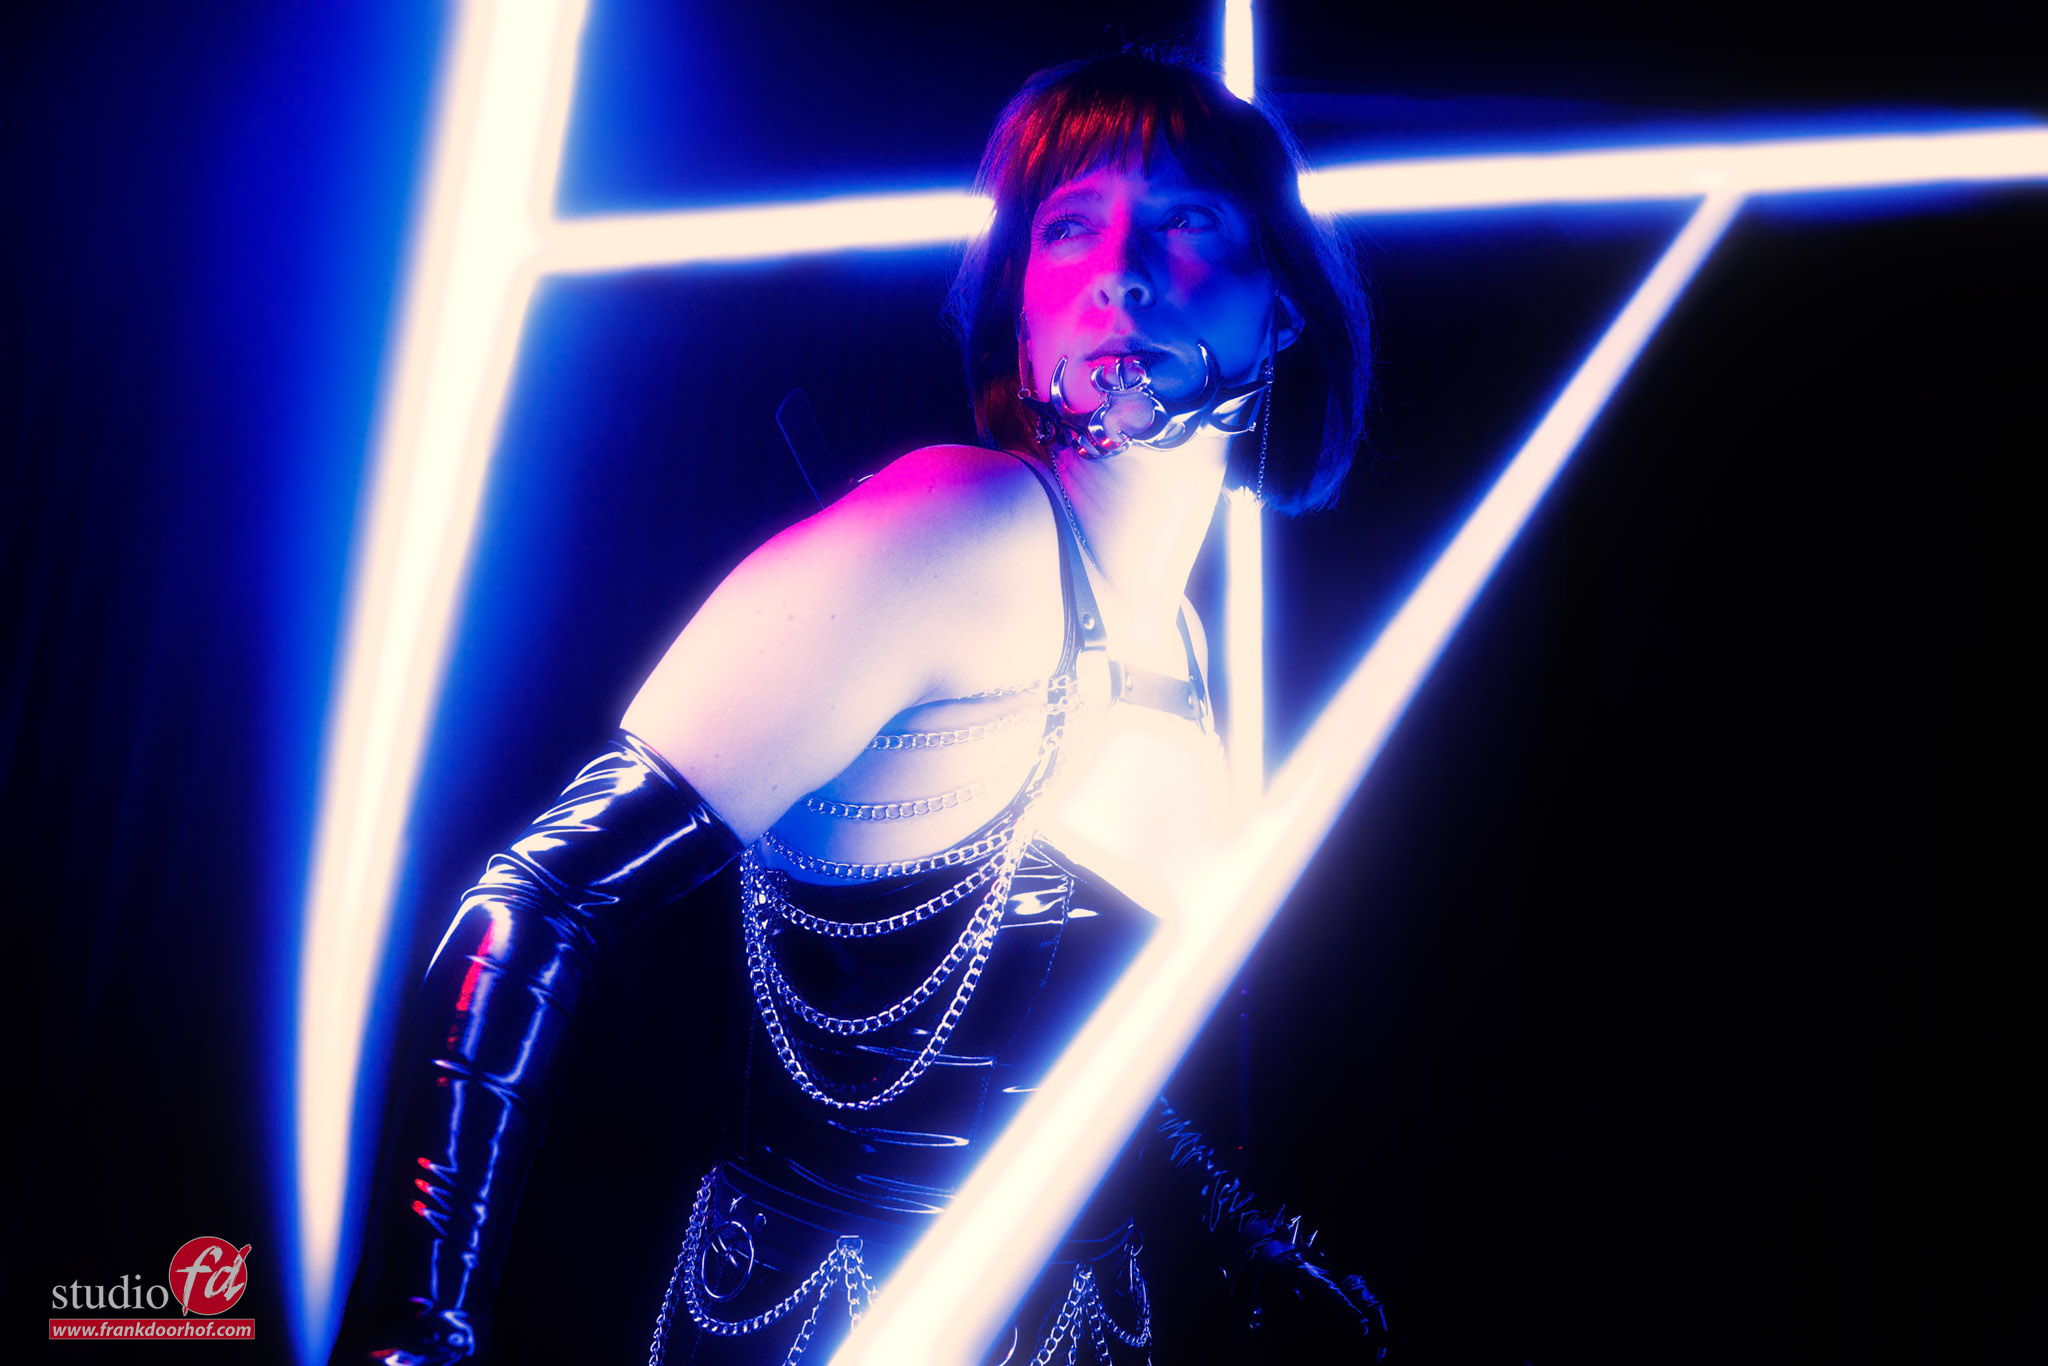
Although I love the first results, I think the final image, shot from a slightly higher angle, is a great addition to the set.
Workshops
Want to learn everything about light control?
Want to visit a workshop where it’s not just shooting a model with a fixed lighting setup, but see how the setup is build and adjusted to the taste of the group?
And of course learn how to work with poses, backgrounds, small sets, styling, retouching and a lot more…..
If this all sounds awesome, visit fotografie-workshops.nl and book your workshop.
If you don’t speak Dutch, no problem, let us know a few weeks in advance and we can switch the workshop to English.
Not possible to travel to The Netherlands?
We got you covered with our 1:1 online workshop.
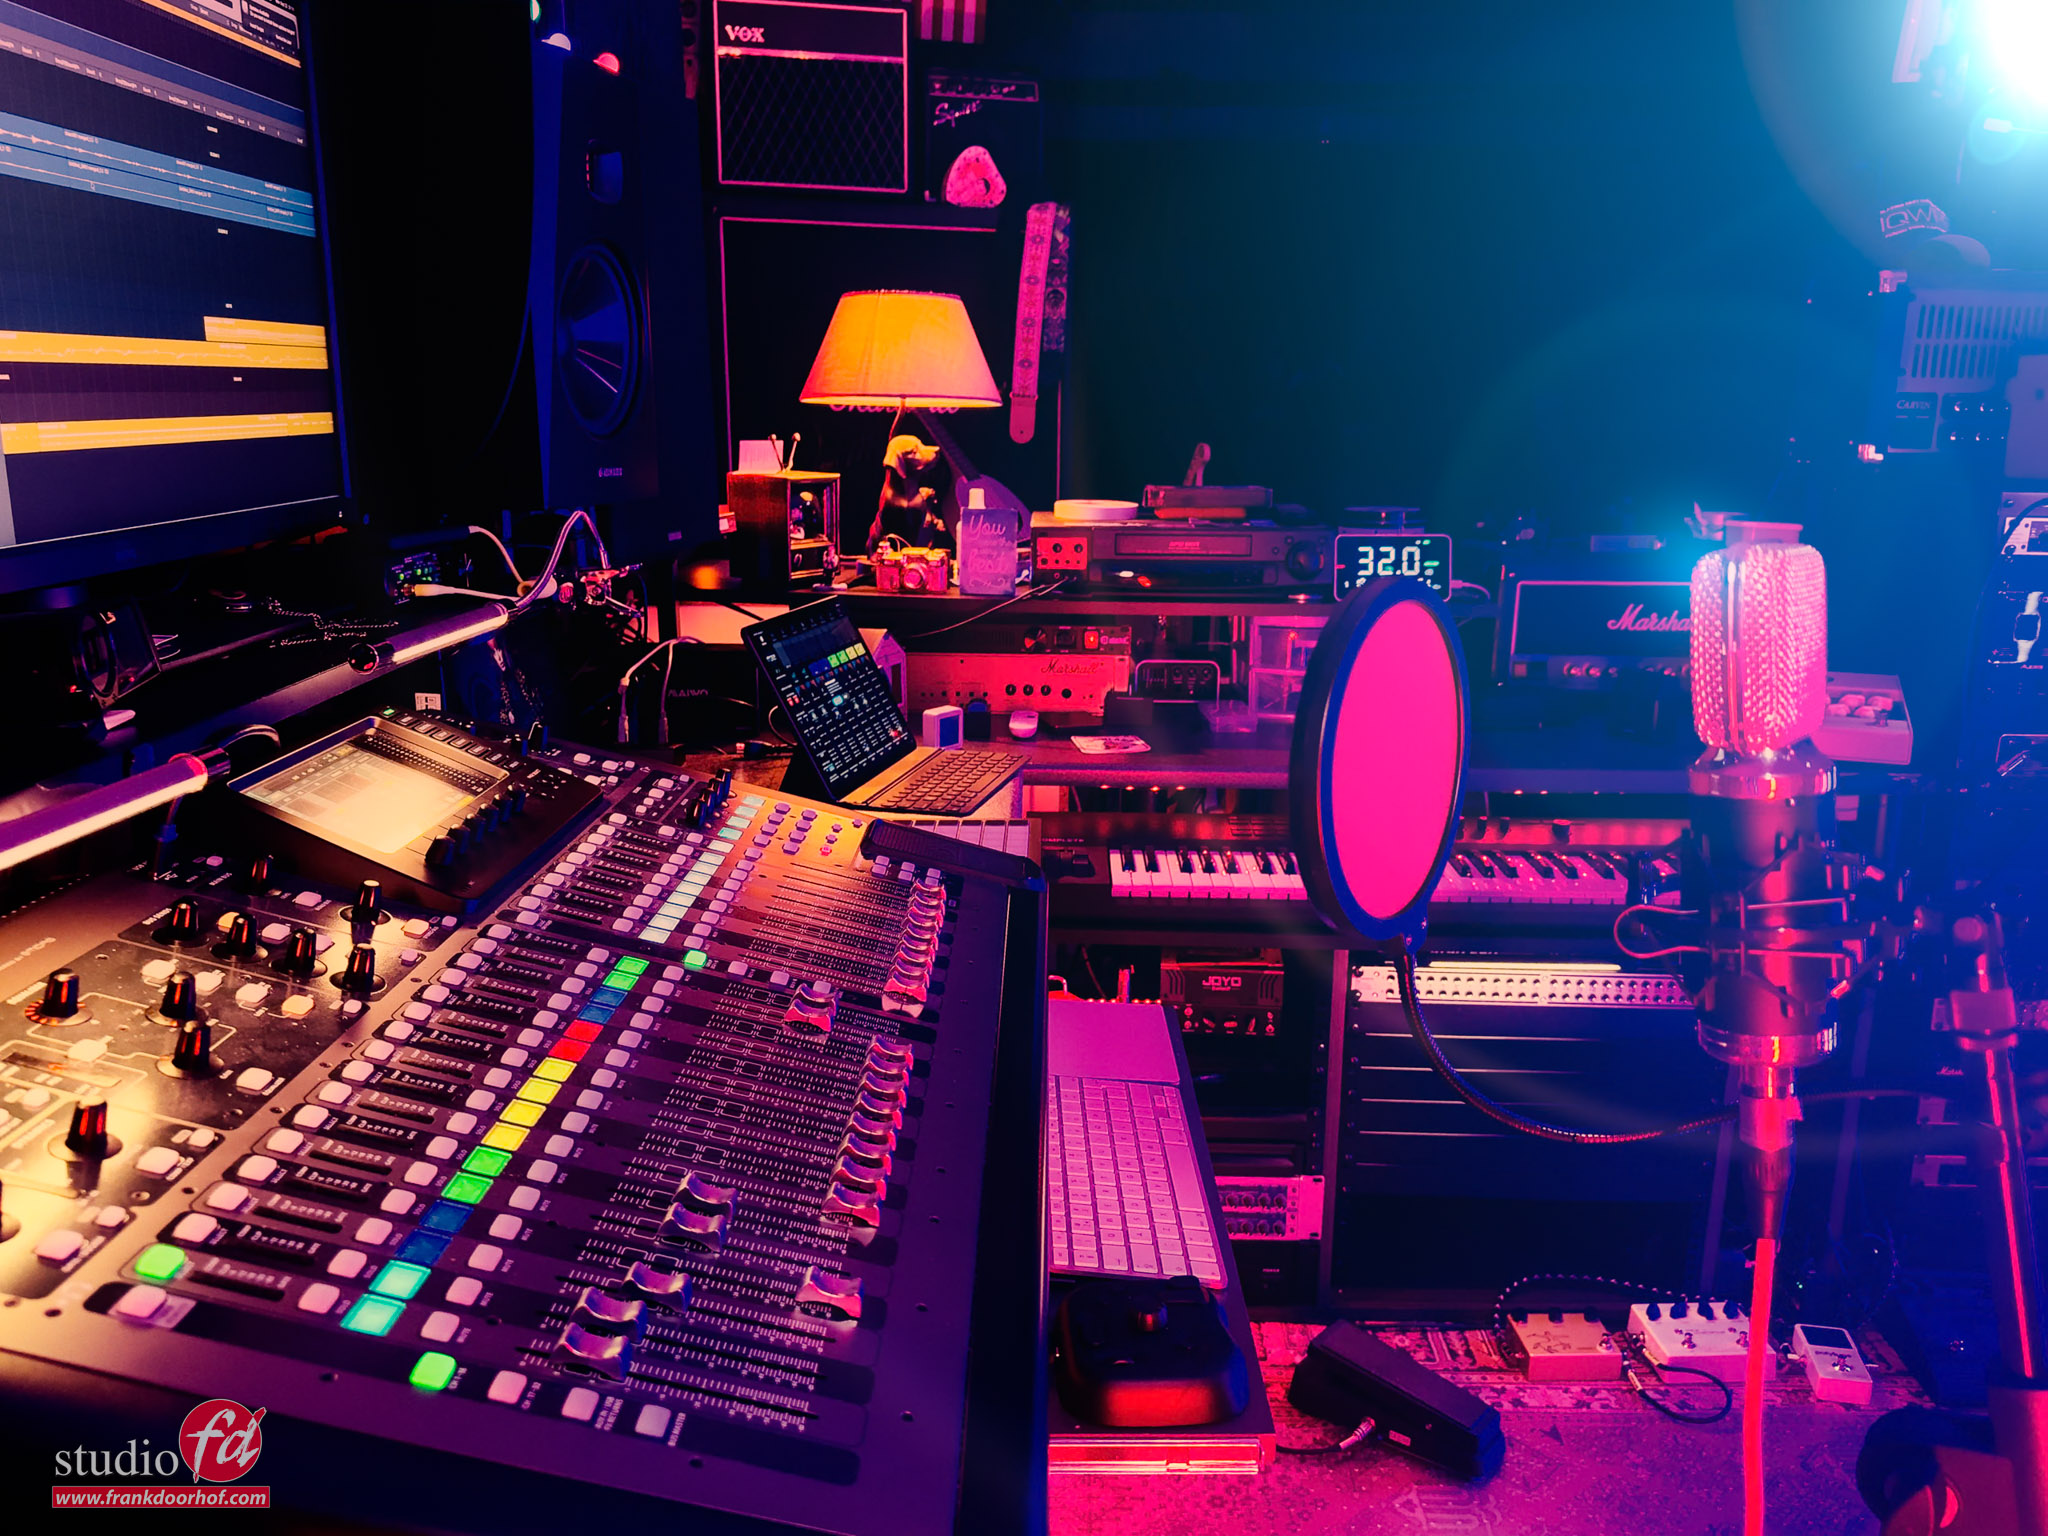
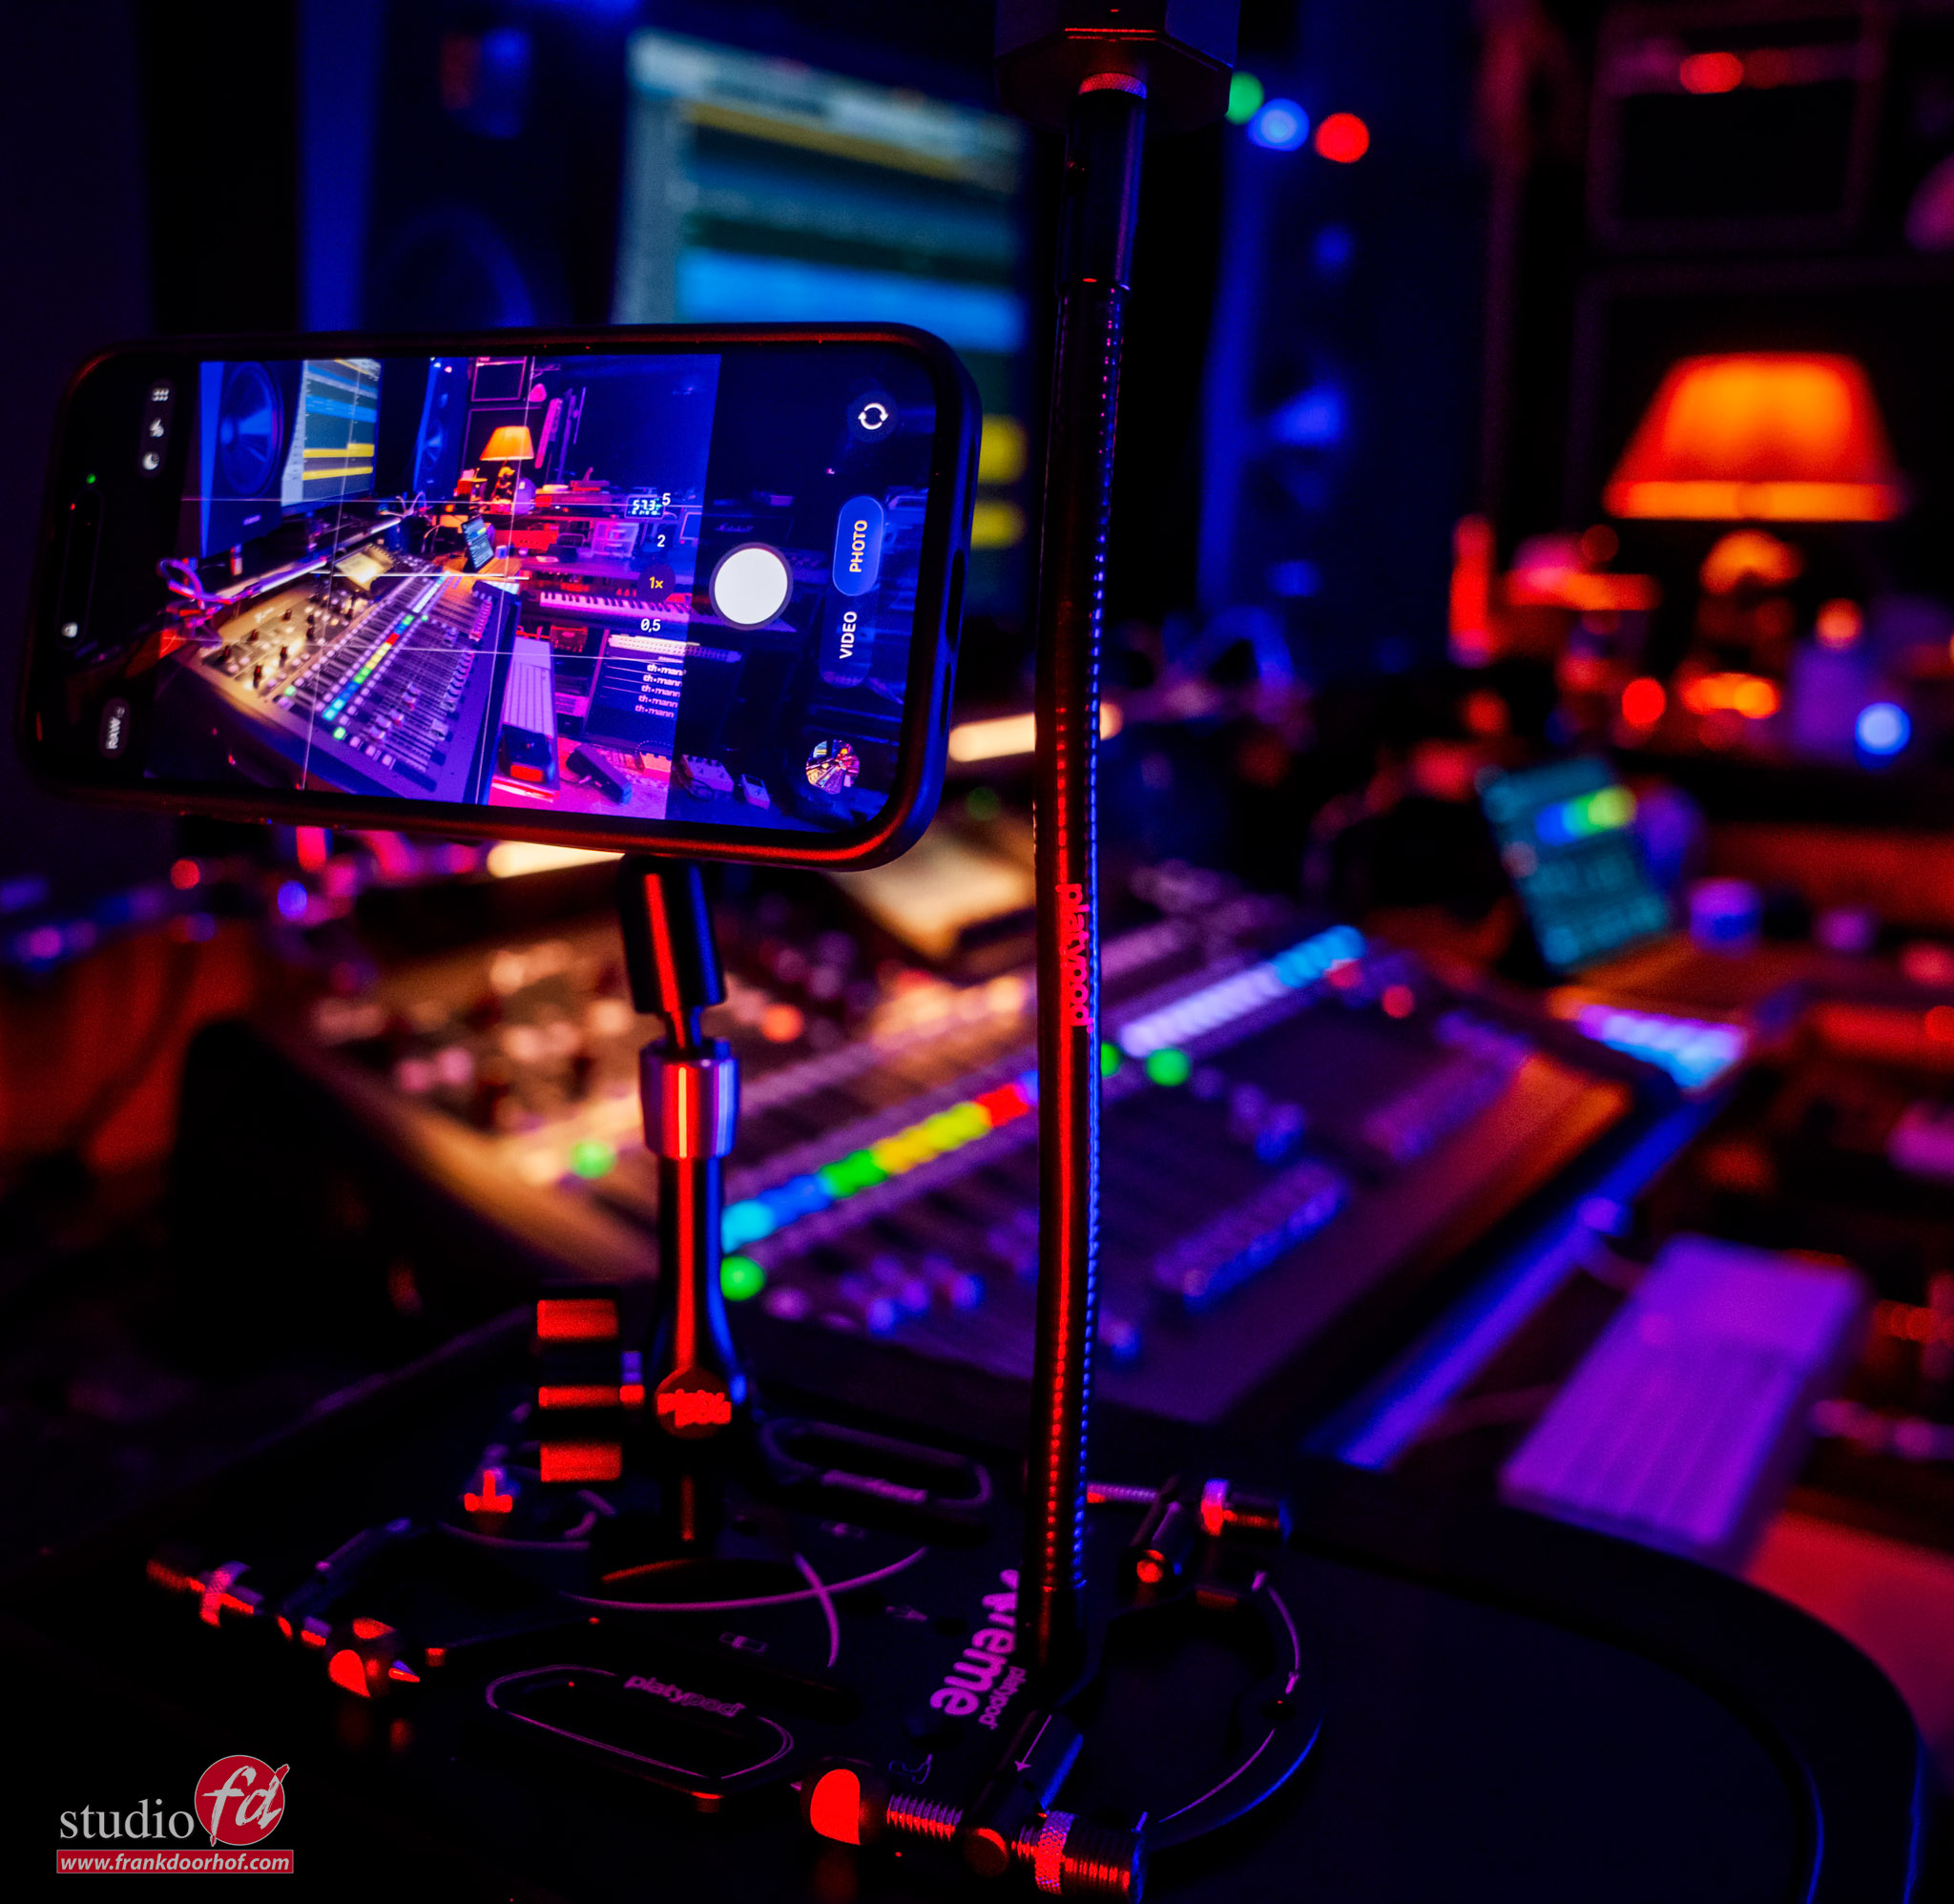
We have a full streaming setup in our studio. 4 detail cameras and of course the retouching software so you can see every detail and of course ask questions during the day. Plus you get all the RAW files after the workshop.