Tag Archive for: mood

What happens when you change it to Black and White?

What happens if you change your photo to Black and White?

The choice between black and white, or color can be tricky.
For me personally I sometimes shoot something with the intent to make it black and white. But then when I see the results I often keep it in color, because I just love the way it looks. And what happens if you change your photo to Black and White?

Sometimes you might shoot something that is very colorful and you don’t even think about black and white. That’s why I post this today.  Luckily with digital, we can of course do both 😀

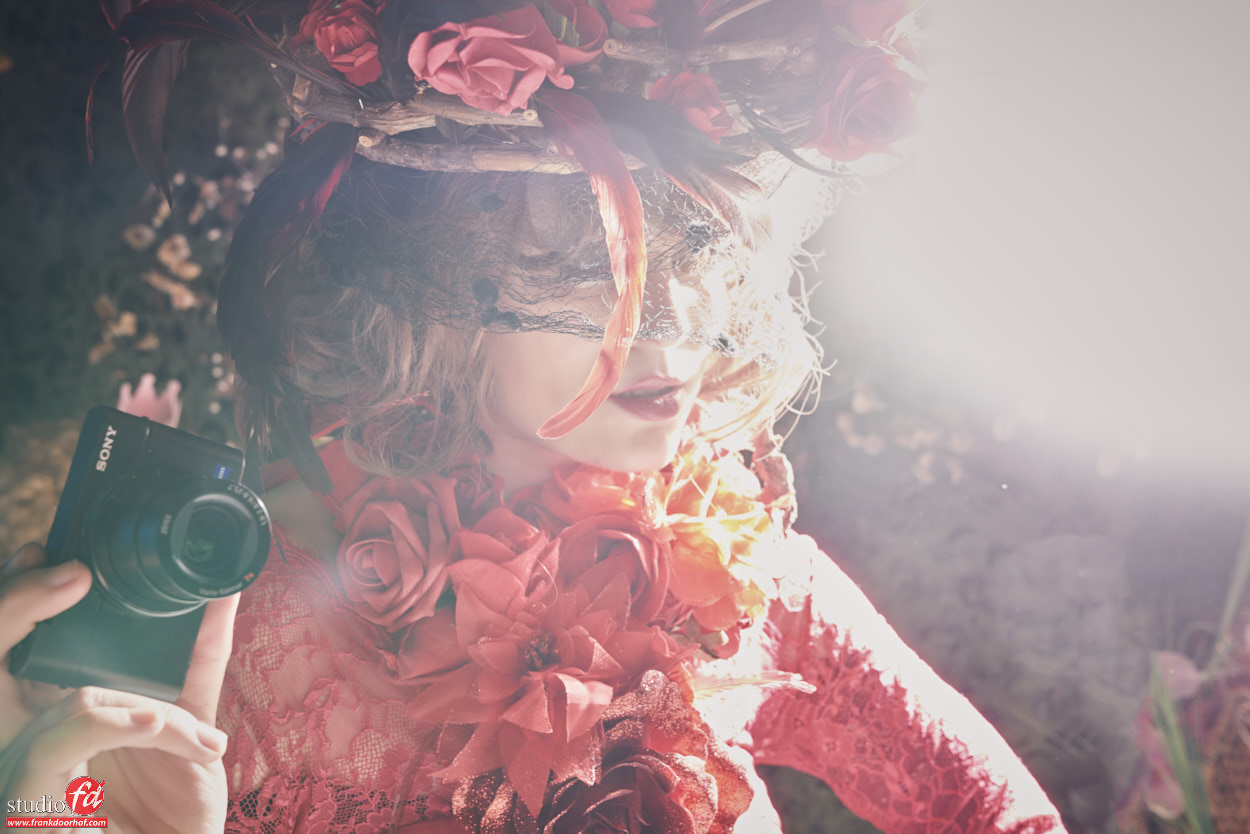
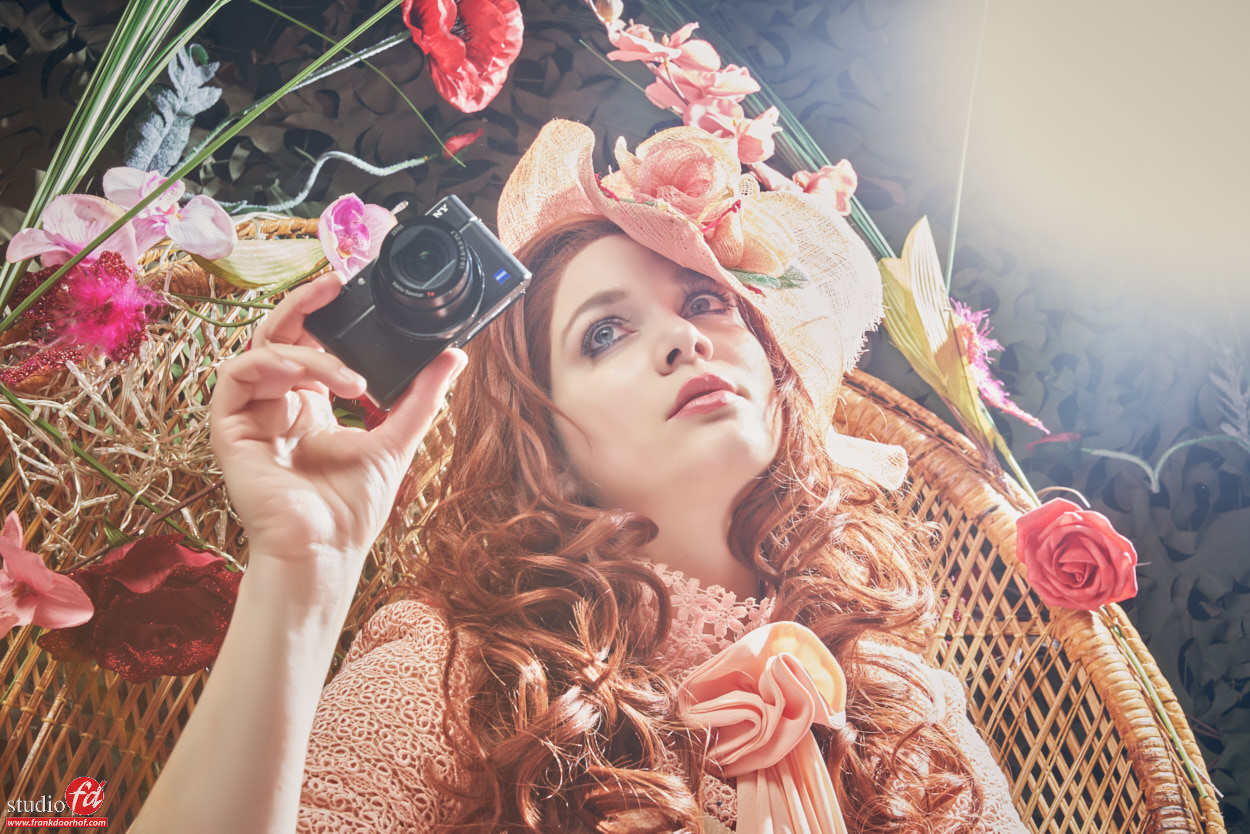
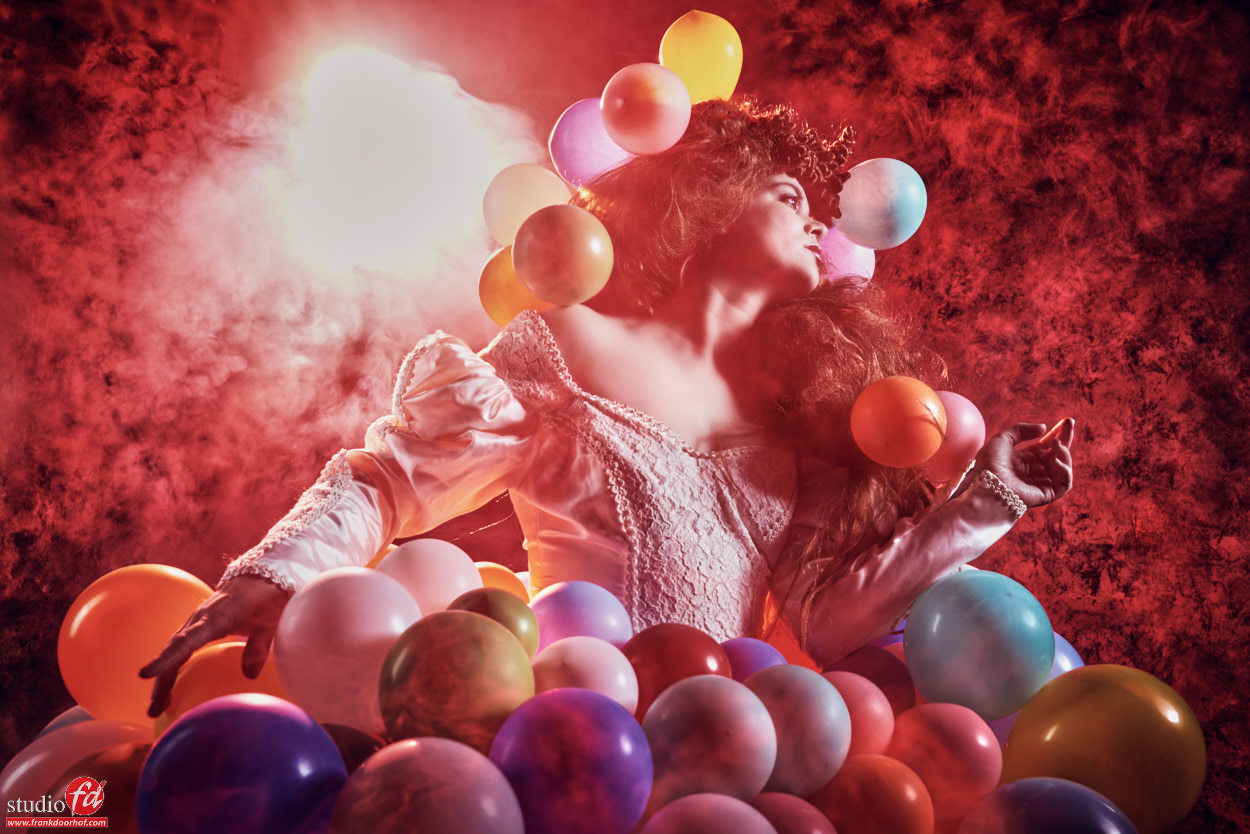
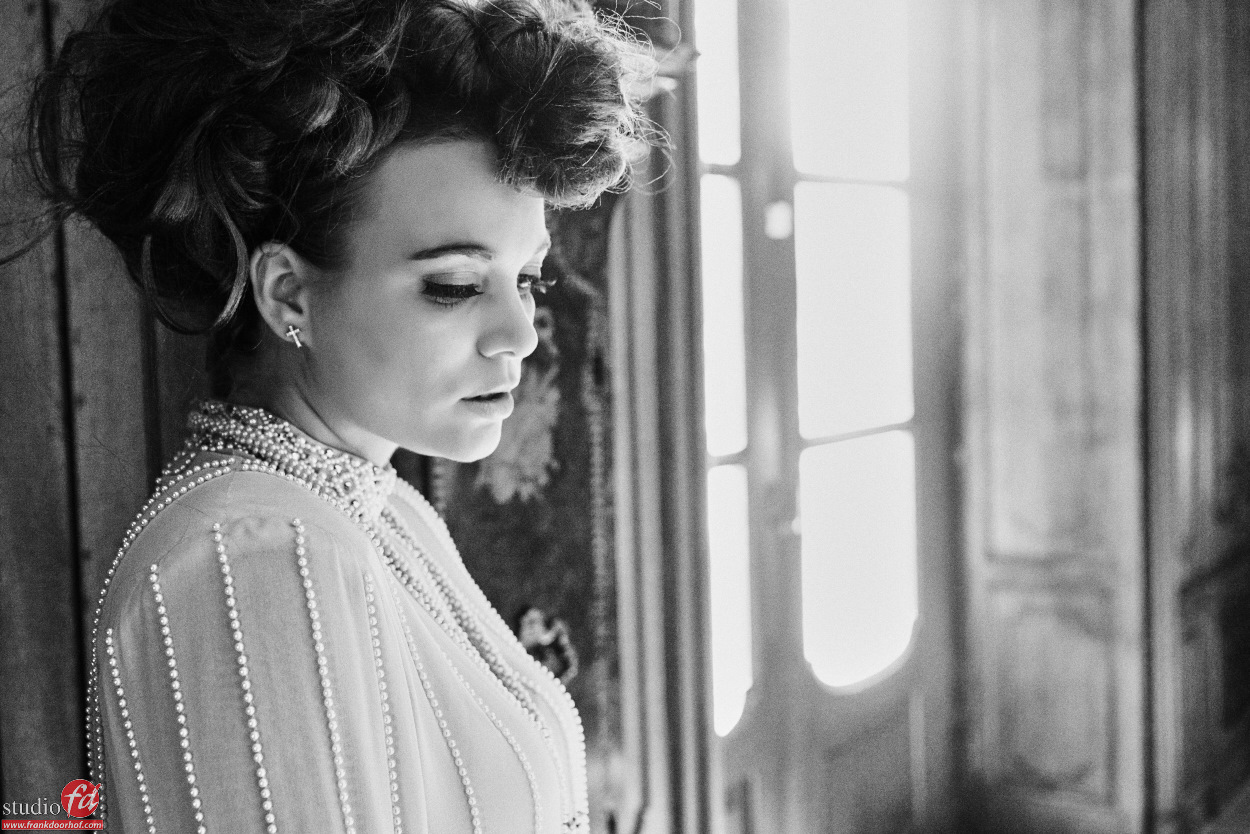
The horror clown is back!

Well she was here just 2 days ago, so she was not really gone 😀
But as you could have seen in the previous blog post about the horror clown, the color was pretty colorful. So this is the kind of set where you might not immediately think about a black-and-white conversion, but…. think about this.

Black and white doesn’t just mean we take out the color.

In fact, you can still manipulate the colors via the H(S)L adjustments in Lightroom. A bit like in the old days photographers did with filters. We can now manipulate images to our hearts’ content in our RAW convertor.

The idea of black and white in this setting is not to take out color but to inject a lot of mood and make the images more creepy. And that’s the cool thing about black and white. I sometimes make the joke

“if you mess up a shot, add a lot of contrast and noise, make it black and white, and voila instant art”

It sounds weird, but it’s really true.
If we look at a color image that is just slightly out of focus or has a shadow that’s not 100% correct in color we immediately see this as “bad”. But make it black and white and we see it as mood, or we don’t even notice it. Now that doesn’t mean that all my images that are black and white are “bad” images of course. But some street photography images have been “saved” that way in the past 😀

But let’s first take a look at the original blog post about the horror clown.
Now that you have seen the color versions, let’s go to black and white.

change your picture into black and white change your photo to black and white change your image into black and white

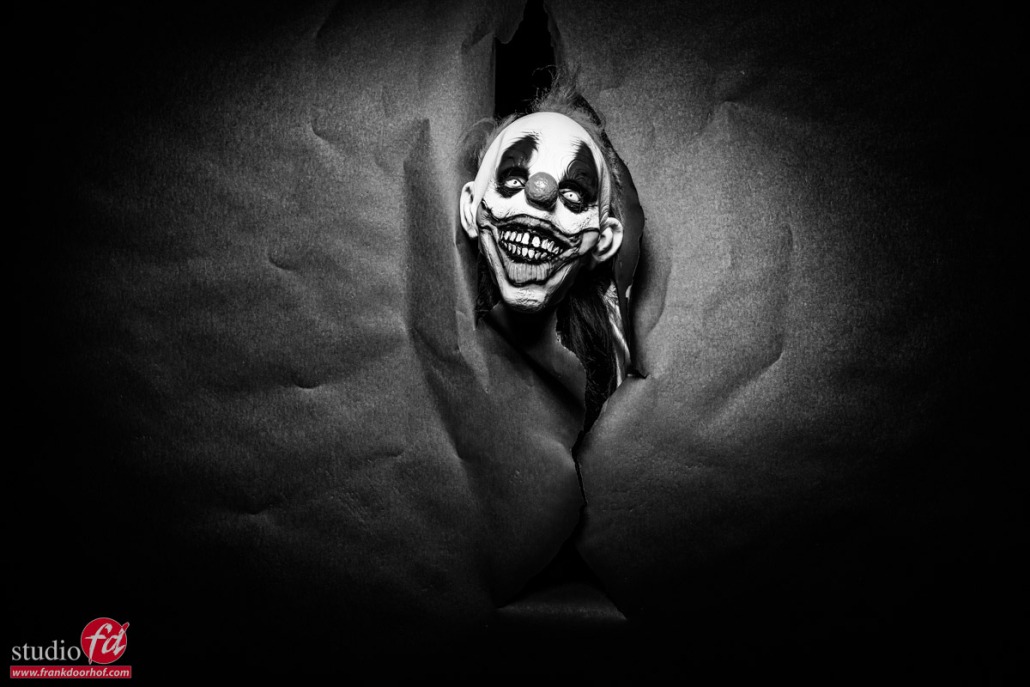
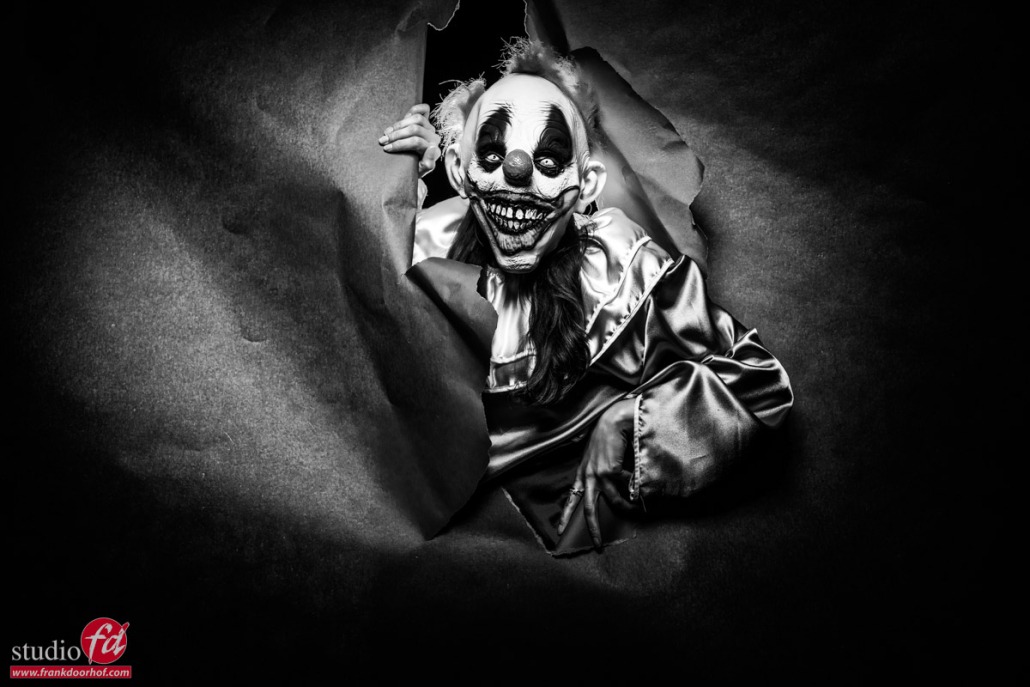
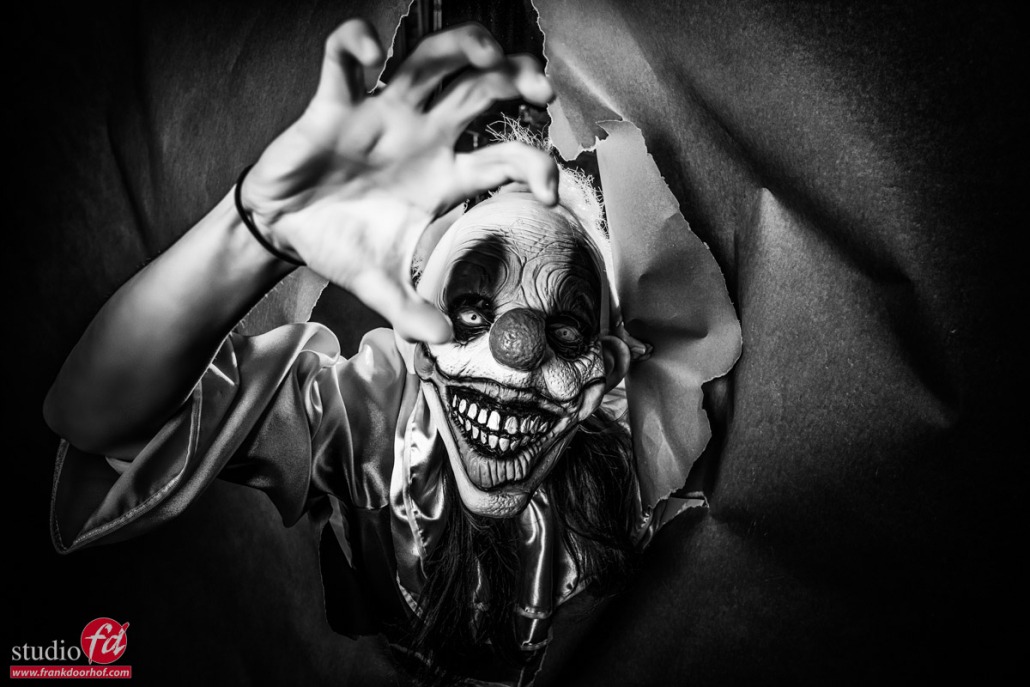
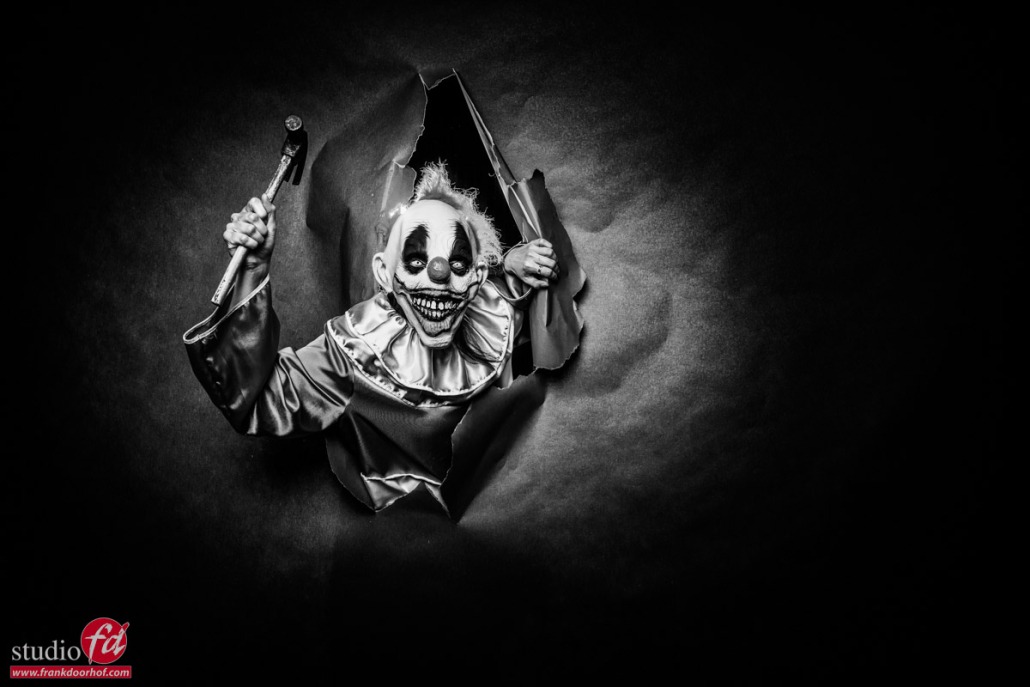
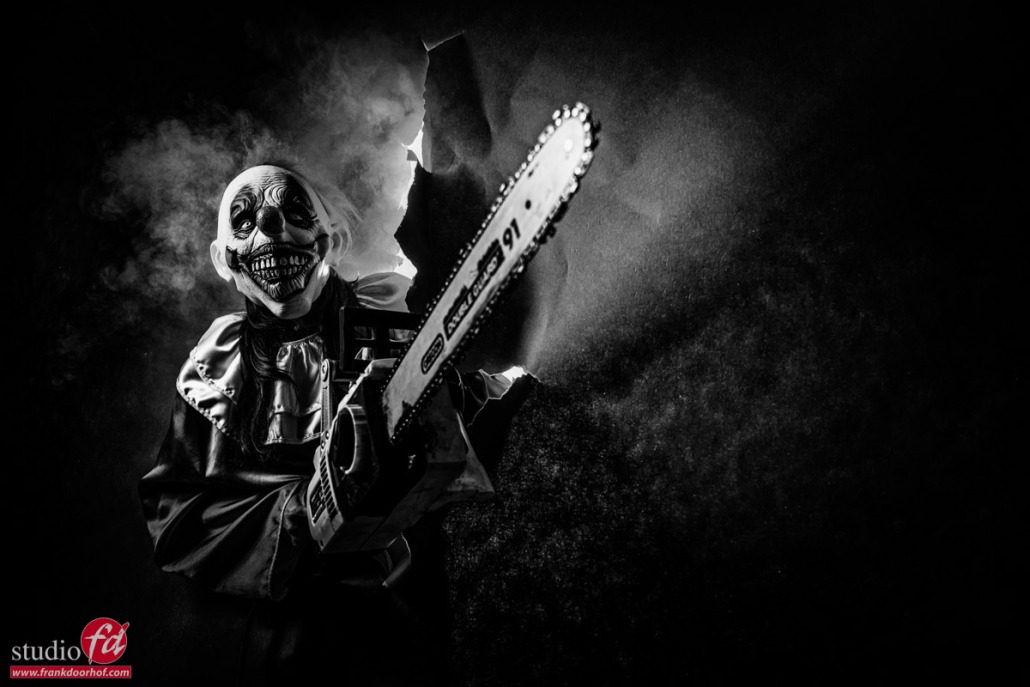
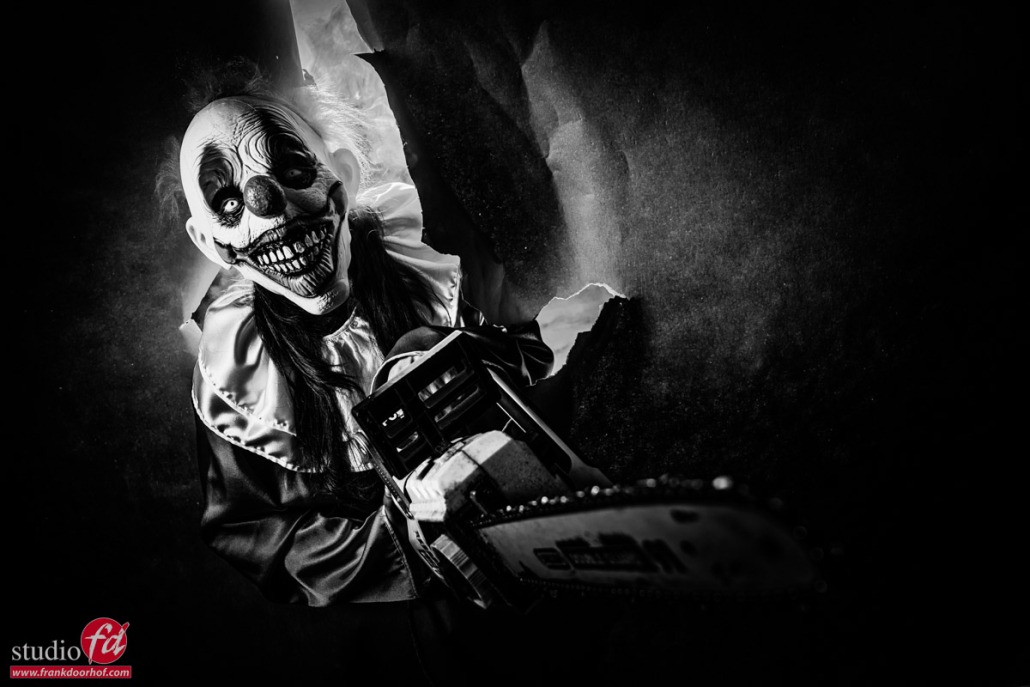
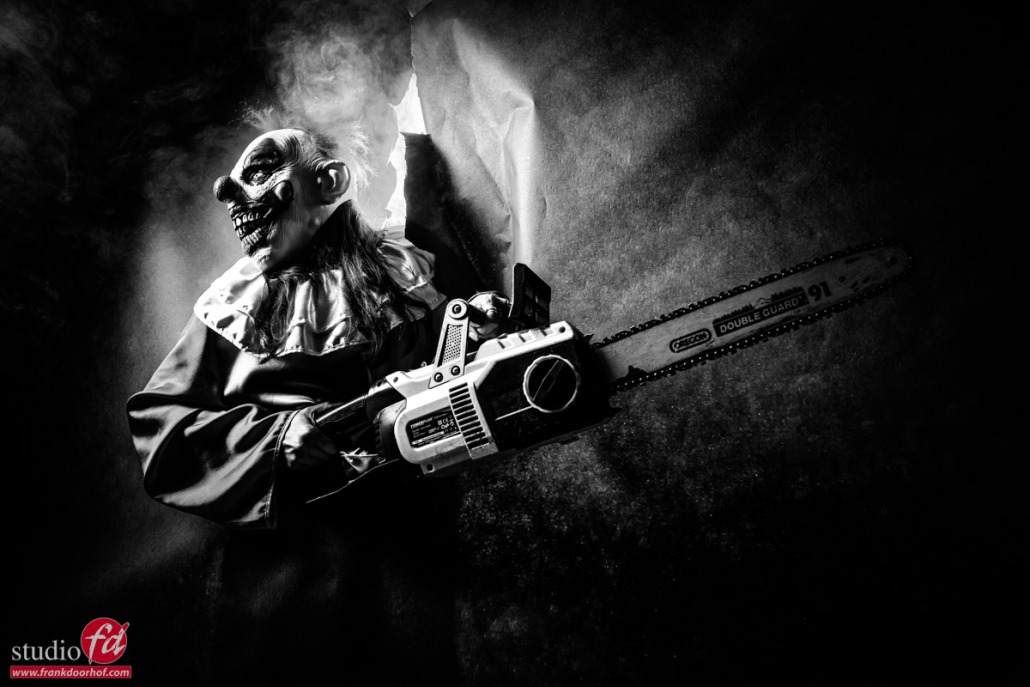
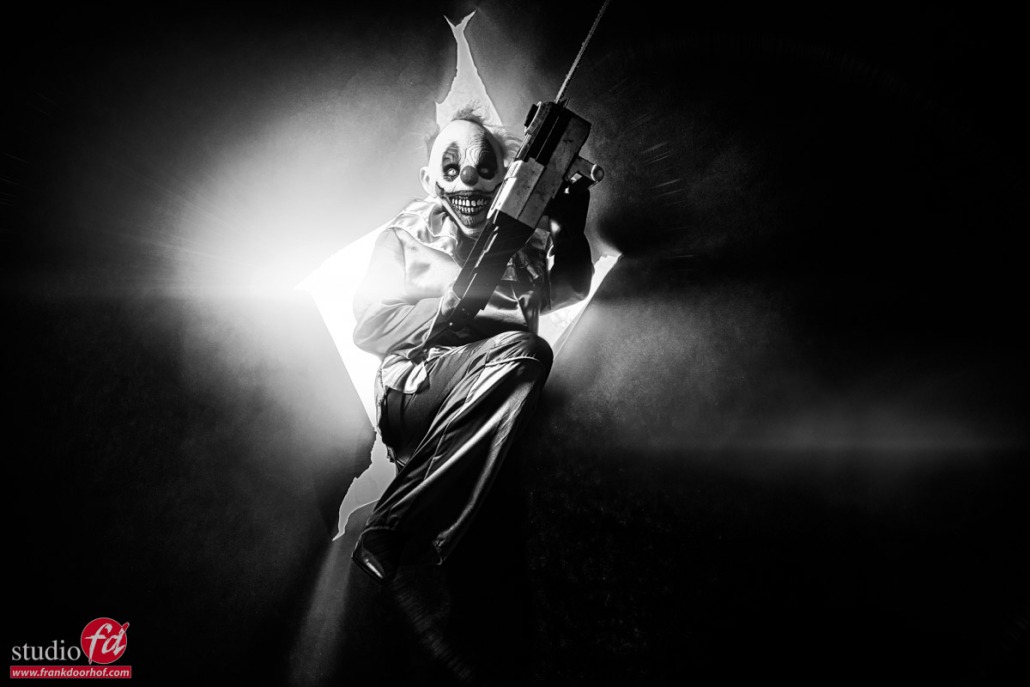
As you can see the images get a totally different vibe and look.
For me even more creepy than the color versions.

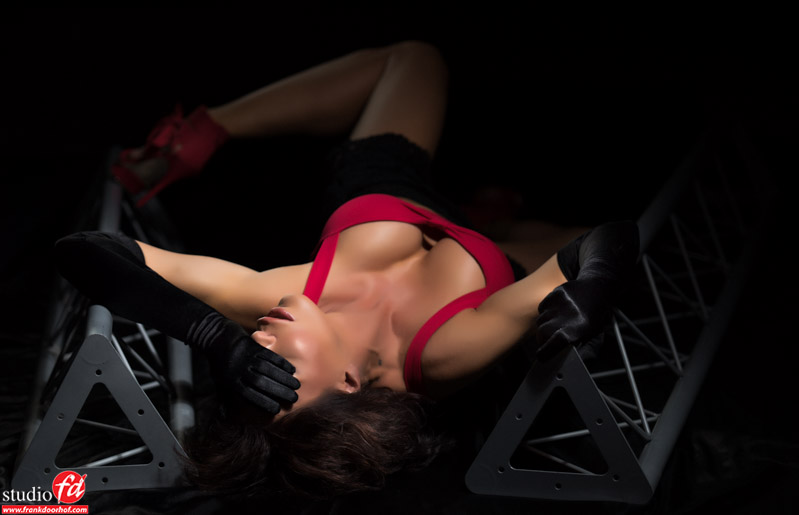
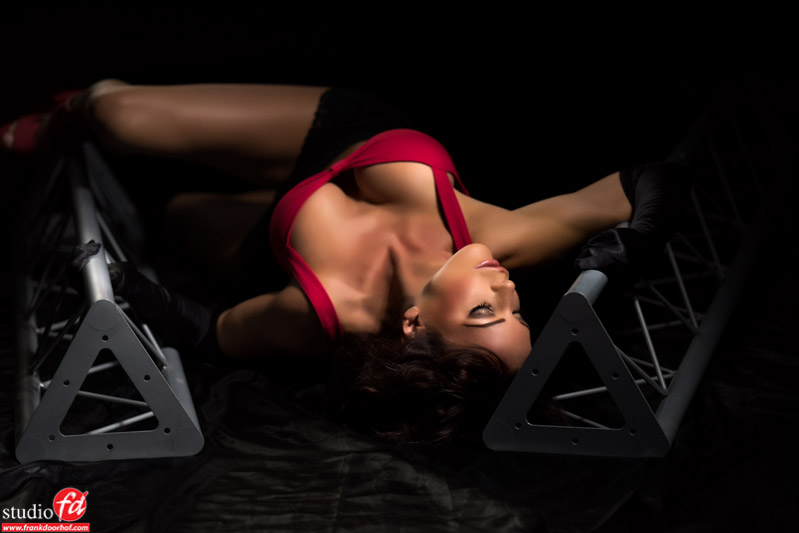
Learning all about lighting in our workshops

For me teaching the workshops is not all about lighting.
Personally, I think there is a lot more than just lighting or a cool/fitting backdrop.
A good photo is a cooperation between the model and the photographer. So coaching and making a model feel at ease is vital. But after that, the real creativity comes into play, and during the workshops, I try to focus at least 80% on creativity.

This can be with lighting, but also with the storytelling part.

As mentioned in the previous blog post, working in “super creativity” model can enhance your skills way above the level you would achieve if you only shoot what you are hired for. Plus if you can shoot images that your client is not used from you it could very well be that he/she asks for something a bit more creative.

Visit www.frankdoorhof.com and www.photography-workshops.eu for the workshops in Dutch and English.

Tip : Strong backlighting

In the 70’s they knew….
Using strong backlighting can be cool, it creates cool lens flares and it really spices up a shot, I won’t say that after the 70’s the photography went south and flat but in all honesty I sometimes am stunned by the questions I get during workshops about lens flare and backlighting, so I thought it would be cool to write a small blogpost about them.

Whenever I post an image with a strong backlight people ask me for the filter I used?
Now don’t get me wrong I do use filters… I love DxO filmpack and Alien Skin Exposure for tinting my images and I use a LOT of MacPhun intensify to spice up the pop of my images, but the lens flares are in 99% of the cases 100% real.

The shot on top we shot during last weeks workshop with iris and is just a strobe right behind our model without any modifier.
If you meter in front of the model (in this case pointing towards the camera) the exposure on her face will be correct, in fact it’s the scatter light from the studio lighting her face. This is also the cool thing about using an incident light meter (A sekonic in my case), if you hold it in front of the area you want correctly exposed you will get a proper exposure. Now it’s up to you to determine the look you want. In this case I only used one light so it COULD be that the backlight is way too strong, you can than do a few things. You can feather the light (turn it away from the model), or move it to the side of the model so not all light is hitting her (when using a reflector), or (when using a bare strobe) move it further back, or use a reflector in the front, all these techniques will do one thing, lower the contrast between the backlighting and front light.

In essence it looks like a very easy setup, but if you just throw in your lighting you will probably fail, or need a lot of Ps work, so make sure to meter correctly.
If you want to learn techniques about metering, check out our video on the light meter via Video downloads

When you want to do these kind of shots make sure to practice a lot with a mannequin or doll before doing it live with a model.

Some more samples where I used strong(er) backlighting from the sun and strobes.


Want more in-depth tips and techniques?
Check out my book “Mastering the model shoot” or get one of my instructional videos via Direct video downloads

Nadine Maart 2016 Imaging days Brussel Sony RETOUCH 0015

Nadine Maart 2016 Imaging days Brussel Sony RETOUCH 0002

Nadine Professional Imaging - 64 March 14, 2016


Nadine Januari 2 2016 0817

KelbyOne Day 3 Setup 2 82 - April 29 2015

Nadine Cannenburch 43 - September 06, 2015

Nadine Cannenburch 11 - September 06, 2015

Carre February 11 2015 27975 1

Rosa Augustus 26 DC 0038

Nadine Juli 9 2015 0065


Cover your eyes…..

Eyes are the mirror to the soul, we all have heard that one.
Sometimes however it can be very interesting to start playing with the concept “should I include the eyes in the shot YES/NO”


Today two images from the same session where I experiment with eyes covered and not.
For me personal I have no favorite but as you can see the mood from the 2 images is totally different, try to experiment in your own sessions with this concept and remember that, although we all love to see the eyes in a shot, it’s sometimes also very powerful to intentional hide them.

Roosmarijn Mei 22 2014  (20 of 155)-Edit

Roosmarijn Mei 22 2014  (35 of 155)-Edit

Images Nadine, workshop


This blog post I will talk you through some images I shot during a workshop with Nadine.

Read more