Tag Archive for: lighting

Gold it almost hurt your eyes so much Gold

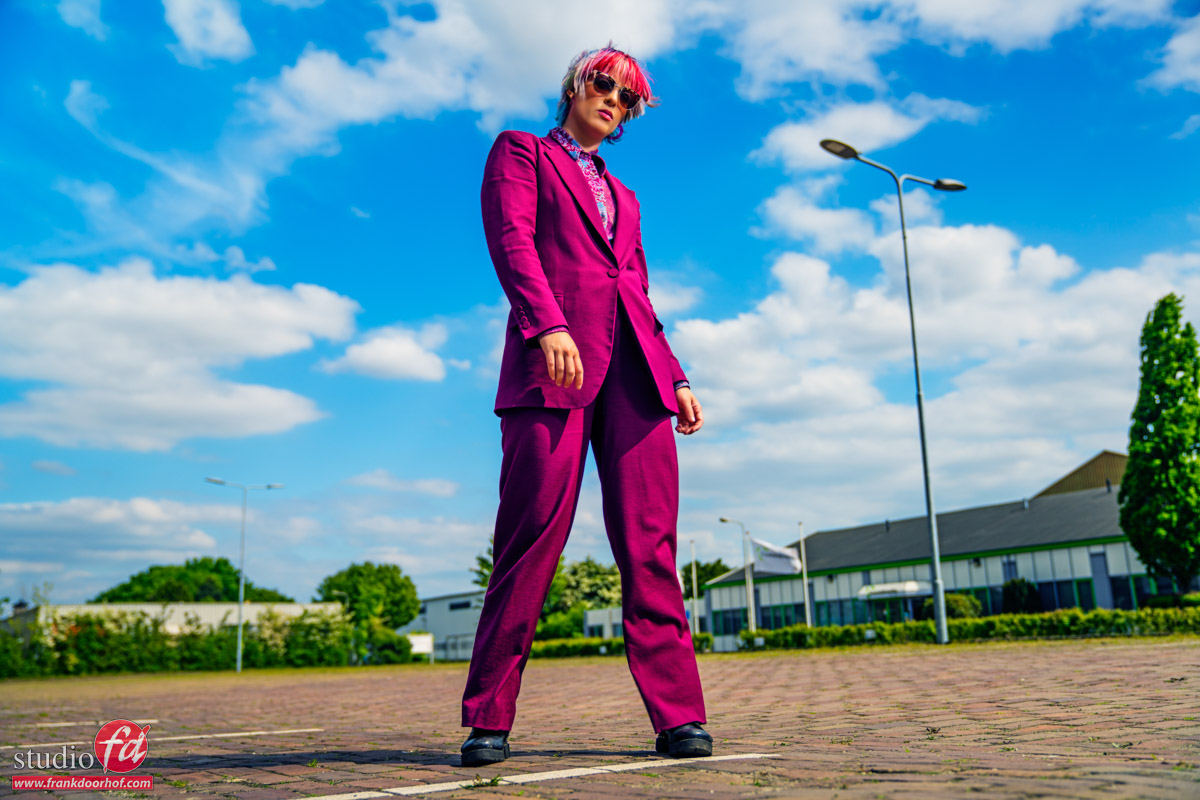
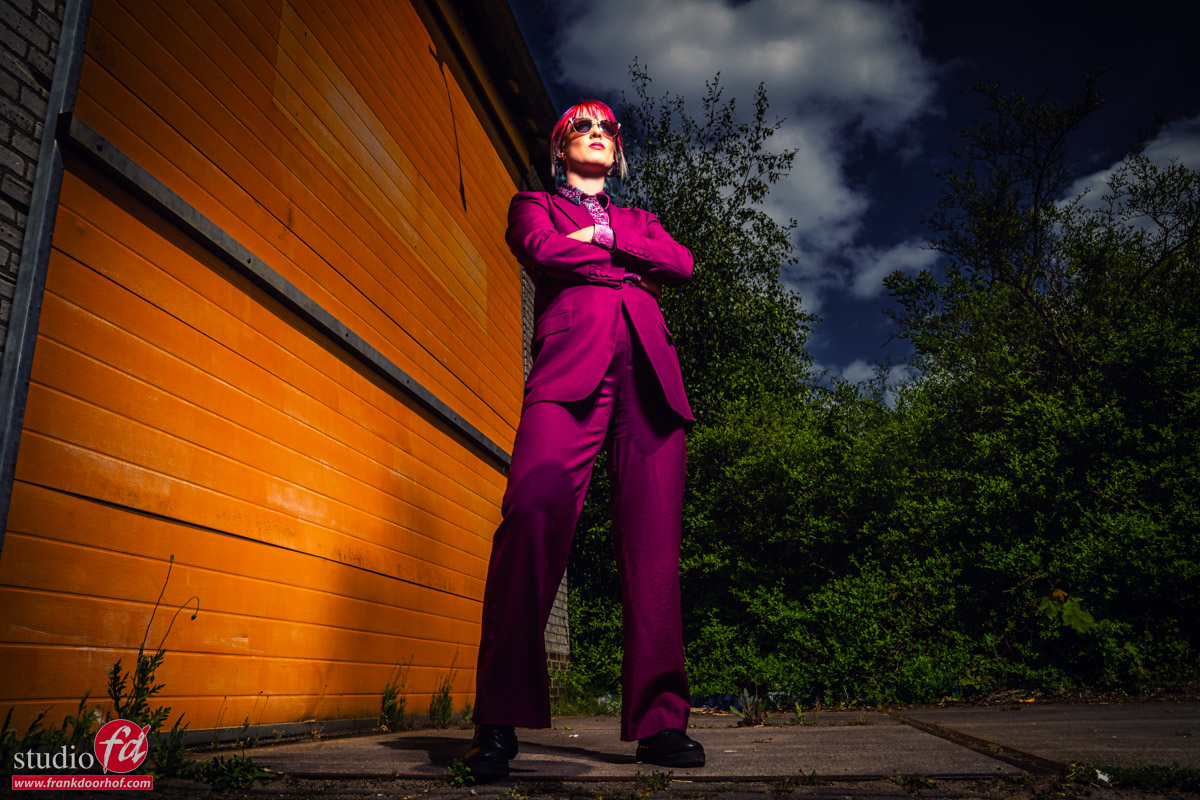
A background really makes the shot for me.
I recently had a whole discusion with someone about how AI would replace backgrounds and no-one would ever shoot against backdrops anymore. I don’t think I have to tell you guys I did not agree 😀

One of the reasons we sell our ClickPropsBackdrops is not just for the print on a backdrop, but also the material and how it interacts with lighting. Every backdrop I use will respond differently. For example our vinyl backdrops are more harsh and really pop when lit with hard light. Awesome for modern looking images where you really want some content that adds to the scene.

On the other side we have our Pro-Fabric which looks and shoots very like the old canvasses we all love but no-body really can afford. Plus they have huge disadvantages with tear and wear and wrinkles which means you can’t really do a spontaneous shoot unless you prepare your background.

During the workshops I could always shoot with the backdrops we have and never feel bored, but I also love to “freak out” with other materials and building (sometimes over the top) sets.

I always wanted something really eye-catching and we decided to build something with gold as main theme…. in all honesty it turned out WAY better than expected.

Lucky workshop
As soon as I took the first shots with my phone I already saw the quality of the background, this was going to be fun.
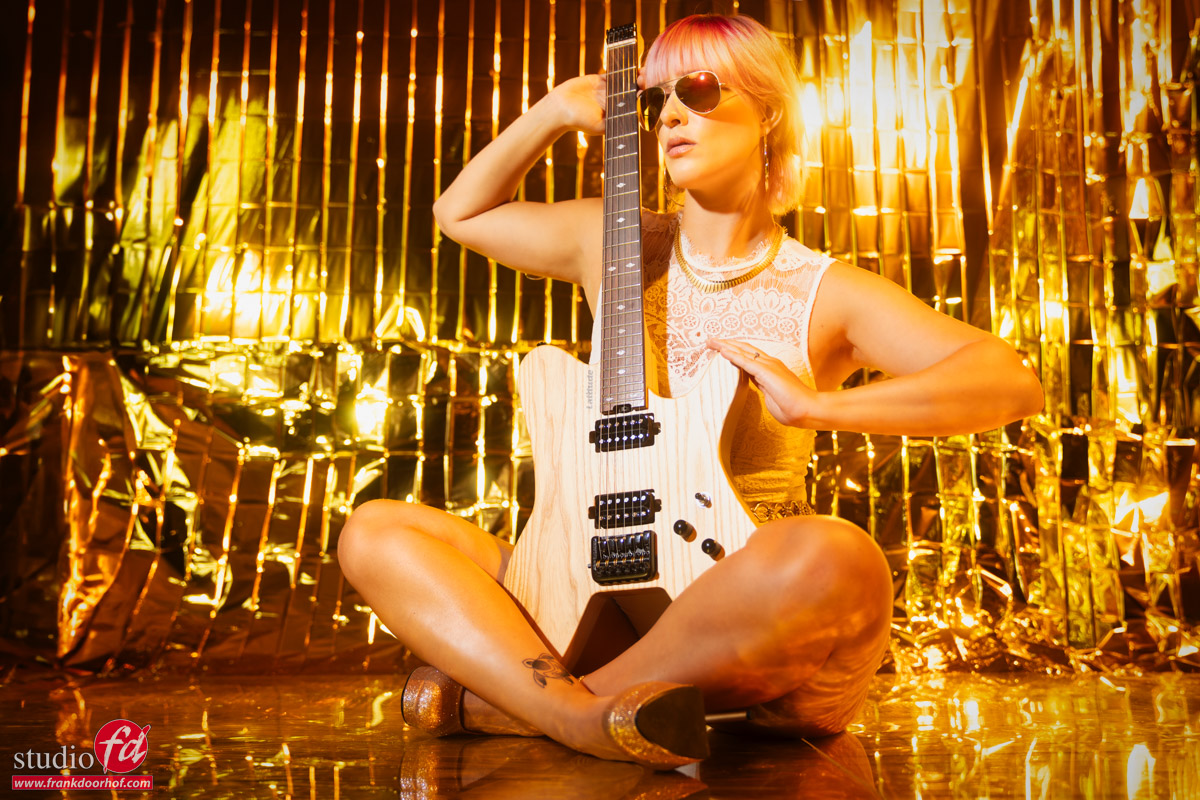
The idea was to let the light bounce around the set and just let it reflect where it “wanted” and see what happend. Normally I try to get the reflections out by using the angle of incidence is angle of reflection rule, but in this case I thought it would give a really nice look, and it was impossible to prevent because it’s not a straight wall but there were angles in the material all over the place, so keeping reflections out… impossible, and when something is impossible….. embrace it and make it part of the image, you will be surprised how often problems become awesome parts of a shot 😀

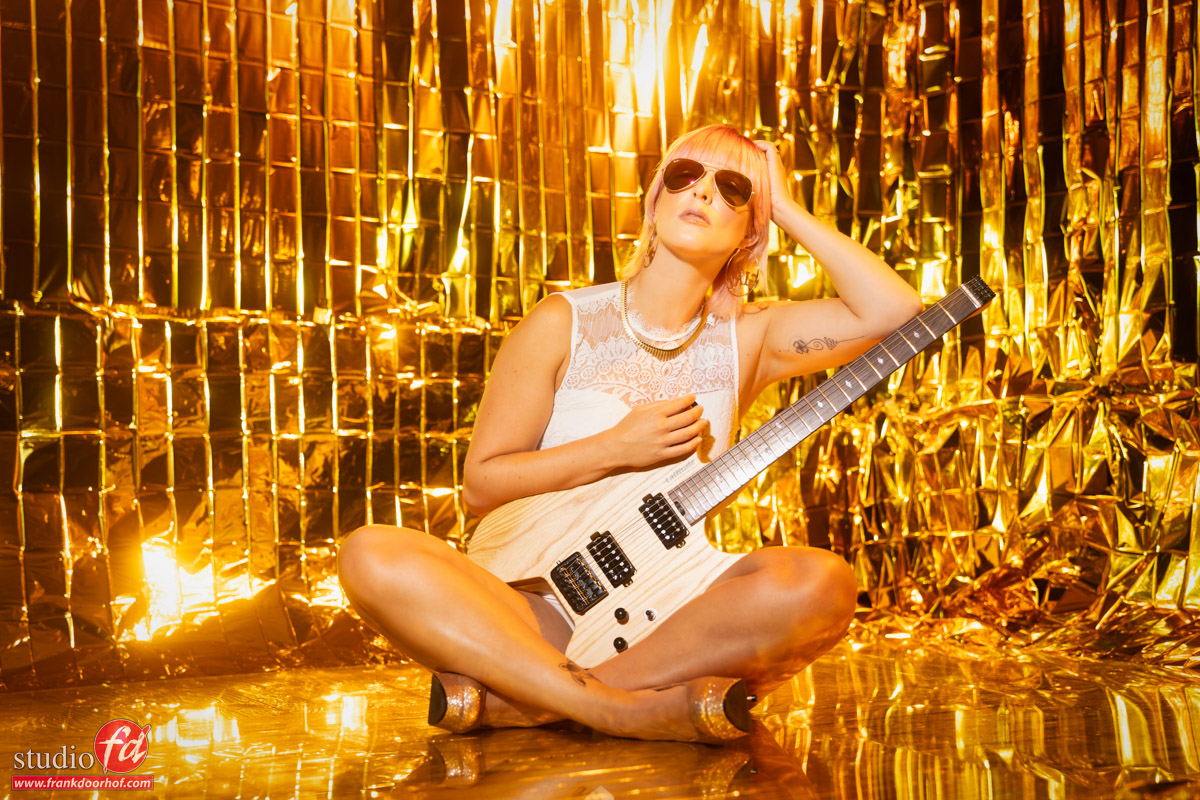
I started with just the fresnel on our model Claudia. And although I loved those shots, I also got a package in that morning with a special new guitar. My first headless guitar actually, and I just loved the look and thought it would look great in this set, so of course I could not resist (I always love shooting my guitars during workshops).

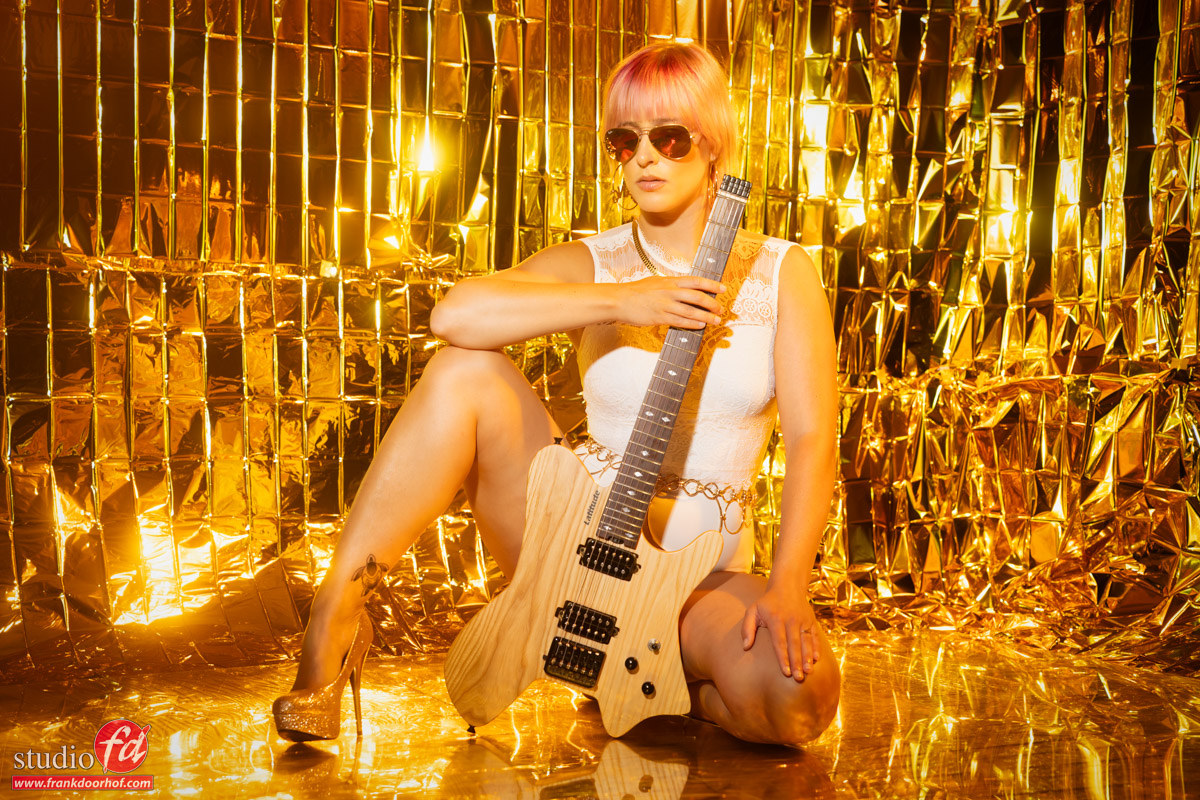
For the guitarists :
This is a Latitude low budget headless guitar.
But I can highly recommend it, it plays like it costs at least 700-800 euros, but is sold for under 300,00

Ok let’s take a look at the first shot.

As you can see the light scatters around very nicely on the set.
But this was a bit too dark for my taste, for this set I really wanted something that gave a lot of power.

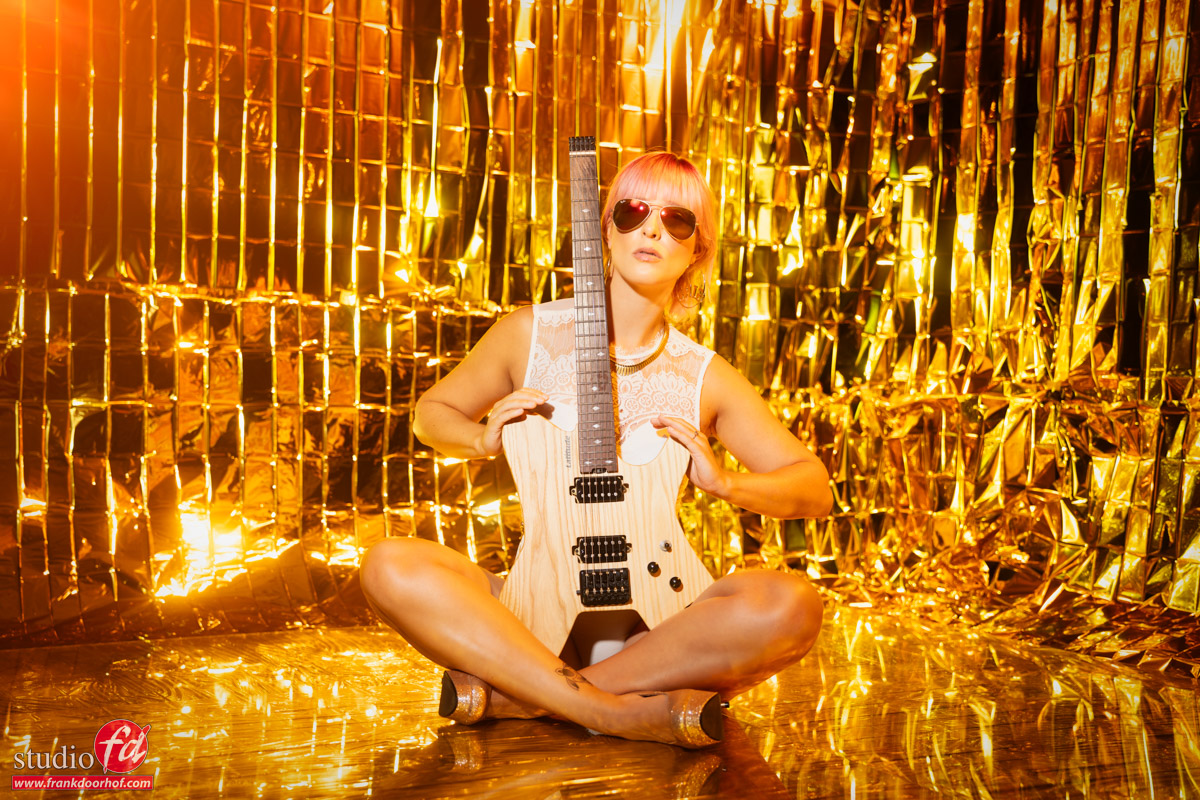
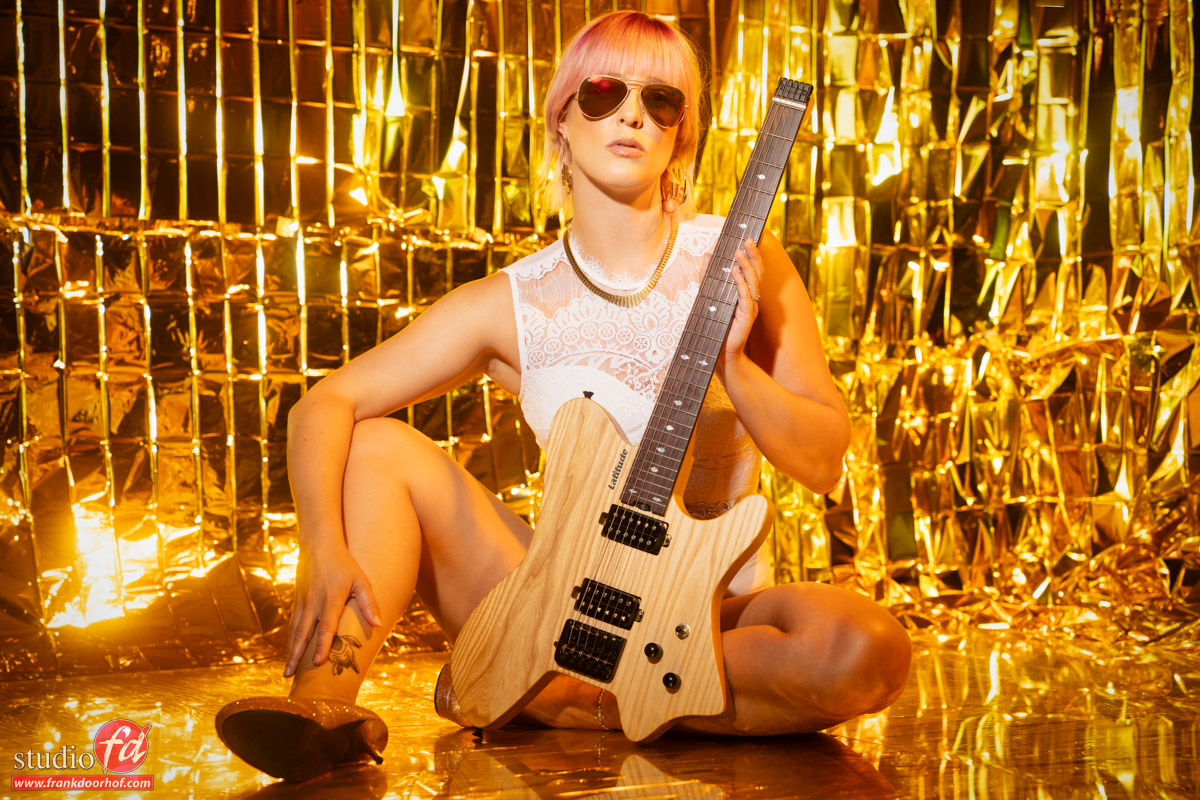
So I added a Geekoto small softbox next to the Fresnel and used a yellow gel from the back hitting both the model and the walls which were setup in a 90 degree angle. The result was a lot better. Still attention to the model with the Fresnel, but a nice fill from the small softbox and the backlighting really added the glue to put everything together.

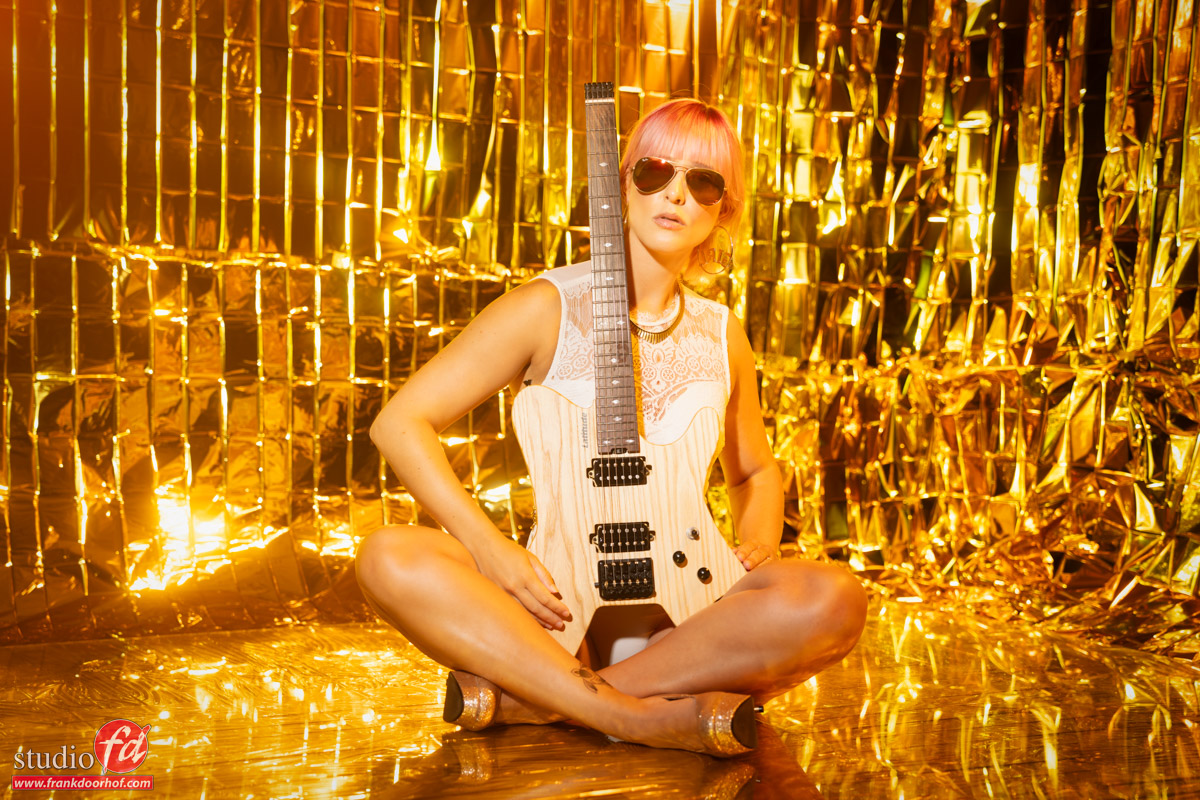
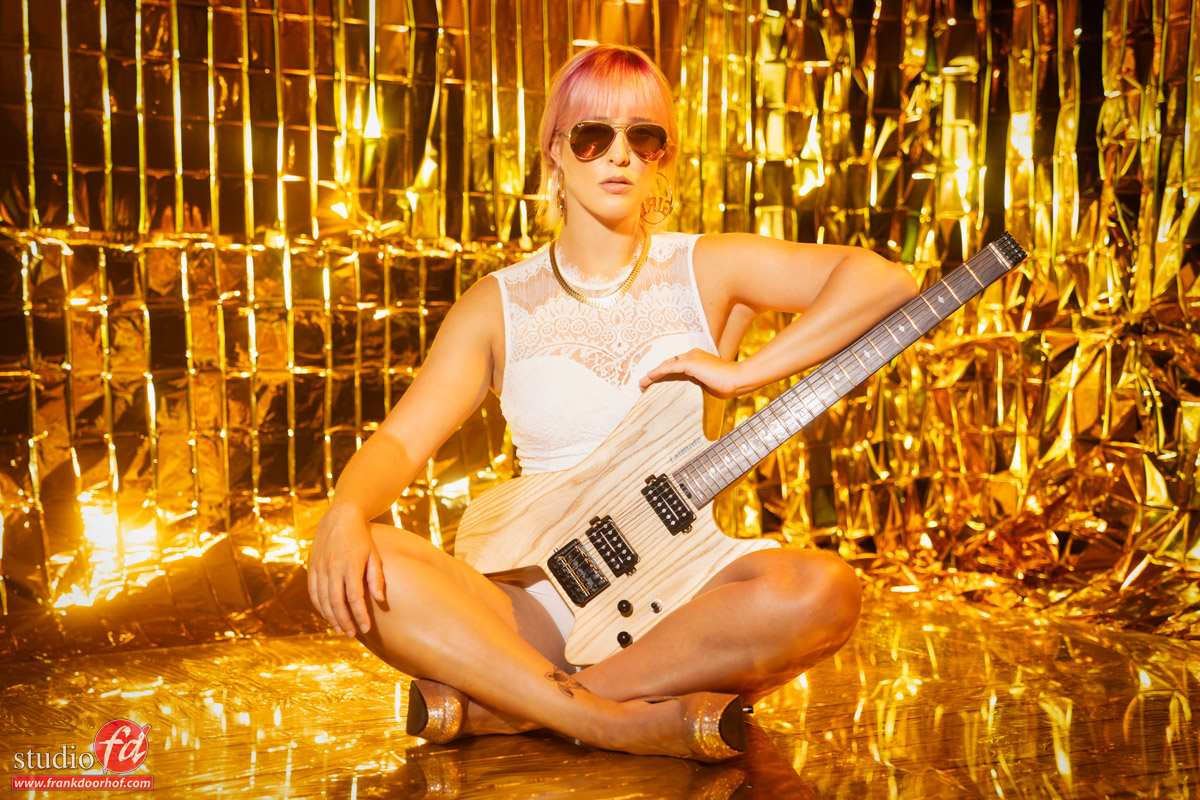
Sorry for the many photos but part of the workshop was also how to find poses with something like a guitar and I ended up liking way too many images.

Hope you guys enjoyed todays blog.
If there is anything you like to see in the blog just let me know.

See frankdoorhof.com/shop for the Fresnel, strobes and light shapers I use.

Behind the scenes during the workshop in Oss with Geekoto small flash

In todays episode of the vlog we take you behind the scenes during our workshop in Oss.
This is the second and final part of the vlog about the workshop weekend that started in Pelt Belgium.

During the workshops the theme was “working with small strobes to create great images”, so we used our Geekoto strobes and accessories from Rogue and Nanlite to show you don’t need to break the bank, and can carry a complete studio in your bag to get great images.

With the Geekoto’s I’m able to bring my camera, lightmeter, 3 strobes with grips, 2 Rogue magnetic systems, Flashbender and Rogue Umbrella, iPad etc all in one backpack or rolling case. That’s very nice if you love working on location but don’t want to shoot different images than in the studio. And with 200-250 and 400W versions supporting ETTL and HSS you will be able to work under almost every situation. If it’s too dark, or if you want to work in the studio, there also is the option of using the build in modelling light.

For us the Geekoto is the perfect hybrid between a speedlight and studio strobe.


In case you missed it…
Here is part I

Behind the scenes during the FotoFair 2023

Today we take you behind the scenes during the workshops I taught during the yearly FotoFair event.
The FotoFair is a fairly unique concept where almost every kind of photography is covered. Workshops range from animals, macro, nature, movement, flowershoots to fashion

Besides the workshops there are a lot of other activities and demos from major manufactures and some stores.
And it doesn’t stop there, although the workshops are only for paid attendees there are also a lot of cosplayers, steampunk, vikings and anything in between walking over the event terrain, so if you love to take photos, well you get the idea :D.

I taught 2 workshops each day and this was the first time we ever used the Geekoto strobes during such an event.
I did some smaller sessions with them in our studio but during the FotoFair they really got tested. Not just because they were used a lot (12 students per group) but also because the heat was almost unbearable in our tent, and I can say… they did marvellously.

I hope you enjoy the behind the scenes video we shot.


Working on location and what does flash do?

During the workshop on location in Emmeloord with our model Claudia the theme is to find locations that might look boring and make them interesting enough for some cool shots. in my opinion this is one of the best things you can do to train yourself to create better images.

The reason most people don’t shoot images close to their home is probably that they see it every day and don’t realise anymore that some locations can be great to shoot images in or against. Every day I walk Chewie I see locations where I think “this would be nice to place a model” but somehow you always travel to cool locations to do the same while in essence you could take the same kind of images close you your own location.

Now of course we do want to introduce also some interesting lighting, because if you just shoot something with ambient light it’s boring right?
Or maybe not….
So during the workshop we actually run through several different lighting solutions.

So today let’s take a look at what you can do with just an open parking place.

Let’s start out with ambient light only.

A low angle and a standard preset I created in Luminar AI (you can get those on frankdoorhof.com/shop)

Now let’s add a just a slight amount of flash.
I’m using a Hensel Porty with a 14″ reflector here and to get this effect you really don’t need a lot of power, in essence I’m overpowering the ambient by just 1-1.5 stops.

With retouching you could get something similar quite easily.
Now one of the limitations of shooting with the Hensel Porty is that you are limited to the X-sync which in most cases lies between 1/125 and 1/200. So you will mostly shoot on smaller apertures when using a lot of power. This is why I’m using a variable magnetic ND filter on my lens when shooting with the porty system outside.

I’m using the K&F concept version which you can find in the Frank Doorhof kit which includes 2 Black diffusion filters (1/4 and 1/8) and the variable ND filter, all magnetic of course.

Ok, so now let’s add a lot of light.

Here I’m totally overpowering the ambient light and also chose a different angle to enhance the contrast even more.
One might say…”hey this is cheating because we don’t see the sky anymore”
So of course I also shot some with the sky included but we did move the set a bit to make the series more varied.

This is something I always highly recommend.
If you shoot all images from the same angle and in the same location it can be very nice but also a bit boring, and you don’t have to travel or even walk to another location, it’s often a matter of choosing a location where you can shoot from different angles and create something new with every angle. It doesn’t only speed up your workflow but also give your client much more different images for the same price, so they will be much more willing to hire you again for another job.

As you can see there is a huge difference between the first and last images.
However in reality it’s “only” the difference in lighting and by choosing different angles.

So the next time you are shooting on location look around for areas that can be shot from different angles and don’t be afraid to shoot with or without strobes.