Exactly a year ago we introduced a new tether brand: IQwire. We used the 10-meter cable a lot. Problem-free! But there is more. Read this update about 1-year problem-free tethering with IQwire.
Facebook sends you reminders of what happened a year ago. And today Facebook showed the official announcement of us distributing IQwire in Europe.
What is tethering?
Shooting tethered is one of the best upgrades you can do to your workflow. In case you wonder “Tethering?” When we talk about shooting tethered we mean that we connect our camera to a larger display to see the images we shoot right away. This can be on a tablet like Android or iOs, but also Windows or Mac of course.
In the studio or on location this means you can immediately judge your images for focus, lighting, etc. But you can also add presets to the images so your client (or yourself) can get an idea about how the final image will look. Especially when shooting in BW this can be an awesome tool that really makes the difference. But also think about overlays where you are able to shoot the images straight into the publication with all the headlines, text, etc. already laid out so you can get perfect results.
What you might not know is that most modern cameras support shooting tethered. In most cases, software like Lightroom or Capture One supports your camera. But there are also alternatives, most cameras even have their own software which can or cannot be incorporated with Lightroom. Tethering is a serious workflow enhancement, and might I say probably one of the most important ones.
But time moves on and demands also grow
A camera that was cutting edge a few years ago is already surpassed by many generations that followed. This also means that the files are getting larger, but most of all the buffers of the cameras are getting larger, cards are getting faster and we are also able to charge our cameras via USBC. This means that the demands we have for our tethering cables are getting higher and higher.
Today it’s exactly a year ago I made a post on the internet that we would be releasing a new brand for Europe that would be able to solve most if not all problems that people experience when shooting tethered, and after a year let’s look back and continue reading about 1-year problem-free tethering with IQwire
the IQwire logo with slogan
Experience is key
I’ve been shooting tethered for as long as I can remember. It started with the famous yellow composite cable to a CRT monitor. A simple connection from the video out of my camera to the TV. Nothing fancy but it worked like a charm. Later of course I switched to wireless tethering with a special battery grip which in all honesty worked ok for JPGs but was way too slow for RAW files (nothing changed here). I believe that when I switched to Medium Format it was the first time I really was able to shoot tethered the right way via Leaf Capture. At that moment I was running Windows and there actually was no Windows version of Leaf Capture. But thanks to the awesome team at Leaf I was able to run an alpha/beta version of the software. Later I switched to Mac also due to the fact my Windows laptop was way too unstable in heat or wet environments.
Sony A99 could not tether
Fast forward a lot of years and I was asked to do the introduction of the Sony A99. At that moment a groundbreaking camera with an EVF and …. well…. no tethering. Seeing I was asked to do the official introduction in Dubai for an audience this was really a big issue. So I started working together with a small company that actually managed to get me a “working” version of their tethering plugin for Sony cameras, with the STRONG message, please don’t shoot more than 25 images, and please not too fast. To make a long story short it was a demo with not that many shots but I was probably the first one in the world that actually shot tethered with the A99.
Tethering can be complicated
We never stopped looking for better tethering solutions and for many years Annewiek and I worked effortlessly to make tethering problem-free for every photographer. You have to realize that just adding a cable to your camera doesn’t warrant that tethering works. It’s actually in some cases a very complicated process where drivers can block the tethering or power saving can cause lost connections. Dropbox can even totally shut off tethering, hardware drivers aren’t updated or not correctly, etc. I could write a small book about all the problems we experienced over this period.
But as mentioned times changed and we found that more and more photographers (including myself) demanded more from our cables and solutions. For me, it was important to be able to use 10 meters (33 ft) cables without any hassle of adding two different cables together. I want to tethering to work problem-free. Extending cables in reality just doesn’t work reliably. Even when using locks after a few months I started getting lost connections and we had to tape the whole system together. And let’s be honest if you walk on a stage you don’t want to worry about losing connection, you just want to shoot and trust your gear.
And we found a brand that does exactly what the modern photographer wants.
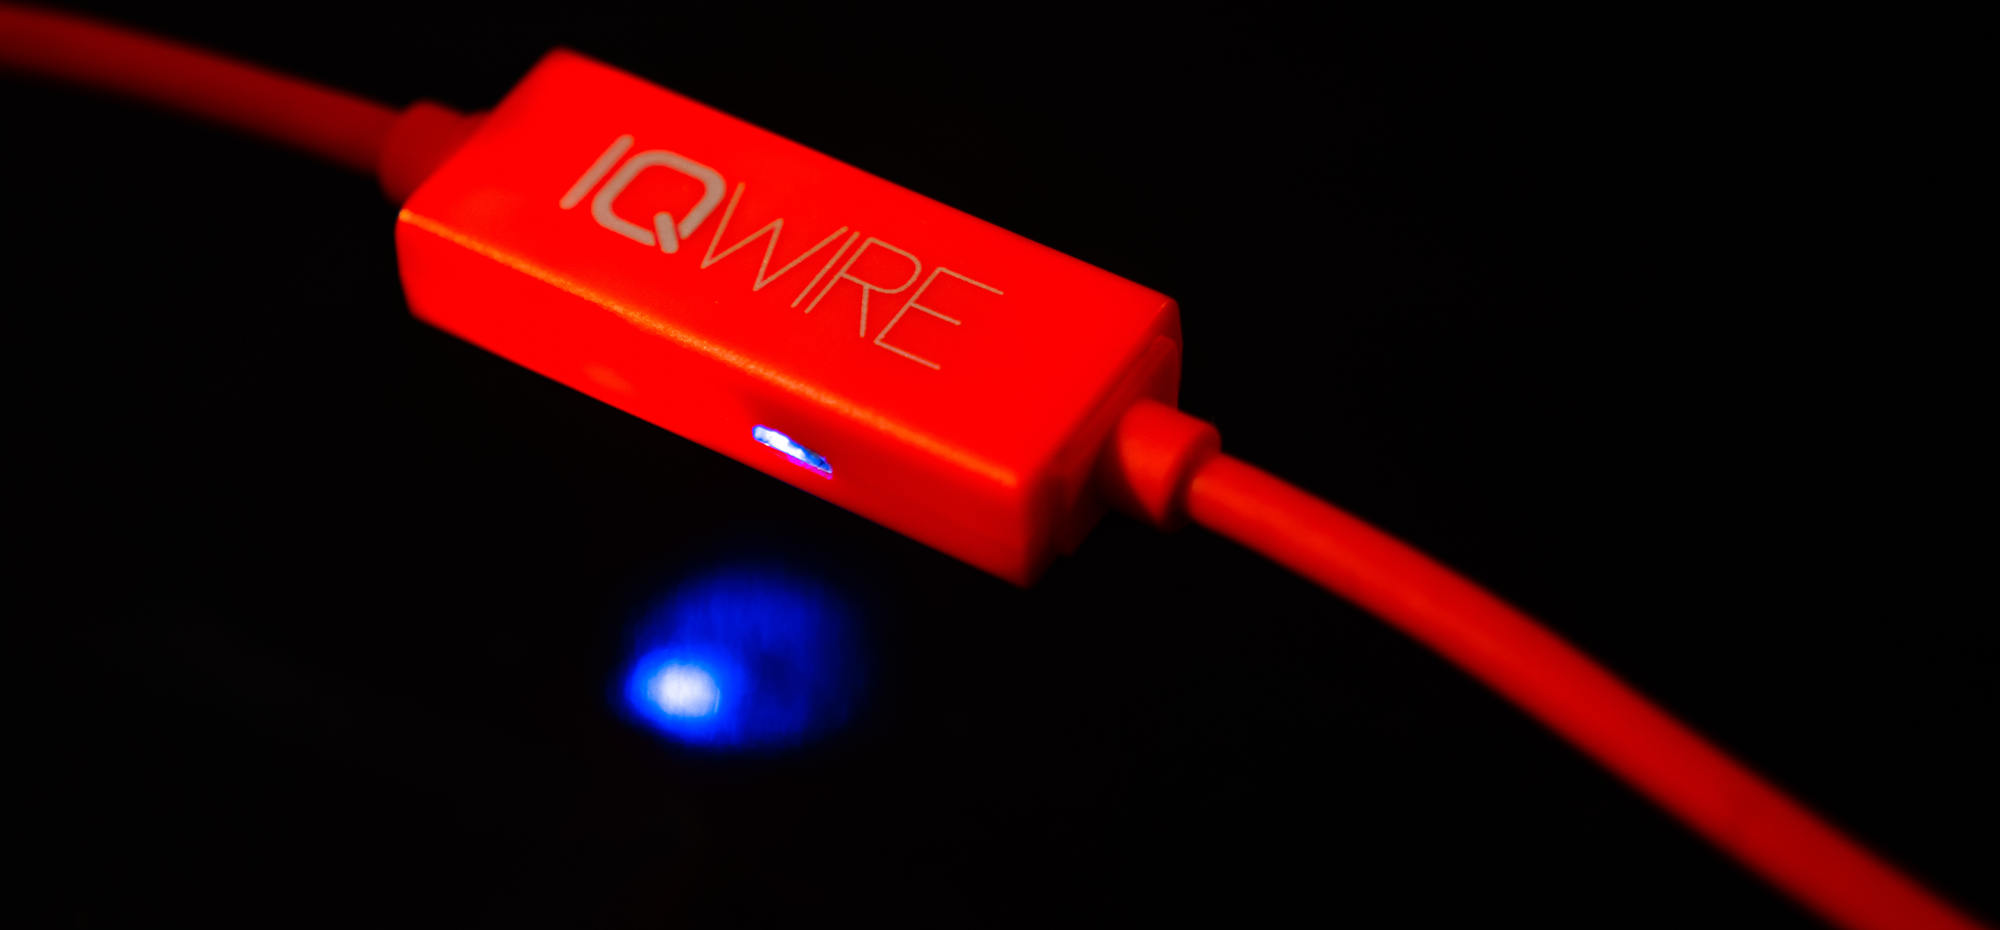
IQwire
And the IQ is not there for fun or advertising. We deliver the IQwire cables in 5 and 10 meters lengths. So one problem for me was solved (length). However, when using 10 meters you are going beyond the limits of USBC (4.7 meters) so how do we make it work you might ask?
Well in the 10 meters version, you will find 2 boosters, and by using 2 boosters we have some advantages that no other brand has.
First of all of course the length, finally 10 meters without any extra connections.
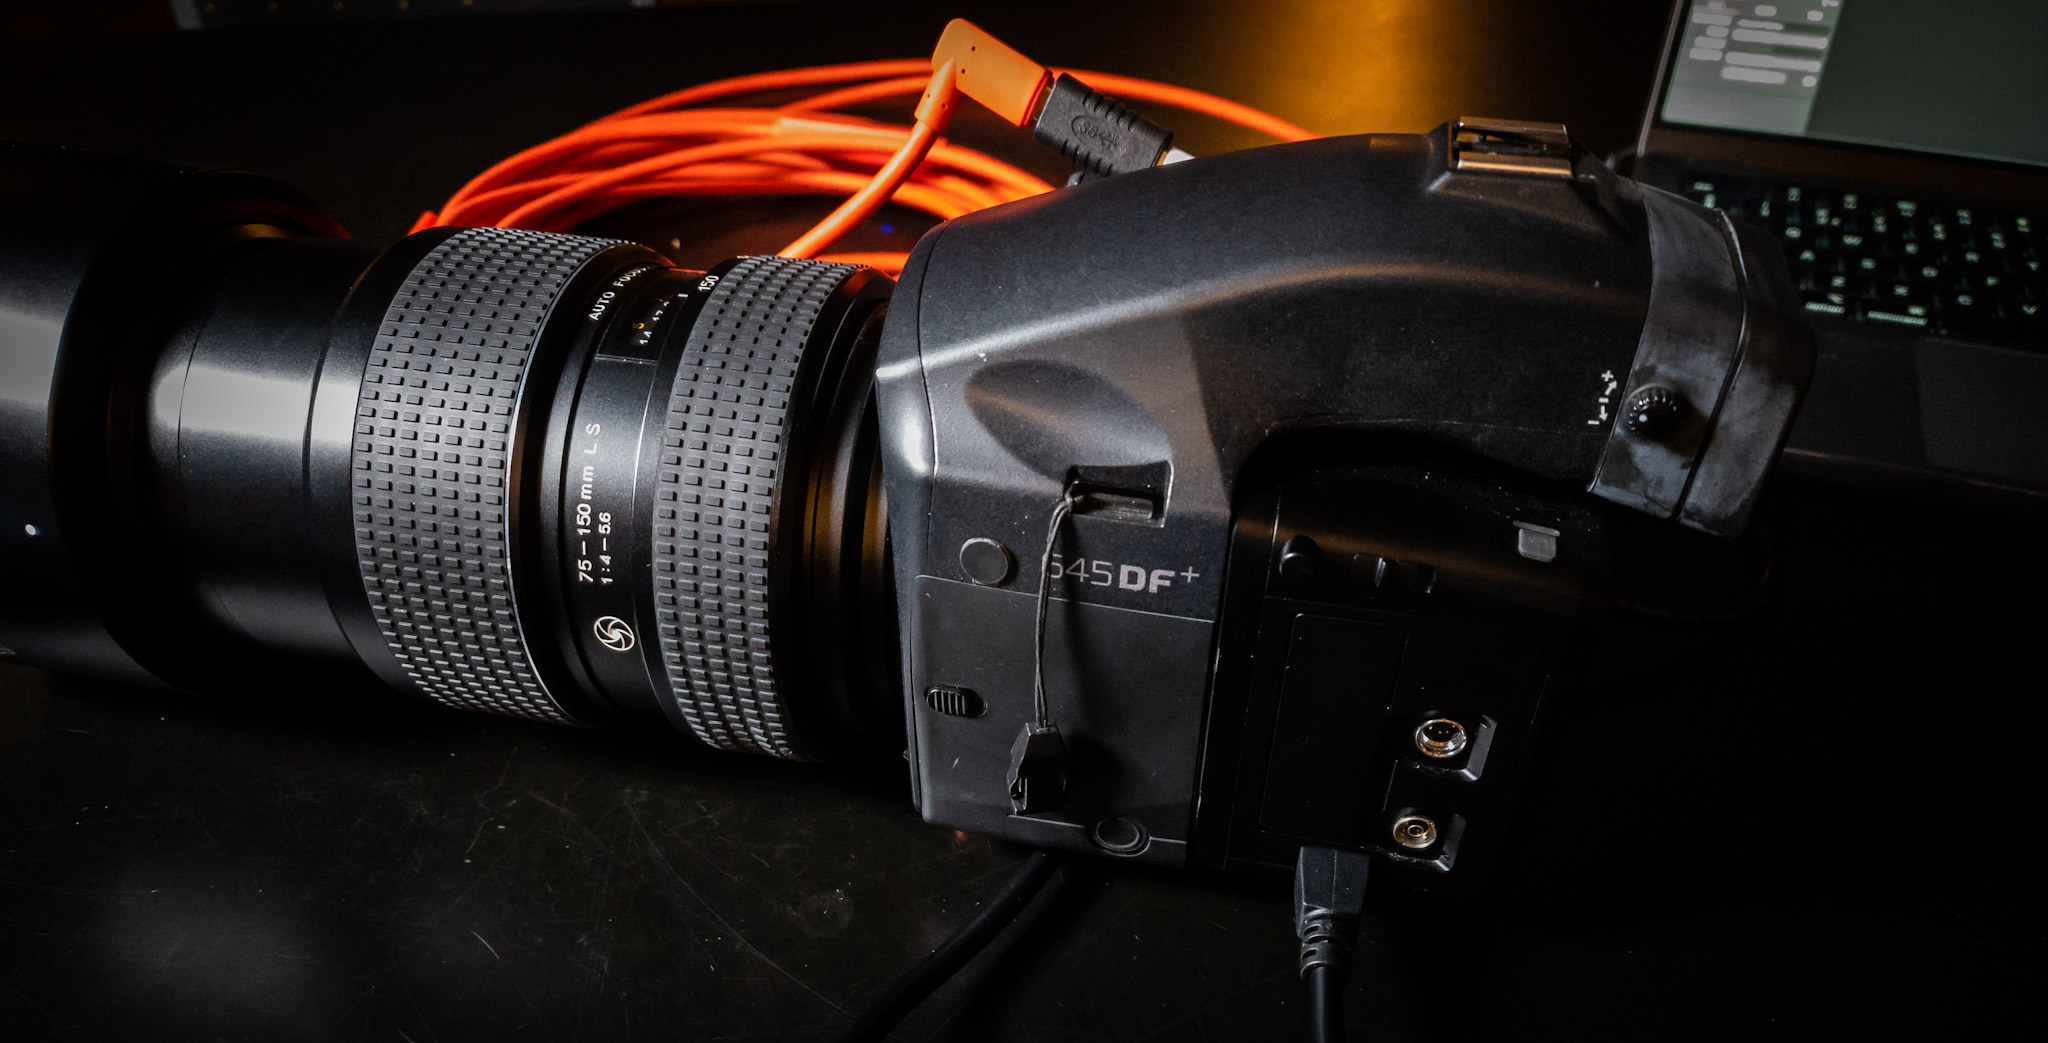
But by using two inline boosters we are also able to solve another huge problem. The fact that most professional photographers use several cameras. With the IQwire, we are also selling several pigtails and even a USB-A converter. This makes the IQwire literally one cable to rule them all. When you shoot USBC you just use the cable as it is. But if you need USB mini/B/micro or any other connection you are able to connect a so-called pigtail cable where you go from USBcC female to the connector you need. Our pigtails are app 15 cm in length but I did some tests with adding a convertor PLUS a 4.7 meter cable and to my surprise my Medium Format camera didn’t just shoot without any dropouts but even was able to charge on the lowest setting which proves how stable and well build the IQ-Wire system is. So that is what we call problem-free tethering!
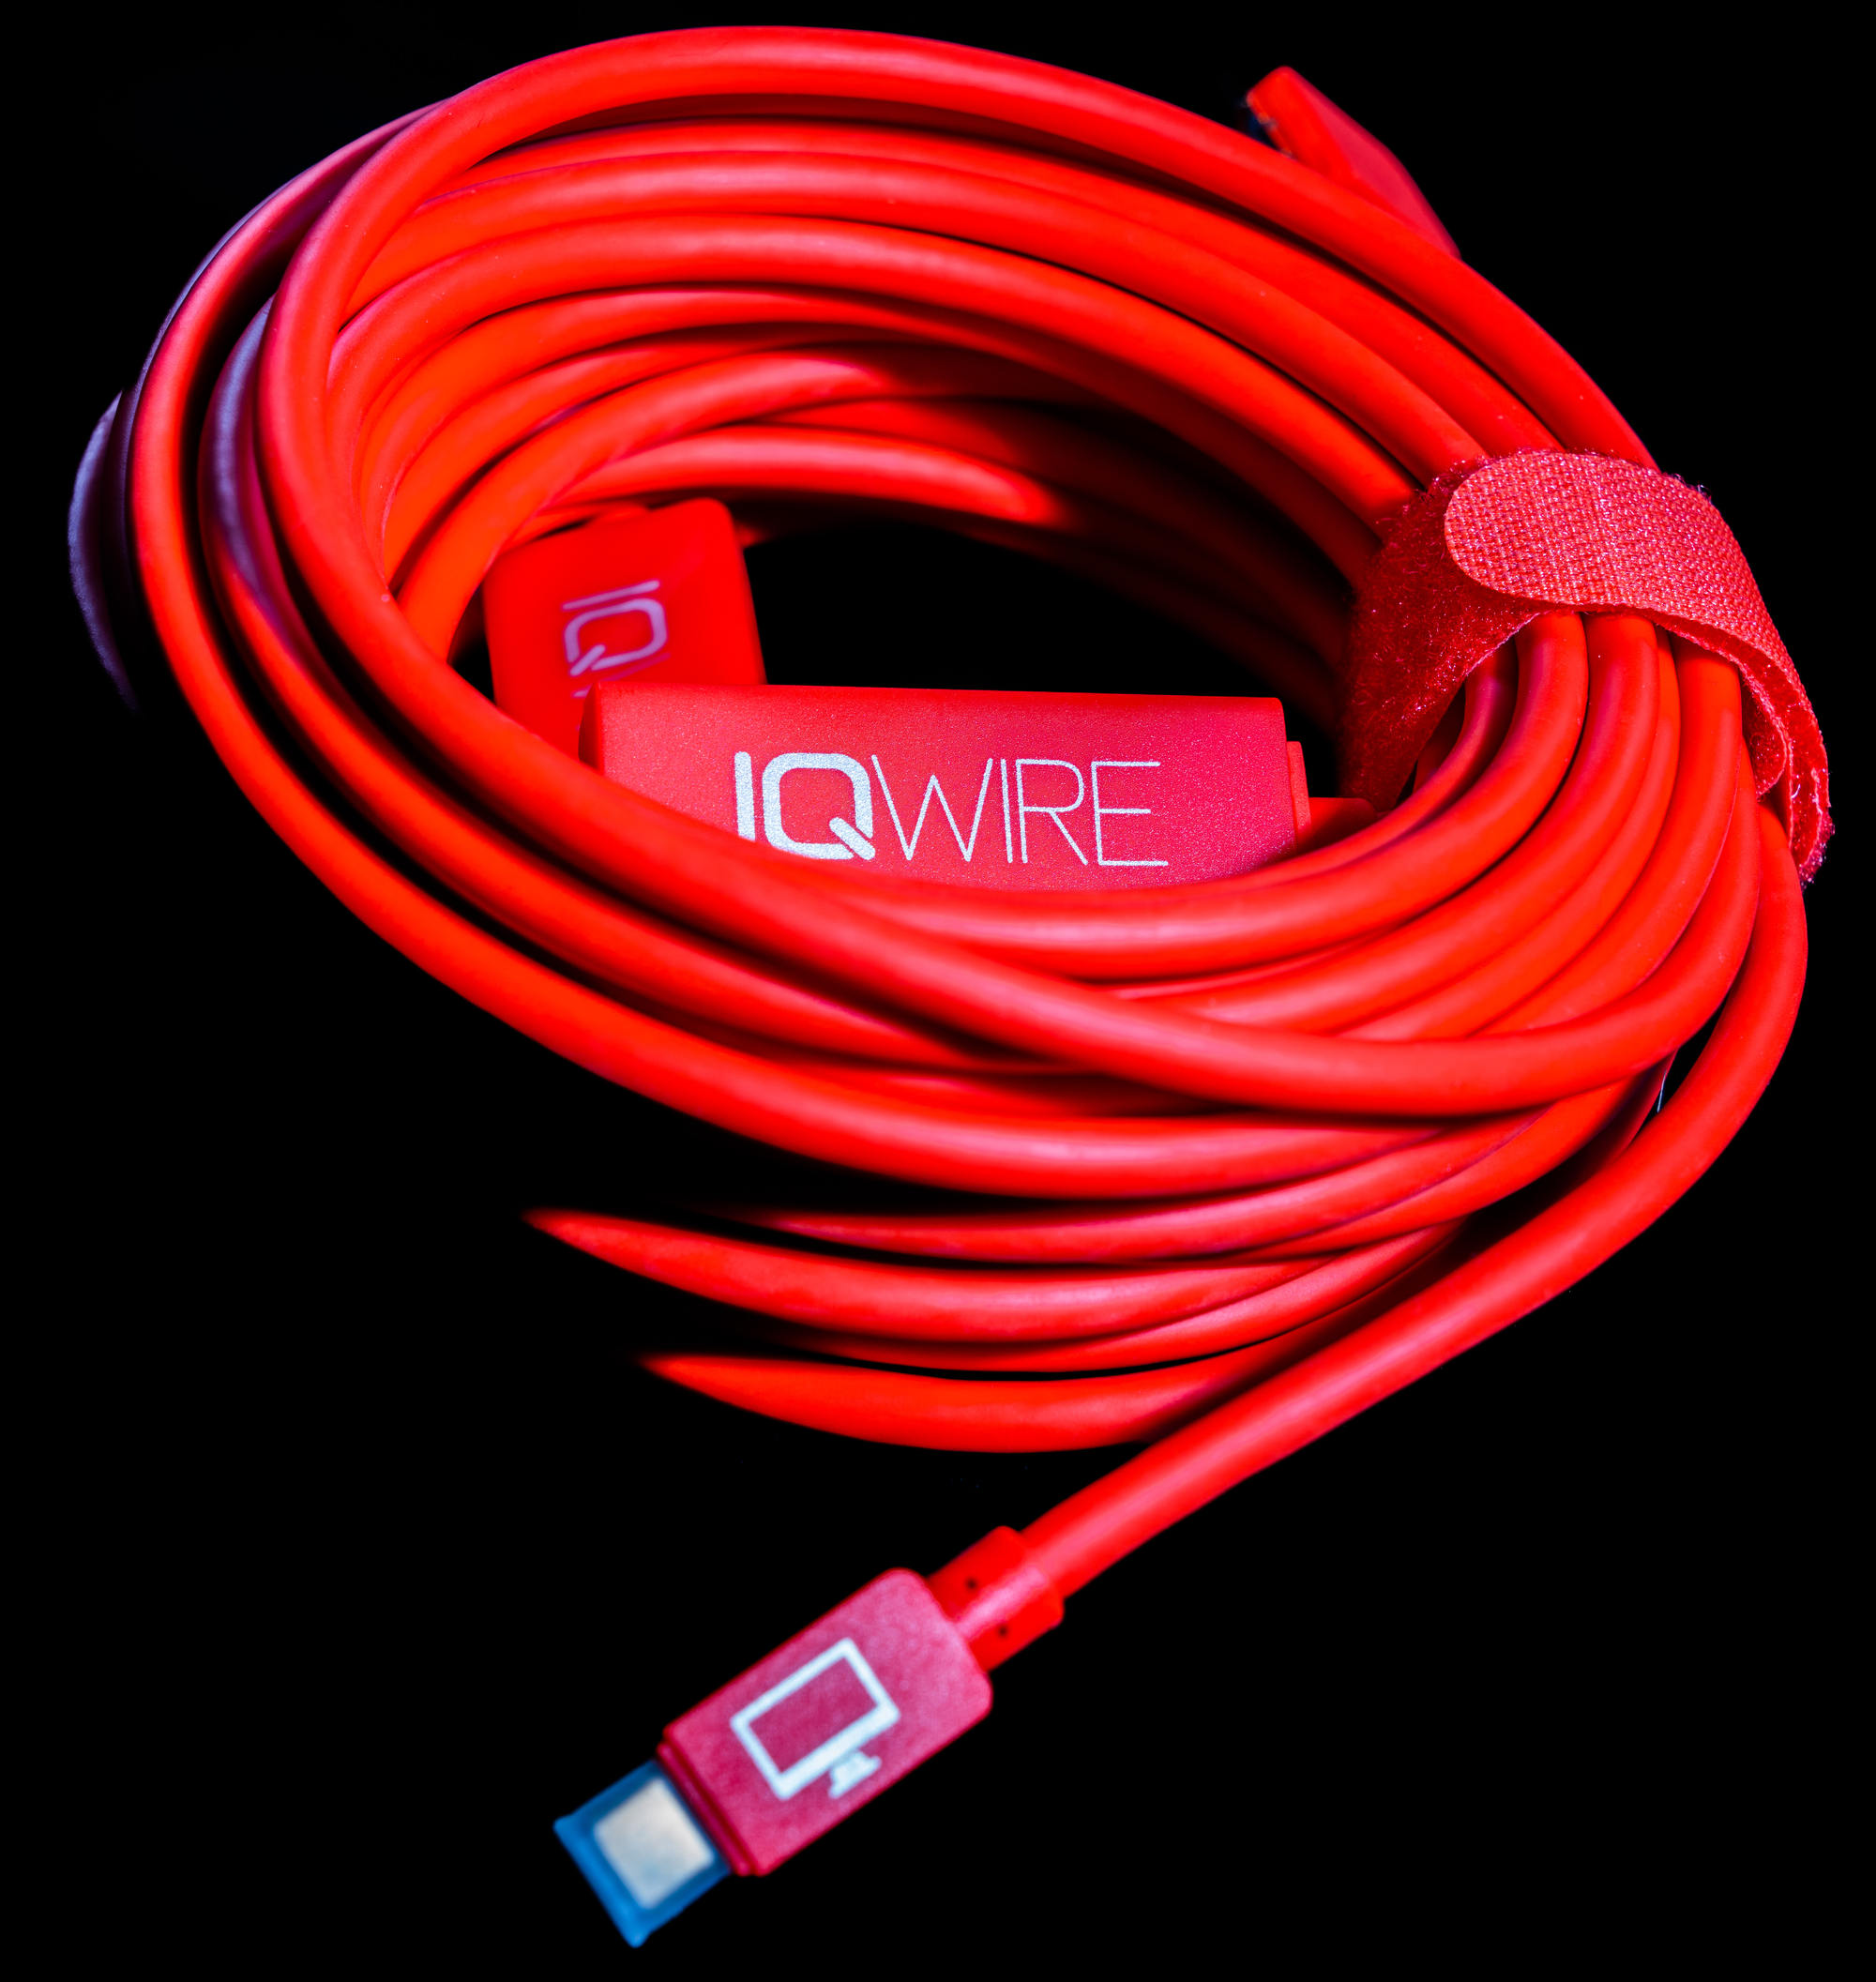
And although you don’t really need a booster on 5 mtrs also our 5 mtrs cables have one booster.
But there is more
As soon as you connect your camera for the first time you will notice that the connection is blazingly fast. The camera is recognized almost immediately and there are no more pauses or hiccups during the session, all images come in at the same time and speed.
We did several tests ourselves and clocked a difference of up to 20% compared to the best other cables. According to a recent review, the reviewer actually claimed even faster speeds compared to an off-brand cable. The impressive fact from that review was he compared a standard 1-meter cable with our 10-meter cable.
Part of this is of course due to the boosters. But also due to a small piece of hardware called IQ-connect. With IQ-connect you are always sure your camera and computer/tablet have the fastest connection and don’t disconnect the camera during the shoot.
With modern cameras, you can still shoot with standard cables of course, but if you want a reliable professional solution that can take a beating IQwire is the best choice in our personal opinion.

Cascable logo, tethering software for the iPad
And more
When we look at the demands from photographers besides length we also hear being used iPad more and more. And let’s be honest, being able to shoot to a laptop is great, but you always have to carry an expensive piece of gear into environments that are far from friendly for anything that has air vents. Take your laptop to a beach with a little bit of wind and you know what I mean.
The iPad is the perfect solution for shooting tethered. I shoot with the iPad almost exclusively now and would literally never go back to the laptop. More battery life, much more light output, and much much easier to mount on a stand without the risk of falling over.
But you need software for this of course. And as mentioned before we always look for great solutions and found this in an app called Cascable on iOS. Do make sure you check if your camera is supported for wired tethering (they support a lot of cameras and even more wireless so make sure you check for wired too).
You guessed it… there is more
Now that we have the perfect cable in the perfect length, and a good tethering solution there is one thing missing.
When we connect something to our camera there is always a risk of damaging the port. This is one of the reasons I never advise people to empty their cards via the cameras, so how do we solve this with tethering?
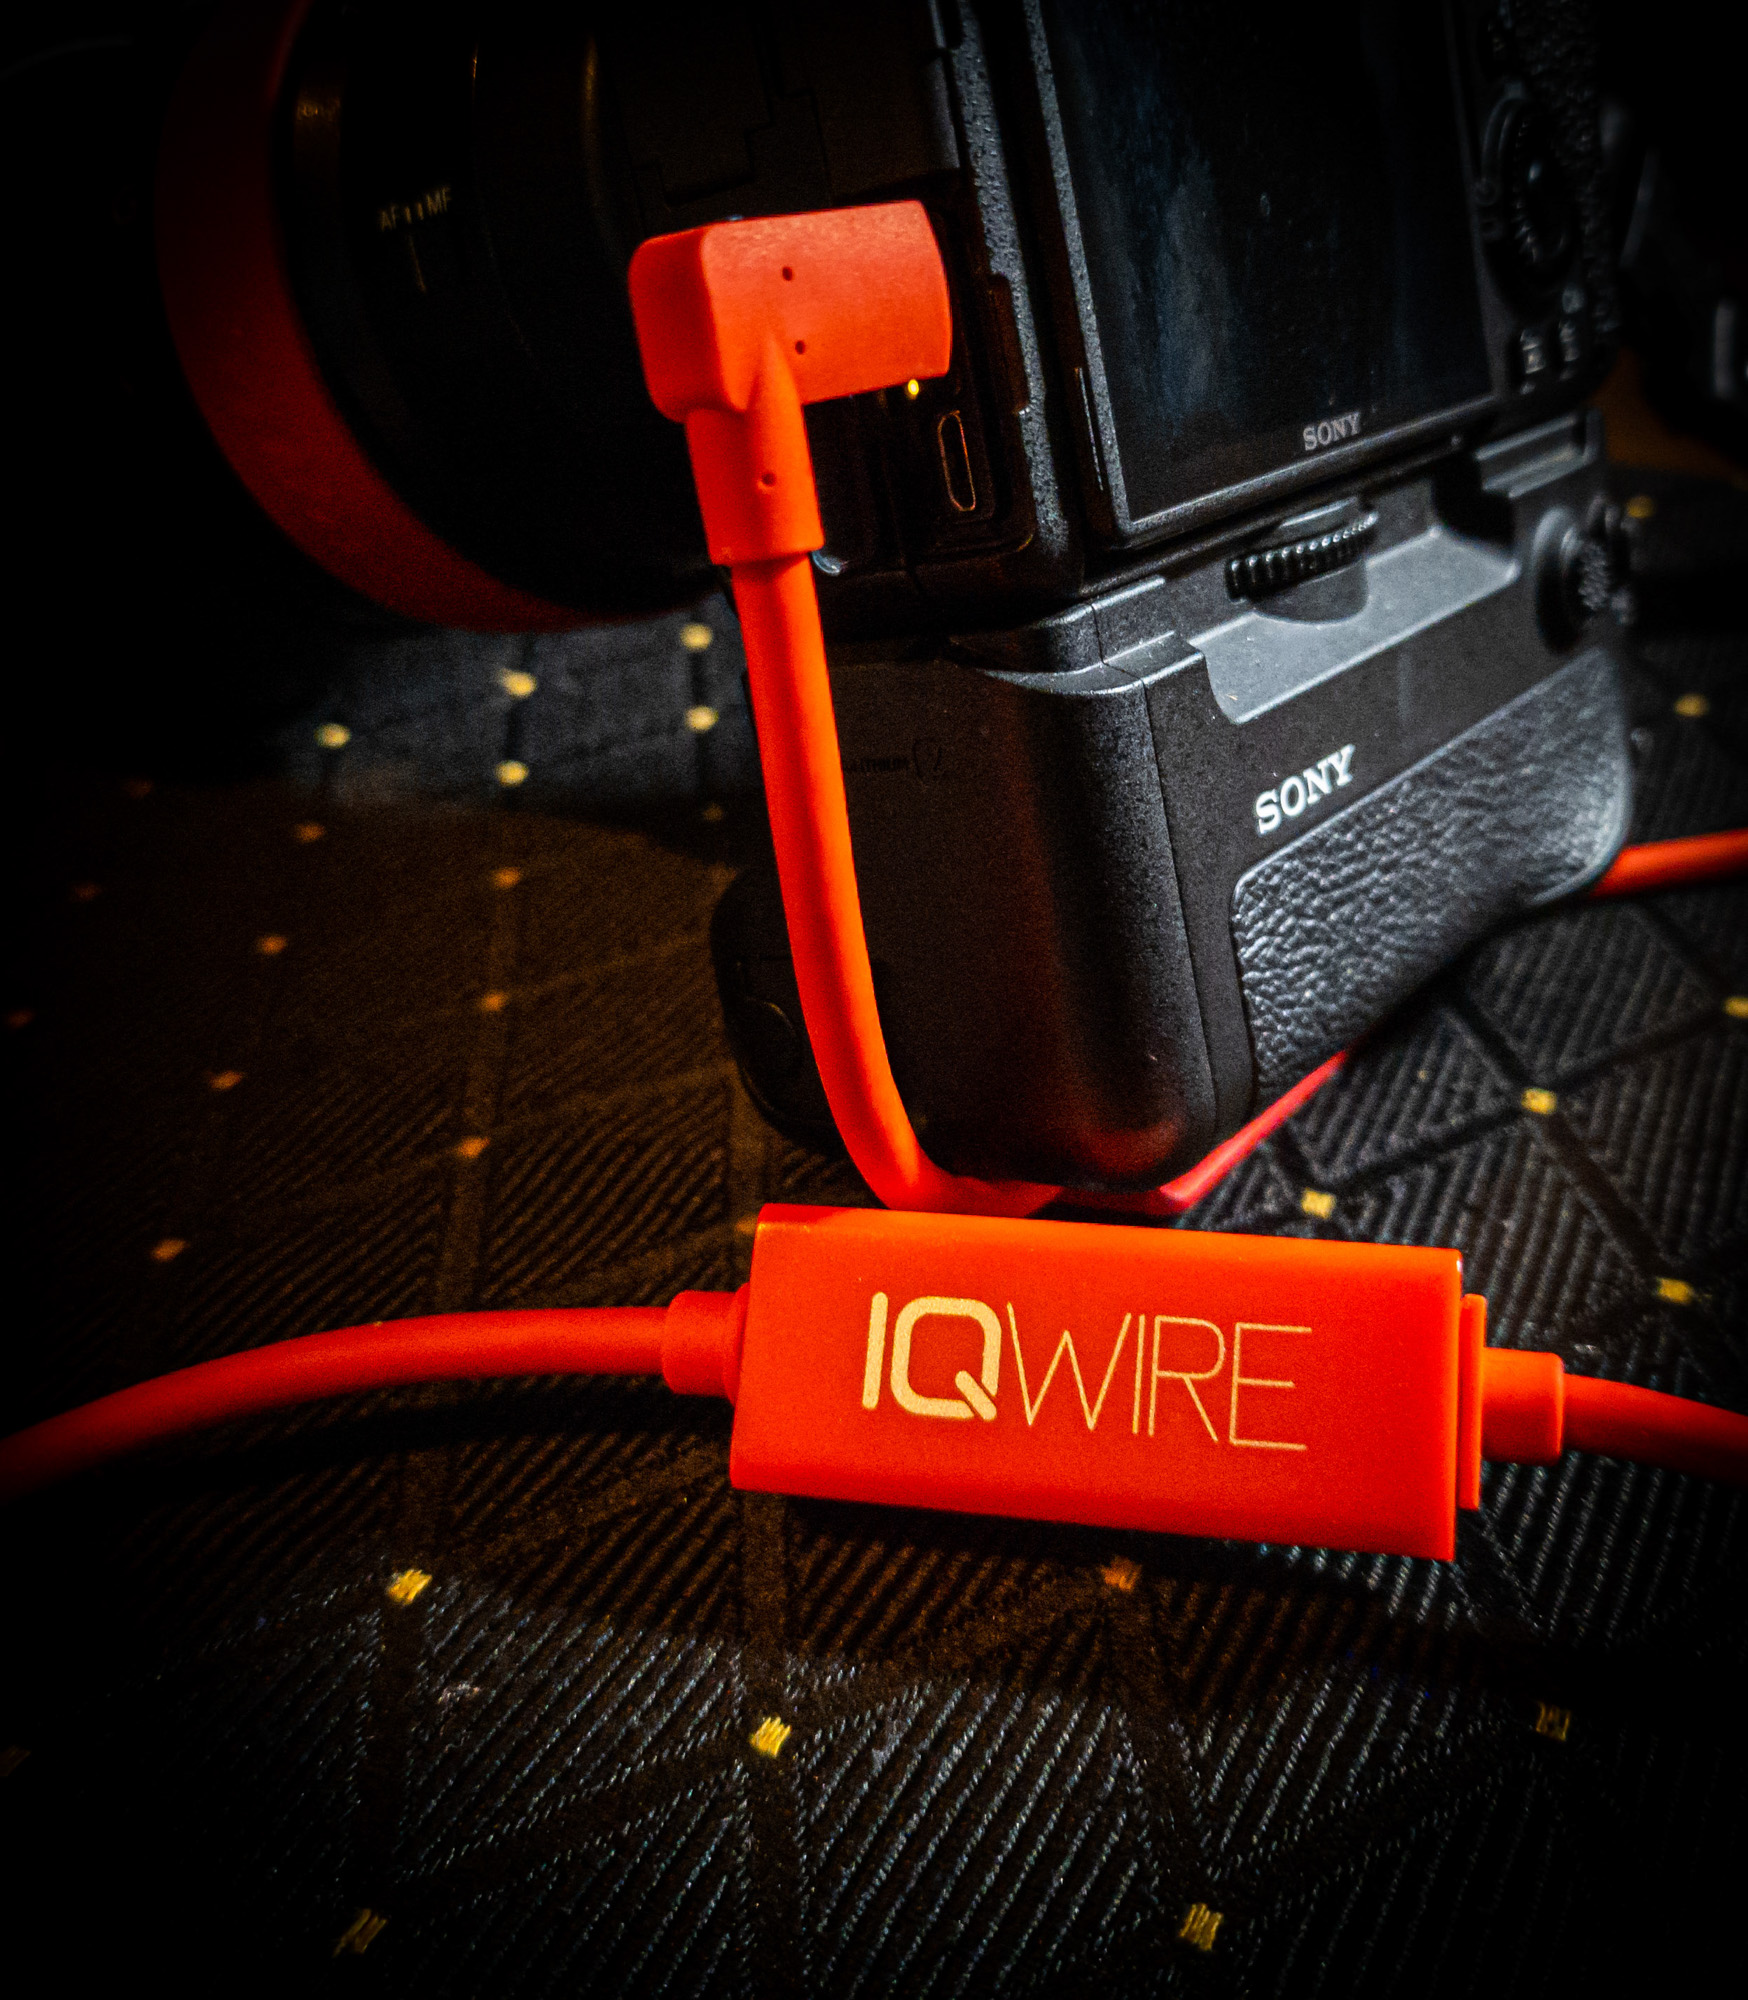
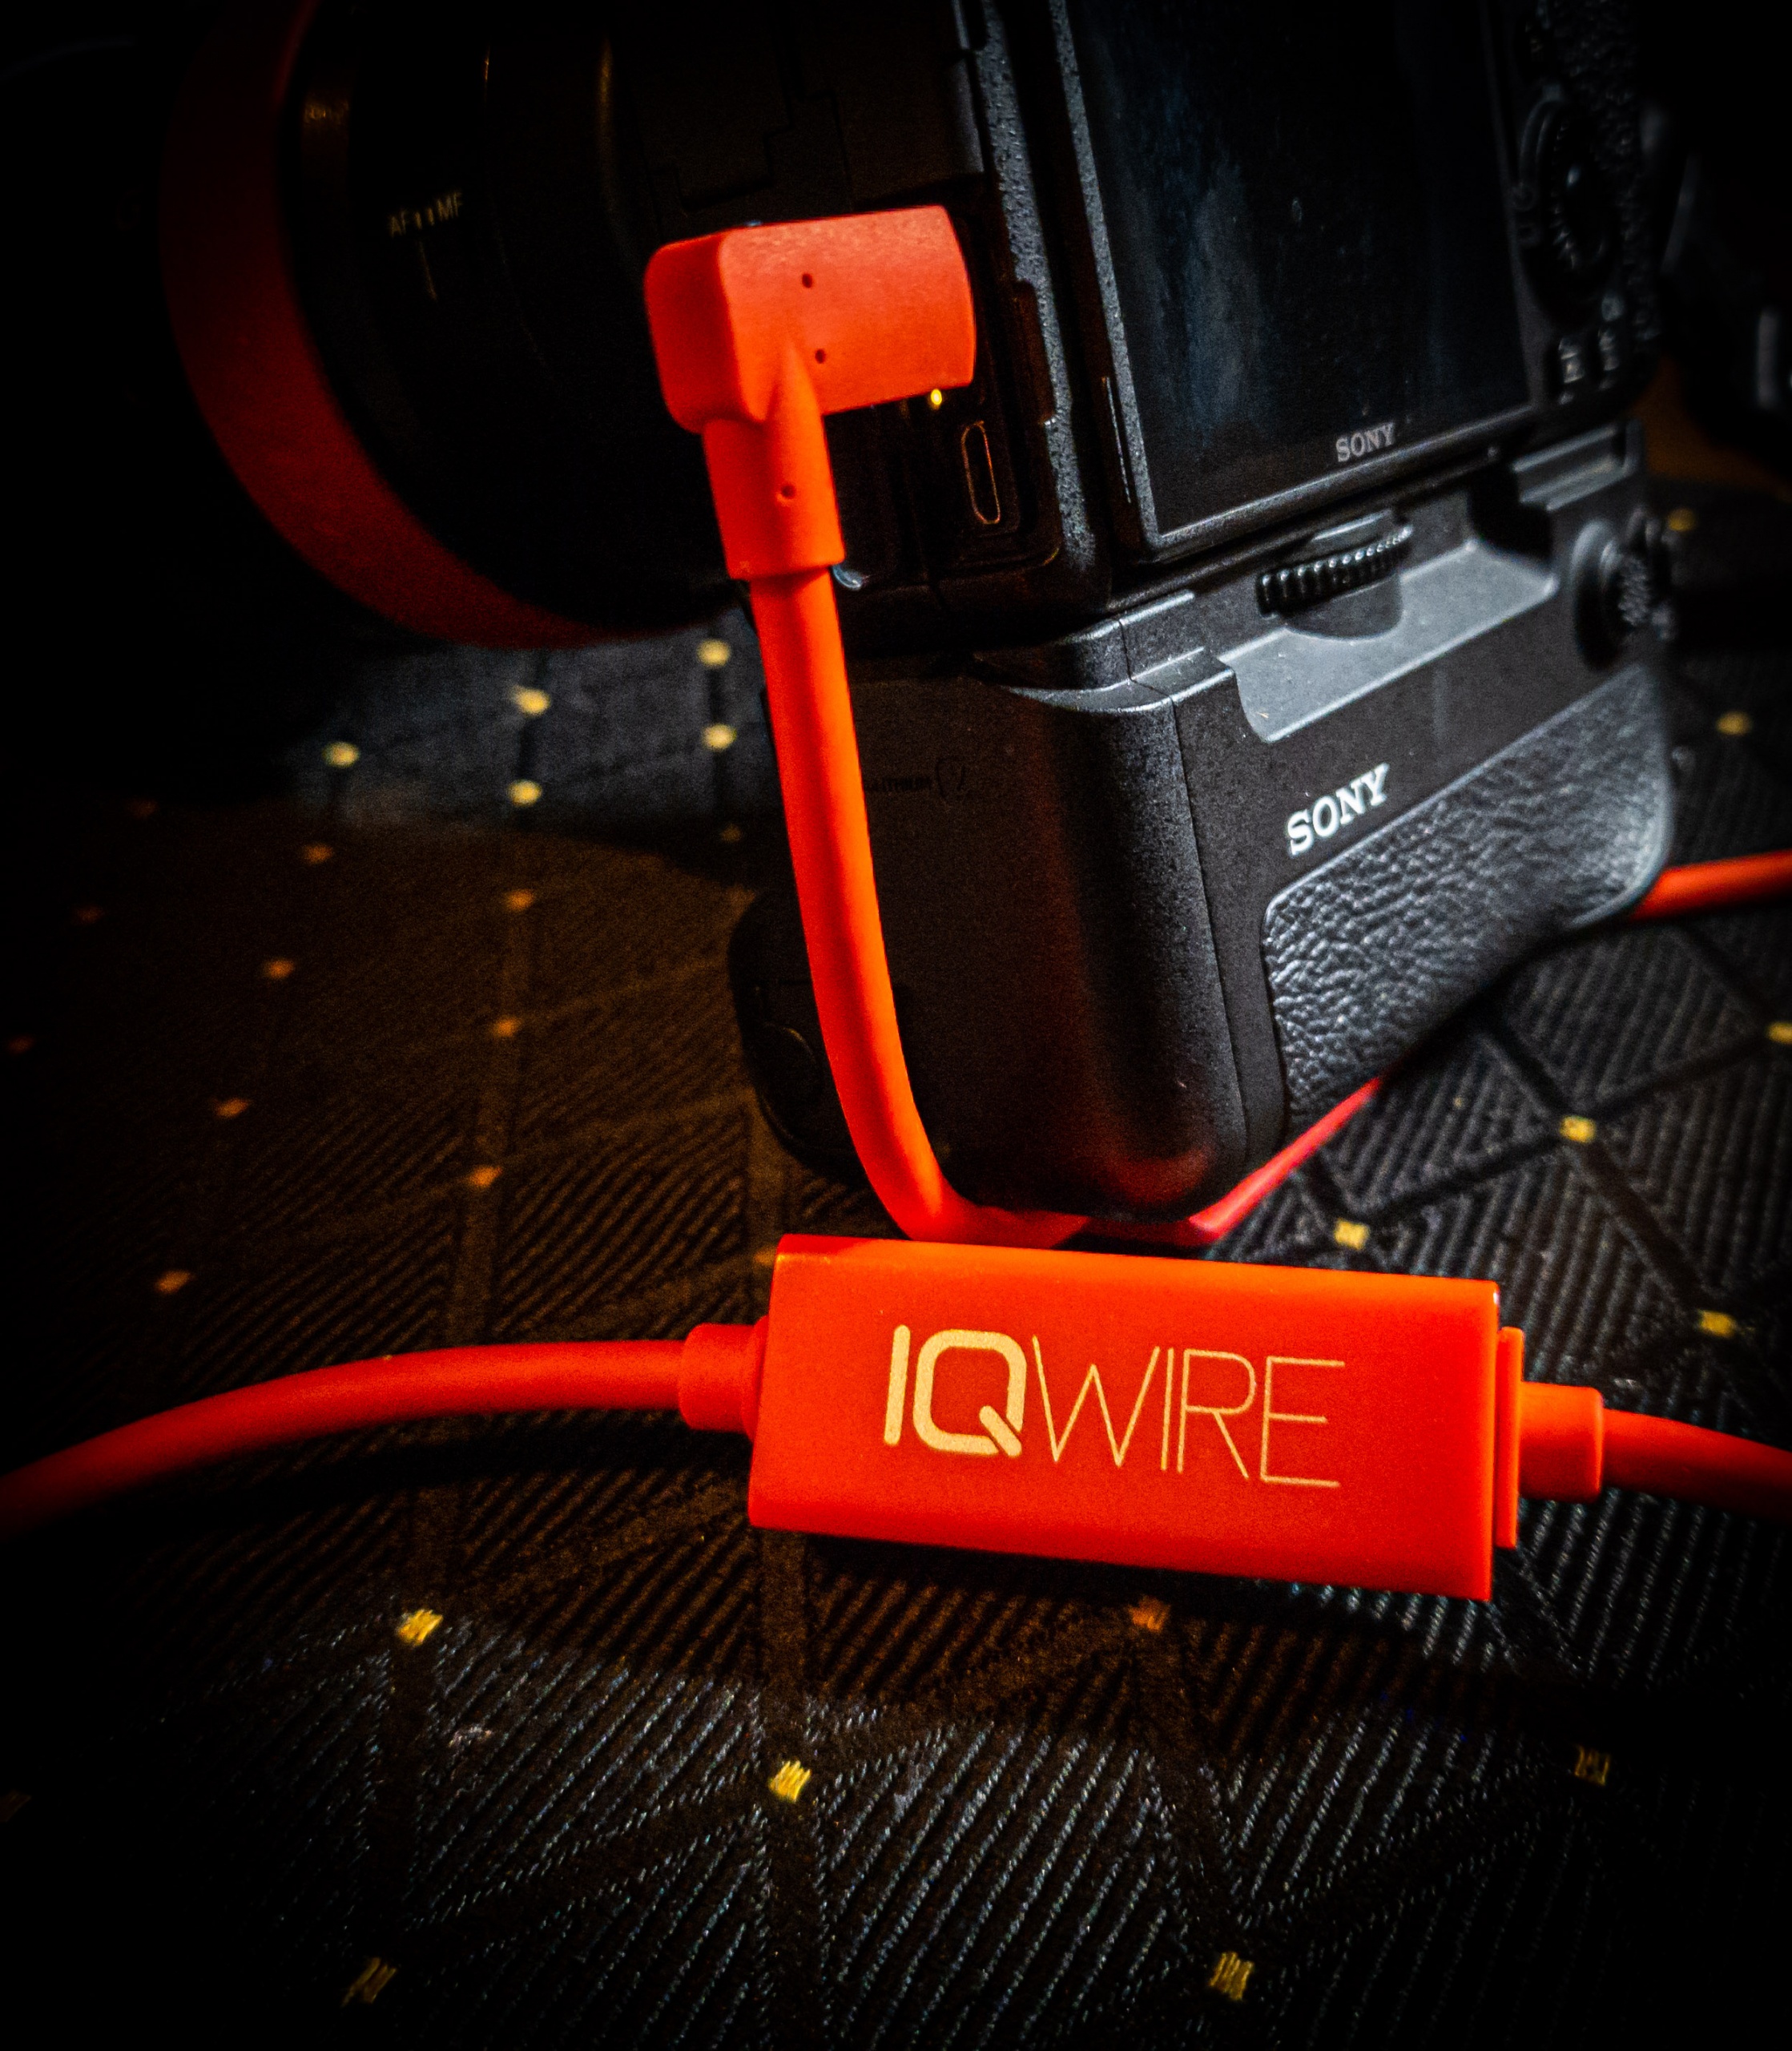
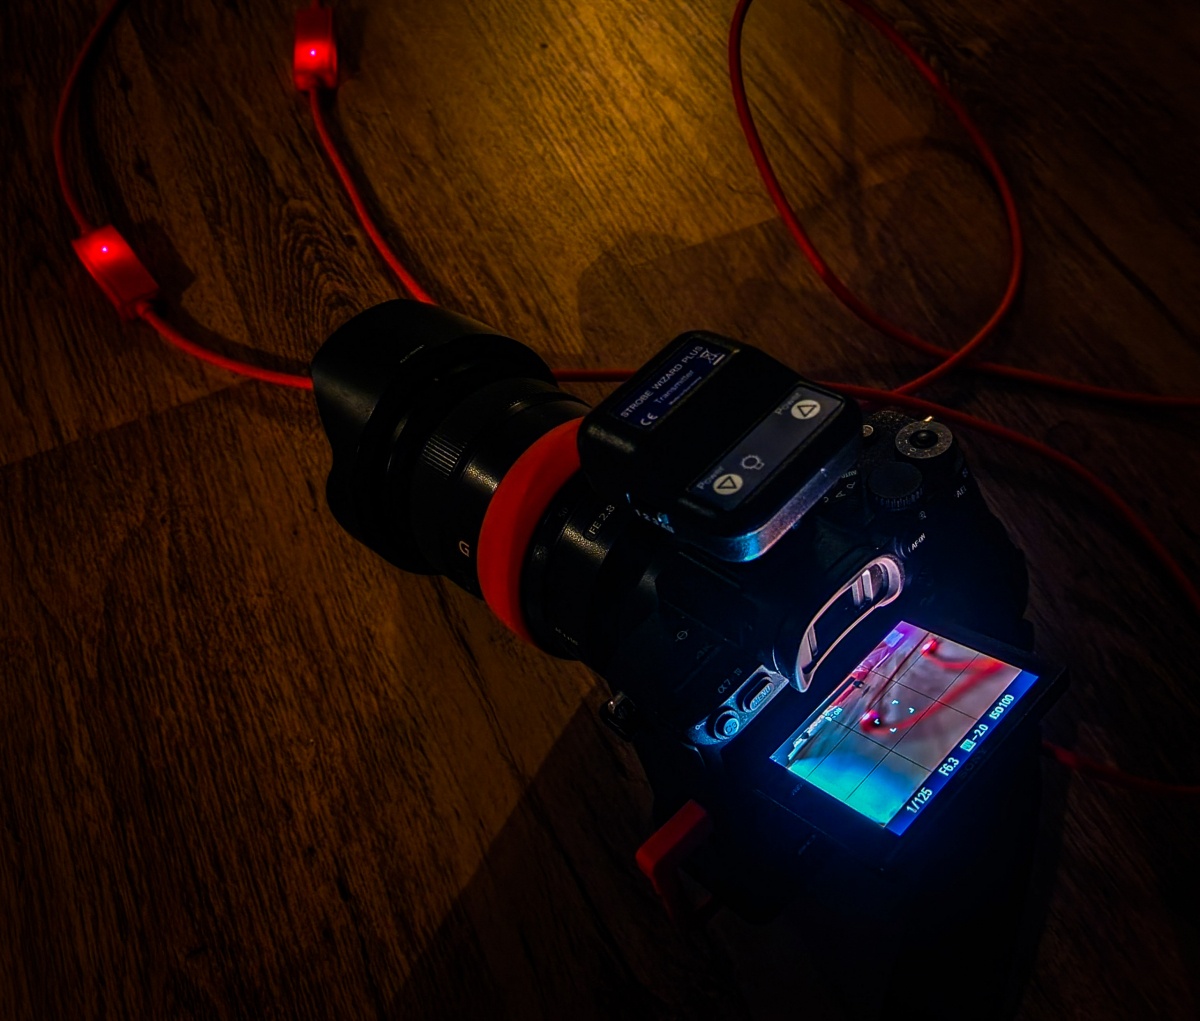
First of all, IQwire uses angled connectors which already bring the risk down when a camera tips over when on the floor. (Never ever place your camera when connected on a stool or table, if someone hits your cable the camera will fall and probably not survive, so always place a connected camera on the floor). Due to the angled design of the IQwire the camera will literally turn over the cable protecting the port. But that doesn’t help when someone stands on your cable (of course you never do that yourself :D).
This is the first reason everyone should consider a 10-meter cable
When you use a 5-meter cable you have to take into account your own length (in my case 1.97) and the height of the laptop or tablet (mostly 1.50 meters). This means that if you don’t want your cable to “float” you already lose roughly 3.50 mtrs which means you can move around 1 to 2 meters around your laptop/tablet before the cable becomes a danger to trip over. With a 10-meter cable, this is much more than double. Now you can move roughly 6.50 mtrs around your laptop/tablet. This makes it not only safer to shoot but also hugely benefits the way you can use your set creatively. Being limited by length is incredibly frustrating.
But even when you use a 10-meter cable the port is still very fragile.
So you need something to connect the cable securely to the camera. Anything that moves around is not safe enough and just a small protection, as long as the cable moves there is a constant movement to the port which will eventually weaken the port and this will lead to lost connections.
For years I’ve used a solution that was expensive, very troublesome to take off and put on and was often cut into my hand. So we decided to create something that would work much better and would be a LOT cheaper.
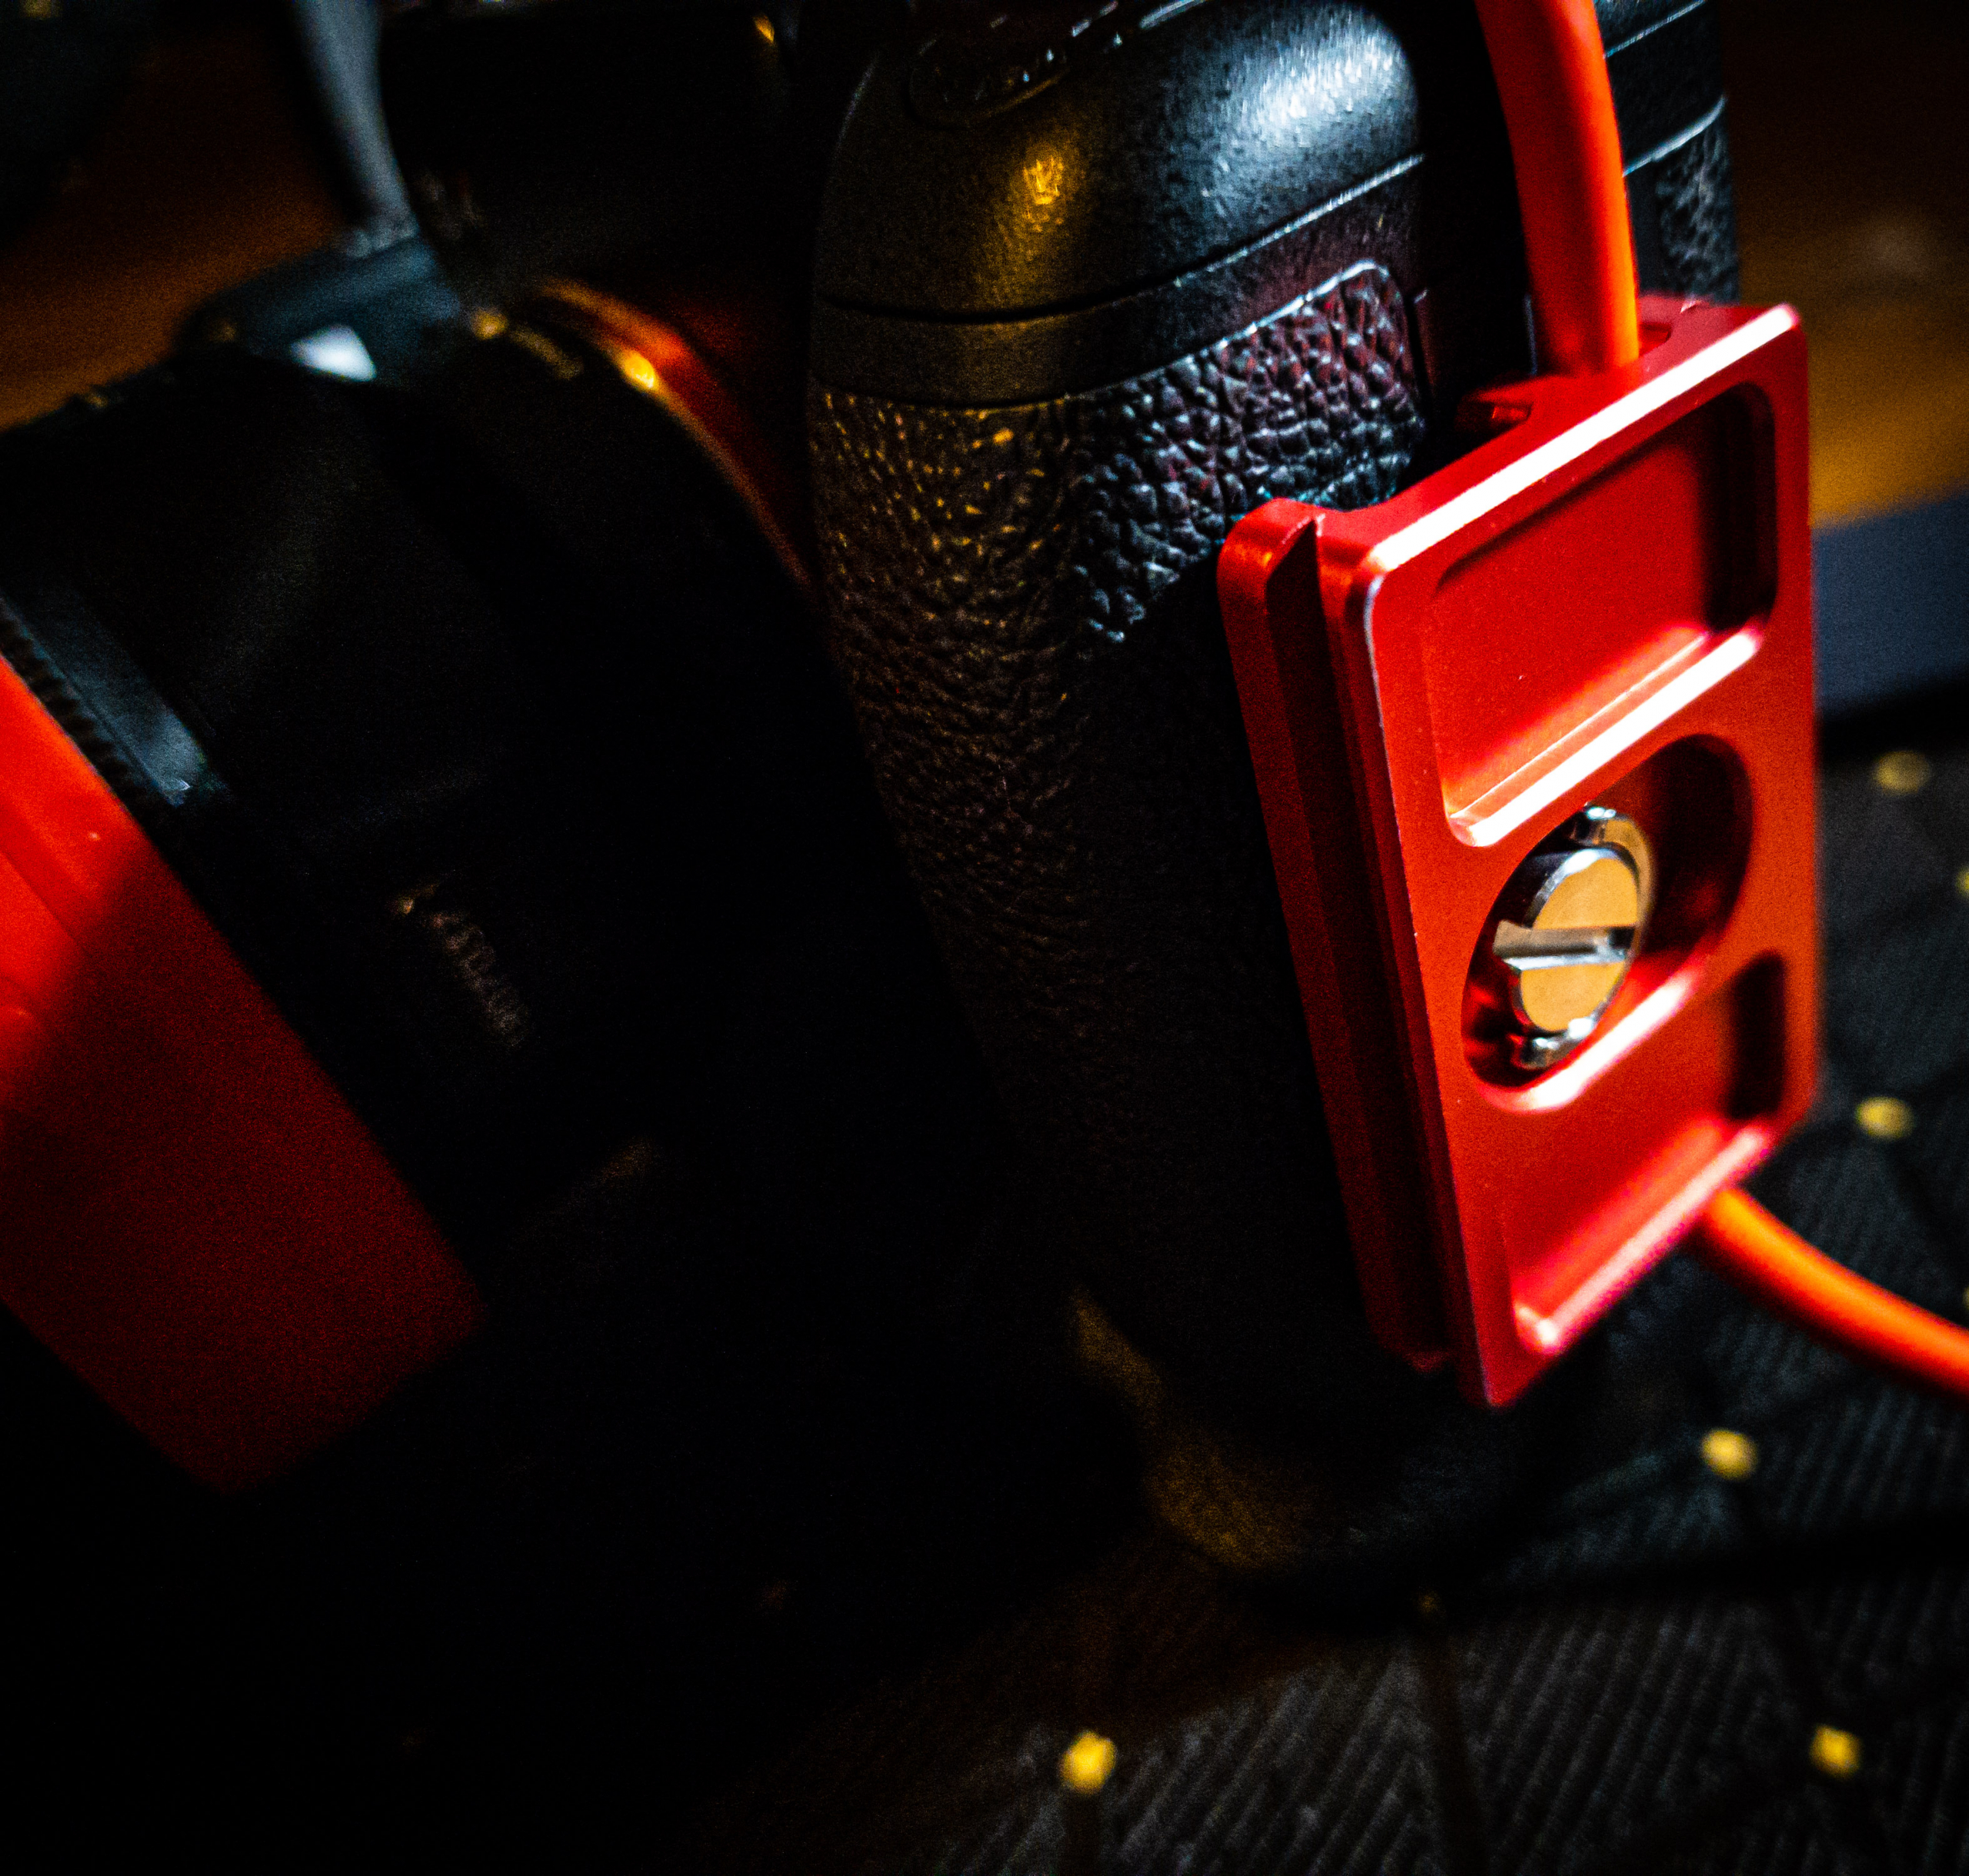
our CableBlock is red,small and also arca compatible for problem-free tethering
Enter the CableBlock
Our StudioFD “We Know Tether” CableBlock solves many problems you can find in competing products.
First of all, we opted for a smaller form factor. This means that on most cameras you can still access the battery compartment and the CableBlock doesn’t cut into your hand when using smaller cameras. But most of all we wanted an easy way to take the CableBlock off the camera, so we added a clip which you can quickly take the CableBlock off your camera or put it on of course. You can still use a coin or screwdriver but you don’t need to anymore.
And of course, the CableBlock is fire red which makes it stands out. It’s fully Arca compatible and the best thing …. we are able to sell it for 35,00 euros retail. And for the time being it’s actually delivered for free with the 10- meter IQ-wire when bought from our dealers.
Looking back
Introducing a new brand on the market is always a problem. But realizing it’s just one year ago we did the introduction it’s stunning to see we are now being sold in most camera stores in the Benelux. And getting orders from other countries far out of our sales region is nothing less than awesome.
We are very pleased with all the positive reviews we get from magazines, websites, and most of all our users. Everybody seems to love IQwire, and reading that people can shoot without any problems or hiccups is the icing on the cake of course, and the reason we always find the brands that deliver.
For myself
1 year using a 10-meter IQwire meant
ZERO lost connections
Still using the same cable
No visible degrading on the connectors and housing and even the cable itself still looks brand new although there were quite some instances where people and dog stood on the cable and I even (by accident) rolled my chair over the cable during a shoot a few times.
So do you also want to shoot tethered problem-free?
Like with most products there are brands that innovate and brands that keep everything the same. With IQwire we are ready for the future, are you already an IQwire shooter?
For more info see www.iqwire.nl
Buy the cable block here from us
Buy IQwire directly from us
You can buy IQwire and CableBlock in your favorite camera store

Why StudioFD?
Of course, you might wonder “Why should I choose to work with StudioFD?”
First of all, we have an unsurpassed experience with tethering. Without going into details (don’t want to hurt other brands), we’ve been working in the business of tethering for over 15 years building brands from the ground up with almost 24/7 365 support.
As a dealer, you don’t have to think about solving problems for your customer which costs time and often will not solve the problem. Instead, we take over the complete after-sales and will support your customer with all the questions they have and if something doesn’t work… Well, we will make it work (unless a camera doesn’t support tethering of course). Besides an extensive experience with tethering, we also ran a PC/Mac shop for over 20 years so we have a proper knowledge of the software and hardware needed to create a flawless workflow.
Dealers are welcome.
