One (of the many) things I love about my work is that no workshop or shoot is the same.
I actually never prepare my workshops or demos, this way I keep it fresh for myself but also for the attendees that visit our workshops regularly.
This also means that I often listen to the questions the attendees have before the studio part starts (the Q&A) and base my workshop on those questions.
Besides the group workshops I teach weekly in our studio in Emmeloord I also do 1:1 workshops of course. And the cool thing about these is that some people just show up and use it to ask loads of questions and practice in the studio, but there are also workshops where there is a whole story board and idea behind the workshops.
When Gabe asked me if it was possible to do a 3 day workshop with me and work towards end results with several Cosplay outfits I was really looking forward to it, but than Corona hit and travel wasn’t possible for over 2 years. But finally this year Gabe was able to travel to the Netherlands.
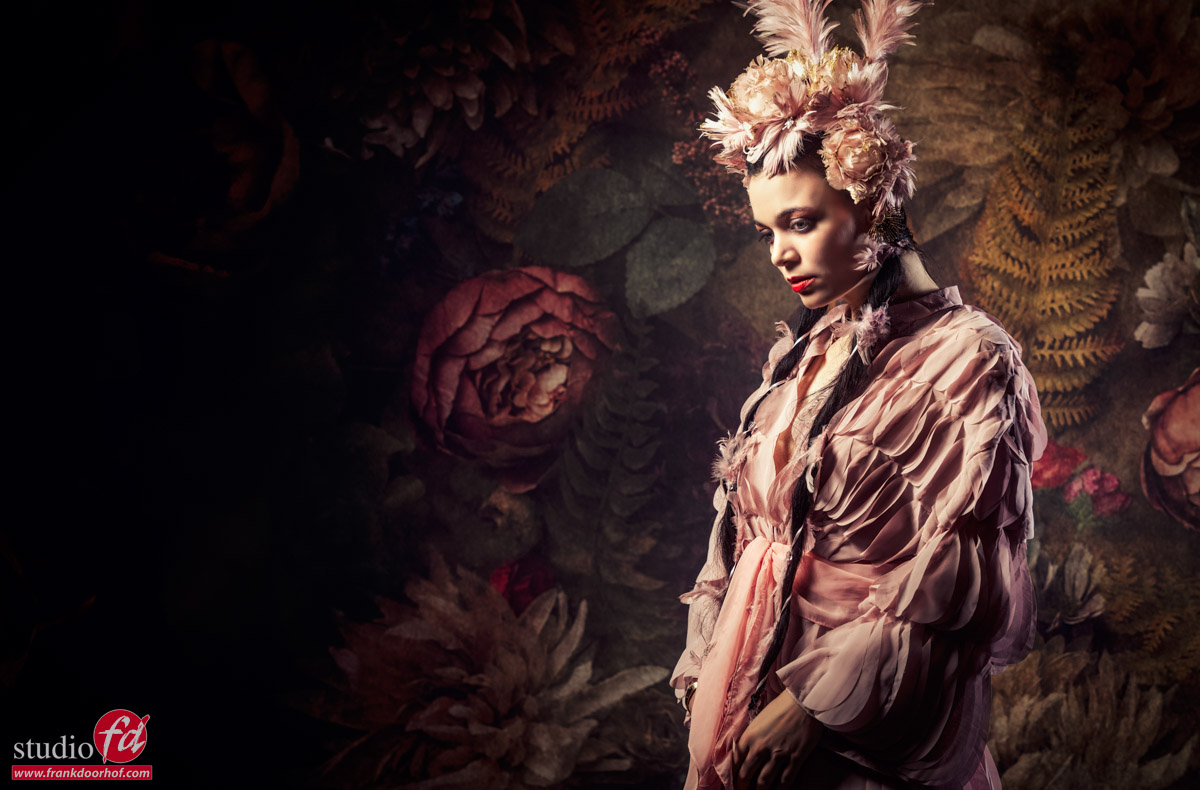
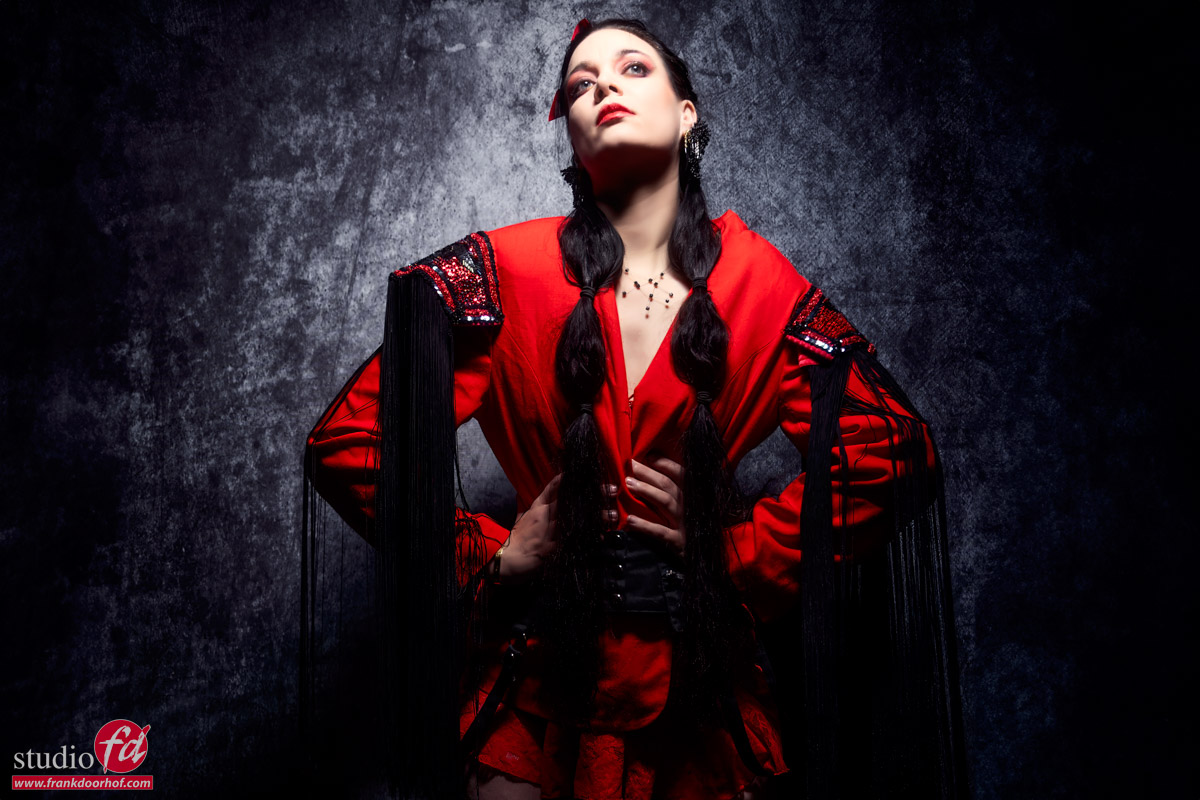
Today I want to share three images I shot myself during the workshop.
All three were shot agains the emerald punch from ClickPropsBackdrops. I did this because it is a backdrop that blends really nicely together when you want to add some special effects. Now the idea was to test out the new AI options in Photoshop…. and I actually loved the outcomes, I hope you like them too.
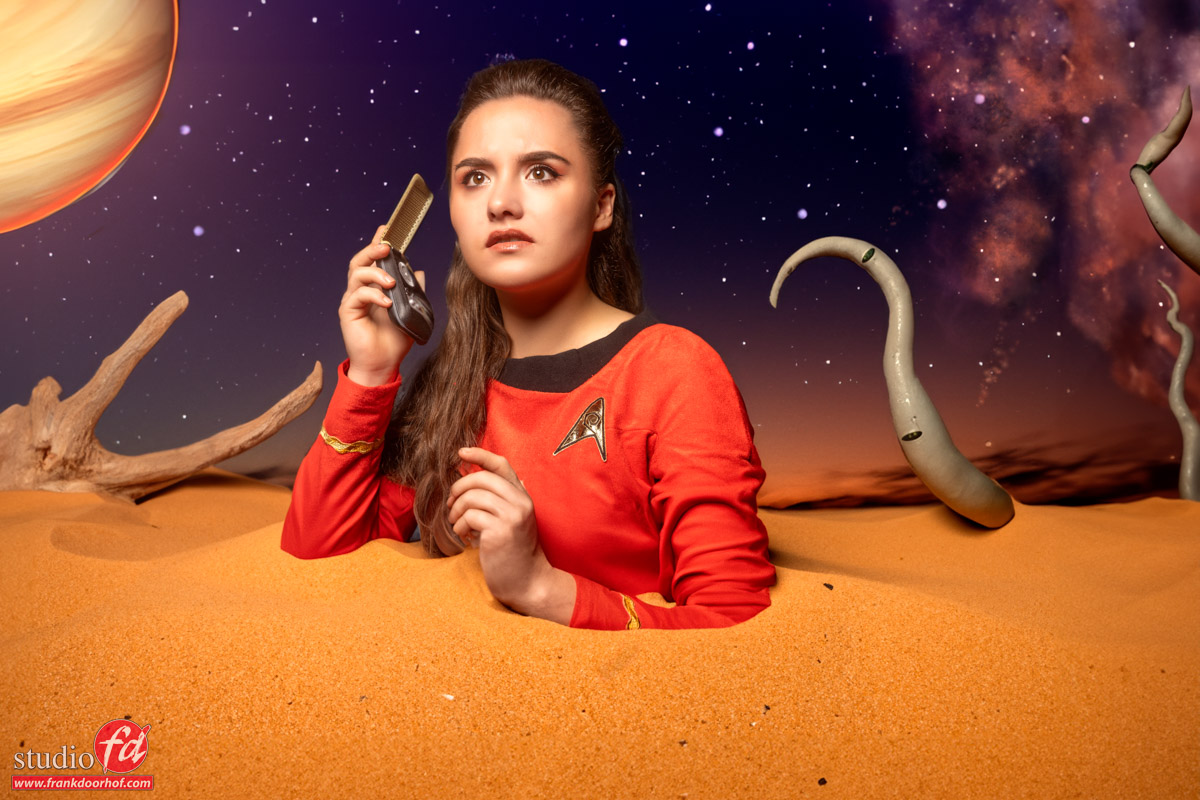
For the first one I thought about the first series and the strange “fake” planets they would visit and where there was always something going wrong of course. So I thought it would be nice to create a sand planet with an obvious fake planet in the night sky.
When I cut out our model Jona and placed her on a separate layer the idea was to create a sand planet where she would be standing. But Photoshop AI had a much better idea and created exactly what you see here the sand part. I immediately admitted AI won here with the idea. I started adding some alien tentacles and bones, a night sky and the planet. Some mist effect and small details and in all honesty it didn’t take me long but most of all I think this way of using AI is SO much better than just using it to go from text to image for a whole scene. The fact Photoshop clones the background and makes everything fit is just insanely handy and really triggers your creative mind.
So for the next one I went a step further
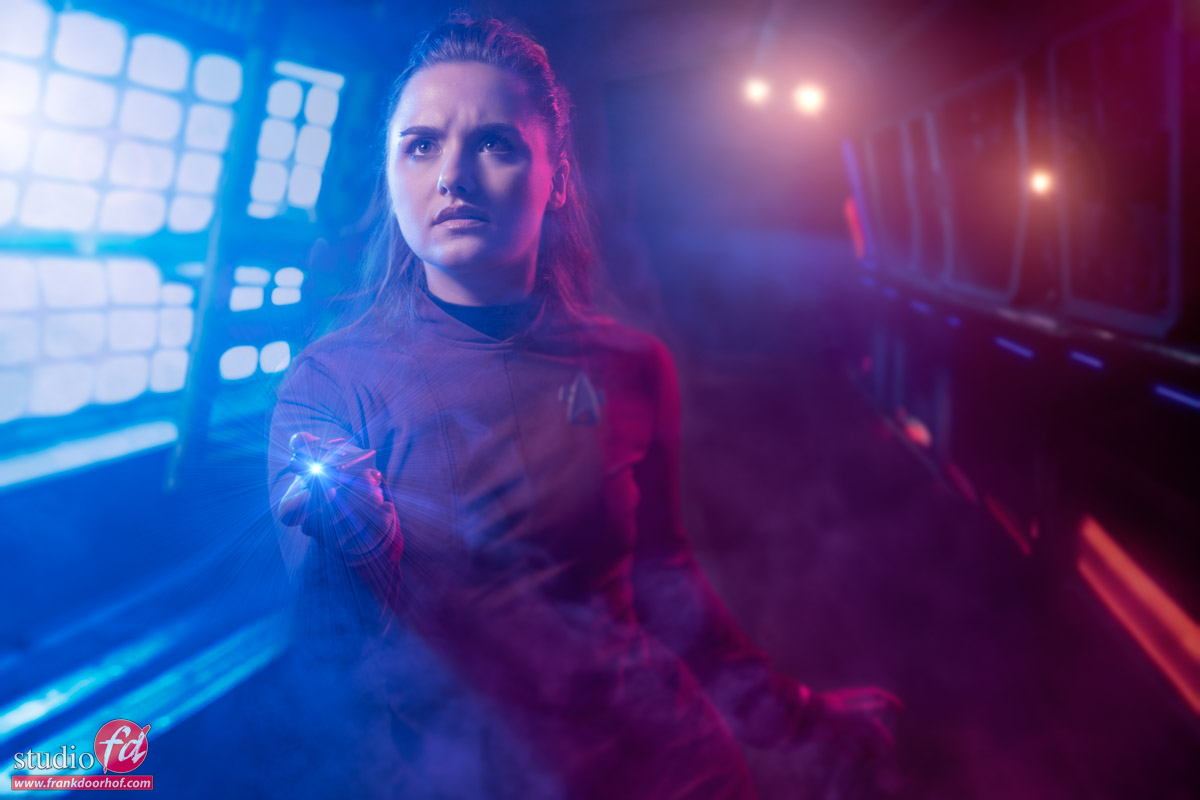
We knew what I wanted as an end result, so the smoke and phaser are all real.
When I had the base image I started adding the light bars on the floor, the hallway was two separate parts, all the lights are of course fake. but the colors were determined before the shoot itself. And this makes it much easier but also more frustrated to get to your end result.
In this case it was exactly what I wanted. Blue light from a large window (like the engine room), a dark corridor with blue and red lights (like an alarm) some smoke and ambient effects and a phaser firing. And the AI did exactly that… wow.
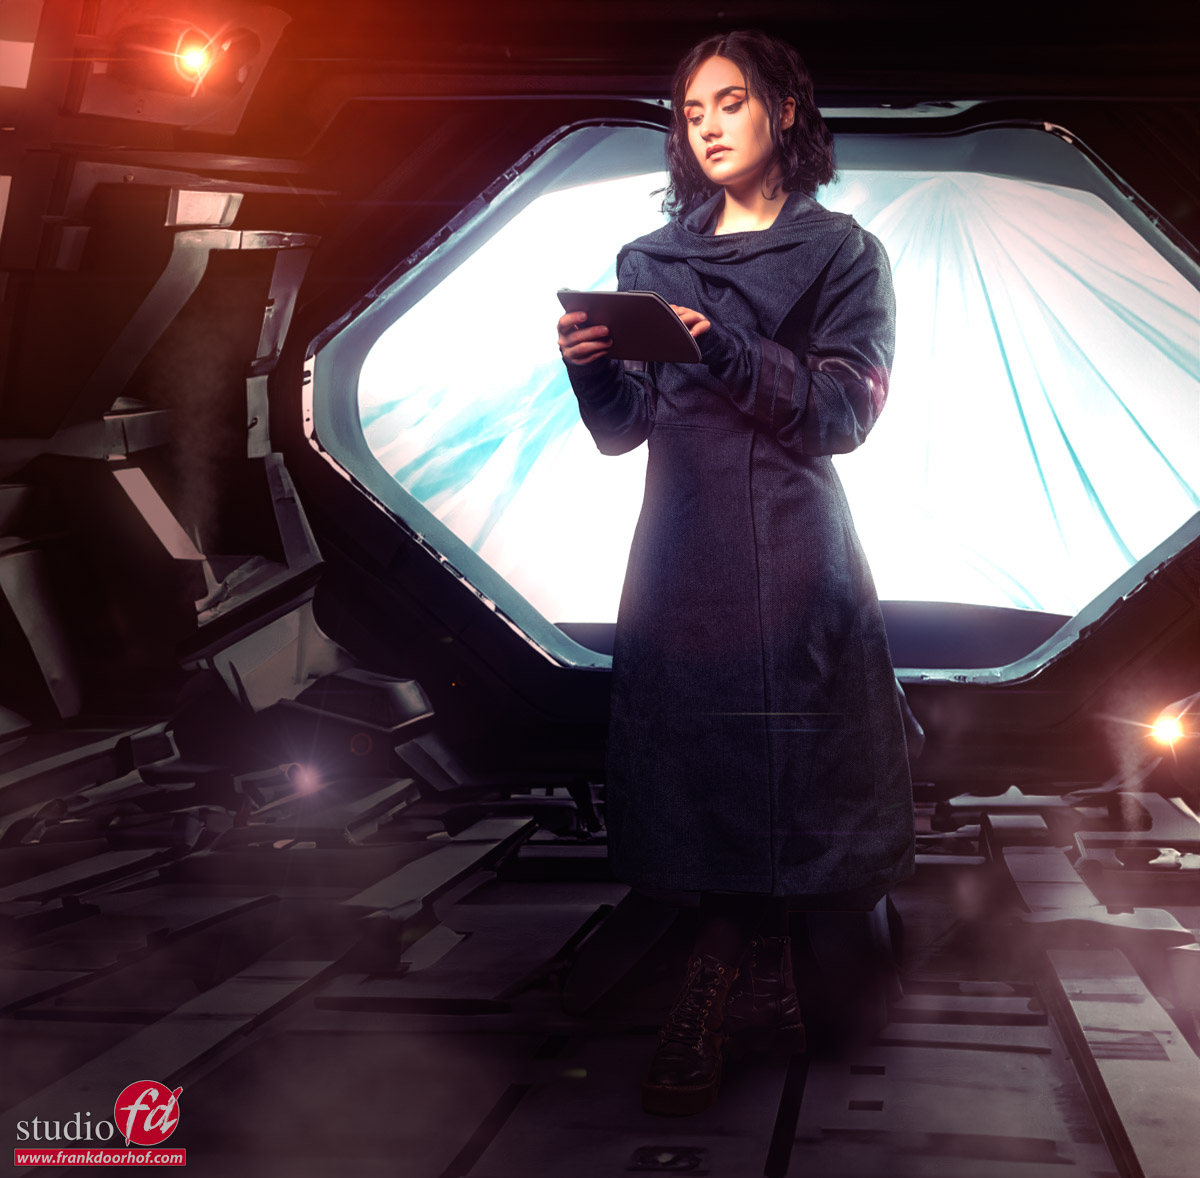
Full of confidence I started with the final image. Picard period.
Well I can say that the end result is what I wanted, but this time is was a disaster to get there.
Loads of times I got messages I broke the rules of Adobe because asking for certain words or selections. So I decided to started with much smaller parts and build it up part by part. This went a lot better and especially the sides have turned out pretty cool. In the back I wanted a large window with a warp trail and although it could have been nicer I think this one looked the best.
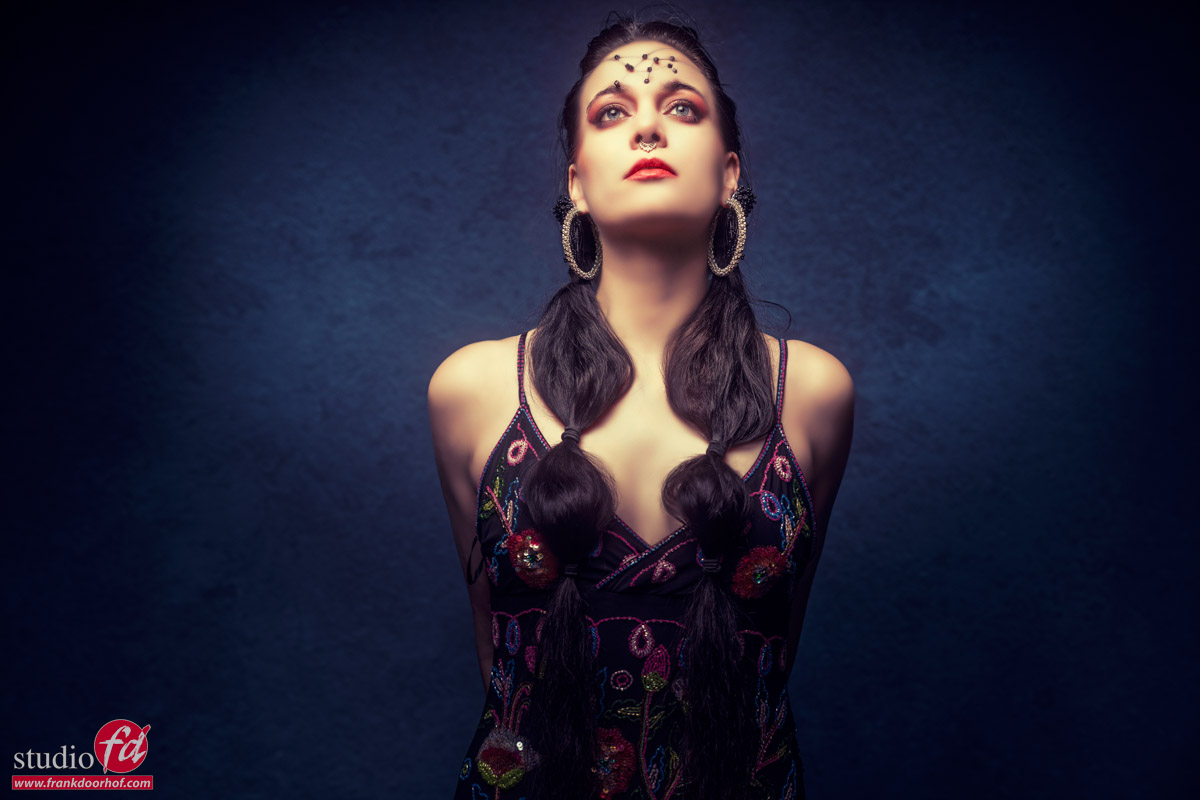
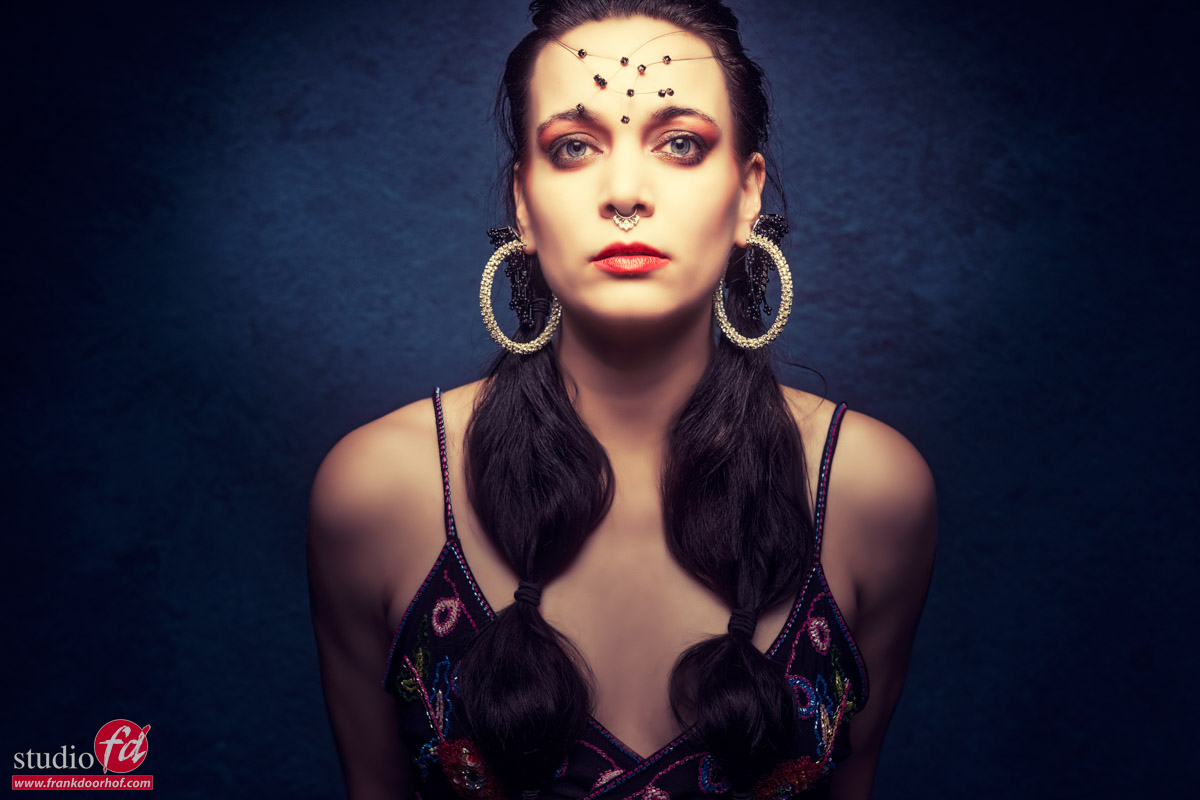
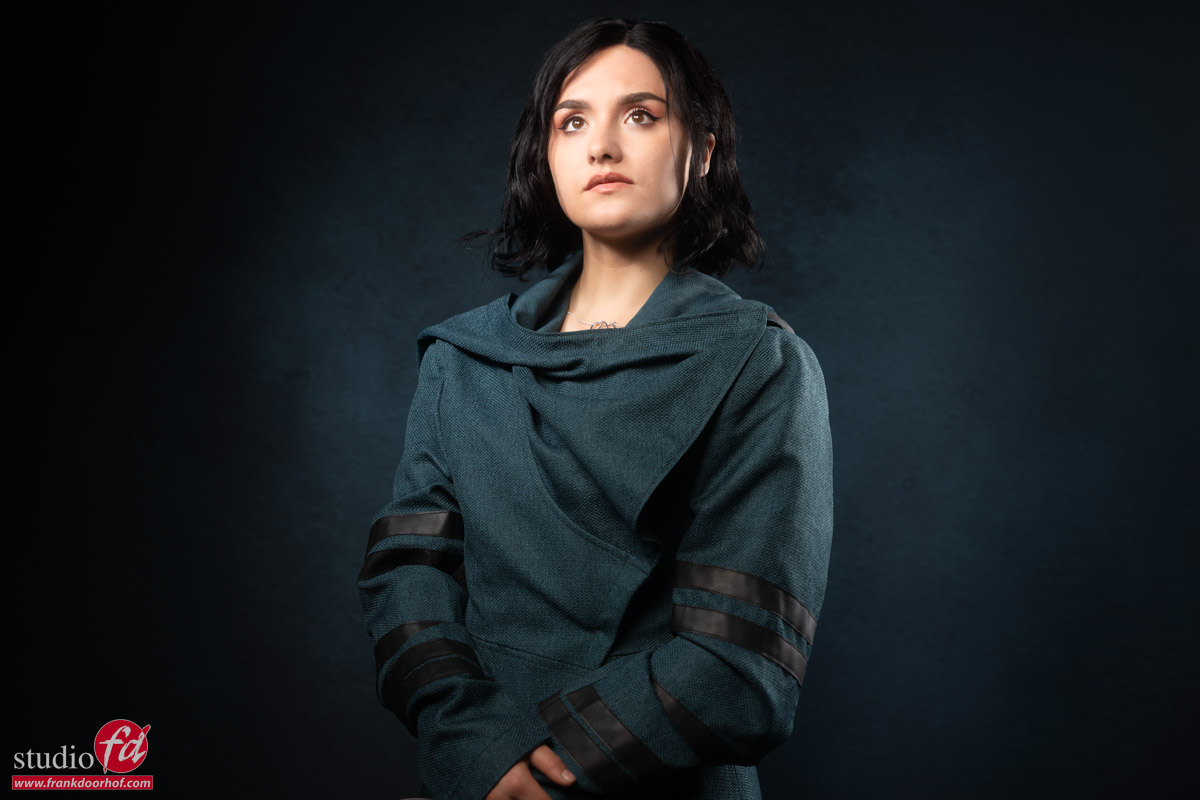
And of course we also did one just agains the backdrop.
Working with AI in Photoshop beta is pretty awesome.
But literally in three images I had three different experiences, and I had this before.
Sometimes the AI seems to read your mind and does exactly what you want it to do, or even better, and almost every “guess” is right.
Sometimes it just does what you want, sometimes you refresh the idea and you put it together.
And sometimes it just doesn’t want to do anything.
You type in realistic laboratory wall with computer panels and cables and you end up with something that could have come out of a lego movie and doesn’t make sense at all, and that’s how that last image actually turned out. Where with the second one everything just clicked together the last image was really an image I almost gave up on, but when I switched to much smaller parts I really came together I think.
Hope you guys enjoyed this overview of the Star Trek series.
Gabe brought all the clothing and from our side we would love to thank him not only for visiting us but also for giving me a great few days shooting cosplay :D.