Focus your light
Don’t you just love playing with shadows
“Shadows are the soul of the shot” is one of those sayings I’ve been using ever since I started teaching lighting.
I never understood why people would use large softboxes and white backgrounds to eliminate every spot of shadow. For me it’s flat and not really something I love to look at.
Shadows can be tricky when you start out but in the end it’s the glue that sticks everything together and makes an image look more realistic and also creates depth. Of course we need light to create shadows, and the smaller the light source the faster the edge transfer (difference between shadow and light). In other words smaller light means sharper shadow edges.
But you can also work different with smaller light sources.
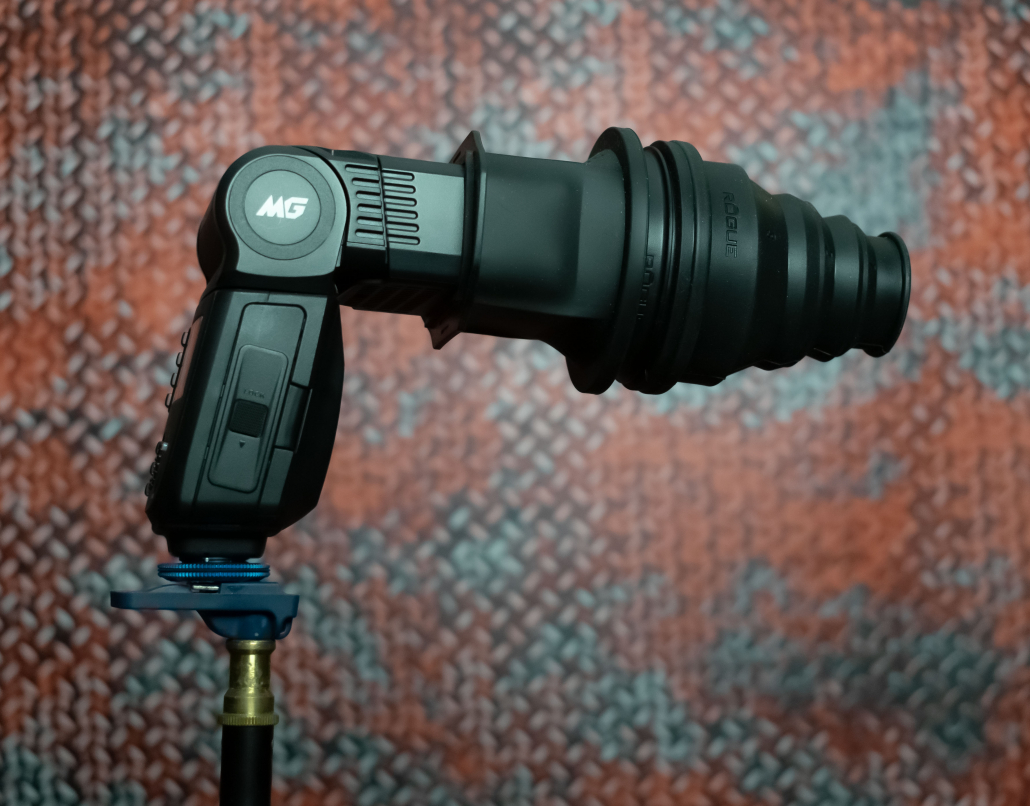
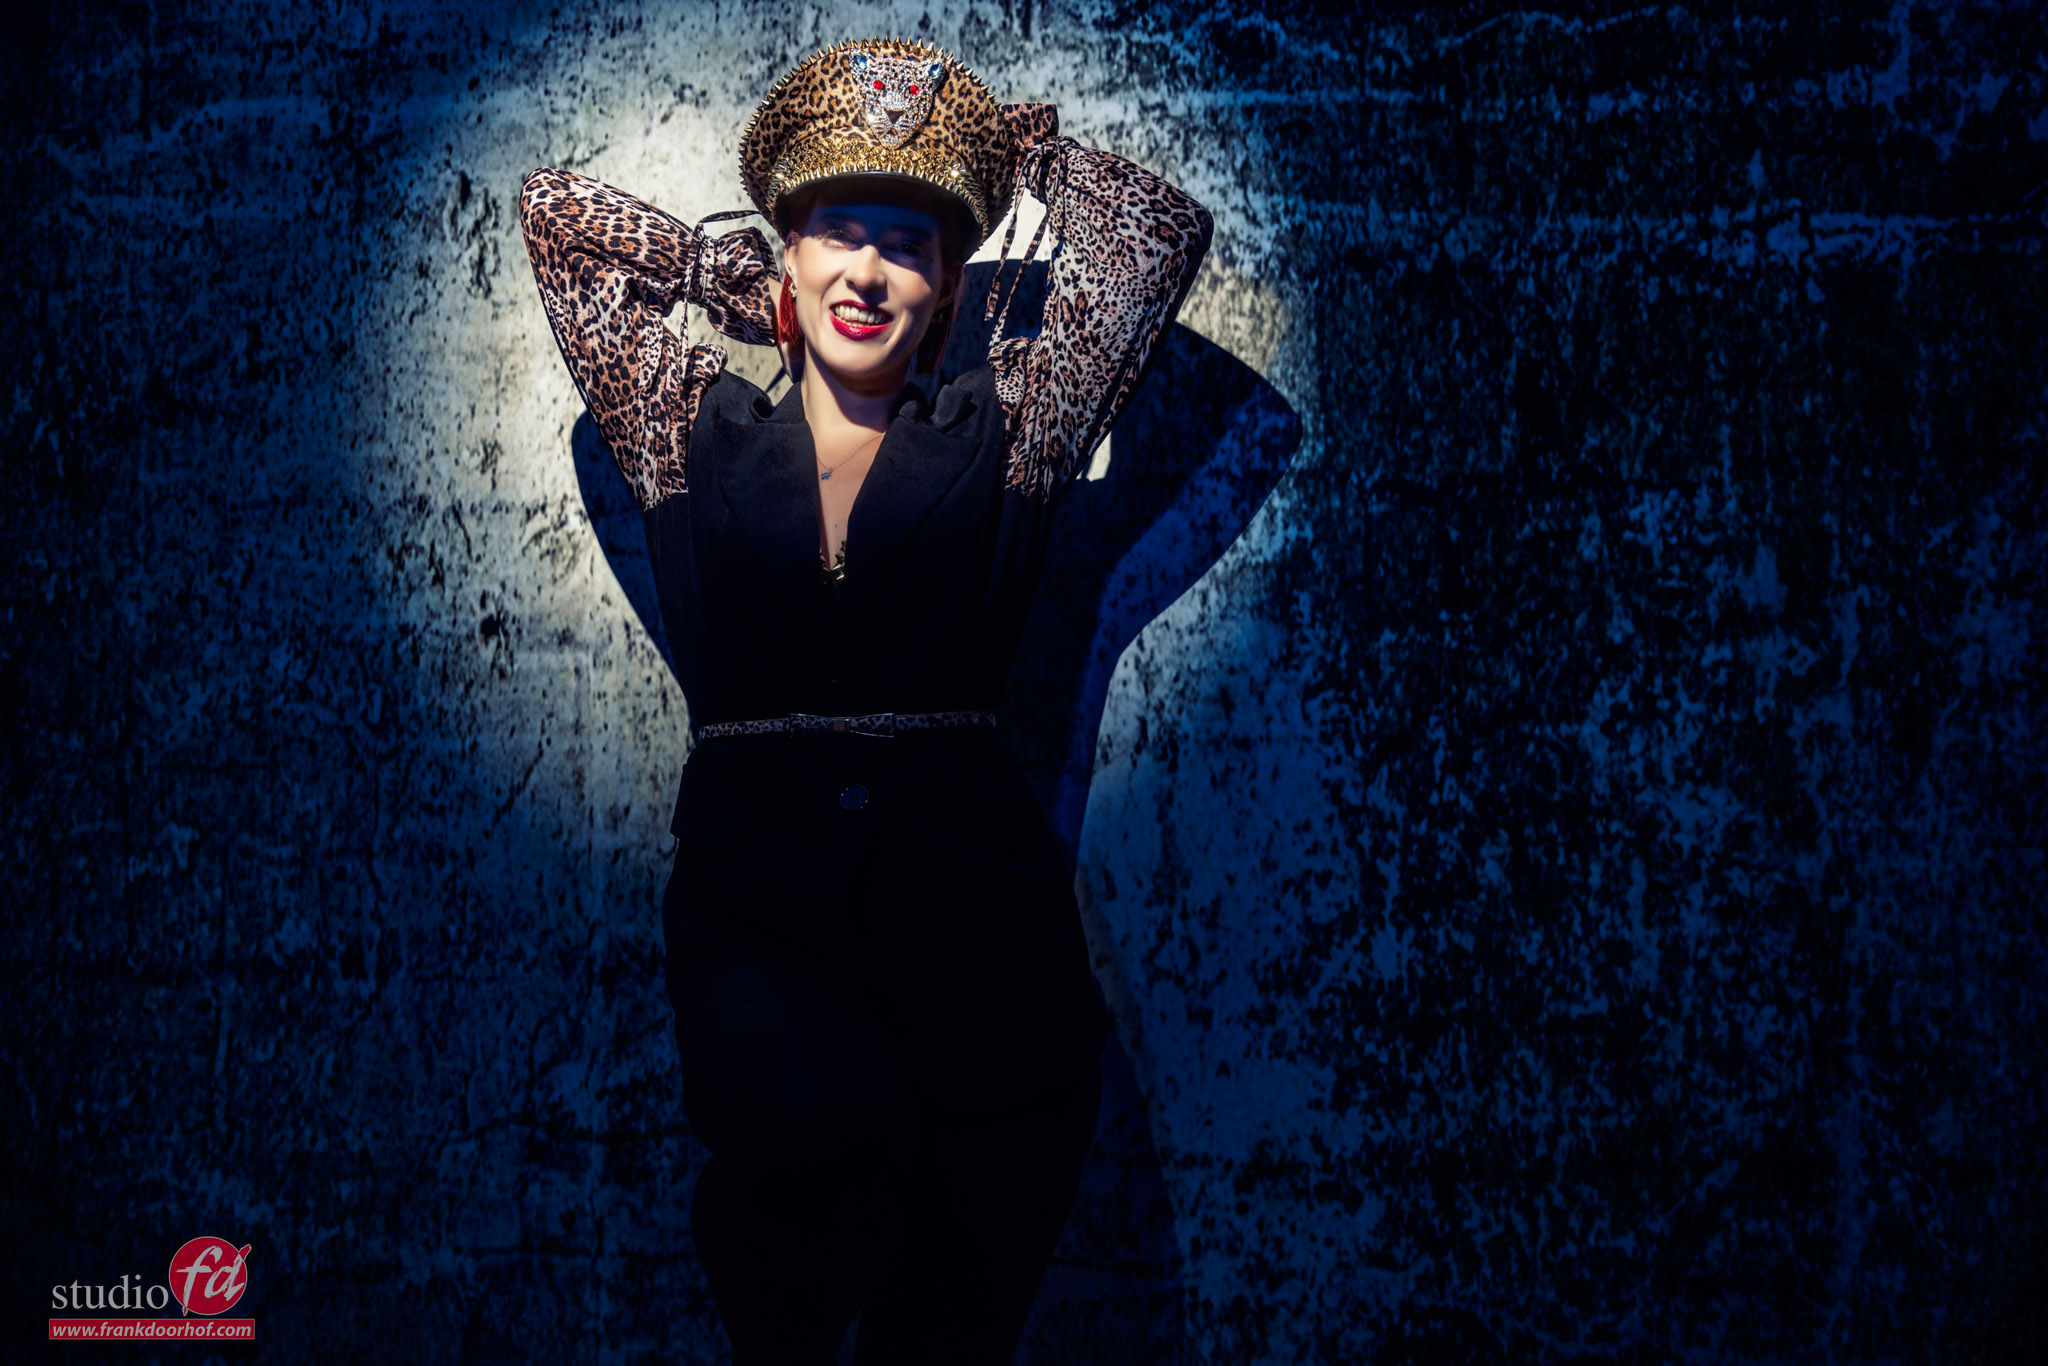
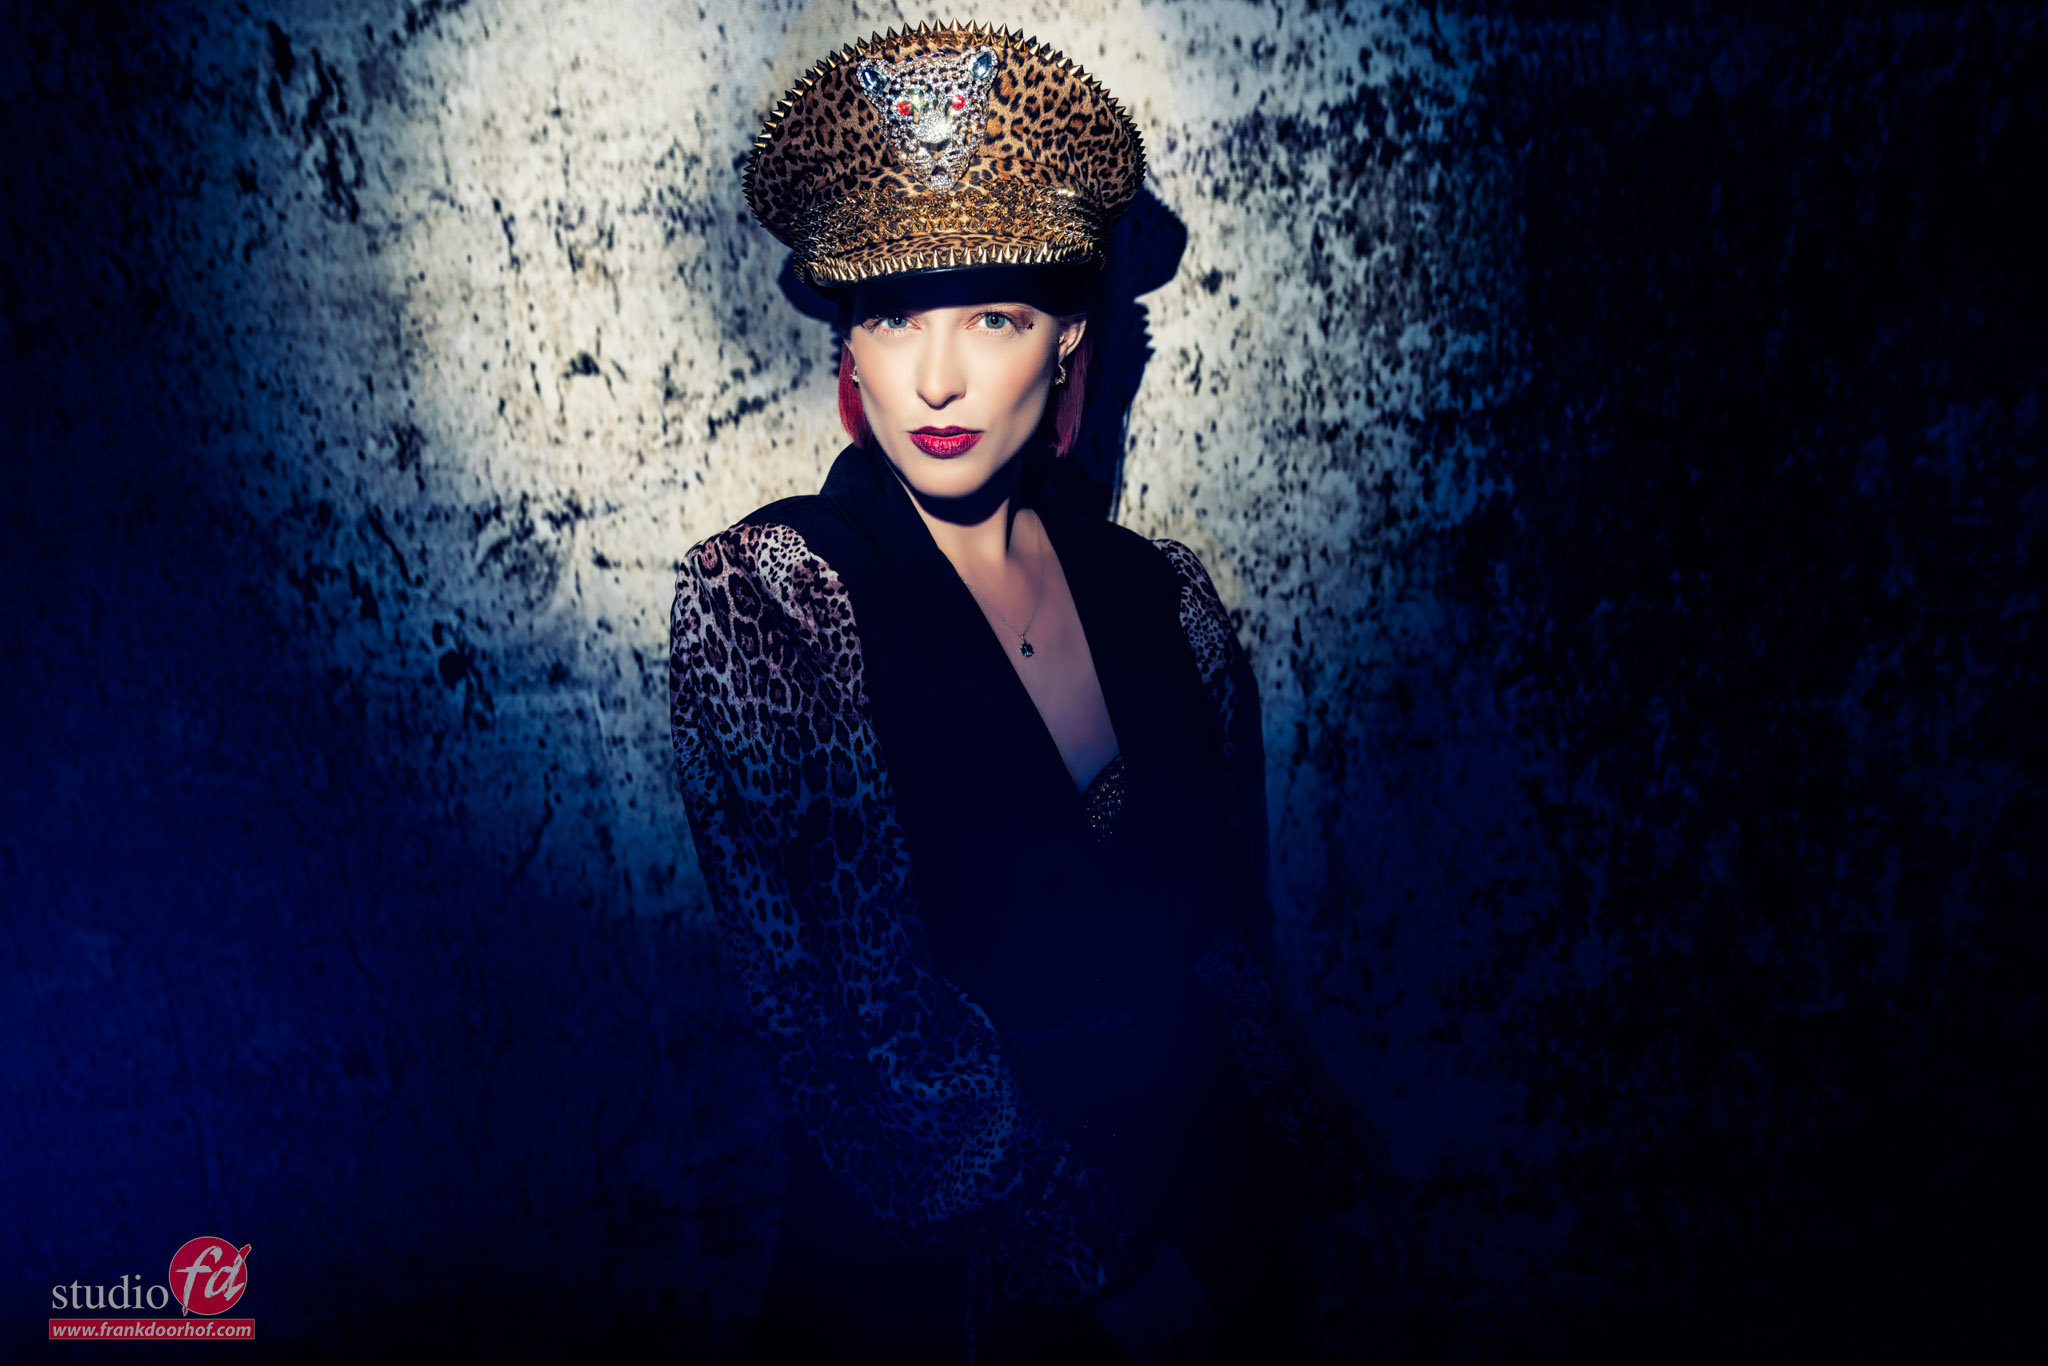
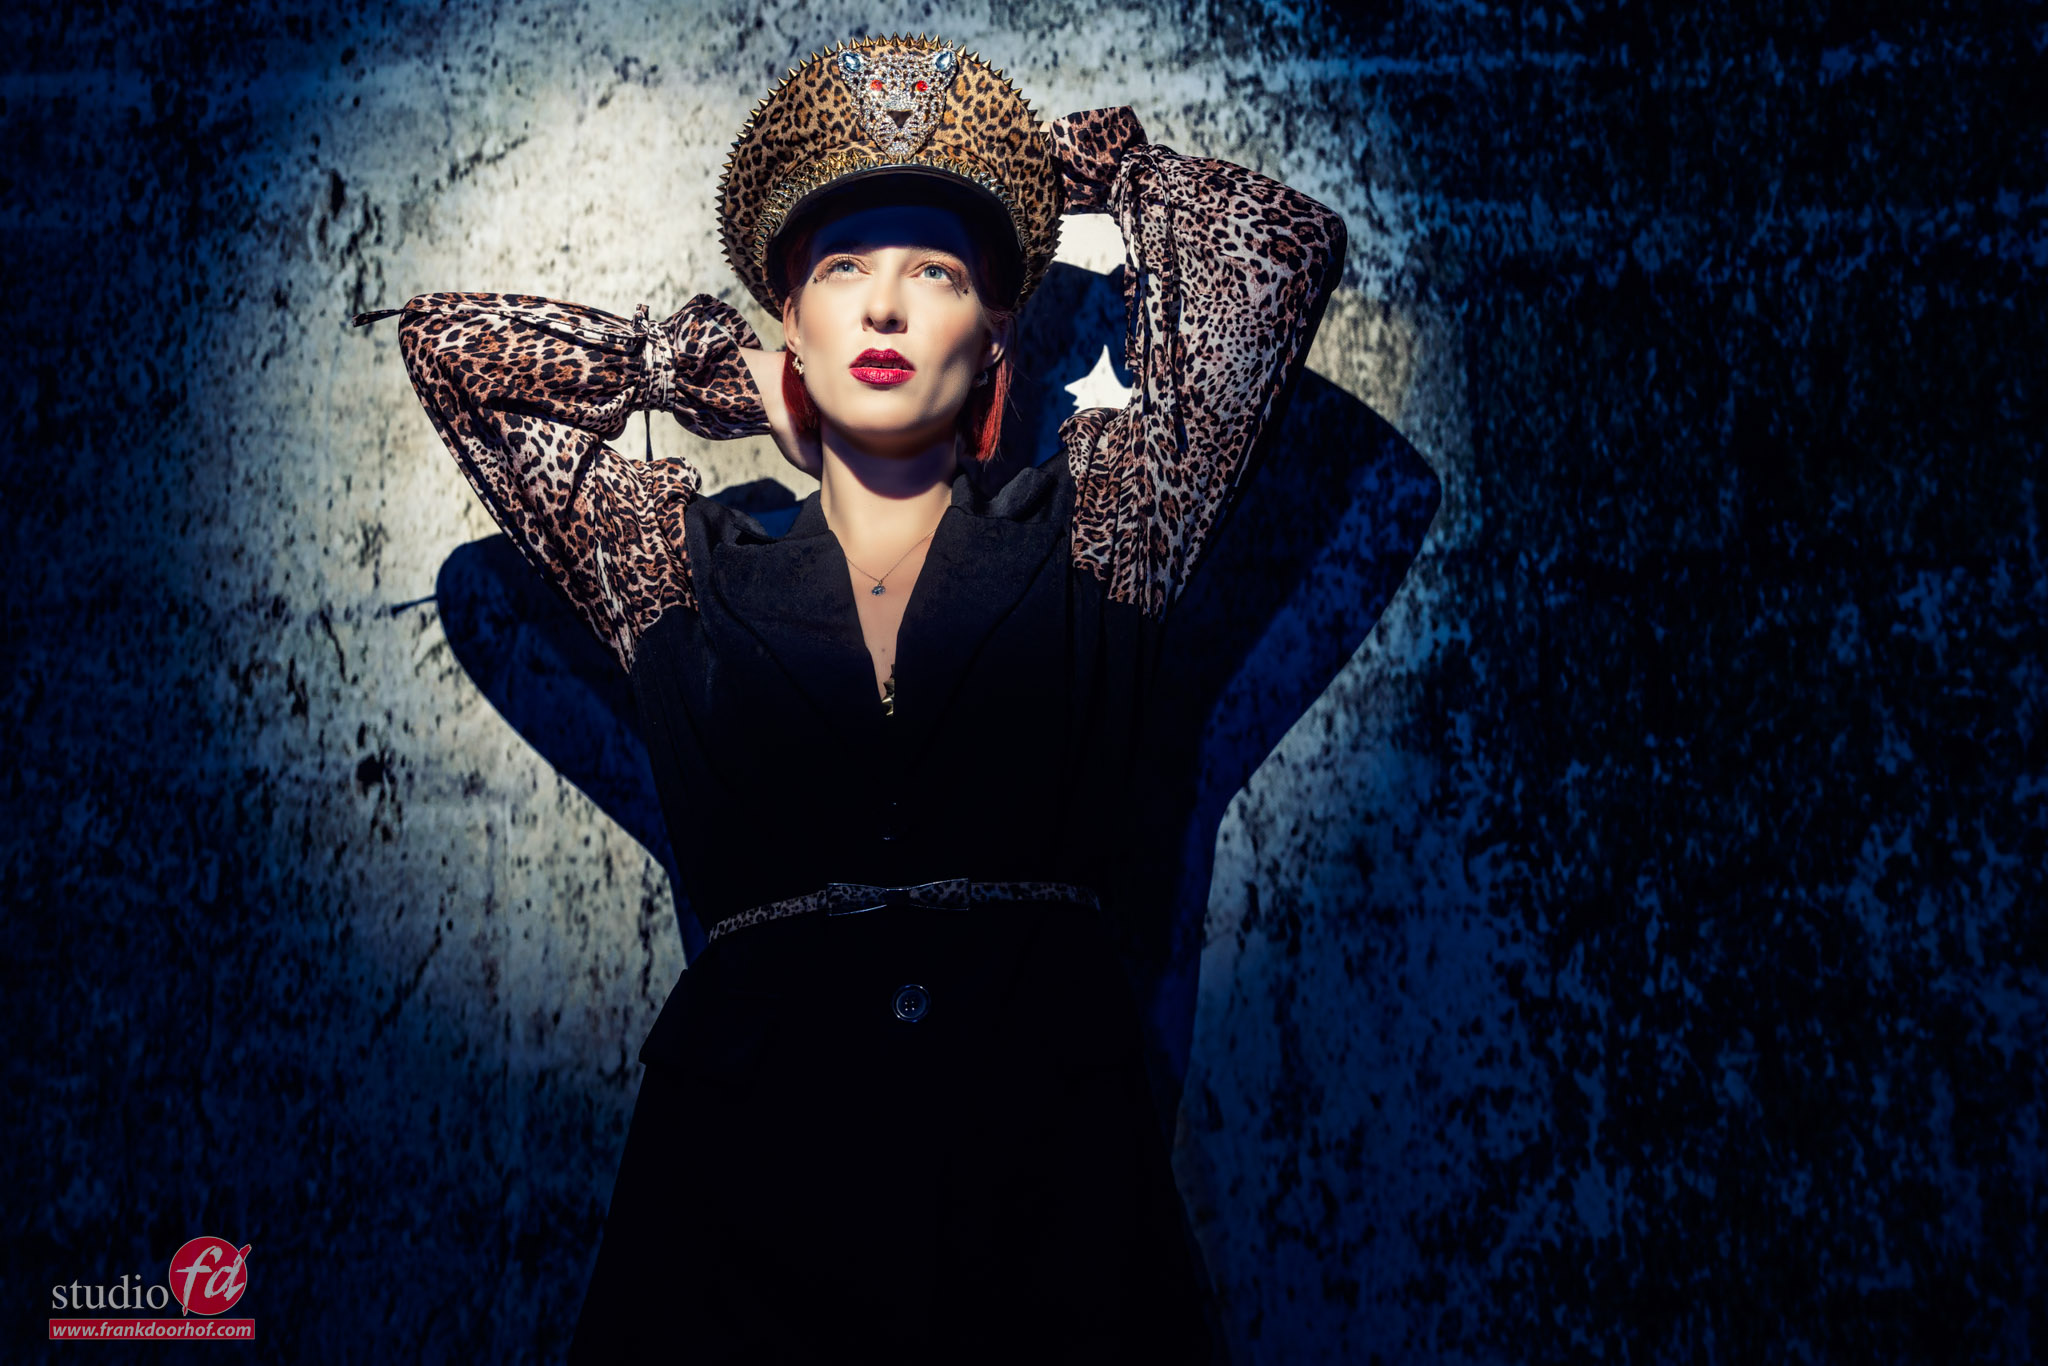
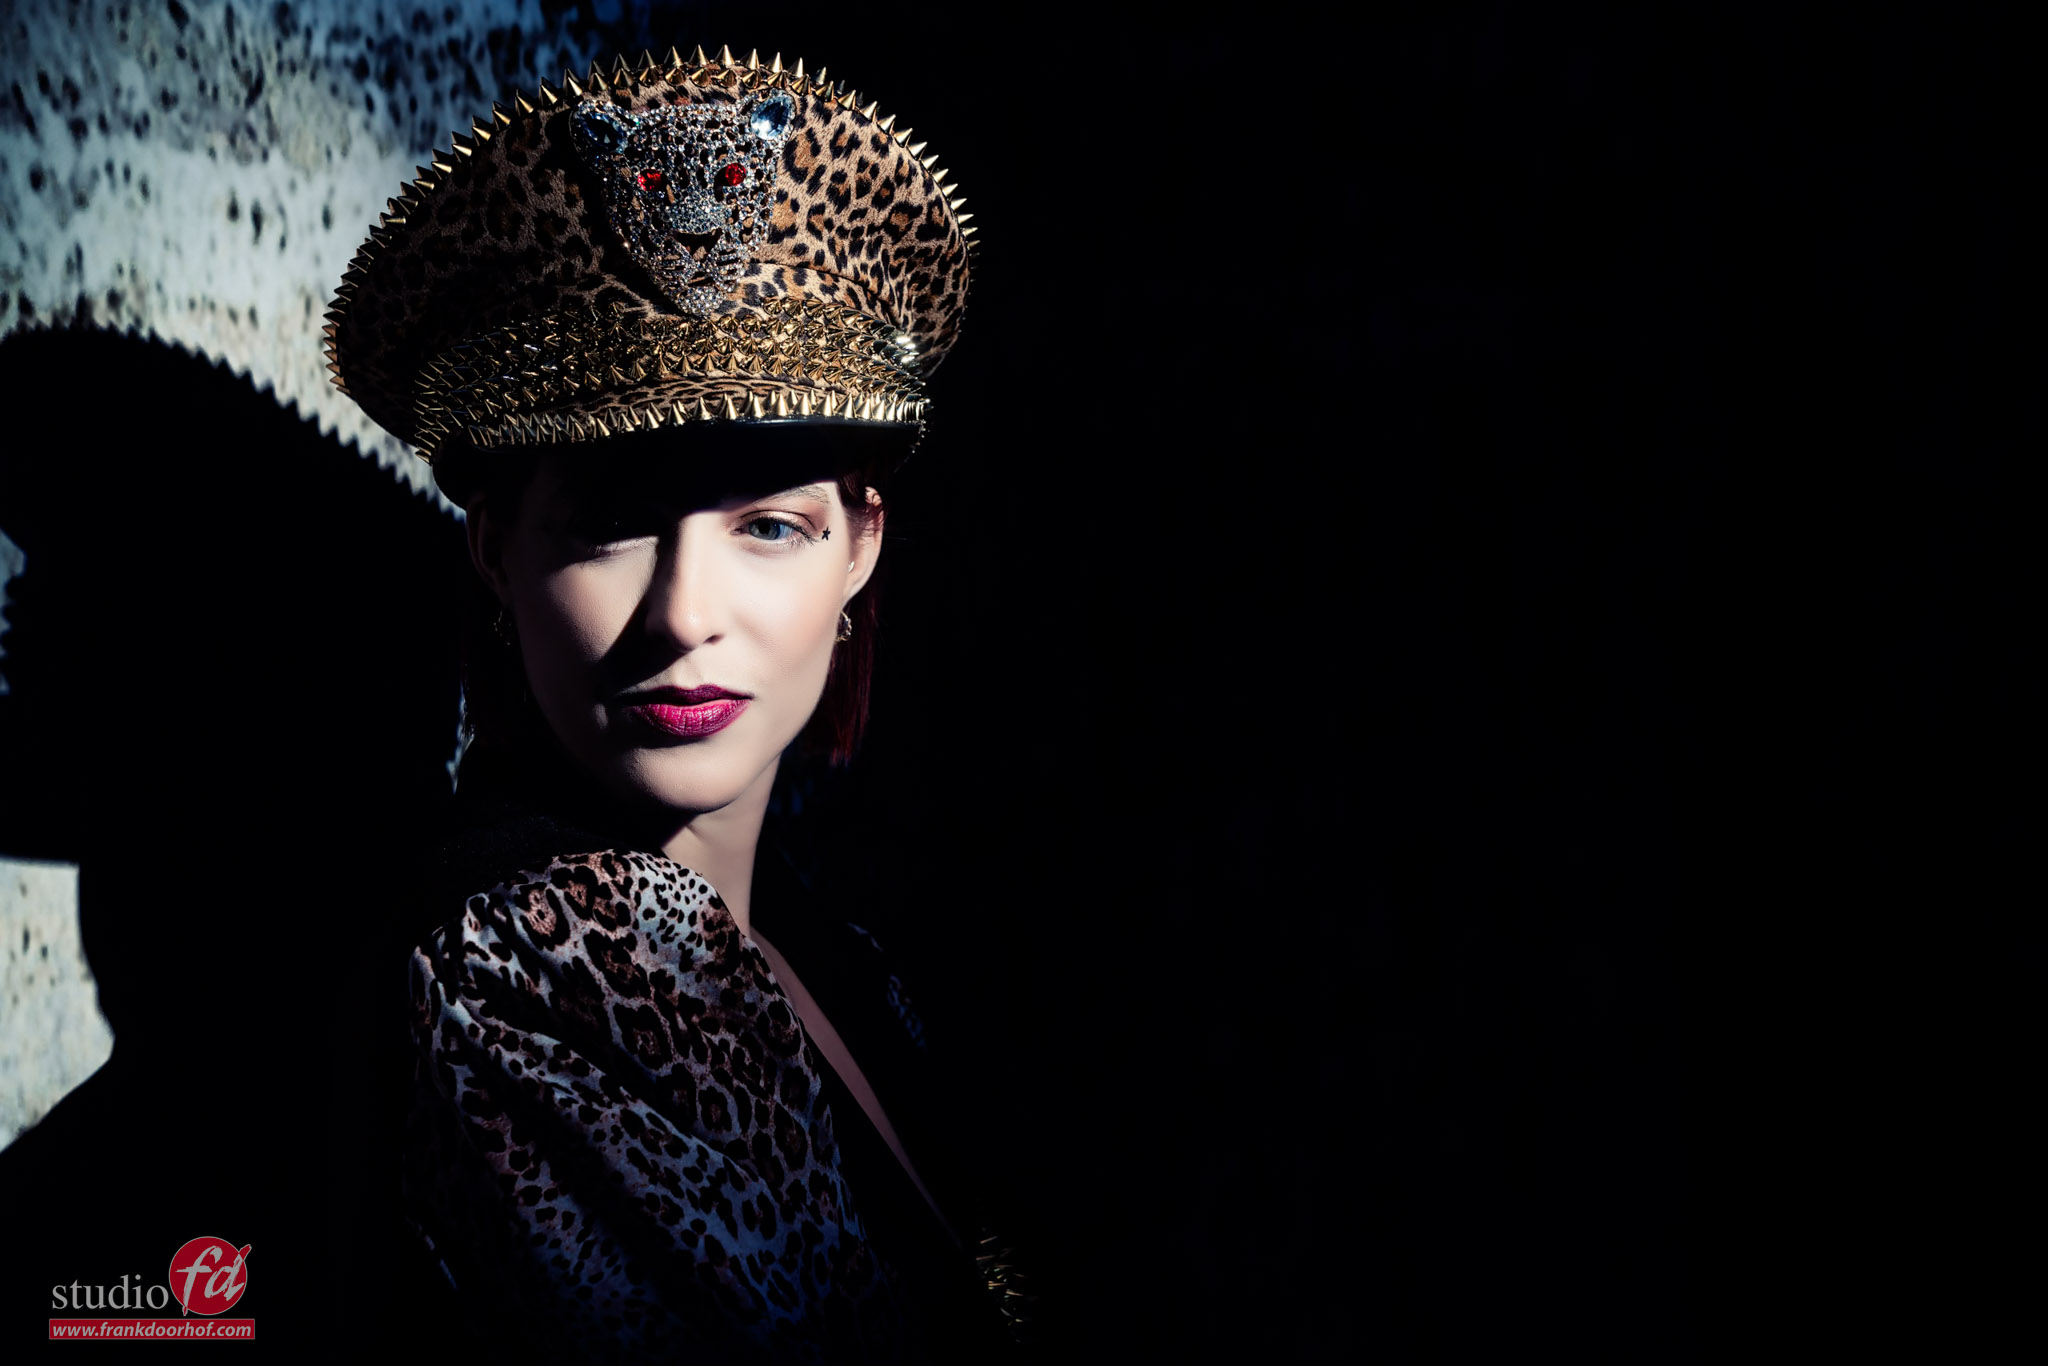
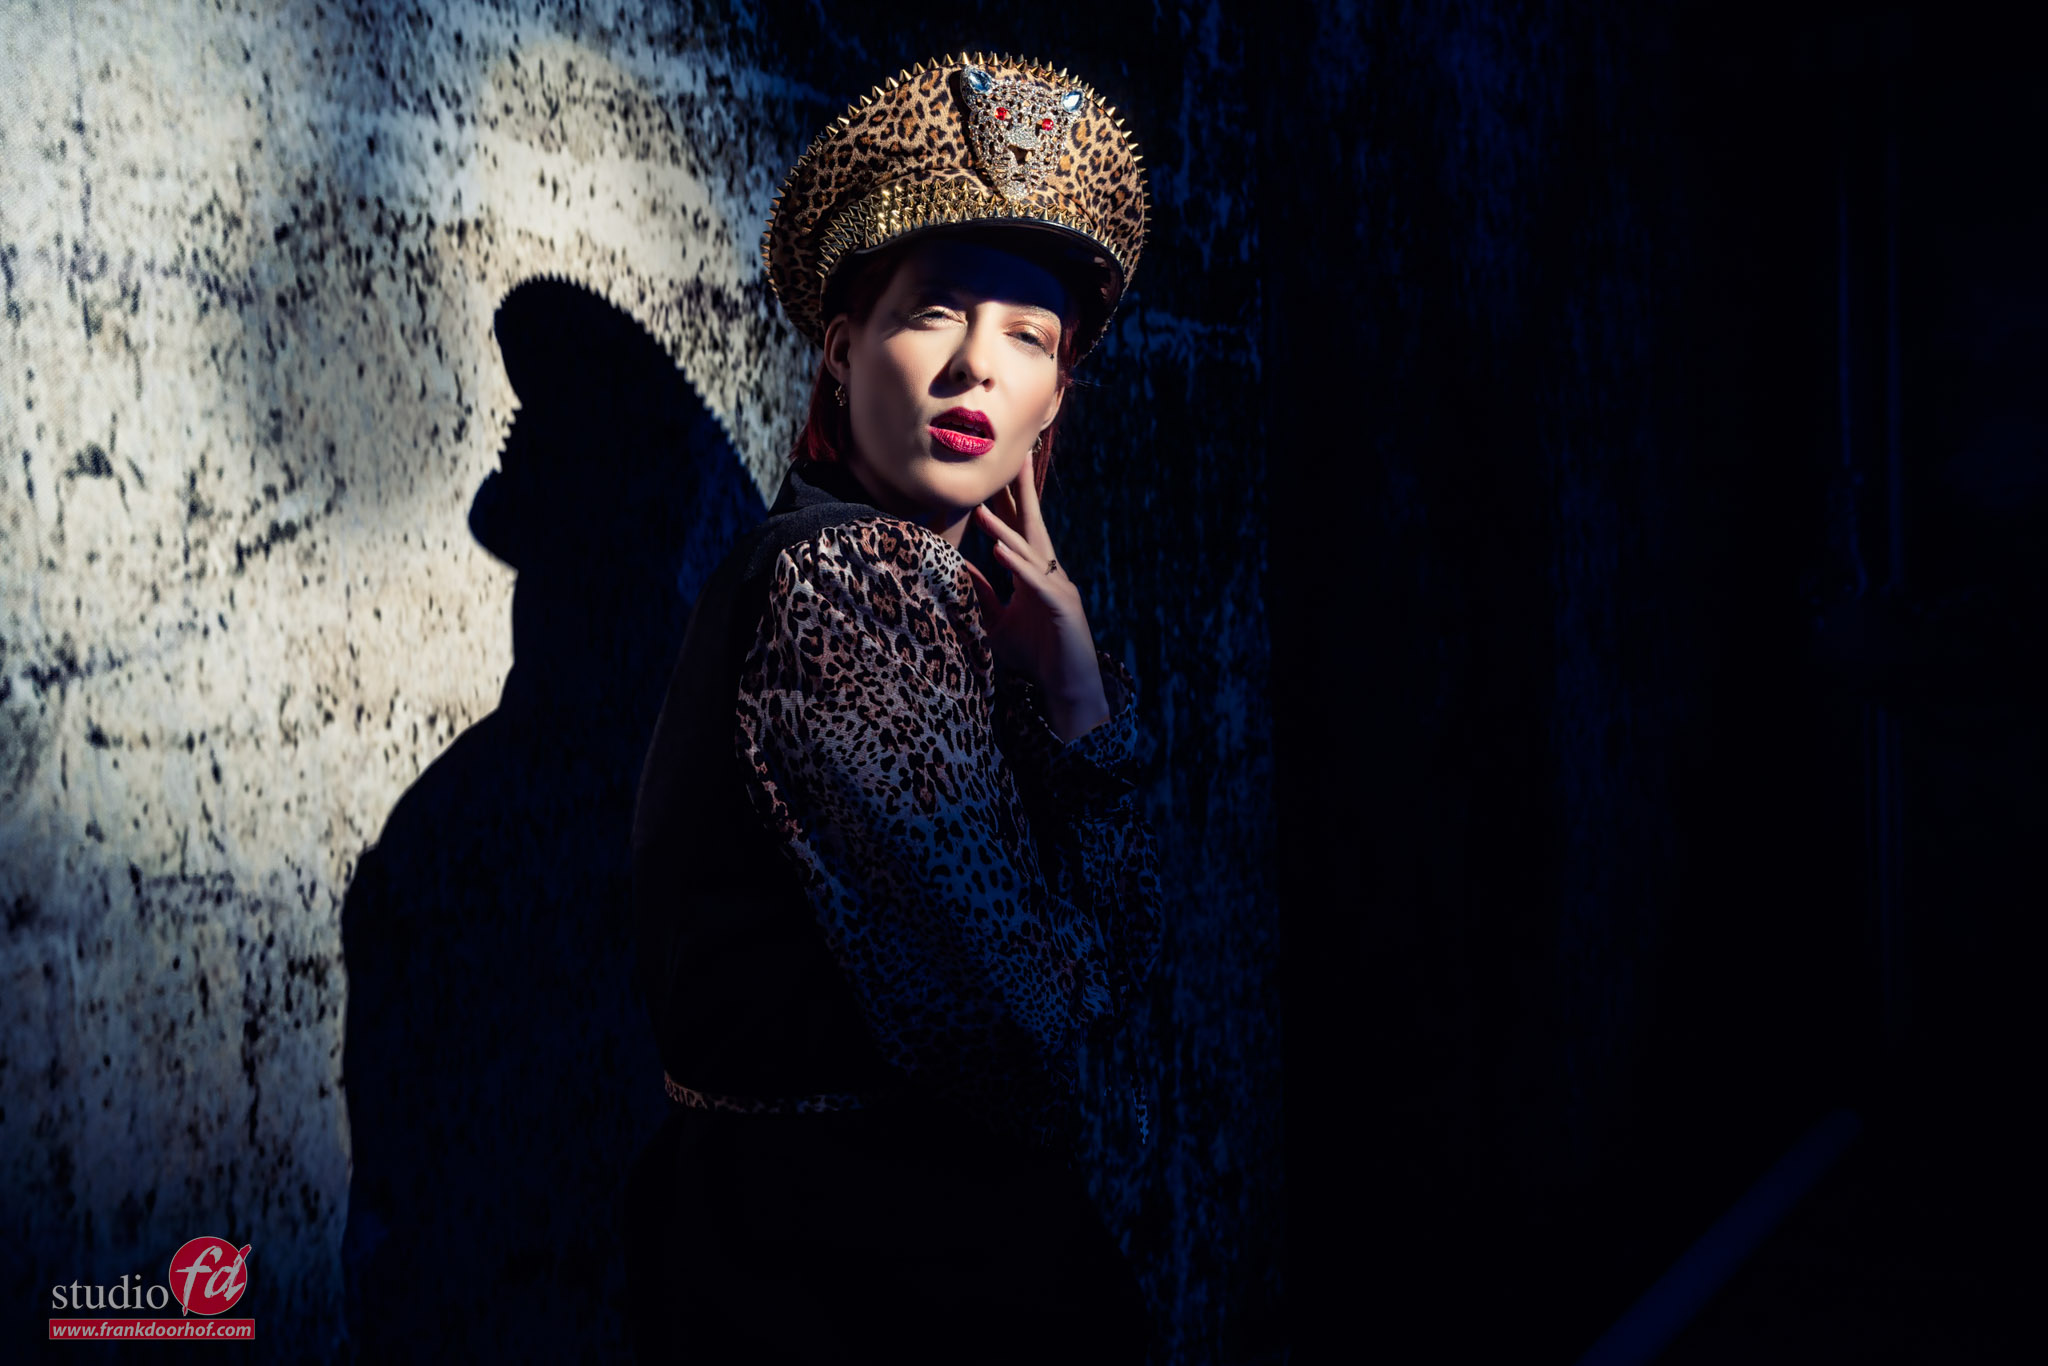
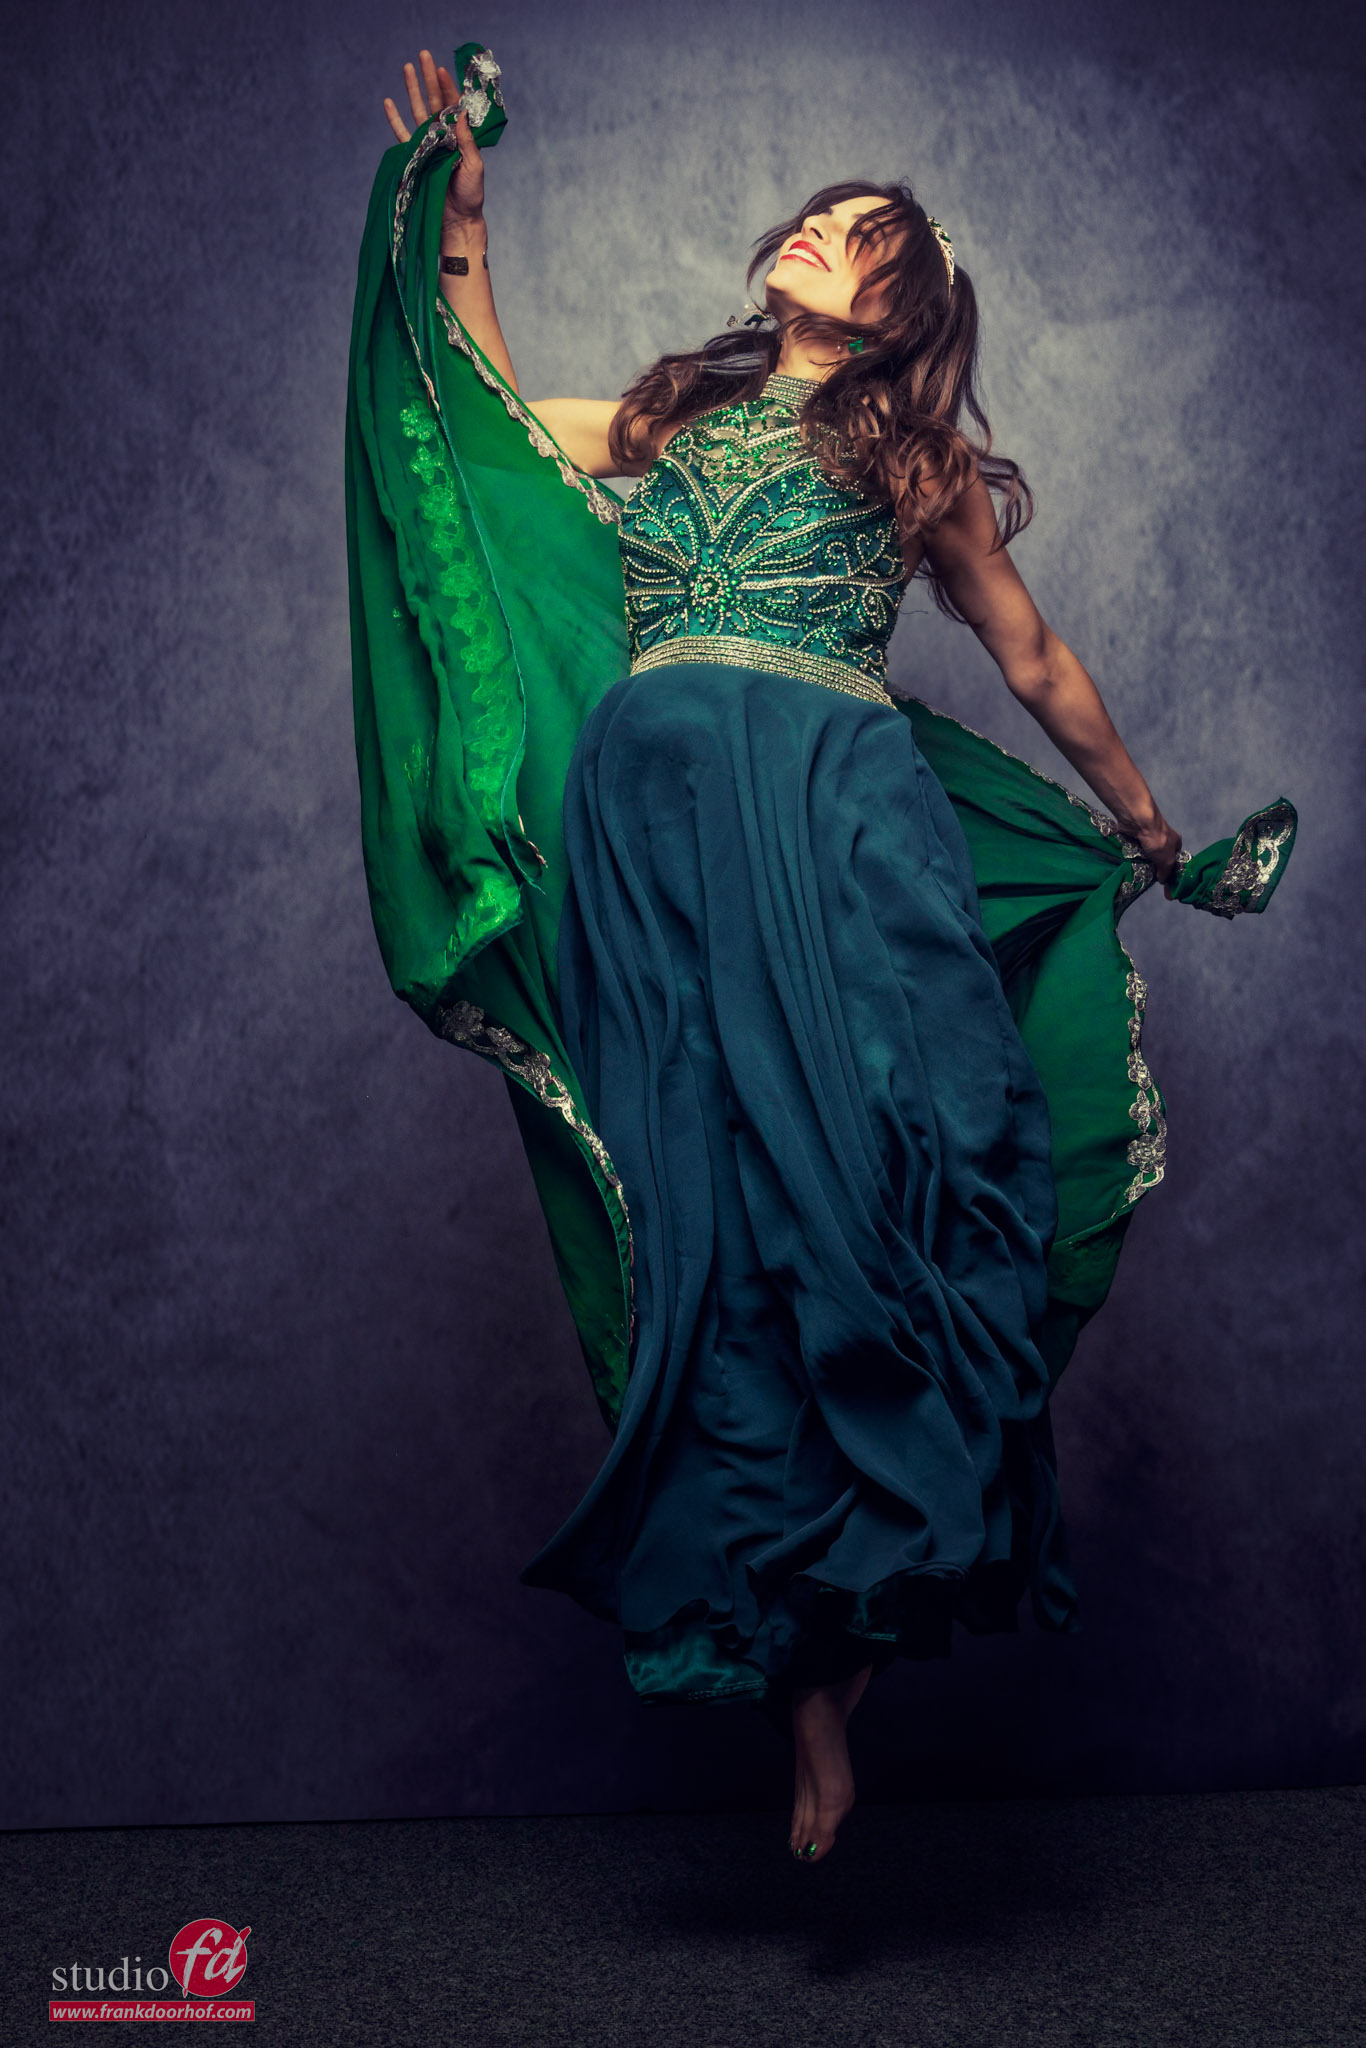
One of my favourite things to do during the workshops is using our Rogue magnetic snoot or the Lindsay Adler Gobo projector as my main lightsource.
The Gobo projector I will post some more about soon, but in essence it creates awesome projections on your subject that via a lens you can focus. There are also gobos with just a circle which you can use for shots like in this blog.
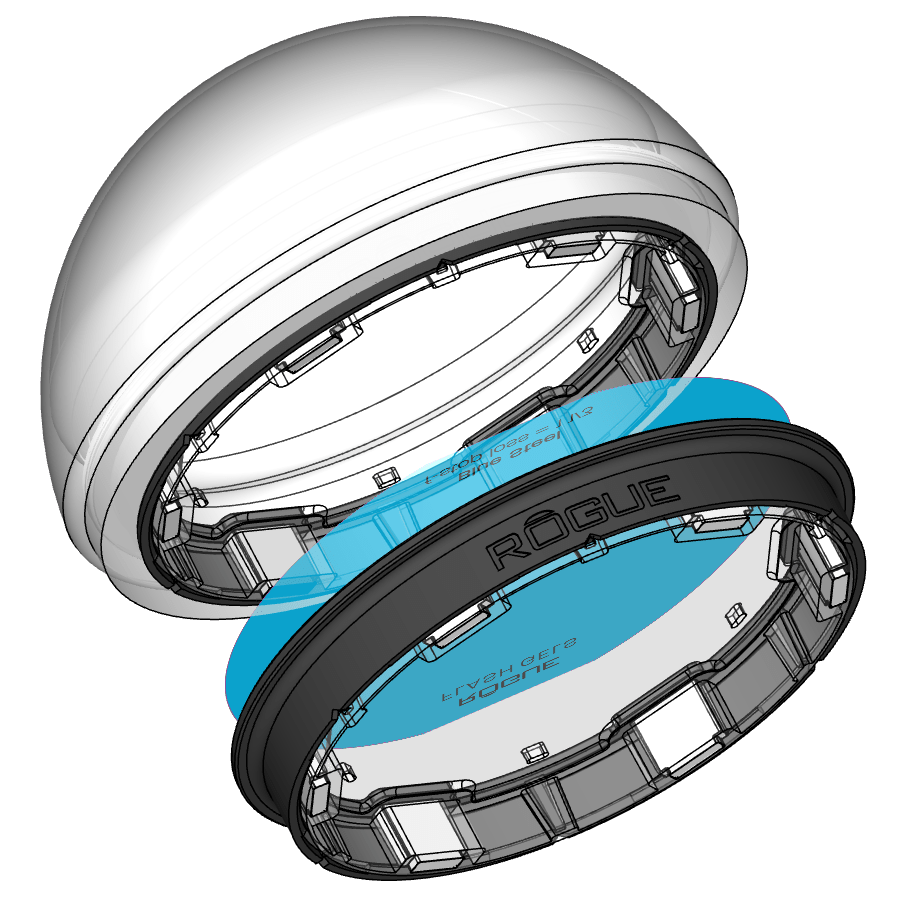
The Rogue magnetic snoot is a much cheaper solution. And the cool thing is that you can use it in 4 different settings, but also can take out the diffusion panel for another 4 looks. I love gear that is versatile 😀
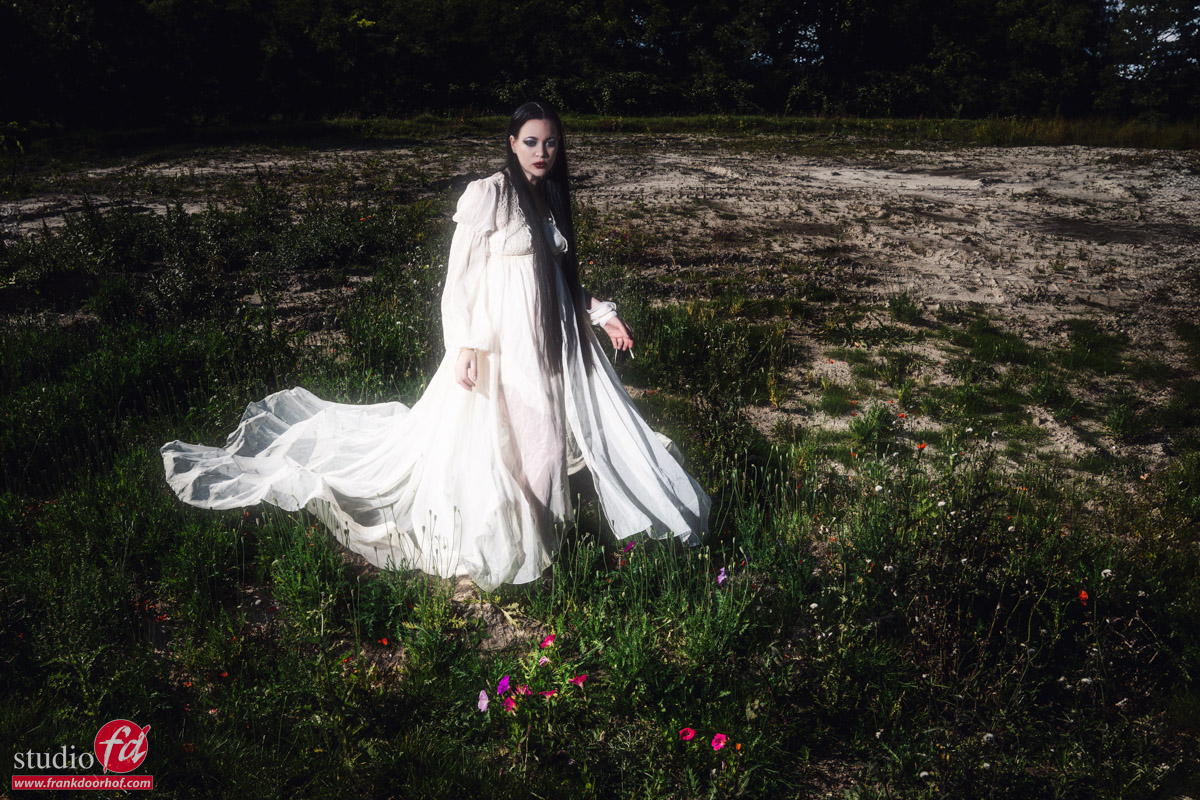
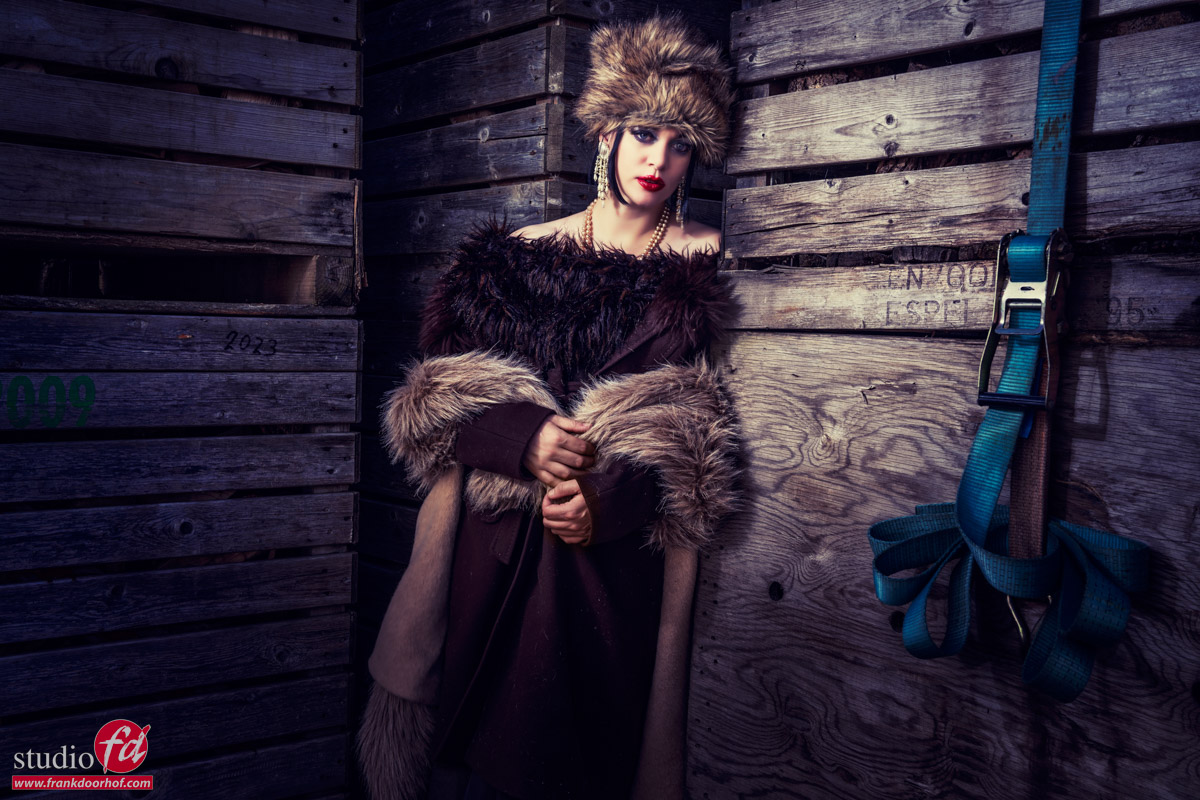
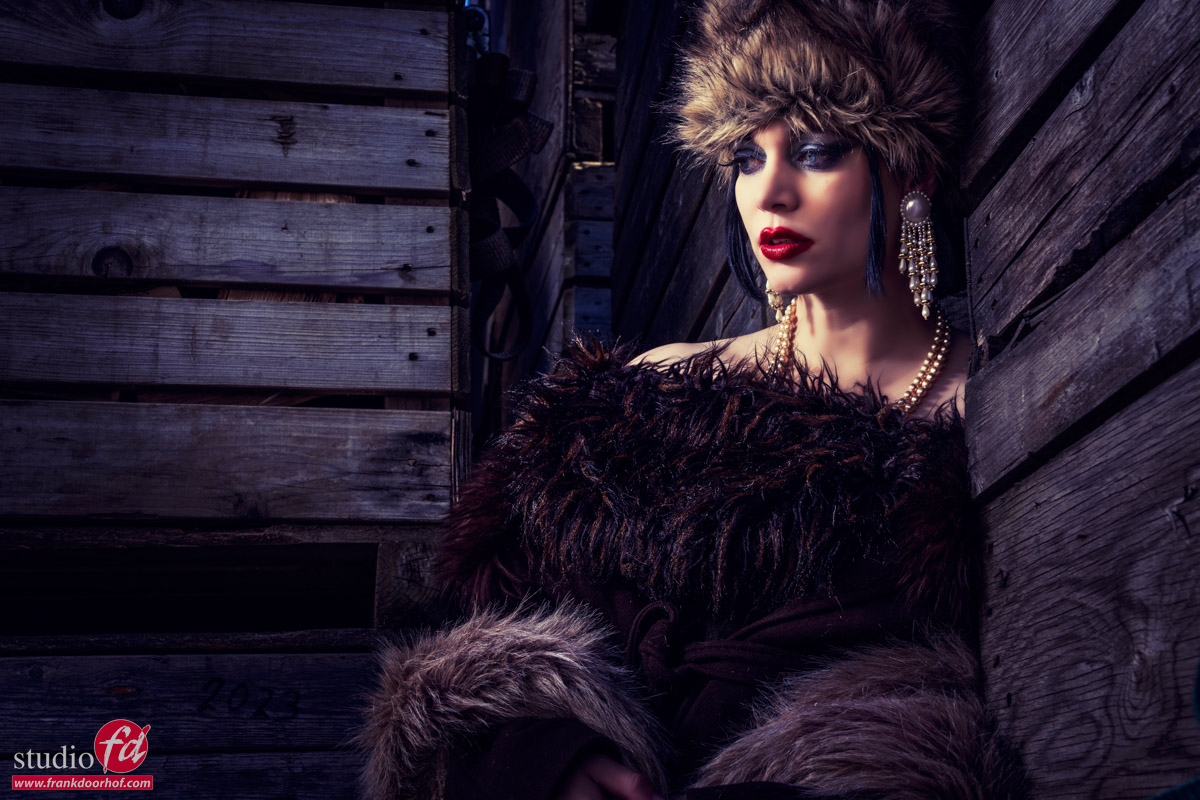
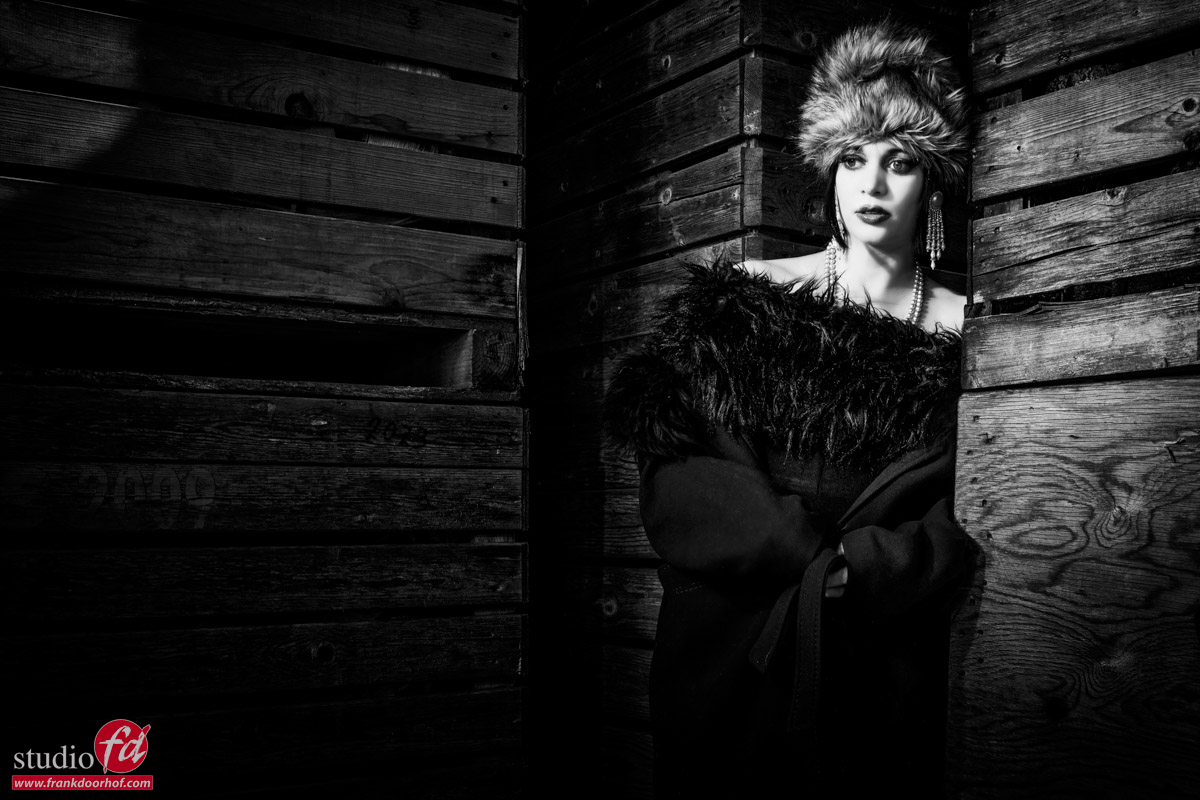
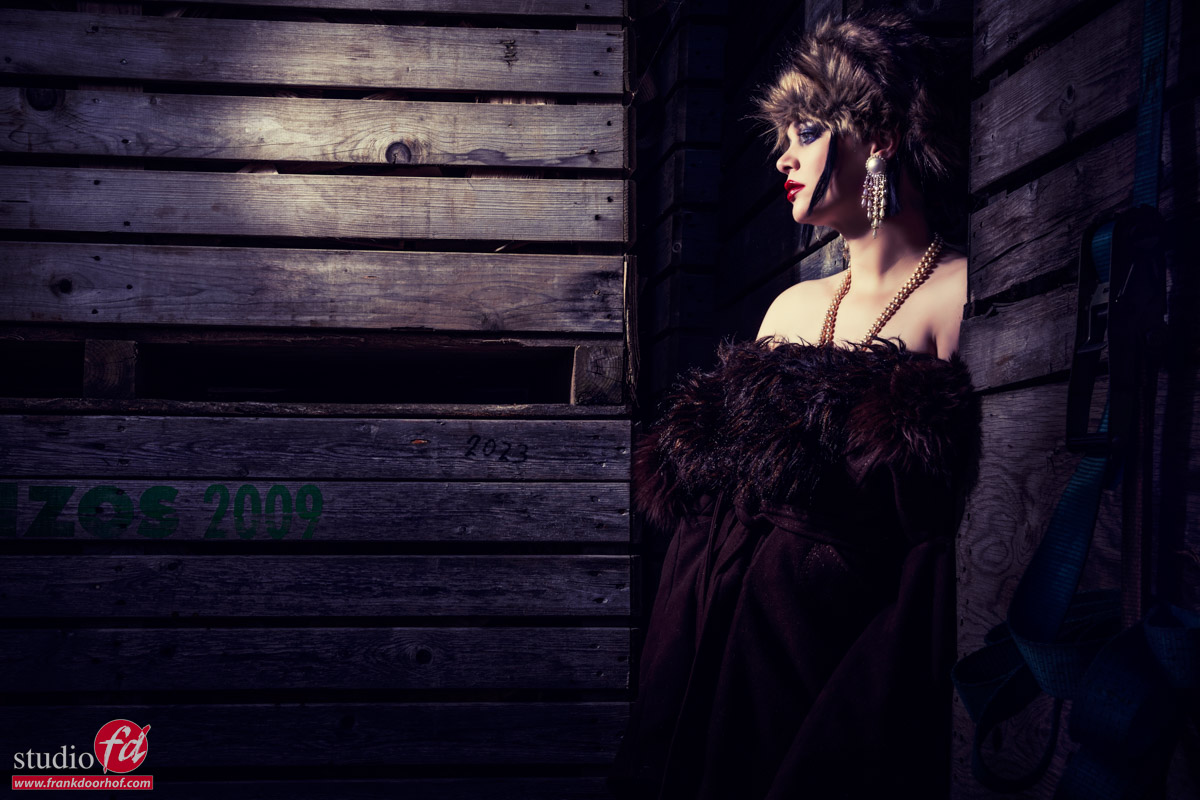
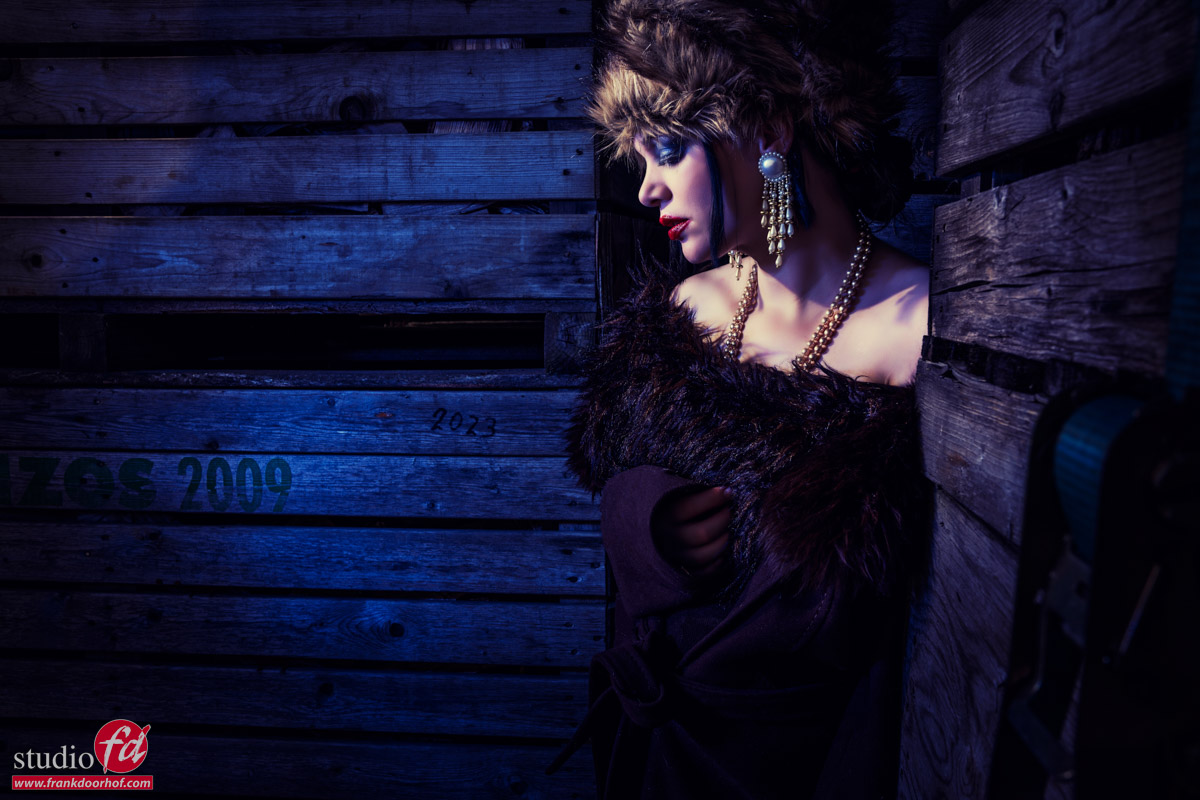
Now when you start using these kind of very focused light sources straight on your model you can get some very striking an awesome results. Do be careful about the position of the model, this is a setup where movement is very limiting due to the shadow of the head. Wearing sunglasses can really help here. They don’t only look cool but also take the attention away from the eyes so you don’t miss the catchlights or don’t see the raccoon eyes 😀
These were shot during a session with our model Claudia.
Our workshops are mostly in Dutch, but if you visit the Netherlands and also want to visit a workshop, let us know a few weeks in advance and we can switch them to English, or contact us for a full day 1:1 online workshop, including model and full lighting in the studio walk through via 4 cameras.
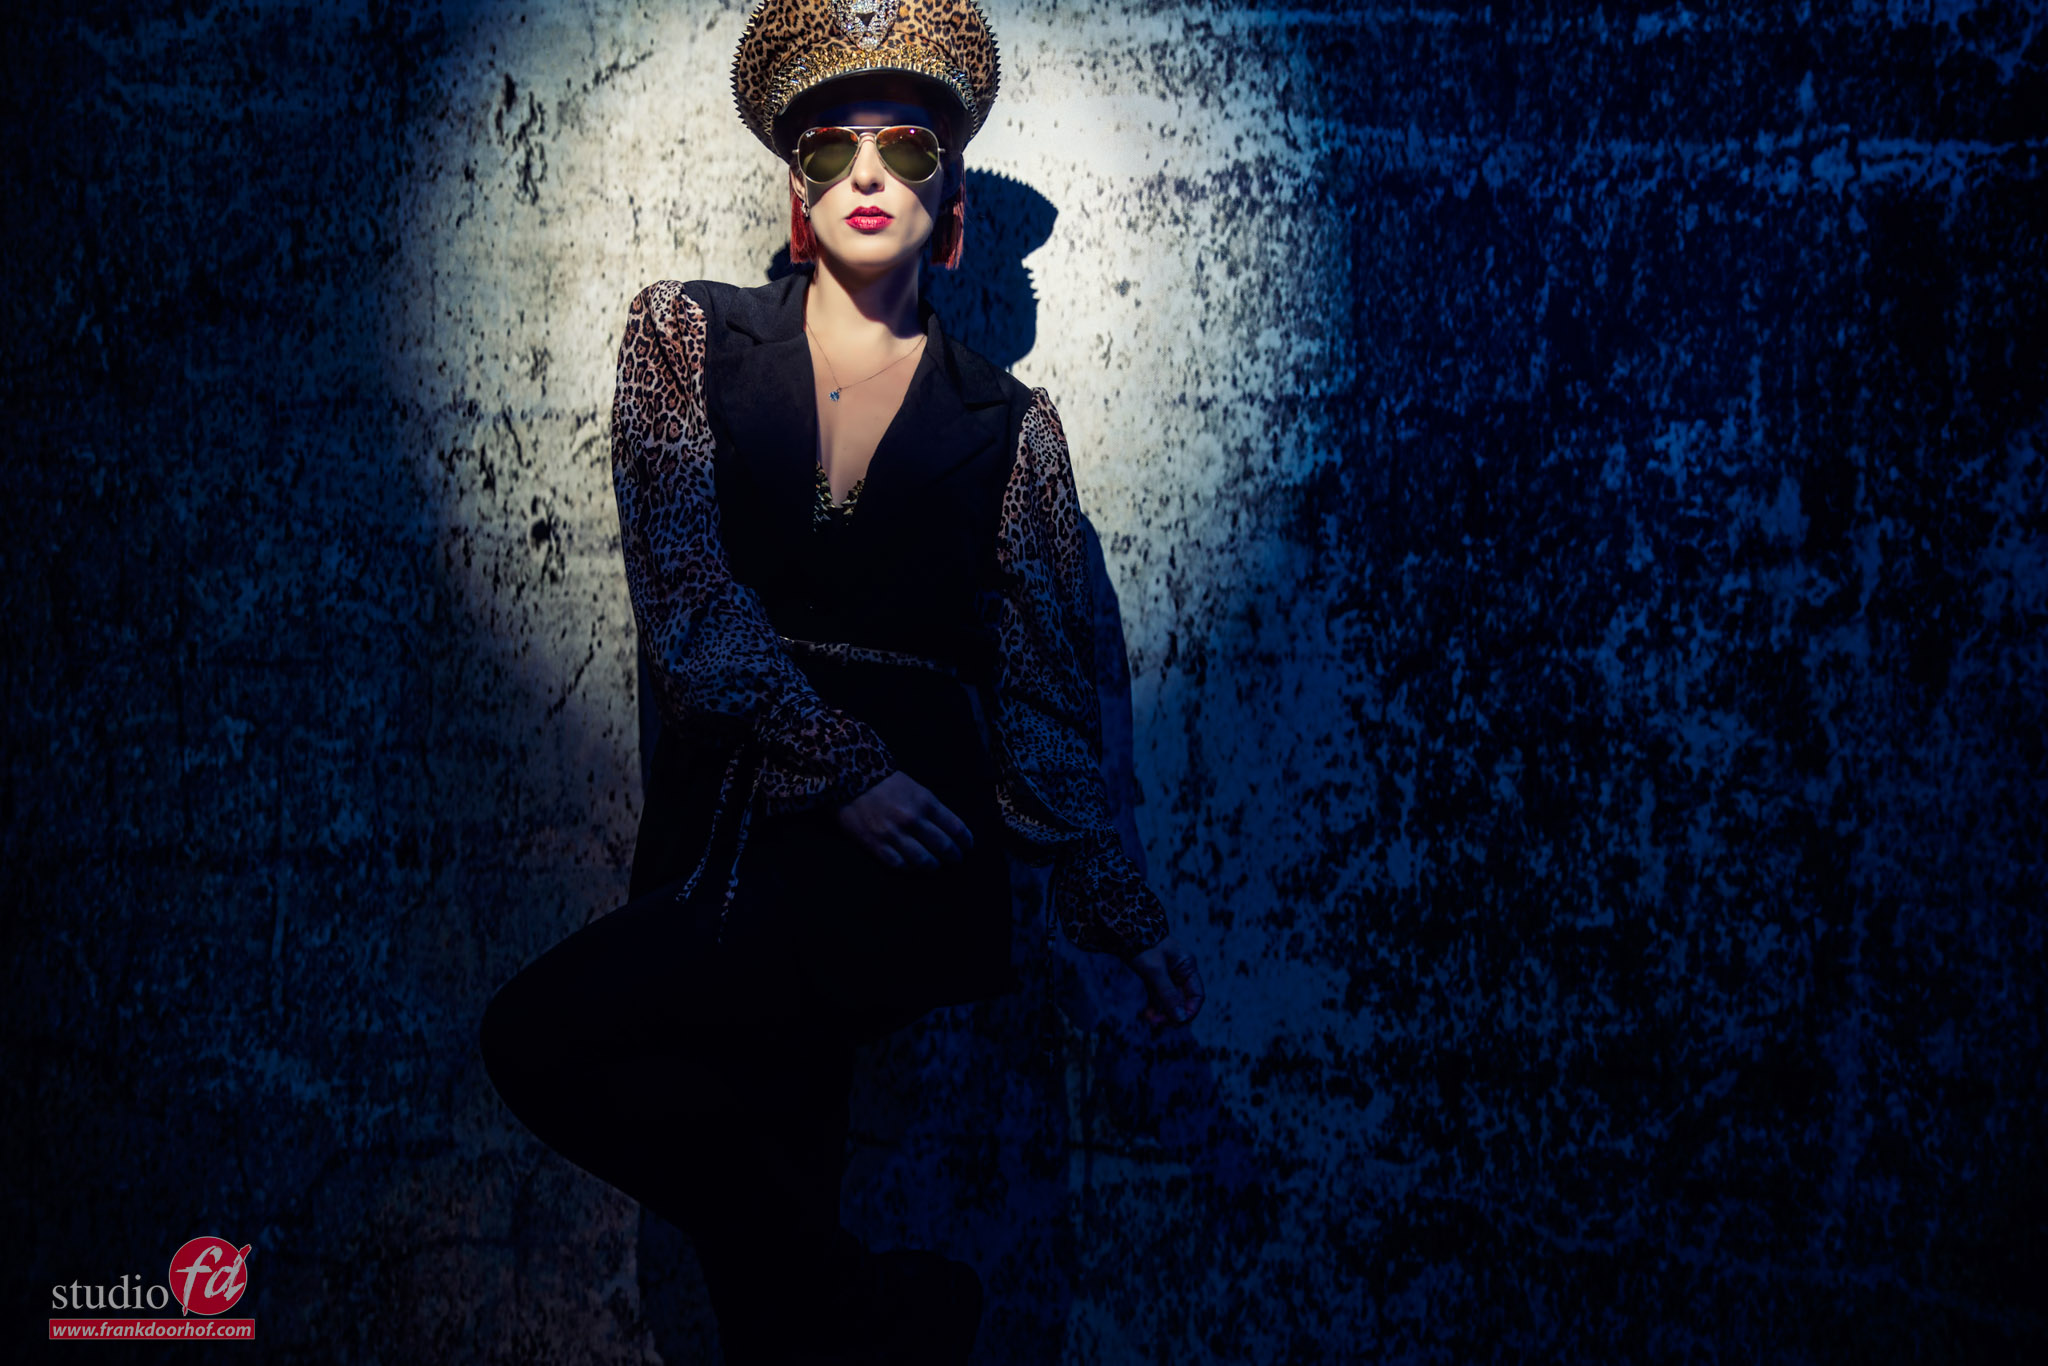

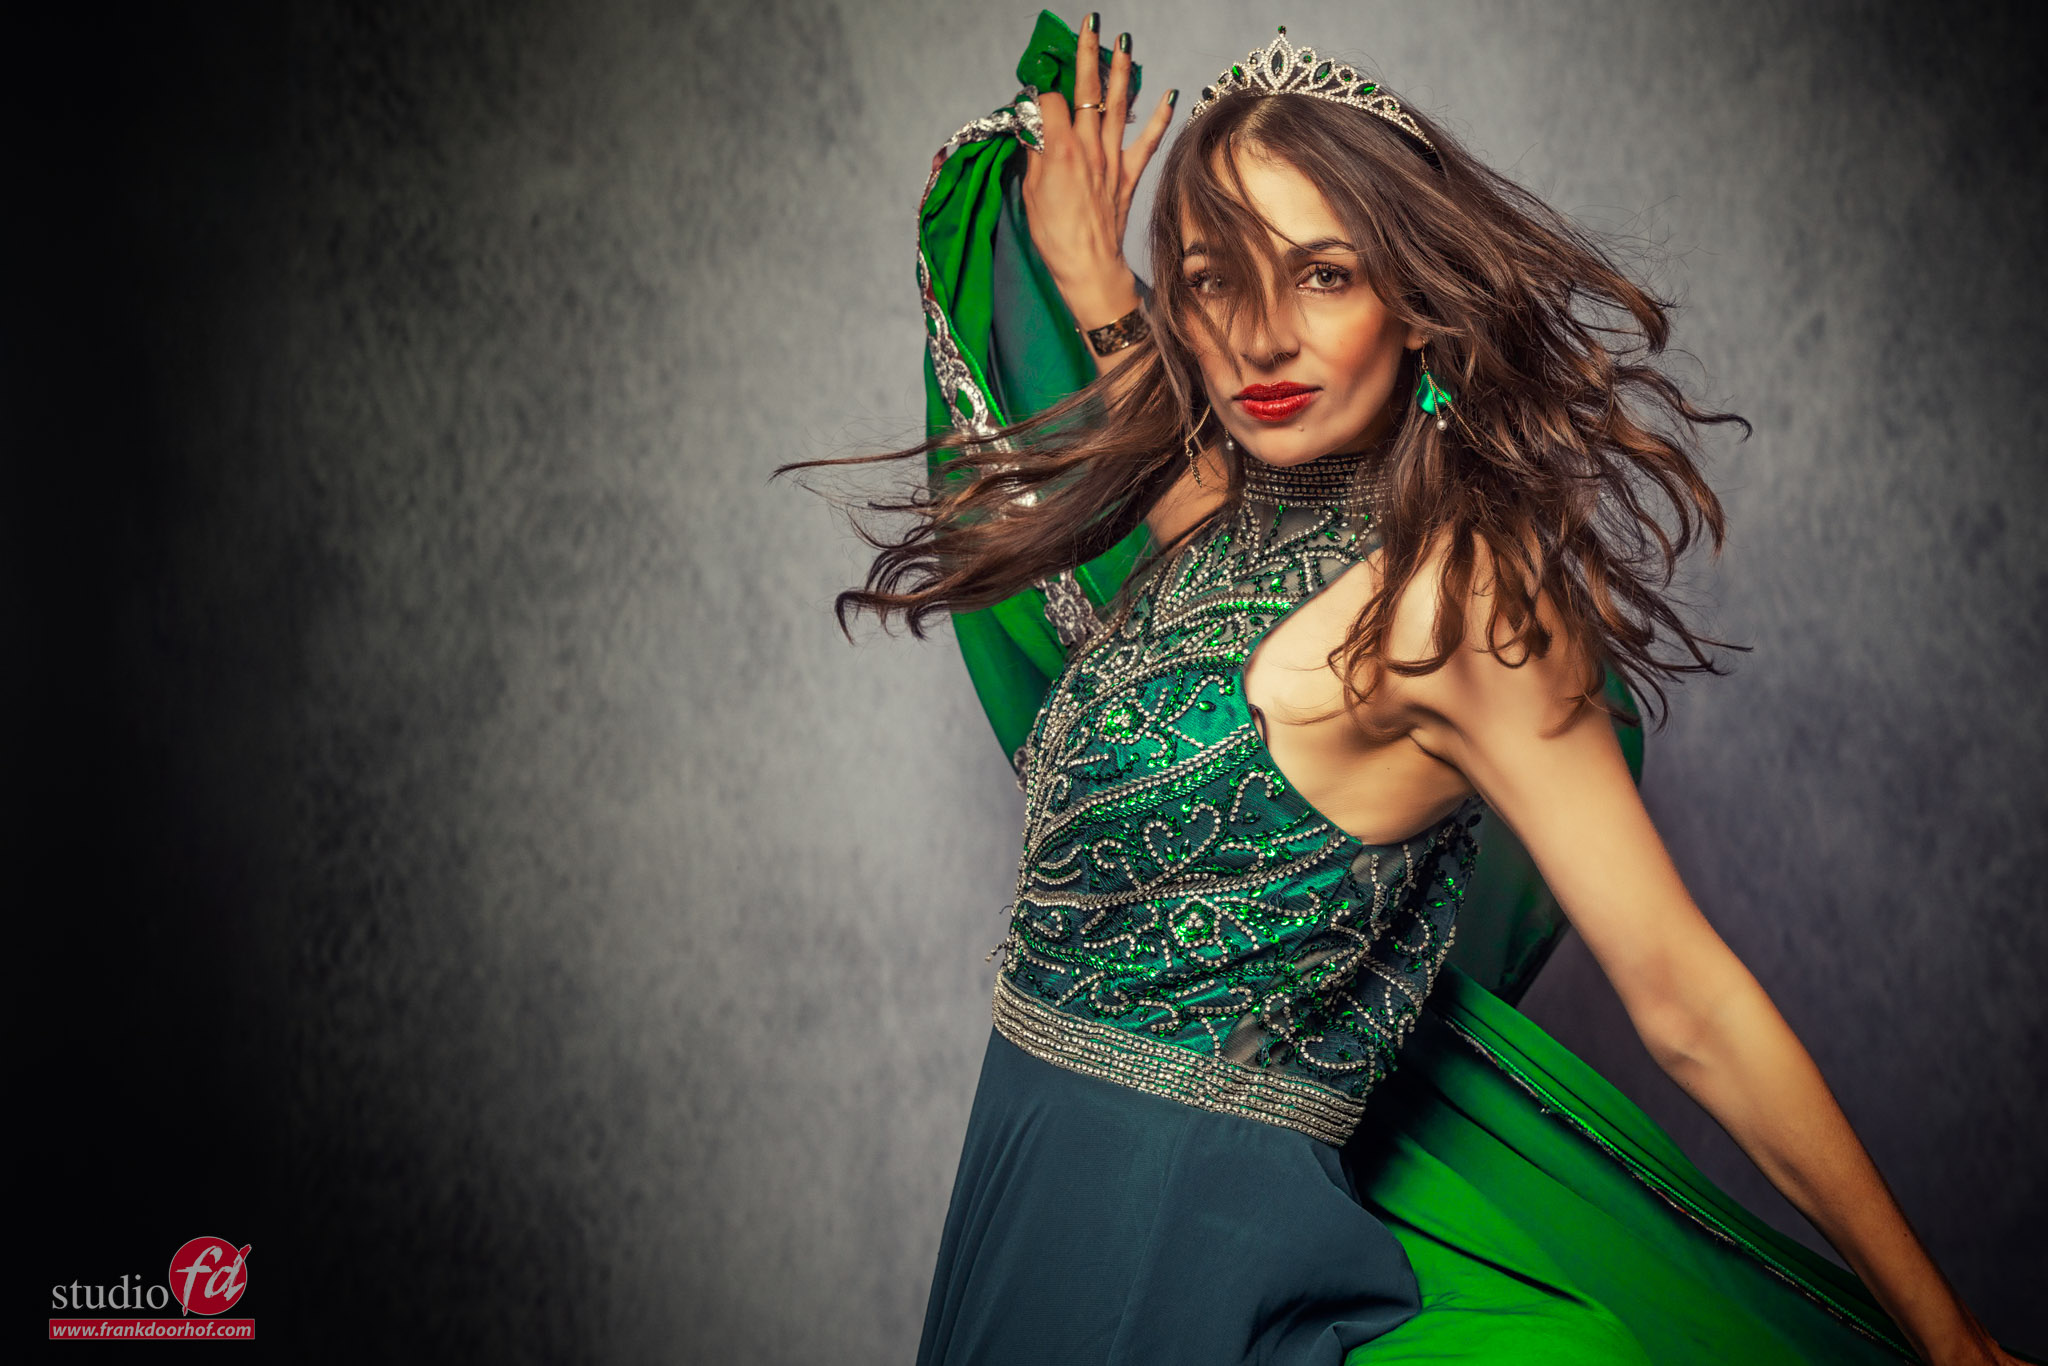
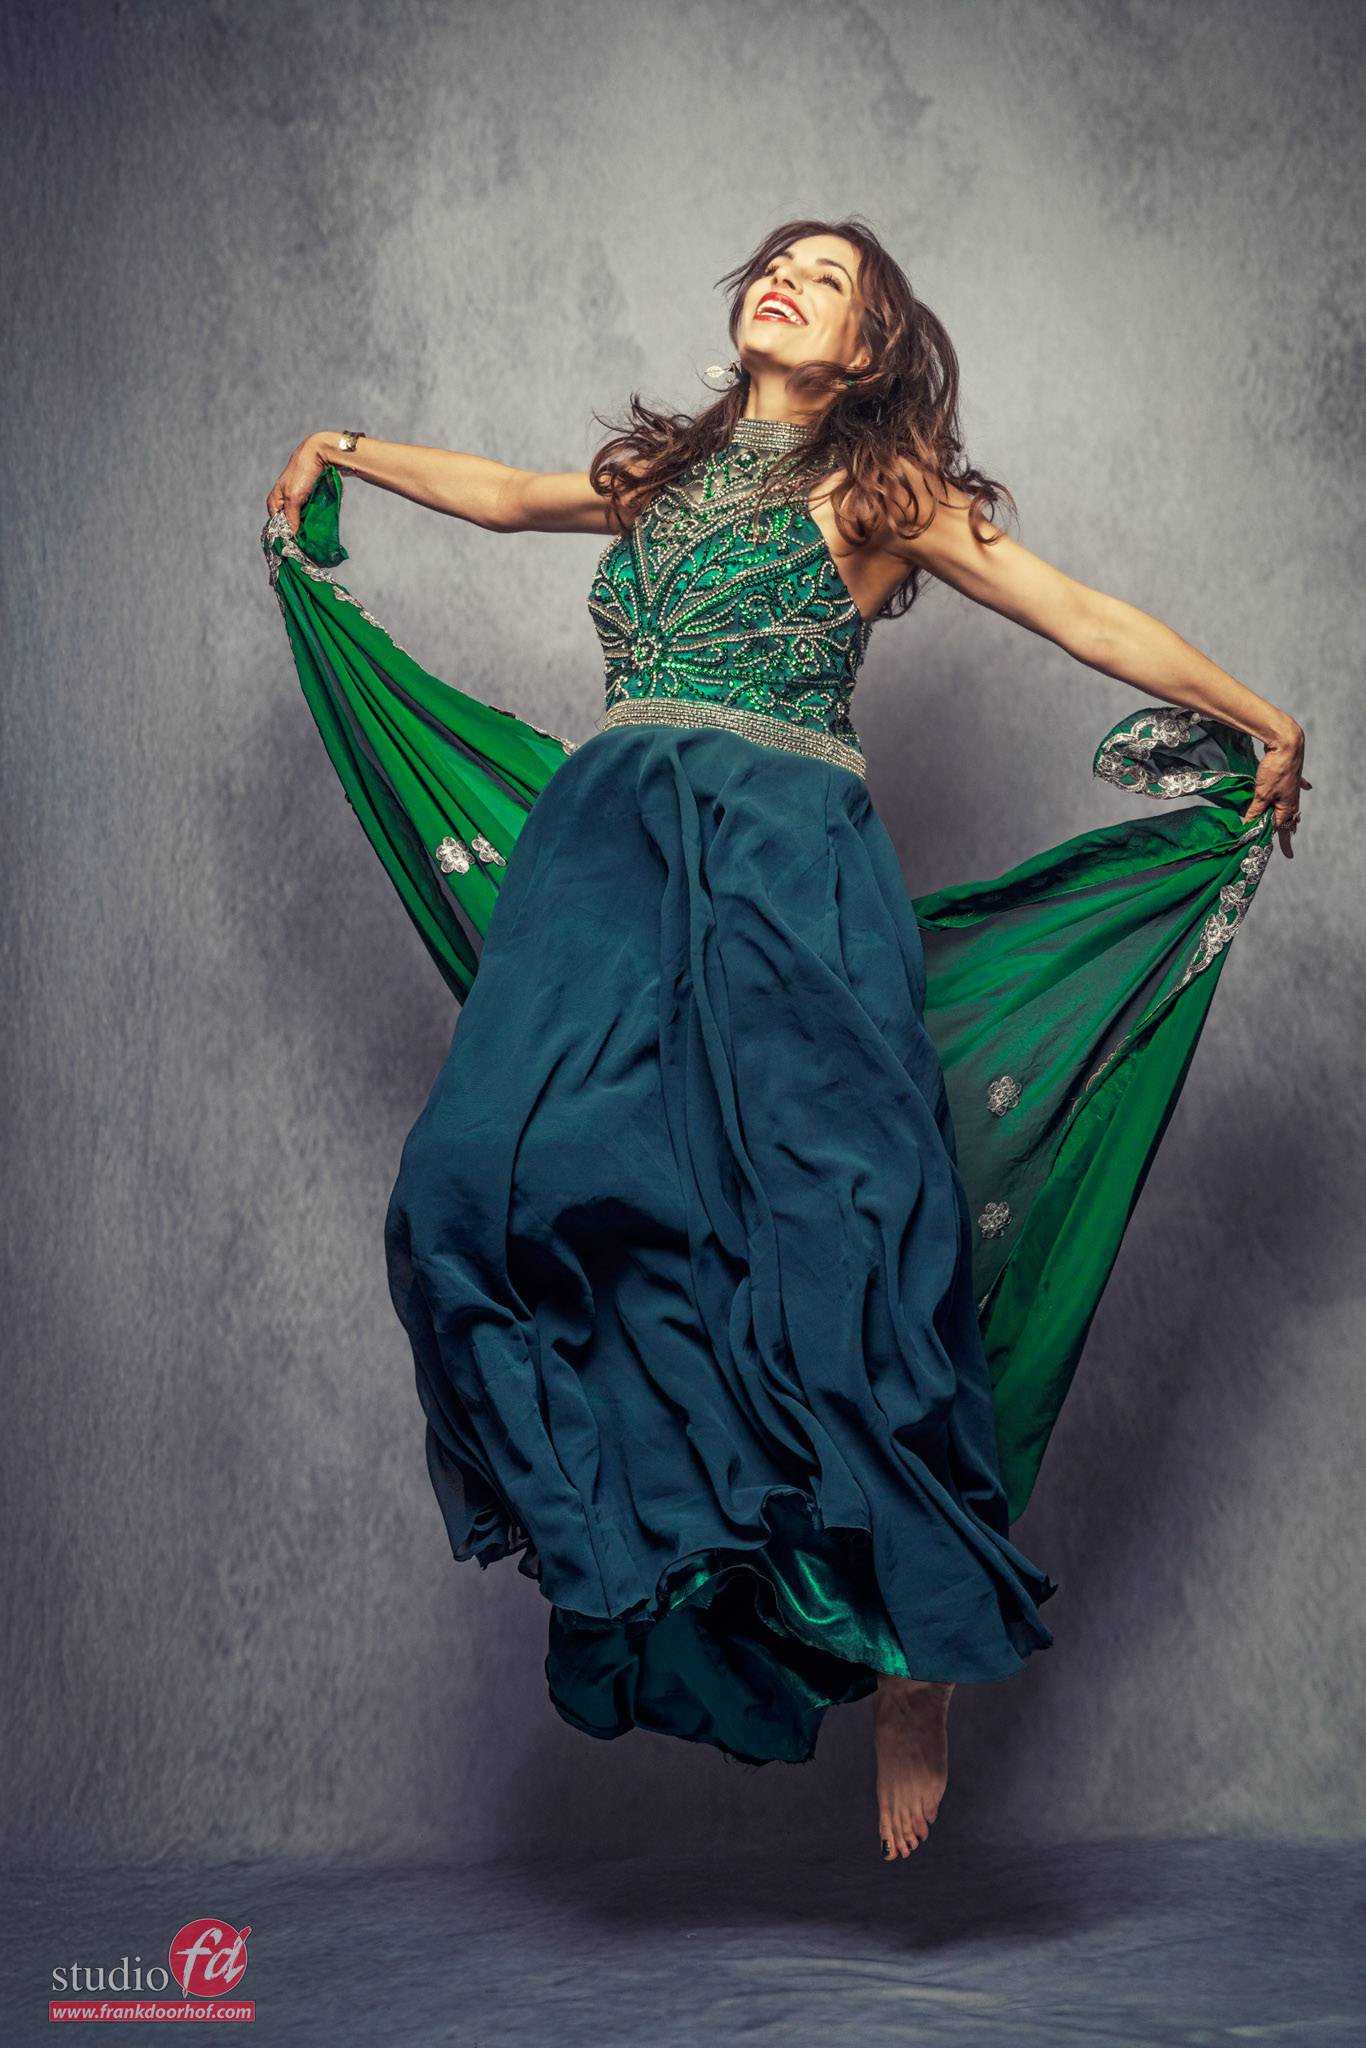
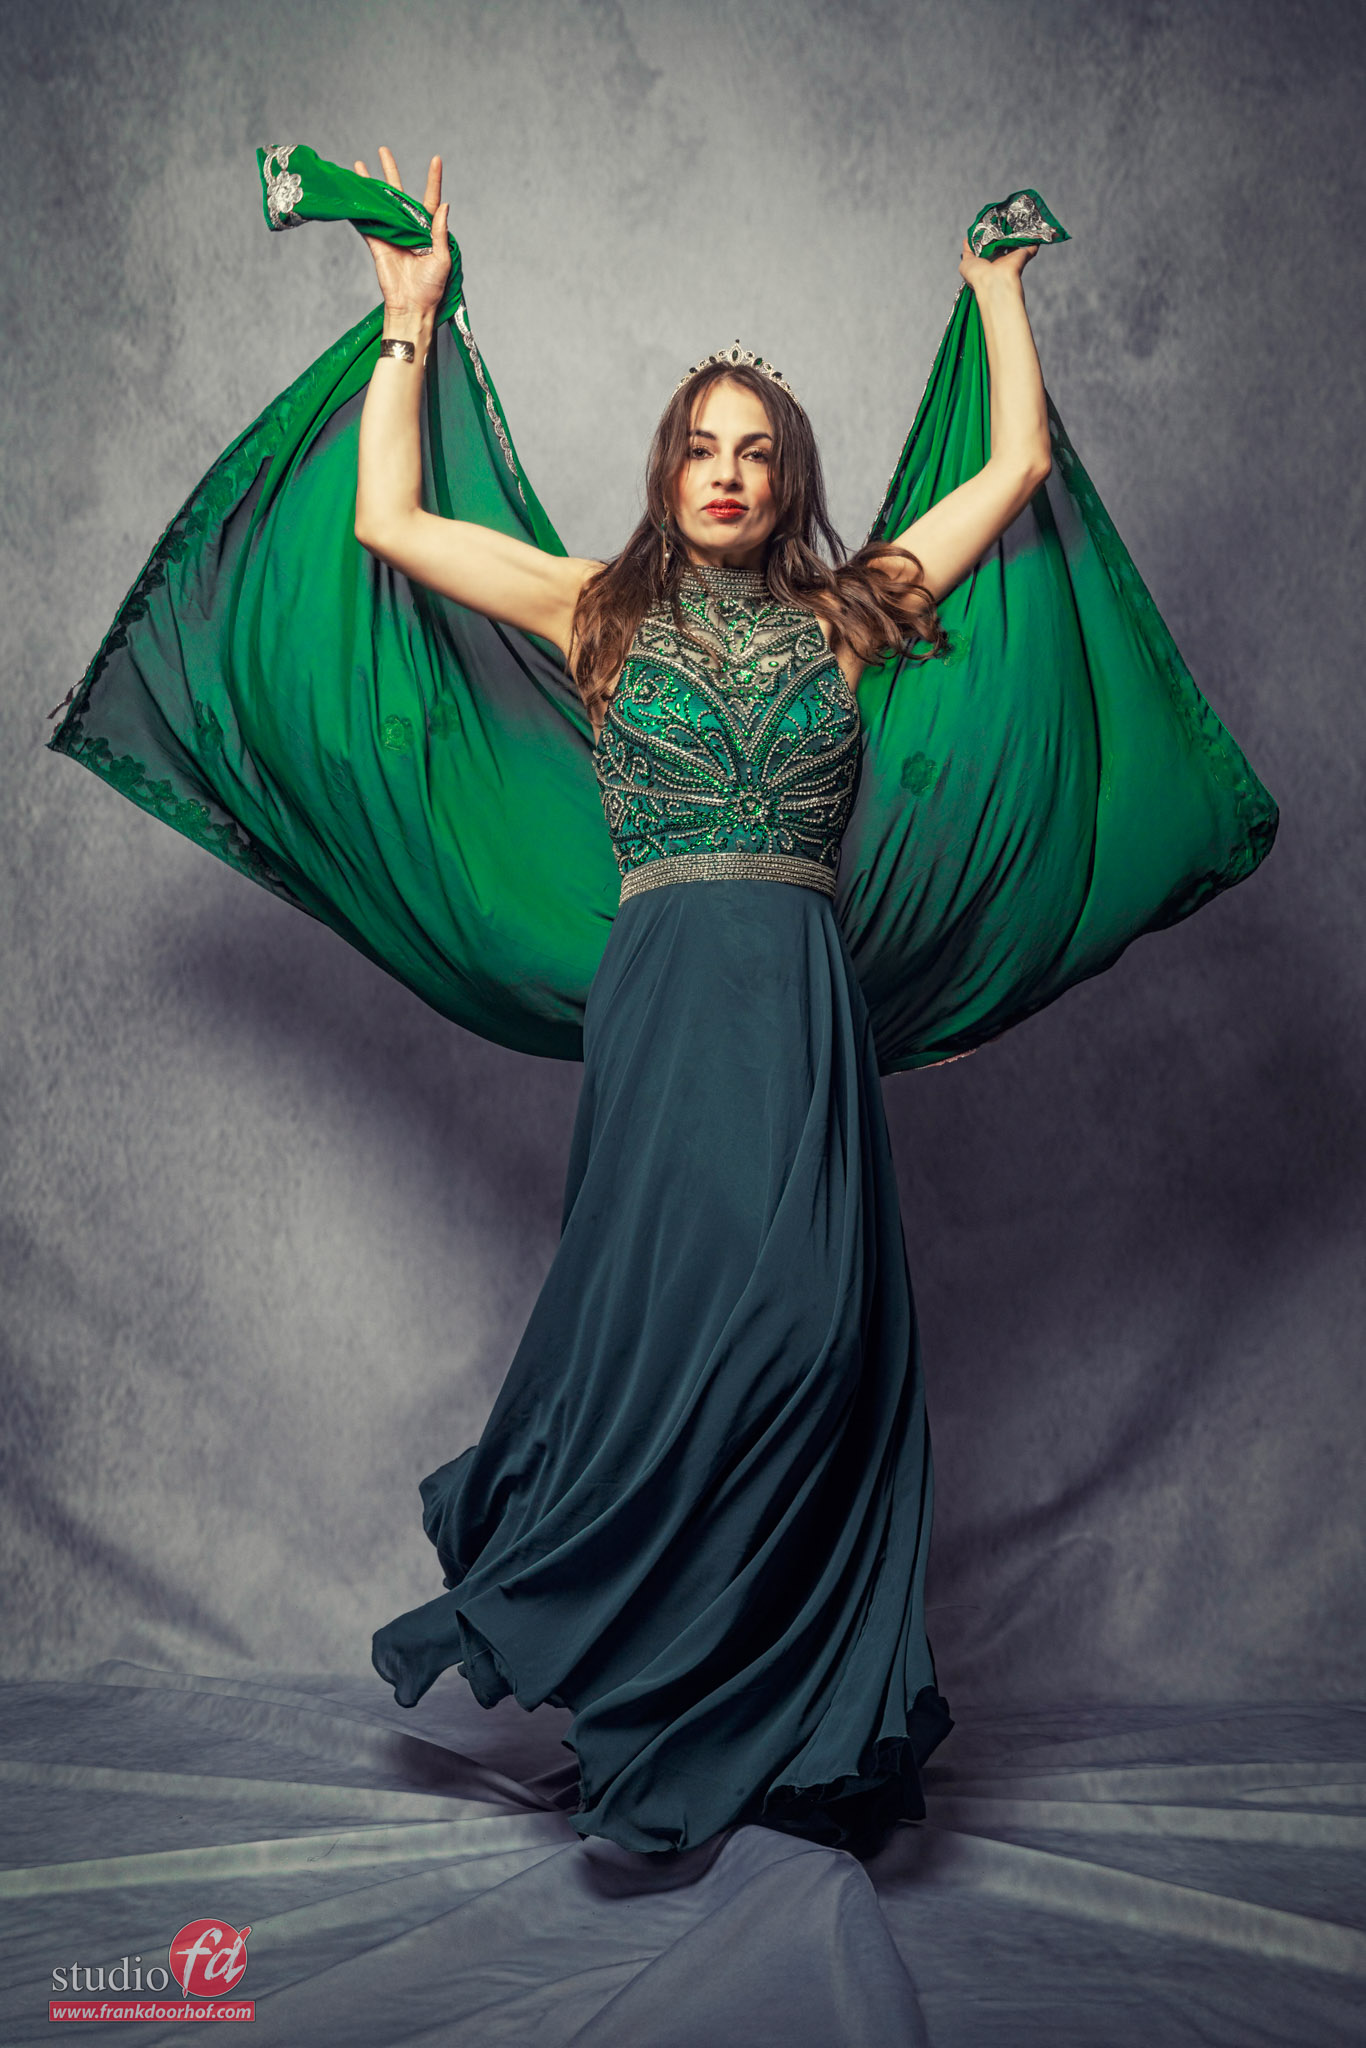
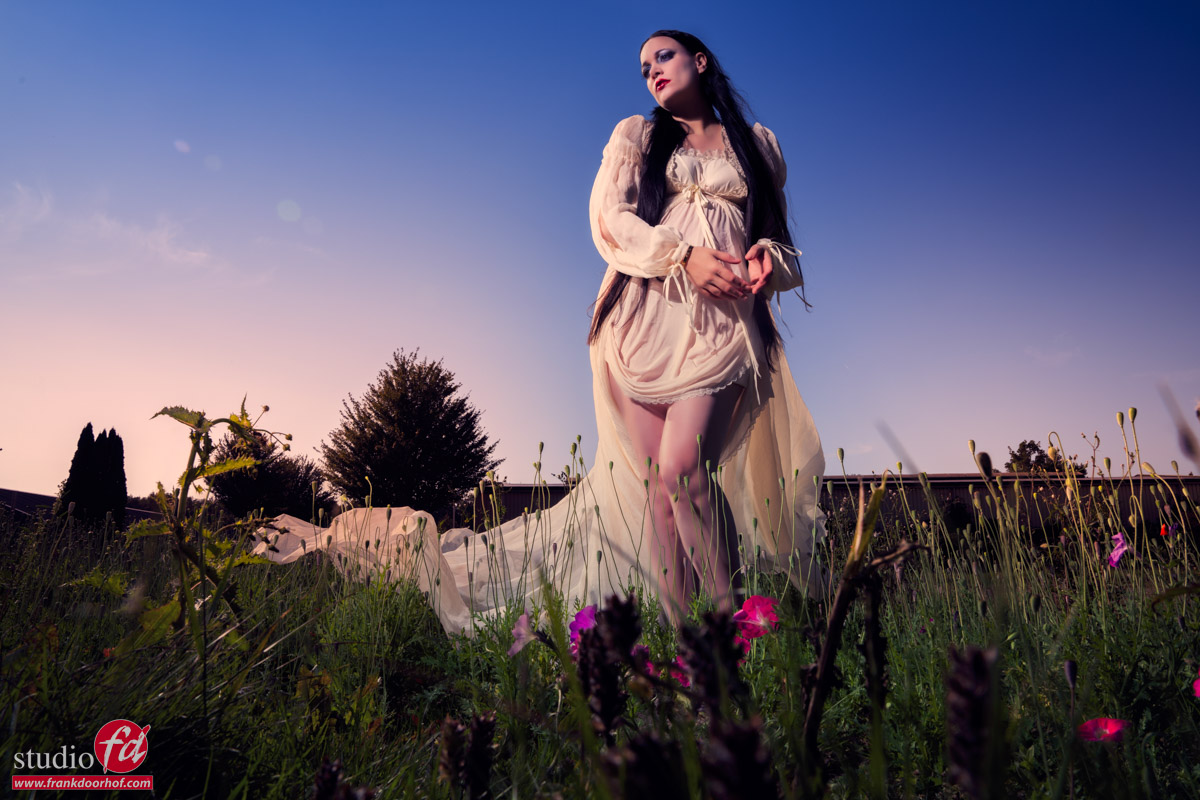
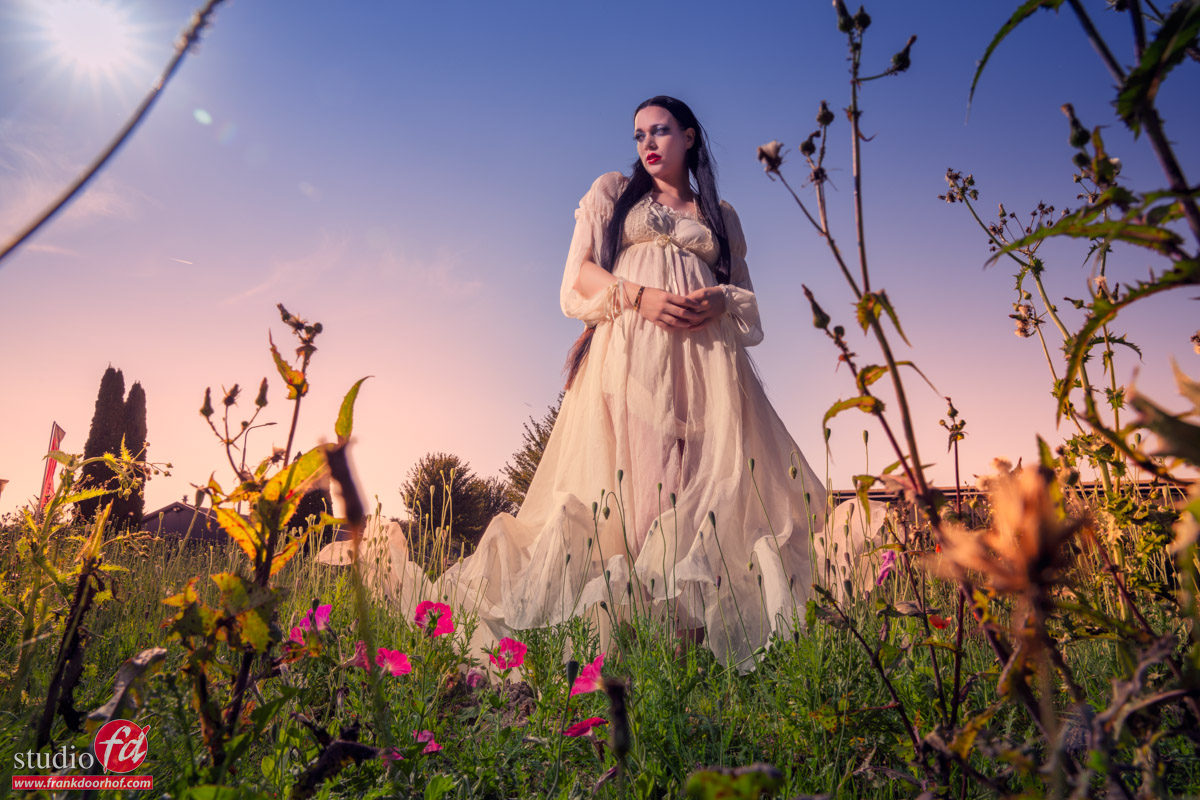
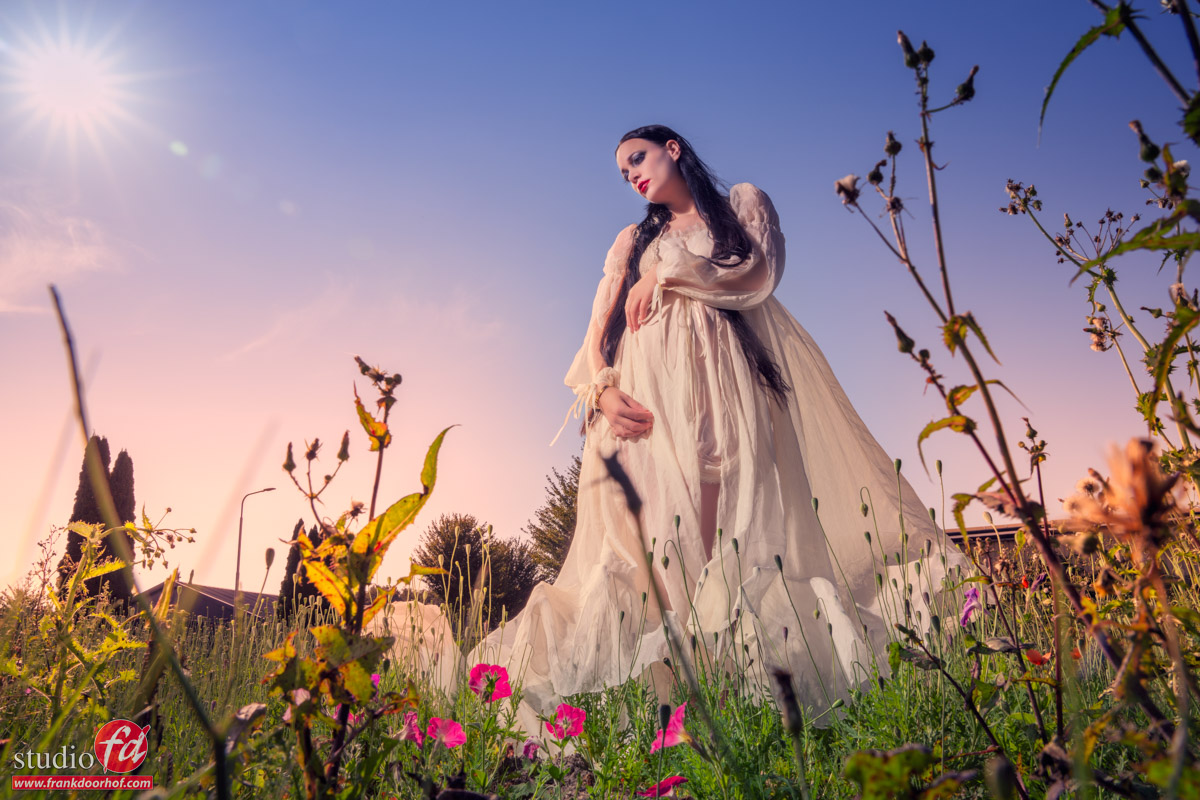
Now you probably noticed something in the images?
If you only use the snoot/gobo projector or even a reflector with grid with a focussed lightsource the model will be lit but everything else will probably pitch black so for the viewer it’s not a nice image to look at.
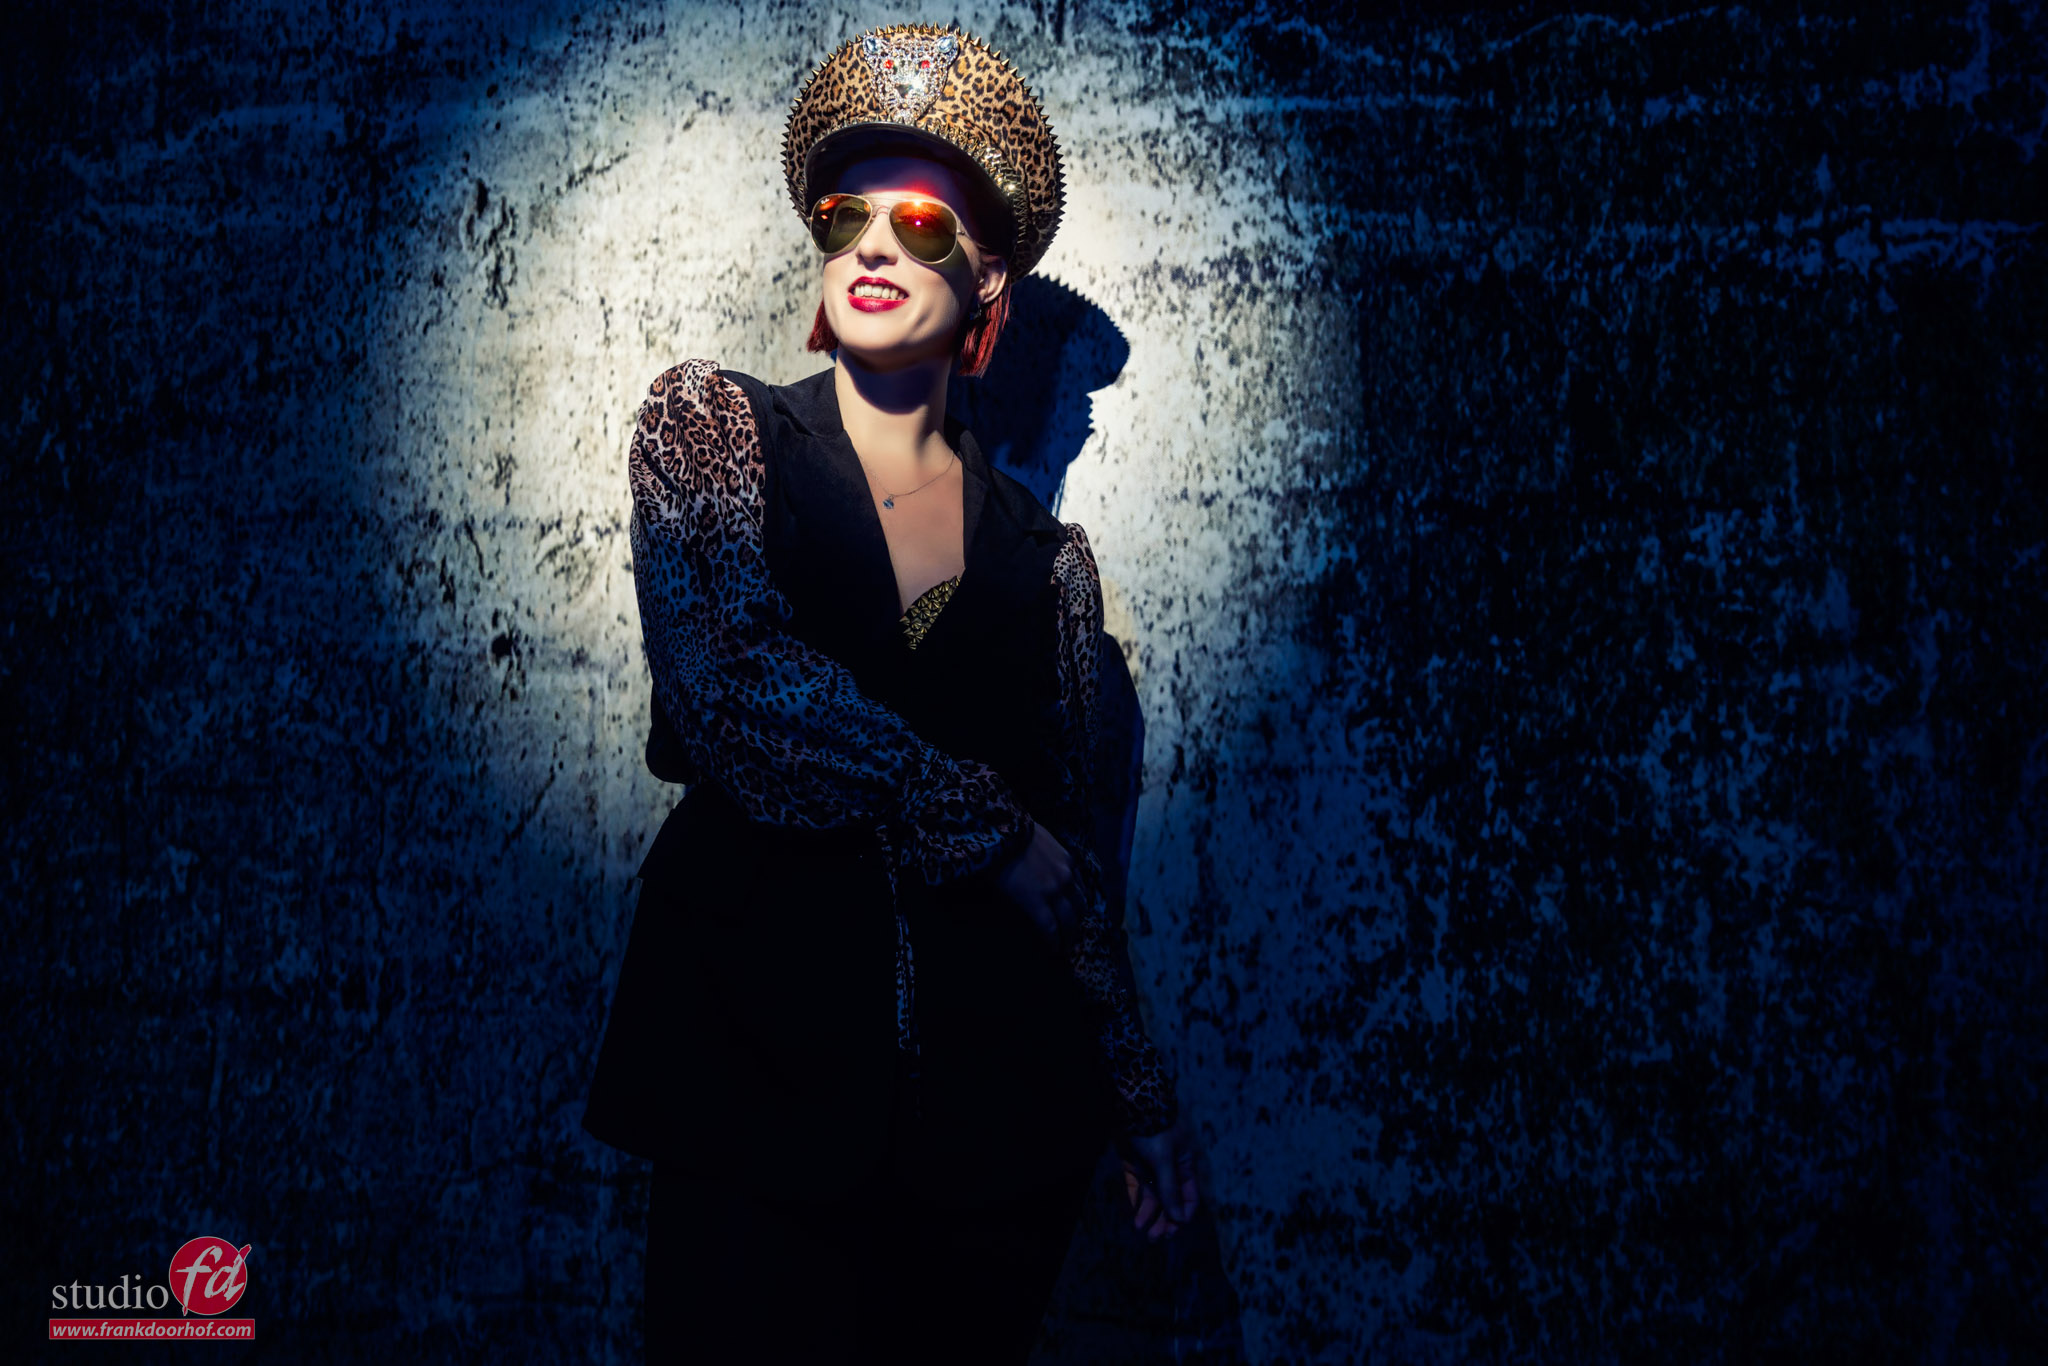
This is why with these kind of images I often use one extra strobe with a Rogue Omnidirectional dome (also from our magnetic system) and in this case a blue gel. I place this under the same angle as my main light and a few stops below the main light (depending on the background and the mood I want). Now the blue gel will open up the shadows and when you point the strobe up you will have very soft (hardly noticeable) shadows and you can even include some cool lensflares by shooting over the strobe. And of course as you can see in these images I also experiment with placing the fill in strobe on the sides.
I call this technique light in light and it’s one of those things you can use in a lot of situations.

You must be logged in to post a comment.