Results from one workshop….. probably more than you think
Results from one workshop
We get a lot of questions about what I teach during workshops, but mostly about what you can expect for results. So I thought it would be fun to post all the images I retouched from ONE workshop. Let me show you the results of this workshop.
Before we start
Now to make one thing clear before we start. Some people call shooting images of a model a workshop. I don’t… I strongly feel a workshop should be an intense learning experience with loads of information, tips, questions answered, etc. So in every set, I try to add some things I know people struggle with.
During the workshops, I always try to do at least 3 to 4 totally different sets with their own problems and solutions 😀
The used products are linked to our webshop. If you have any questions, let me know. I am happy to answer them.
In today’s blog post the results from one workshop with our model Claudia.
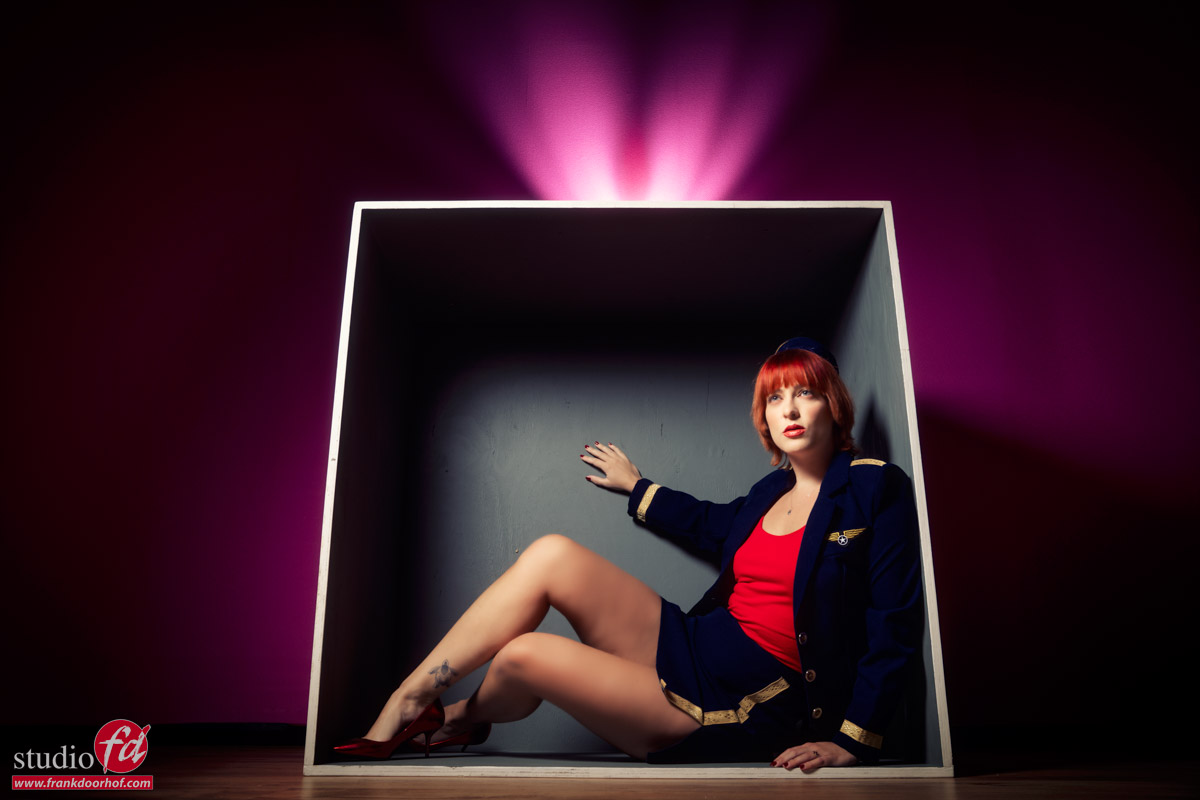
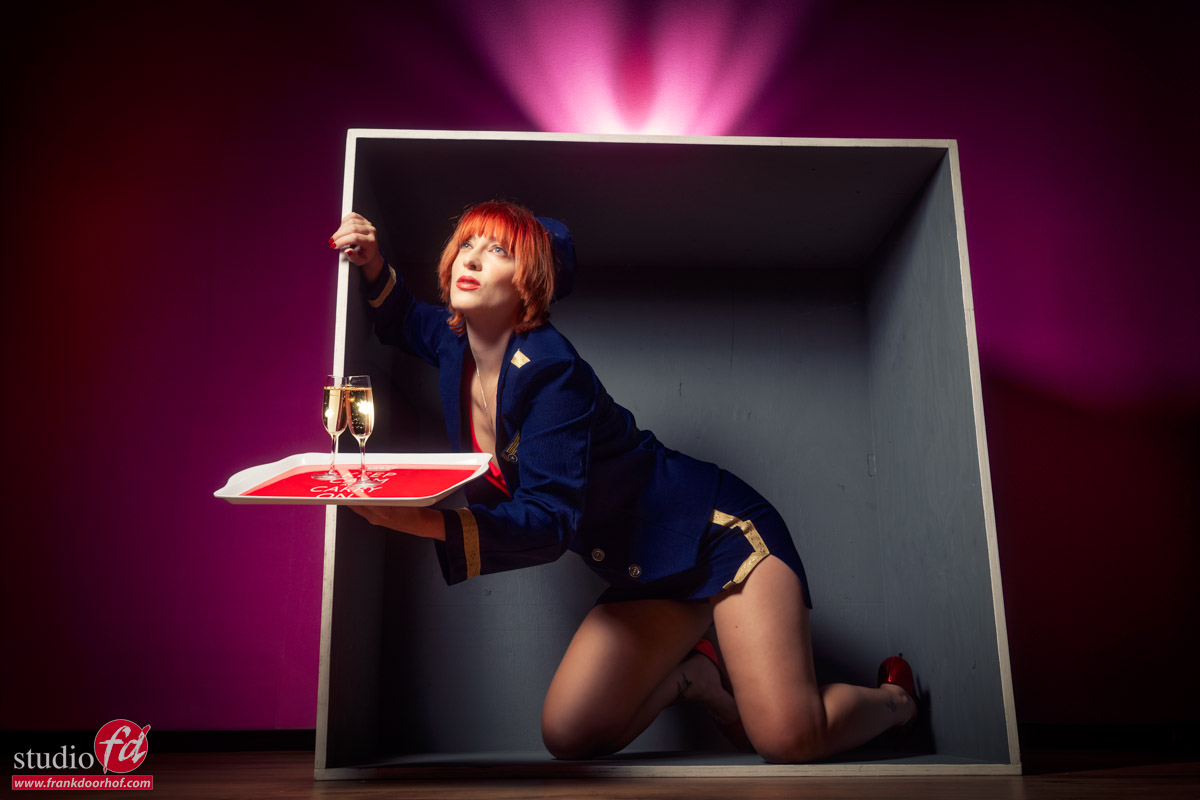
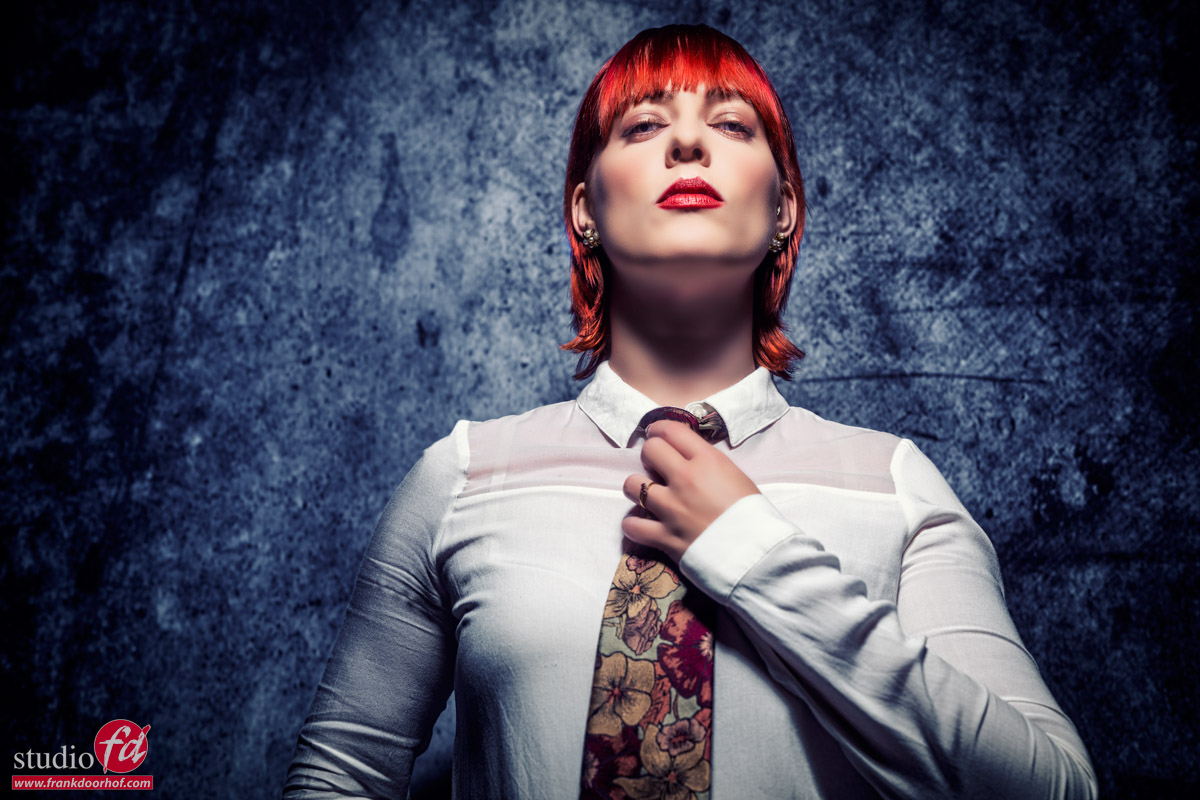
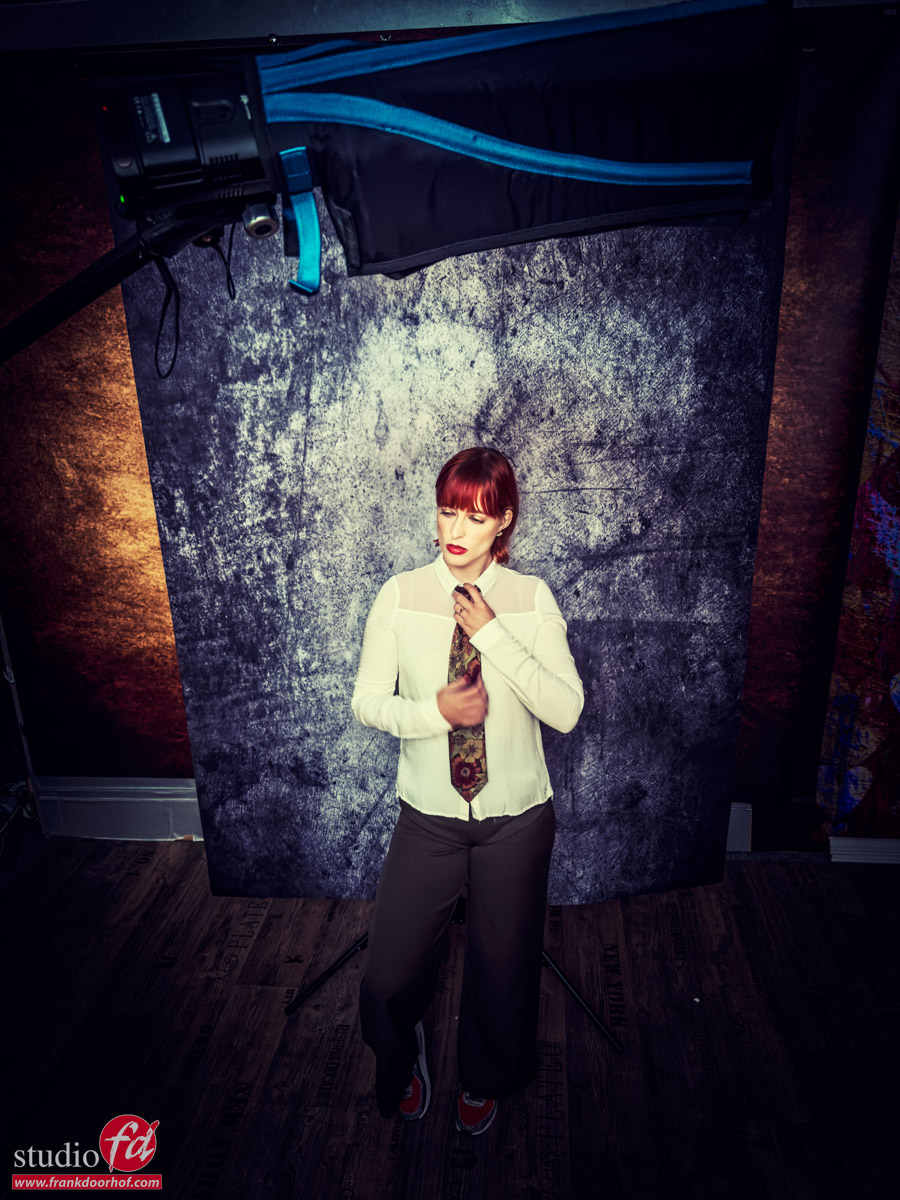
For the first set, we used a box to pose our model in/on. The main idea was to get interesting effects in the background and how you can manipulate these.
Of course, the added element of the box triggers creativity.
I’m using a Geekoto GT400 with the small Geekoto softbox as the main light.
In the back, I’m using a Geekoto GT250 with the Rogue Magnetic Snoot. The main thing I love about this snoot is that you can use it not only in 4 different configurations but also can be used with or without a diffusion panel (this is without) which gives it a multitude of different looks. It’s one of my (many) favorite modifiers.
Now do remember these are WORKSHOP shots, so I shoot them while teaching, meaning they are okay, but far from perfect.
Set 1.
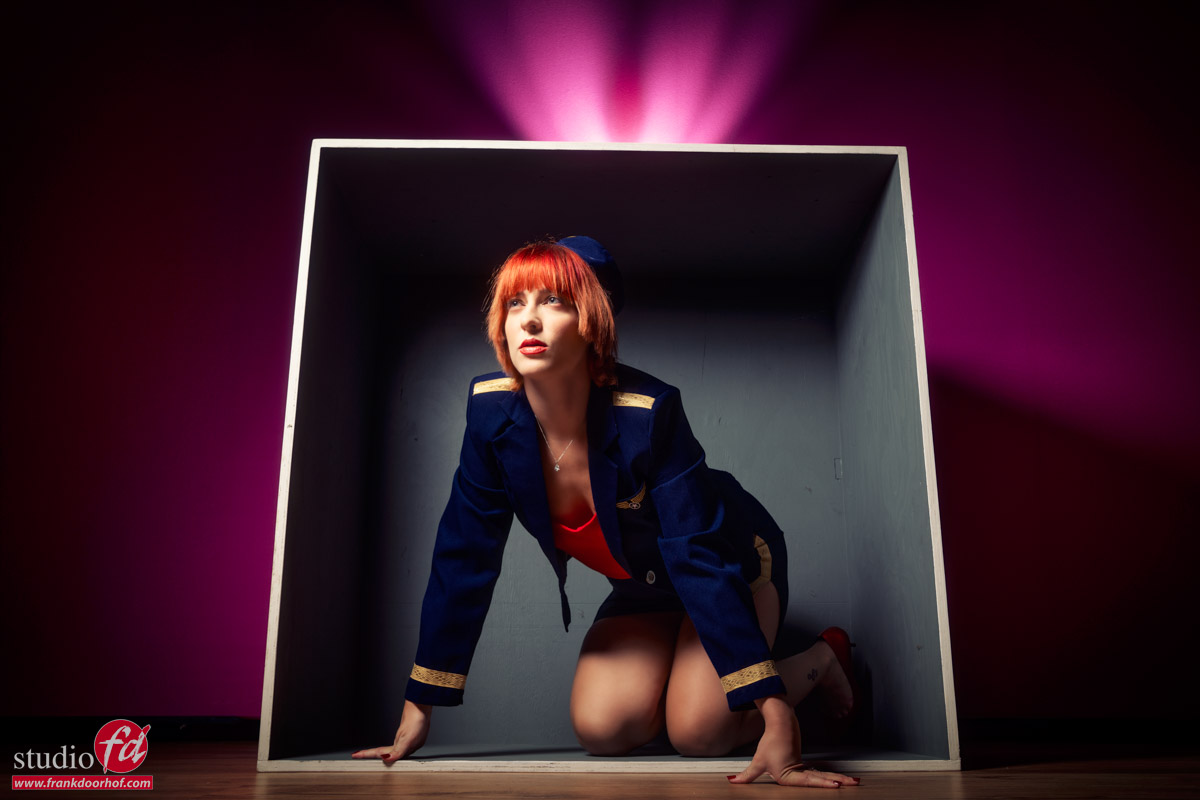
And of course, there are always more ways to shoot something than just one 😀
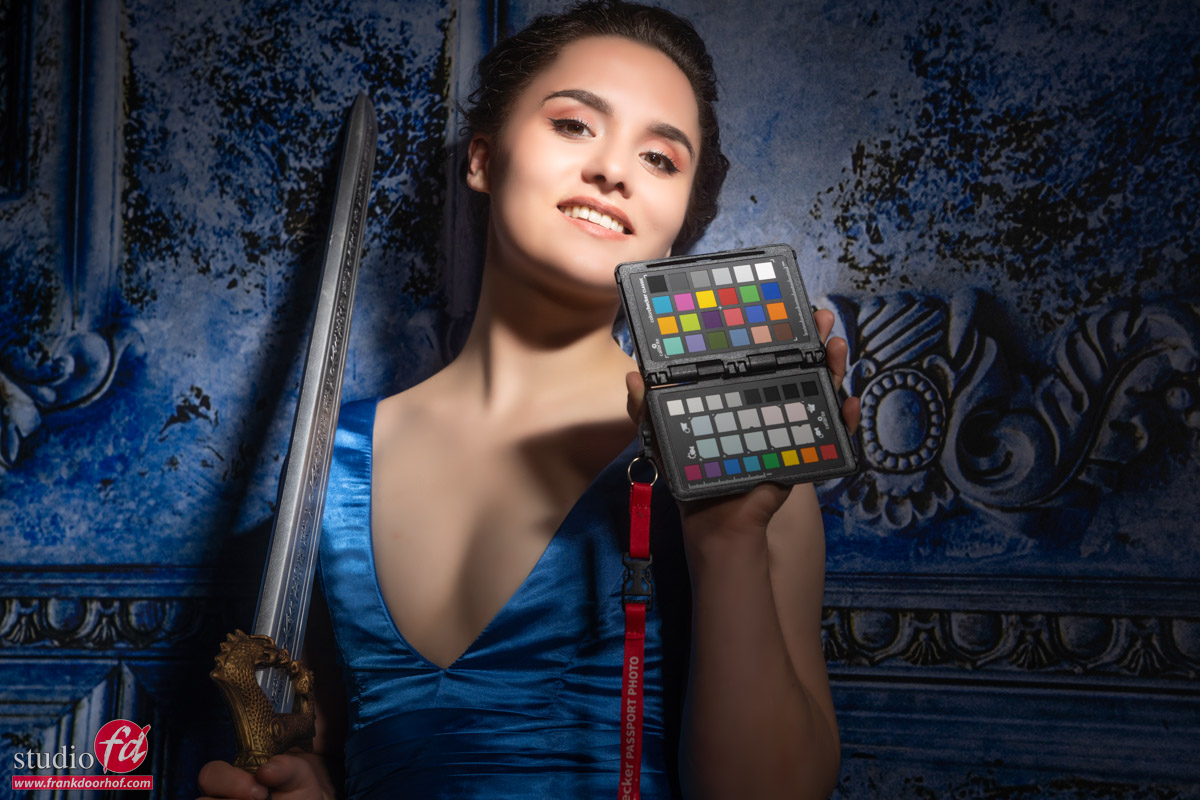
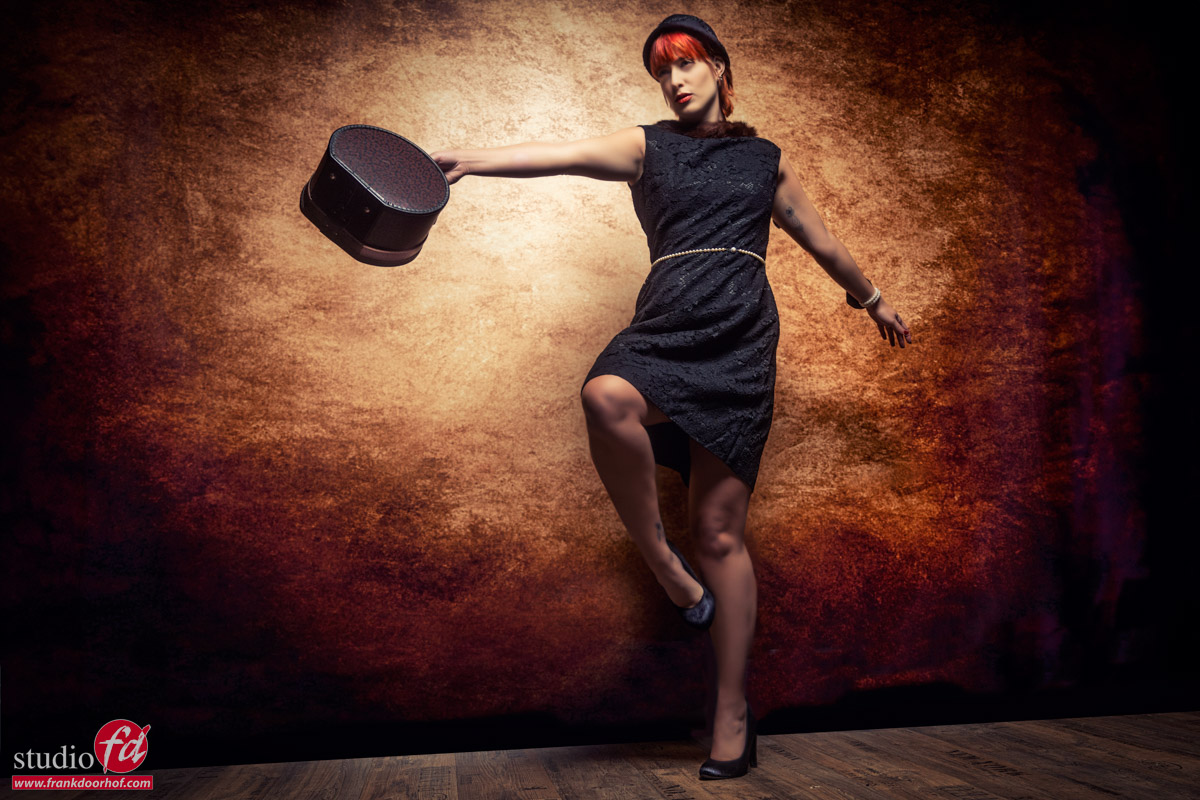
Motion
For the next set, it was all about styling colors and adding motion to a shot. To make sure you freeze motion it’s important to know on which setting your strobe has the fastest T01 value. I’m using a Sekonic 858 meter for this, which besides the exposure, also meters the flash duration.
And of course, coaching the model and getting the right moment is vital.
As a backdrop we used the the Rembrandt Brown vinyl 300x244cm
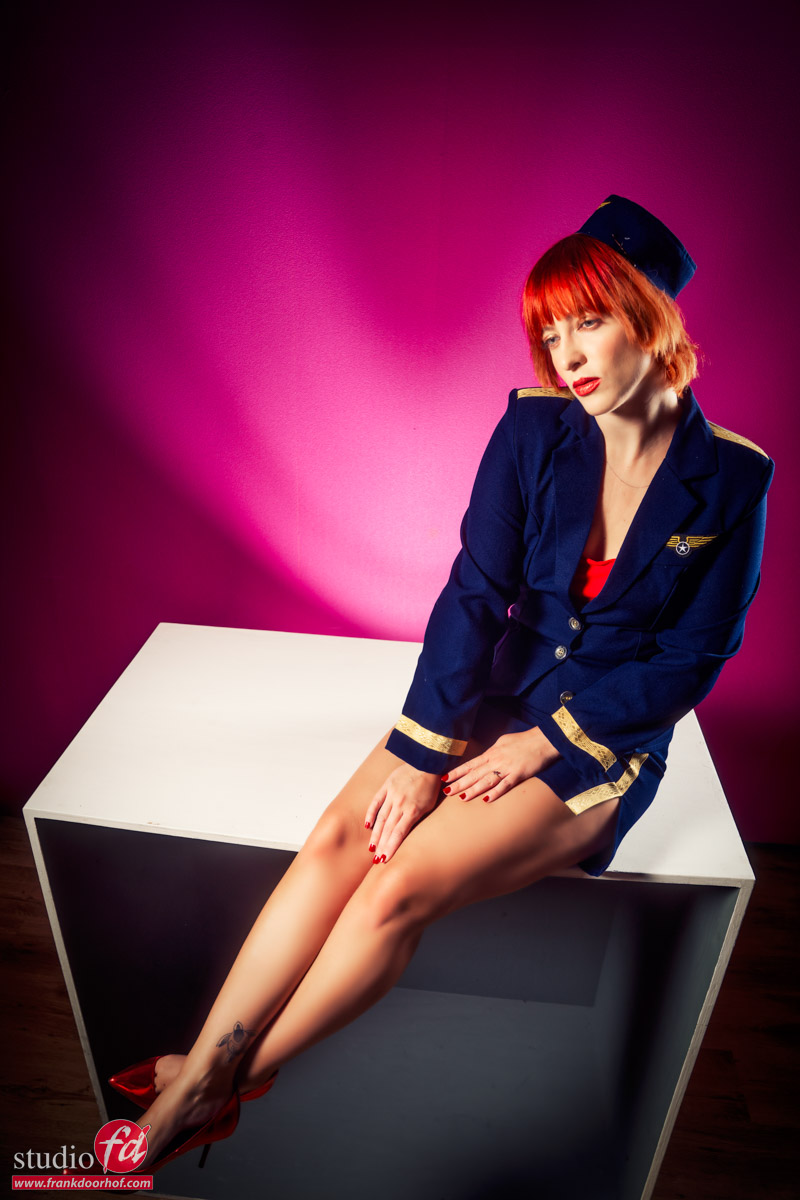
And of course, I couldn’t resist throwing in some different angles for a portrait.
It’s always fun to see the responses when I start shooting from “weird” angles and the attendees see the images coming in.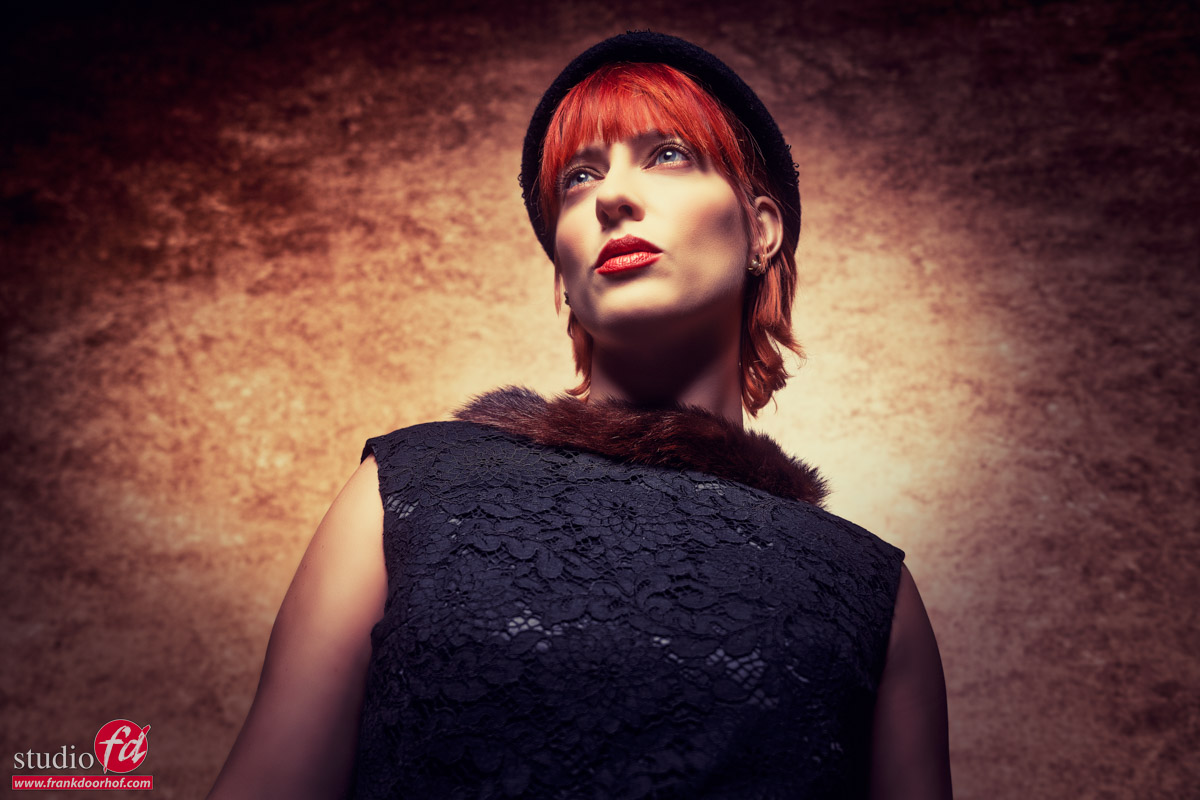
Clicki
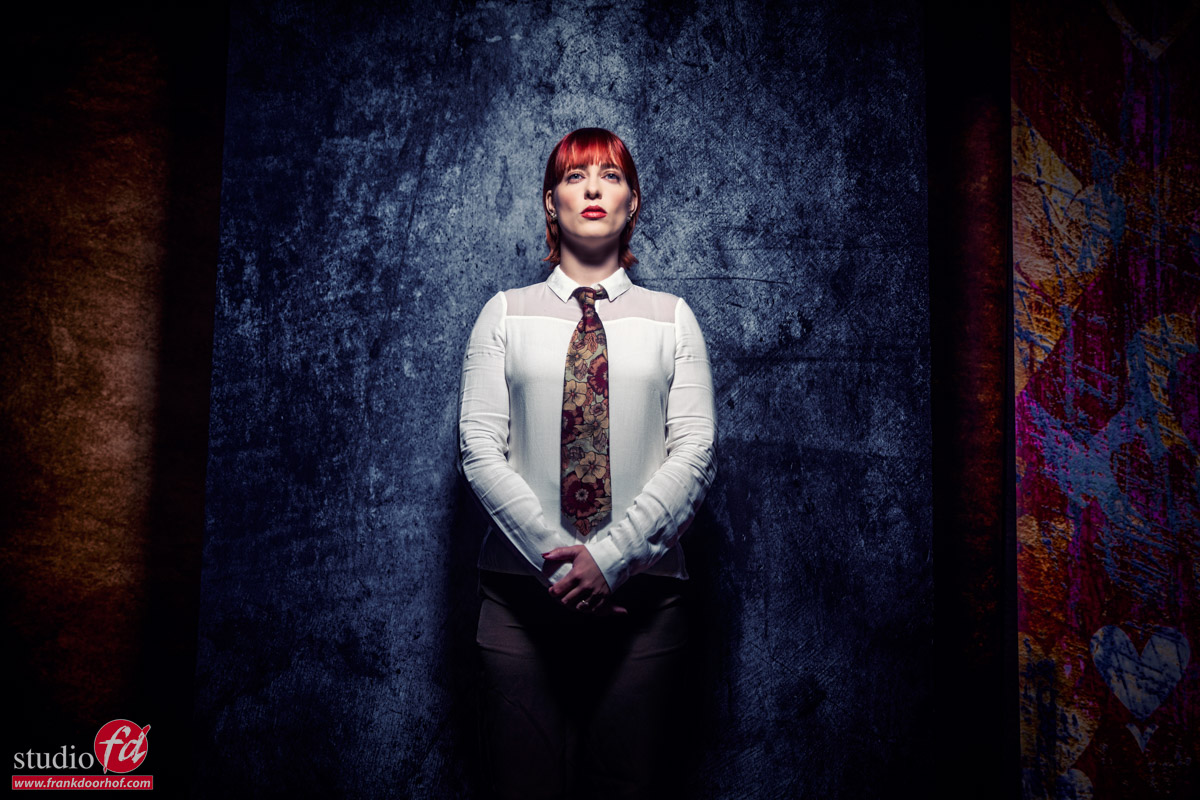
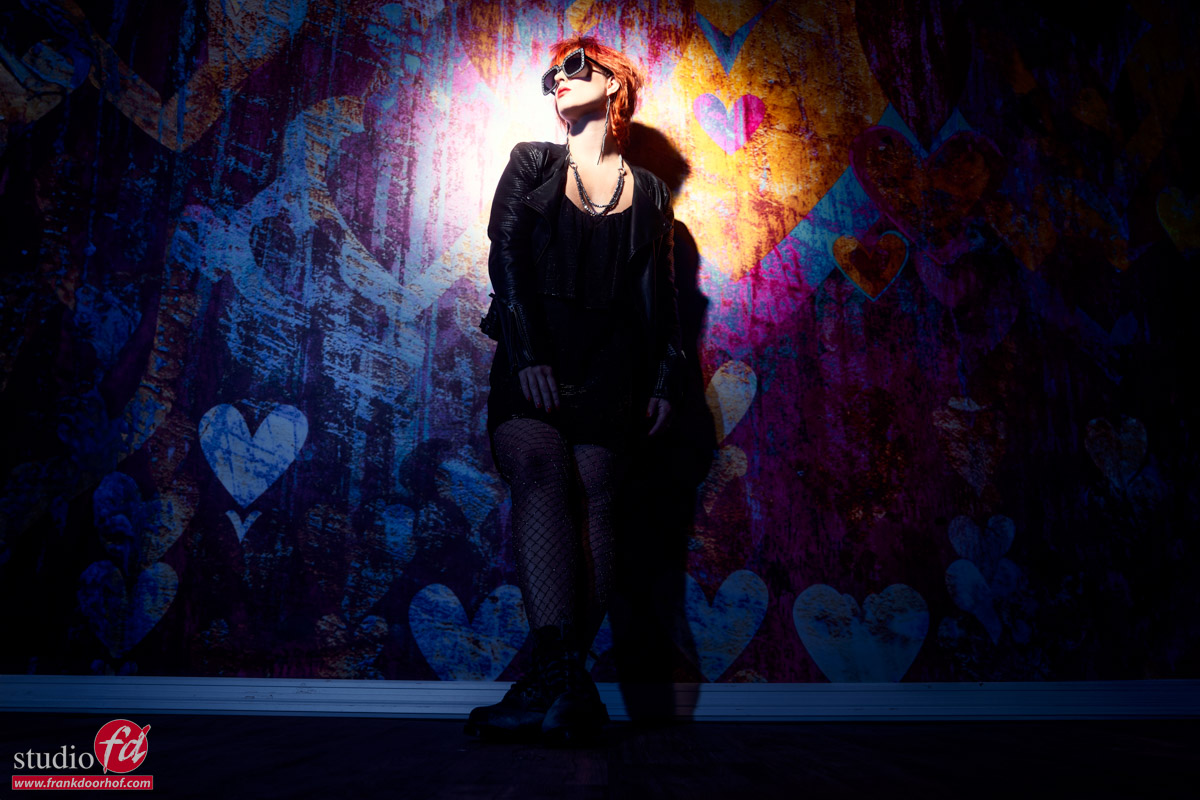
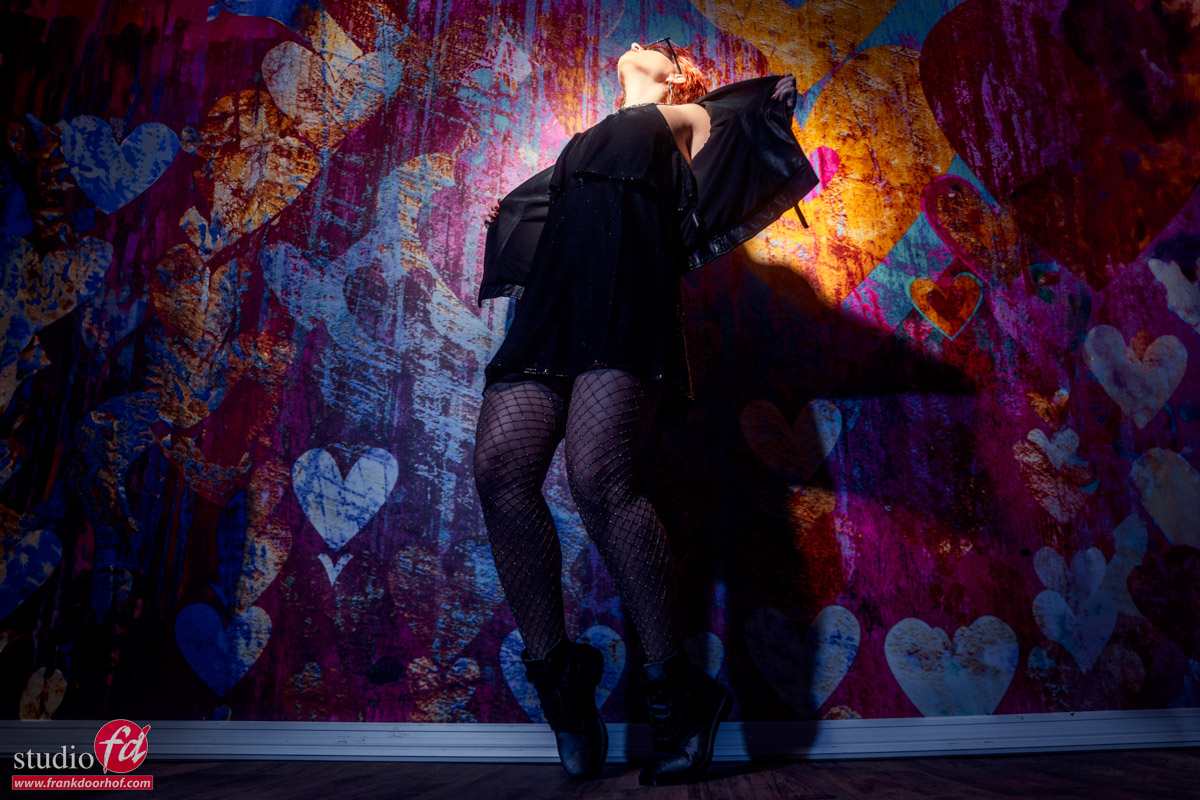
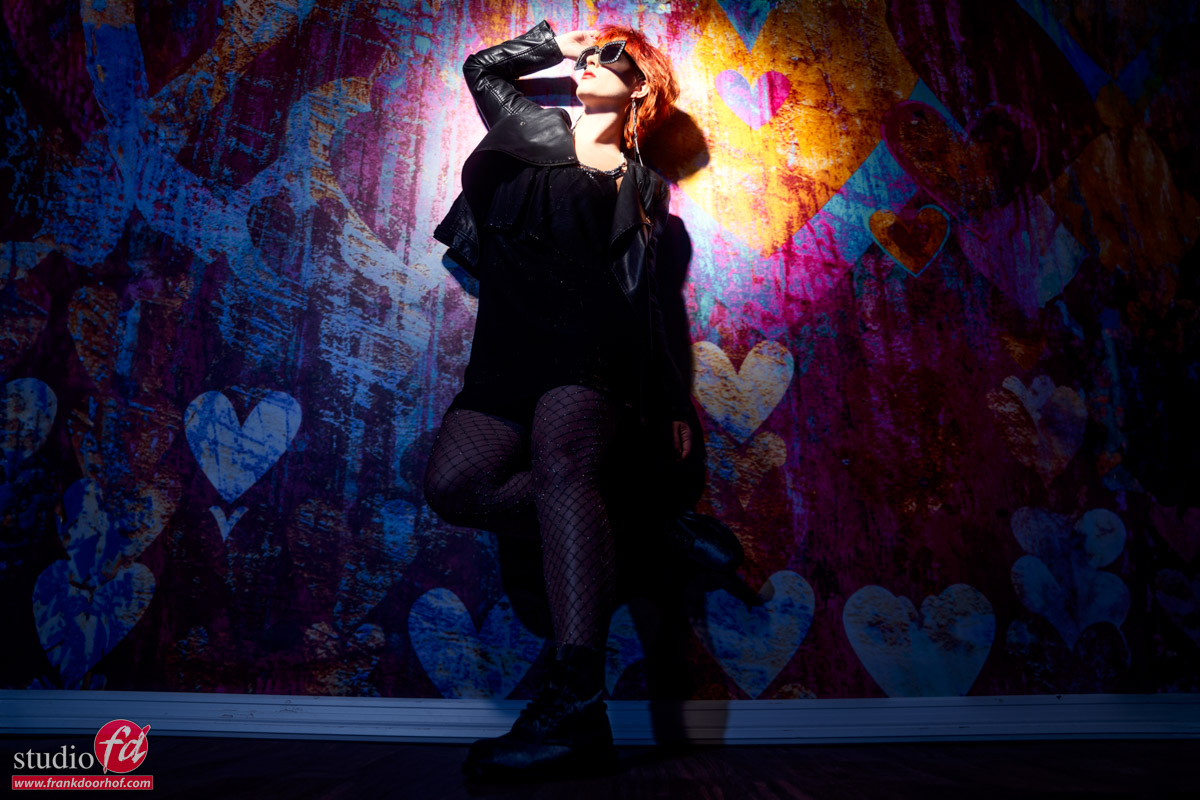
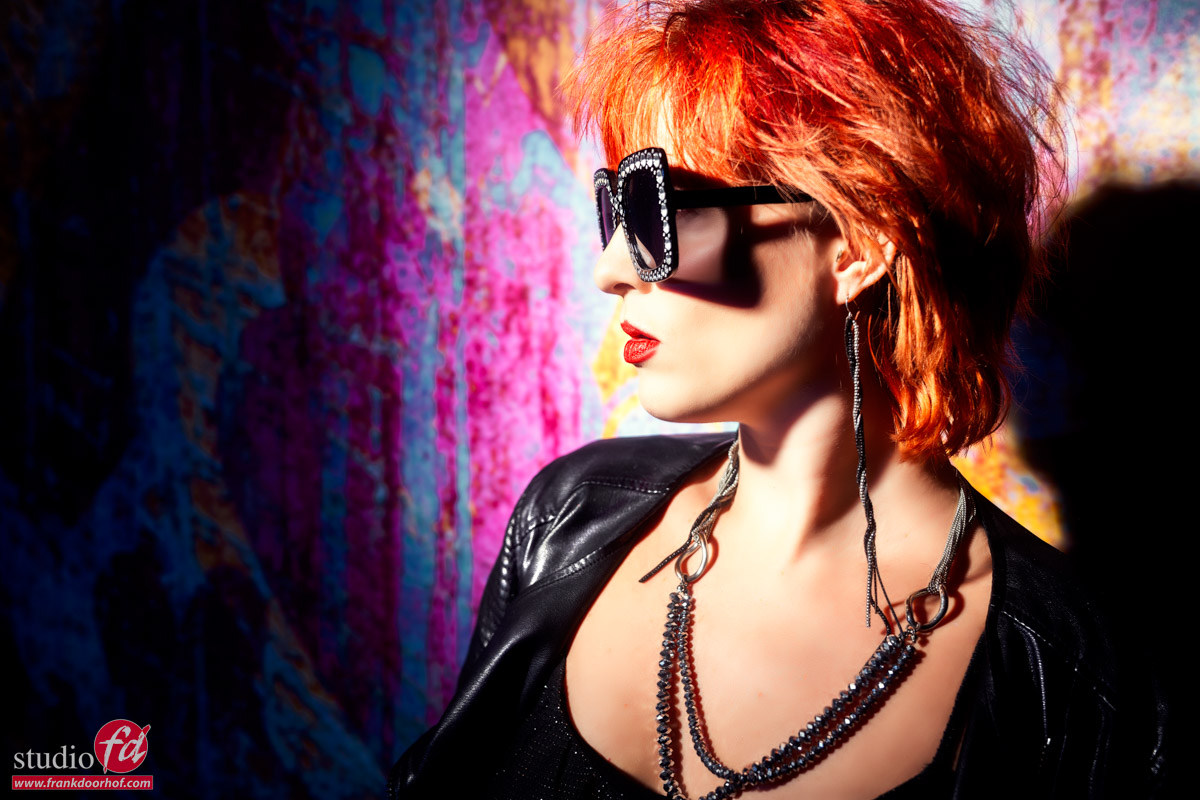
For the next set, we are using the brand-new Clicki system from ClickBackdrops. This is a great solution for photographers shooting on location who are not willing to make any sacrifice in background quality.
I’m using a pro fabric version here. But vinyl is also an option (same price)
It’s great for portraits and 3/4 body. But I thought it would also be fun to use the backgrounds hanging in the back as a backdrop. So we placed the Clicki in between two other backgrounds, to create some more depth.
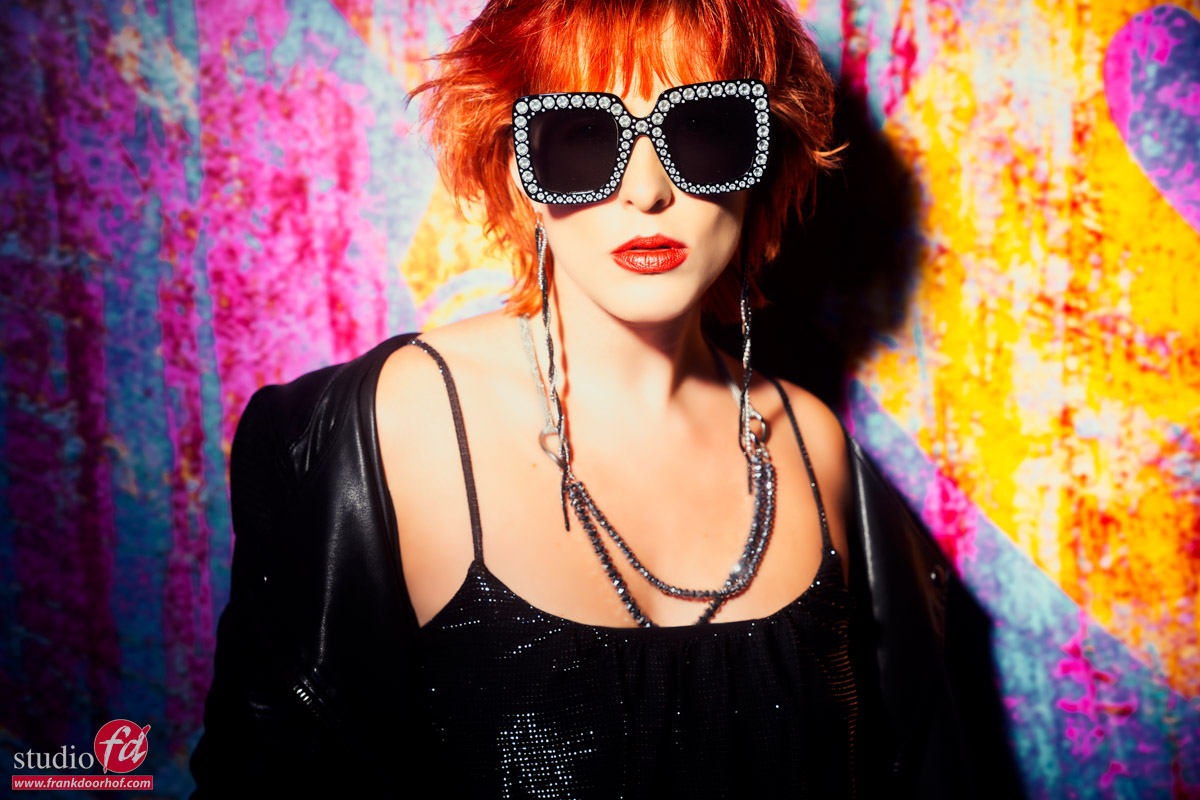
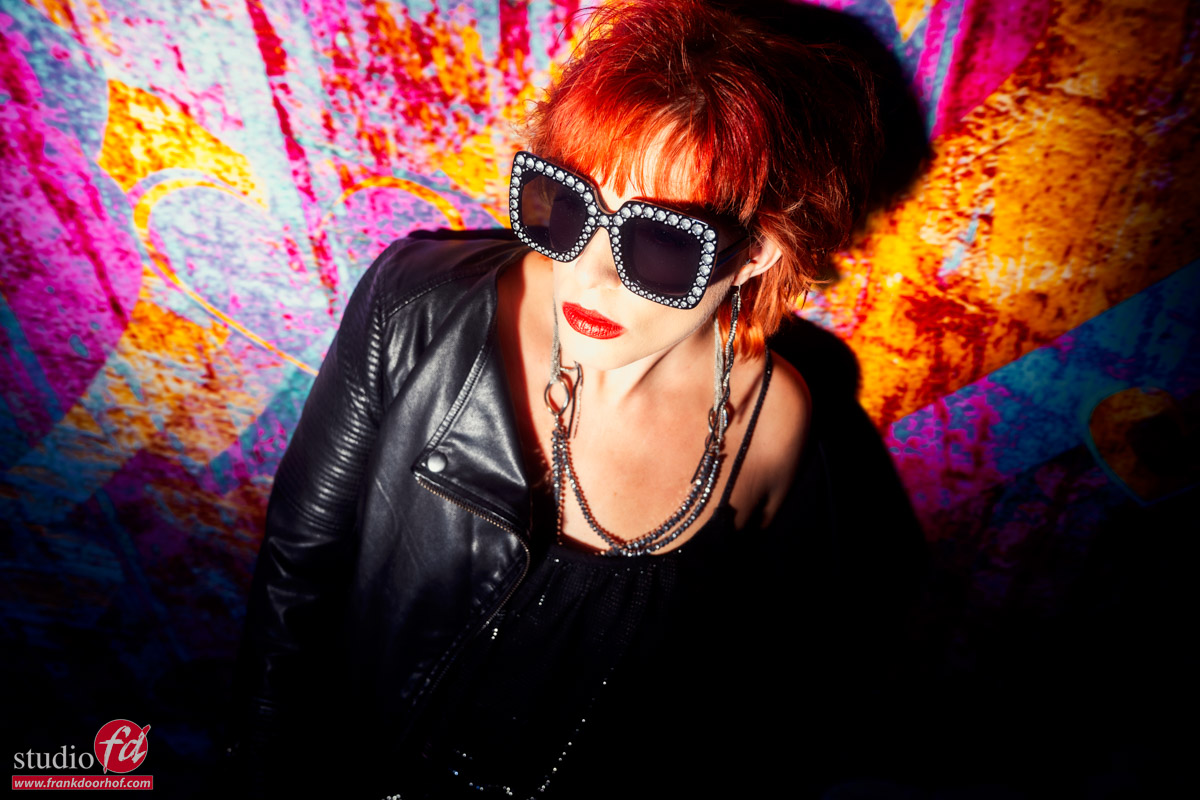
I mainly focussed on portraits and angles. Here are the results, and remember; this is still from one workshop.
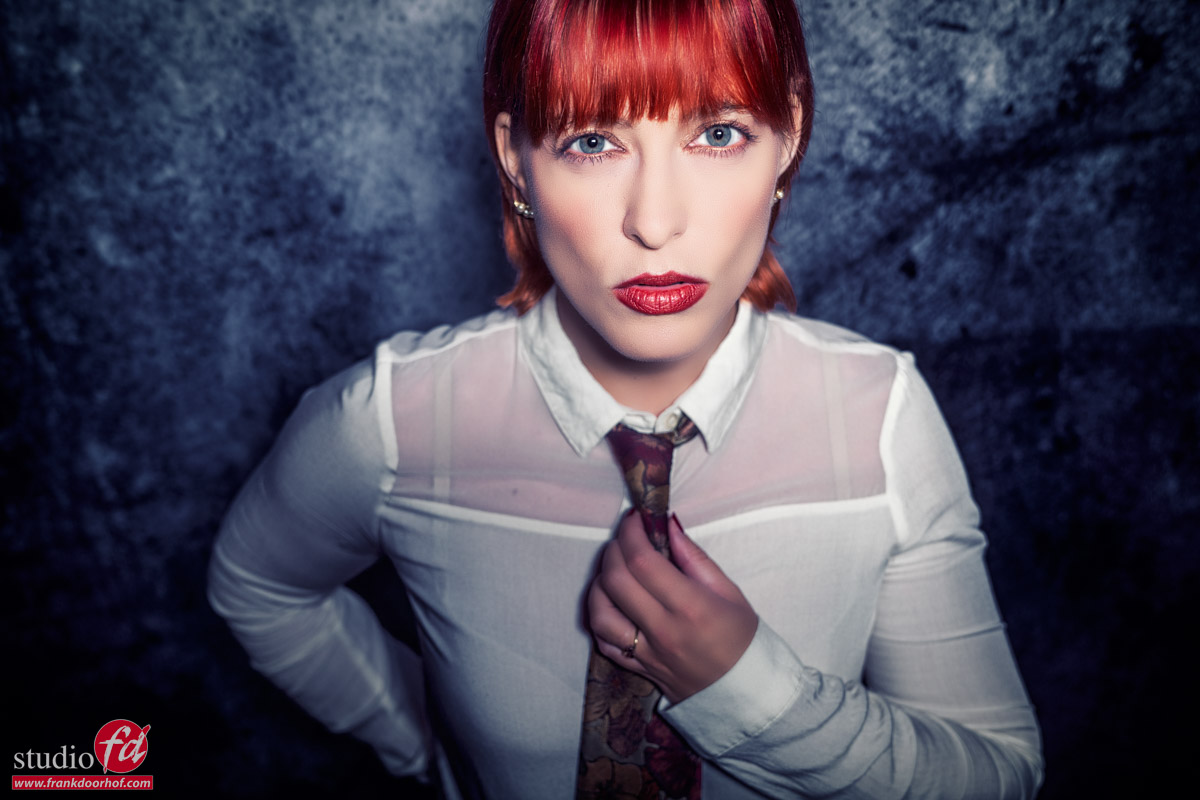
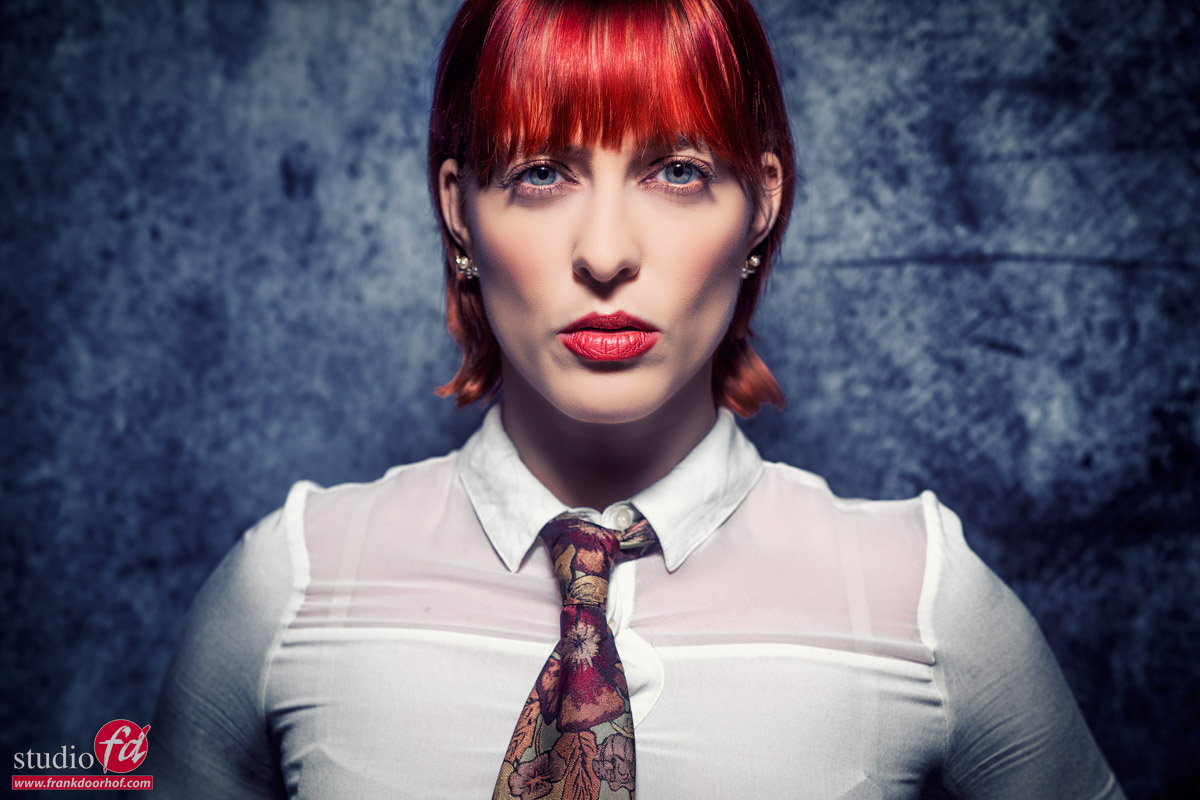
What gear did I use to get these results?
For these images I’m using a Geekoto GT250 with my all-time favorite modifier, the Frank Doorhof Rogue FlashBender.
And of course, when it carries my name it should be my favorite right?
Yes and no.
The main reason I love the FlashBender so much is that it’s very easy to use a bounce card. You make background effects by bending the FlashBender. You can fold it as a snoot. And that is awesome during events to really make a couple or subject stand out, even if the available lighting is poor ( like on some weddings during the dance). Or use it as a small softbox…. but mostly I use it as you can see here, with the striplight attachment and grid.
The cool thing…. when you buy the Frank Doorhof FlashBender everything is in the box 😀
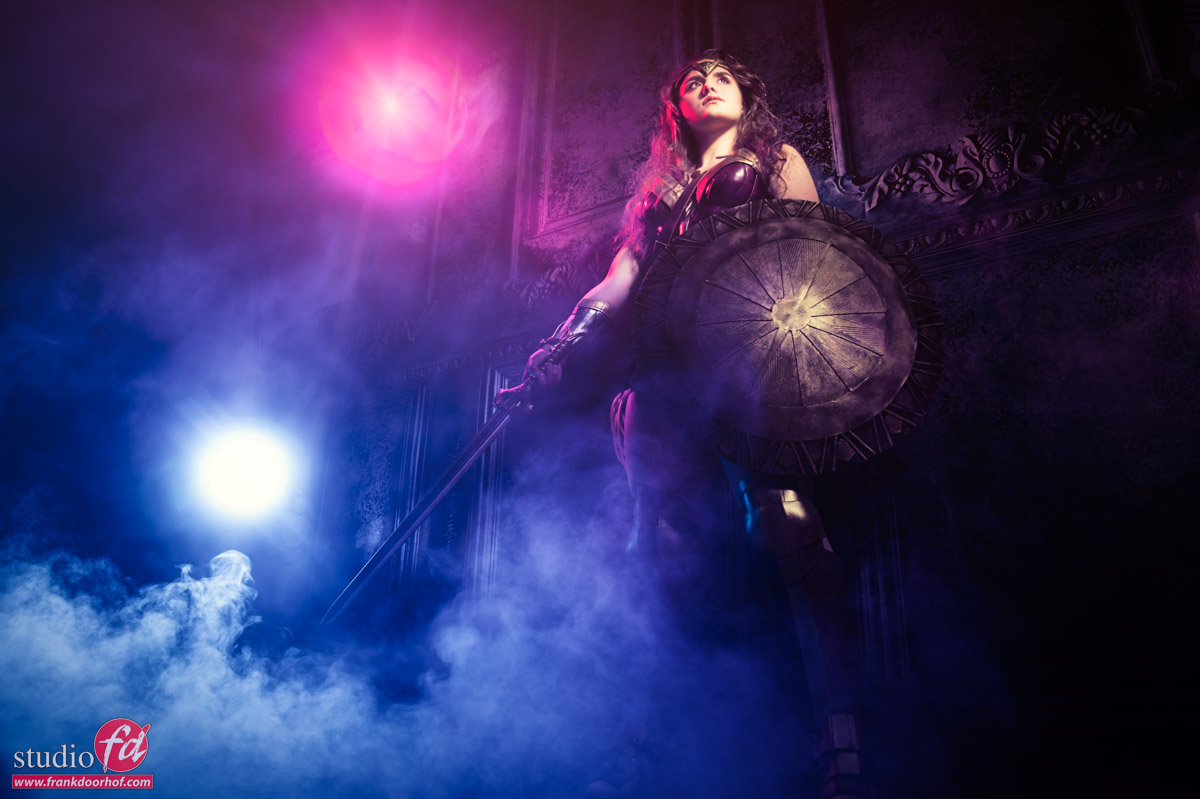
The next results
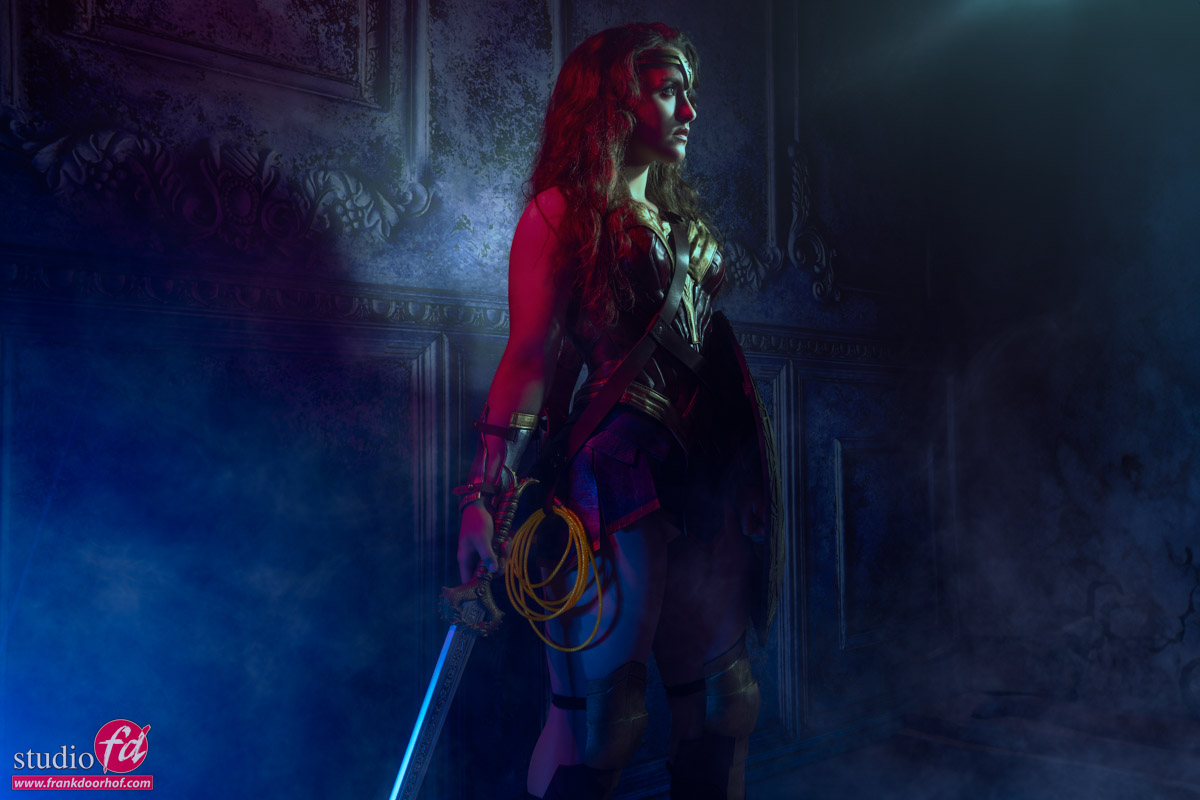
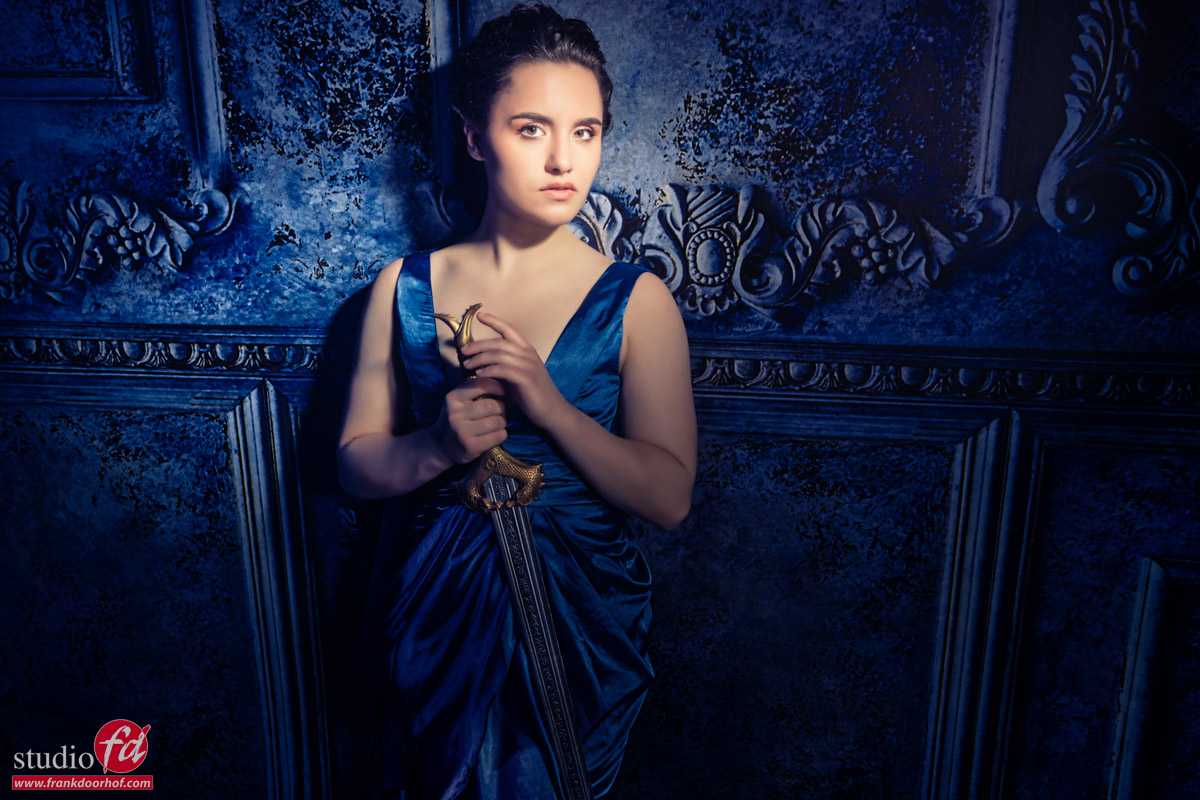
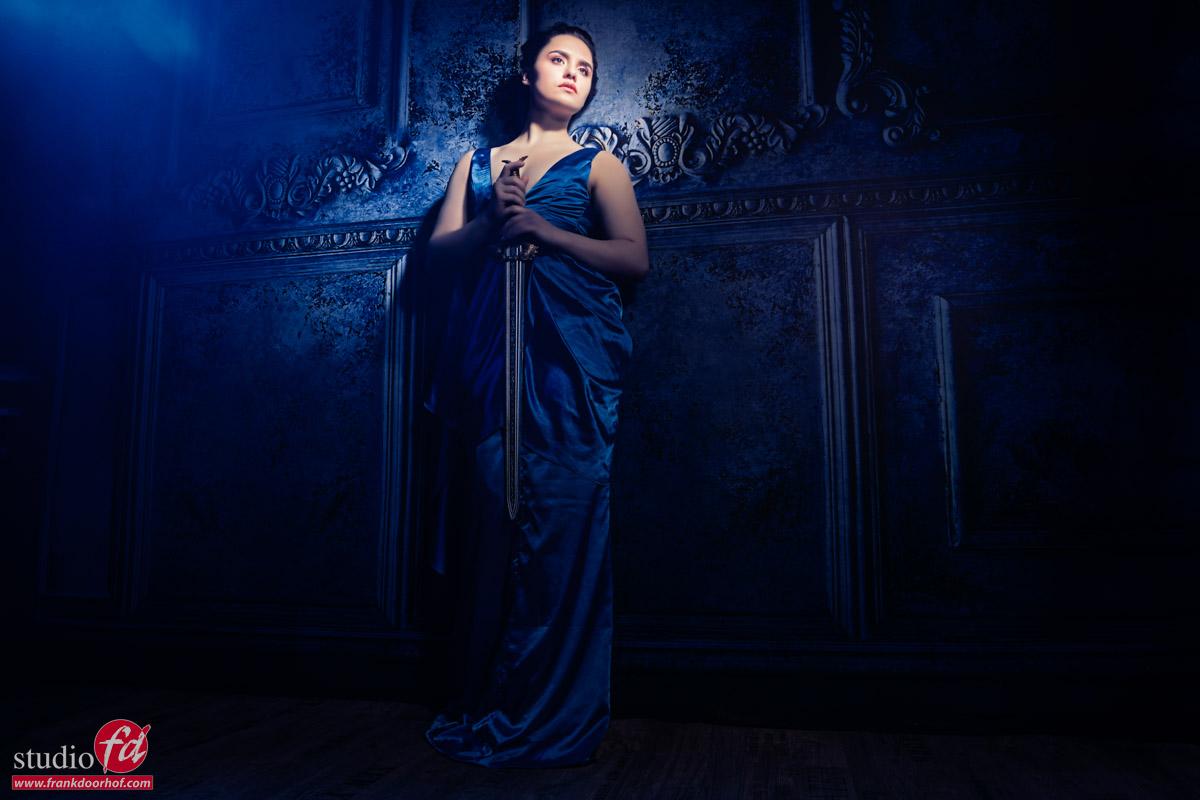
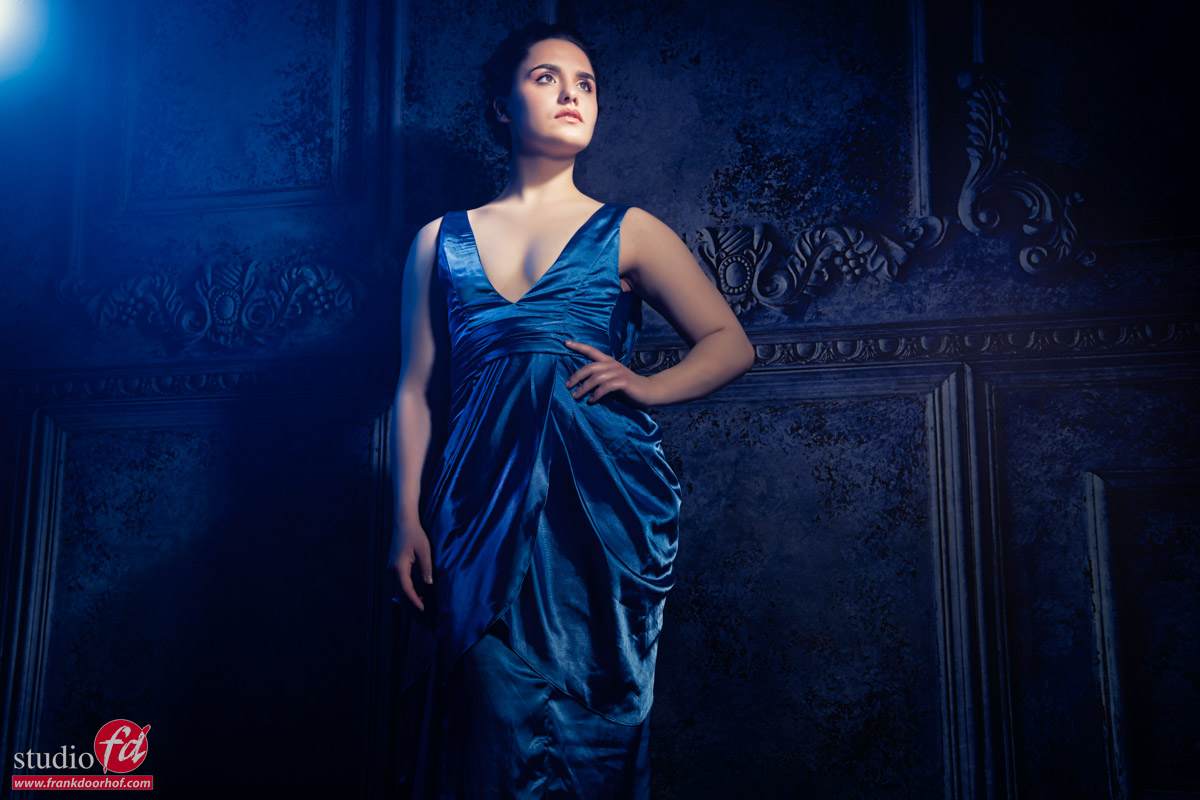
For the next set, we decided to play with “light in light” where we focused the light in the model. With for example a snoot or in this case a Fresnel, opening up the shadows with a fill-in flash, often with a colored gel. The main light is the Nanlite Fresnel on a Geekoto GT400. and the Rogue magnetic system on a Geekoto GT250 as a fill-in flash. I’m using a blue gel to very slightly open up the shadows.
Of course, we also shot some portraits.
But there are more results
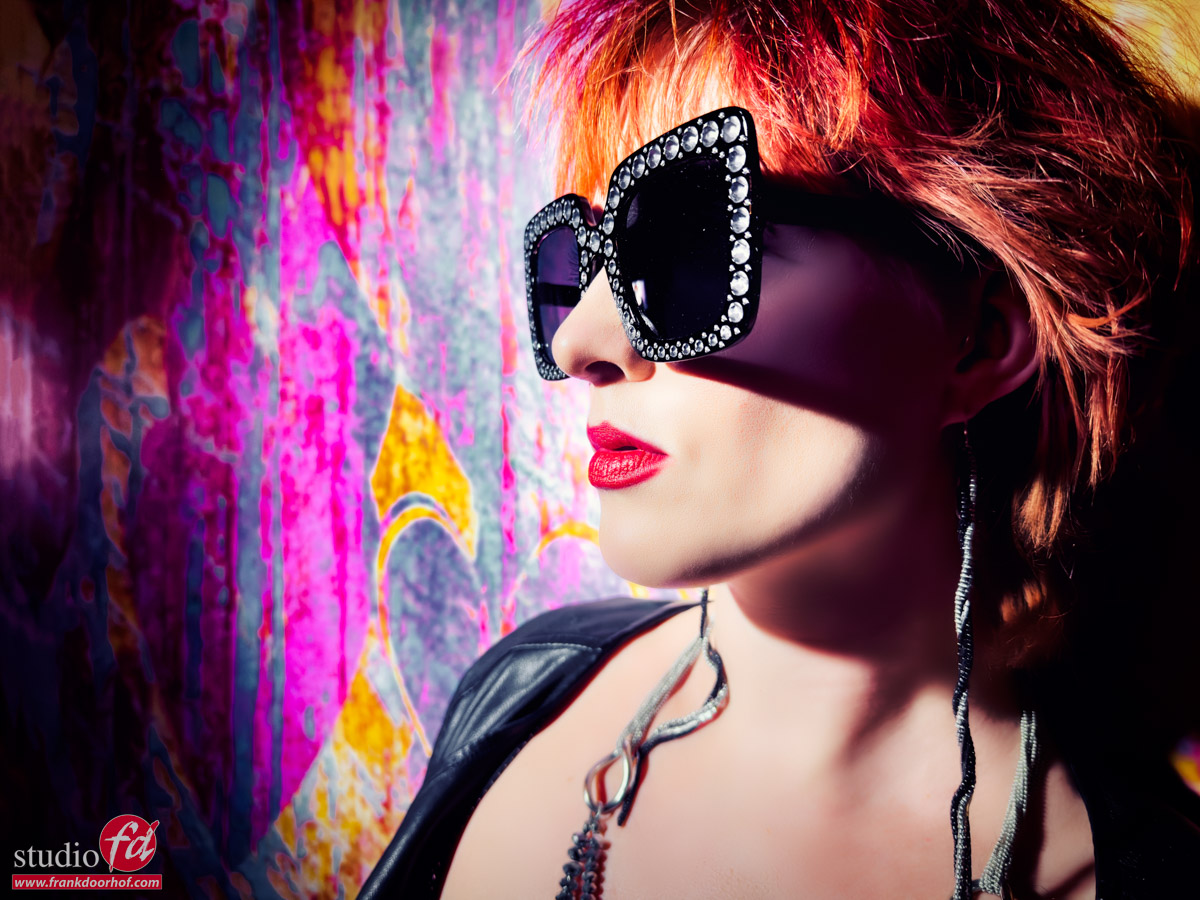
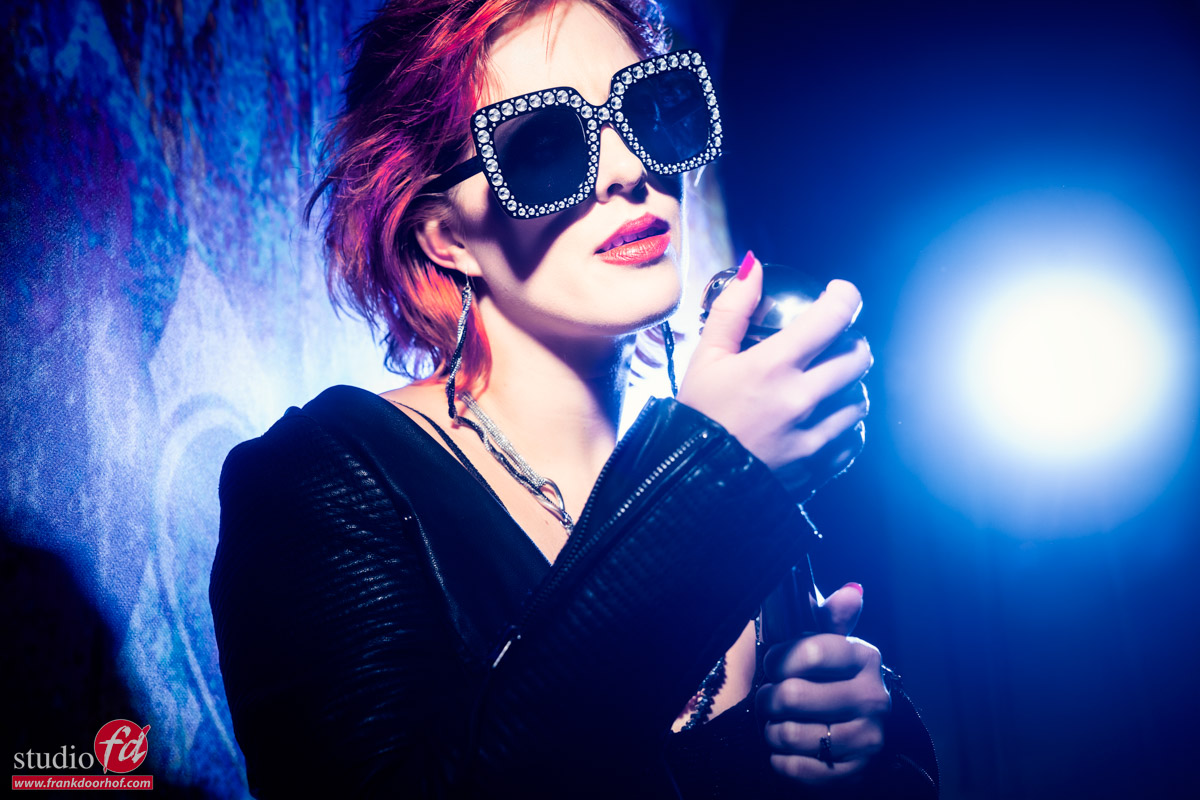
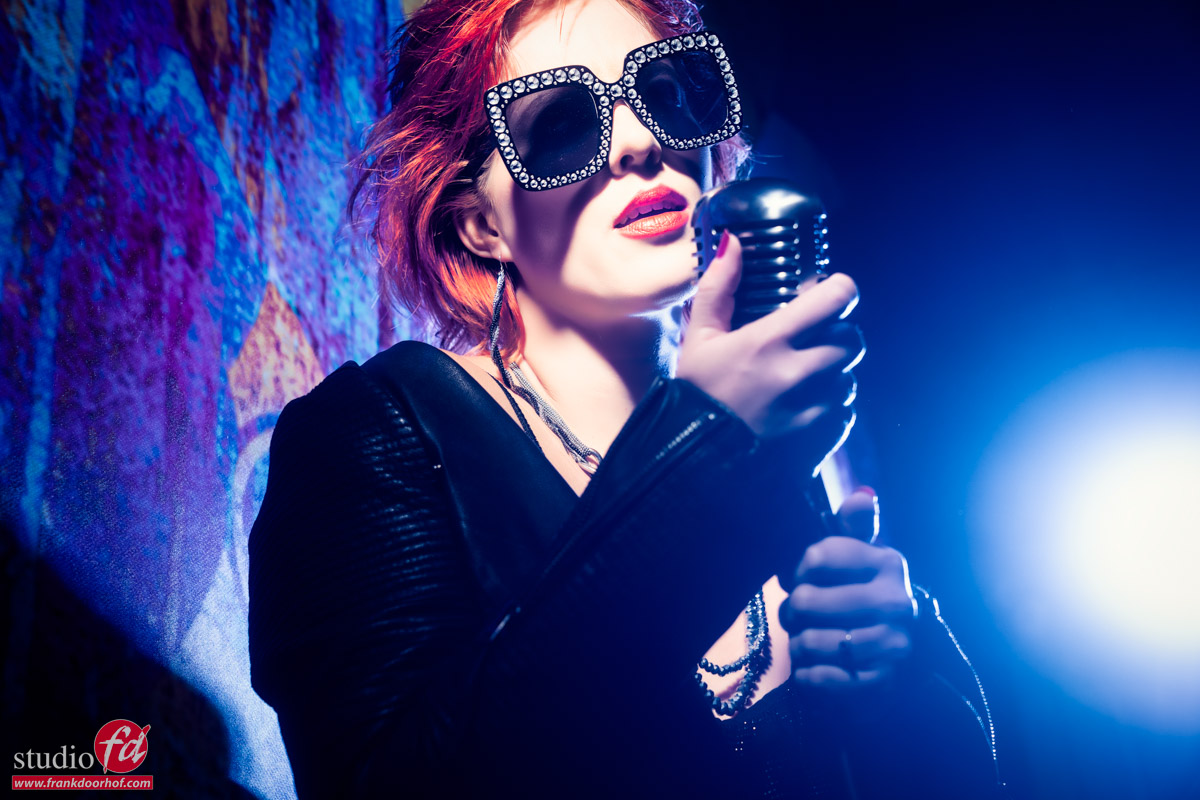
After these images, I thought it would be cool to throw in a microphone as a prop. And explain some very powerful techniques where I combine feathering with “fake” reflections by angling the light just correctly around the model. This is a very powerful technique to create stunning almost silhouette-like shots.
In this setup, I’m still using the Nanlite Fresnel on a Geekoto GT400. But the blue gel was now moved to the opposite side. Depending on the effect I wanted (the angle I’m shooting from) we just angled the strobe aiming it toward the camera. Love the results from this technique. When walking around your model you get a lot of different looks.

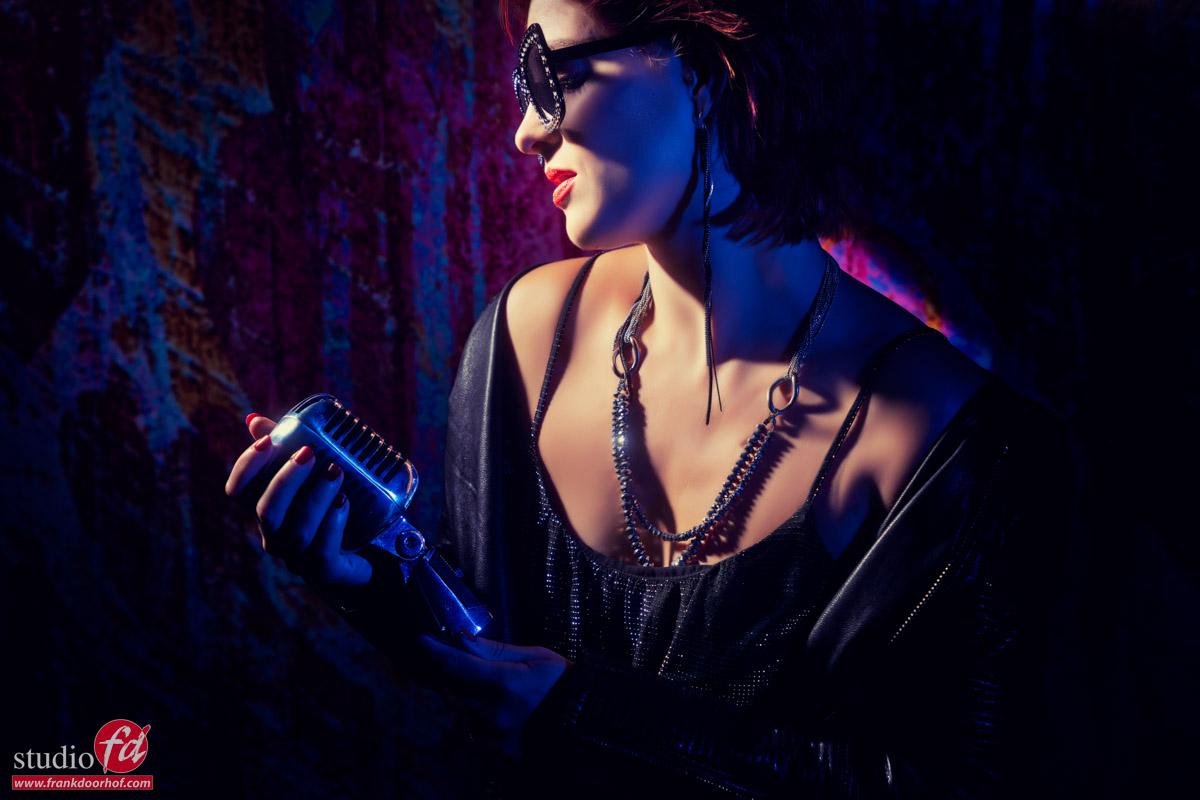
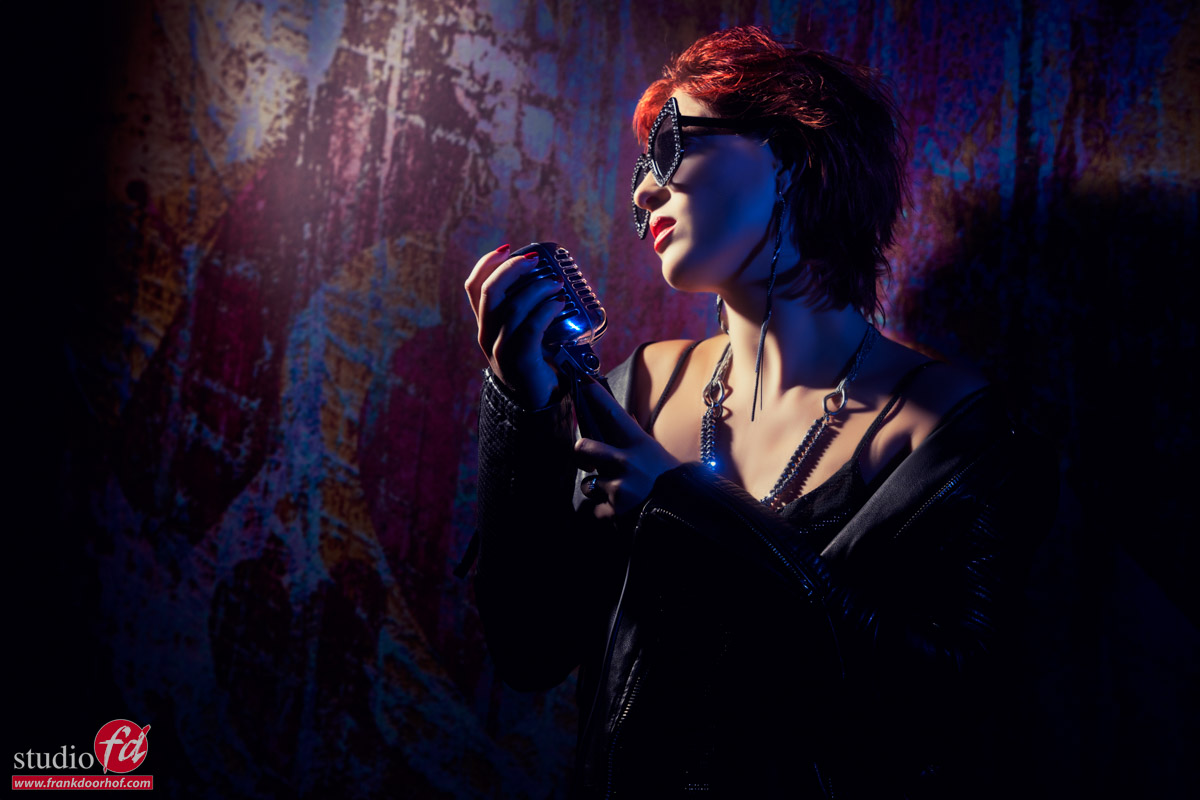
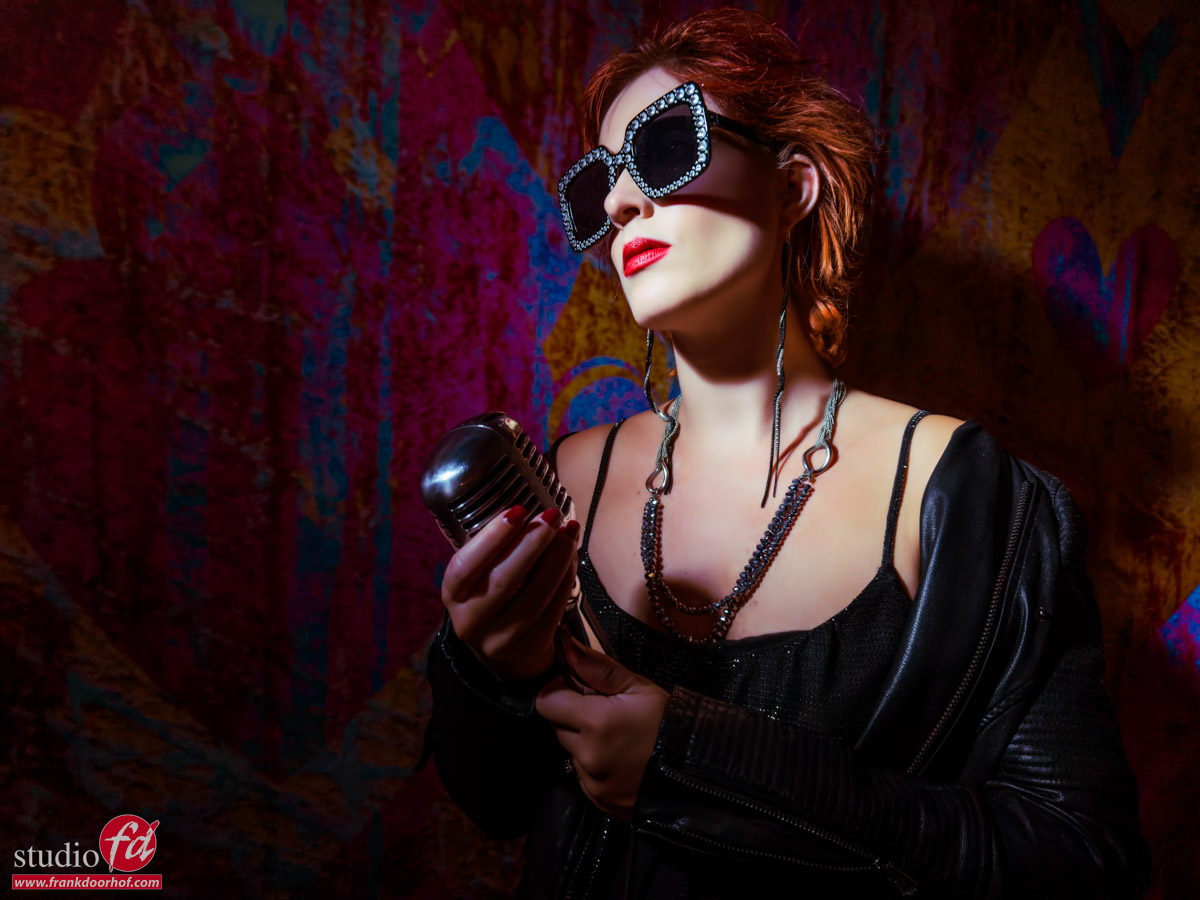

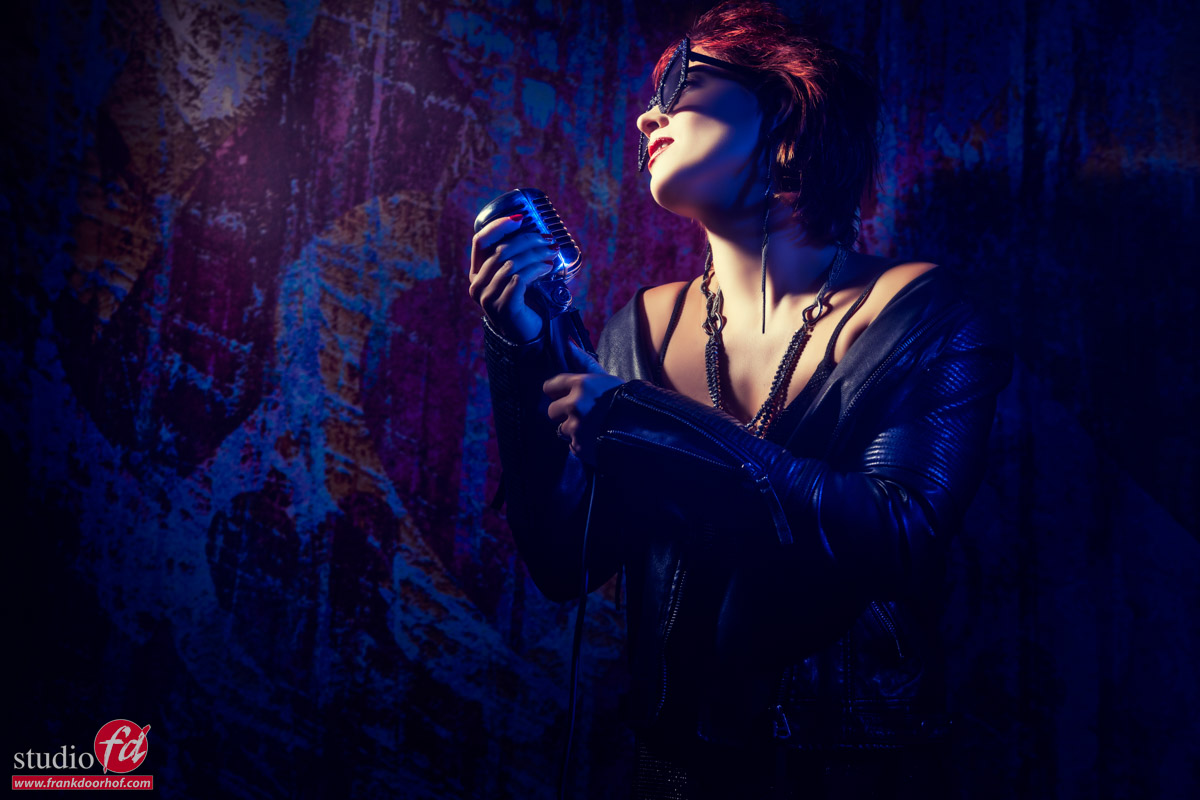
By adding the blue gel into the frame the total look and feel of the shots change.
Frank Doorhof Workshops
If you like these results and are looking for a workshop that’s totally different from just shooting images (a shooting zoo), make sure to check out fotografie-workshops.nl Here you can find information about the Dutch workshops (and location workshops abroad). Most workshops in our studio are in Dutch, but if you let us know in advance we can switch to English, most Dutch people speak and/or understand English.
1:1 workshops are always possible