About technique and more.

Working with masks and story telling

Photography is often described as “Painting with light” and don’t get me wrong, I 100% agree, however there is another thing that I strongly believe is connected to photography (and something I often miss) and that’s story telling.

Ever since we as the human race have found ways to express ourselves it’s “always” about telling stories, starting in the caves with the cave drawings all the way up to the golden age with the great painters. However now a days… a gazillion images are uploaded and in all honesty often they don’t have nice lighting lets alone tell a story.

So what is story telling?
For me it’s a matter of what your mind thinks about when looking at a shot, so it doesn’t have to be an OBVIOUS story, but something that makes you go “what’s going on here”.

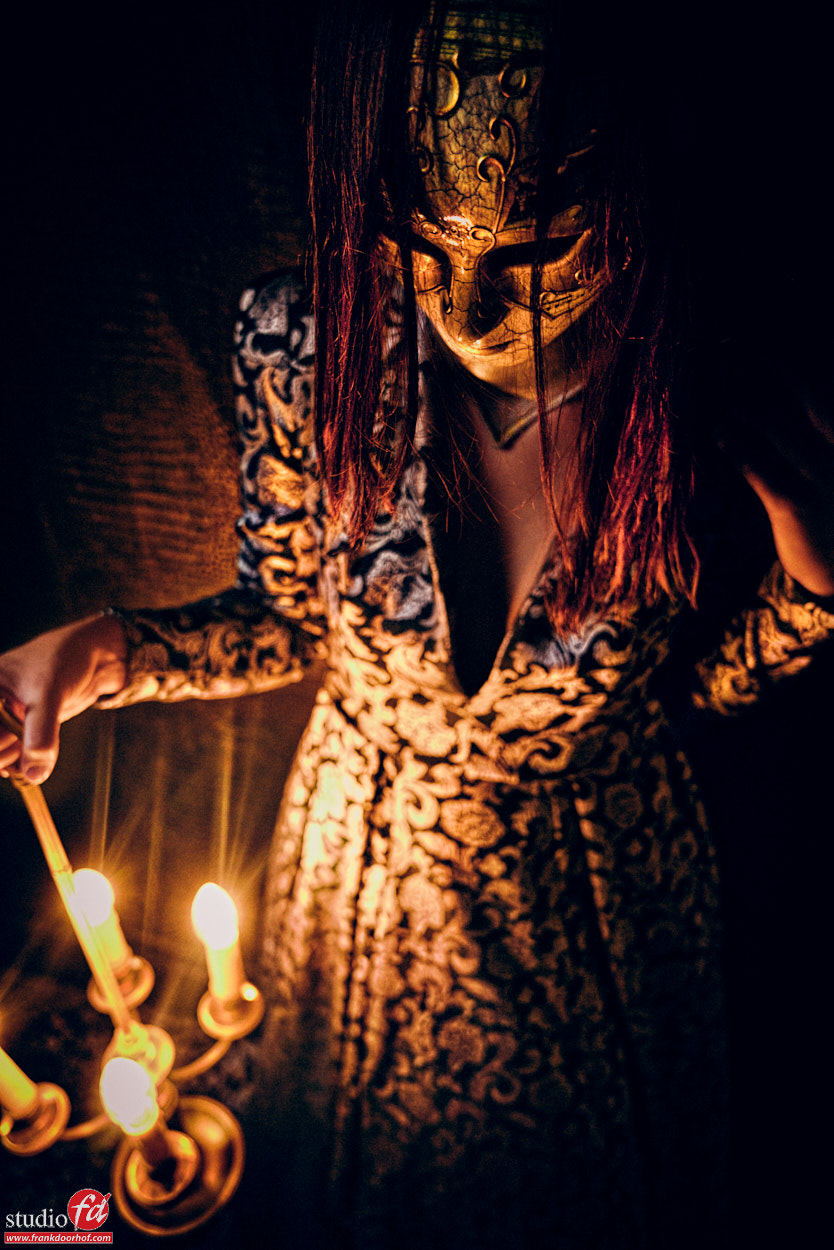
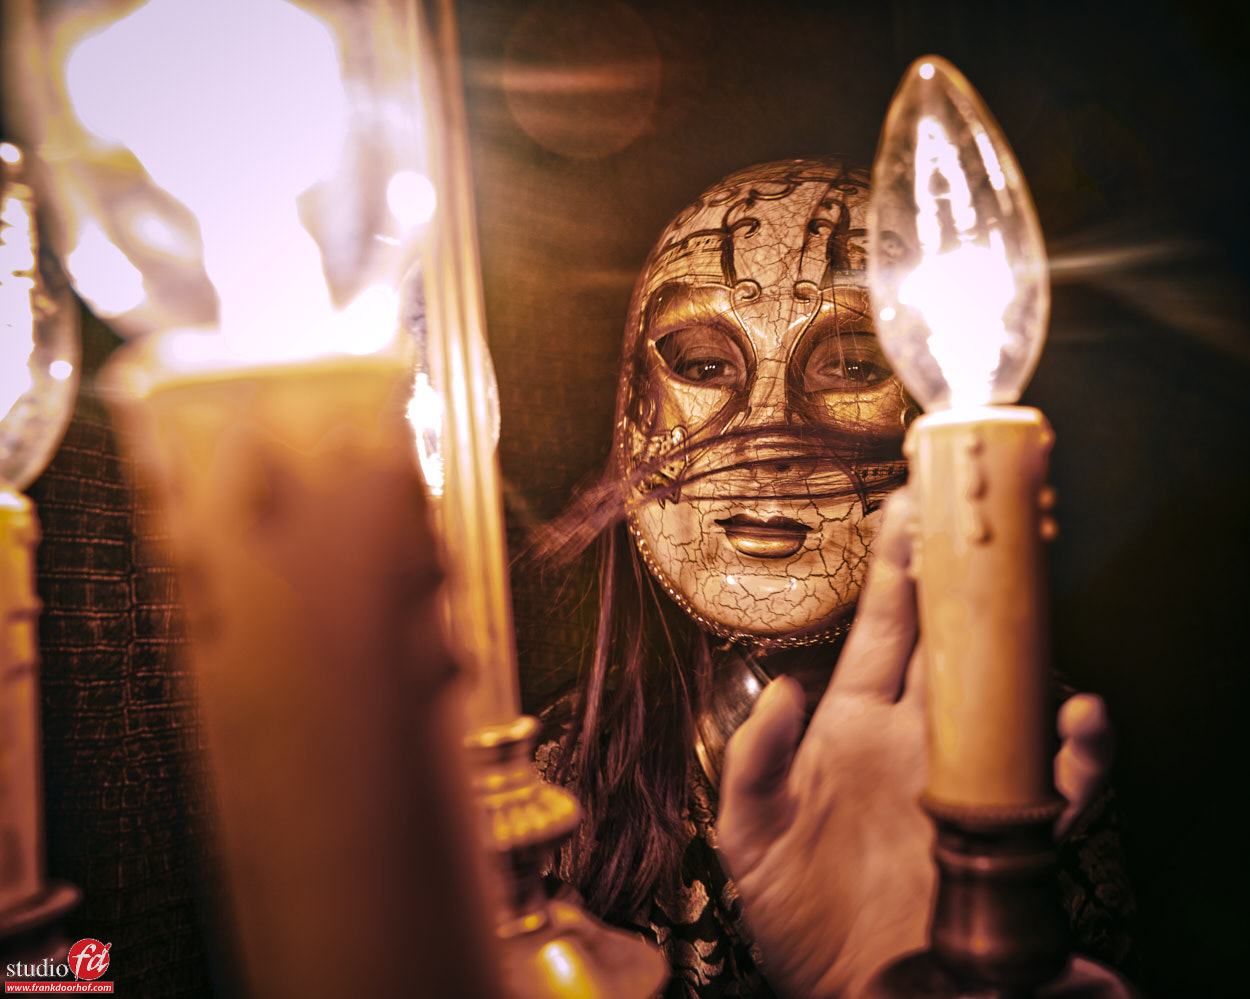
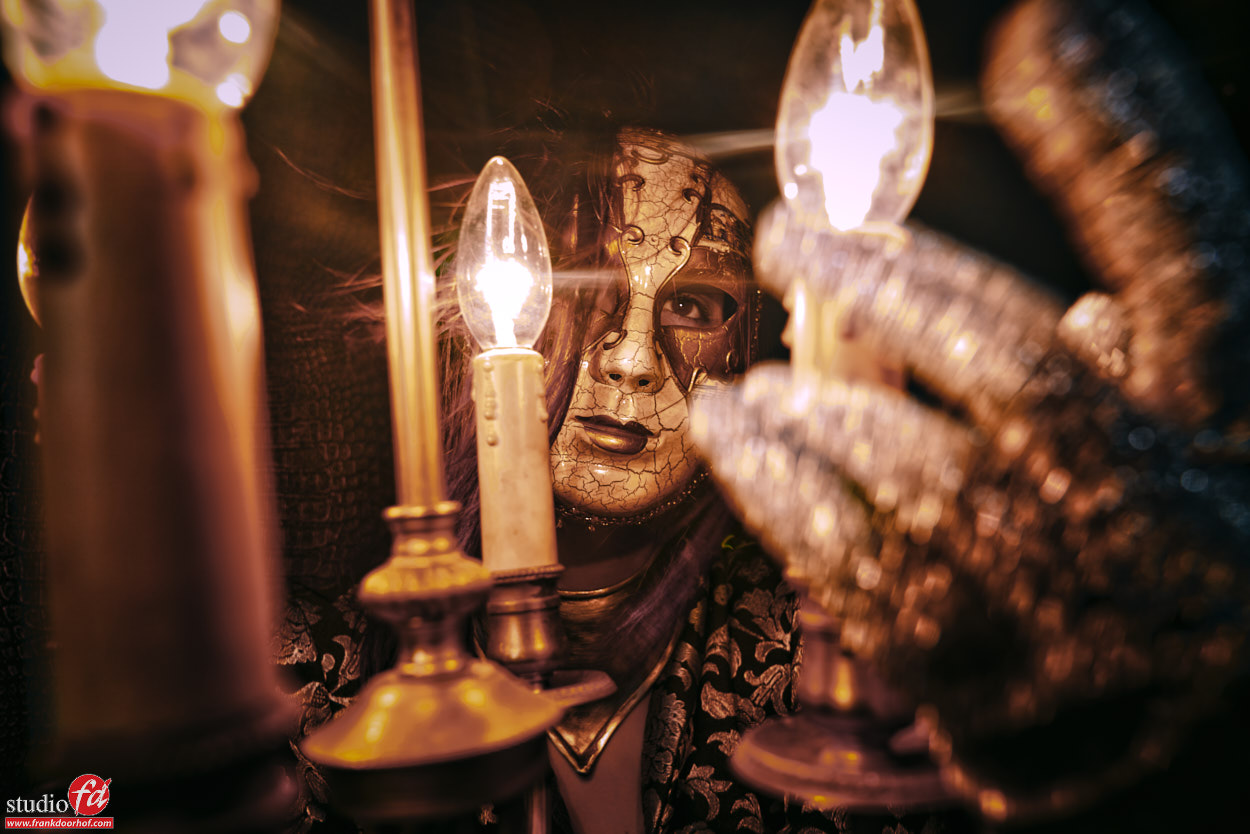
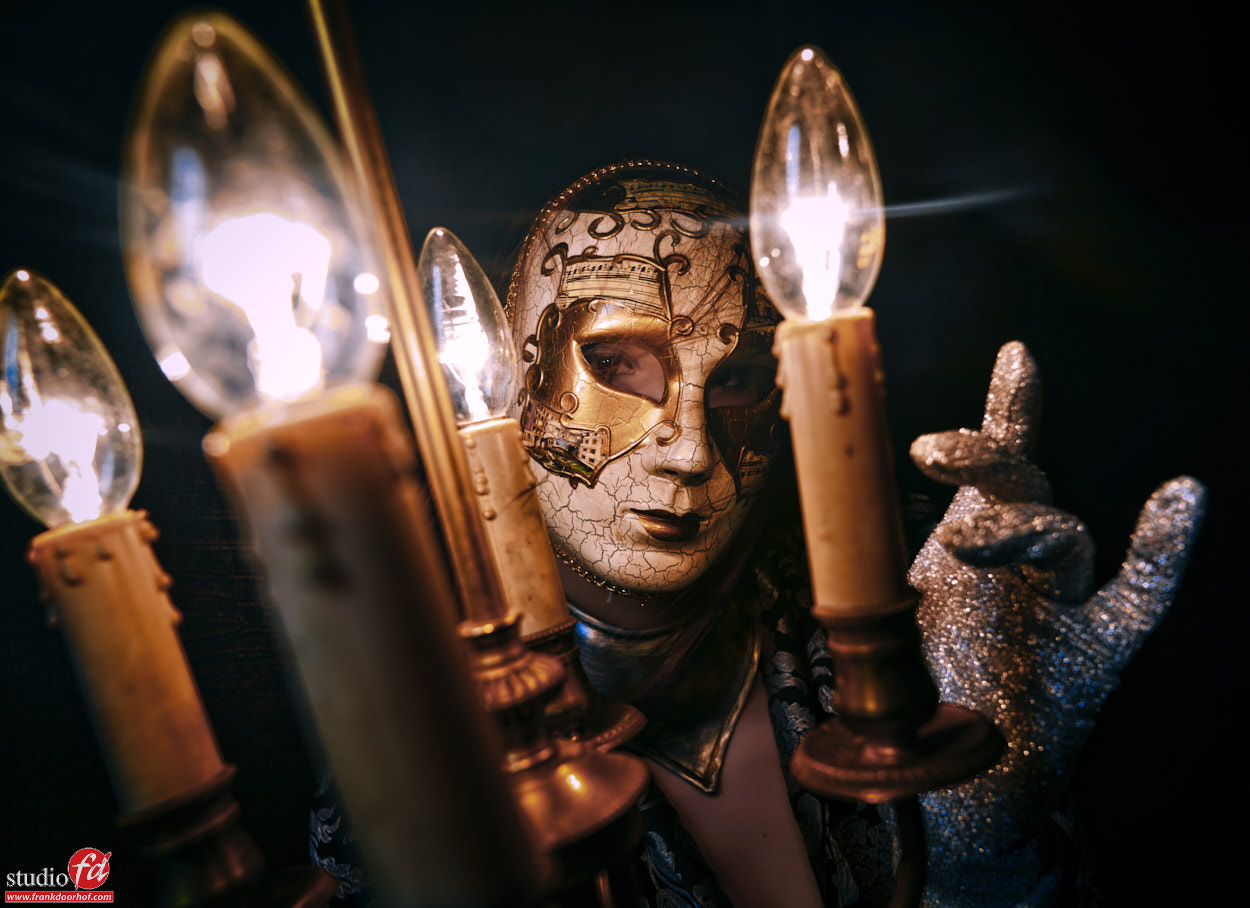
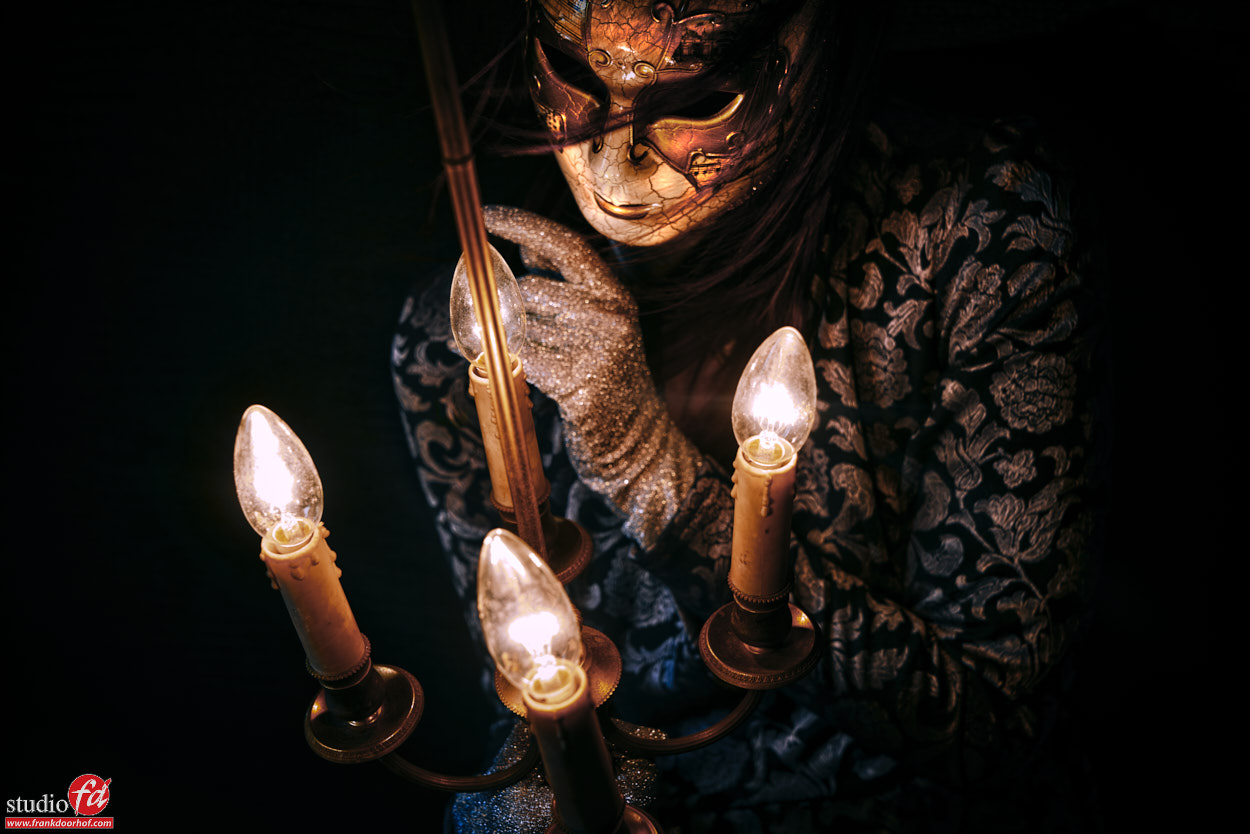
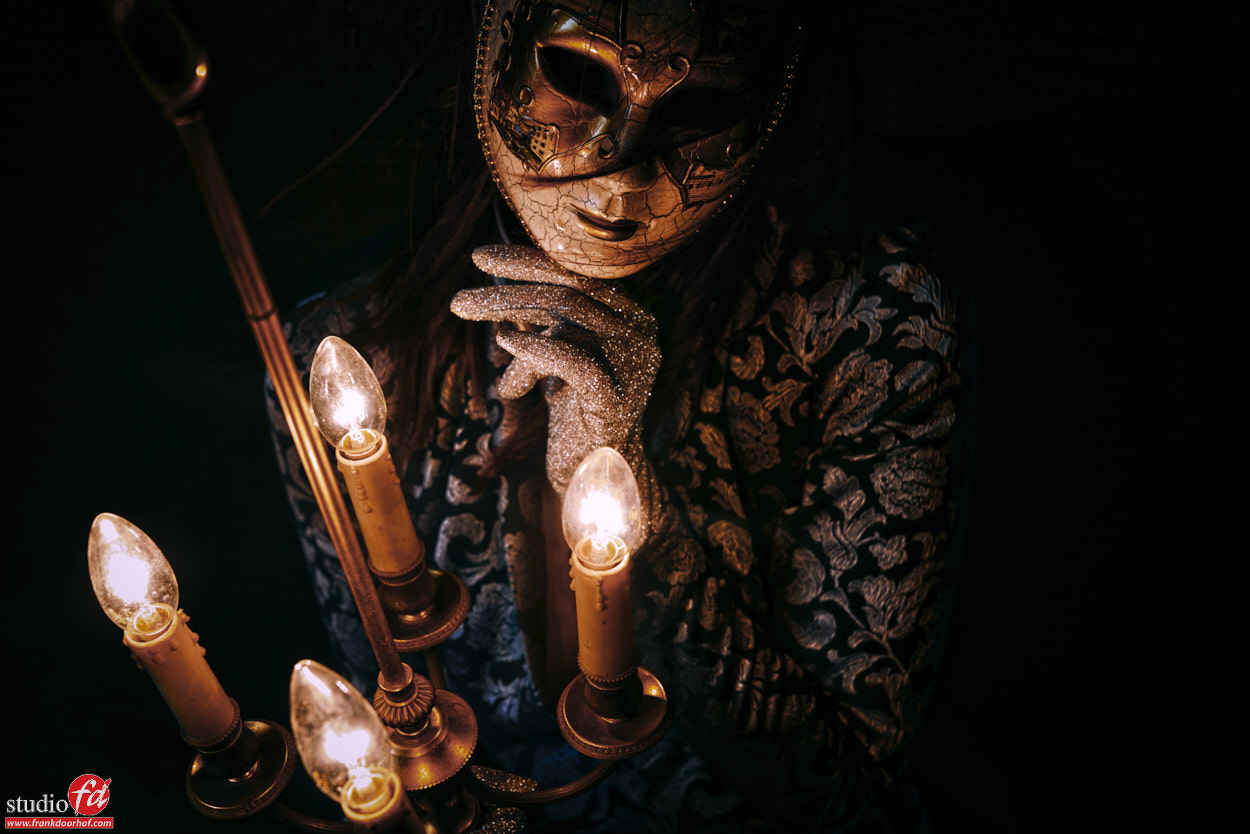
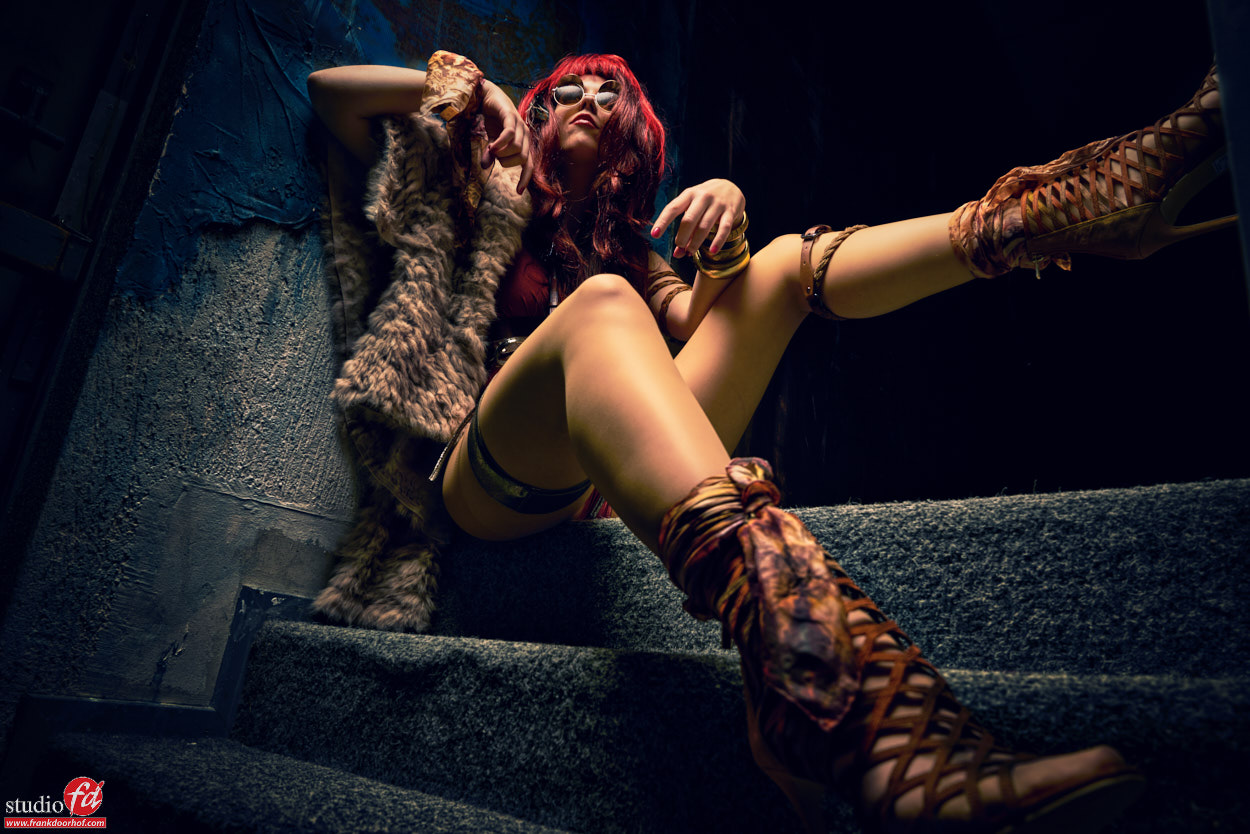
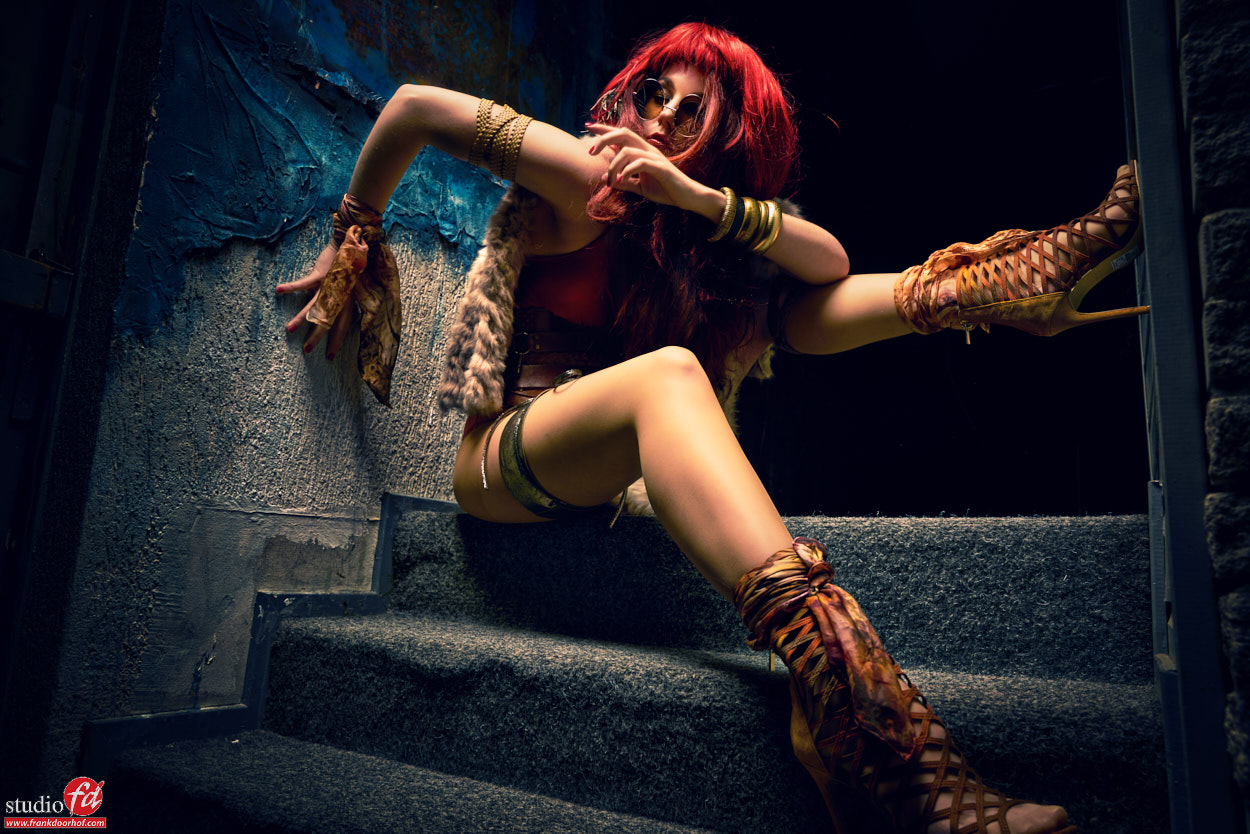
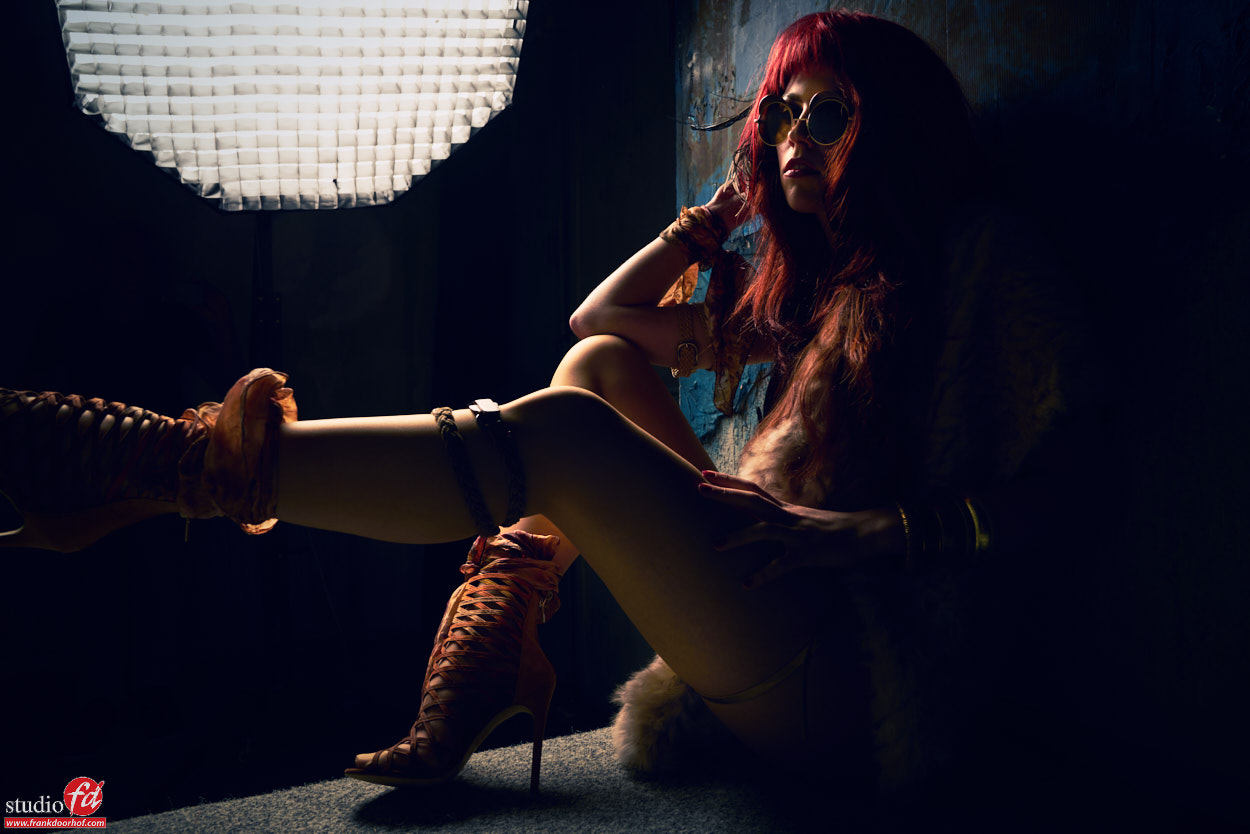
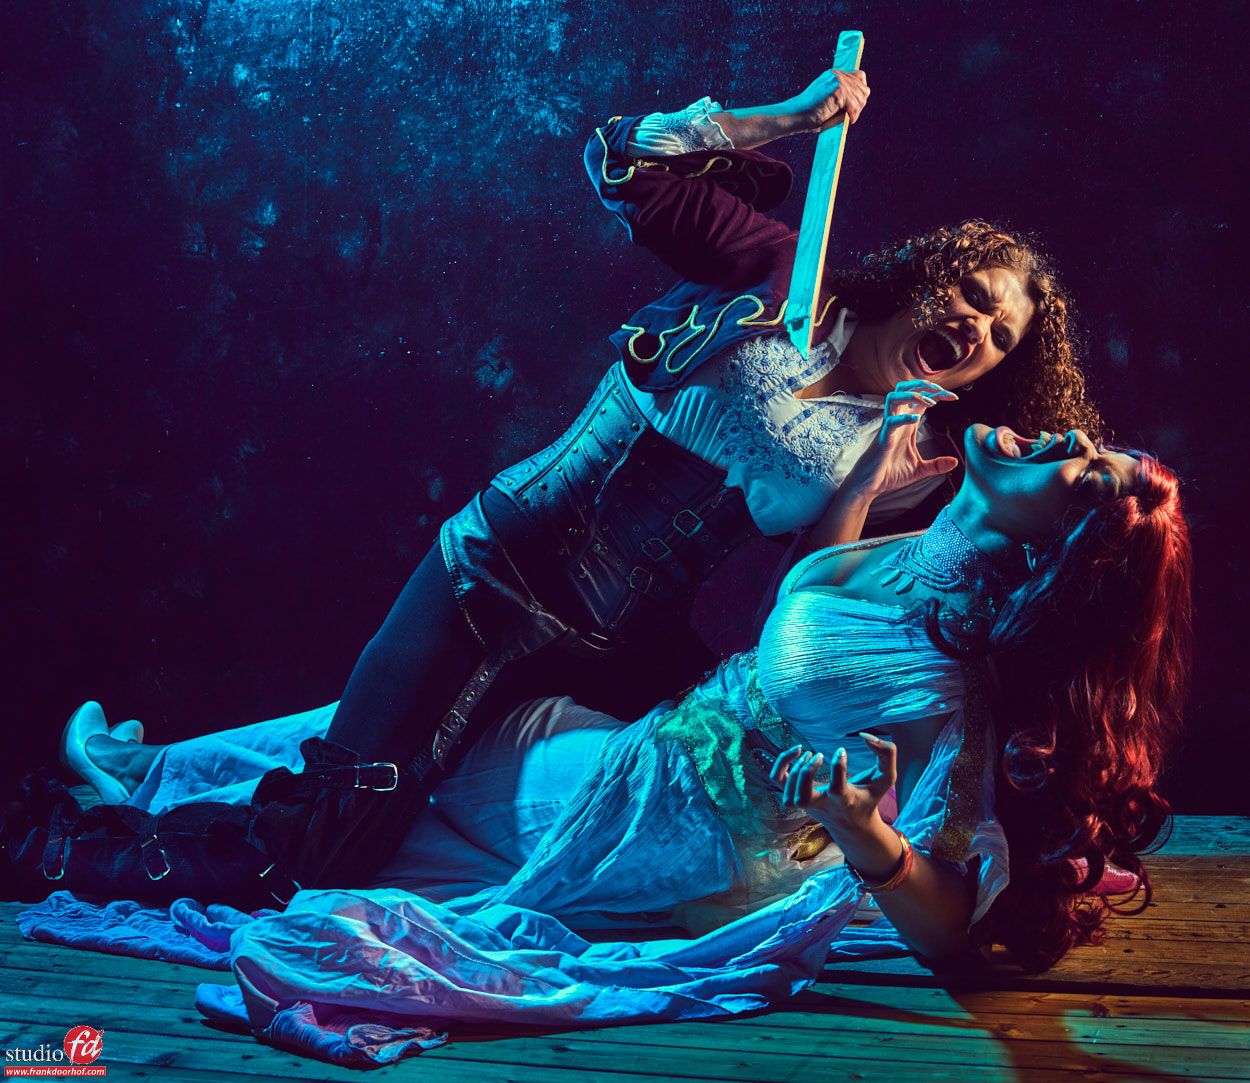
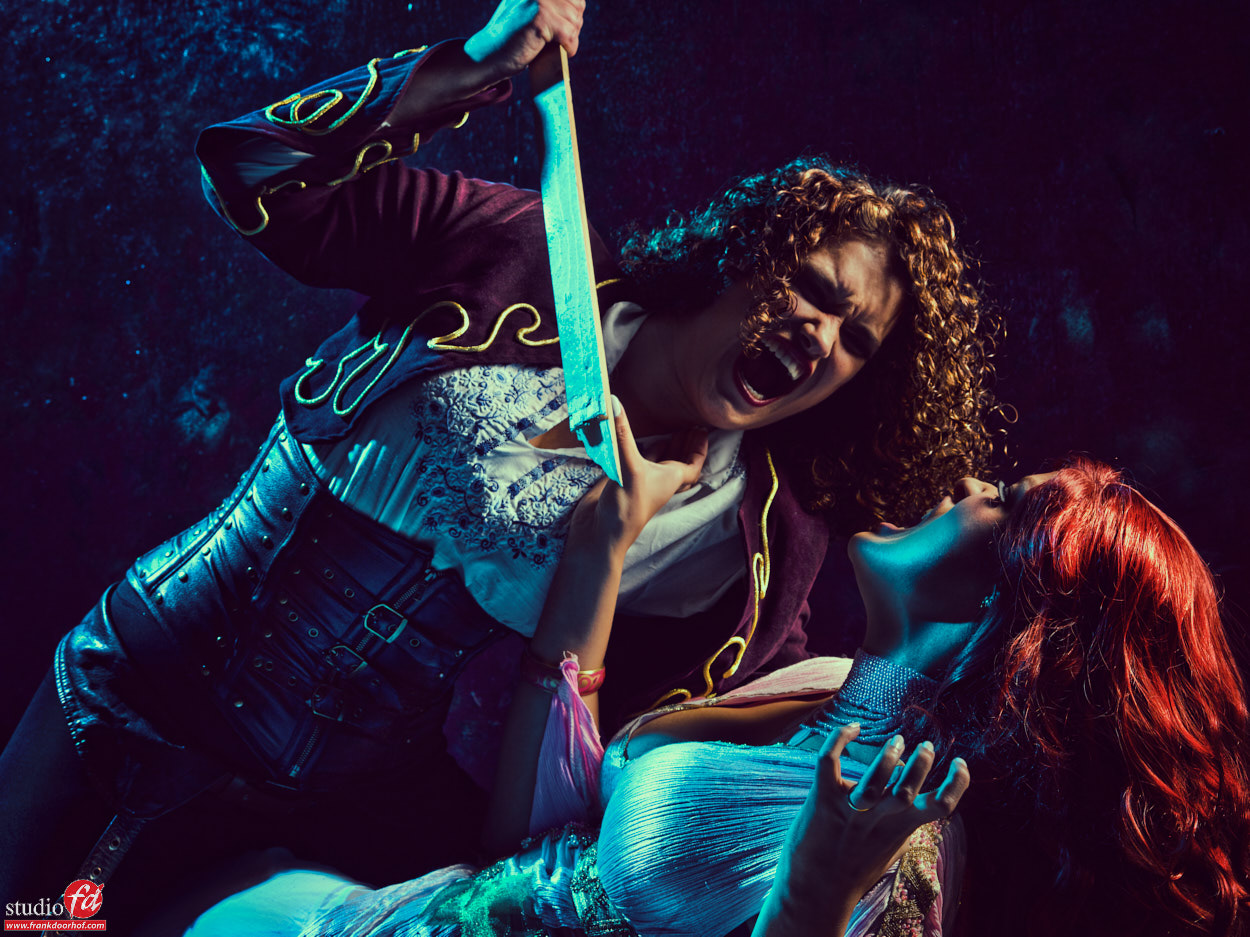
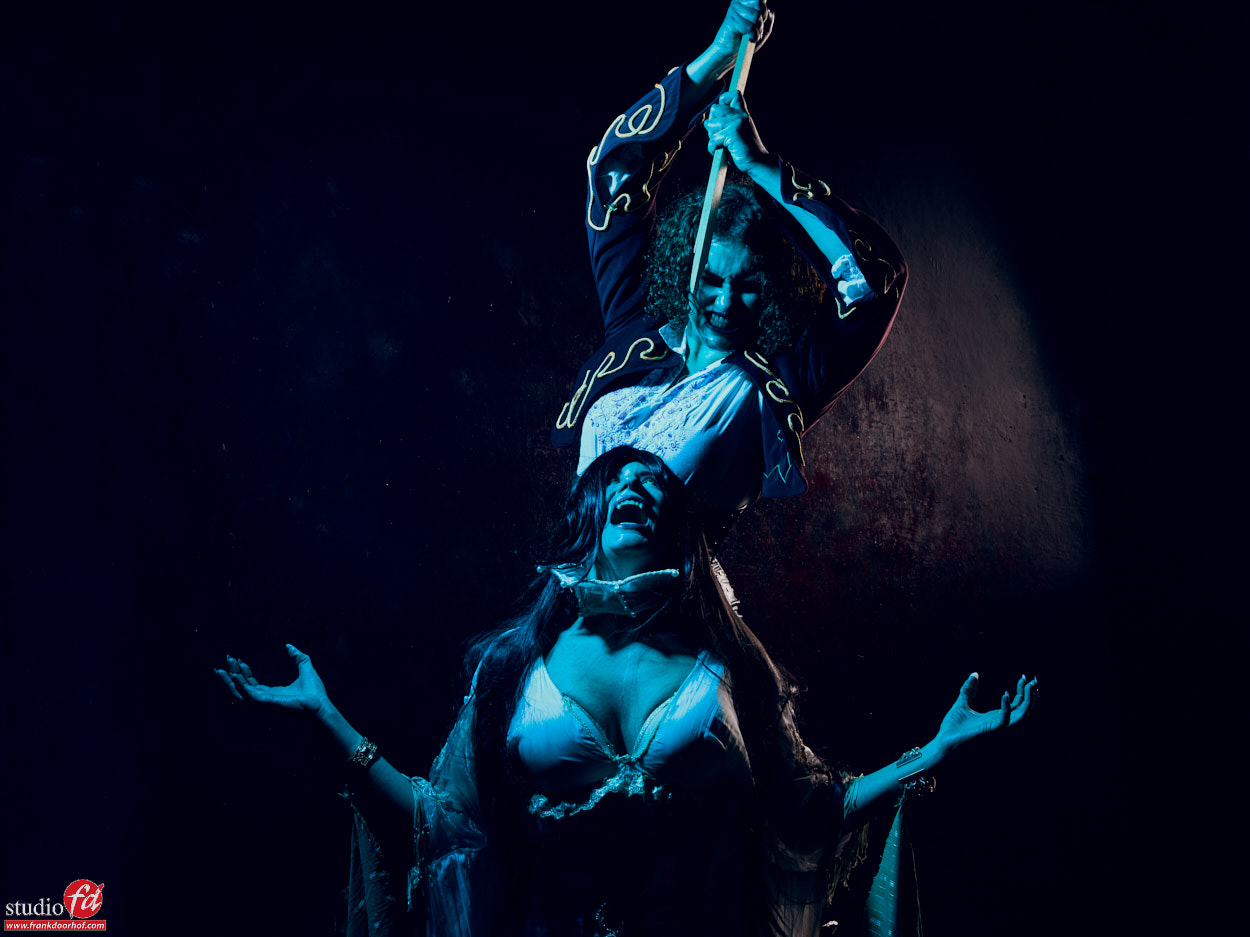
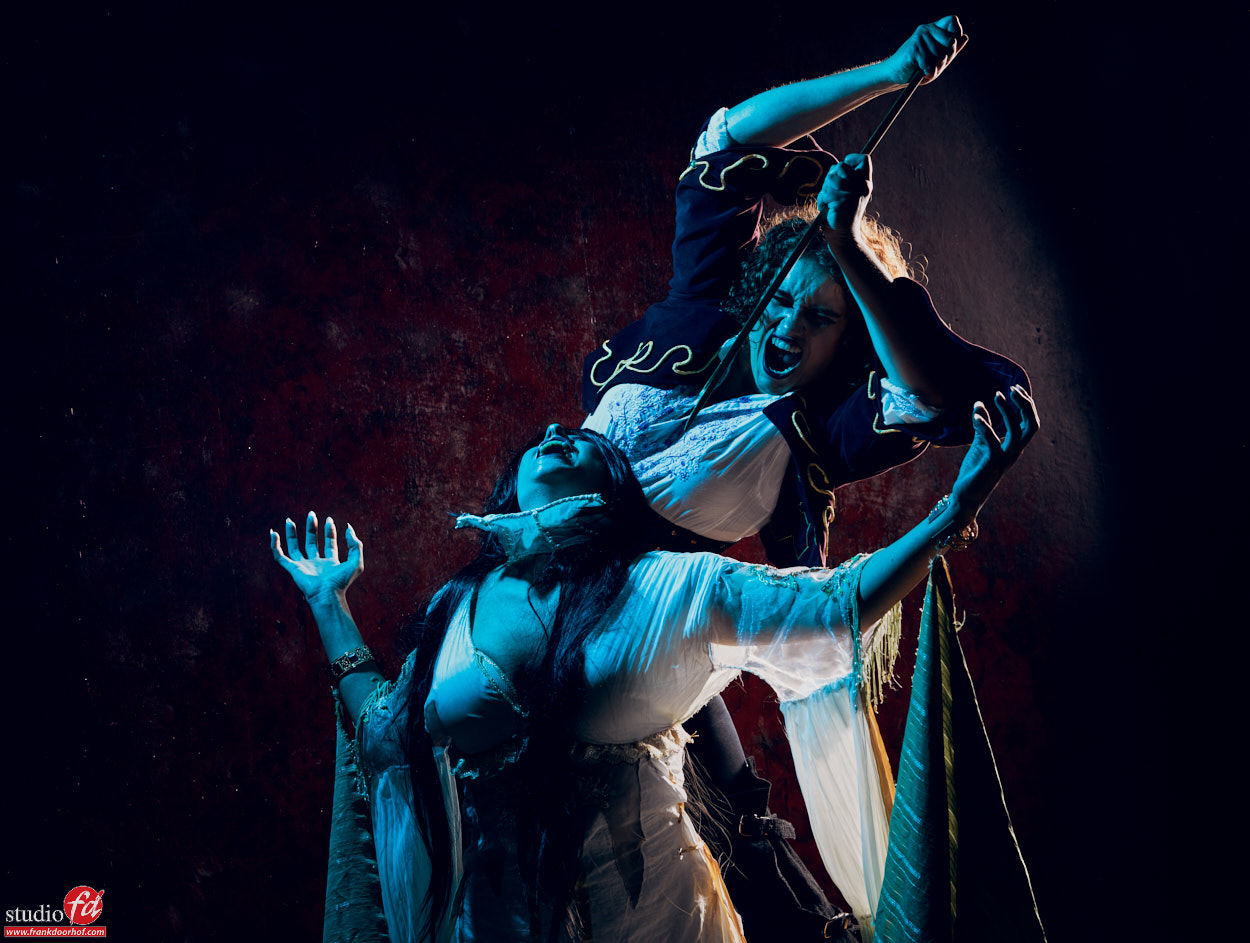
In my workshops I always try to give a lot of attention to this, and today I want to show you some images of a workshop where we worked with Ingrid and some masks. In this workshop the main theme was to mix continuous light sources with strobes. The main thing however is that these images will probably trigger your imagination a bit (well I hope).

So the next time you do a photoshoot don’t just think about lightning, but also about posing and story telling, and adding small props like masks and of course expression of the model (can also be without seeing her face by her pose) and that way you will see your shots will quickly grow from ok to WOW.

Ingrid Augustus 19 2016 2966

Ingrid Augustus 19 2016 3776

Ingrid Augustus 19 2016 3798

Ingrid Augustus 19 2016 3805

Ingrid Augustus 19 2016 3818

Ingrid Augustus 19 2016 3821

Ingrid Augustus 19 2016 3832


New instructional video “A guide to Capture One 9 Pro”

We just released a brand new instructional video, and this is a LONG one.
With over 190 minutes of information it’s actually one of the longest we ever released, and the best thing… for a limited time only it’s priced at only 10.00 euros.


Often people forget the importance of the RAW developer and how much of a difference it can make on your final images, let alone what you can do in the RAW convertor as retouching. As soon as you open up Photoshop you are not working in the RAW convertor anymore so it’s vital to do as much as possible before that.

For years Capture One has been on the top of the list of best RAW convertors and not without a reason (of course), Capture One has many retouching and developing options that for some people will even make it possible to do the complete workflow within Capture One. 
 But that’s not all, in studio or location setups many photographers love to shoot tethered, and this is were Capture One in my opinion really shines as being rock solid and incredibly versatile.

When you first open up Capture One everything can look a bit…. frightening, especially when you are used to the industry standard Lightroom, but in all honestly the layout and options are actually very easy to learn if you get a little bit of help, and that’s where this video comes in.

In over 3 hours (190 minutes) I walk you through the way that I use Capture One.
You will find chapters on the tools, tethered shooting, retouching samples and workflow.
All videos are kept as short as possible and are very easy to understand.

Topics include :

BW modes, integration with Lightroom/Photoshop and plugins, exporting recipes, styles/looks, synchronizing, using local adjustments and layers, advanced color adjustments, advanced and simple skin retouching, masking possibilities, folder structures, overlays, watermarks, customizing the look and layout, HDR from one image, making images pop, using processing in batch, all the tools you need to know explained, auto masking tips, skin tone smoothing, tricks with the skin tone smoothing for skies, removing spots and dust, using healing for removing hair and blemishes, using capture pilot in a tethered workflow, RAW developing explained, lens correction, adding grain for a great look and evening out retouches, noise reduction, stacking effects in layers and styles, sorting and rating in the browser, creating your personal layout and much much more….

If you want to get the best out of Capture One in your workflow and setup a great integration with Lightroom this is without a doubt the best way to start. All videos are high resolution captures and the standard video is 4K so you can see all the settings and details the best way possible. The video is available now via www.frankdoorhof.com/videos

I’m 100% sure you are gonna love this one.


Tip : make that model hurt…..

Well ok don’t take that literally because that’s a whole different kind of photography 😀
But when you want to make images a bit more interesting it sometimes helps to let the model pose a bit beyond her/his comfort zone. During the workshop “coaching and motion” we did some more “extreme” poses with our model Ingrid, who has the legs for it…. and today some of the results.

The most important thing you have to remember is finding the lines.
Some of these were shot with a very wide angle (sigma 12-24) and you will get some distortion from these kind of lenses, make sure you follow the lines and make them lead the viewers eyes towards the model, in this case I use the legs of the model for this purpose.

Also always remember to WALK AROUND the model, this way you get totally different looks from the same setup, and the more you can shoot like this the better is for the end results because you are actually creating more different looks in a very limited time frame, and time…. well we never have enough of that.

Ingrid June 18  2016 0262

Ingrid June 18  2016 0285

Ingrid June 18  2016 0315


Tip : ACTION BABY ACTION… ACT….

It sounds so incredibly obvious but still it’s often forgotten.
If you want action….. do something.
Pretty obvious right?

Still in a lot of photoshoots that I judge I see amazing models, great styling, proper lighting, awesome locations…. but no life. Somehow the images don’t speak. What’s going on?

With most models the thing they do is pose.
But if you don’t tell the model what to do she/he will…. well pose, just stand there or do some killer poses (depending on the level of experience of your subject), but if you coach your model everything will be much better… now imaging not only coaching your model through some poses but REALLY make them act.

During a recent cosplay shoot we had a set with the vampire hunter and the vampire.
Now a lot of photographers would probably choose to shoot the costumes and let the two stand next to each other showing off the costumes, but for me that wasn’t enough, I really wanted so hardcore action, some BANG in the shot so to say. So I told the models to REALLY act, “spike her”, “kill her”, “and you, you are being killed so act like it, scream your lungs out, this is gonna HURT”

The first few shots were ok, but very quickly our Vampire hunter was jumping up and down eagerly waiting who she could kill next, and the vampires were lining up, the fun was really growing, but most of all the images got more and more intense and cool.

Modelling is acting on 1/1000’s of a second, make them count.
And YOU as the photographer are responsible for the end results, coach your models make them enthusiastic about the shots, if you are very monotone and going like “yeah”, “ok”, “great” (mimic the most monotone voice you can imagine, for example Stephen Hawkin) or if you go like this “YEAH BABY”, “KILL HER”, “AWESOMEEEEEE”, “LOVEEEEE IT” (mimic a very enthousiastic voice) you will see that the end results are MUCH MUCH better.

Here are some images from that set.

Cosplay May 29  2016 32296

Cosplay May 29  2016 32299

Cosplay May 29  2016 32301

Cosplay May 29  2016 32312