WOW that’s just awesome photography!
It happens if you look for it
As you know, I love to play with light. Although I love to use plugins for film looks and sometimes enhance a lens flare here and there, my intent is to always get it right in camera.
By the way, if you want some of the best tinting and special effects software, make sure to check out BorisFX, it’s the best I’ve ever worked with.
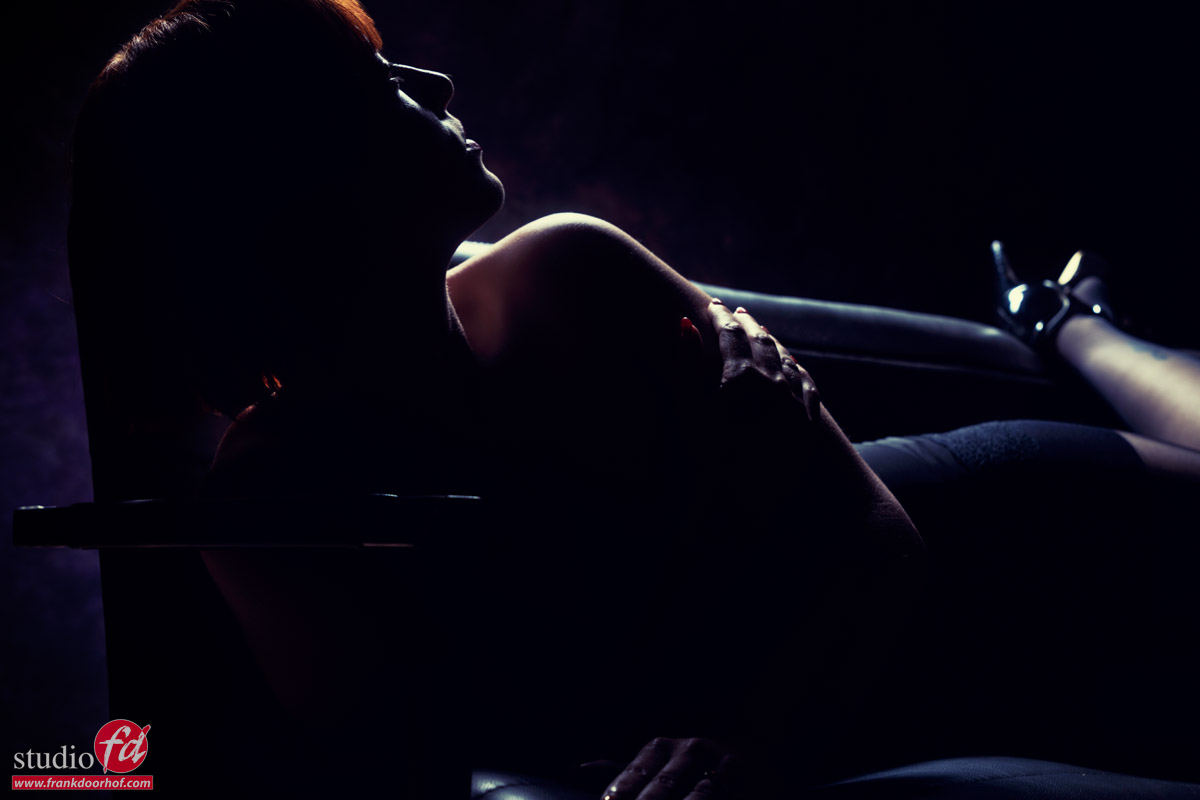
Anyway, today I want to share this image from Claudia
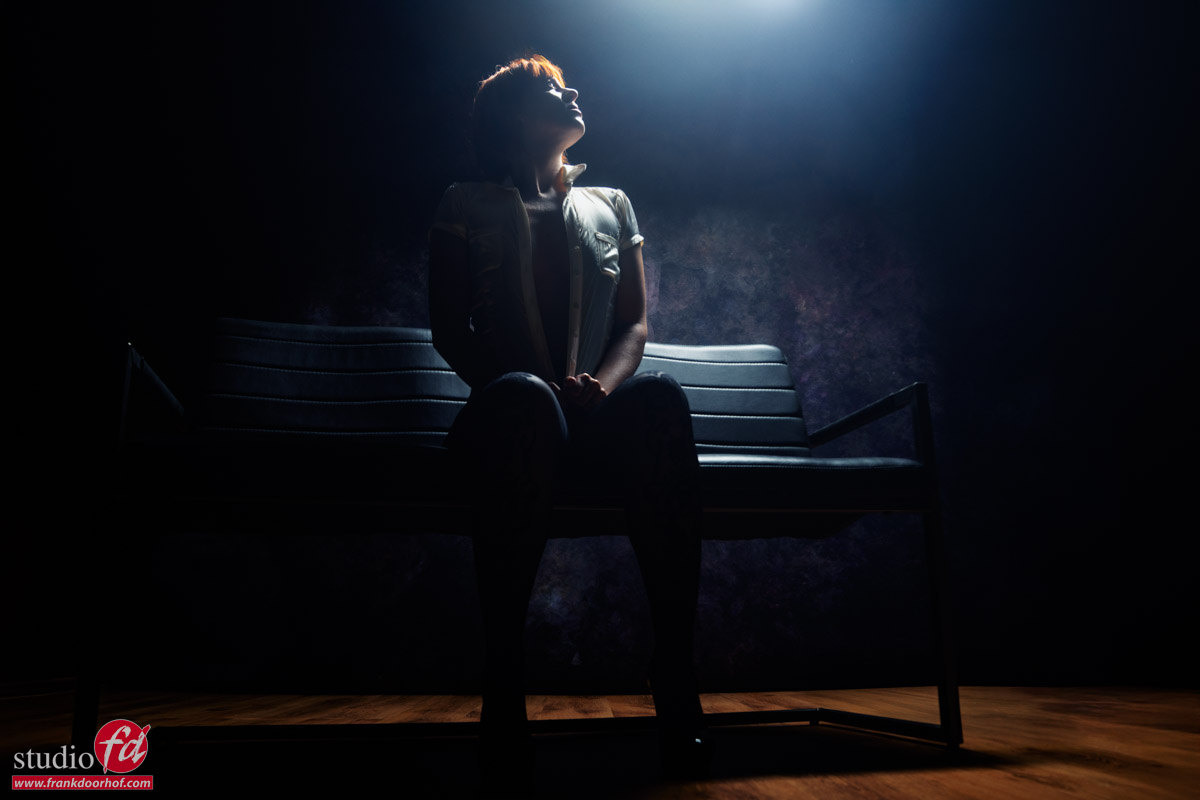
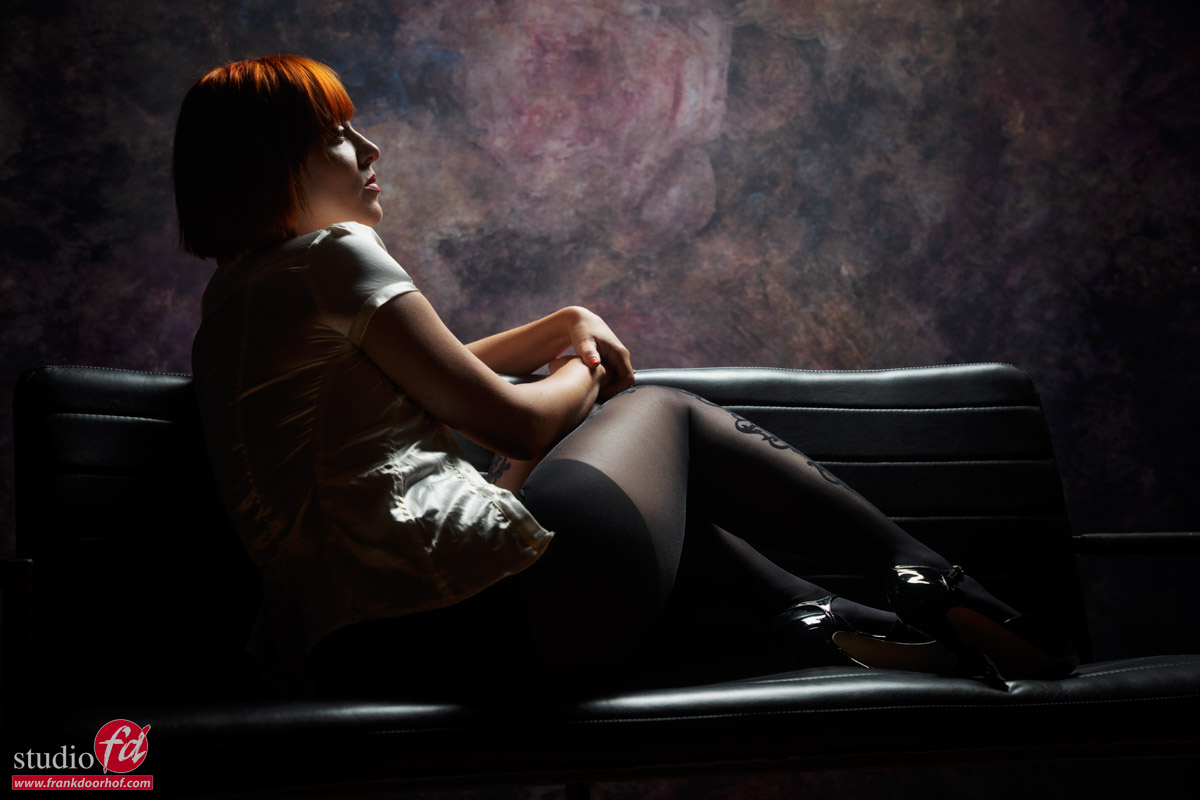
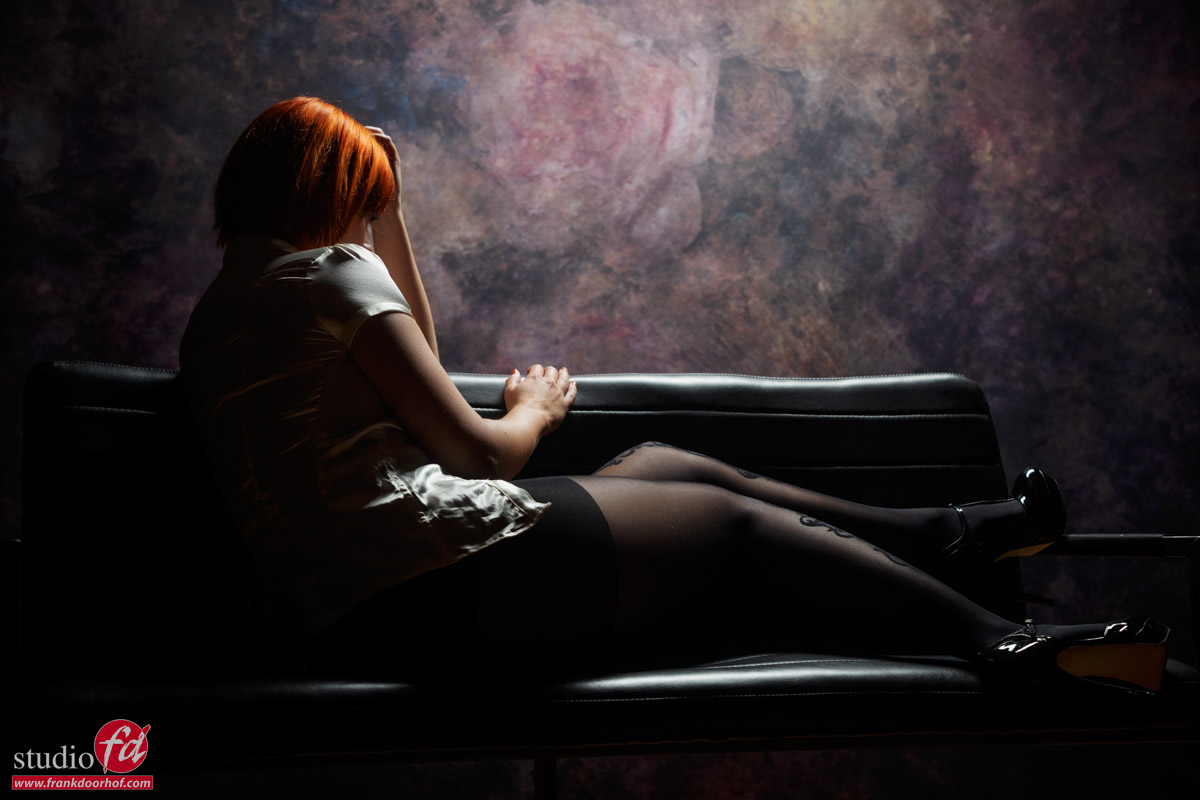
This was shot at the end of one of the sets.
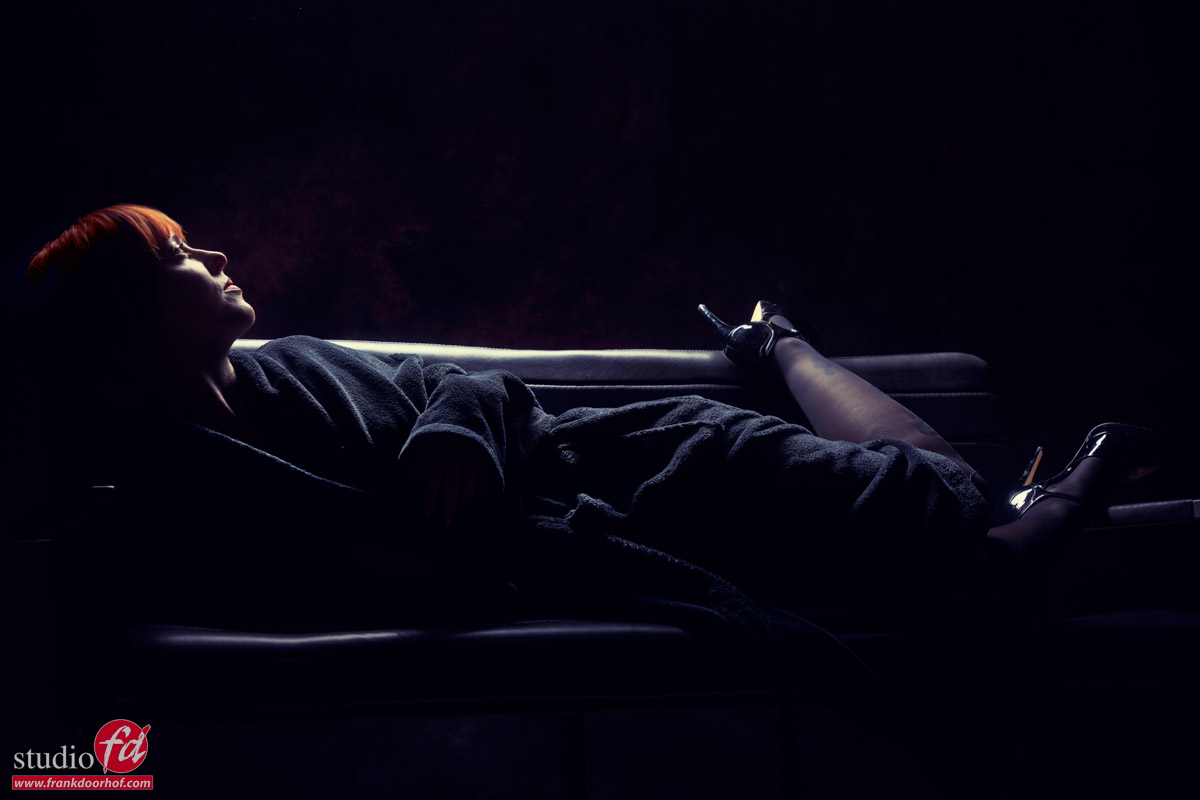
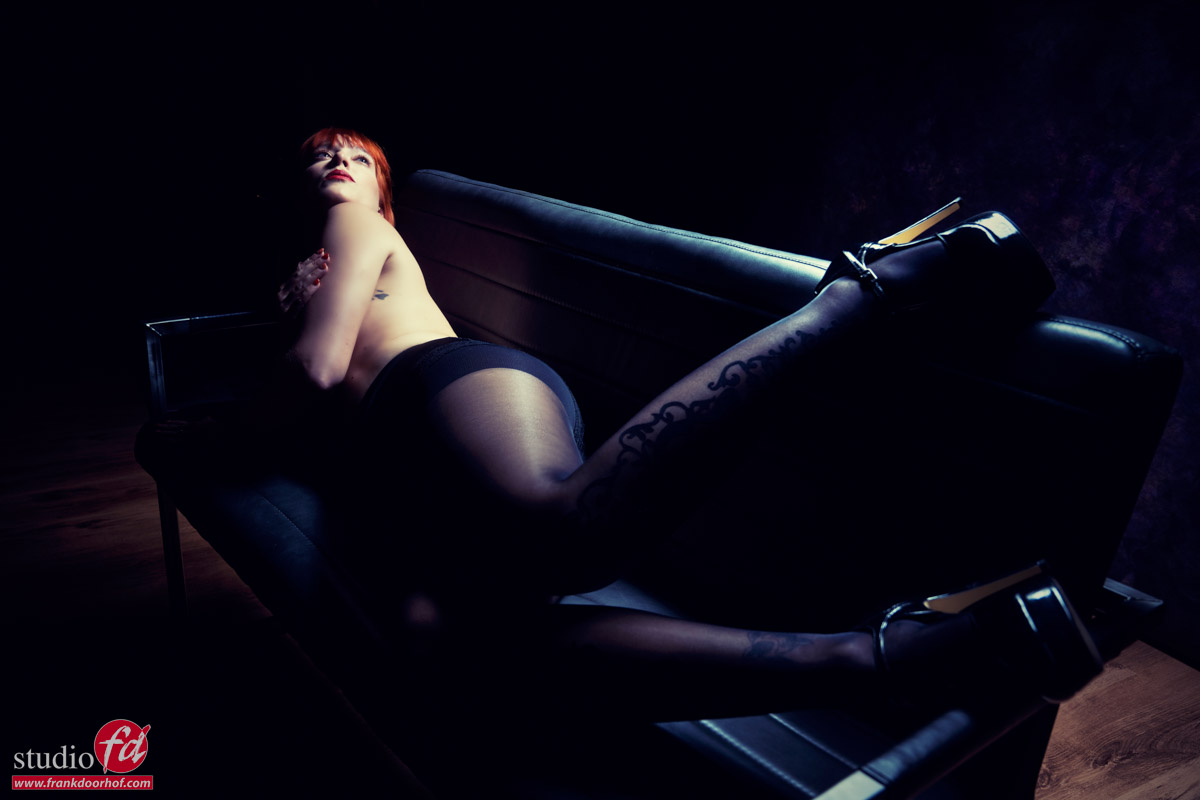
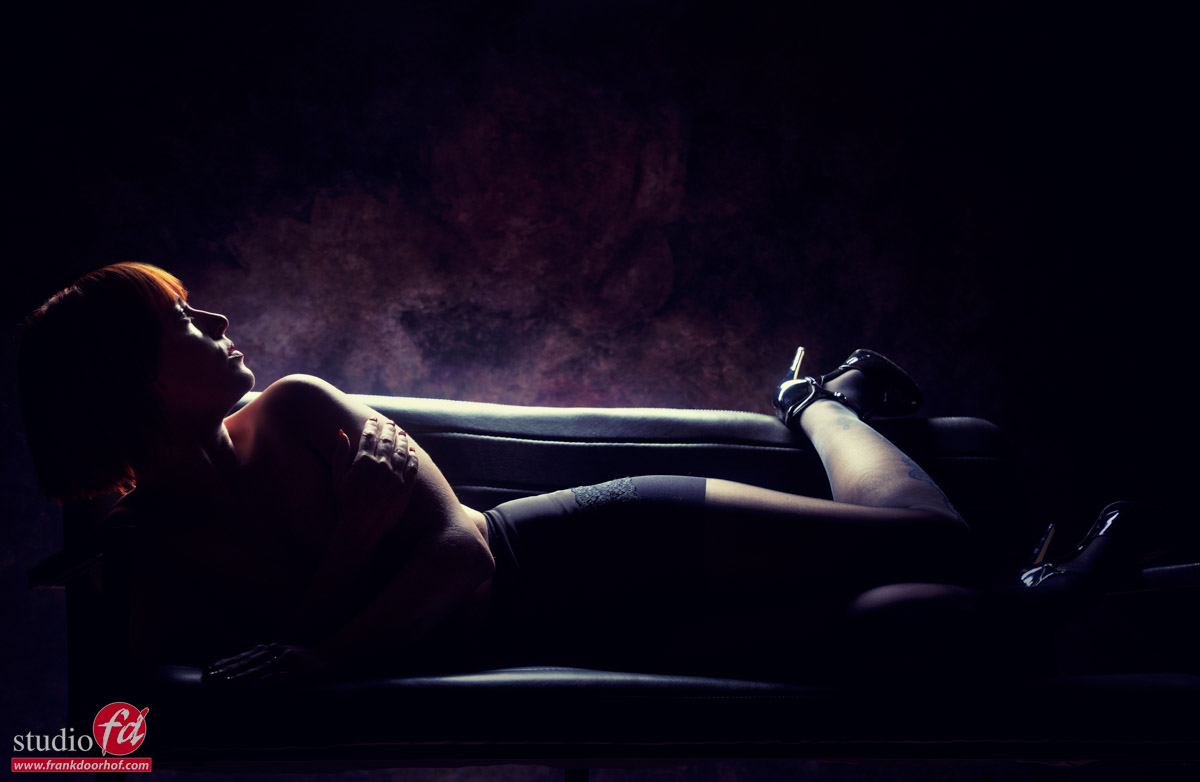
In the images Claudia was lying on the couch and the light was pretty close to her.
On my camera I’m using the K&F concept black diffusion filters which give great lens flares when they are hit with some light.
To get the effect I asked Claudia to look up and by shooting it from a slightly lower angle I could just get the perfect lens flare.
This shot was not planned but it grew quickly into one of my favorites from the set.
So when shooting a set, walk around your model for different angles, but also try some different poses and “freak out” with your lighting, you already got the shot so take it step further, if it doesn’t work you at least know it doesn’t, but if it does you can use it in a next shoot to up your confidence and coolness 😀
Want to learn a lot more about lighting?
Check out our tutorials, books and of course you can find videos on Skillshare, KelbyOne among others.
Or visit one of the Dutch workshops at fotografie-workshops.nl
And if that’s not your thing, maybe book a 1:1 online 😀


You must be logged in to post a comment.