Don’t do this but in this case do exactly that
Backlighting the right way
When I started with model photography I remember that the first time I used a backlit model I was over the moon with the results.
“Wow it looks like an aura”…. and indeed it did. And maybe it was in my advantage that we didn’t have 65MP cameras at that moment, because there are some things that you can better not do.
And one of those is backlighting your model from the back.
Now you might wonder..”Frank you promised us more about smoke”.
Indeed, so continue reading and it will all be clear.
Normal backlighting
When I use “backlighting” at the moment I mostly use two striplights from the back creating accents on the model.
In fact I don’t call it backlighting but accent lighting, because in essence the light is not coming from the back anymore.
So why no strobe behind the model?
Let’s take a look at an example.
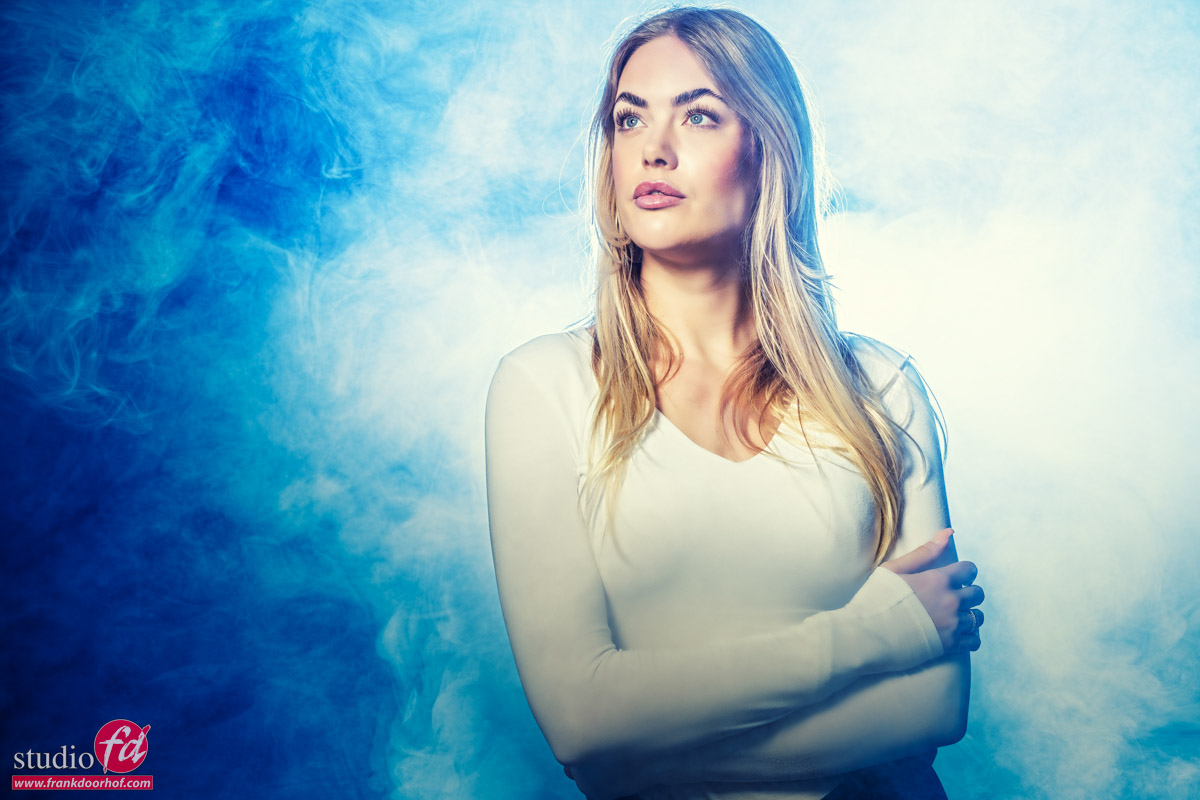
Here is our model Isabelle against a black backdrop.
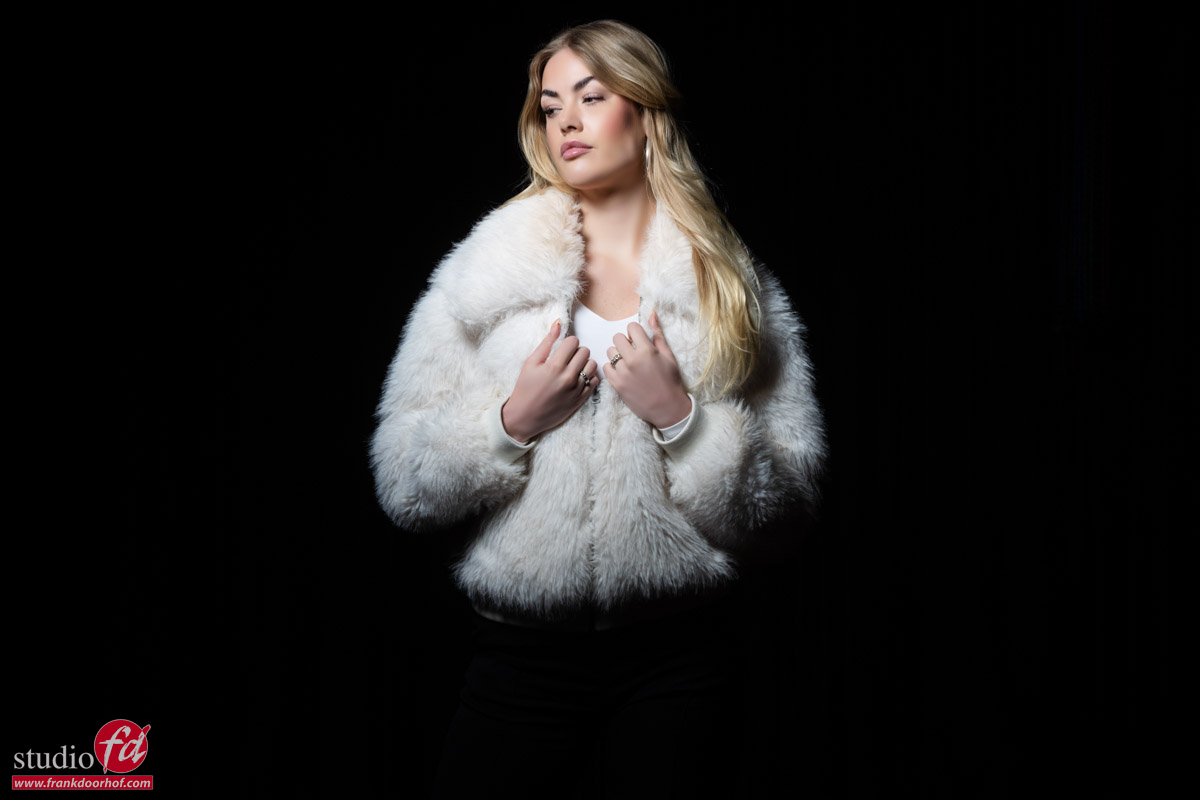 To be honest there is nothing wrong with this shot lighting wise.
But let’s say we bought two strobes, so we have to use them, right :D?
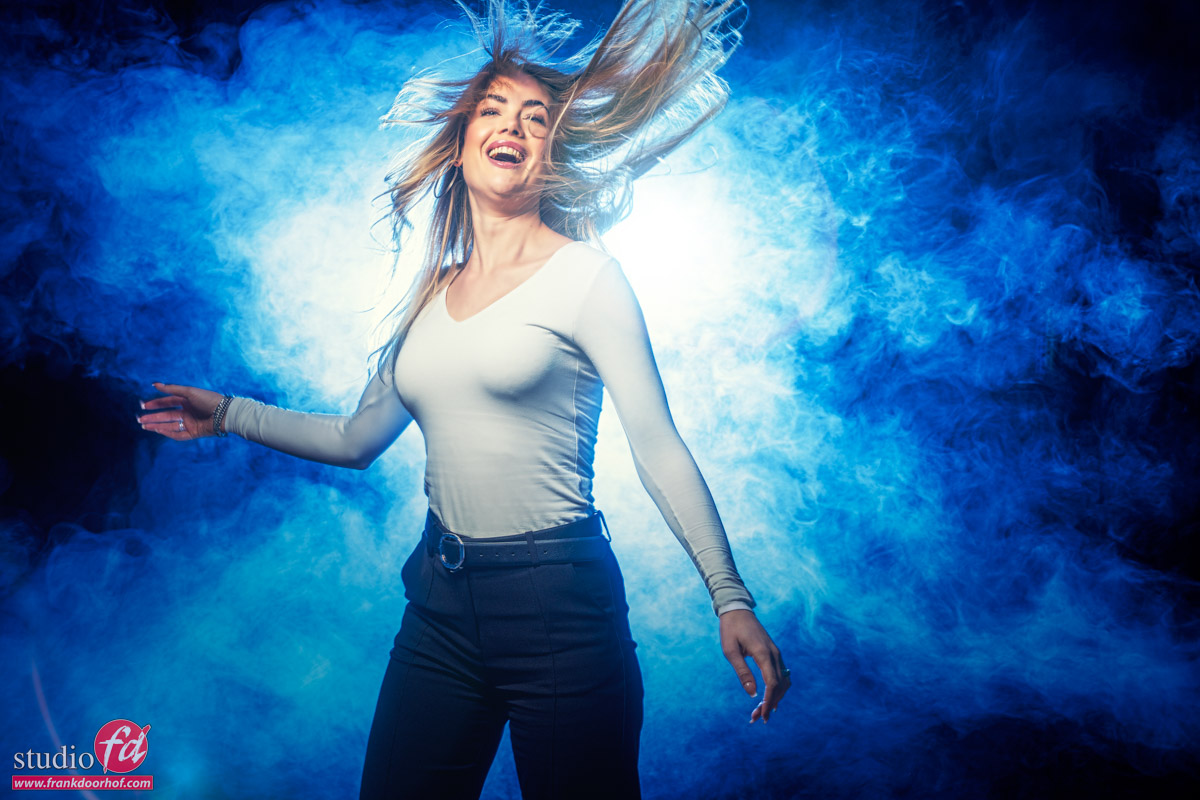
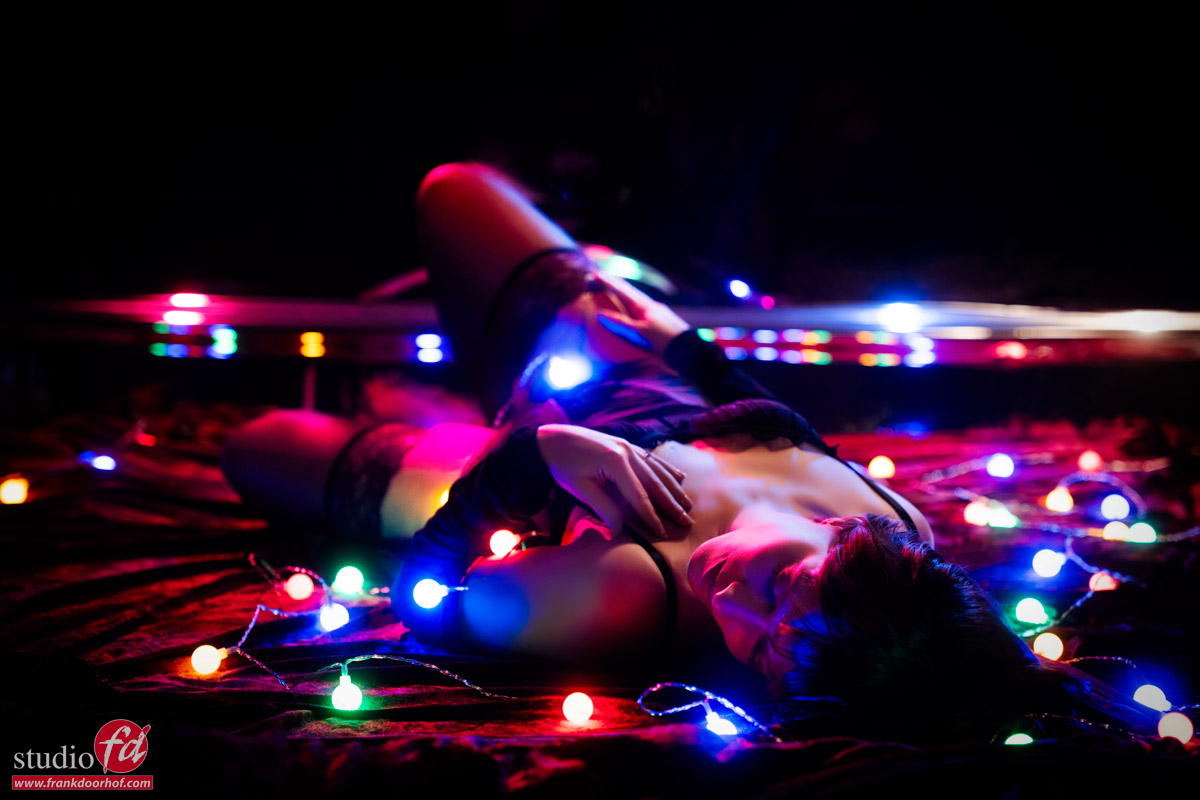
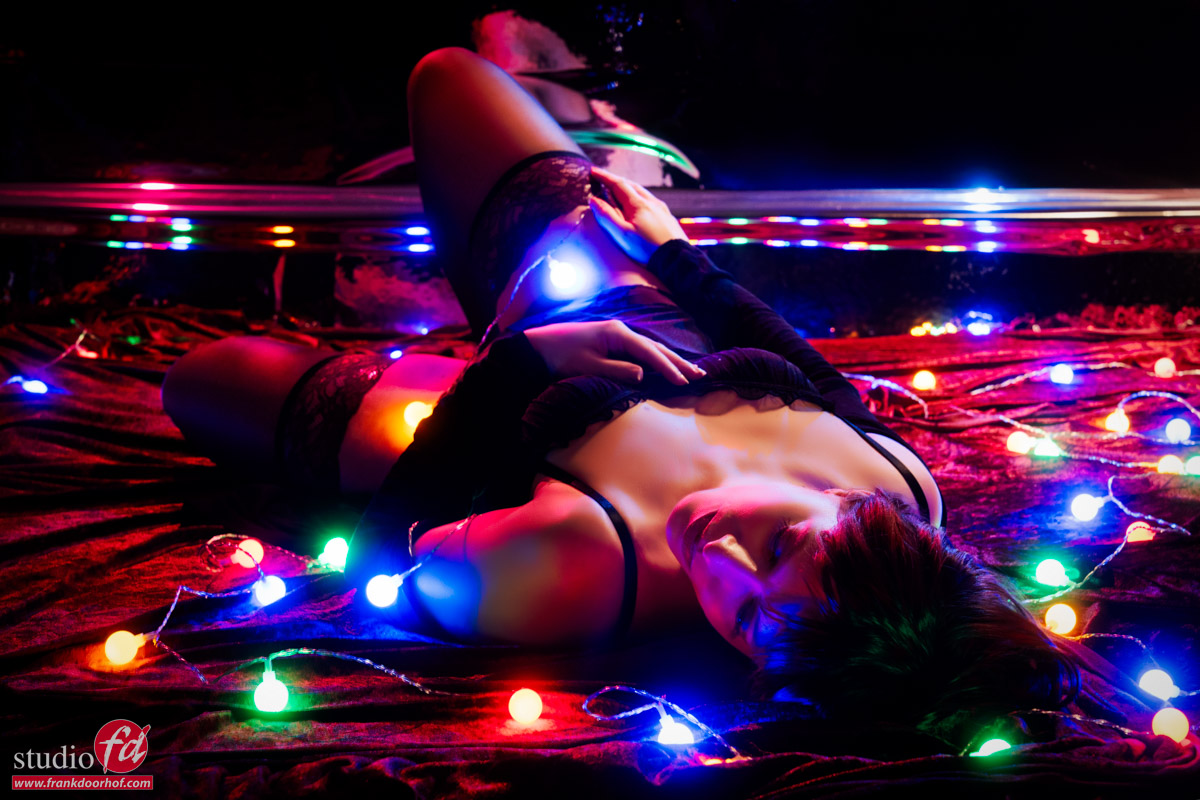
In the next image I’m using a strobe behind my model with a blue gel.
It’s placed directly behind my model, just I did when I started out.
The only difference is that the strobe I’m using here has a slightly less spread in the light, but I placed it further back to create the same effect.

Well there we go.
I remember I was really happy with this result when I started out.
But when you zoom in, you can see the dust in the studio, the hairs almost look artificial and also the accents doesn’t really “wrap around” my model.
In short, it’s not my favorite way of lighting.
Later on I did try to solve this by hanging a small softbox with loads of extra diffusion material on the ceiling of the studio aimed at the model from the back. This worked great as a hair light, but when I started using the one or two strips from side the effects became a lot better.
But as mentioned before.. it’s not about a standard lighting situation.
We are in the middle of a series on smoke.
And as mentioned in Part I, smoke works also as a diffuser. So that means that although I don’t see a lot of my strobe at the moment, that will change completely when I start adding the smoke. In fact this will create an effect we can’t achieve with lights on the side.
So in this case we have to use a setup that will “not work” in normal setups but is great for smoke.
So we can’t do anything with this without smoke?
If you know me, you will know that there is always an alternative way to use a setup.
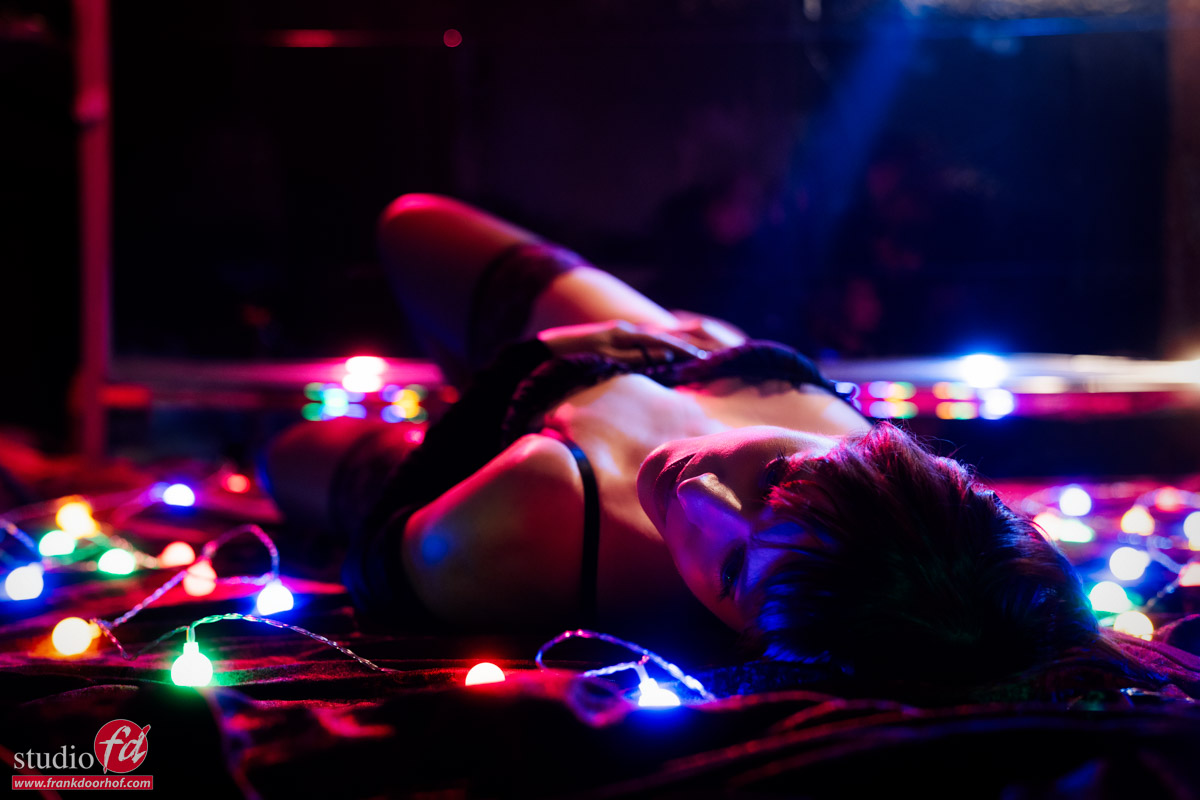
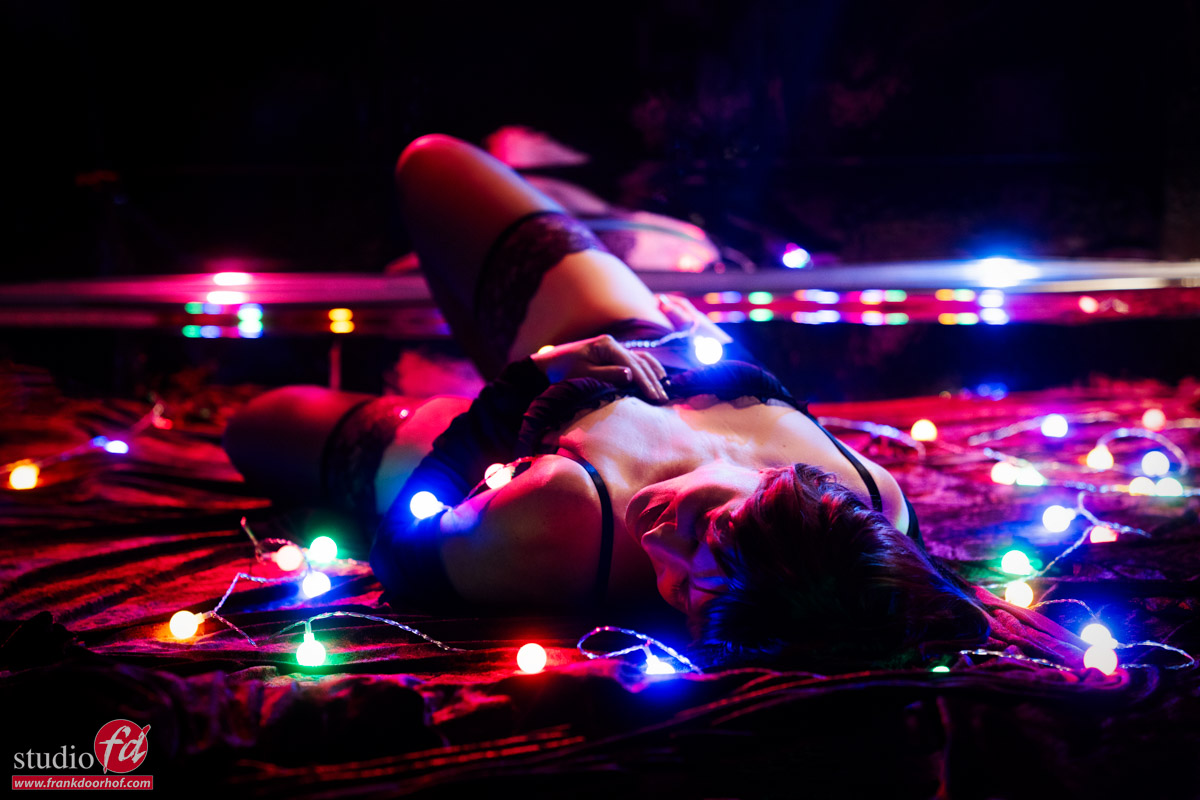
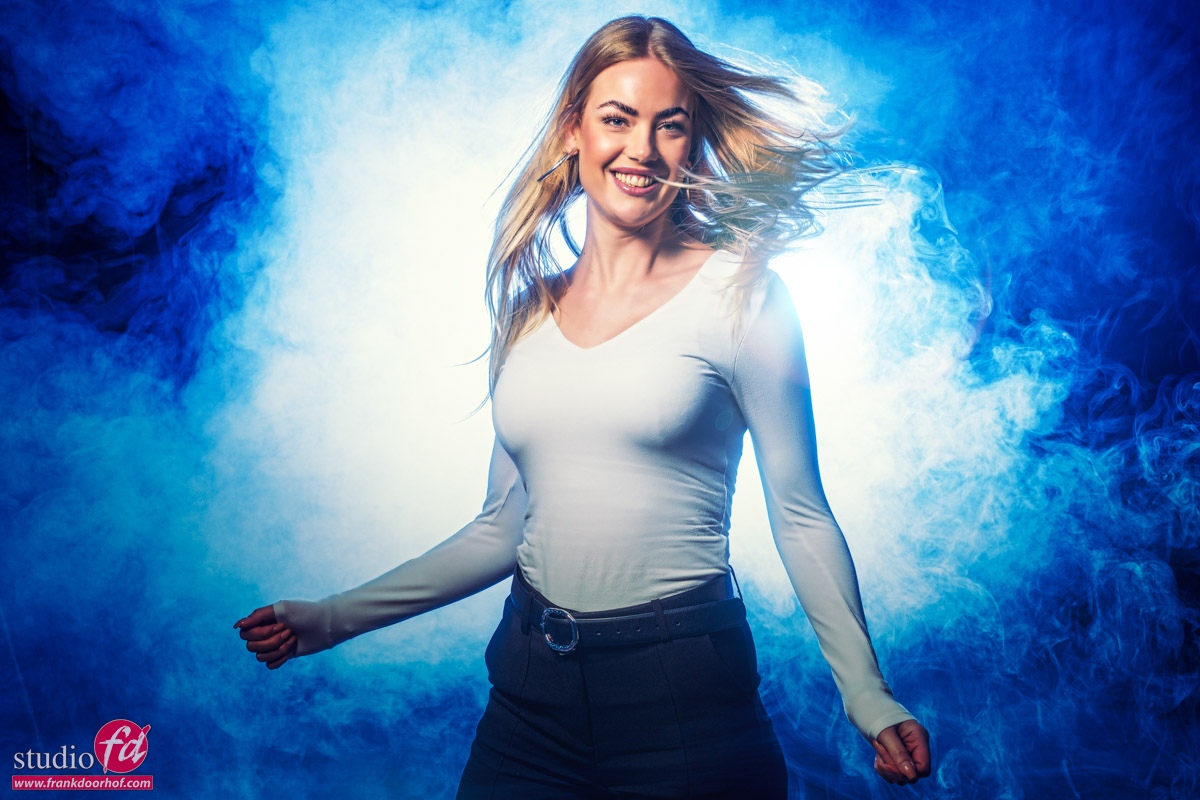
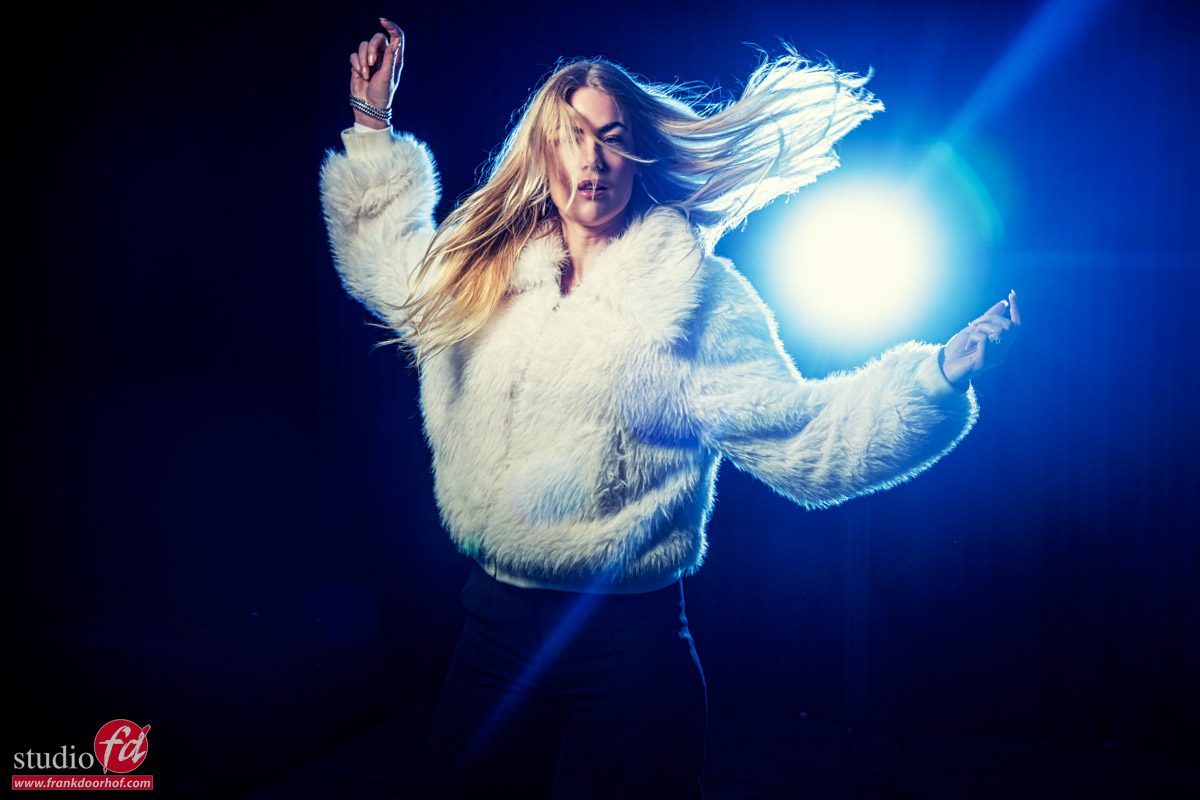
So what about not blocking the light, but let the model move around and have the light blast straight into the camera creating some cool lens flare effects and accent lighting on your model.
If you place the strobe almost next to the model, the model will be lit by the softer sides of the light and you can put the strobe on full power for very nice and full lens flares.
In this case we used it as it was, just to show an option during the workshop.
Next time we will start to glue the set together with smoke.
So make sure to check back for the next episode in our smoke in the studio series.
Workshops about (mixing) lights
Want to learn everything about light control?
Want to visit a workshop where it’s not just shooting a model with a fixed lighting setup, but see how the setup is built and adjusted to the taste of the group?
And of course learn how to work with poses, backgrounds, small sets, styling, retouching, and a lot more…..
If this all sounds awesome, visit fotografie-workshops.nl and book your workshop.
If you don’t speak Dutch, no problem, let us know a few weeks in advance, and we can switch the workshop to English.
Not possible to travel to the Netherlands?
We got you covered with our 1:1 online workshop.
We have a full streaming setup in our studio. 4 detail cameras and of course the retouching software, so you can see every detail and of course ask questions during the day. Plus, you get all the RAW files after the workshop.