Reviews on gear and software

Introducing the black mist filter

We test quiet a few products during the year, and most of them are fun/creative/ok and some will actually end up in my workflow, but sometimes there are products that are so awesome that I just can’t get enough of using them.

When I was send a K&F Black Mist filter I must admit that it was not something I was looking forward to. I’m just not real big on filters, and don’t get me wrong I think there is a huge market for filters, but it’s just not really my thing… I do use a polariser sometimes and also a variable ND filter is very nice to have but that’s about it… so I thought.

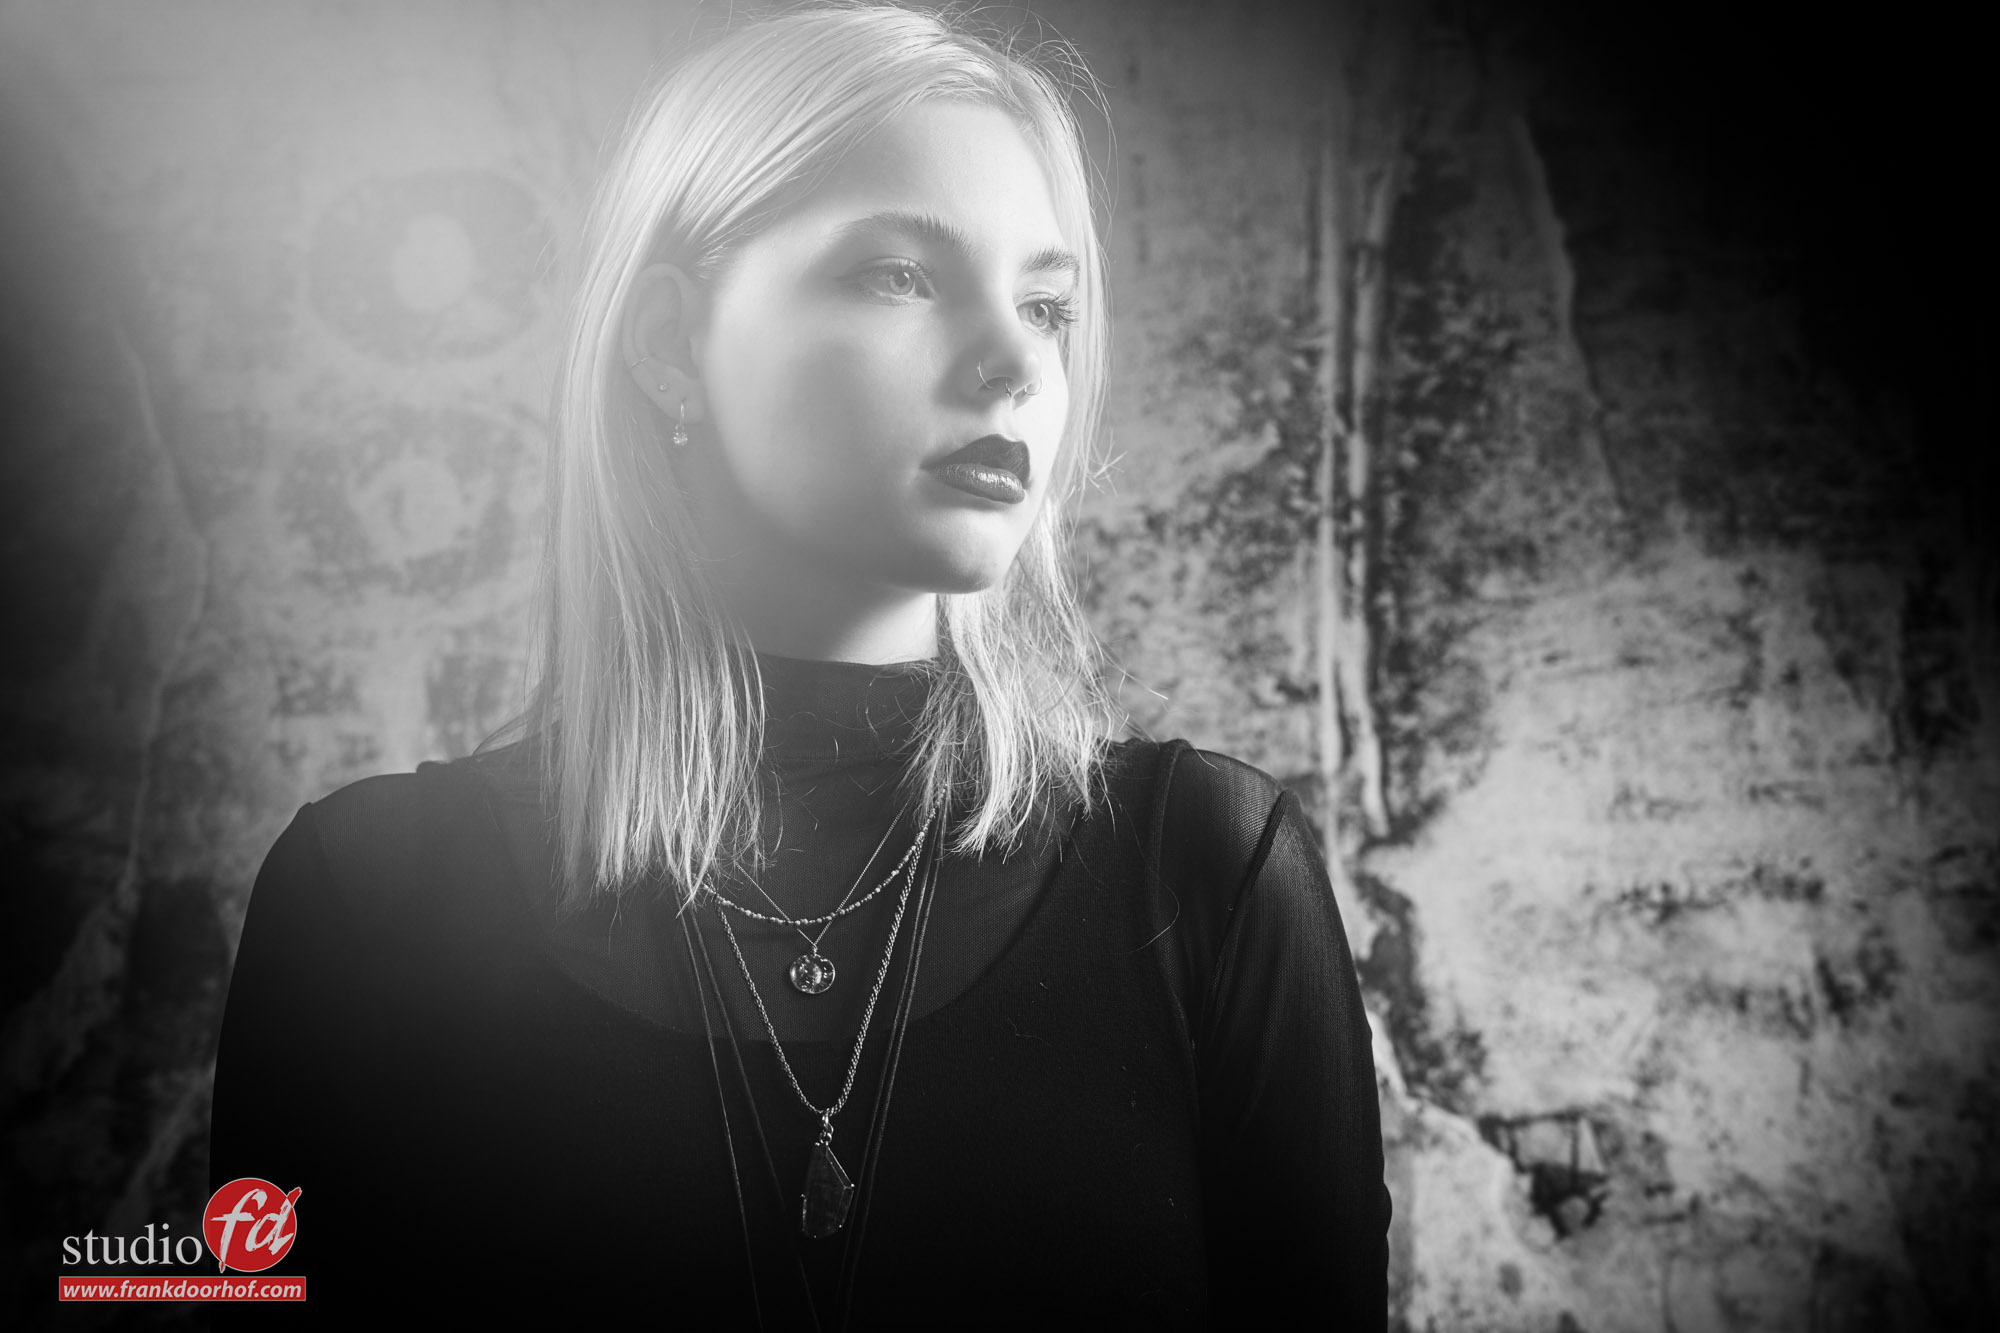
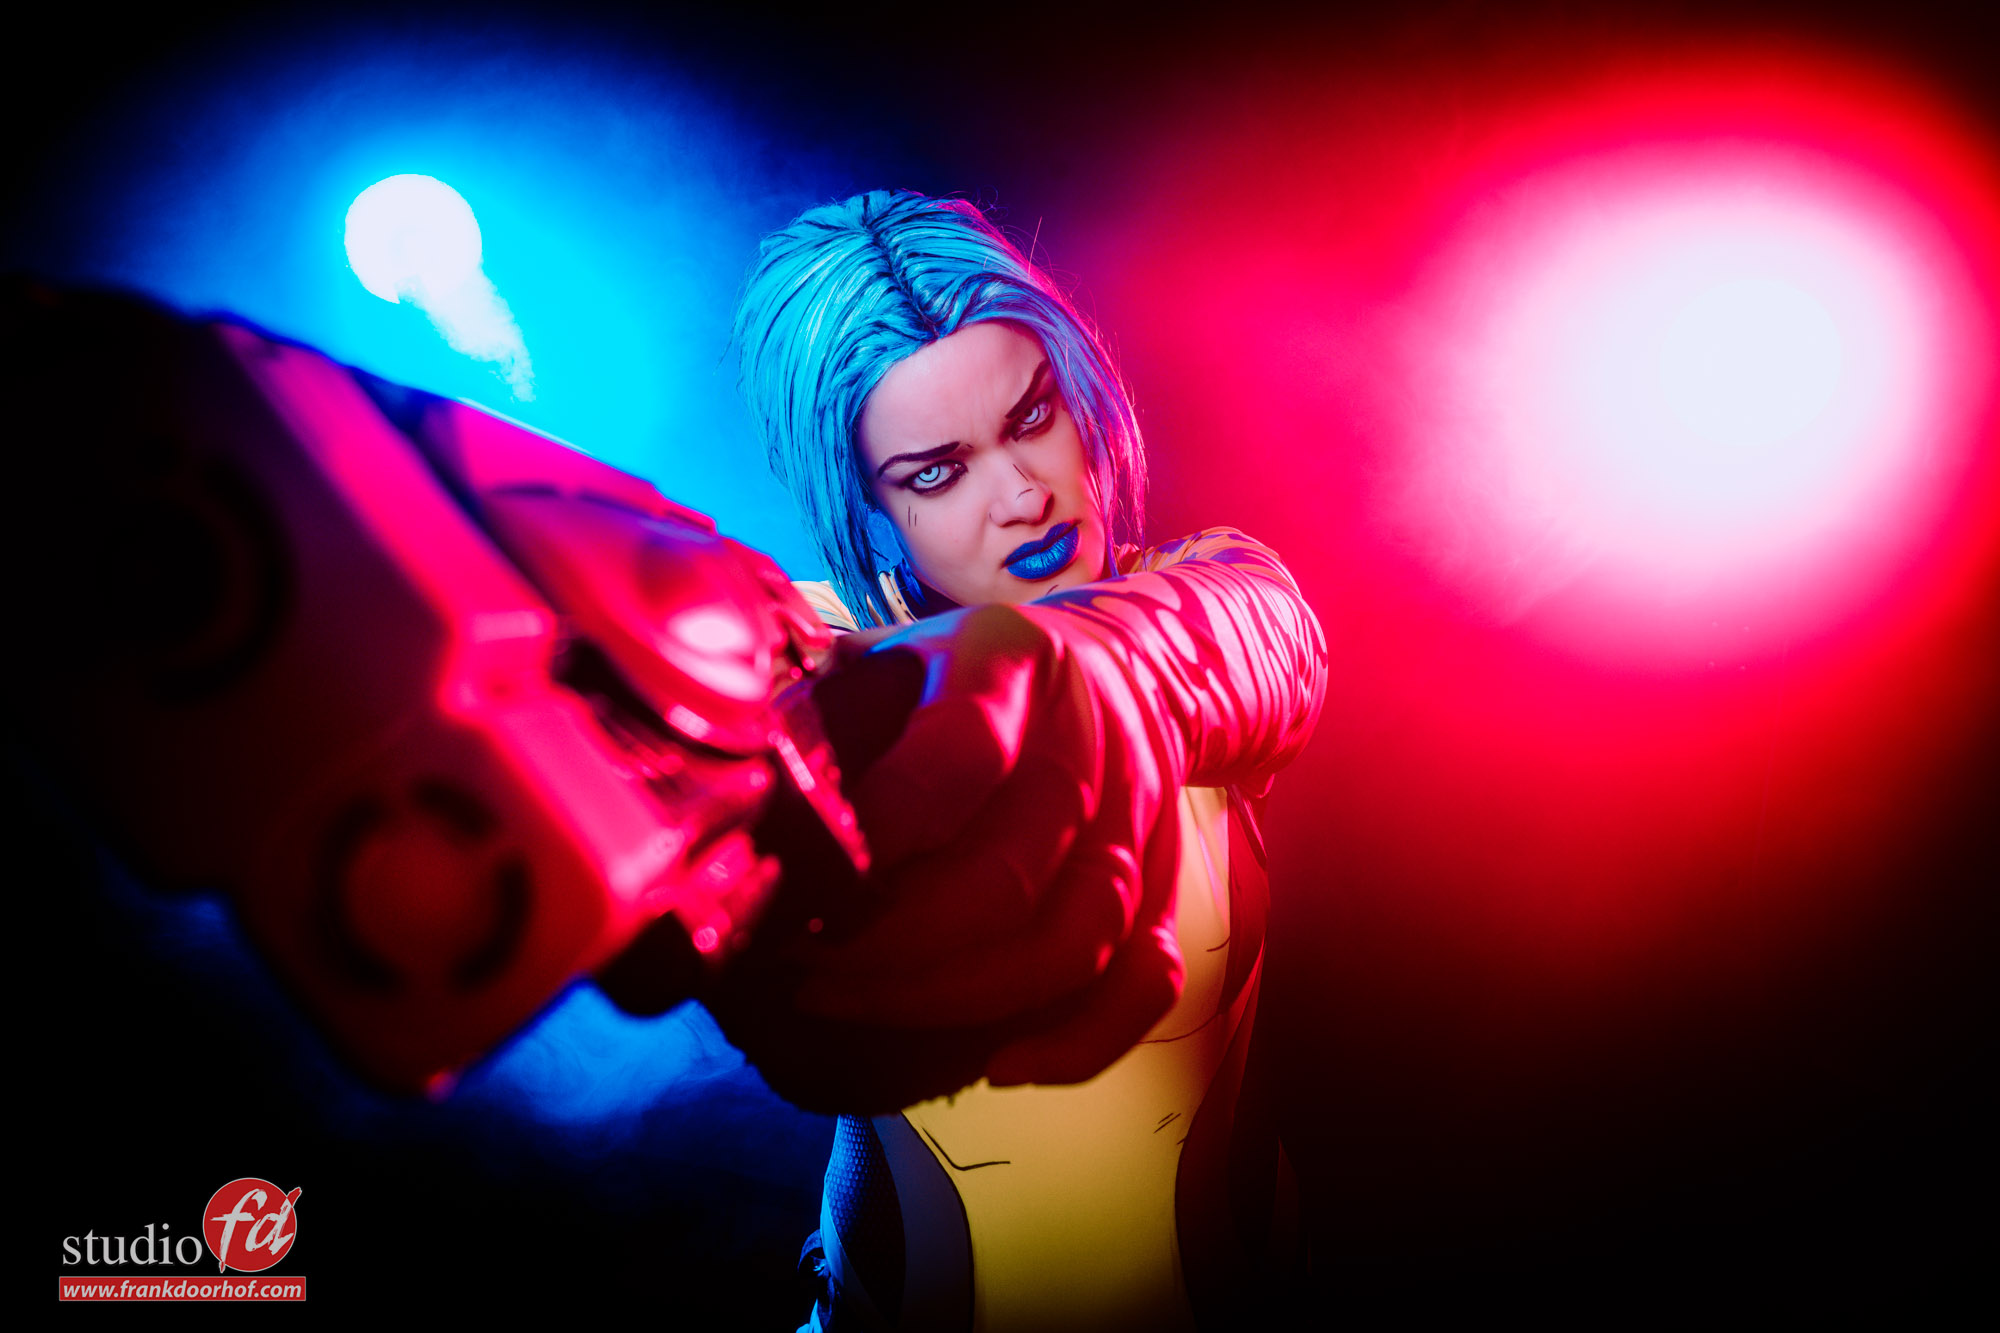
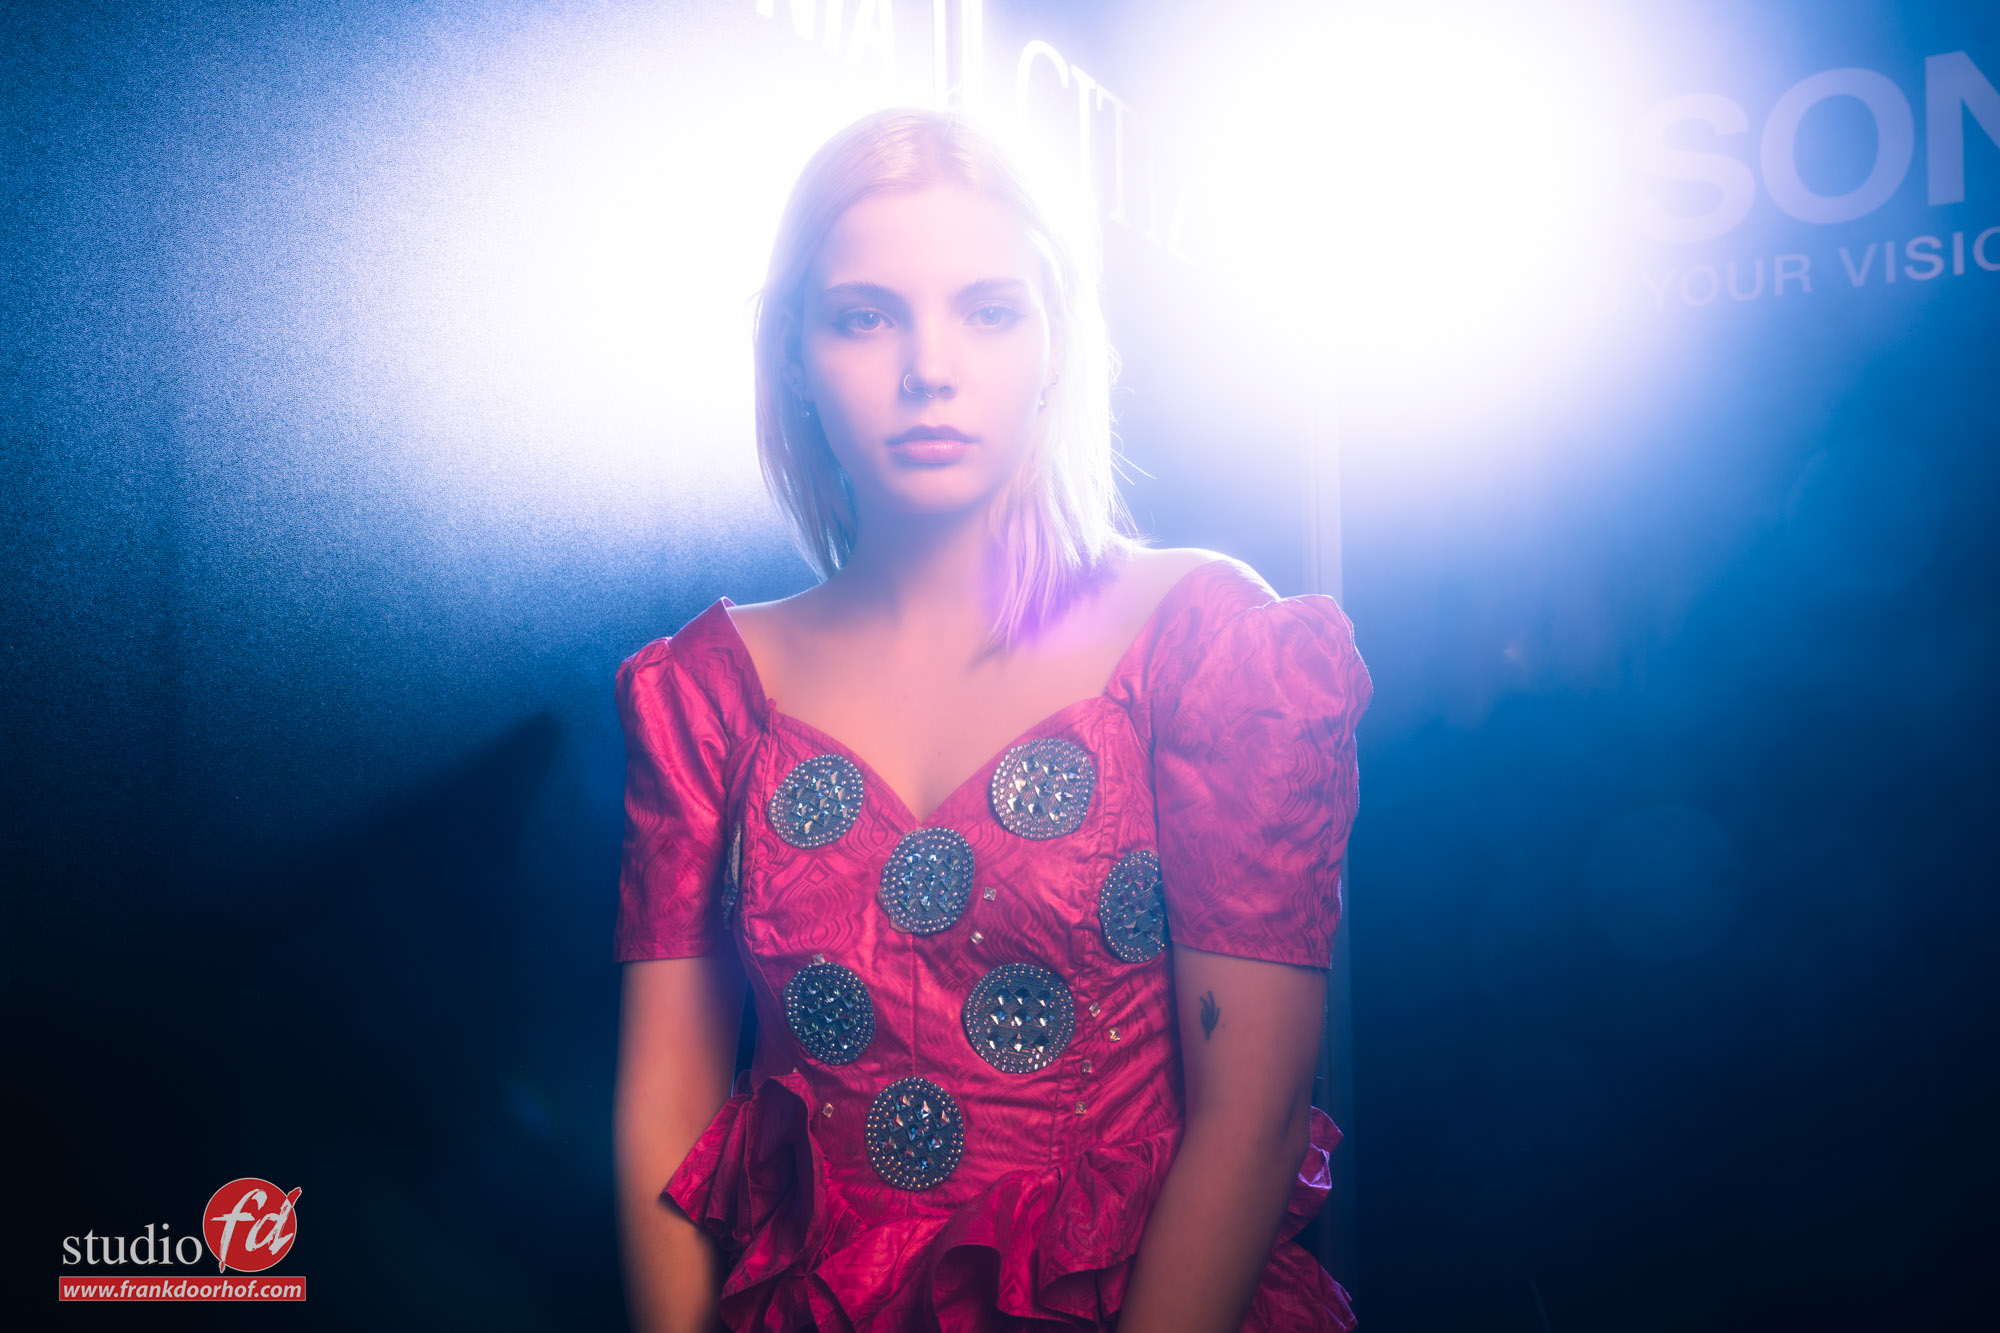
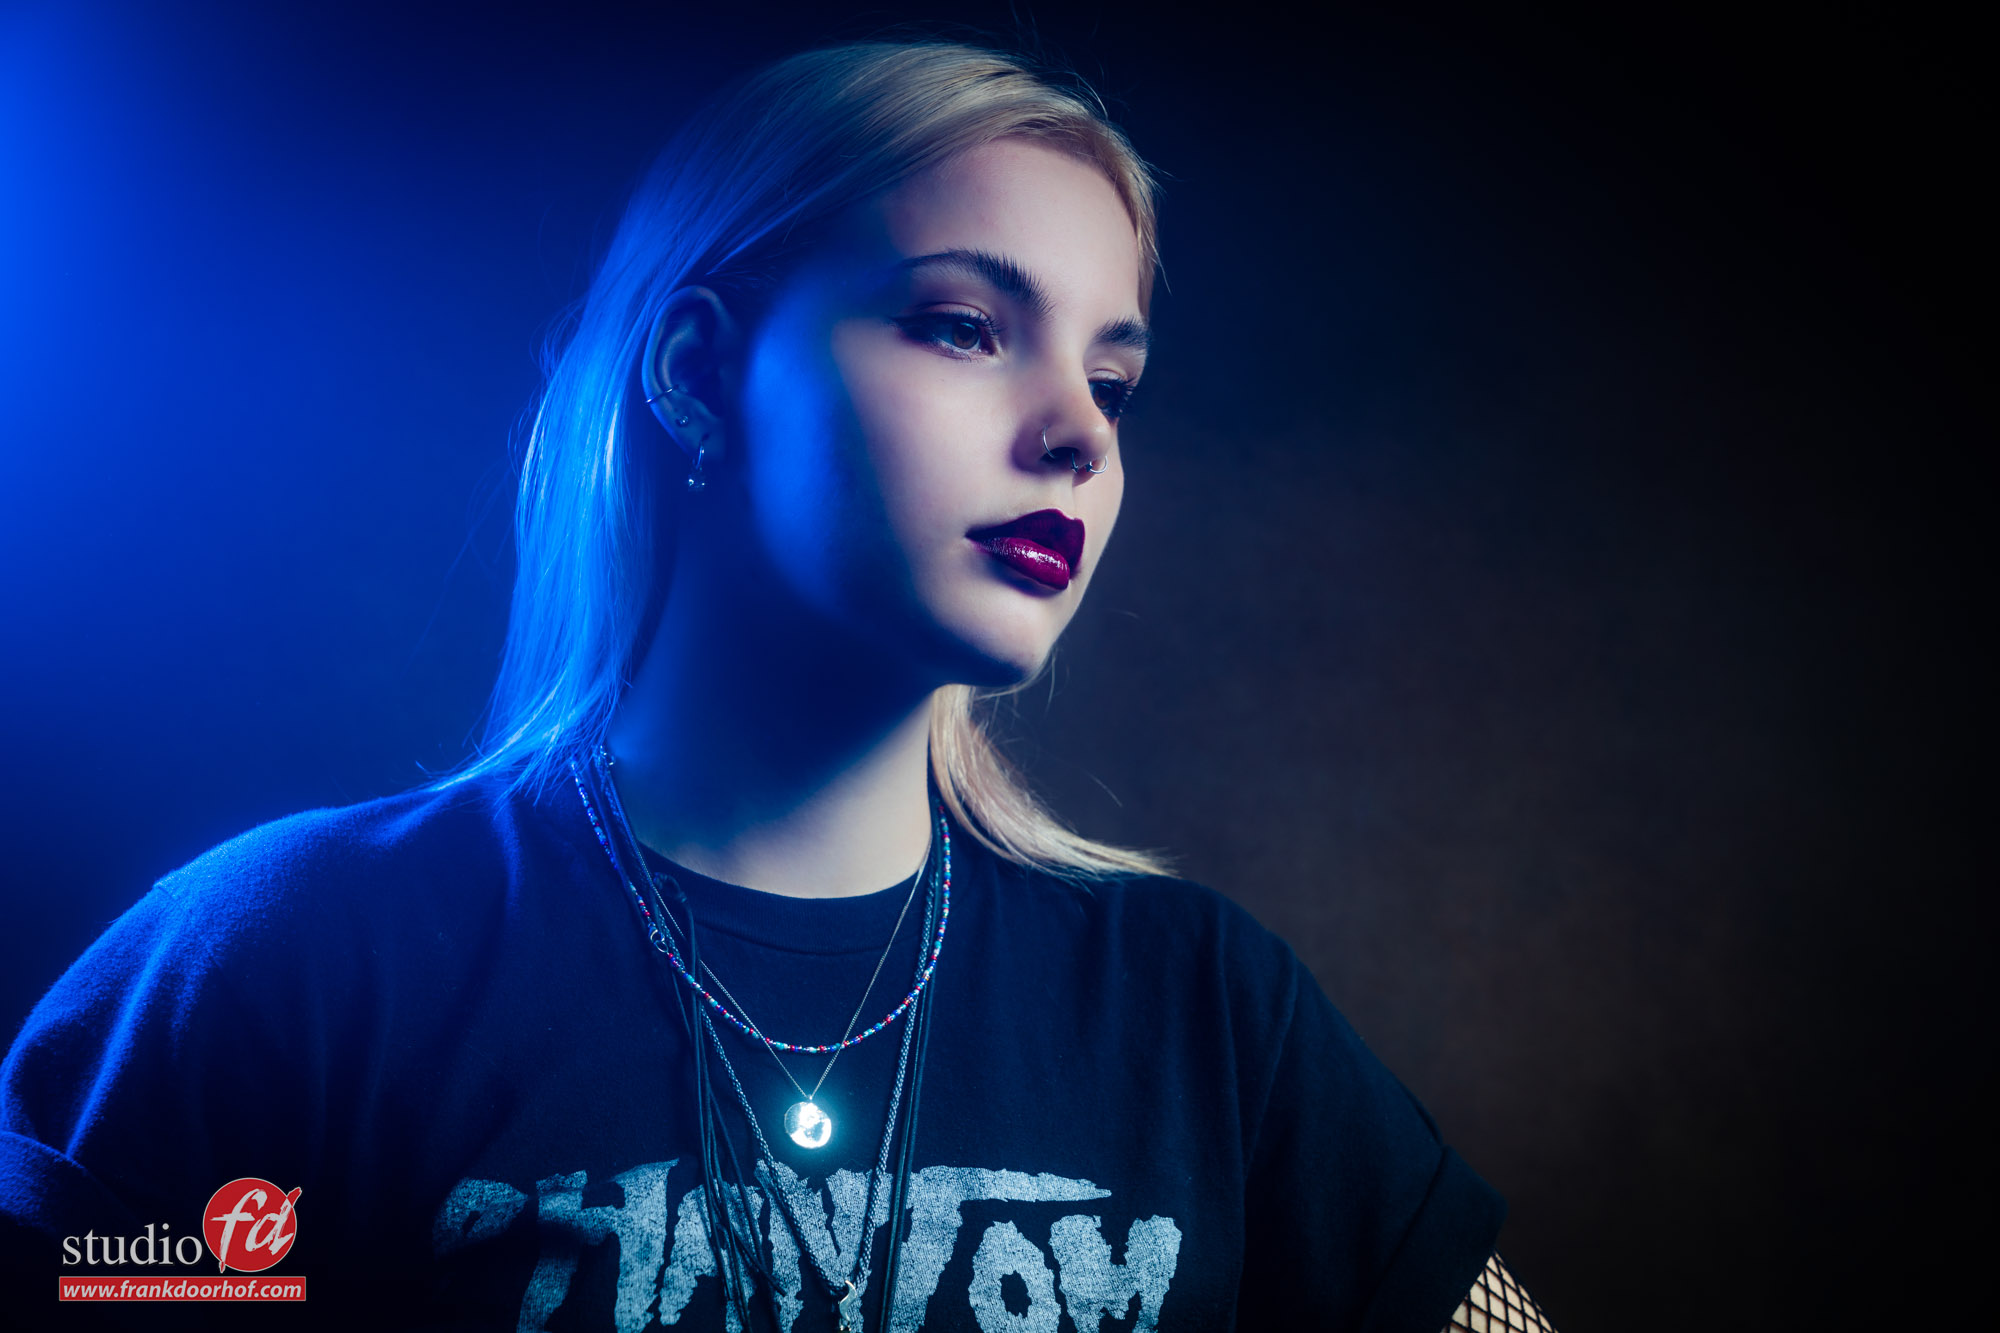
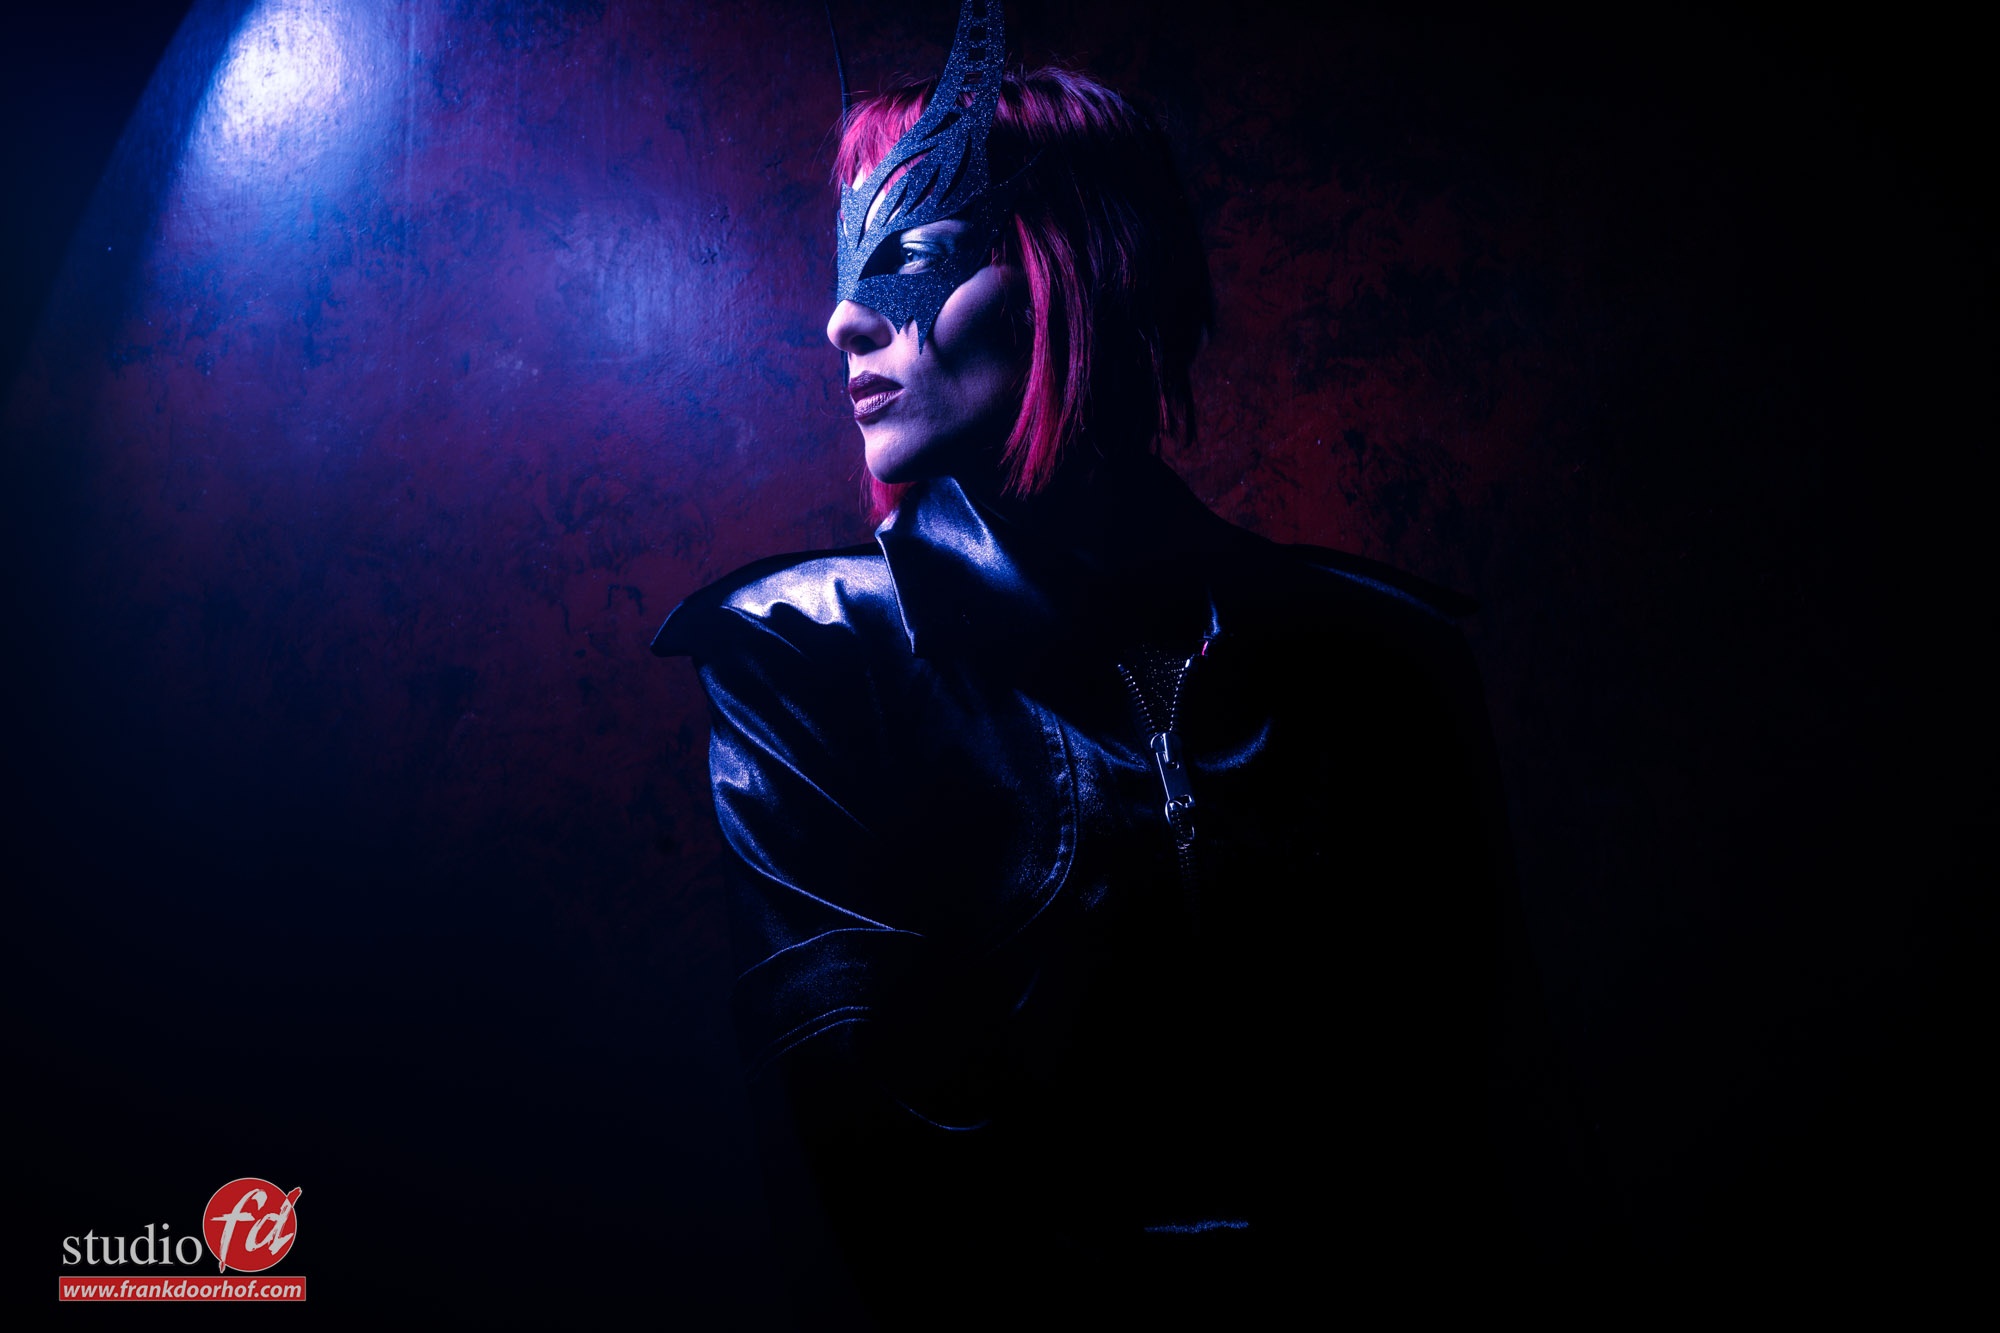
When I first attached the Black Mist I didn’t really see a difference (and that’s a good thing), however when opening the photos I did find that the images with the Black Mist had a nice hardly noticeable glow over the skin, but everything else was still pin sharp… the story changed 100% when I started using backlights.

I just love the real lens flares, the silky/milky glow around lights is something that is almost impossible to achieve in Photoshop or other software, and yes you can do something that looks like it, but it’s still different, and for me actually looks fake most of the times.

But getting a real lens flare is pretty hard nowadays, most lenses are coated with antiglare/flare coatings and even in marketing it’s often hailed as the next best thing “No more flares”… well yeah they are right, normally you don’t want lens flare, but the fact is that when you want it, it becomes harder and harder to achieve.

Some solutions are for example using vintage lenses, or very cheap third party lenses without the proper coating, but there are a lot of disadvantages with this, first of all vintage lenses are super cool, but are also limited in focus speed (via an AF convertor (only for Sony at the moment)) or are 100% manual including aperture. So focussing on f11 can be a real problem with some lenses. Another solution is LensBaby, an awesome line up of creative lenses and accessories, but also here you are pretty limited.

So what if I tell you that with the Black Mist filter you transform EVERY lens into a flare machine.
And the cool thing is that when you take “normal” photos you hardly notice the filter, but as soon as there are some highlights, or backlighting in your set, the Black Mist really does it work.

I’m so impressed with the Black Mist filters that we actually added them to our line up of products we sell.
So if you also want one of the awesome filters check frankdoorhof.com/shop
We deliver the filter in different strengths and filter sizes, even a magnetic version.
If you need something else, please let us know.

For the release we also created two videos.
Here is the Dutch version
Here is the English version

LumeCube RGB Panel Go

It’s no secret I like the products LumeCube releases.
For me it started with the LumeCube, a small cube with a punch, I love using it on a selfie stick for some interesting lighting effects/angles, but it’s also very nice to add some light in positions where you need something really small, and they even released a full accessory pack for the light. Now why do I tell this.

A good manufacturer always thinks about what the creators/users need, and will adjust the products to the demands from the market, this in my opinion the reason that some brands grow really fast into a household name and for me LumeCube is one of those companies.

I still remember the times when we started our YouTube channel, when we wanted light on location I needed to spend a lot of money and most of those sets where far from portable. Now don’t get me wrong, a good light quality is often achieved with a larger light source, but there is also a certain limit to what’s easy to use or just slows you down. So we were over the moon when the affordable led panels hit the market, but still it was a lot of carrying around, you needed power etc.

Let’s fast forward to today.
LumeCube just released their new RGB Panel Go.
Now we’ve used the Panel Go before this and it works like a charm on location for video light. But as you know… I also love to shoot photos with led panels, especially during the lockdowns shooting action figures, guitars etc. with led panels/tubes was something that got me through most of the lack of photographing people. And to be honest that also changed my opinion on what to buy a lot.

Where in the past I saw the smaller led panels really as video lights on location and the most important thing for me was long battery life on full brightness and the possibility to set the color temperature (of vital importance), my wishes has now changed more towards the realisation that what we always saw as “just” a video light can also be used creatively when it could also change colours for example……
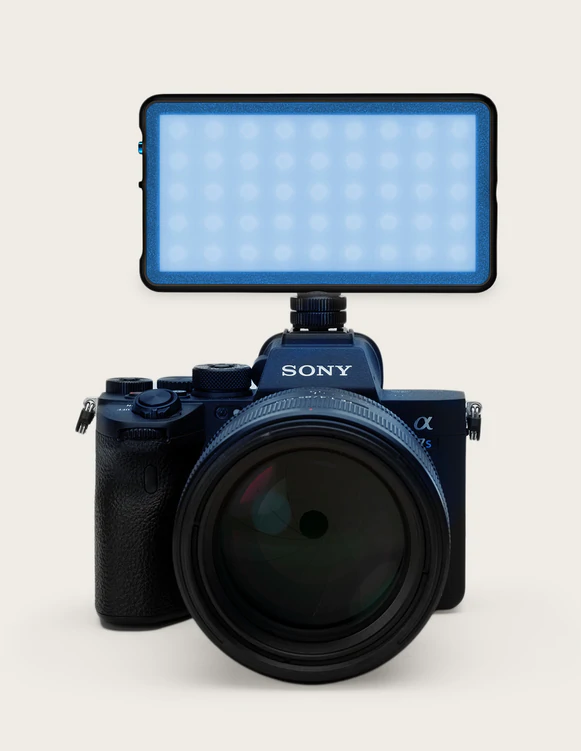
Enter the LumeCube RGB Panel Go
As mentioned before we loved the Panel Go, and LumeCube did a huge upgrade to this panel.
Compared to the Panel Go, the new RGB Panel has of course (as the name suggest) the option to change colours (later more), but they improved a lot more.

The Panel Go used 112 leds and the new RGB panel Go now uses 210 leds.
Lightoutput is still 1080 Lux at .5 mtrs
Also battery life has been improved from 1.3 hours on full power to 1.5 hours on full power and 2.3 hours on 50% to 2.5 hours on 50%.

I actually like that LumeCube gives usable numbers, you often see adds where led panels are advertised with for example an insane battery life of 13-15 hours, but when you look closely it’s on 1% output… and well I don’t think anyone will use it on 1% except maybe as a nightlight, but than there are much cheaper solutions.

Charging the panel is done via USB-c (I think this should be standard on all devices) and takes app 80 minutes for a full charge.
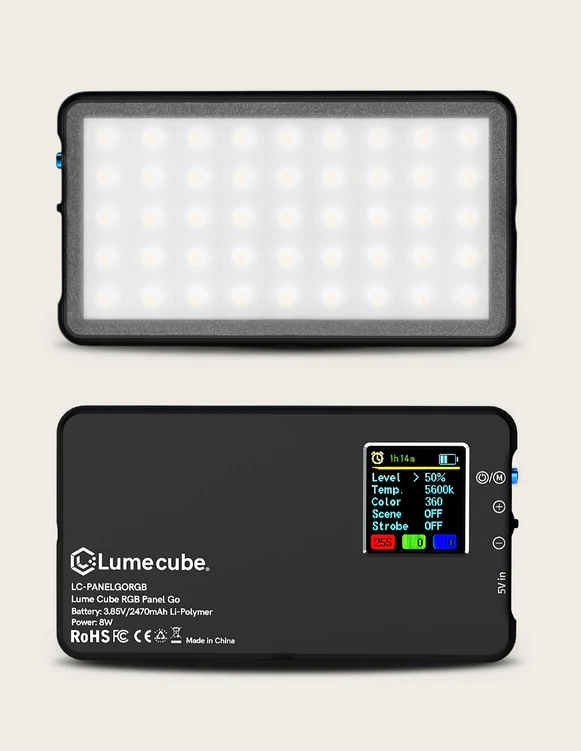
The LumeCube menu is easy to navigate and gives the user a lot more options that the Panel Go, creating the colours you want is very easy and fast, but in the menu you can also access the special effects options of the RGB Panel Go including a police, fire, lighting, loop effect.

CRI
You might have seen this CRI value before, but what is it?
The letters means Color Rendering Index, in essence this means how close to real life you will see the objects colors when it’s lit with the light source. The range goes from 0 to 100 ra where 100 is as close to real life as possible (Day light).

To get the final number 8 colors are used and an average of these are calculated giving the light source it’s rating.
For home lighting for example anything above 80 ra is more than ok. But when lighting a painting, or something that is important for color representation it’s highly advised to chose light sources that are above 90 ra.

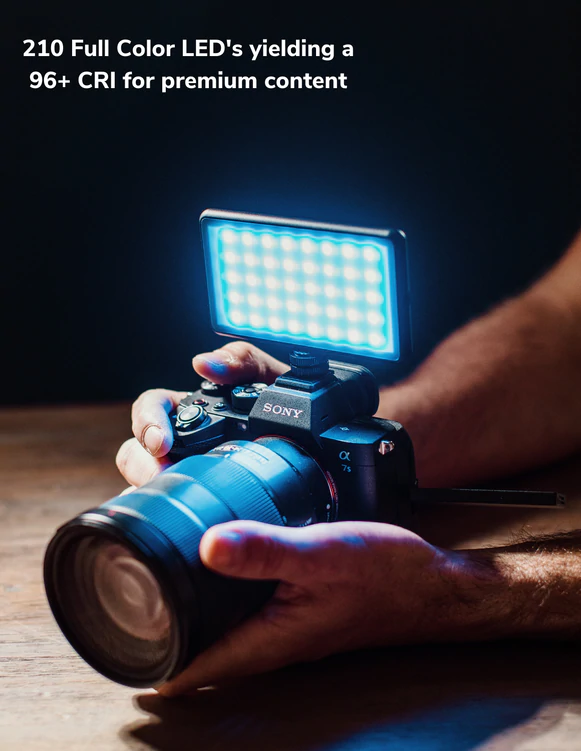
You probably already guessed that for a led panel lighting a subject it’s important that we have a higher ra rating than 80 which is ok for house lighting. Well don’t worry, the LumeCube RGB panel Go actually has a CRI rating of 96 plus.

Who should get the LumeCube RGB Panel Go?
For me it’s a no brainer one should always carry at least one location lighting solution in your bag, you never know when you need some light somewhere. And with the RGB addition to the Panel go I think LumeCube opens a whole new market for this panel.

You can still use it on the cameras hotshoe but by being able to also change colours to almost any imaginable colour it also opens a lot of options for more creative uses. I would love to bring one of the panels for an urbex session when you can light the rooms with any color you want, and the panels are powerful enough to mix with a little bit of ambient light in a room and create wonderful surreal images.

But also with model photography you can use one of them as a main-light and one as an accent light with a nice color.

And of course it still does what it was originally designed for, function as a very nice video light.

With the RGB Panel Go LumeCube offers an awesome lighting solution that is compact, affordable, outputs enough light, can create any colour you need on location, has a good battery life and is small enough to fit your hotshoe. I can’t wait to start using the RGB Panel Go in my work and will post some images in a later review video. But for now I wanted to share the test/review experiences.

For a limited time we have a special discount code for you guys.
https://glnk.io/jxvv/rgb-panel-go-frankdoorhof
Your discount code: FRANKDOORHOF10
Samsung s22 ultra video

One of the things that I found very interesting during the Samsung presentation about video at low light. And indeed their video looked awesome but lets be honest that was professionally lit 😉

For me it’s important that in real life situations i end up with usable video for behind the scenes videos. Those videos don’t have to be the best quality ever but it must be possible to see what’s going on.

Now one could say “why not use a Sony a7riv or a7s and a fast lens?” And you are absolutely right. Those cameras will blow the Samsung away in every situation but when we film material for the vlog we love to work with something really small and lightweight and preferably with a good microphone so I can quickly turn it on, press record and done…

For me the vlog should be a bit more raw and “real life” than tutorials (for which we do use the Sony cameras)

At the moment we’ve been using an osmo pocket which is…ok. Image quality is acceptable during the studio (low light) scenes and great outside, also the audio is ok. But I dont like the fact it’s fragile so we always have to carry it around in a case and take it out when using. Or leave it around your neck. And also the monitor on the back is ok for aiming but it’s not really accurate.

If it would be possible to replace the osmo pocket with a phone that would be great. So I decided to test the Samsung ultra out during the workshop smoke and gels with our model Felisa.

I have to be honest this was a worst case scenario. Using smoke mostly messes up the focus and using saturated gels are always killing video quality. Plus we didn’t use any extra lighting so all the lights you see are the modelling lights and because we mixed strobes with leds they were on the lower settings. This is also why the red leds are totally blowing out the video 😉

If you look at the video inside the studio it isn’t pretty but I have to say that on the HDR setting there was a lot more detail in both shadows and highlights outside and a slight advantage inside. For YT I changed the output to REC709 4k which did limit the dynamic range slightly (only visible outside)

What surprised me about the Samsung was the image stabilisation. On the screen it already looked good but in the video it really became clear that we are getting to a point that this becomes a real alternative to a gimble.

The slight vertical movement can easily be removed in your video editing software. But what you see in the video is all without any adjustments. What I did correct was the awful red color which looked more magenta than red. Luckily this only happened in the darker scenes and outside the reds were a lot better as you can see in the video. Although the overall look is not 100% accurate and oversaturated but it’s all correctable.

Also the audio is interesting. In pro mode you can select omni, front, back for the phone itself. But also external mics and even a mix option. Now that’s impressive.

The audio quality itself is ok. Good enough for a quick vlog type video but I think it’s too thin for anything longer or music. I’ll be testing using the Galaxy buds pro with the next vlog to see how that works but in essence audio should be absolutely no problem with all these options. (and you can always use an external recorder)

Conclusion

I see video in two categories for us. The tutorials we film in the studio under proper lighting and with different angles etc.

But also the vlog style videos where it would be best to work with as little gear as possible. You have to drag it around all day. Take chargers with you etc. This quickly takes away the fun and spontaneous effect.

With the ultra 22 samsung delivers a phone with a great camera system for social media but also with the video I think they hit a home run. Yes the video is far from perfect in low light BUT you can see what’s going on and the image stabilisation is awesome making videos easier to watch 😉

I think we are going to sell the osmo pocket soon 😉

You can watch the vlog here : https://youtu.be/ONVRELH3qbU

Samsung s22 ultra camera review part II

Before reading this part make sure you read the previous post
You can find that one here.

Ok so now that you are up to date let’s continue.

a new day a new try
As mentioned in the previous part loads of manufacturers claim to have killed the pro camera many times over and every generation it’s that time….. yeah just like this is our best phone ever…. Imagine someone going on stage and saying “yeah, we had to release something so we decided to make it less fast, take away some ports and it’s also slower…. Oh and one more thing… it’s more expensive “ no one would ever buy that one right?

so always take such claims with a huge mountain of salt because it’s never true in my experience. This is also how I approach the review of the camera system of the ultra 22.

For a huge chunk of money you get an awesome and fast phone (although the iPhone is faster) with a gorgeous screen and the s-pen. When I ordered I also got the Samsung galaxy buds pro which have become my favorite buds in just a few days. So the total package is very expensive but for a device I work on every day it’s worth it for me, but if you don’t use it like a sort of offline office it’s horrendously expensive.

Now in my case I always upgrade for one reason only… the camera system
Although I know it will never replace a real camera I do use the cameras a lot, during MTB rides, walking the dog, or simply when I don’t want to bring a normal camera, so my demands for the camera system are pretty high,  but I do know where to put my expectations 🙂 and that’s important for the next part.

108MP is rubbish
One of the main attractions is of course the 108MP sensor, insane details, crop till you drop etc. I’ve read all these claims, now let’s be clear if you zoom in on your phone the 108MP censor looks pretty good, you can see some problems but it’s more than decent. When looking at a properly calibrated monitor it’s really really bad. Now I have to be honest that I am not holding back when testing a camera, so also today I chose a situation with loads of small details, and man the Samsung really falls flat down on its face there with the 108MP sensor. It doesn’t matter if you use detail enhancer (seems to be a sort of slight HDR) or not the images look great without zooming in but as soon as you zoom in to 100% images can look pretty good when the subject is close by like a shot of my bike but as soon as the focus falls off the image changes from ok sharp to almost a painting and in detail mode anything that just moves a little bit in the wind gets a very obvious ghosting effect.

I’ll try some more 108MP shots in the coming weeks but for now I think the label “only in certain situations” is a good one, or just don’t use it if you’re in doubt.

12/10MP a different story
Now when we look at the binned options and other sensors the story does change A LOT

when you disarm the 108MP option the story really clears up to the positive side. Now don’t expect results anywhere near a modern or few years old budget SRL but that being said for a phone…. Wow I’m really impressed.

detail is clear, colors are not completely off the board (can be corrected with a colorchecker passport for example) and dynamic range is adéquate for most situations. And indeed lens flare on the main sensor is a lot less than on other cameras. I can actually say with confidence that from what I have worked with the Samsung does set a new standard in quality for the photos.

I still prefer the whole layout from my sony camera with the UI and shutterbutton but on 12MP it’s clear that as soon the light gets a bit more difficult the ultra 22 does win pretty easily. But…. It does come at a cost. The sony files are pretty clean and I would label them as RAW. Somehow I feel that the Samsung files are still processed. There is some ringing in small details and sometimes paintery areas can be found.  But hey it’s a phone.

This time I included a gallery with processed images like I normally post them on social media and I think it’s pretty clear that for social media the ultra 22 is just insane, four usable censors and I love the 3 and 10x zoom.

Also the software Samsung delivers is impressive with loads of extra options in portrait mode, Resampler etc. It’s not a replacement for Lightroom but it’s very clear Samsung is covering all the bases for social media posters. Add to this the impressive video performance and options to use a generous amount of external microphones and audio level meters and Samsung (like sony) knows what we need to create everything from text, photos to 8K video all on one device.

conclusion
I strongly feel Samsung hit the nail on the head for influencers and social media enthousiasts and delivered an all in package that is very hard to beat. It’s a far cry from professional results but for what it is I never saw something that comes close. (Do remember I’m incredibly picky with images and shoot with both medium format as the a7riv from sony so my reference level is pretty extreme)

for walk around this is an amazing camera that can also make phone calls and more, the addition of the s-pen is genius and is used here almost daily to sign documents, assist with photo reviews and of course editing images quickly.

I do want to add some things
First of all its a bit of a let down that none of our chargers supports ultra fast charging on the ultra22. Even when connecting a MacBookpro powersupply the phone charges at fast which takes a long time, even my older phones always switched to max charging when using the more powerful chargers. Meaning my phone takes 2 hours to go from 15% to 100%. Also battery life is promised to be a full day but for me that means that at around 15:00 I’m already ready for the first top up. Which does last me the rest of the day. We did order the 45W Samsung charger and that one (as expected) does immediately switch on the super fast charging, we did order this charger because I wanted to make sure the phone wasn’t defective seeing we tried every charger in our house hold and none activated the max charging speed.

Also I’m seeing stripes when using the fingerprint sensor when starting the phone on all resolutions, luckily it’s only there so I hope it will be solved soon.

And finally
I love high resolution shots but prefer a good shot to a messy one. This is also why I was eager to test the 108mp censor. I do most editing on a 4K screen and 10/12 mp doesn’t really give you enough data to zoom in to see details. I would love to have 20-24MP on next generations (raw). Also not including the option for an extra SD card is a mistake I think. The cameras are capable of a lot but also eat up room. I opted for the 256GB version while I only need 128GB and use Lightroom all the time for storage. So I can imagine going away a week it will probably run into serious storage issues. I did see Samsung created some small USBc memory sticks but I don’t have one of those to test. But I think they would be a nice fit.

If you like to play with the originals you can download them here.