My blog, although I don’t see myself as a blogger but as a Photographer I will try to blog some interesting material during the weeks.
Expect at least 2 updates a week.

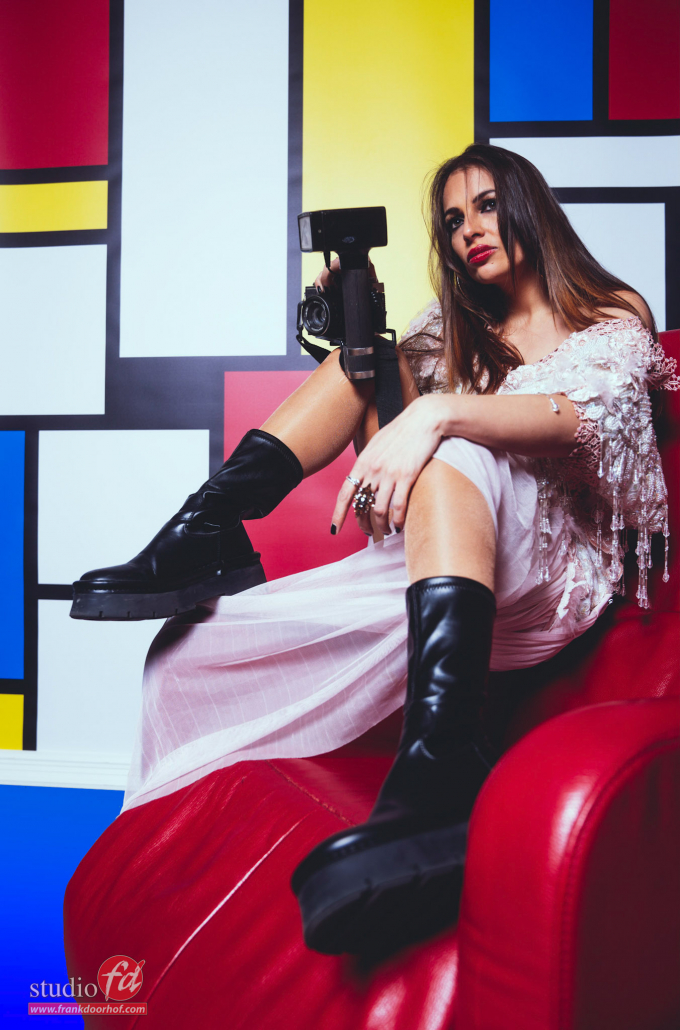
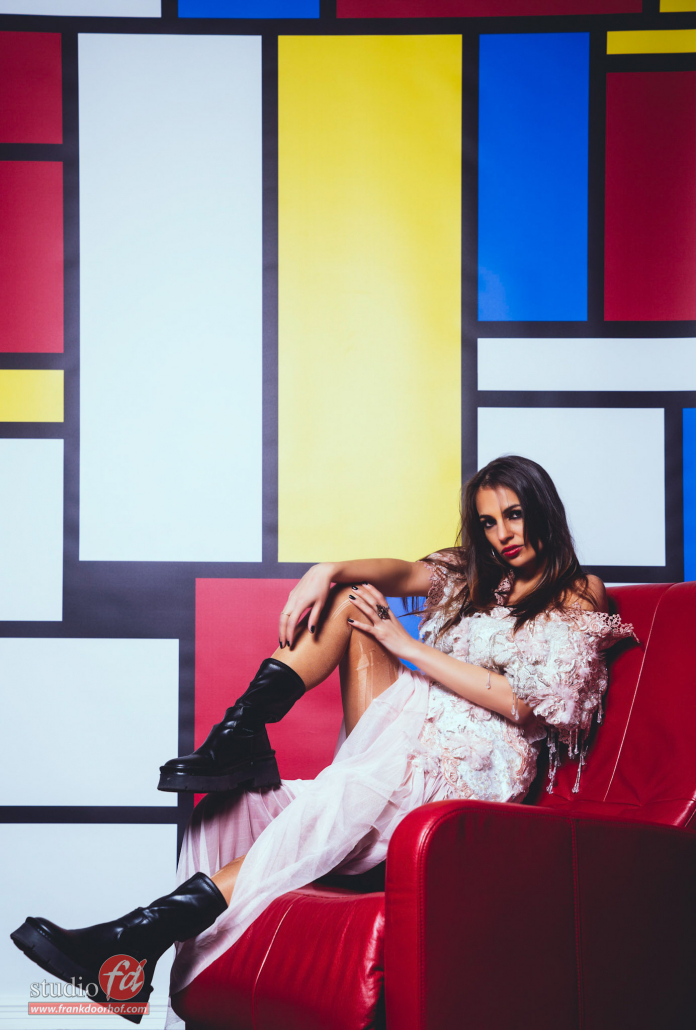
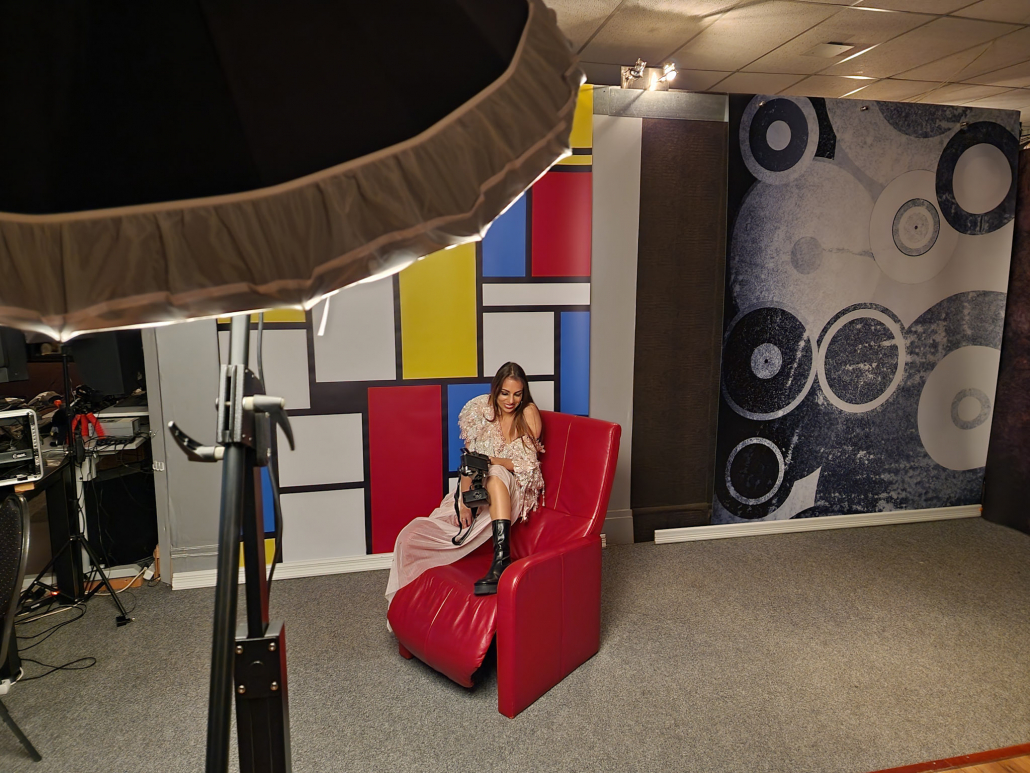
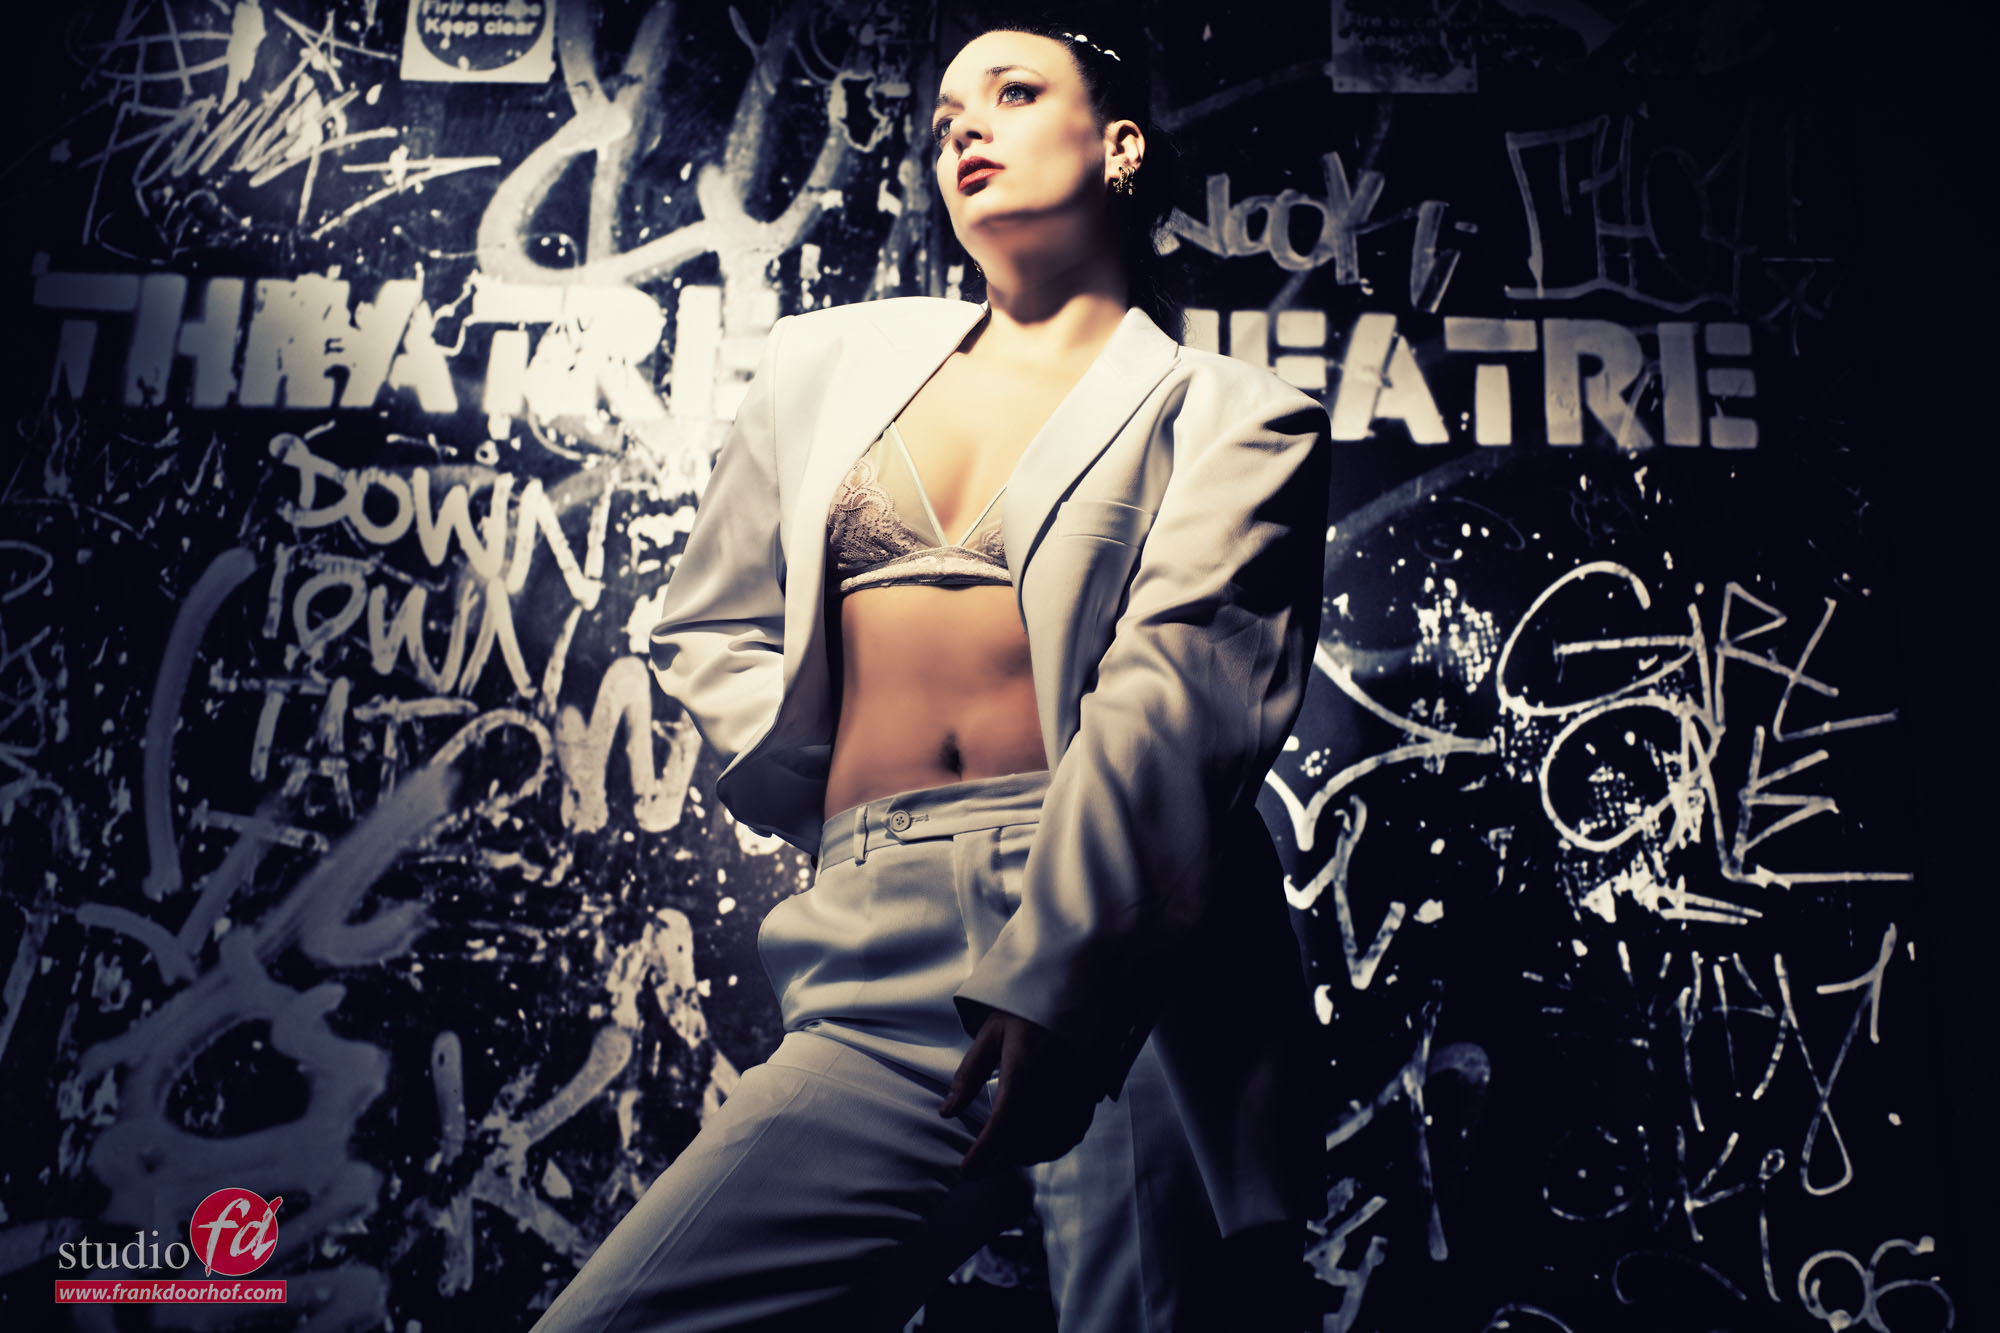
What we did during the workshop with Lois

Today a few results of the workshop with Lois.
During the workshops there is always a theme, but within the workshops the rest is free on the base of what the group wants to learn, this way you always experience a workshop that is exactly tailored to your needs.

The theme of this workshop was “essential lighting techniques” based on the Tutorial with the same name (I highly recommend getting that one), I sometimes call this the “starters” workshop but actually that is not entirely true, this is the workshop where we work with more standard setups such as the butterfly and Rembrandt but this is often quickly supplemented with adjustments to make the image a bit more spectacular.

During the first set we use a Brown Punch background from Clickpropsbackdrops.
This is a very nice background which can be used in almost any situation.

In this set I only use a softbox from Hensel with grid focused on the model but in such a way that there is also some light in the background.

In the next set we use the Earth stacked master background.
This is a background with a fantastic 3D effect, this is of course fantastic to process in a light control workshop, or always pay attention to how the shadows fall and you can get fantastic results.
As an extra flash I end up using a blue gel here for some extra atmosphere and accent on our model.

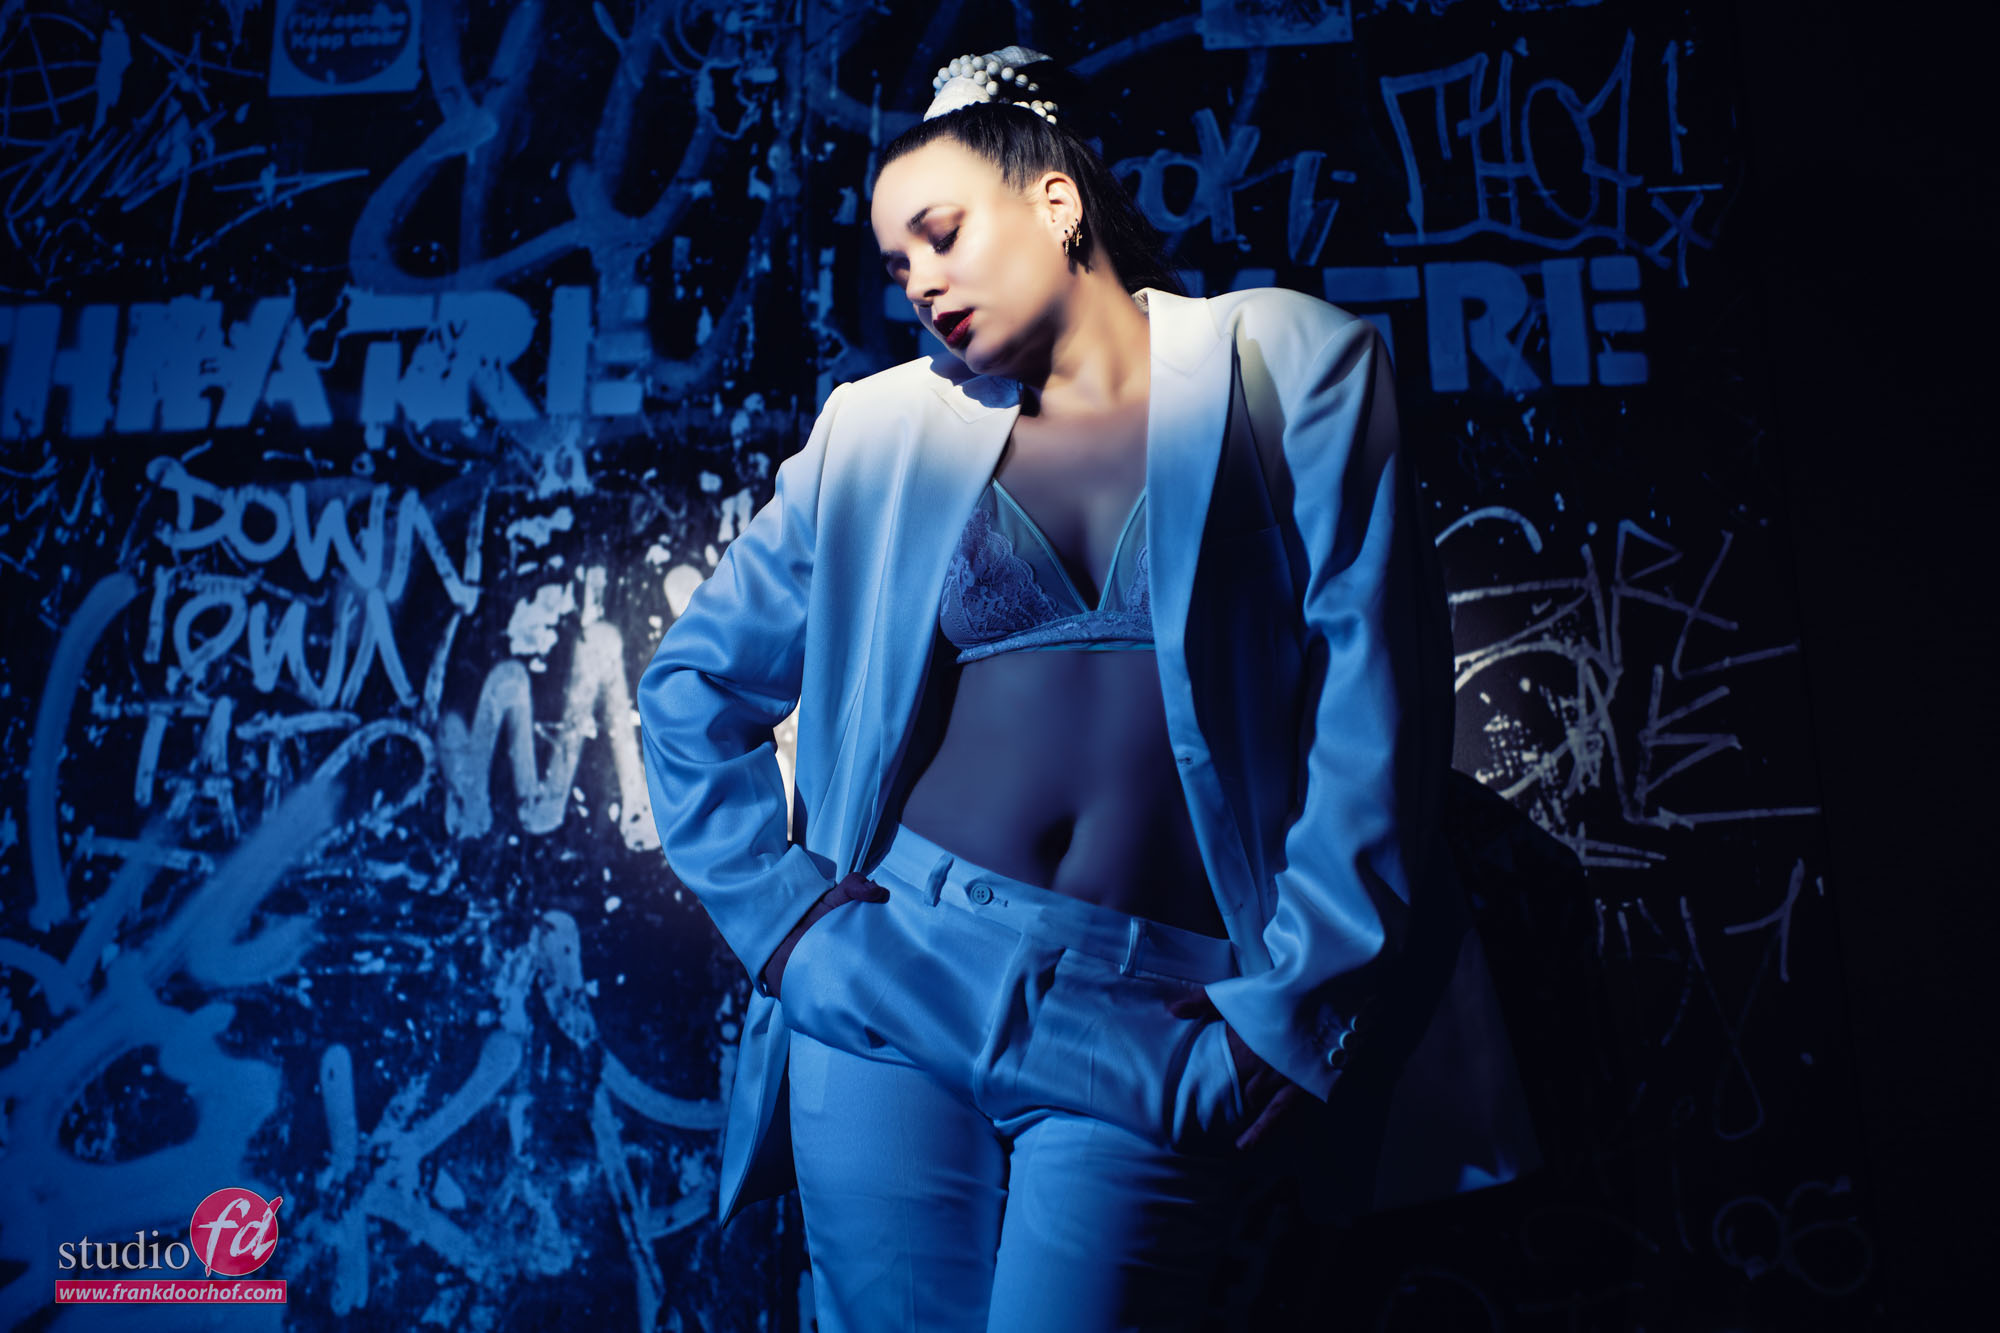
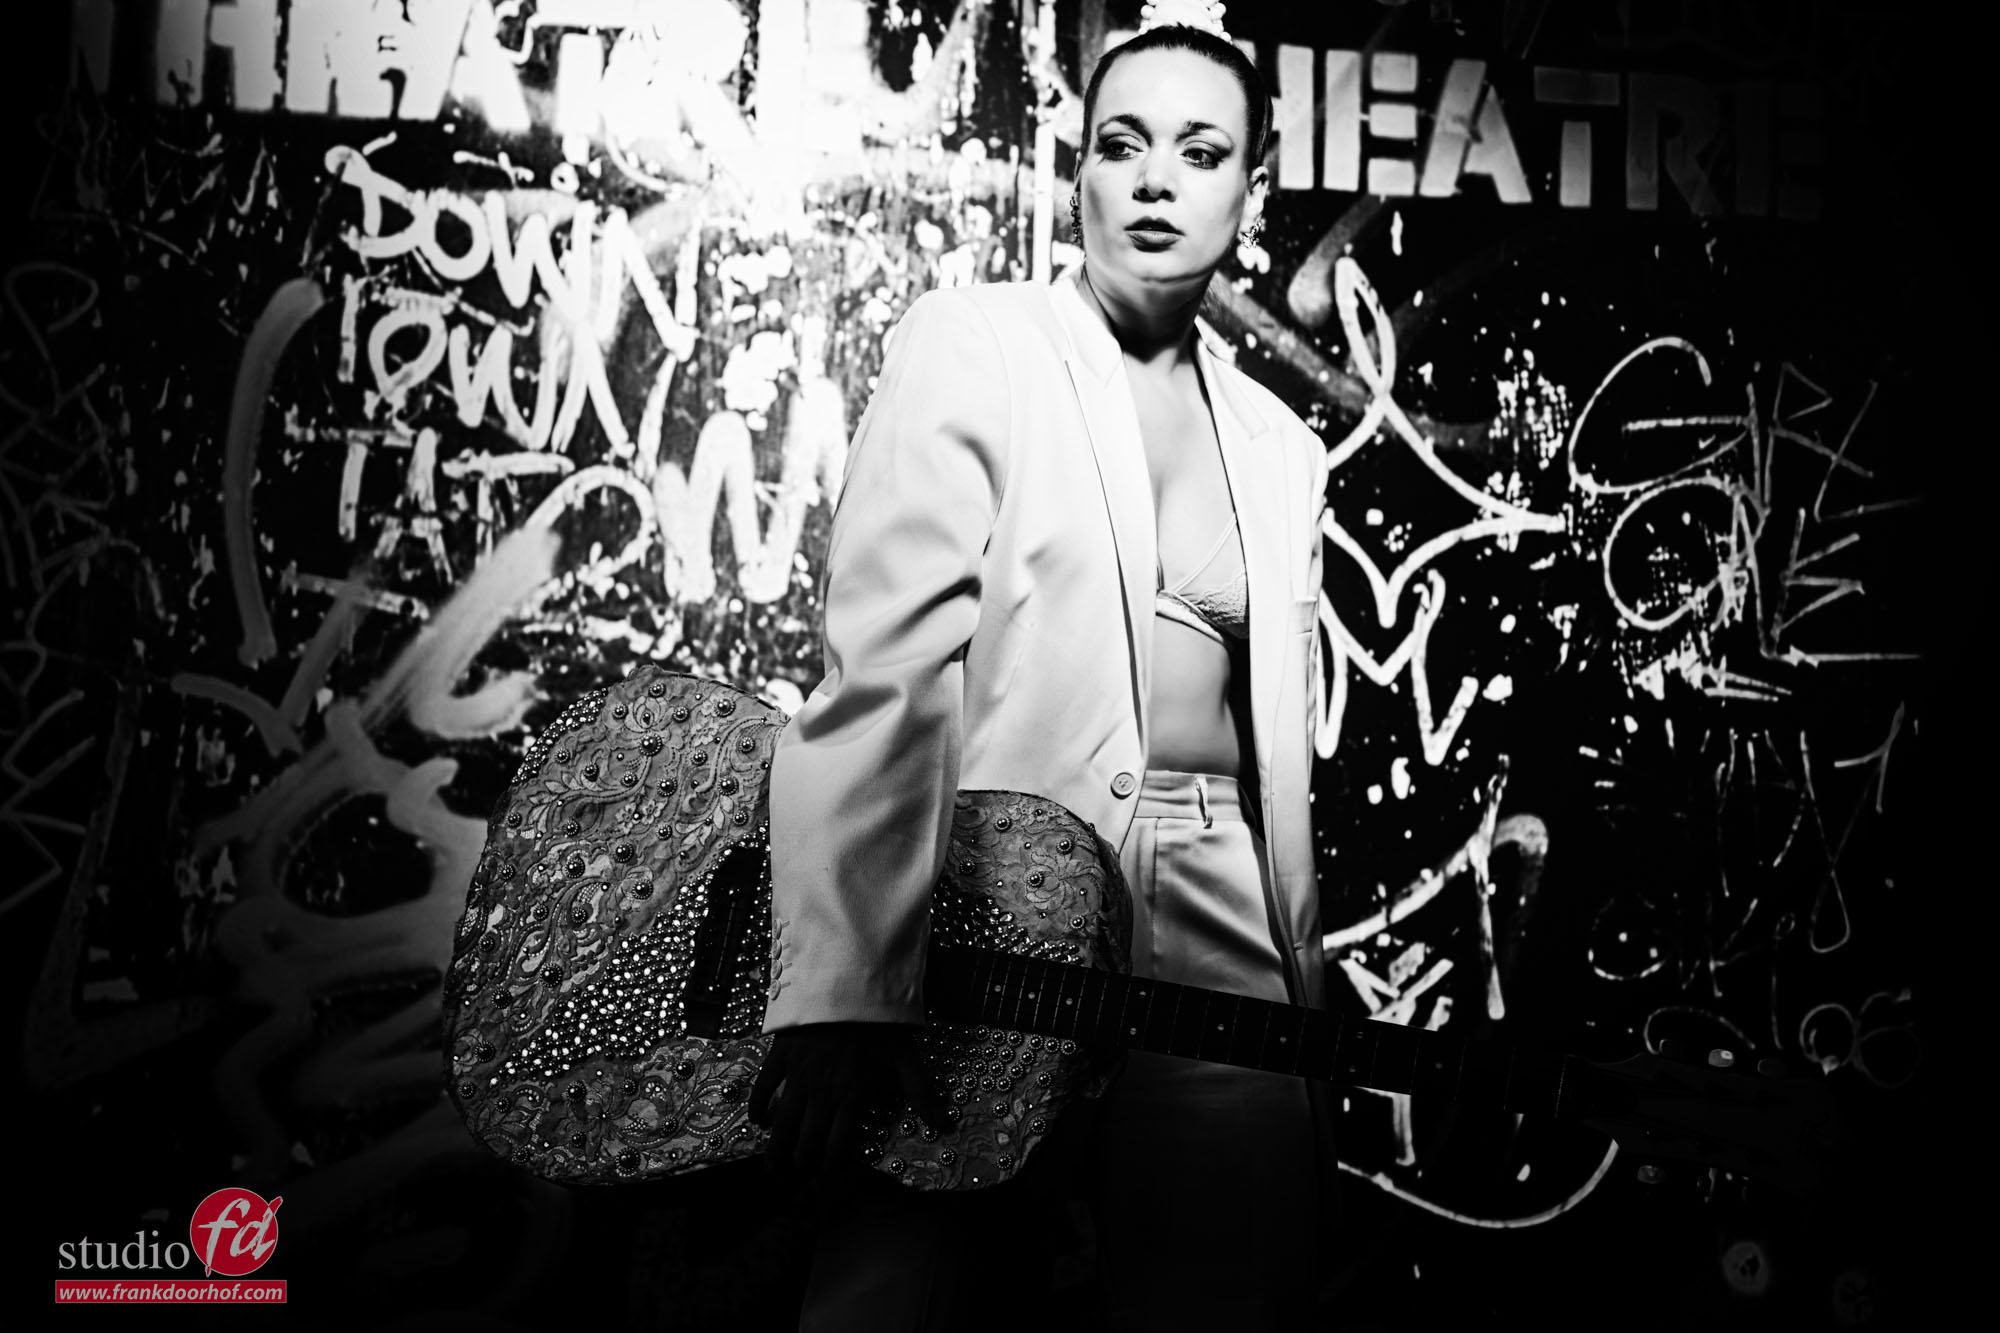
With this set it was not only important to make it look like we were really shooting on location, but I also used a technique here where I color the set via a fill in flash with gel. And as you can see from the focus effect, I have used the Lensbaby here. The graffity door 1 background is awesome for this kind of sets. You can really use if for story telling, and I absolutely love that in backgrounds.

This remains one of my favorite setups for beauty portraits.
Of course, there is a bright background, and in this case I have chosen the Sweethearts.
I use a triflection system here to open the shadows, and the sides of the clothes. On both sides are strips with grids that provide a considerable output. By feathering this I get a lot of lens flare, this lens flare is turned on even more by the K&F Concept Black Mist filter. You can see an ascending effect here from no filter to 1/4 and 1/2.

Lets start with no filter.

Now we move up to the 1/4 strength

Ok now lets start to add a bit more lens flare by switching to 1/2 and playing a bit more with angles so we can also get the left strobe in better, due to the added strength both will now be easier to capture.

And the final result with an added vignette.

And finally it was time for the set.
This is a really fantastic part of the studio to get creative. I use the Antique wall navy as “main background” and on the top to create a corner a ProFabric Chintz reclaimed, I chose this because it is quite dark and I can easily use it as a very dark background in the photo but still show some detail due to the print so that the photo / set looks a bit more “organic”. But the material also responds very well to color gels and can even be illuminated from behind, so it gives me a huge amount of possibilities. On the ground I use a floor part from ClickPropsbackdrops. A big advantage of loose floorboards is that you can change freely and thus build up a much larger variety than just the floor that is present in the studio.

Besides the main light I’m using a red gel here, because the light is pretty far from the model the 1/2 strength KF concept filter really helps with the lens flare. When the lights are close to the model the 1/4 is a great allrounder but when you want a bit more room in the set the 1/2 is absolutely awesome.

The first image is without the red gel, I already love the way the effect of a real location is created. The vinyl prints are really awesome on photos and add to the illusion of being somewhere else.

But let’s start by adding the red gel and see how the background material responds to the light. This is something that is often overlooked, but every material will respond differently on lighting. And I just love the way the Vinyl mixes the colors.

In the coming week we will release a video per set with an explanation of the lighting on our YouTube channel

You can get everything I use in our webshop via www.frankdoorhof.com/shop

Rogue magnetic flash system review

There are always those products where you think “that’s not made by photographers”. You probably know what I mean, it looks fantastic (on paper) but to use it in real life is of course something completely different.

Let’s face it, this isn’t the first magnetic system, but it’s probably the last one you need.

But let me first make something clear. This is a very flexible set. And although I use it in the studio for this review and the enclosed live stream, it’s the perfect tool for weddings, events etc because it’s not only flexible but also a very fast system….. But I’m getting ahead of myself.

Rogue
If the name Rogue sounds familiar to you… that’s very well possible, Rogue released the flashbender on the market years ago, and together with Rogue we have put together the Frank Doorhof signature Flashbender which I actually used almost exclusively on my speedlights, until now ……

The Flashbender is great, let’s be clear about that, and I still use the Flashbender on my speedlights, but not exclusively anymore….

Rogue Magnetic flash system
As mentioned, there are more magnetic systems, but Rogue has listened very carefully to the complaints and wishes of the photographers using them and adapted their system exactly to what a photographer needs. So, let’s take a look at the system.

First, you should know that this system is designed for the wildly popular “round” flashes such as Goddox, Westcott and the Profoto A series for example. Special adaptors are available for both Profoto and standard rectangular speedlights. I use the standard speedlight adapter for my Nissin speedlights, the adaptor is available in “standard” and “small”, for most speedlights “standard” will work perfectly. In the case of the Nissin speedlights I did remove the zoom head (it also works with the zoom head on the flash but without the zoom head everything is a lot firmer) Note… not every speedlight has a separate zoom head.

I am going to review the complete set in this review, but you can also buy parts separately of course.

You can see the kit in 3 parts.
First we have the Dome.

The Dome
Let’s get straight to the point.
Of course, we are not going to get super soft light from a small light source, everyone who promises such a thing is not aware of how light works. A small light source will always give a harder light than a large softbox.

But still, the Dome does something very beautiful.
Due to the entire structure of the Dome, the light becomes omnidirectional instead of focused and this makes a HUGE difference. I’m not going to say that you get the effect of a large soft box, but this is very close to what you can expect from a medium/small soft box. This is actually a very smart way to turn a small light source into something that comes very close to really soft light, and that in such a small Dome, I’m impressed.

The “disadvantage” is that the light goes almost everywhere, but this will not be a problem for most people, on the contrary it helps enormously with lighting up the entire scene or a large part of the model, I use the dome also as fill in for color gels and it literally does a perfect job for that.

During the livestream of Digital Classroom, I used the system for the first time, the reason was actually very simple, I wanted to give people an impression of how easy the system is to use, even if you have never worked with it before. I could already predict the light, but I had the Dome, well it could go both ways, especially since using something like a dome is not really my thing. But as you can see in the stream I became more enthusiastic with each photo.

Using the dome and gel for fill in with color is absolutely awesome with this system

The Dome is perfect for a beauty portrait, as you can see in the examples.
But where the Dome really comes into its own is as a fill in with or without colorgels. During the livestream you will see me doing this as well. And the beauty of the Dome here is without a doubt that you can illuminate the entire scene with standard or colored light without too much effort. This gives a lot of flexibility in terms of highlighting a model / set but also a lot of creativity by using the gels. If you still use shadows in your RAW convertor, start using fill in flash, trust me you’ll thank me very soon.

Gels
And then we of course arrive at the gels.
Under the dome I usually mount the gels.
Changing gels is super simple, you remove the ring with the dome and place the new gel and… well you click the Dome back and done.

The gels themselves are from the well-known brand Lee and are super strong and specially coated so that they do not tear (easily). This is a problem with many color gels, but the Rogue kit feels nice and strong and if you buy the special gel package you get a huge selection of cool named colors, if your favorite color or shade of that color is not among them it would surprise me.

Besides the colorgels there is also an extensive color correction set available. These are a must have for every photographer that needs to balance the strobes with other light sources.

Grid(s)
A good flexible system also needs a grid, and as expected… the grid is of course also present in the kit. If you (like me) use a lot of focused light and want to have a bit more flexibility in terms of grids, you can of course just stack a few grids on top of each other for a super focused light source.

Speedlight adaptor

As mentioned before I’m using the system on standard speedlights, and that’s where the adaptor comes into play. The adapter is made of a flexible material and slides easily over the speedlight when you stretch it. When fitted, it is “fixed” but is also easy to remove by stretching it slightly again.

With the new magnetic system Rogue puts a product on the market that solves many problems which photographers encounter in real life. Sometimes it’s little things like the way you click the rings together, they click together very easily but try to remove them in a straight movement, and you really have to pull it off, but once you understand the trick you literally click them loose with ease, just push it up on one side and it’s easy to remove the ring, place a new gel or accessory and back to shooting in seconds.

Personally, I find it important that the system really locks, I do not want parts to come off during a photo shoot, but I also don’t want to be messing around with changing color gels because I can barely get my system loose. This is literally the best of 2 worlds, it is both locked very tightly but can also be easily removed by the proper move, very cleverly done.

What will make many people very happy is the way the magnets are fixed inside the rings. This system is designed in such a way that the magnets remain stuck in the rings, so no magnets that fall out and have to be found again, they are fixed in there to stay.

Conclusion
Rogue has a super flexible system that will perfectly match any photographer who likes to work with speedlights or round flashes but does not want to limit him/herself to 1 style. With the magnetic system, a lot is possible switching from flat (beauty) light with the dome to very high contrast with the grid(s) and of course every combination and order, you can even take the dome off the ring.

If you also the color gels you will quickly understand why I became more and more enthusiastic during the livestream, this is really a system I am 100% psyched about. Personally, I use 3 speedlights on location with 2 magnetic systems and a flashbender with strip light and one color gel kit.

If I’m honest, I wouldn’t know what else you’d need.
And the best thing?
The whole system is affordable and doesn’t take up a lot of space in your back, in fact you can probably fit it in your pocket during the shoot.

The magnetic system is for sale via our webshop or in the better camera shop
For international sales please check www.rogueflash.com
See the live stream where I introduce the system for the very first time here.

See the introduction video here.
Join the Home of Rogue Facebook group for loads of information and inspiration.

Adding some oomph to a fashion shot

In todays tips video we take a look at how a gel and a pretty low angle can really spice up a standard shot.

Adding gels to your strobes is an easy thing to do but always make sure that you use your colorchecker before you add the gels, but the light meter of course after.

Here some examples with added color gels from subtle to…. well a bit more.

Transcend 4TB, what to look for in an external Harddrive

As many of you probably know, Annewiek and I ran a Computer shop for over 20 years and one of the main issues that always caused huge problems is data loss. And in essence it’s not that hard to prevent. That being said, everyone (including me of course) have suffered data loss over the years, the thing is to keep it at an absolute minimum and most of all the easiest way possible. But later more about that.

In this blogpost I’m going to take a look at the Transcend 4TB external harddrive (StoreJet 25M3C), and let’s be honest… a review about a harddrive doesn’t sound interesting right? what is there to say? well actually quite a lot, and that’s why I decided to combine the review with some tips you may or might not have thought about when buying a drive.

First off all let’s see what’s important when buying an external drive.

Reliable
It goes without saying that this is absolutely vital when buying any kind datastorage.
When buying lose drives for a NAS/DAS we always advise to buy the drives from different suppliers/stores, or at least ask the seller to give you varying serial numbers. When we sold drives for this purpose we would automatically give the customers drives from different batches. The reason is simple, although harddrives have improved a lot over the years there is always a chance of defects. In our experience when something goes wrong, it often happened that we got more drives back from that one batch. So although this could be 100% bad luck we always advise to spread out your drives when buying drives to backup data in one device.

Do remember that when one drive fails in a NAS/DAS it’s not a real problem, but when 2 fail you are into trouble (depending on the RAID setup of course).

For external drives you don’t really have any control about what’s inside the housing so I would always advise to buy from a reputable company. As a consumer we have no idea what sellers/manufacturers can do with hardware/software manipulations, there are several examples about USB sticks and external drives where the 512GB versions only can store 128GB safely. So don’t try to save money the wrong way, you are better off getting a 2TB from a company that you trust instead of a 4TB at the same price from “Photographers top gear” (fake brand (I hope)).

Transcend goes without saying is a brand that fits in the “we can trust” category.

Housing
Don’t be fooled.
A housing is not…. just a housing, there is a lot going on.
Just think about it.
Of course we have the harddrive (generating loads of heat), but also the interface, seeing there are no USBc harddrives. So besides just enclosing the interface and harddrive there is also the problem of heat dispersion, but also (with spinner drives) some damping is needed because an external drive is of course very easily moved, or someone moves/hits the table and although a drive also has it’s dampers the housing should really be designed to take some hits. And finally it also has to be small, sturdy and feel good.

Let’s be honest we don’t want drives that look they went to war after a month, but we also don’t want to drag around a brick. And finally… something that’s slippery is never a good idea, but you also don’t want it to be a dust magnet (we all know the material that feels great but looks like some worn-out rubber after a few weeks)

I think the Storejet will please even the most critical people.
The material feels very nicely, it’s firm but still a bit flexible, I really like that for a harddrive, it often means the material is pretty scratch resistant, but it also keeps the drive stay nicely in its place on the table and you can wipe dust off easily without it sticking to the housing. I do have to add that in about a month I will update this part if something chances in the test period.

Ease of use
As you can see in the images there is a button on the case, so why is it there?
When you buy the StoreJet you get some really nice software, it’s already on the drive so the first time you connect it you can install the software (make a backup) and format the drive after that to the preferred format.

There are two apps
The first one is RecoveRx and is aimed at recovering Photos you might have deleted by accident or from corrupt drives. But don’t be fooled by the label Photos you see at the splash screen, this is a full data recovery package including photos, videos, documents etc. I always really appreciate it if recovery software is delivered for free with a drive or card, it can happen very easily by a failing battery or a full card while using video that something goes wrong with your files and in my experience this kind of software is always very successful in recovering data.

Transcend Elite is aimed at backups.
And this is also where the button comes into play.
One of the things that we always experienced with customers in the computer store was that they often knew they had to make backups but….. there was always an excuse, but it always boiled down to the fact that there were too many things they had to do for a backup to start (and even when we automated it for them…. well when you have ever worked in IT you know what I mean).

Now this is where the button is used for.
In the software you can create a task, and when the button is pressed it will start that backup task automatically, you can create several ones and assign them to the button in the software, it works really easily and it makes it possible to create the tasks for someone that is able to switch the tasks but not to create them. This makes the backup process incredibly easy, oh and if you don’t want to press a button… there is also a scheduler available, so they got you covered.

Connections
At the moment I think it’s easy.
We need a USBc type connection.
But also here there is a difference between external drives.
When buying a drive always look at the quality of the connectors used, also the enclosed cable also tells you a bit about the kind of quality you buy.

The Storejets USBc connector looks very solid, the enclosed cable is a bit short but is from a thick and sturdy quality.

The reason I mention this is the fact that most external drives are connected and disconnected several times per day during a shoot or when traveling, and every time you put some stress on the port. A well designed port will take this abuse without any problems but (trust me) there are also ports that literally already start to bent after a week and before you know it the USBc cable (which is a pretty solid connection) starts to wiggle and the problems with data corruption and disconnects start. So please always check the quality of the ports.

Space
In all honesty this will vary a lot per person.
When we travel I use the external drive as a backup for my laptop but also for movies/comics/magazines which I can copy to my iPad to watch/read. So the 4TB means I can take everything with me I would ever need during the trip and still don’t have to worry about running out of space. If you just use it as a backup 2TB should be more than enough for most people.

DataProtection
Part of the data protection you can do yourself by making backups and buying external drives like this one from a reputable source. And with a reputable source I mean the store you buy the product, there are several examples online where people think they buy new products but end up with refurbished drives or even worse the housing from the brand they ordered but inside a much cheaper interface and memory sticks instead of a SSD, so please beware of where you buy.

When you buy the StoreJet you already get recovery software, an automated backup workflow, a one touch backup button so you already know they take data protection serious and this is also translated into the housing itself, according to Transcend we could drop the drive from up to 2 meters and nothing would happen to the drive or data…. I uhh….. just take their word for it.

Ok we are almost there, I hope so far you enjoyed the review and the tips. But we have one thing left of course, how fast is the StoreJet.

Now I have to be honest.
For me the speed isn’t the most important thing, if you really want speed get an SSD version (and of course also pay SSD prices) but I also don’t want to wait forever of course. In use the StoreJet feels fast enough for an external spinner drive, both large and smaller files copy without any problems on or around max speed.

But the test is always better 🙂

Conclusion
I’ve given several tips about what to look for when you want to buy an external drive, and the StoreJet actually fits those topics very well so in my honest opinion I think Transcend has an awesome external drive solution for anyone that needs a reliable external drive with loads of storage where you don’t have to stress out when it drops on the floor.

I do want to add one more tip
During longer trips there is a moment where my laptop is full.
This would mean that my external drive is the only backup, this is why we always travel with 2 external drives, one 4TB and one 2TB

The 2TB is just for photos and videos we shoot, the 4TB also contains other data that we took from home. This is a pretty secure solution especially when combined with for example Lightroom CC and an Adobe subscription. But make sure that you don’t store the drives and laptop in the same bag (yes it happens).


The transcend StoreJet was send in for review, the review is however my honest opinion.