In todays blogpost we talk about the TTartisan 50mm 1.4
The TTartisan is a full manual lens but as you probably know that doesn’t mean you have to manual focus on most Sony cameras 🙂
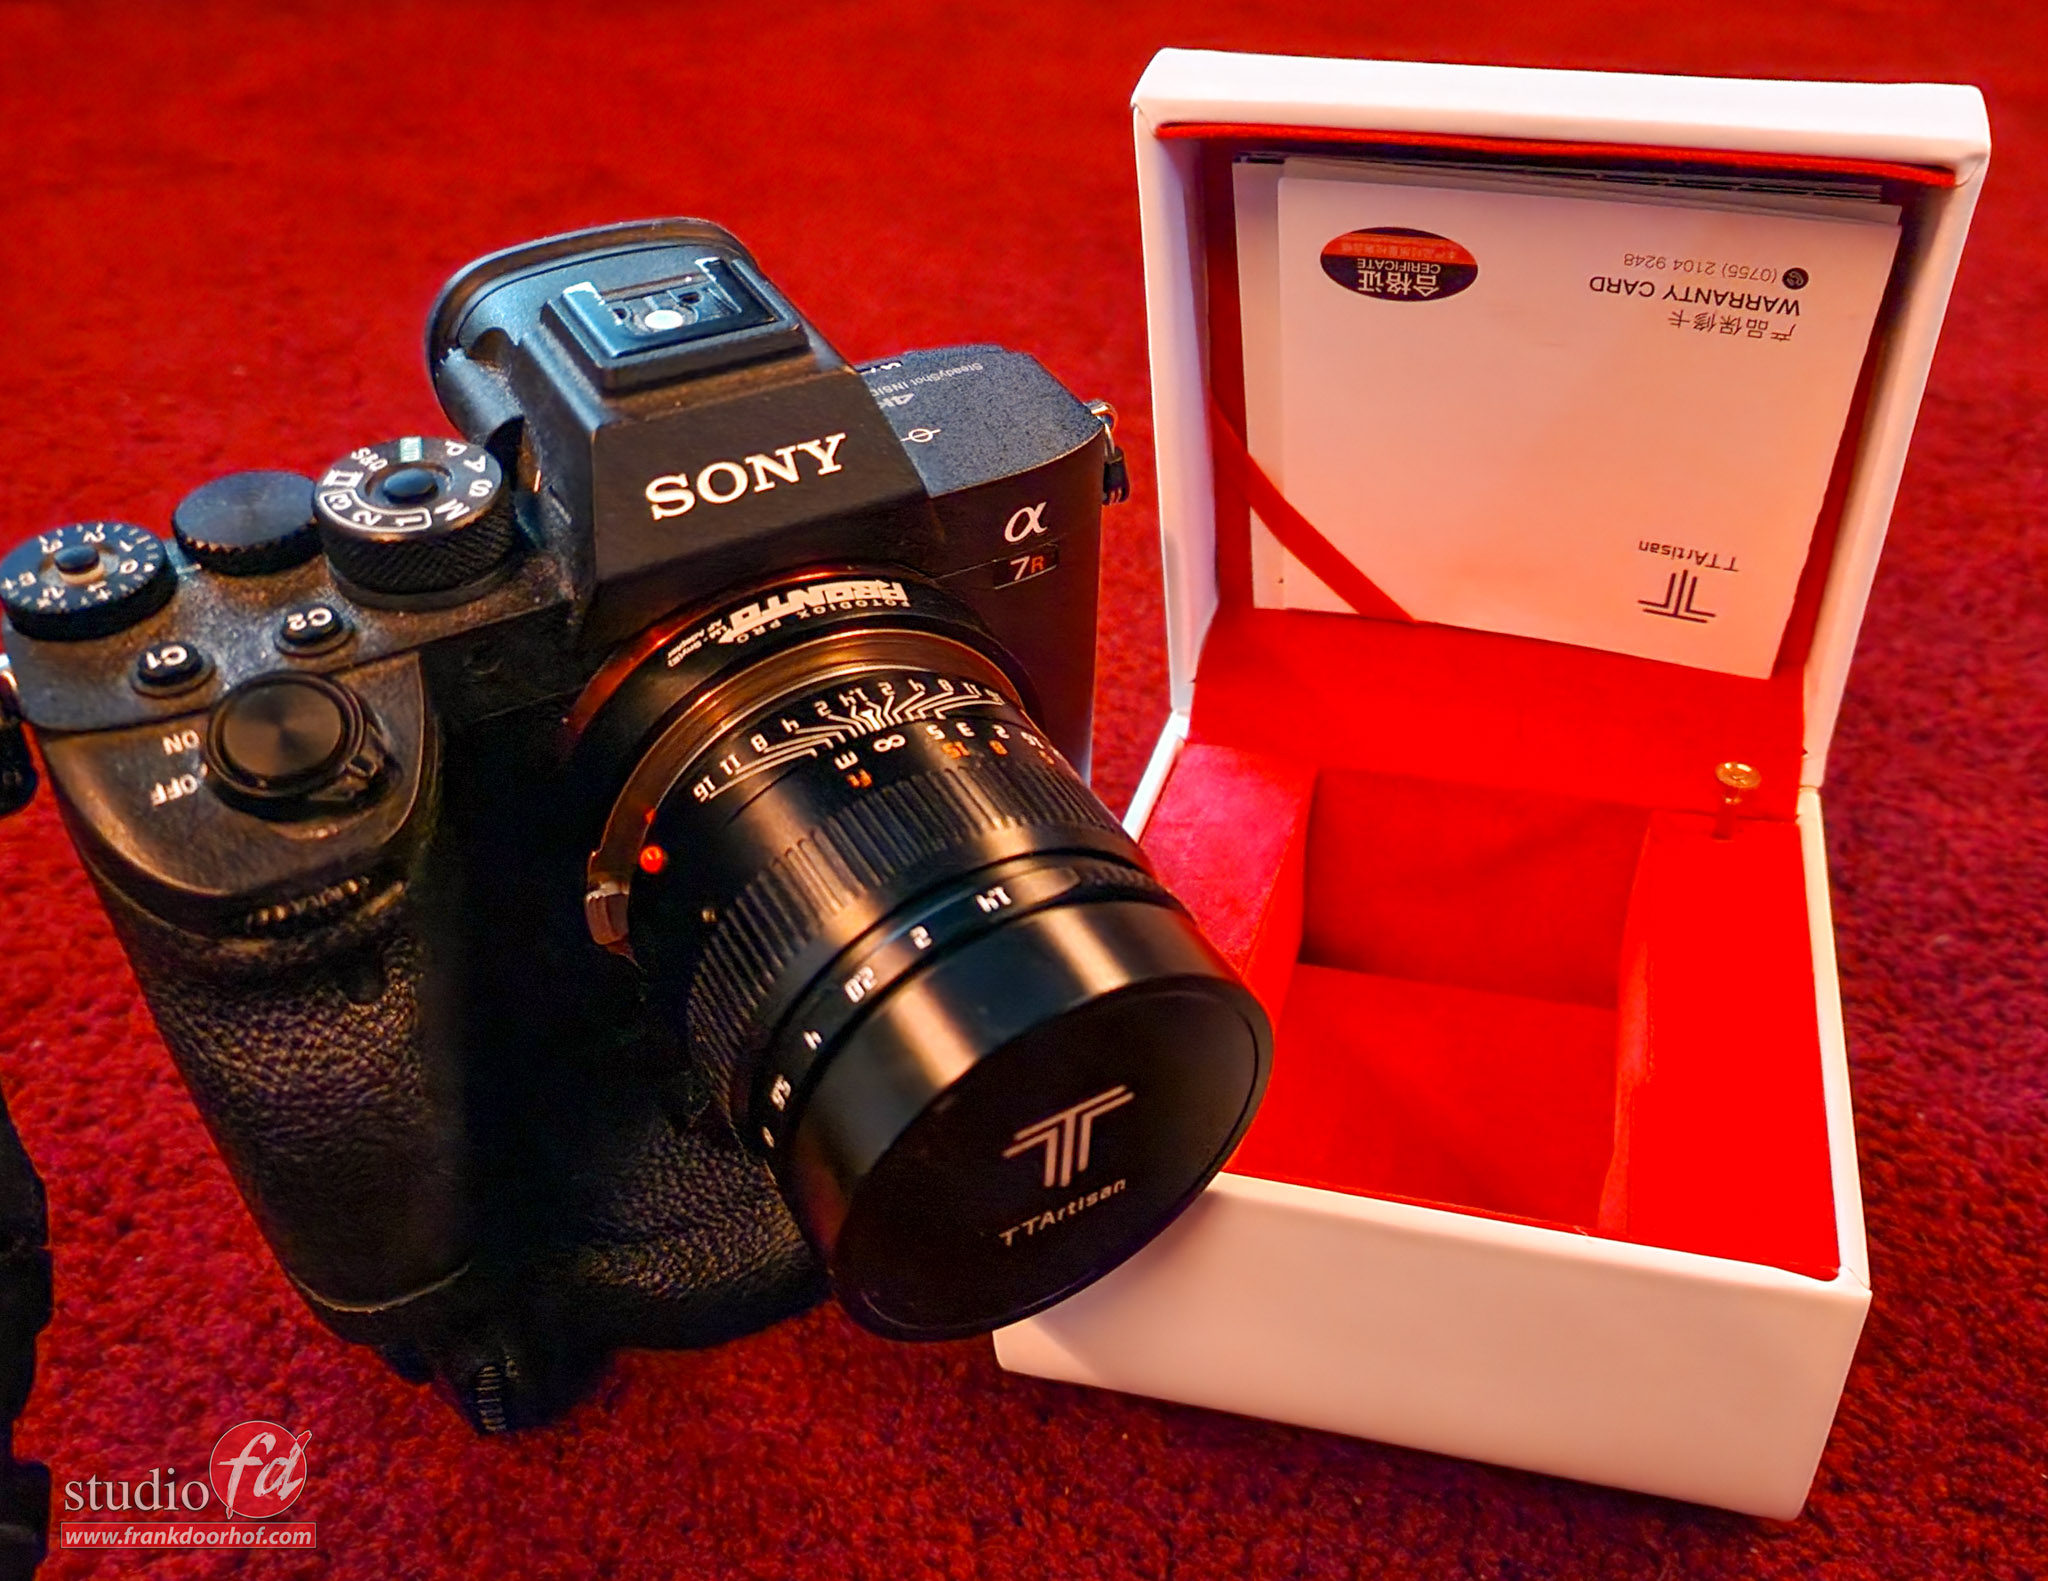
As you can see here I have a adaptor between the lens and my camera.
In this case I’m using a FotoDiox adaptor (Techart makes a similar/same version) which is one of my favourite “gadgets” for my camera. On the adaptor you can mount a Leica M lens and by moving the lens back and forward you get a lens that works very well as an AutoFocus lens. I’m still using the old version of the adaptor. Recently a new version has been released which is supposed to be a lot faster but I don’t have that one so my review is based on the old adaptor, and lets be honest it doesn’t really matter for the performance of the lens at all.
If you want to use the lens as an AF lens it’s important to order the right version.
Normally you would of course chose the mount of the camera you are using, in my case the E-mount for Sony. But because the adaptor is using the Leica M mount (flange distance) I’m testing that version.
Now don’t worry, if you order the E-mount version or Canon/Nikon/Fuji mount the performance should be the same.
Ok let’s go.
Primes that are fast
Now let me start right away with the notion that I mostly use the Sony Gmaster 24-70 f2.8 which I absolutely love, but I also love old vintage lenses, this is also why I got the adaptor, I have a few convertors that I can use with that adaptor so I can use Leica R/M, M42, Minolta etc. lenses and believe it or not those lenses can give modern lenses a run for their money on character. Don’t get me wrong the Sony lens is awesome but it’s also very clean, and sometimes you want something with a bit more character and “faults”.
A 50mm is a very nice lens to use as a walk around lens.
The first few minutes it’s a bit getting used to if you normally use a zoom lens, but it’s a very easy and fast process, and before you know it you are thinking in 50mm 😀
For me one of the main benefits of using a prime lens is the wide aperture, and in most cases you can get sharper results with less budget. Now let me start right away with something that might sound weird… I don’t really care about ultra sharpness. Of course I hate lenses that are soft, but I also don’t zoom in 400% to see if there is a pixel sharper yes or no. When I zoom to 100% and I can see the little hairs on someones face I’m happy. (and that really means a lens is pretty sharp)
Now you might wonder….”Frank… didn’t you forget something?”
Yep, I know what you mean, we will get to that later.
Build quality
The TTartisan 50mm f1.4 is build like a tank.
Oh and I really have to add that I just love the way the lens is presented in a beautiful case. Personally I would have appreciated it even more if the lens was packed in a nice pouch also, but that’s not a big deal (for me), but the case really adds to the feeling you are working with something special (even if it isn’t).
The ring for the aperture has a really nice click feel, for video I would prefer a stepless design but for photography this is perfect. Now with a manual focus lens I always put very high demands on the focus ring, and man did they hit the nail on the head. The focus ring has a nice holder and operates silky smooth, sometimes I just felt so comfortable focussing manually that I forgot I used the FotoDiox.
Now you might wonder why I use the focus ring when I have an AF adaptor. Well one of the many advantages is that when you normally use the adaptor you set the lens to infinity and it just works (make sure to set the camera to the max wide open aperture otherwise all your images will be overexposed) but when you change the focus you can actually focus much closer than the lens normally allows, I’ve taken some shots on 15cm distance which turned out very nice and sharp, so you also get a sort of added macro option.
Some test shots
I was really in doubt if I would post these images.
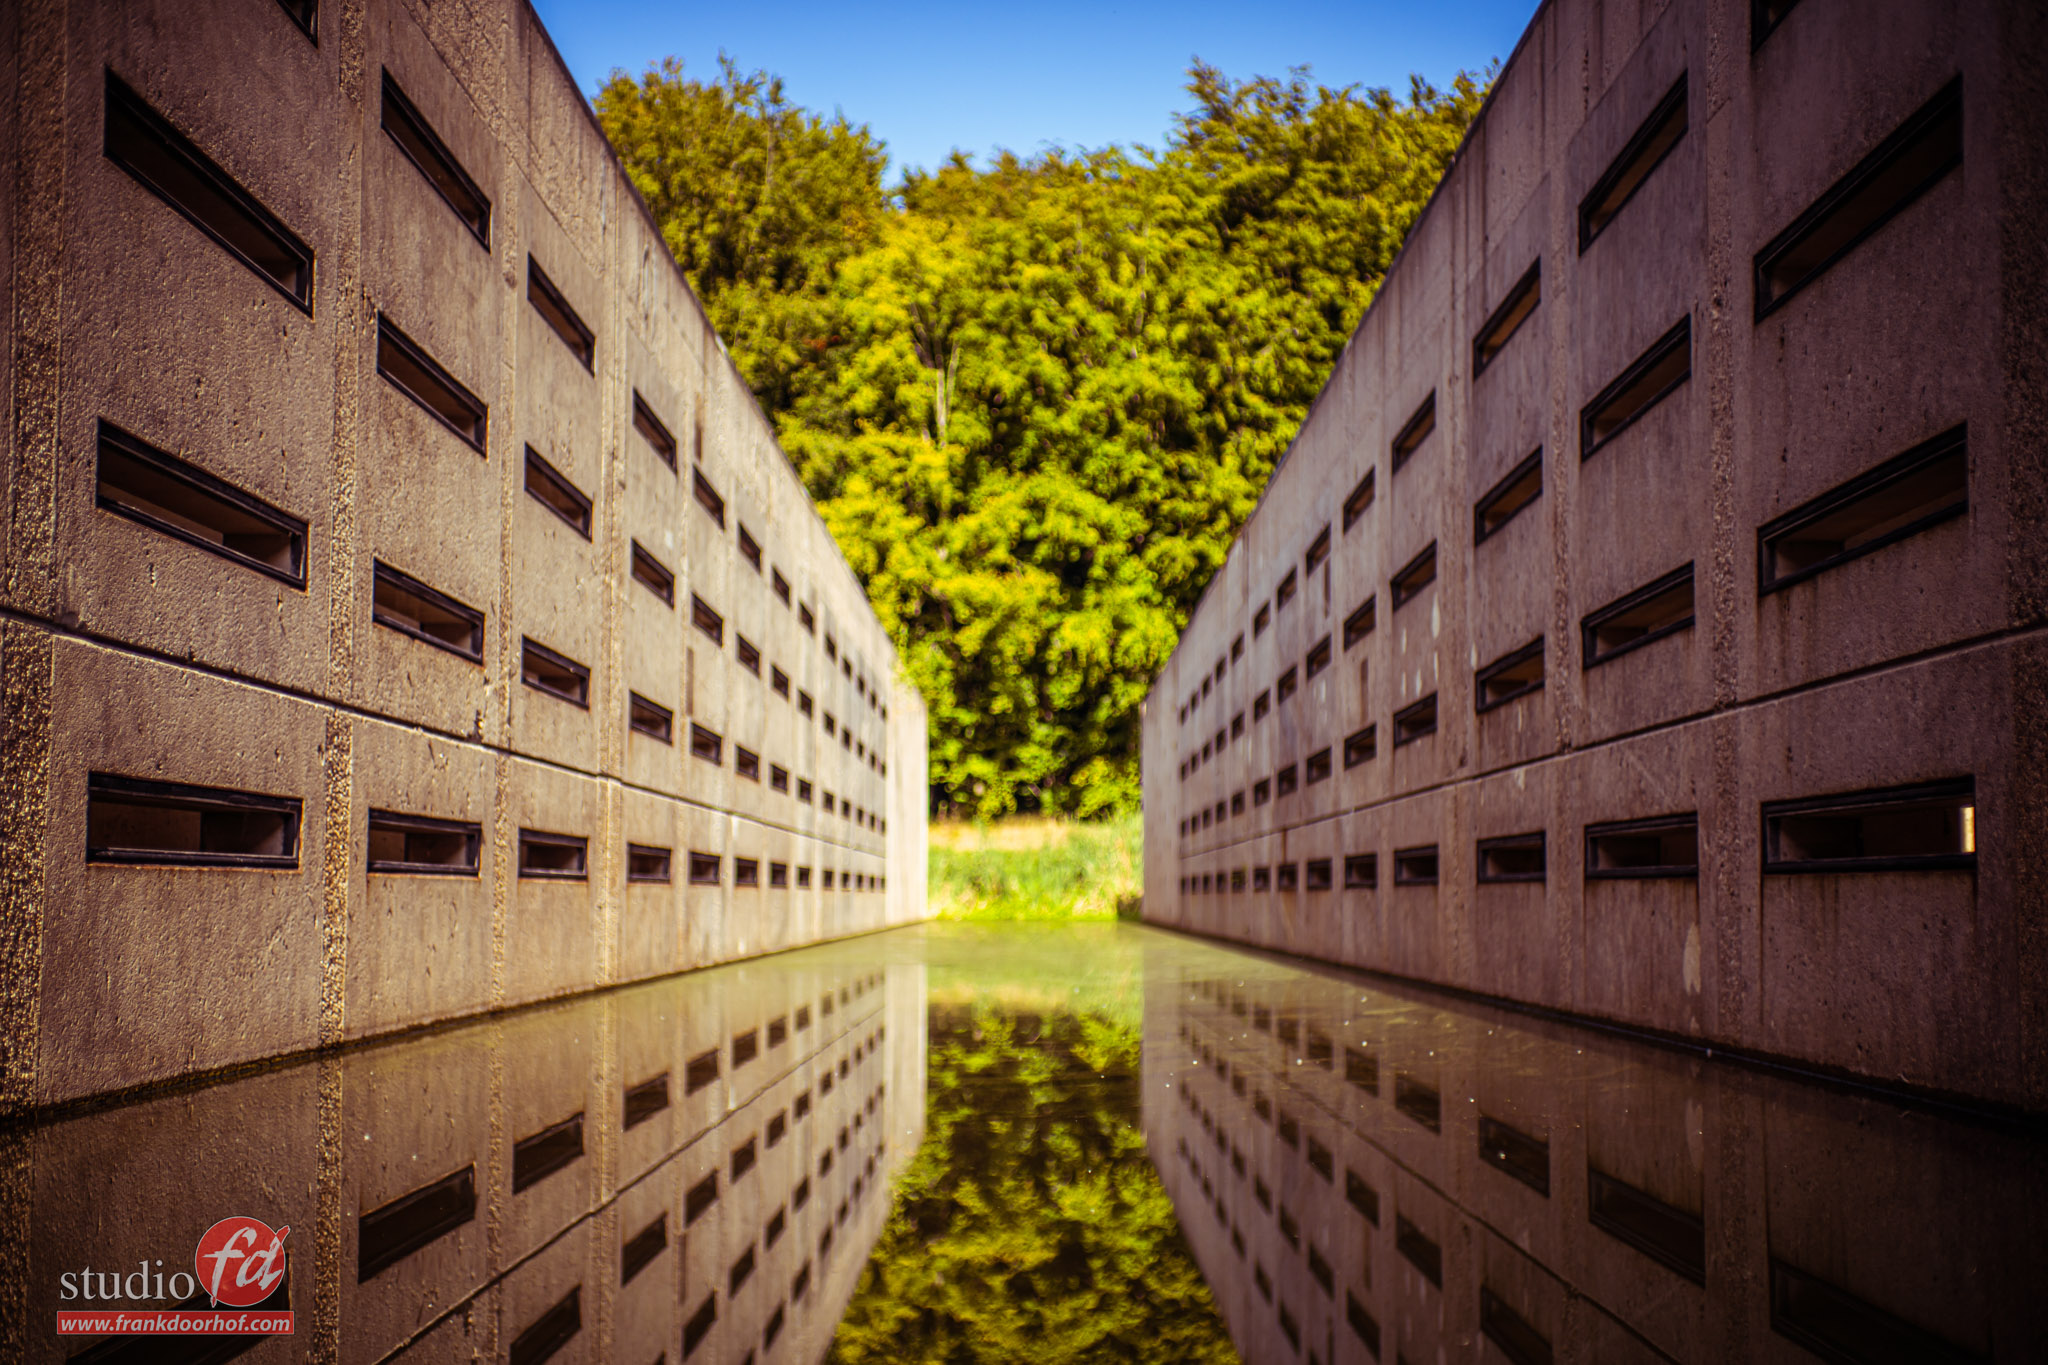
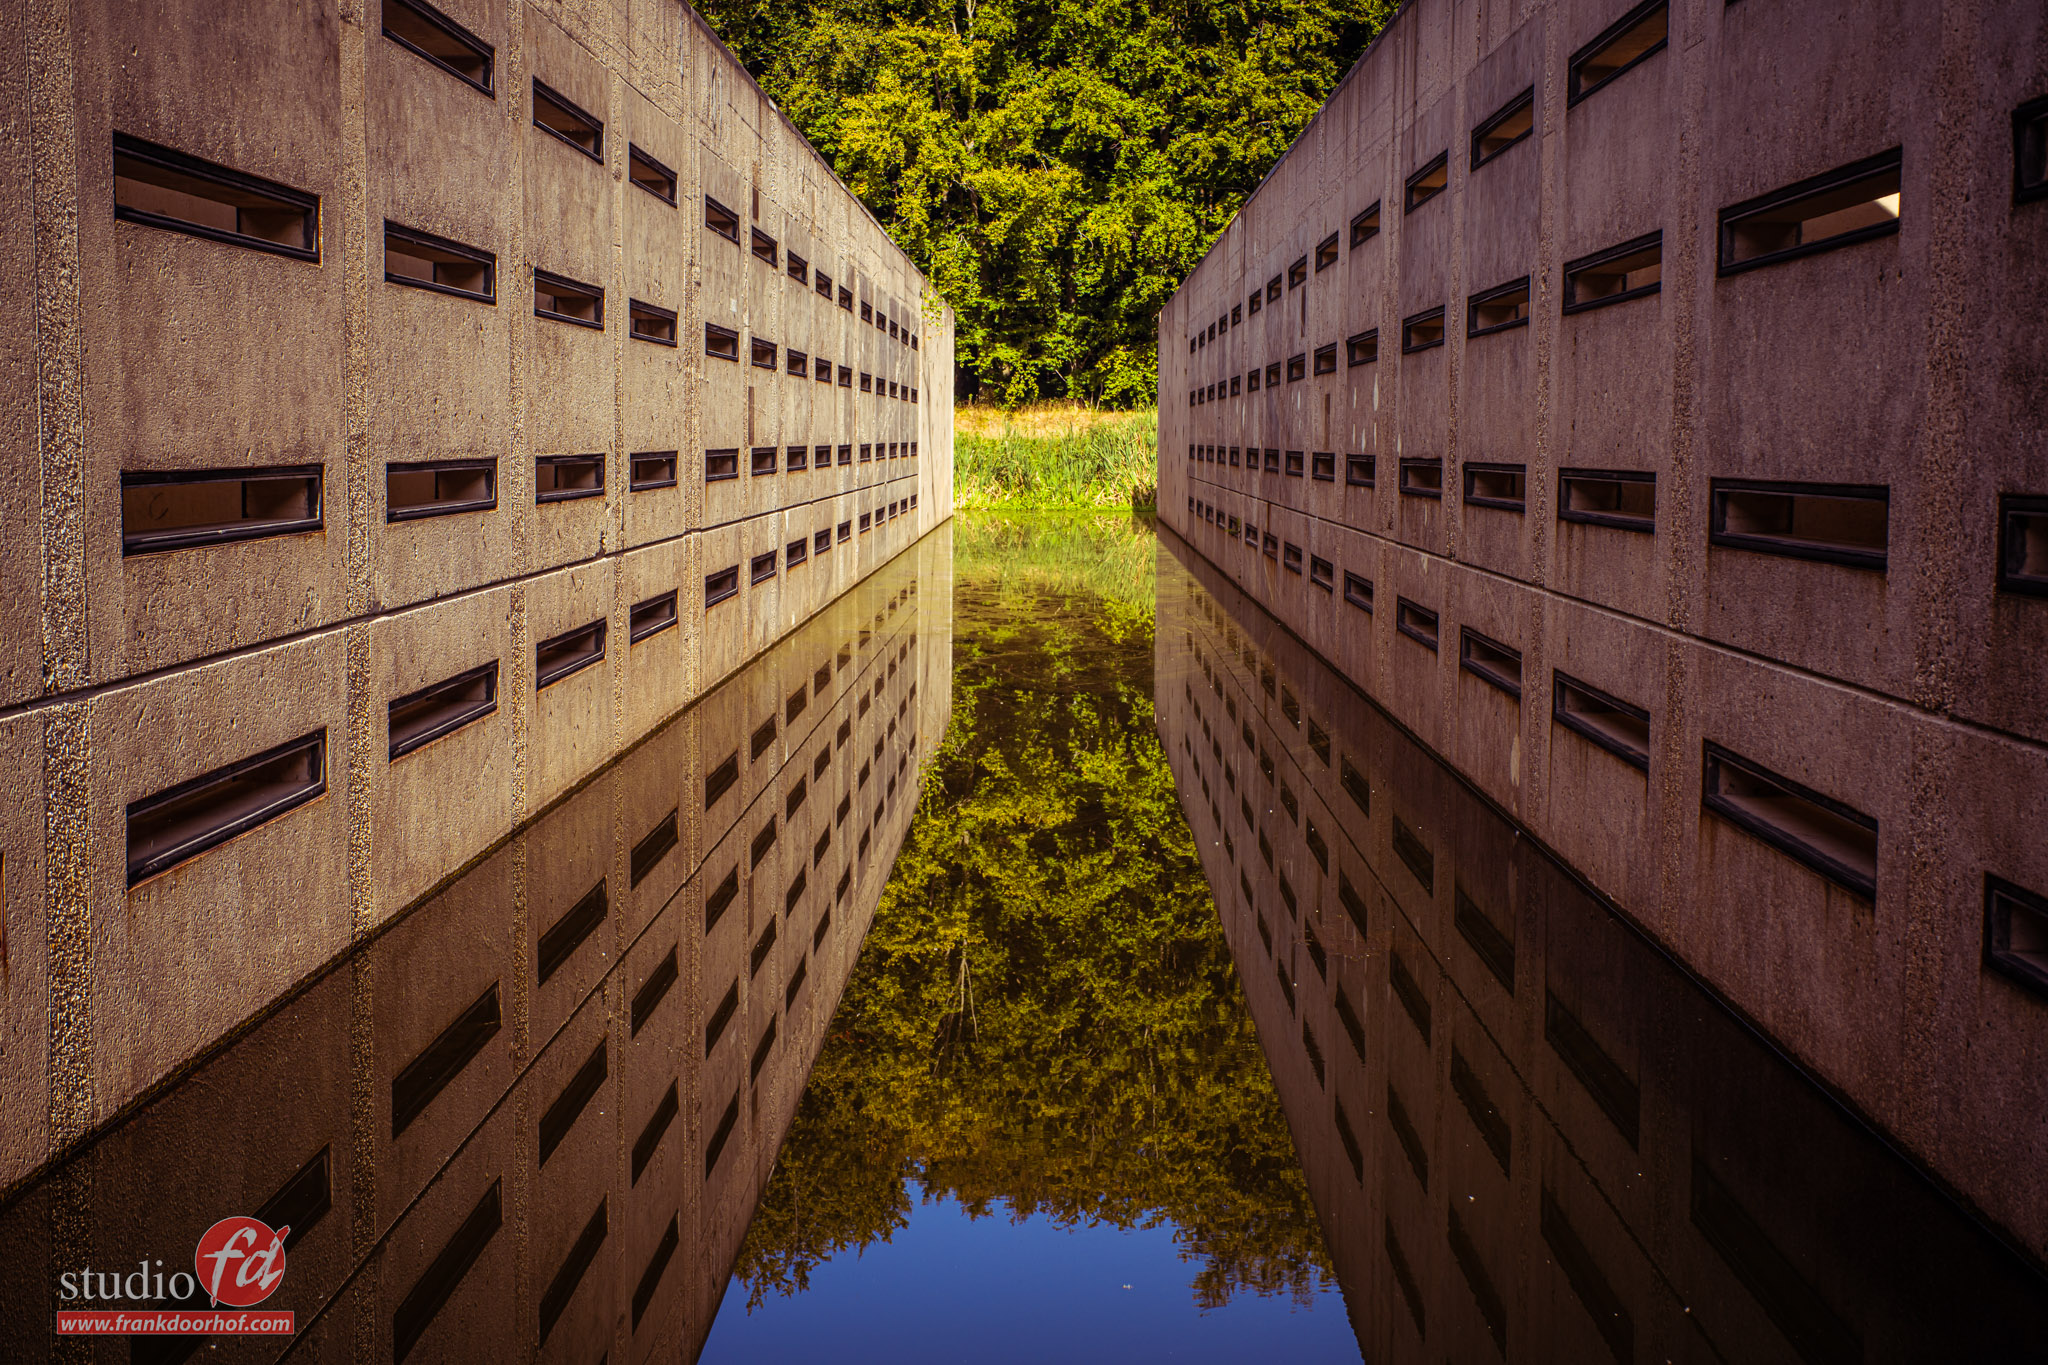
As you all know I’m mostly shooting people/models and although I love streetphotography it’s just my hobby, and the following images were all shot during a short walk with our LabraDoodle Chewie at the Waterloopbos in our area. But I think they do give a nice idea what you can achieve with very little effort, of course I’ll also be using the lens during the next workshops and update the review with new parts.
But for now let’s take a look at the images..
“Frank, did you not forget something?”
yes….
There we go.

One of the things I love it backlighting, and every lens does this differently, personally it’s one of the first things I test and I have to be honest, I really like the glow the TTartisan has, it’s incredibly subtle which is the way that I like it, often this also means the lens has some lens flare issues… which again in my opinion is not a bad thing, I actually use these kind of lenses because of the character, so lens flare and glows are 100% part of this. When a lens does this right it can be awesome, but when it doesn’t… well its not a lens I would use.
The TTartisan does it very nicely.
Lensflare can be called up pretty easy, but also eliminated pretty fast. I do would have preferred a sunhood to be honest.

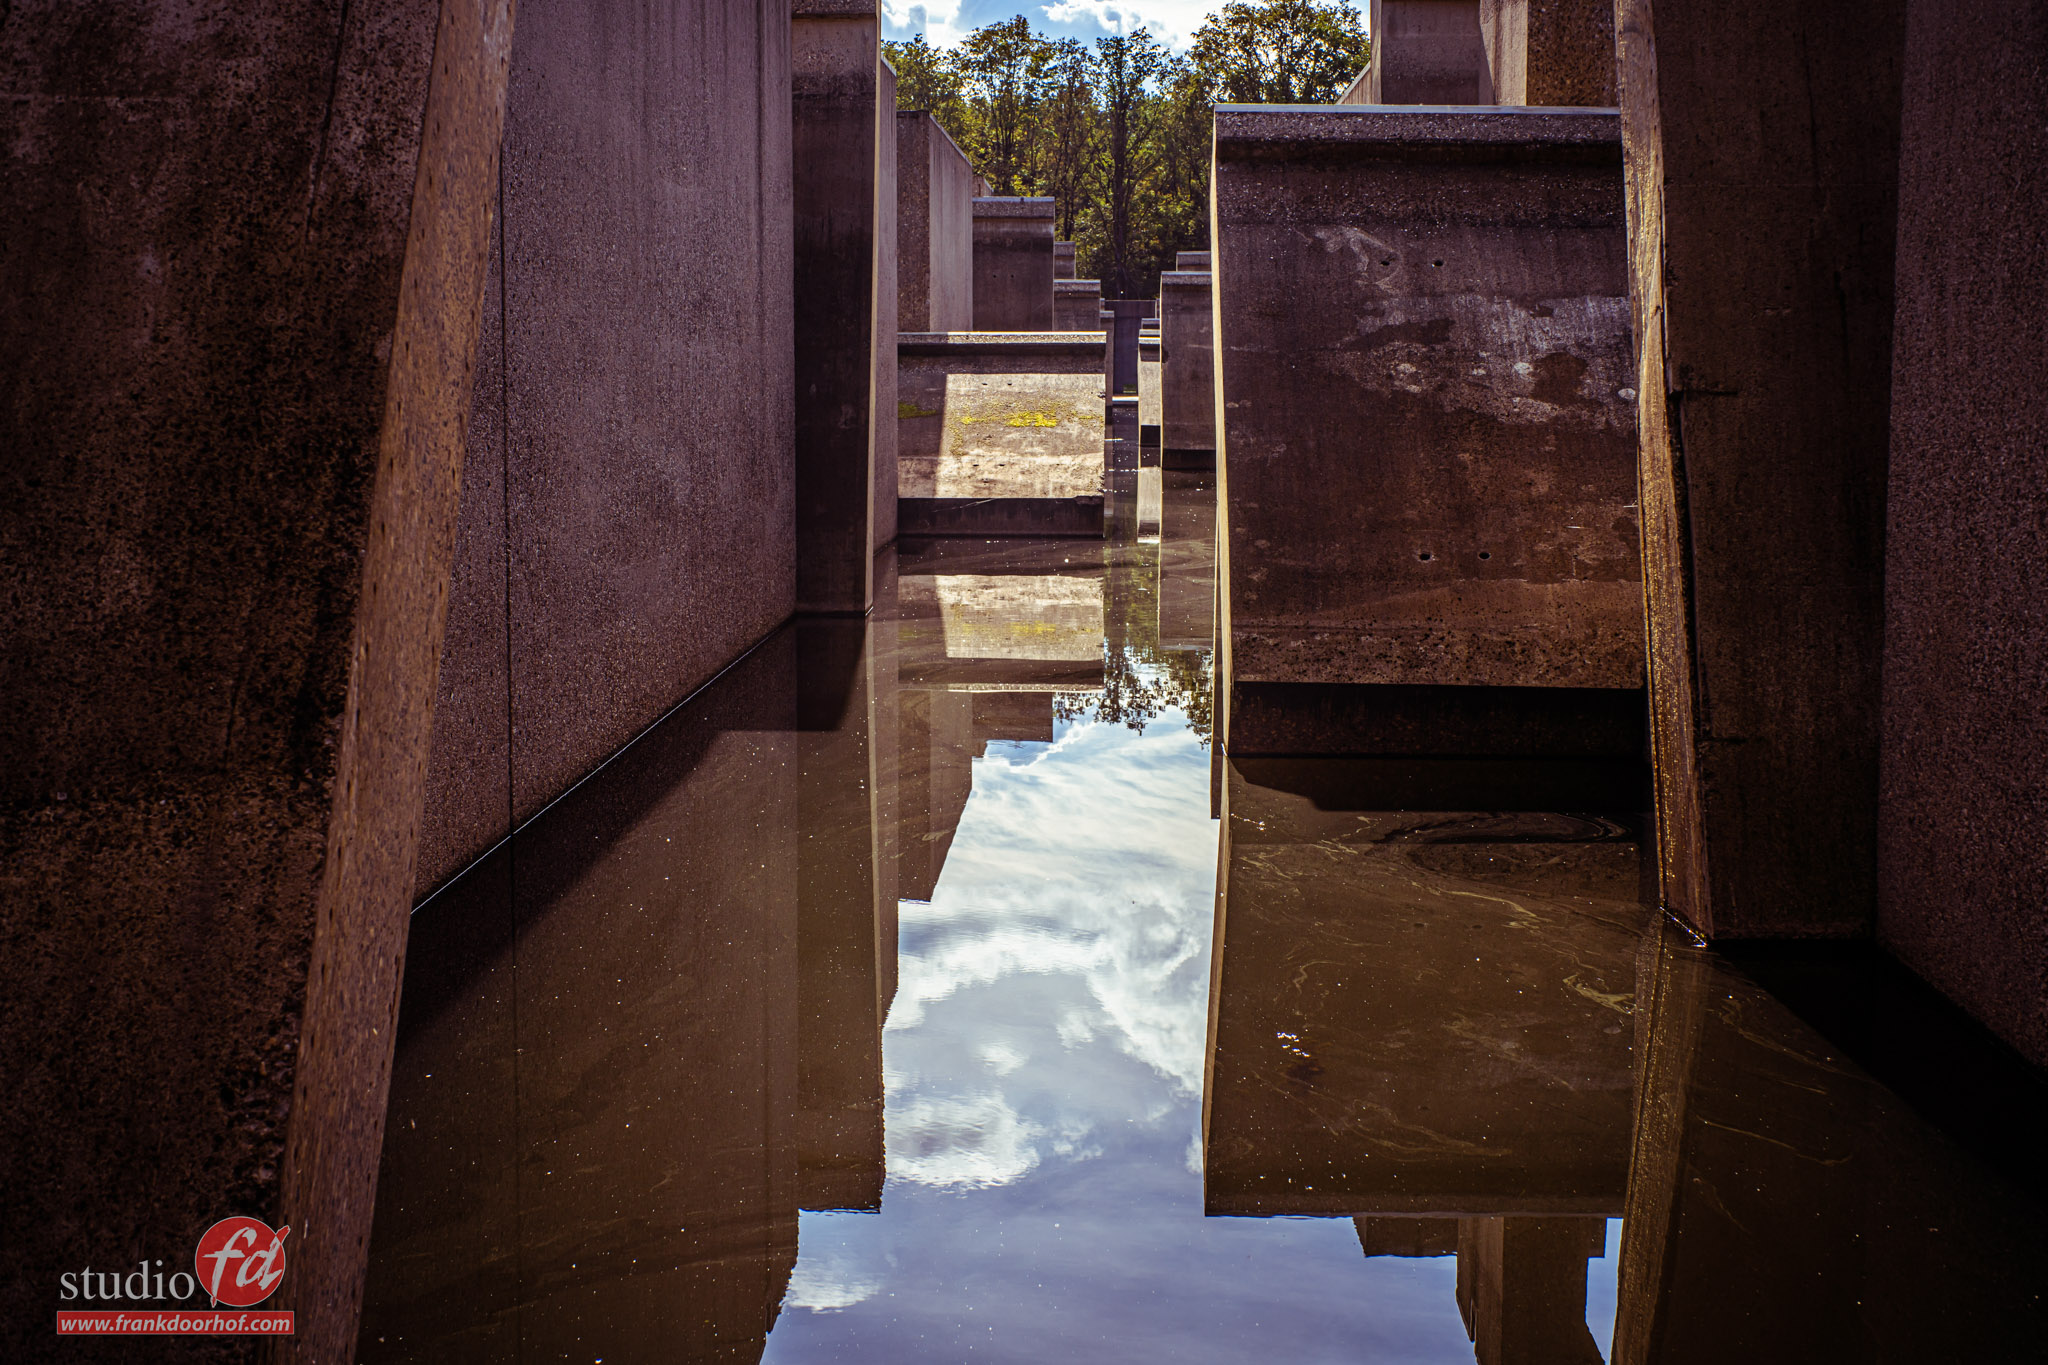
Aiming the camera slightly down eliminated the lensflare, but as I mentioned before I actually love the effect the lens flare gives in some images, being able to play with it is a big plus for me.
But now the thing I “forgot”
Bokeh
Some people don’t know how to pronounce it right (including me), some people don’t know what it is, but…. we all know it when it’s bad, and we surely know it when it’s great.
In short, Bokeh is the way the out of focus areas of your image looks. And don’t underestimate this, it can really mess up a normally great shot.
Over the years I’ve used loads of lenses and bokeh for me is always a deal breaker, or a reason I keep going back to the lens. For example I have 2 copies of the famous Helios lens and that one is unique for it’s rough/almost so ugly it’s nice bokeh, but it’s not my choice for serious work.
The TTartisan has for my eye a silky smooth bokeh which I absolutely love.
The main advance of shooting wide open with this lens and the silky smooth Bokeh makes it really easy to draw the attention of the viewer to the area of the frame you want. And the background just eases the viewer into the subject instead of dragging him/her out.
Now as mentioned before I was in doubt posting these images because they are not really spectacular, but they do show very nicely what the lens can do with bokeh. Most of the following images were shot wide open.


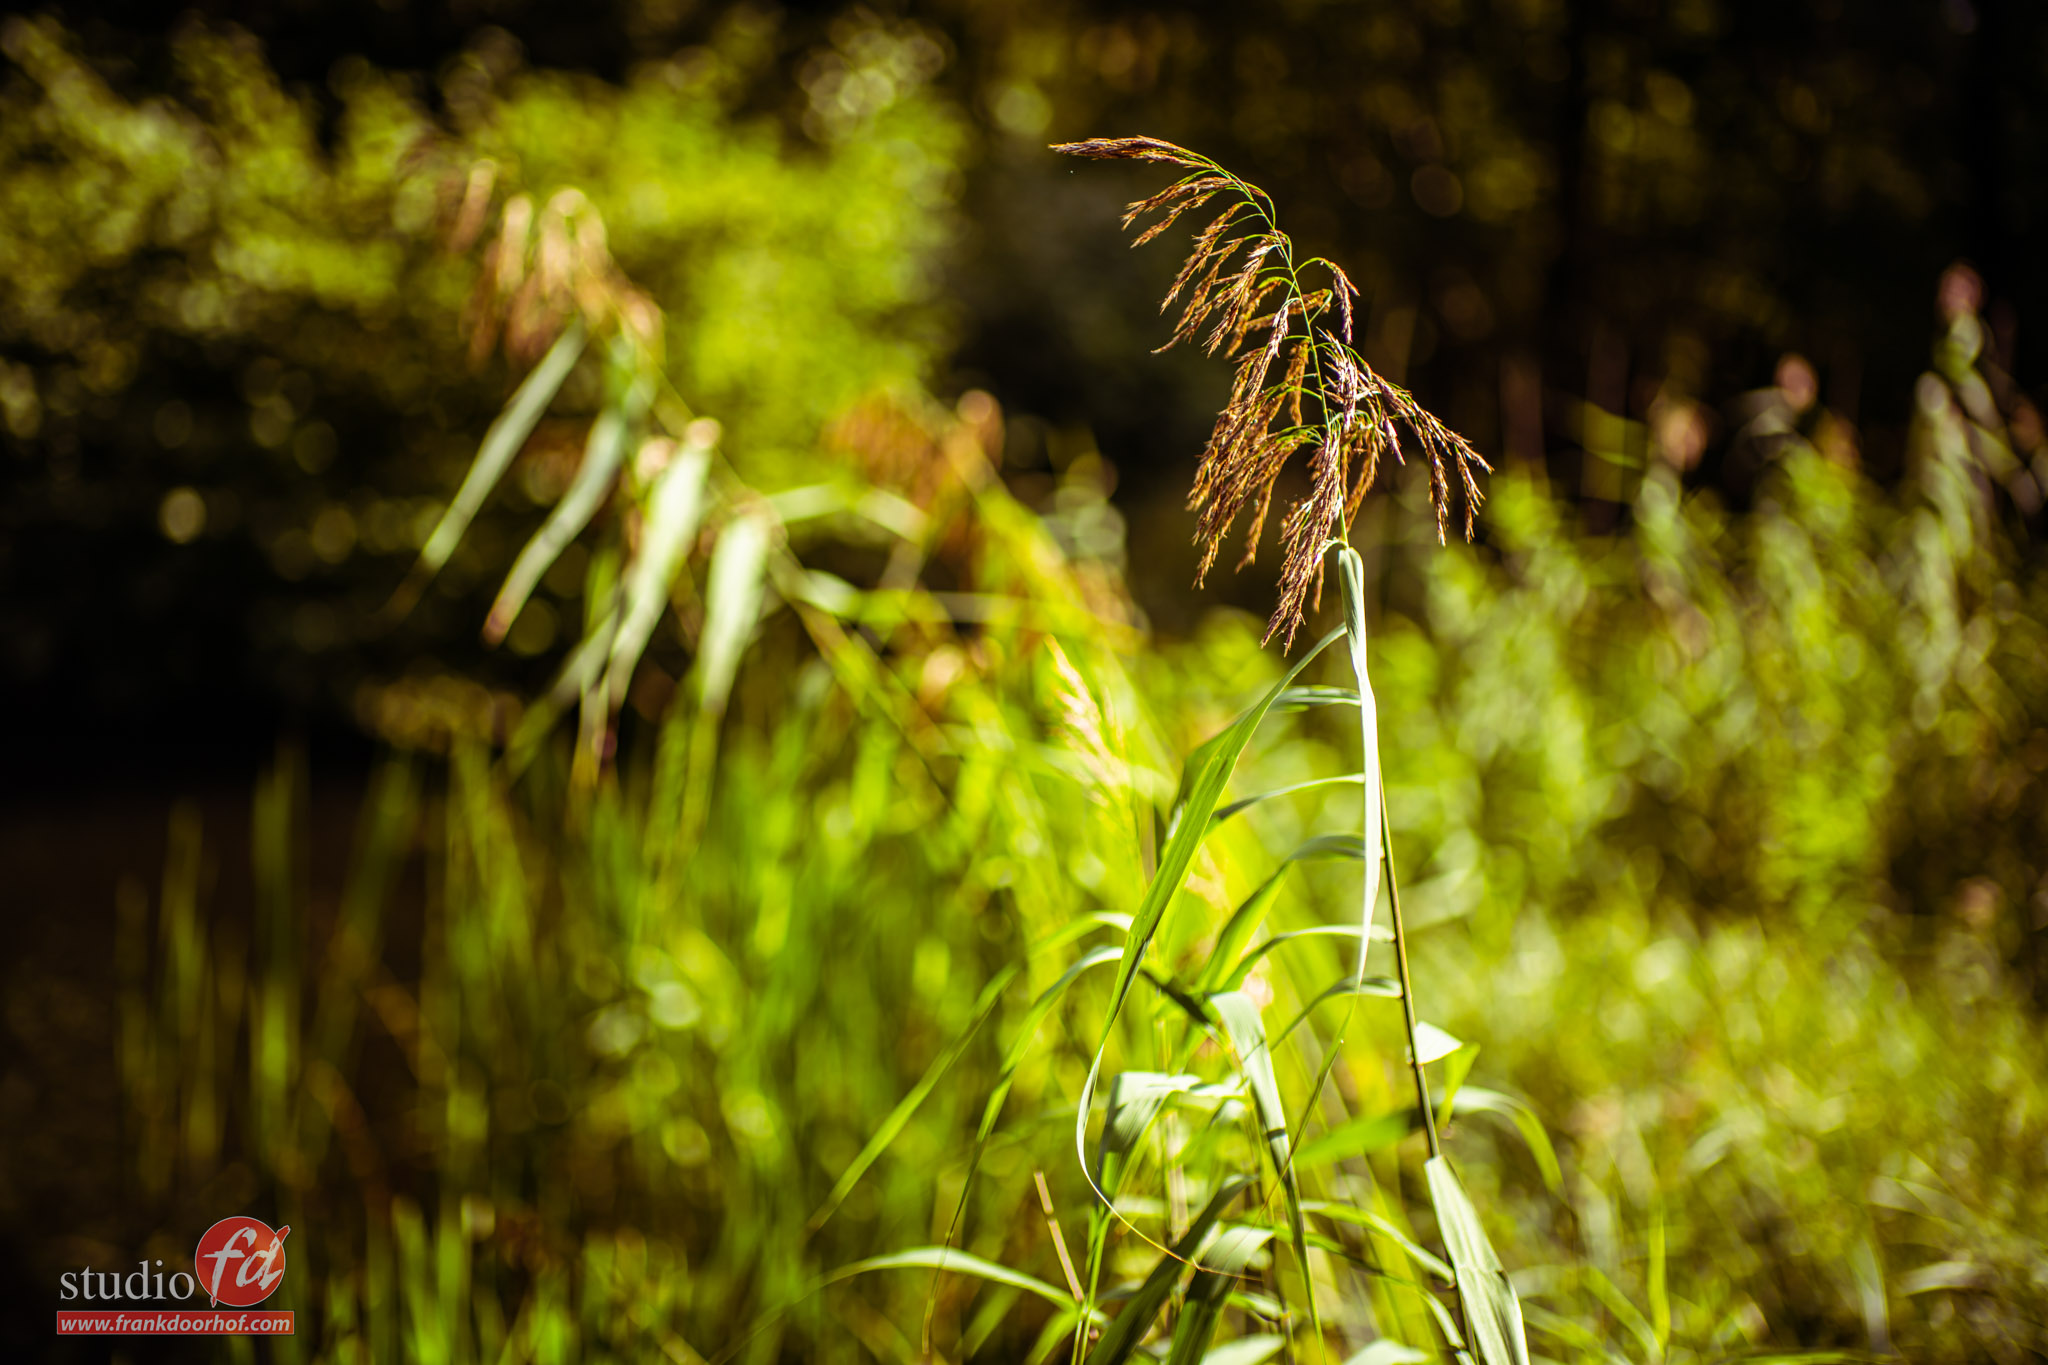

As you can see the Bokeh is very pleasing.
But let’s be honest these are shots that are very obvious and not something I would actually use the lens for.
I love to use the wide open apertures to draw the attention to a certain area in the scene, and that doesn’t always mean something standing out.
Take for example the following examples and you probably see what I mean.
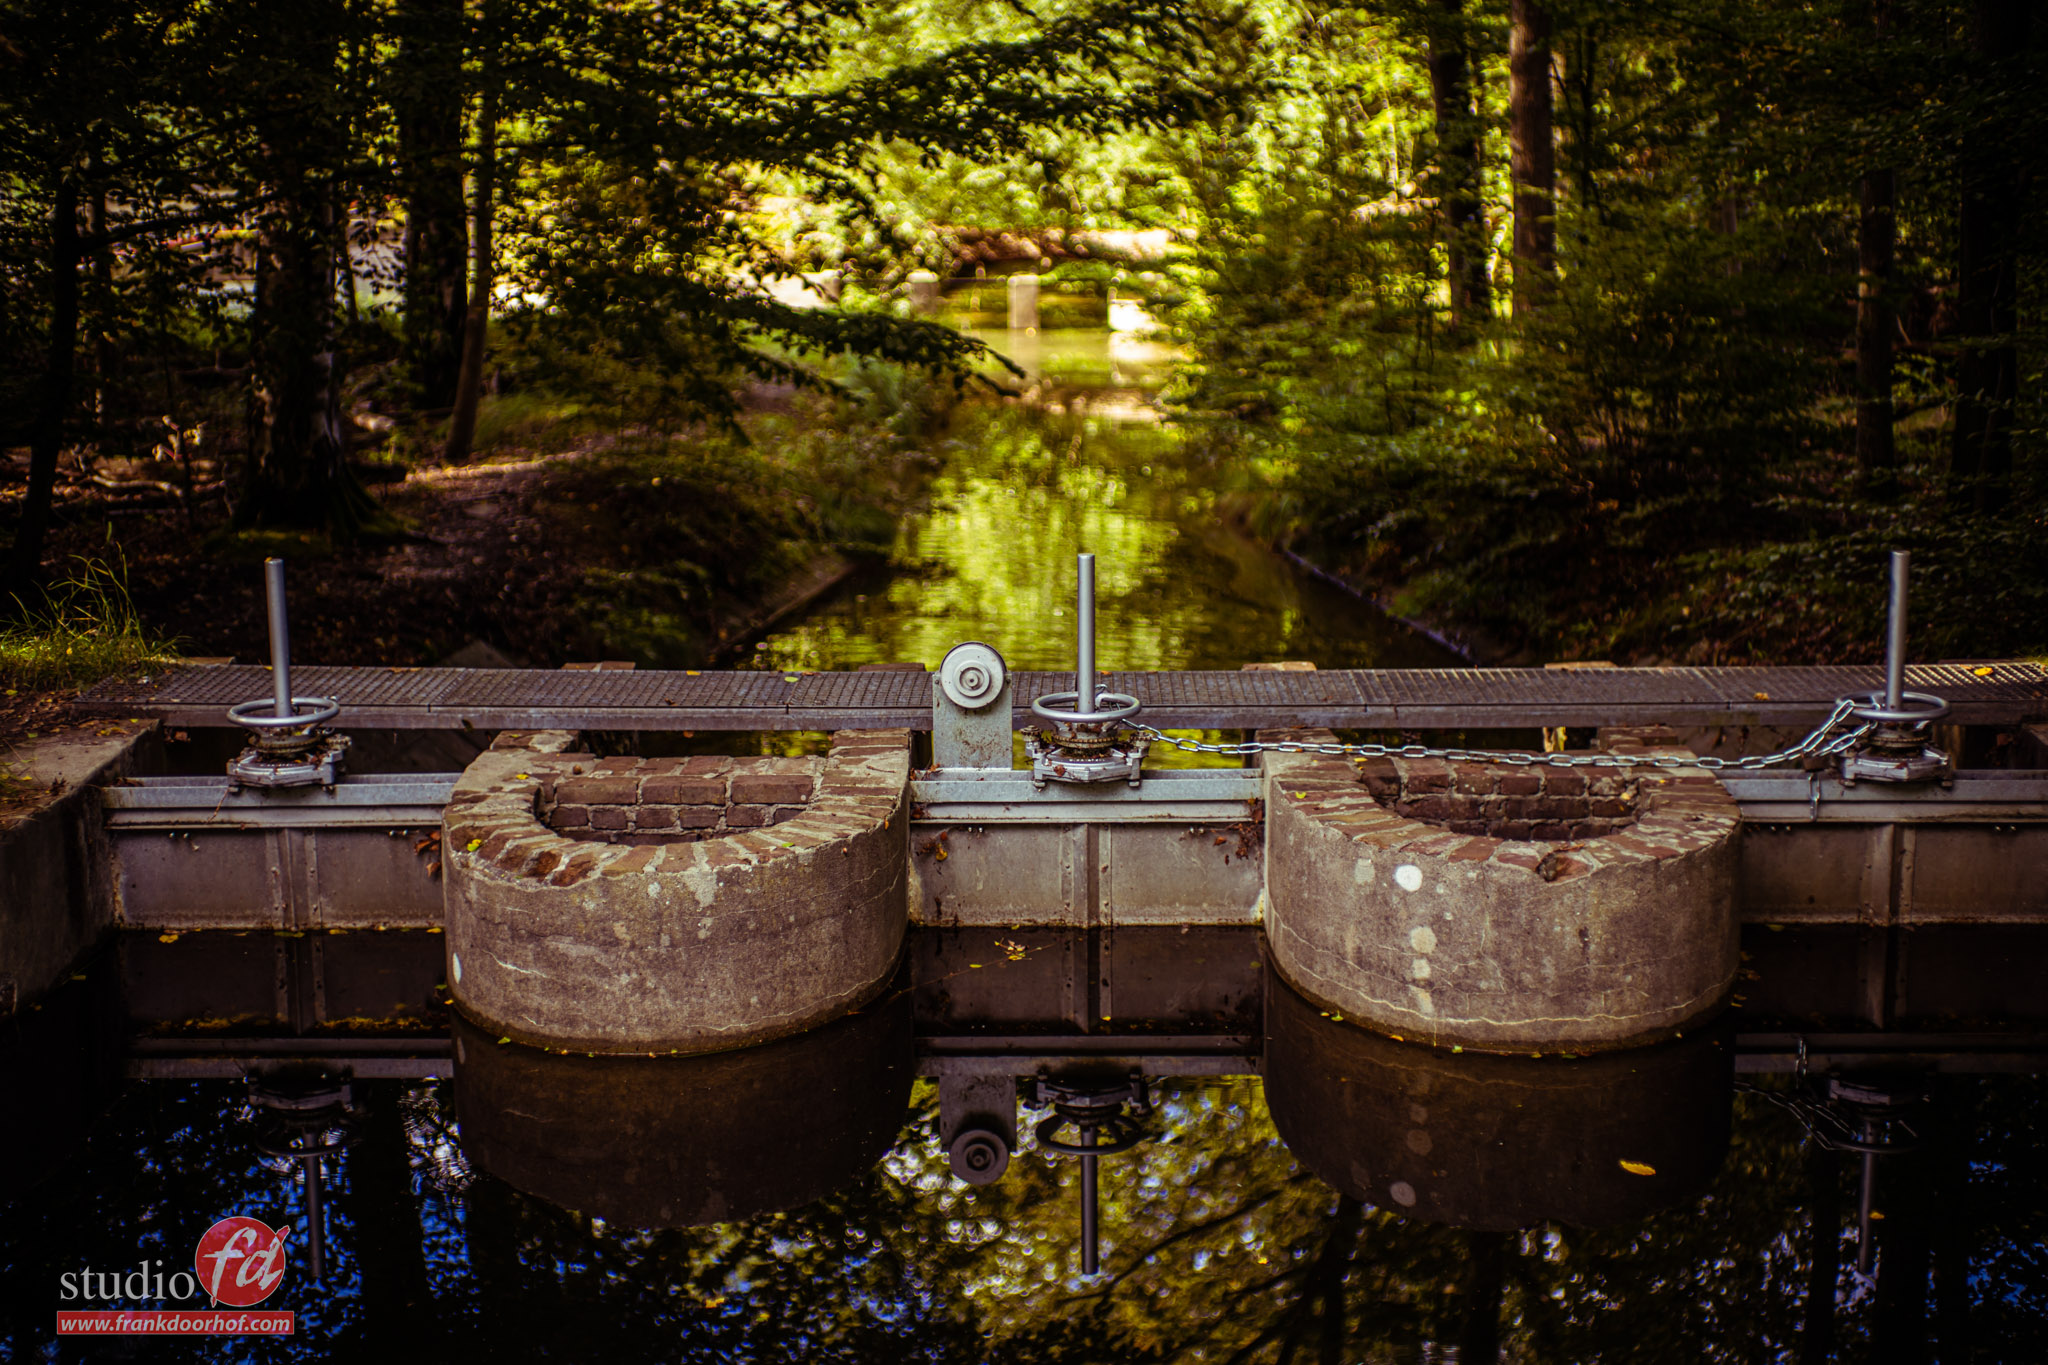
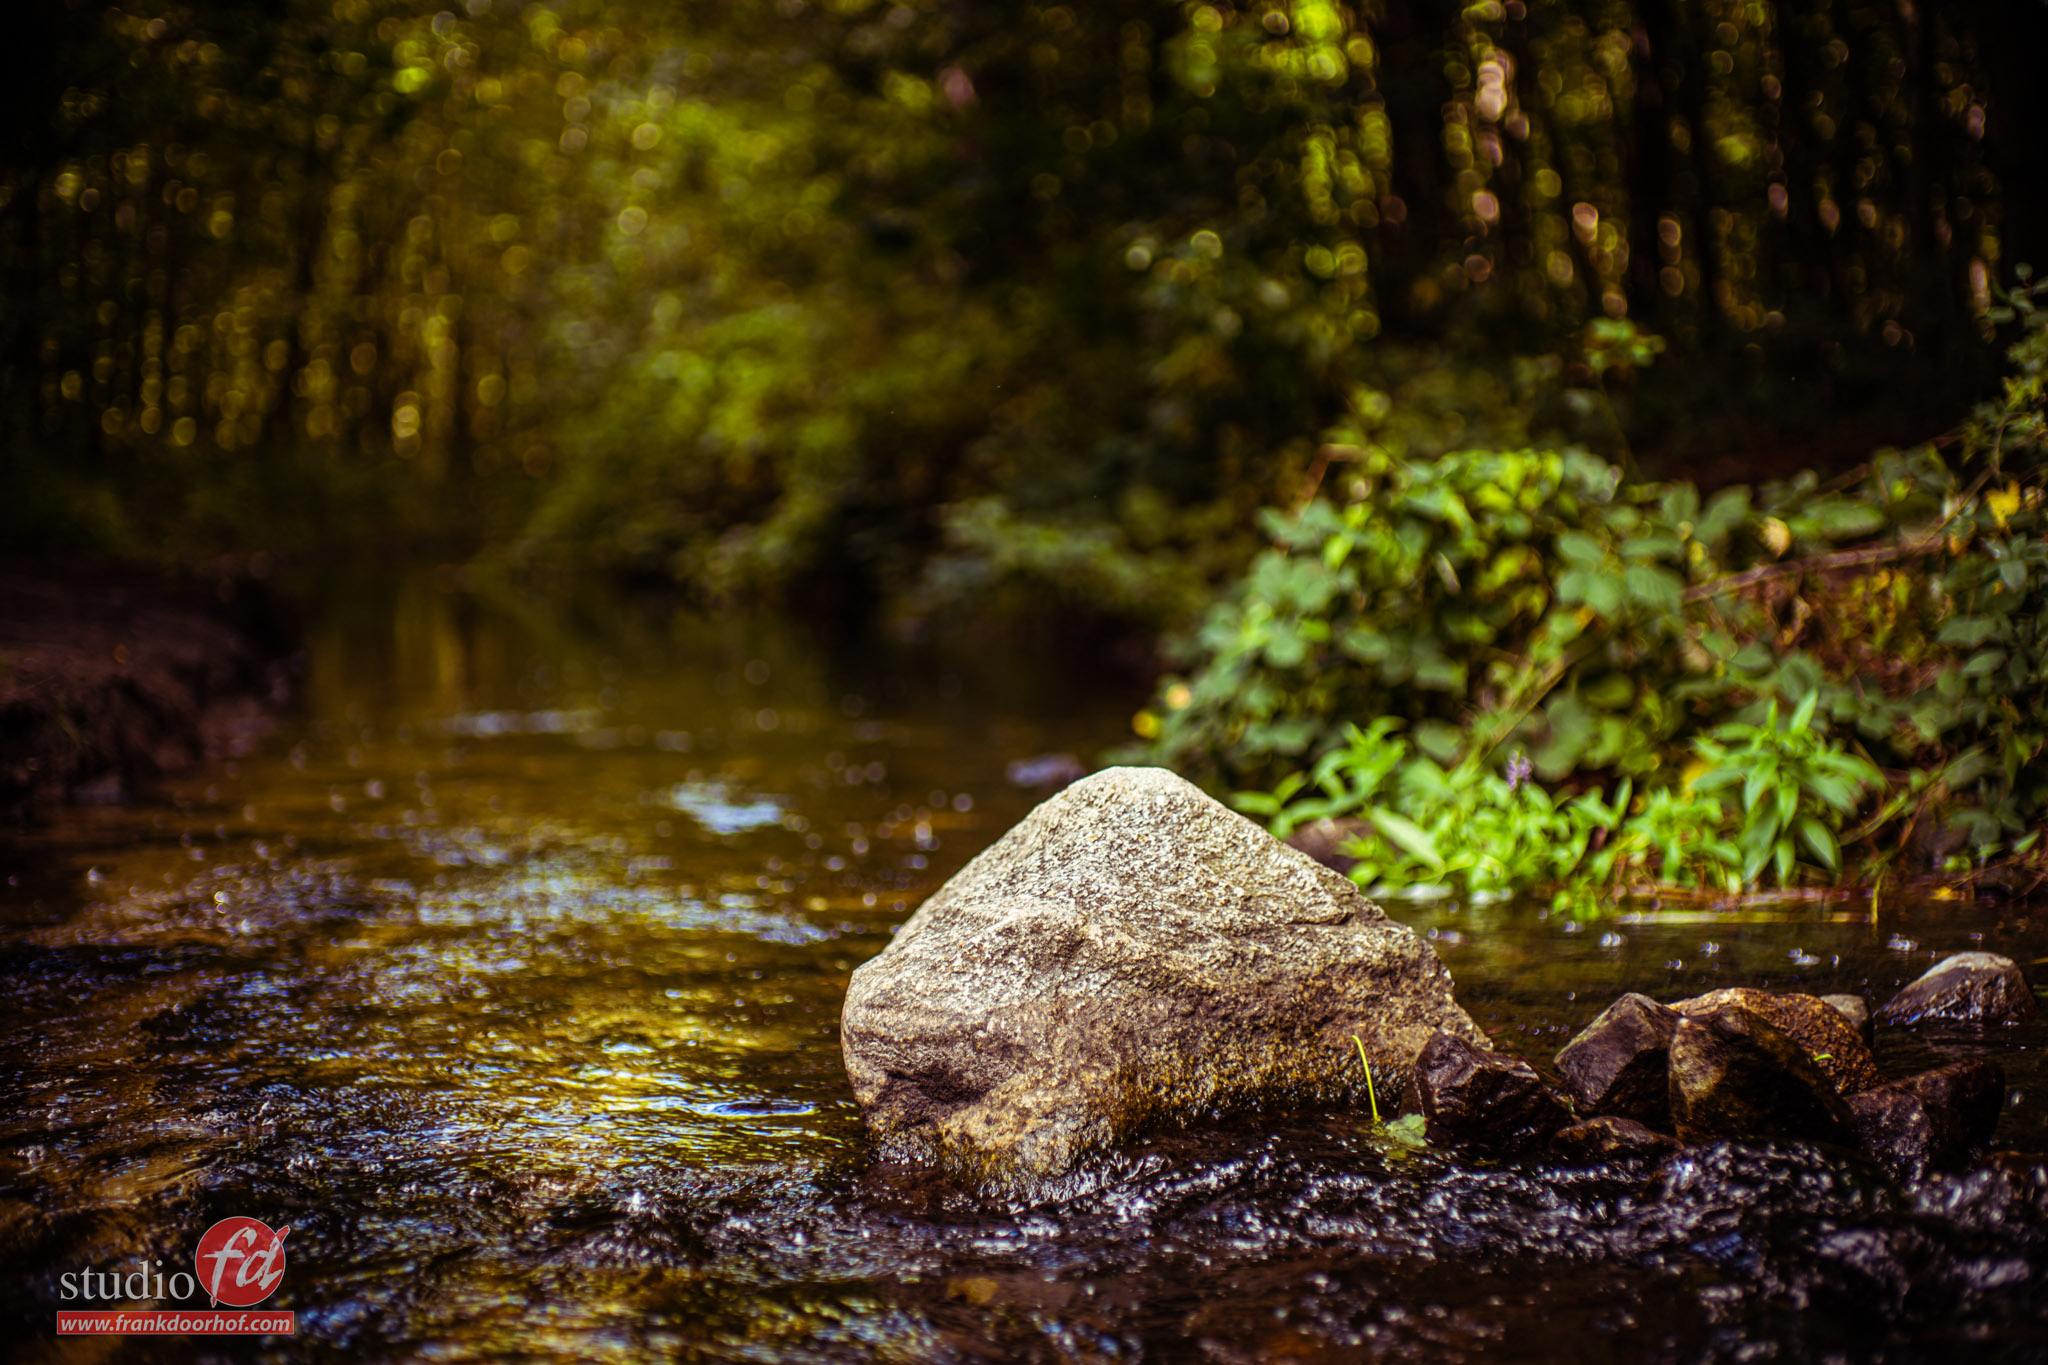
In these shots you don’t really see the effect as obvious but it does give a real sense of depth and 3D feel to the images. And this I really love and made me actually decide to post the images anyway.
Here one shot on f8 and one wide open.
And of course I could not resist my two favourite friends 😀


Now in all honesty taking a supersharp image of Chewie was a bit of a hassle with the adaptor and I was actually faster on manual mode, but with most subjects the adaptor does it work like a charm
Conclusion for now
As mentioned before this is my first impression piece.
I’ll add more information in the next blog post as soon as I shot some more images with the lens.
Hope you enjoyed it so far.