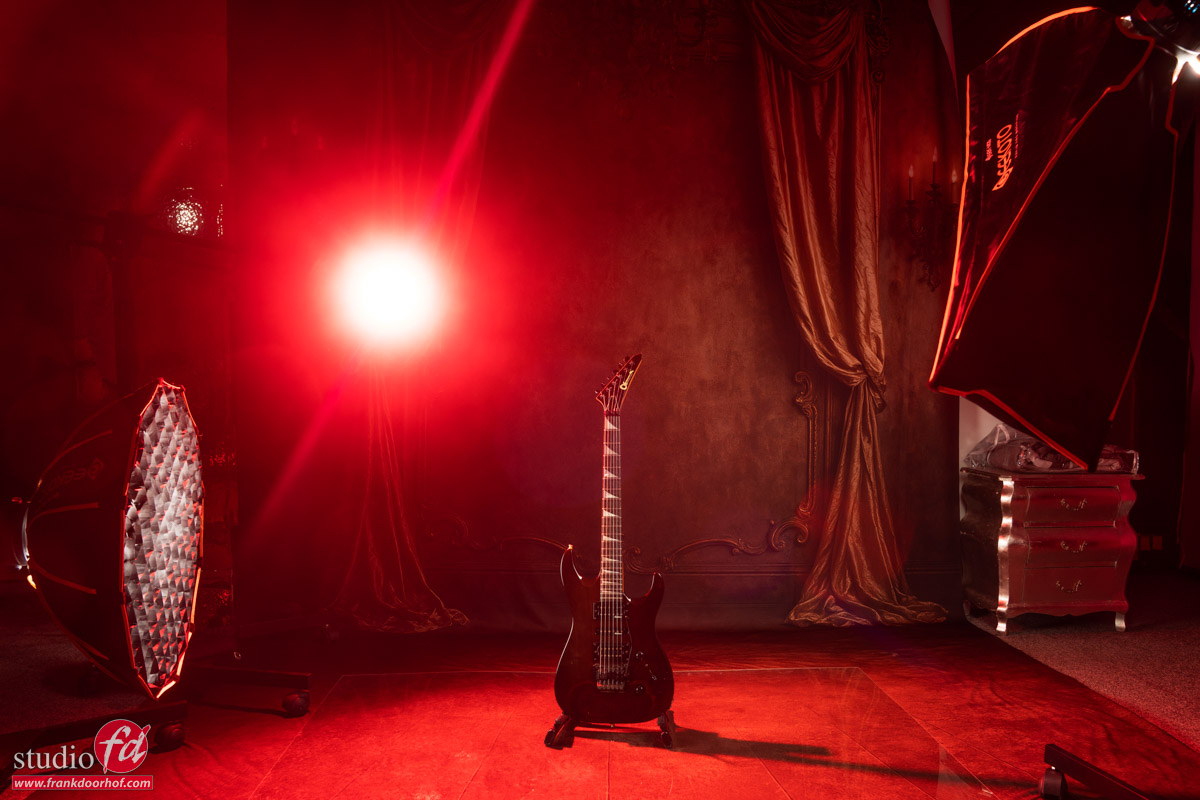
Mixing colored lights with strobes
Mixing light sources can be loads of fun
I’ve talked about it many times on the blog, but today we are adding one detail that will give you a lot more control over the look of the set. Today, it’s about mixing colored lights with strobes.
Workshop: mixing light
During the workshops, I always try to put in as many techniques as possible in the sets.
Which also means I sometimes have to create a problem to solve.
These images were shot during a glamour workshop with Claudia.
During this workshop, I love to create a more moody atmosphere and play a bit more with the model’s interaction with the camera.
One of the sets I think is great for glamour shots is pretty simple to recreate yourself.
Reflective surface
You only need some material with a nice reflective surface that you can lay on the floor for your model to lie on.
I love the color red, so for me it’s of course red velvet-like material.
Be careful with these kinds of materials; sometimes they will reflect light back differently depending on the angle you lay the material.
Sometimes this can be a nice effect. But if you want to keep the color even and need several parts together, make sure you check the direction you lay it down.
In most cases, I will light a set like this with one striplight or a small softbox. And let the light fall off around the legs.
Today we decided to add an extra element.
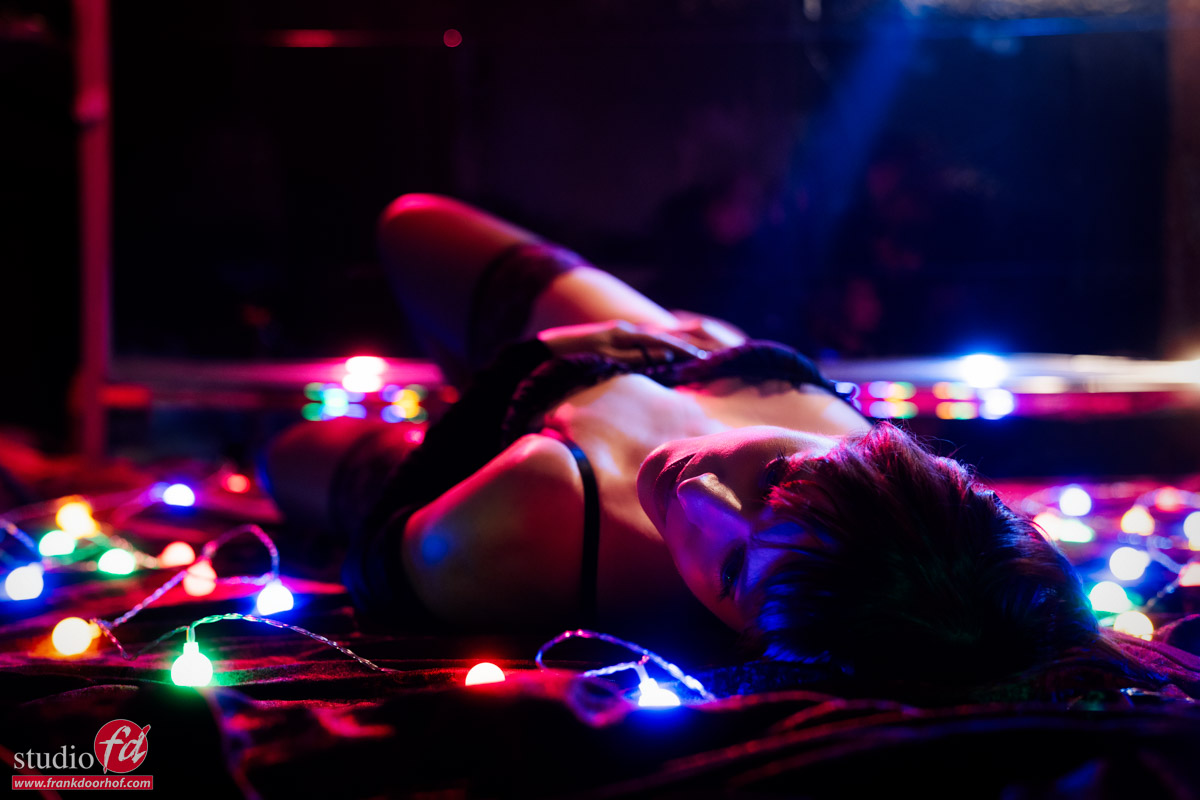
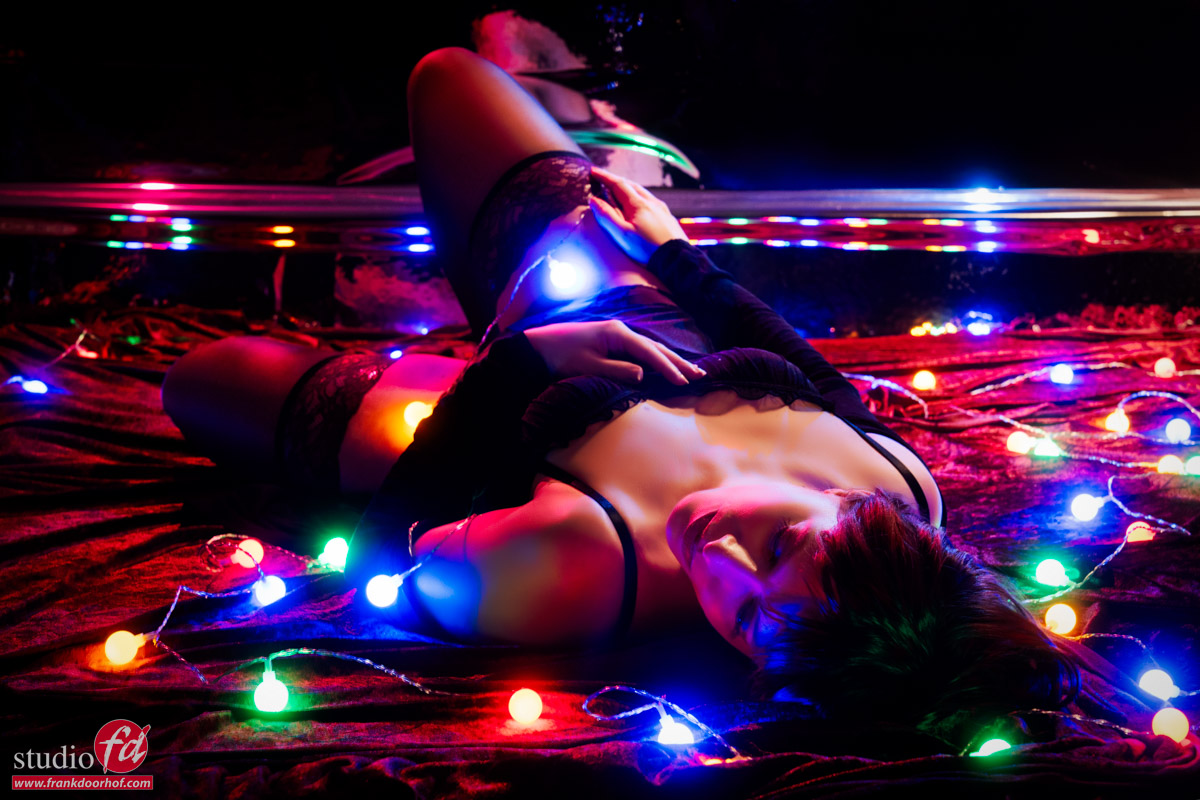
For this shot, I’m bouncing two strobes from our mirror wall into the set.
I’m using two Geekoto GT200’s with the Rogue magnetic kit and two Rogue gels, one red and one blue.
This already gave a really nice effect, but for a workshop, we need something more, right?
So let’s add some continuous lighting.
Mixing colored lights with strobes: the setup
In the past, this was something we had to guess for a large part.
Or, of course, shoot tethered and check the images while shooting.
But with almost every modern camera, it’s super easy.
When we normally shoot in the studio, we have our EVF in the “optical viewfinder emulation mode”.
This is the mode where, in a dark studio, you can see your subject perfectly.
On most cameras, even better than with a traditional viewfinder.
Emulation mode
You probably have at one time already experienced the “Emulation mode”.
When your camera is set to this mode, you will wonder what’s wrong with your camera when shooting in the studio.
In fact, there is nothing wrong with your camera, but the EVF is emulating what will happen when you press the shutter, and because we often shoot with very low light in a studio and with strobes, it’s normal for the camera to show you a pitch-black screen.
But for this setup, we actually need this setting.
You probably know, or by now have guessed, that the emulation mode is great for situations where you work with continuous lighting.
The camera literally shows you the result before you press the shutter.
So, for a setup like this, it helps a lot to set up the camera.
How to create this image: mixing colored lights and strobes
Step 1
Make sure the studio is very dark, and you don’t have any lights that affect the set.
Step 2
Choose the aperture for the depth of field you like.
I personally love to shoot these kinds of sets wide open or very close to wide open.
Now, make sure you choose a shutter speed you feel comfortable with for shooting handheld.
Although the model will be partly “frozen” by the strobes, we have a lot of the small lights in the frame, so you don’t want too much (if any) movement in your model.
In most cases, I would aim for anything between 1/8 and 1/30
Luckily, with today’s cameras, we have great high-iso performance and otherwise great software.
You can set the perfect ISO and shutter speed combination by simply looking at the emulation in the viewfinder.
When you lower the shutter speed/raise the ISO, the lights will get brighter.
When you raise the shutter speed/lower the ISO, the lights will get darker.
Step 3
Congratulations! The most difficult part is done.
Now that you know the aperture, shutter speed, and ISO, it’s important not to change the ISO and aperture anymore.
You now have to take out your light meter and meter the strobe to the aperture and ISO you have set in your camera.
When your strobe is too powerful, you can opt to place an ND filter on the strobe (not on the camera, of course :D), or bounce the strobe from a ceiling or wall.
Step 4
Now that you have set everything up perfectly and the first images come in, you will probably be disappointed.
And that’s normal, don’t worry.
In sets like this, the perfect exposure is often not the “perfect” exposure.
Because we are working with two different light sources, we have a lot of creative control over the set.
For example, you can choose to raise or lower the shutter speed and control the output of the little lights. But you can also opt to lower the output of the strobes and make it more moody with more saturated colors.
This is the part that I often compare with cooking.
The base has to be perfect, but then we start adding the spices.
Step 5
The final ingredient: mixing colored lights and strobes
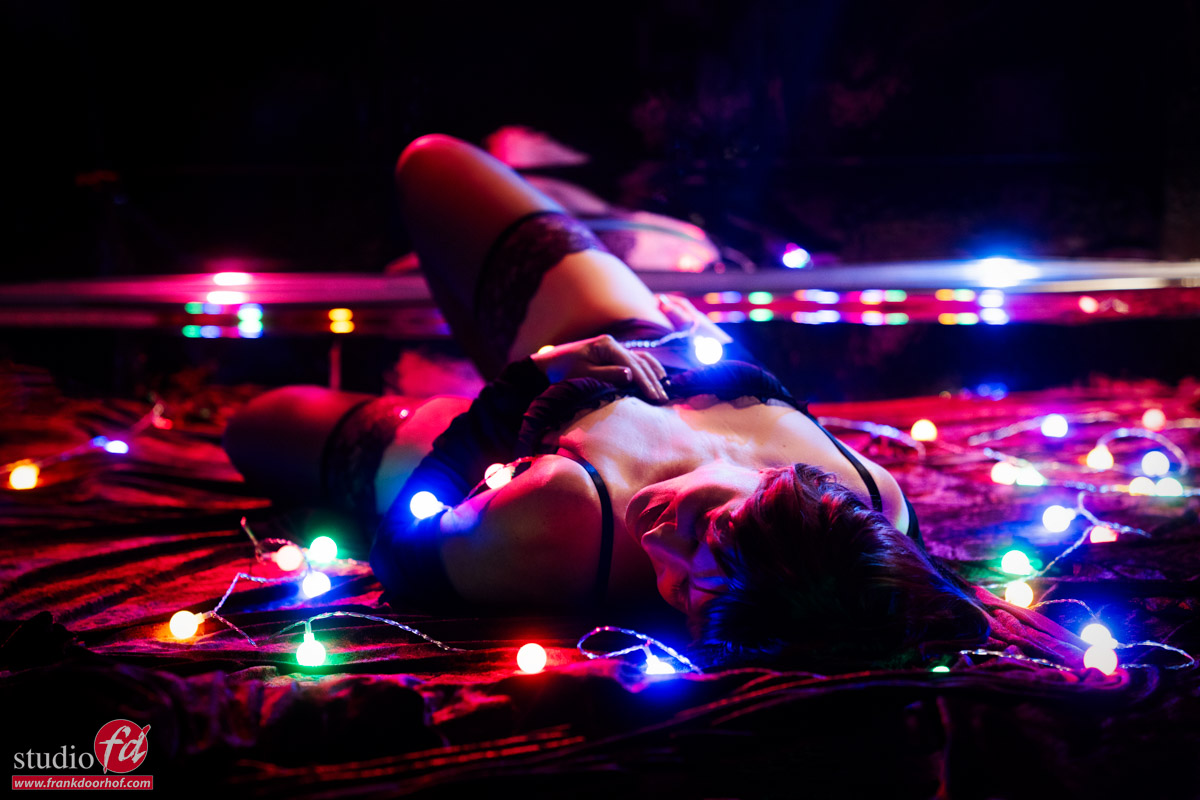
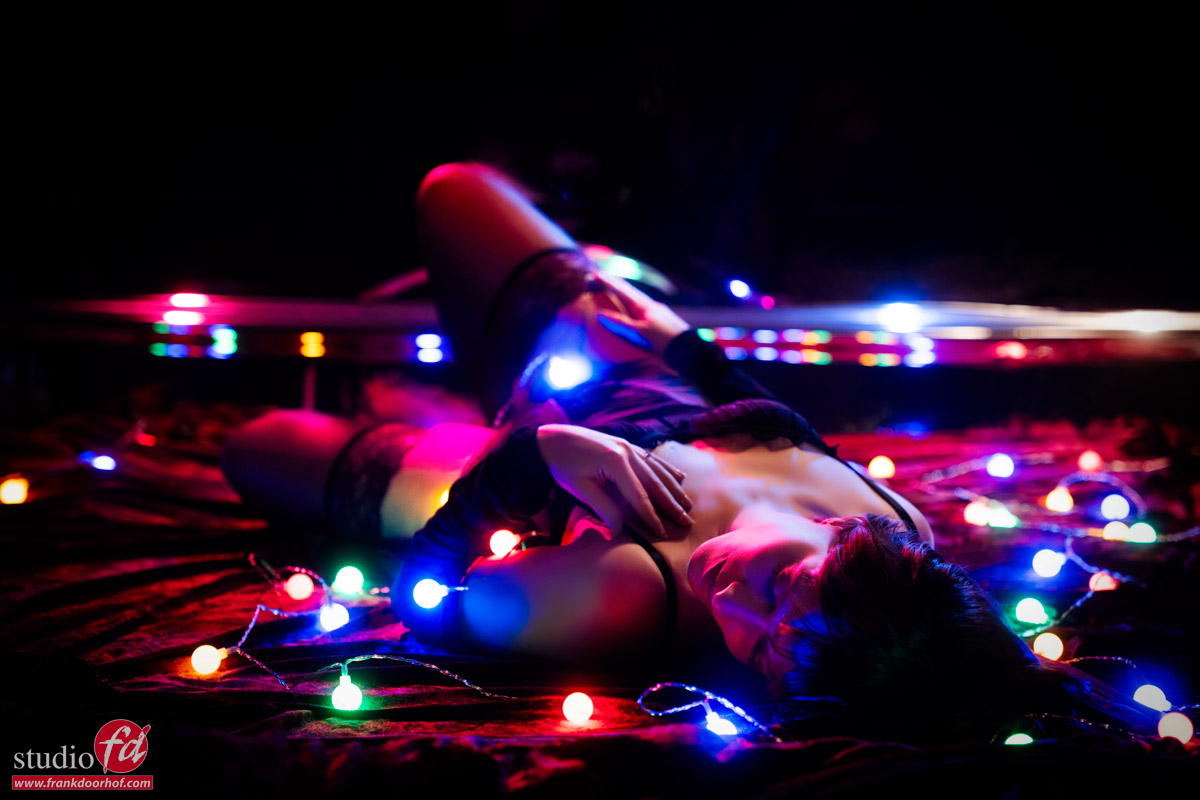
Because we are working with loads of small lights in this setup, plus colored strobes that bounced from the wall, it was almost impossible to get perfect lighting on certain parts of the body and the face.
And this is where you have to be smart…. use the small lights to light these parts.
Together with the students, we checked the images coming into Lightroom. (This is why we always shoot tethered) And every time we changed some lights until we got the final results you see here.
Conclusion
Sometimes a prop is just a prop.
But sometimes you can also use your prop to help with problems in the set. We used the lights here to light certain parts of the body and face that were not lit by the strobes.
Remember that in mixed lighting setups, the aperture/ISO combination must stay fixed for the strobe, and with the shutter speed, you can let in more or less of the continuous light.
Do remember to stay under the X-sync of 1/125 in the studio.
Workshops about (mixing) lights
Want to learn everything about light control?
Want to visit a workshop where it’s not just shooting a model with a fixed lighting setup, but see how the setup is built and adjusted to the taste of the group?
And of course learn how to work with poses, backgrounds, small sets, styling, retouching, and a lot more…..
If this all sounds awesome, visit fotografie-workshops.nl and book your workshop.
If you don’t speak Dutch, no problem, let us know a few weeks in advance, and we can switch the workshop to English.
Not possible to travel to the Netherlands?
We got you covered with our 1:1 online workshop.
We have a full streaming setup in our studio. 4 detail cameras and of course the retouching software, so you can see every detail and of course ask questions during the day. Plus, you get all the RAW files after the workshop.