Mixing lightsources
One of the things that always gets asked during the Q&A at the start of the workshops is “how to mix continuous lights with strobes”, and although it might seem difficult it’s actually very simple.
The first thing you have to realise is that the output of the strobe is a lot more powerful than you might realise, so I would always advise to go to the lowest setting.
By the way, when buying strobes it’s always to keep in mind that there is a dynamic range of the strobe, meaning you can set it up in for example 4 stops or even 7 stops. You probably already see it coming. If you buy a 1000 watt strobe with 4 stops of range you probably will have too much power on the lowest setting, while the same strobe with 7 stops will go much lower.When you already know you love creative photography it could actually be a super good investment to get some 100 watt strobes with a decent range.
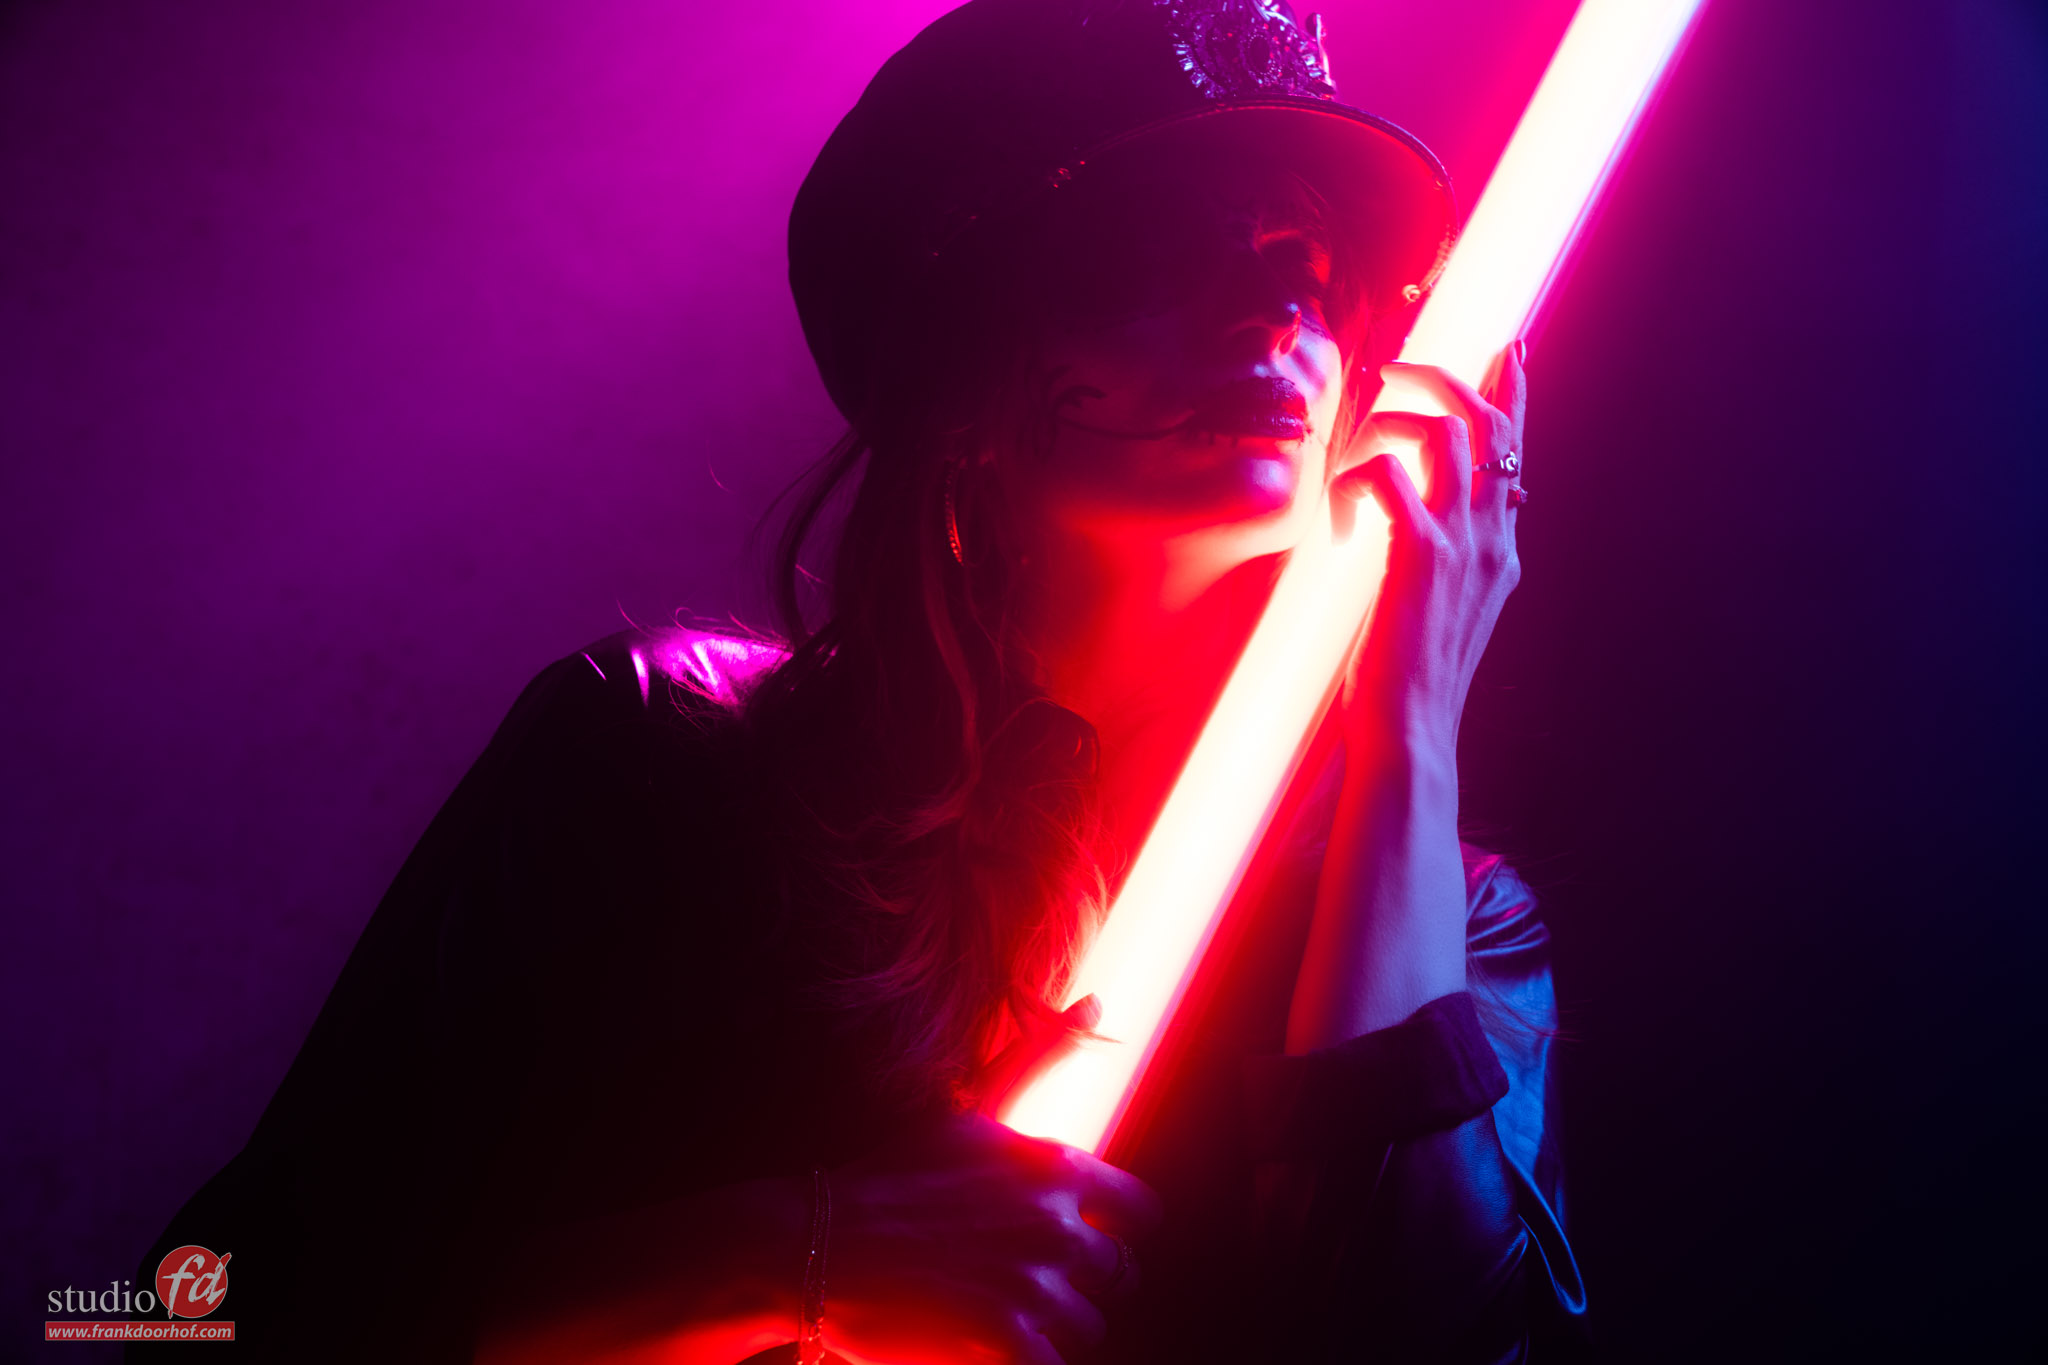
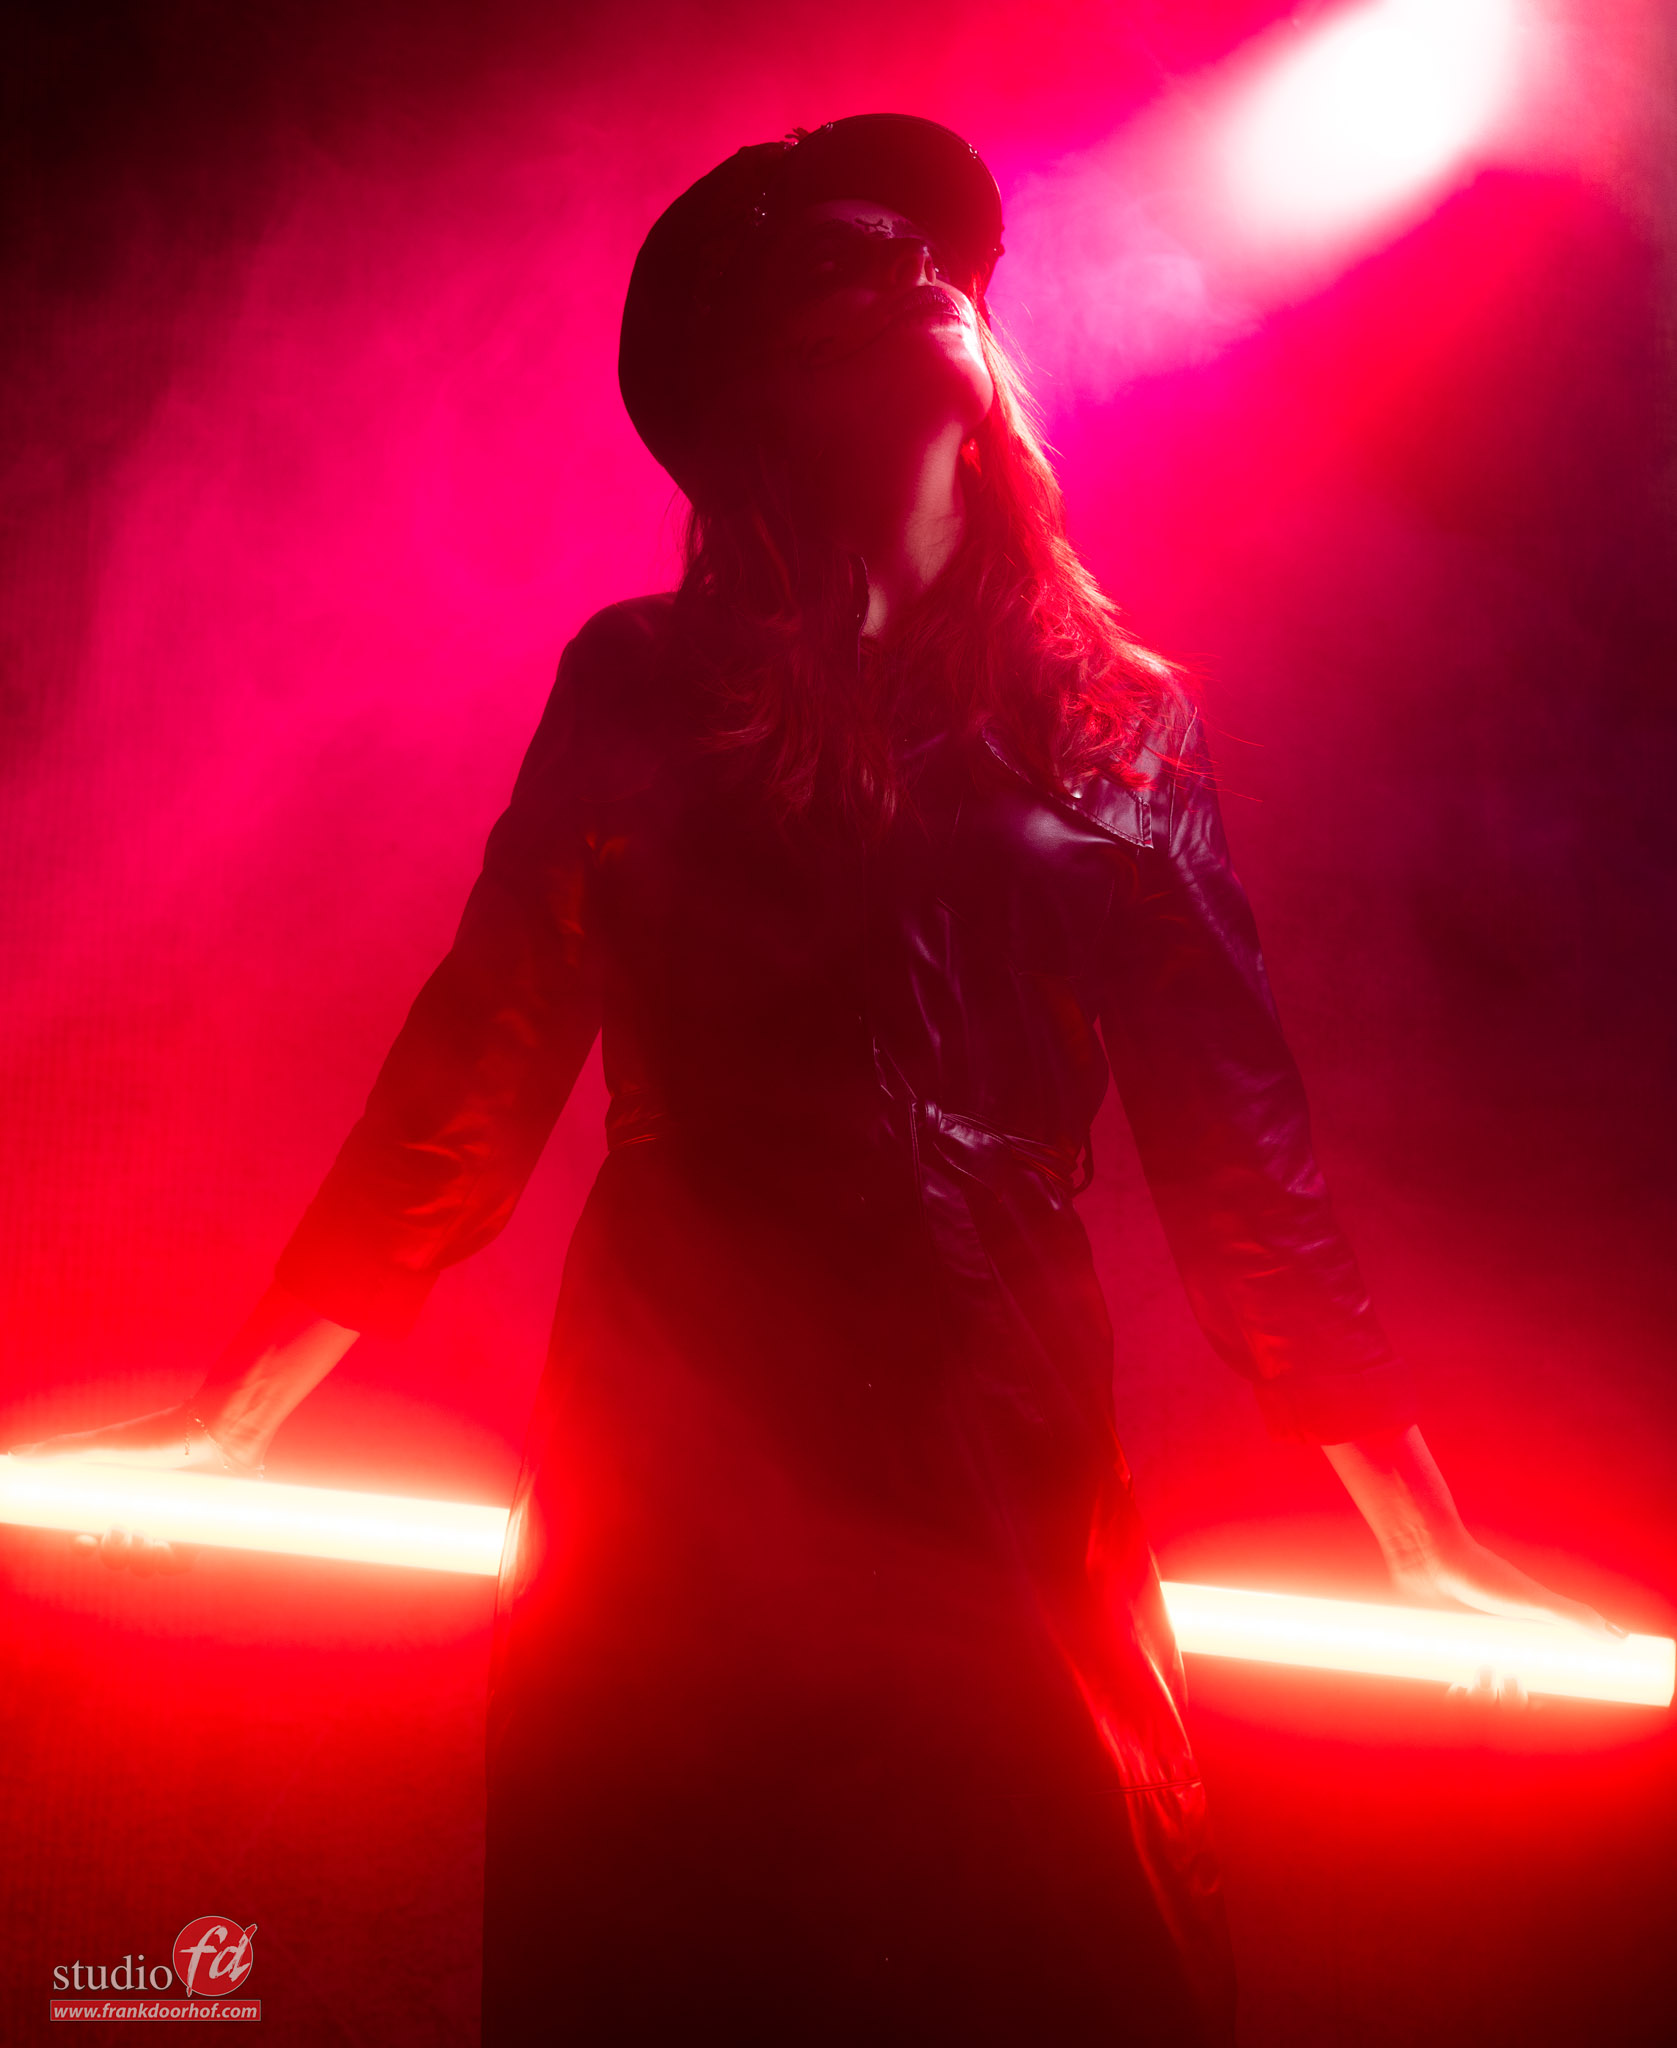
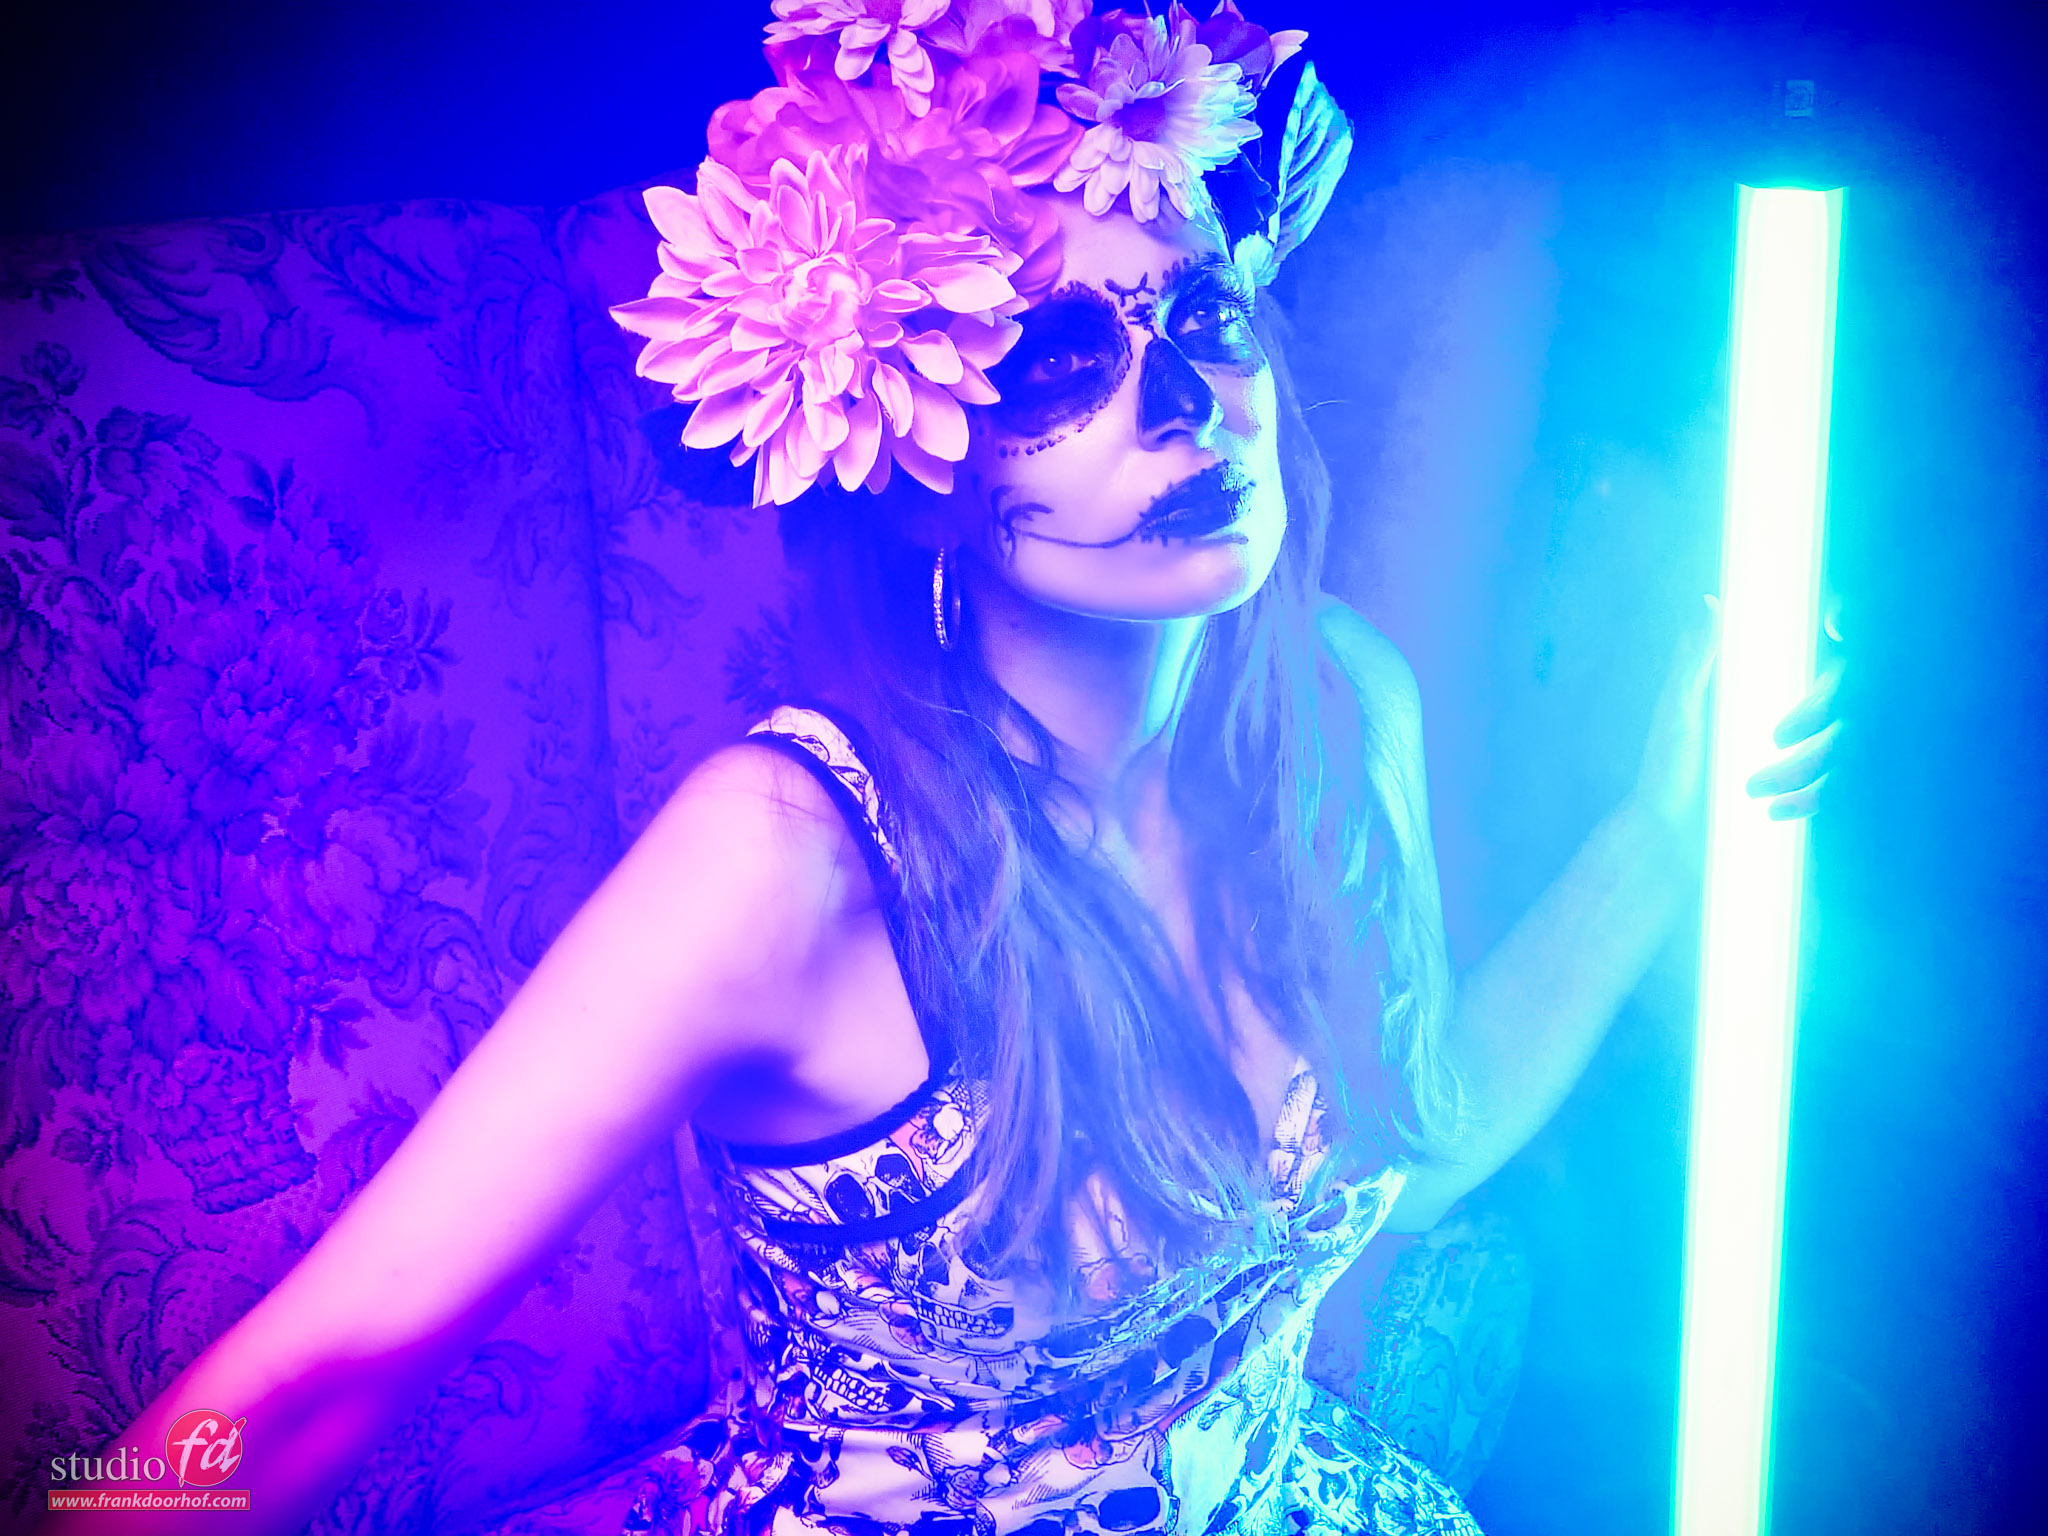
Now that we have the lowest output on the strobe, it’s time to add the continuous light source, in this case we used a very powerful led strip from Nanlite. But I use the exact same technique when shooting Christmas lights, the only thing I have to do with less powerful lights is actually lower the output of the strobes even more and raise my shutter speed.
You might wonder…. lower than low?
Well yeah 🙂
When we are working with strobes you can mount modifiers on the strobes to shape the light, you know them as soft boxes, umbrellas etc. Now ALL these modifiers work differently and will also absorb or reflect light totally differently, for example a silver reflector will give way more output than a strip light, so by chosing a different modifier you can lower the output of the strobe.
But there is more
If you still have too much output, you can always use a technique called feathering.
By aiming the light away from your subject you are now using the sides of the light, the benefit is that the quality of light is a lot softer than the center, but the disadvantage is that the light output is a lot less… and well in our case that’s a benefit.
But what if we need even more?
Well no worries (yet) if you didn’t already, mount a grid in your modifier, by using a grid we are now really focussing the light so we can seriously cut down on the light hitting the model.
But what if I want to use my modifier straight on my model.
There are a lot of situations where feathering doesn’t really work but you do want a certain look, well for that situation the final tip for this blogpost.
Remember that every strobe uses a modelling light?
Why not just take the remote off the camera and adjust the modelling light till it hits the output you want on the set, that way you are using your strobes as a continuous light source.
A few things to remember
When shooting with very low output lights like Christmas lights it’s often necessary to bump the ISO up beyond the point where you probably feel comfortable. But don’t worry, there are great noise suppression solutions out there like Topaz Denise which is insane, but also most RAW convertors are great with noise suppression. And finally don’t underestimate your camera, we are often shooting at 32000 ISO and up (Yes 32000 not 3200) and it looks very good on my Sony A7RIV, also because in most cases 24mp is more than enough I can always downscale my images which also already takes away a lot of noise. So don’t panic too much when the ISO gets higher.

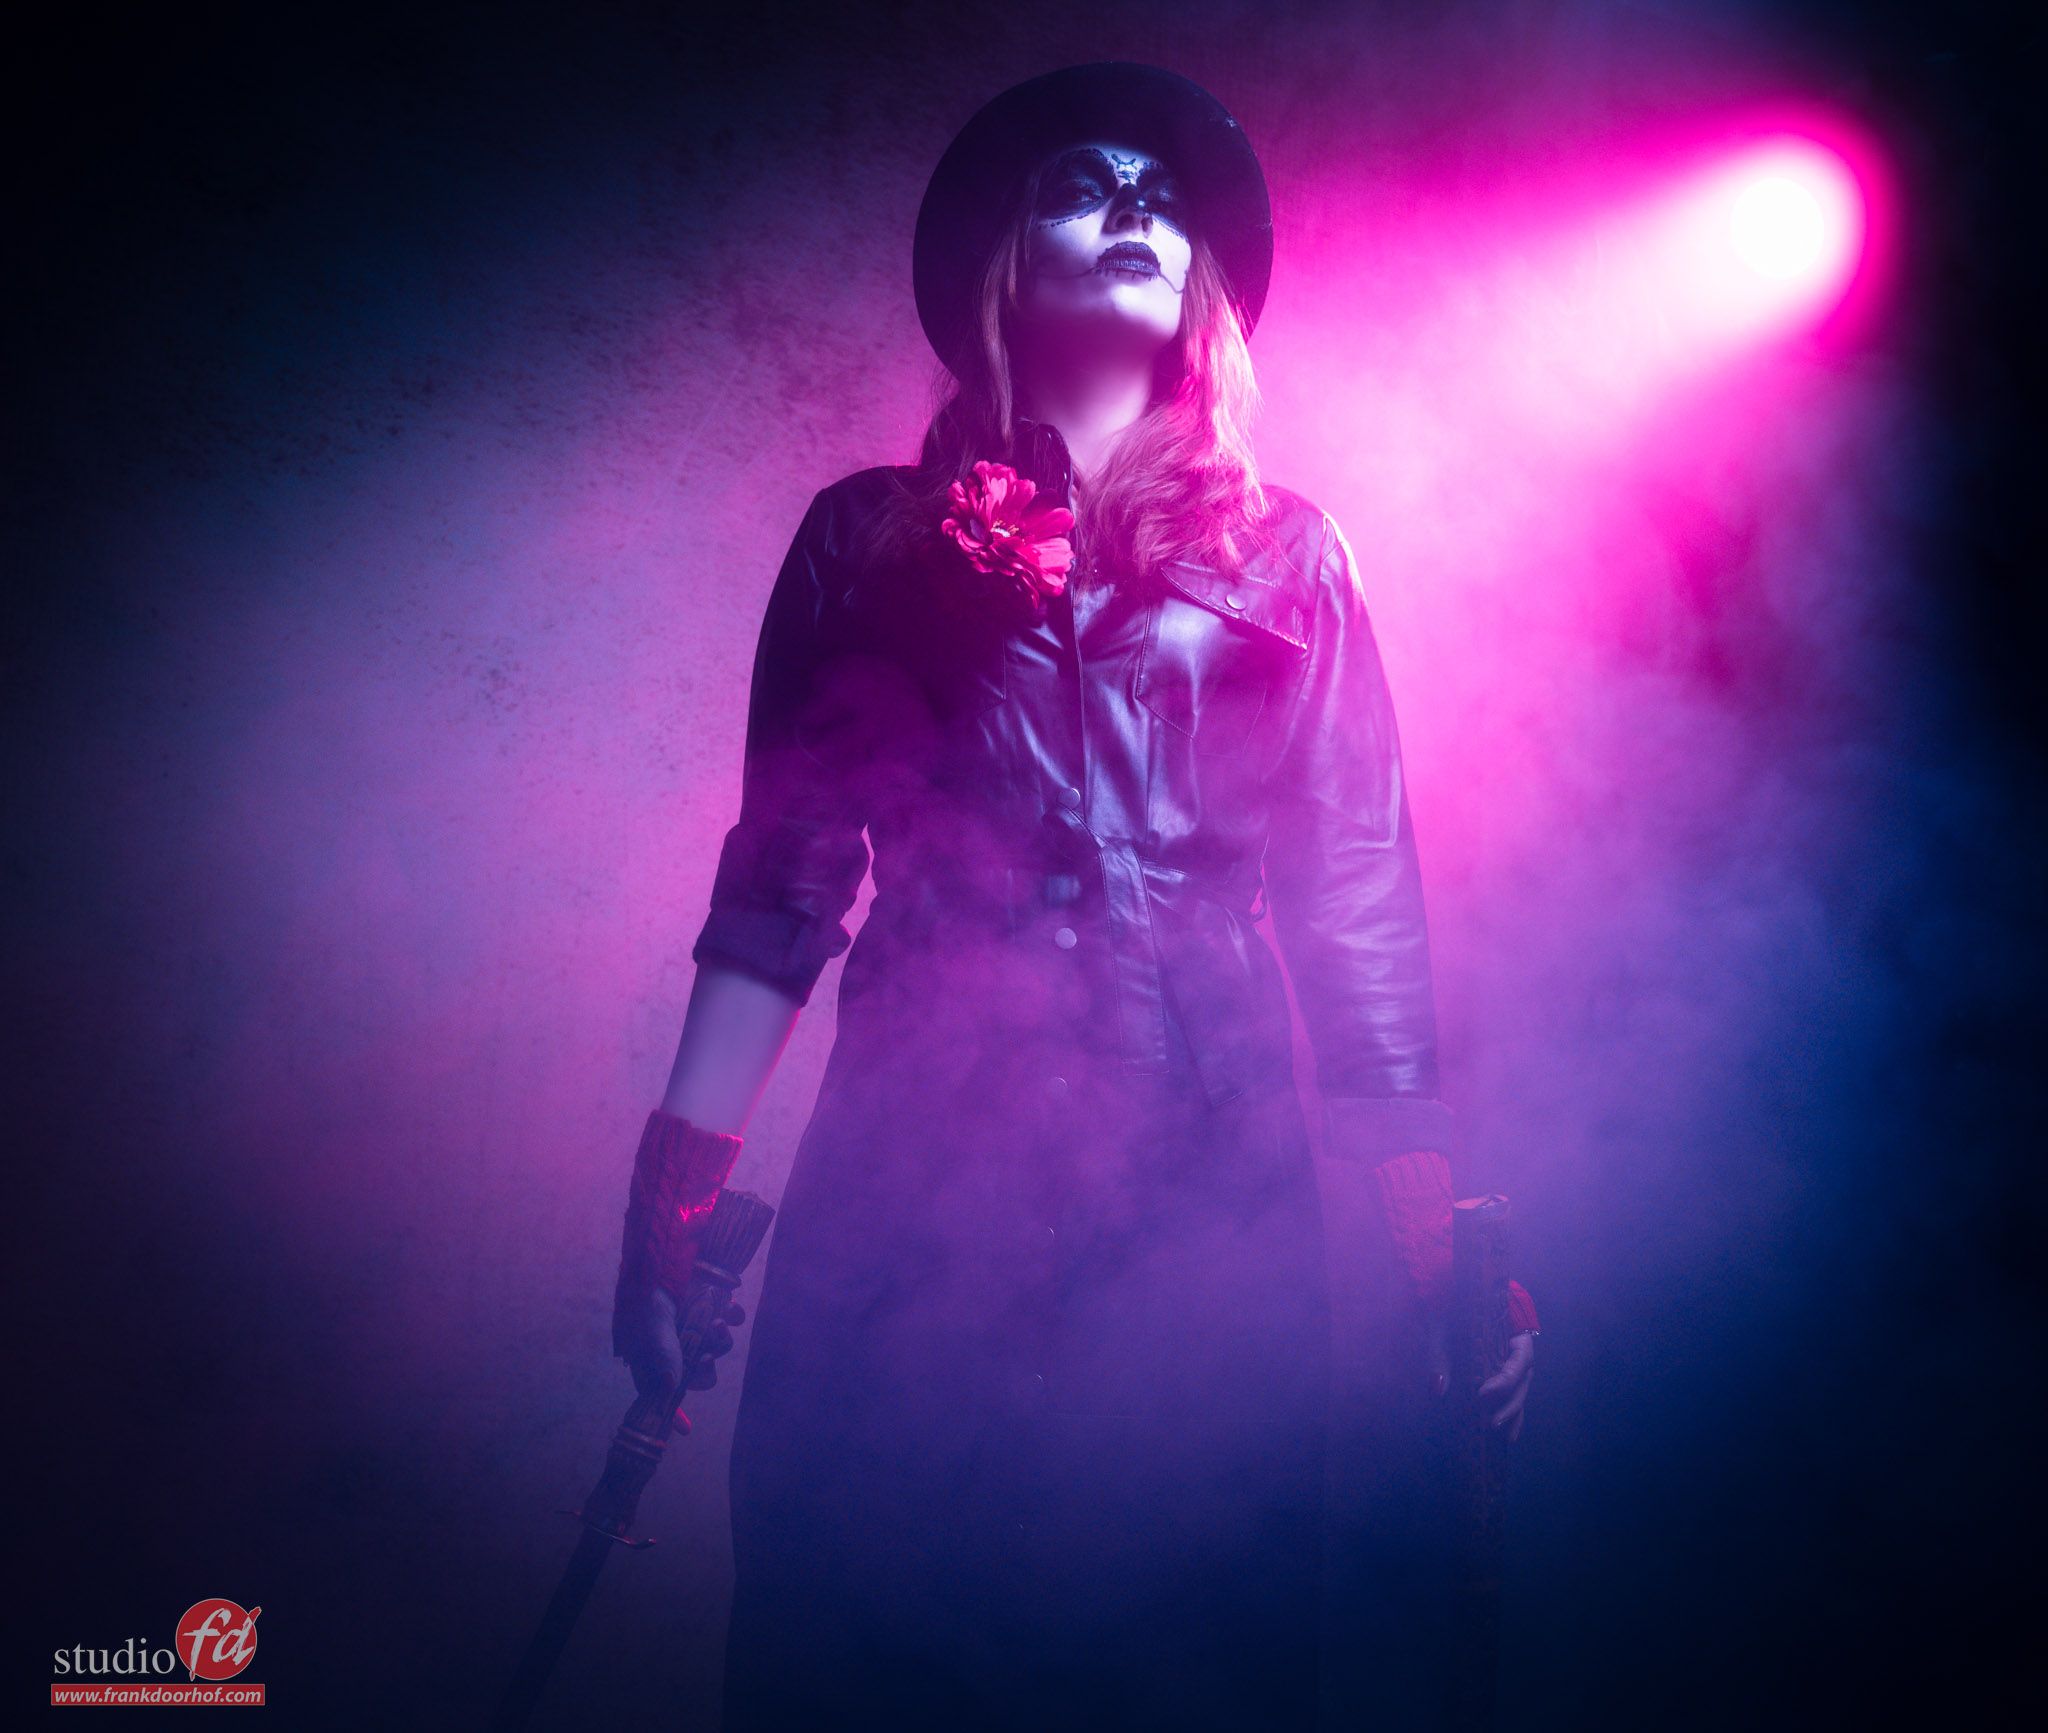
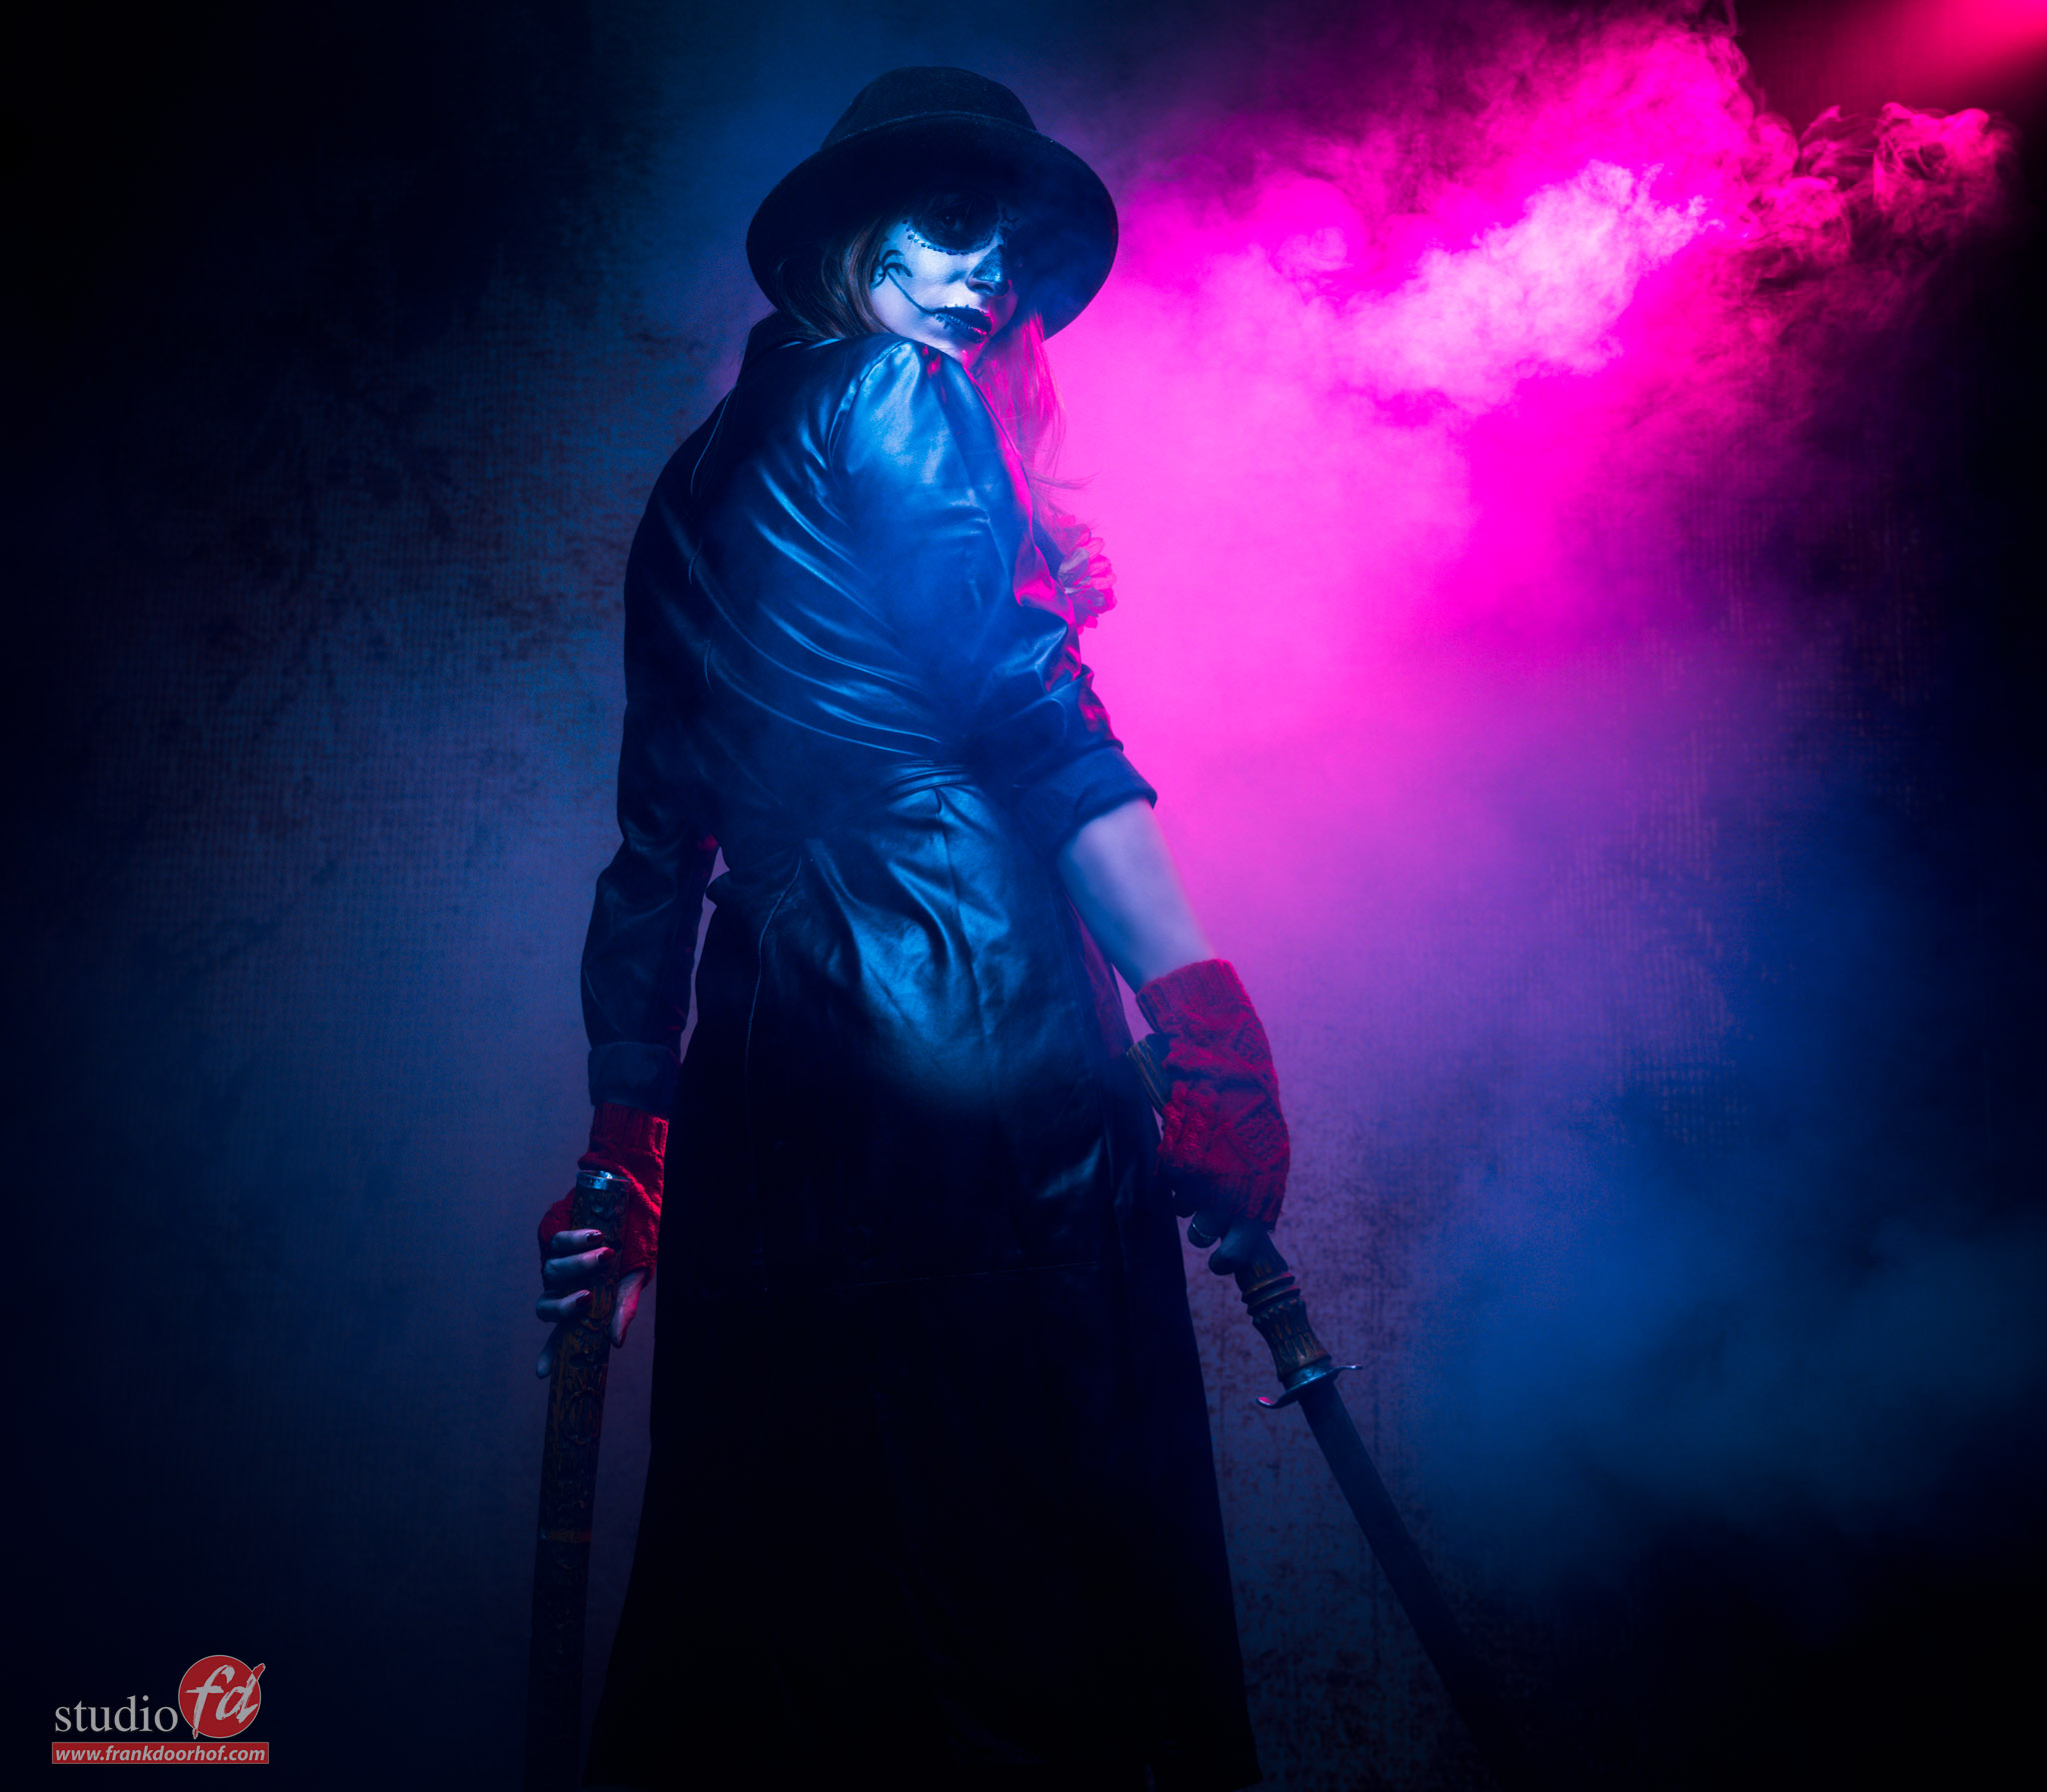
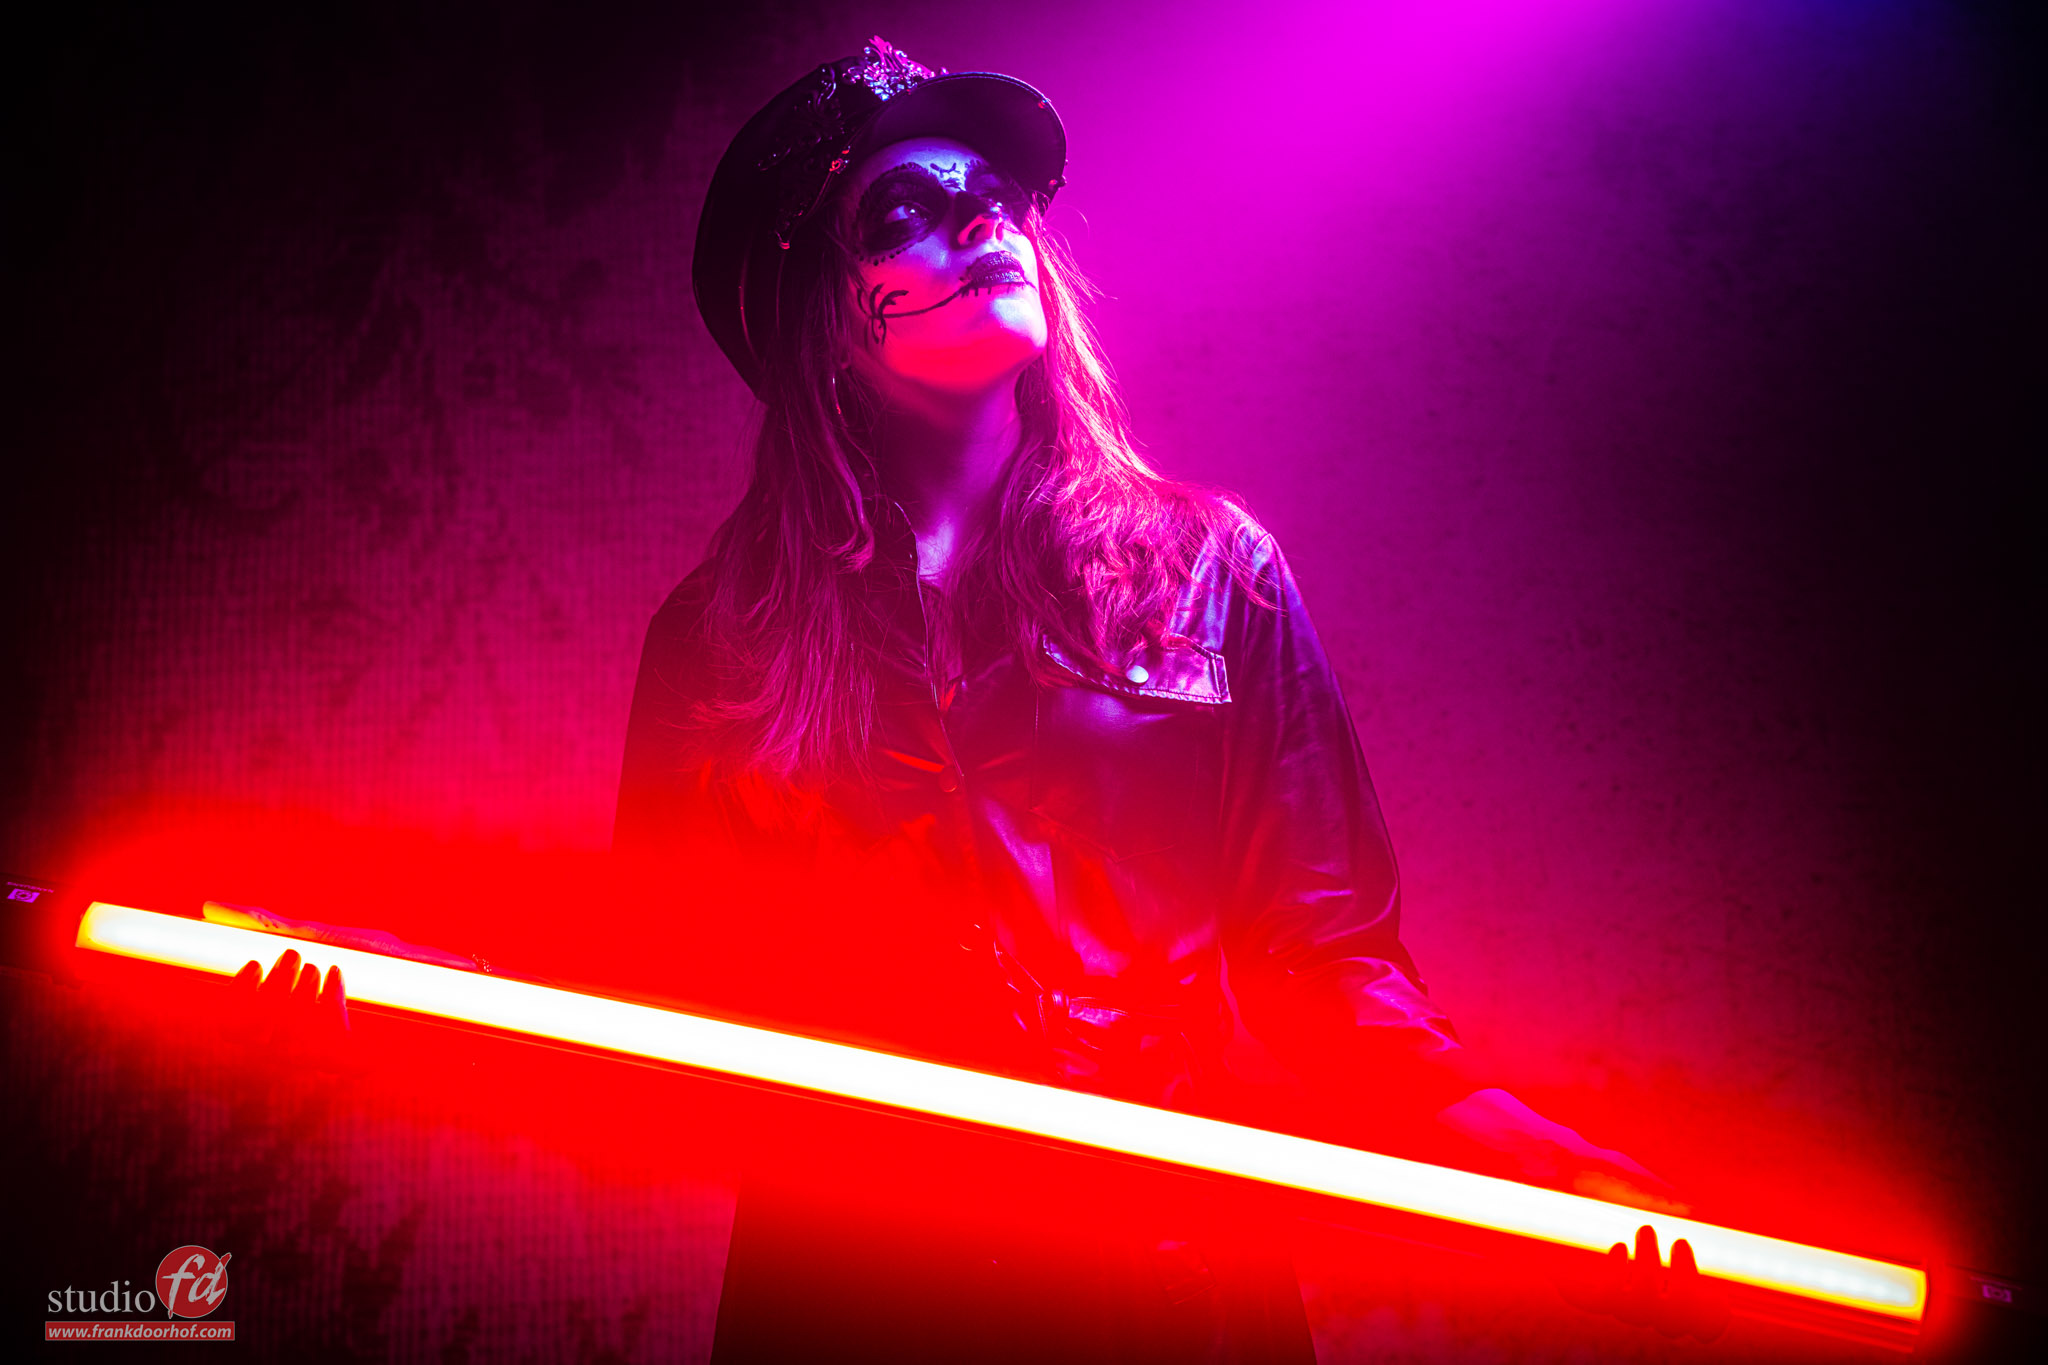
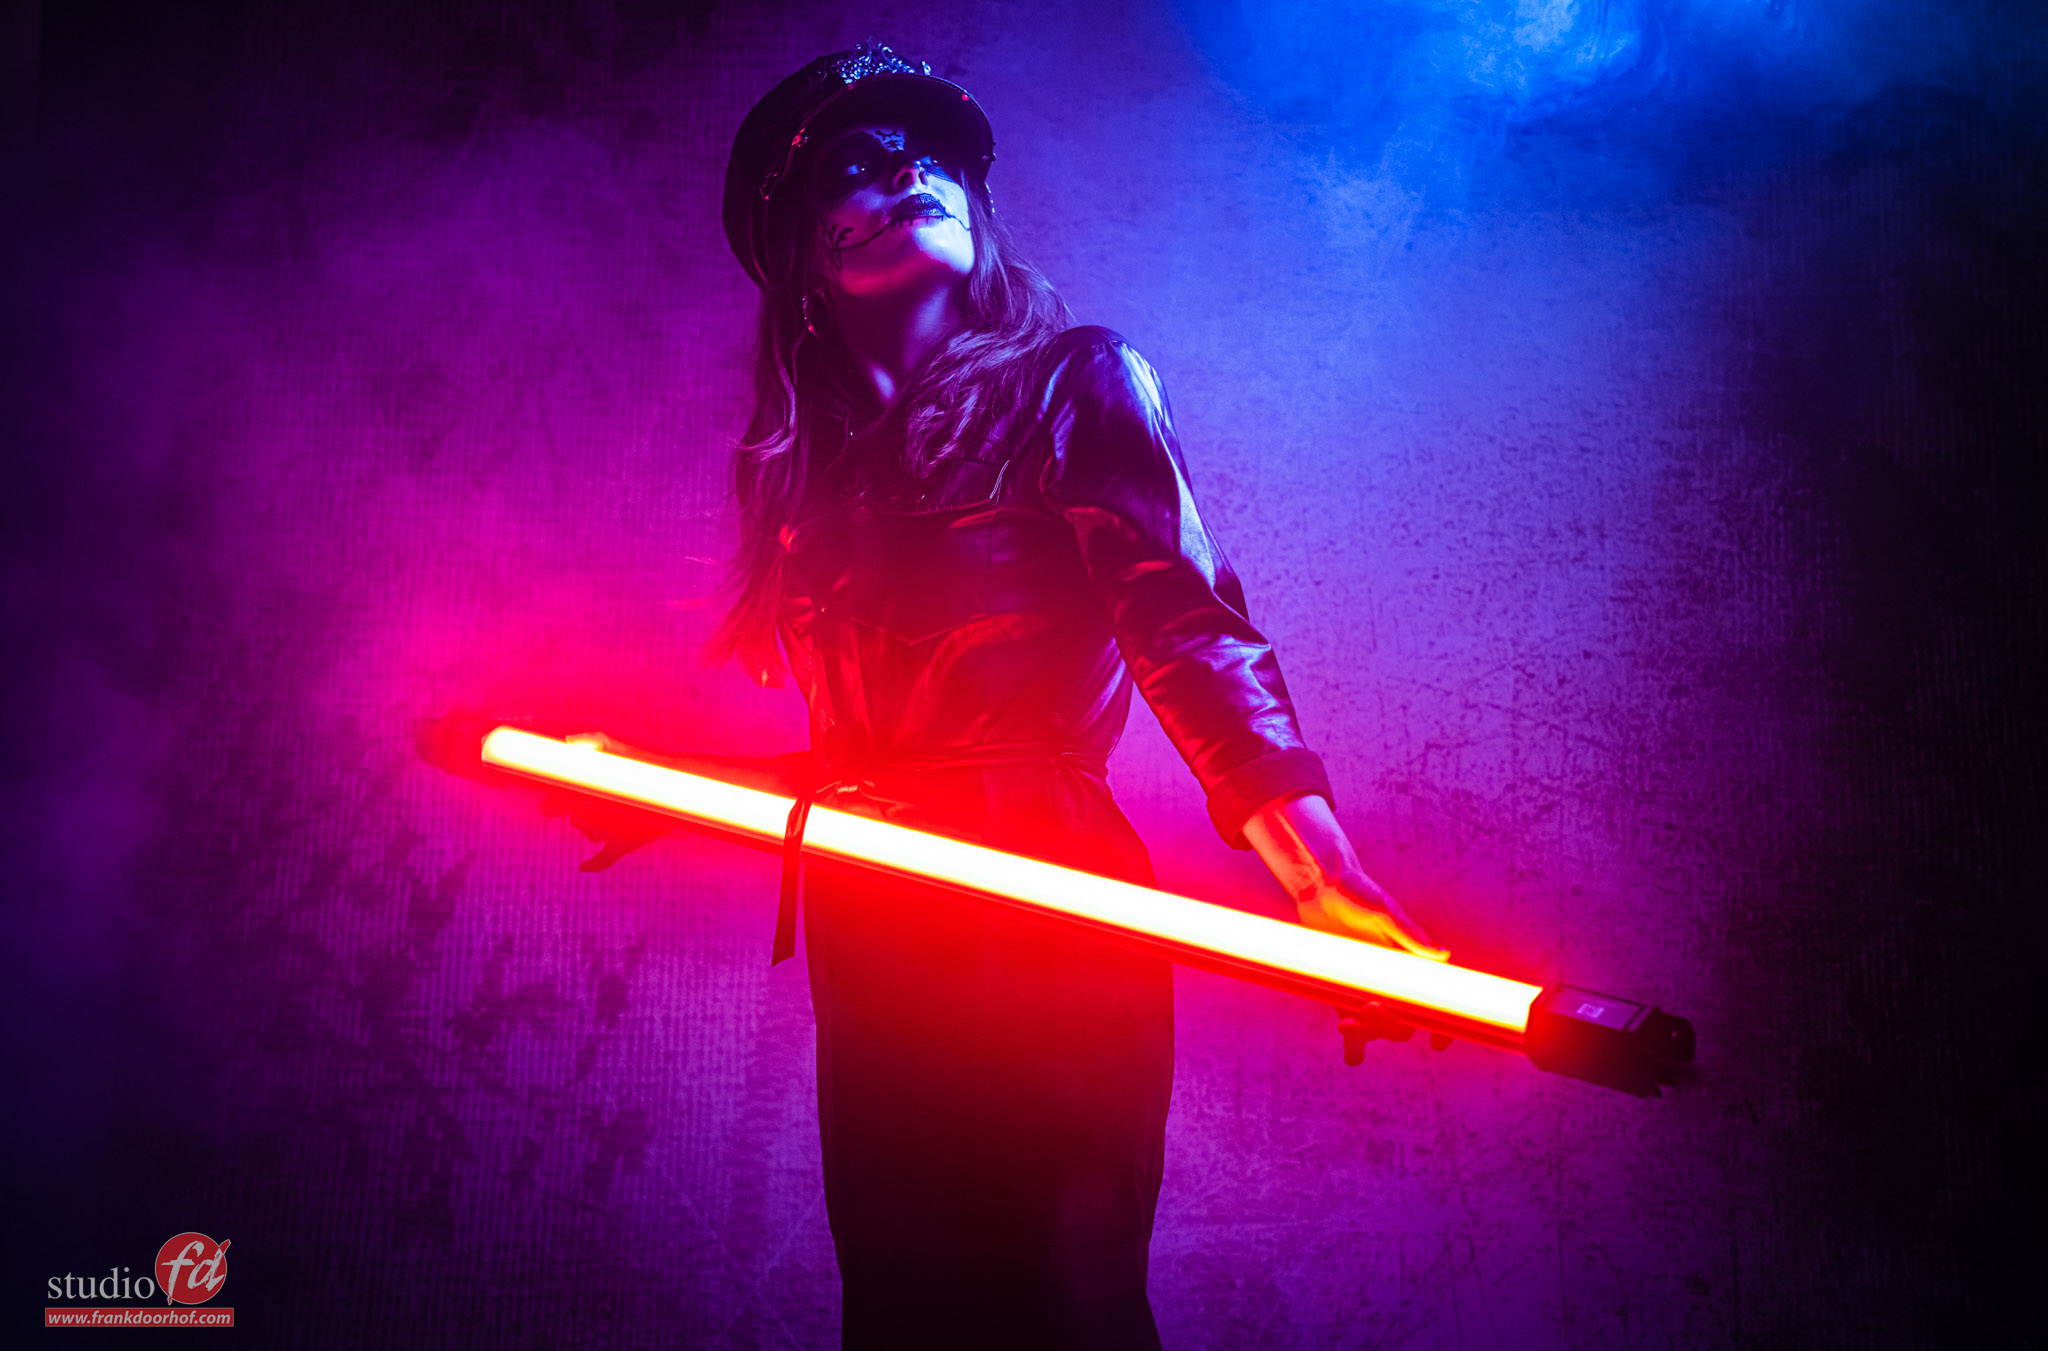
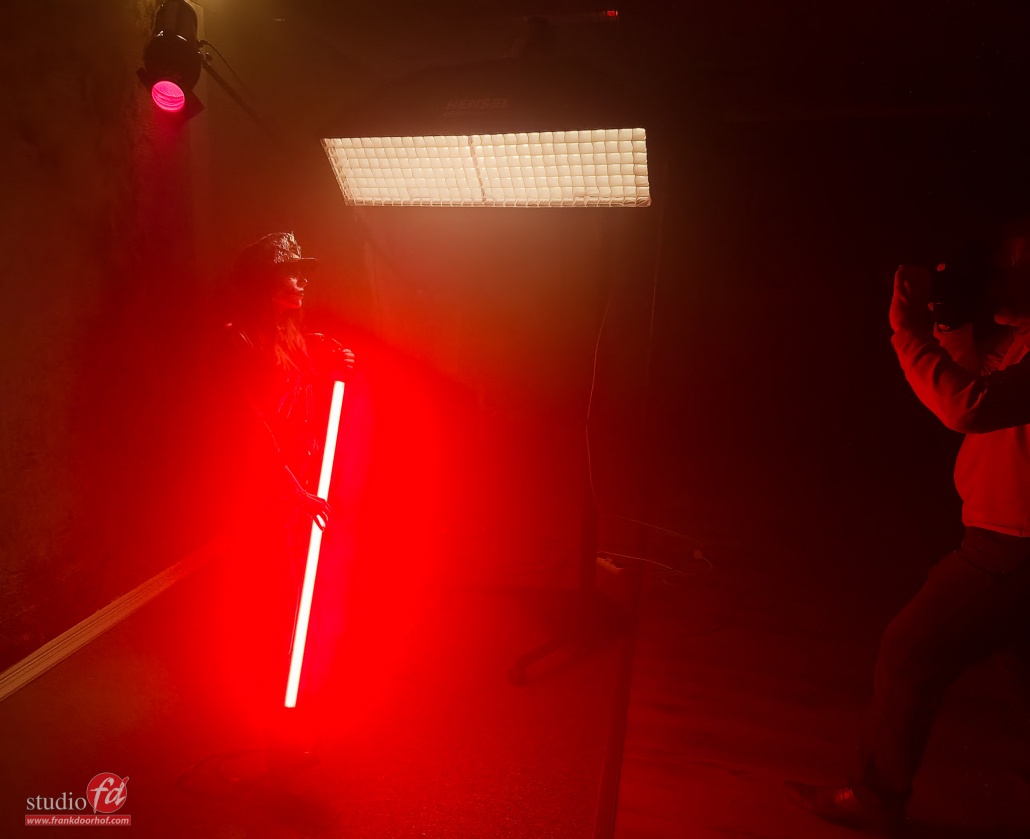
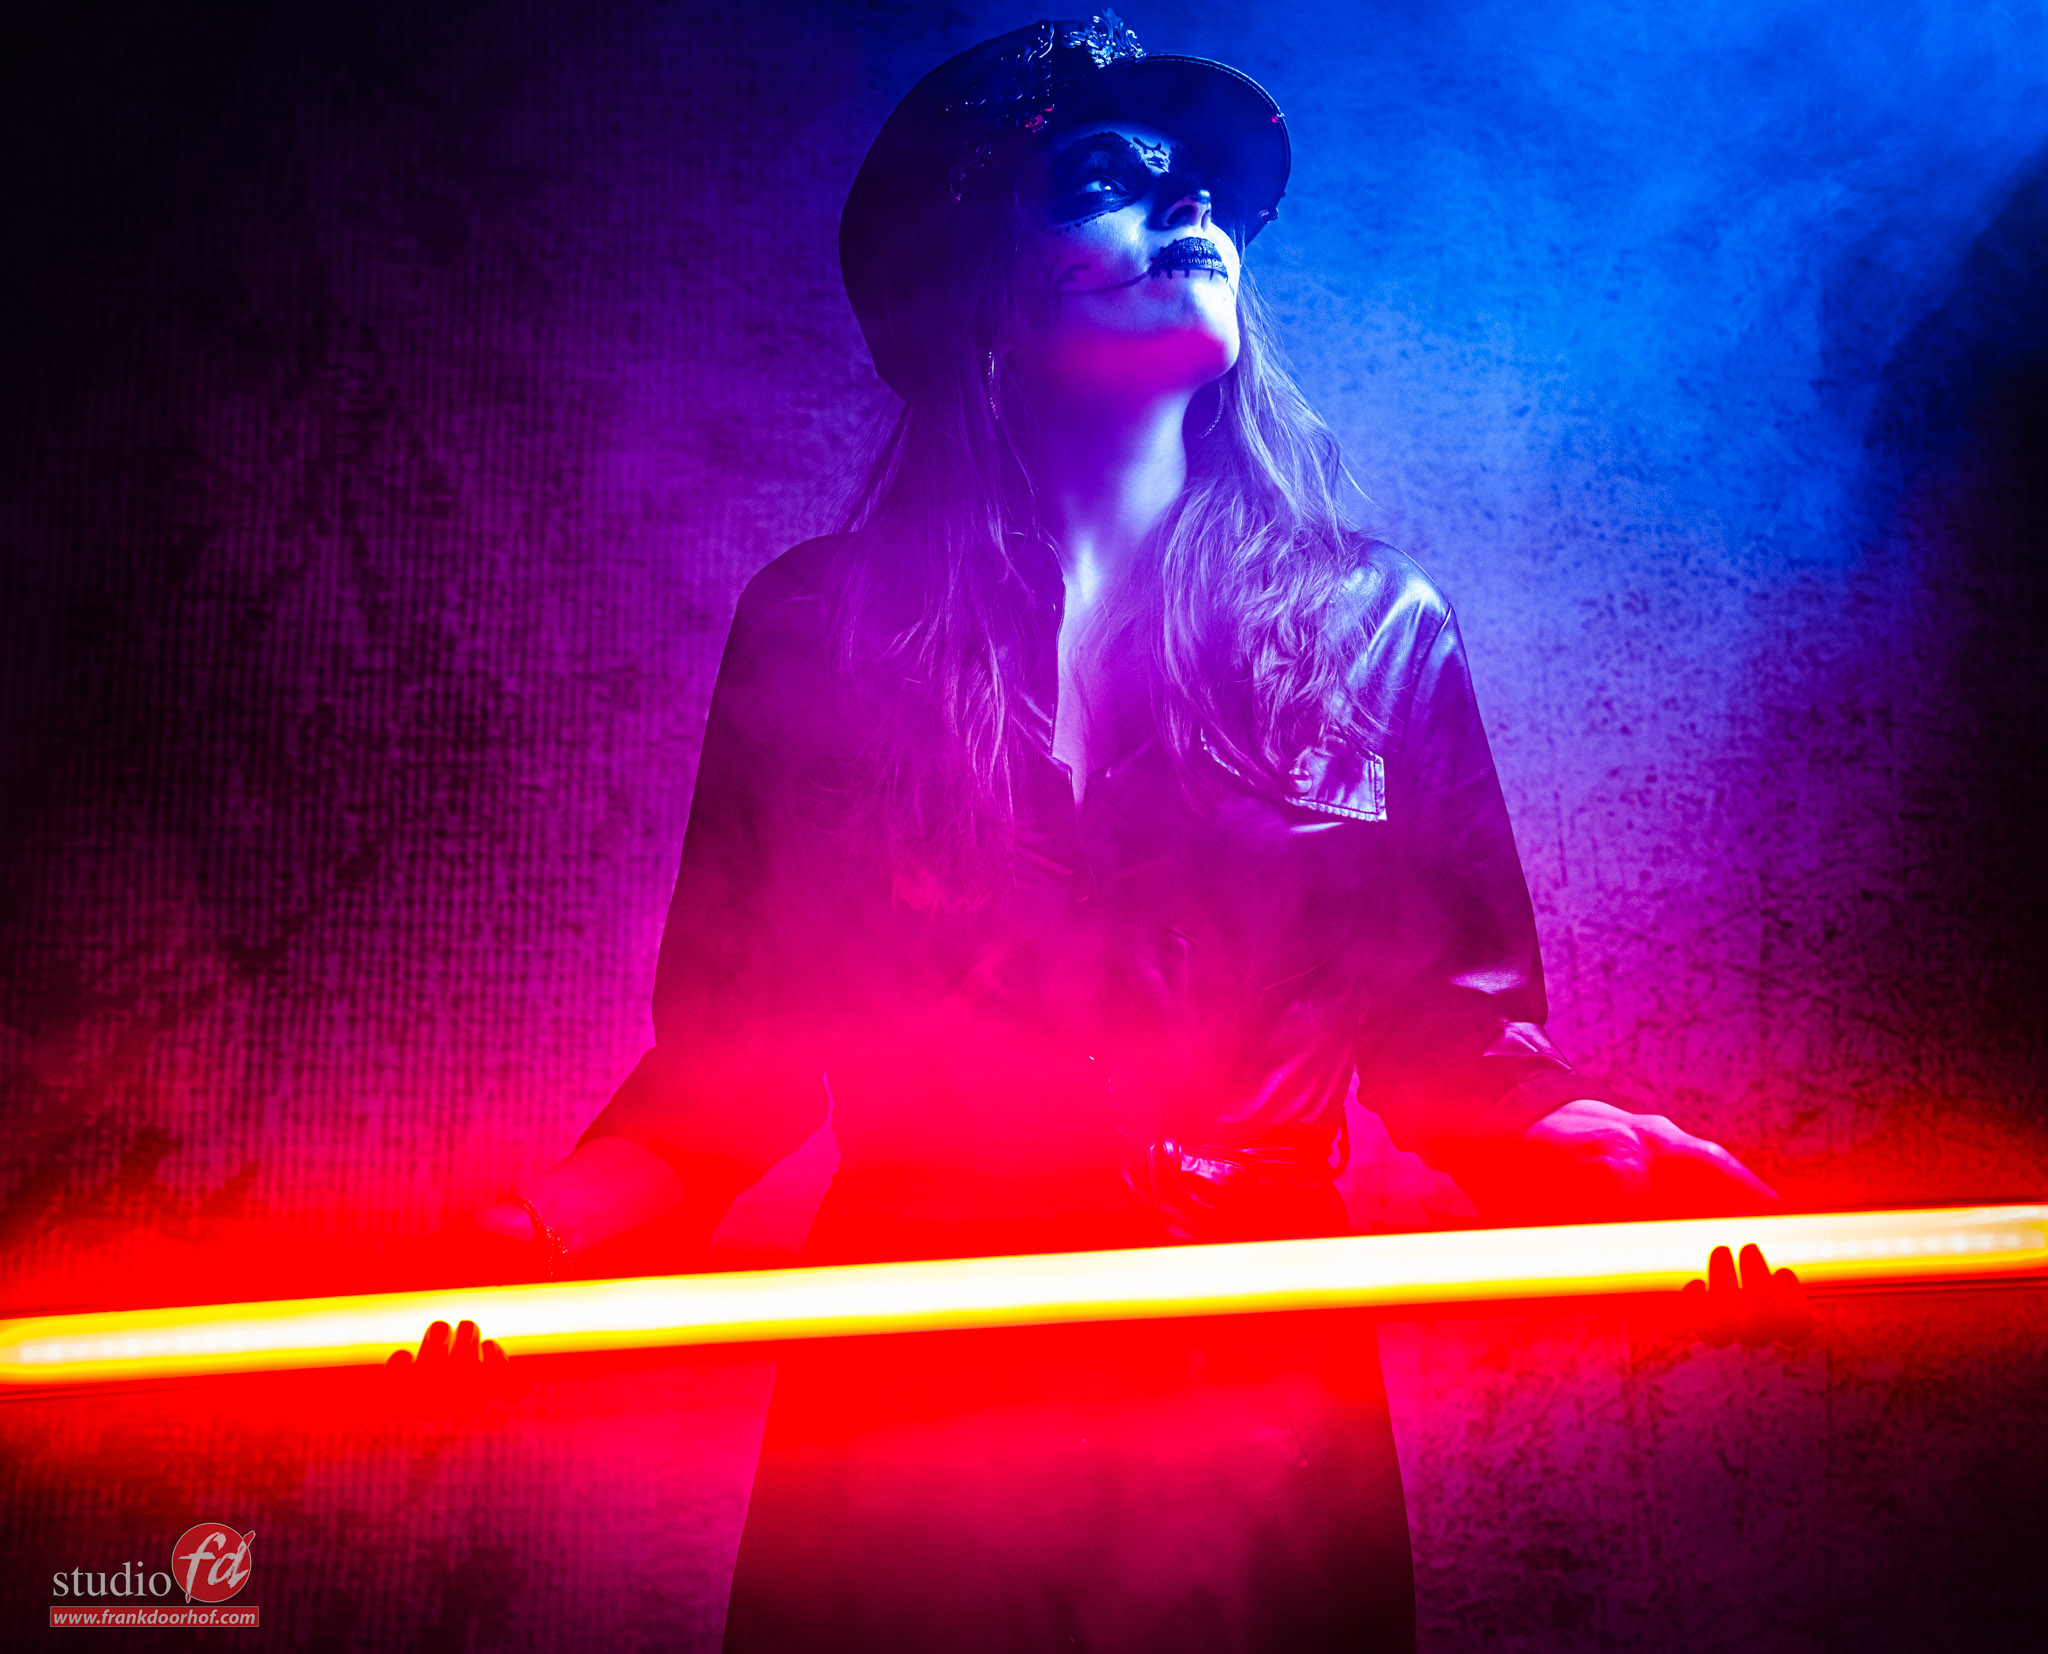
The setup for these shots.
One red gelled snoot, a Hensel strip light with grid and the Nanlite led tube. We added some smoke to “glue” everything together.
Get topaz software here.
Use “Doorhof99” for a 10% discount.
I can highly recommend their apps.
Images in this article were shot during the workshop smoke and gels.
For more info about the workshops in Dutch see our workshop site.