Scanning
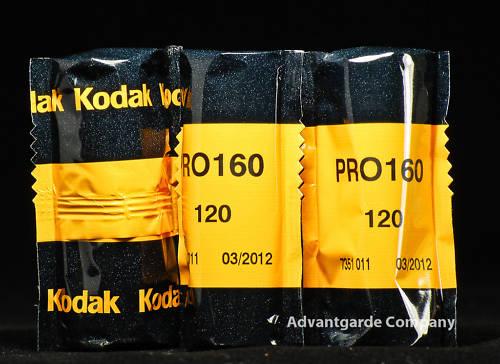
Last week we talked a lot about vintage cameras and having fun with these.
Well one thing that’s very important when shooting with film is getting it into the computer, right?
Otherwise we won’t have any results to show.
Now one could of course hold up a negative to the sun and make a picture with your iPhone, and although that sounds like a lot of fun (it actually is), it won’t give you the results you want. If you want to get the files in your PC/Mac you will need something else… a scanner. Now I’m not a scanner expert, let me put that first, so everything you read are my experiences and my opinions, feel free to add and say if something’s wrong, you won’t hurt my feelings 😀
Different types of scanners
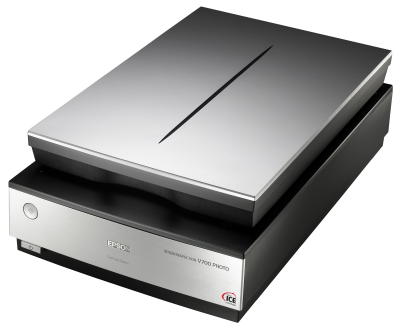
There are many different types of scanners you can use, some you can already buy for below 100.00 but to be honest I think it’s a shame to scan with those the results are subpar and don’t really offer more than maybe webuse. A step up are the flatbed scanners, these are often a lot better and resolve more detail. Personally I love the Epson V700/V750 but later more on these. Another step up are the dedicated negative/film scanners like the highly recommended Nikon Coolscan series. If you really want to re mortgage your house you can also go for a drum scanner, but these are very expensive and require a lot of experience. For me the Epson V700 is the weapon of choice, it retails for a nice price and it does it work very well.
Calibration of the scanner
You know you have to calibrate your monitor right?
Well with the scanner I actually mean something else in this case.
With the Epson V700 you read a lot of questions online from people that get very mediocre scans (read out of focus), now this is actually very simple to explain. In the V700 there are actually 2 different lenses build in, one high resolution version that focusses app 3mm above the glass and one lower resolution that focusses on the glass. This last one is great for instant film, documents etc. the other one is used for the film holders.
Now one would think that when you use the film holders and set the scanner to filmholder that everything would work fine…. well yeah, but it doesn’t. Actually every film holder has three options which you can set with the removable feet of the holder. You can scan without the feet, in the setting “-” and in the “+” setting. Testing which one is best is very easy, just scan three images with all three options and compare them next to each other.
Betterscanning
Now for Medium Format I wanted a bit more control and most off all more flatness in my film, because the original holders are… well…. not really that good for MF film. So I looked for alternatives and found the betterscanning holders which I bought a few years ago. Now these look a LOT better and also feel way more robust.
 You can “click” the film in place with the supplied “clips” but to be honest I recently started using a piece of anti newton glass which holds the film REALLY flat and has a lot better corner to corner sharpness, plus it’s much quicker and easier to setup.
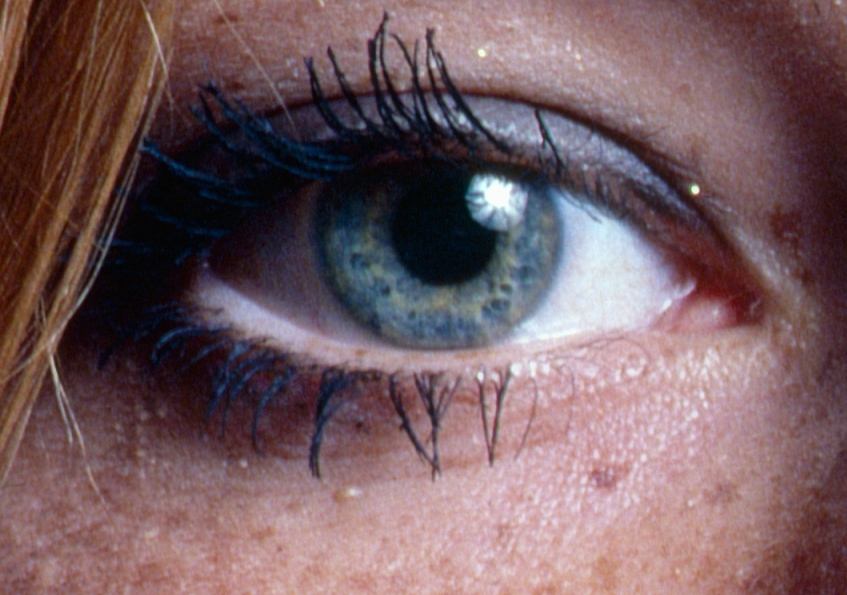
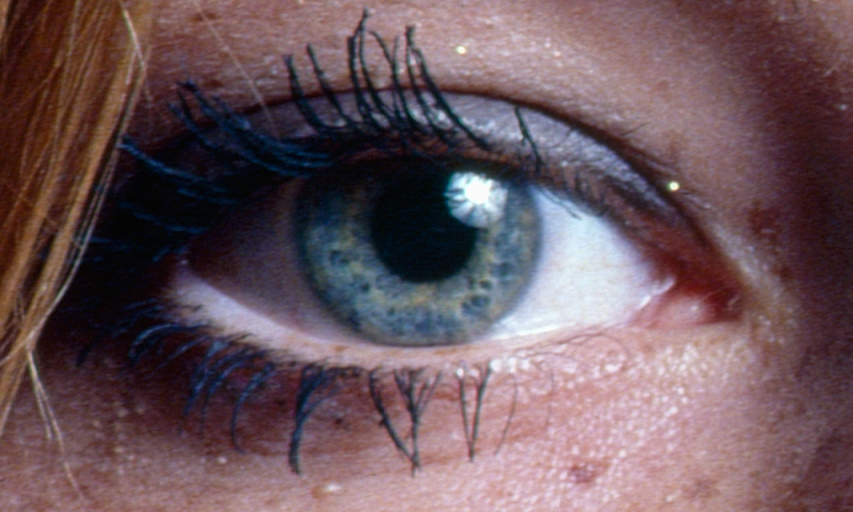
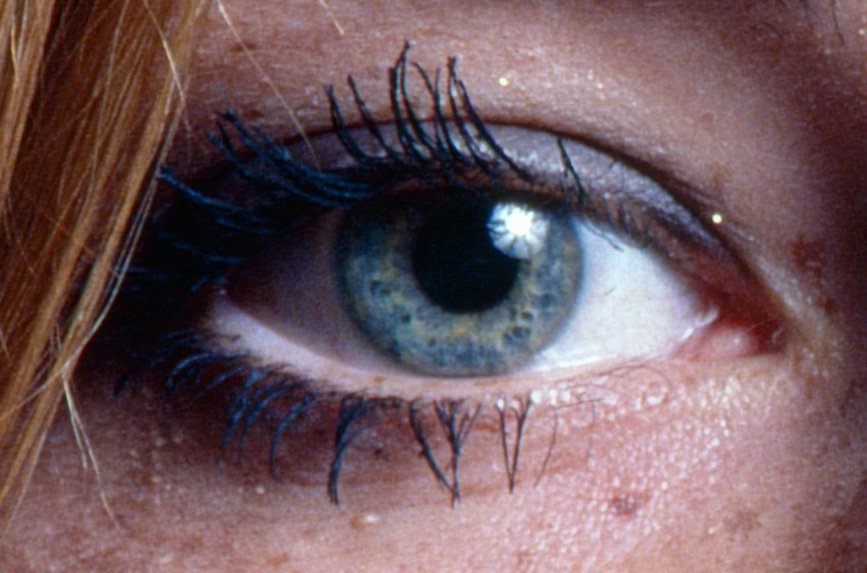
 The calibration process with the betterscanning holder is a bit more work but it’s much more precise. You can set the height via small screws but you have to watch out that you do this very evenly over the whole holder, the end result is indeed sharper than with the standard holder. Here are a few examples. This is a 3200dpi high resolution scan, although the real resolution of the V700 ends somewhere at 2100dpi I always scan a bit higher and downsample later, as you can see there is a clear difference, and in my book every extra step in sharpness in the scan is a good step towards a better end result.
Setting the holder to the best focus is a bit of a hassle, but if you take some time the results are really nice.
Setting with the better scanning holder standard
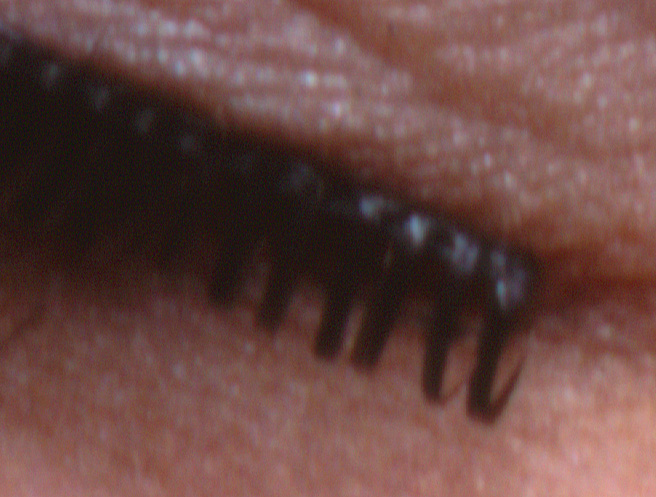
Setup to high (missed focus)

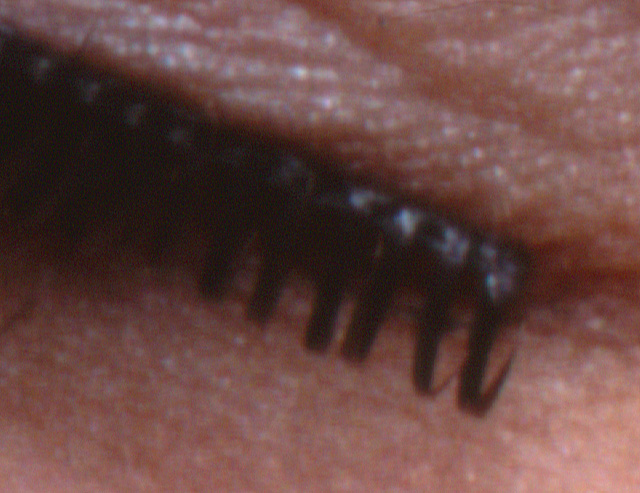
Getting closer
Bingo
Scanning your work is fun, it will take you some time to set everything up correctly but after that it’s a pretty straight forward process.
My advice is very simple.
Use a sharp negative and don’t be to afraid for dust, actually dust should always be sharp so it can help.
Now scan it at the resolution you normally scan and load it into Photoshop, zoom in to 200% and make the next scan, lay these on top of each other and click them on and off, you will rather quickly see when it “snaps” into focus. Don’t expect chances like 100% it is very subtle but without any doubt it’s a thing that you should do, it doesn’t take much time and in the end it does squeeze out that extra bit of detail that makes the images stand out.
Noise killers/Ice etc
To be honest, I see my scans as the RAW files, meaning I will not use any digital options from the scanner, I will use the levels and sometimes color restoration but further than this it’s as “RAW” as possible, so always expect some time in Photoshop.

this brings back memories Frank.