This is how we do it…..
Today, as the title says a “this is how we do it…” post.
Saturday it was time for the Small flash workshop with our model Carmen.
Now during these workshops most of the time I will use the flashbender products, and as you already know I love these products, they are without any doubt a whole studio packed into a very small package, and when traveling this is a great thing as you can imagine.
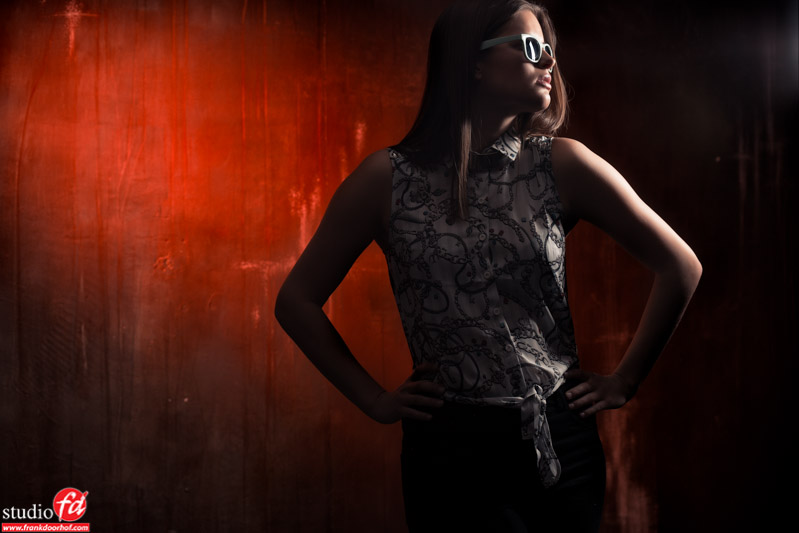
Now because some of you ask me to show some setup images I thought it would be fun to show you a very simple setup you can do yourself with the portrait lighting kit from Rogue. In this case I used the grid with red gel and the new striplight. Strobes are the Sony’s triggered by the Phottix Odin system. So let’s start with the end result.
And the setup.
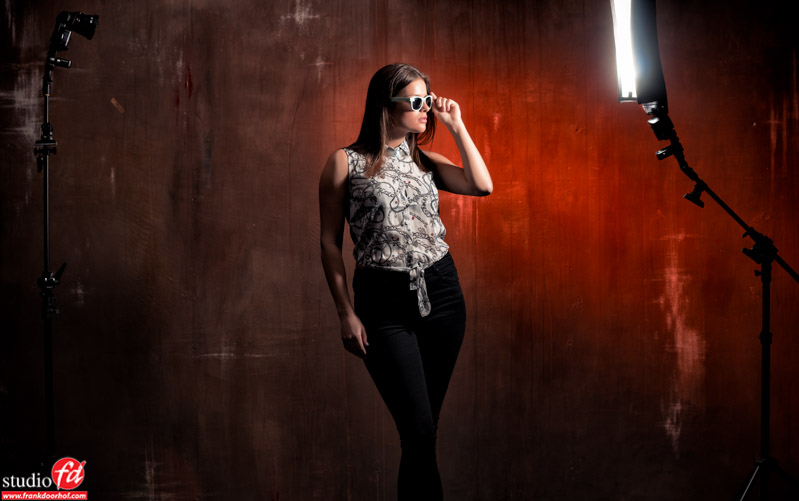 As you can see the striplight is the main lightsource and the grid is aimed at the background.
Now by moving around the model you can control the contrast, in this case I choose for a medium contrast look, this is also why in the setup image the red background light is in front of the model and in the final result behind the model, when you move, the spot moves.
With the new striplight you can create some stunning portraits and high contrast looks, so make sure to check it out.
I also did a small video on it which you can find here : http://youtu.be/vQy9Lq6TgU8

nice setup, Frank…
the strip-light seems like a nice little thing…. its great to have such a tool for speedlights….
Love the wall background and the lighting on this one.
I love the reds in the background also. Nice lighting also.
yeah i like oranges and reds nice pic and setup
Would it be better when using gels to put the gel on the flash head or outside the diffuser panel?
With small flash it doesn’t really matter. But on the head is easiest.