Fashion with the Credo60 and Nadine Part II
Today the second series of images shot with the Leaf Credo60 and model/stylist (allround cool person) Nadine.
Today the set we shot in the studio.
One of the things a lot of my students and people online ask me when they first get to know my work is “What kind of Photoshop do you use”, sometimes people are stunned when I tell them that I actually don’t use Photoshop that much, almost everything you see in my images is “real” or not Photoshoped. For some this is hard to believe, for others it’s something that drives them to more understanding from light, so let’s take a look at what I did in these images.
For me photography is story telling, we can all shoot a model with jeans and a tanktop in front of a wall with two softboxes from each side. However what we end up with in that case is …… a shot of a model in jeans and a tanktop in front of wall, and people will probably quickly move on to the next image. Now I won’t say that I don’t like to use flat light in some cases, in some cases it’s necessary because you are selling the clothes for a catalogue and people have to have a good representation of the clothes. However when we are selling clothes for a magazine I think the game changes already, now we actually don’t want to sell the clothes…. we want to sell the “feeling” the customer has to look at an image and identify him/herself with that image and want to go out and buy the clothes. The best advertising campaigns don’t even have to include the product itself as a whole I think, just set the mood, place the brand and maybe part of the product you’re selling, if we want to see a “rendering” of the product there is space for that somewhere else.
So we need to create a “mood”, now how do we do this?
Some people will quickly boot up Photoshop and start pushing some sliders, copying color channels, topping it all off with some NIK, or Alien Skin, or OnOne filters, convert to black and white, add some grain, invert the masks and use some highpass filtering, play with the opacity until they find the mix they like and store that image….. however what we end up with is still that same image… plus the problem to recreate this effect again on all the other images.
For me, most of the mood is done in camera.
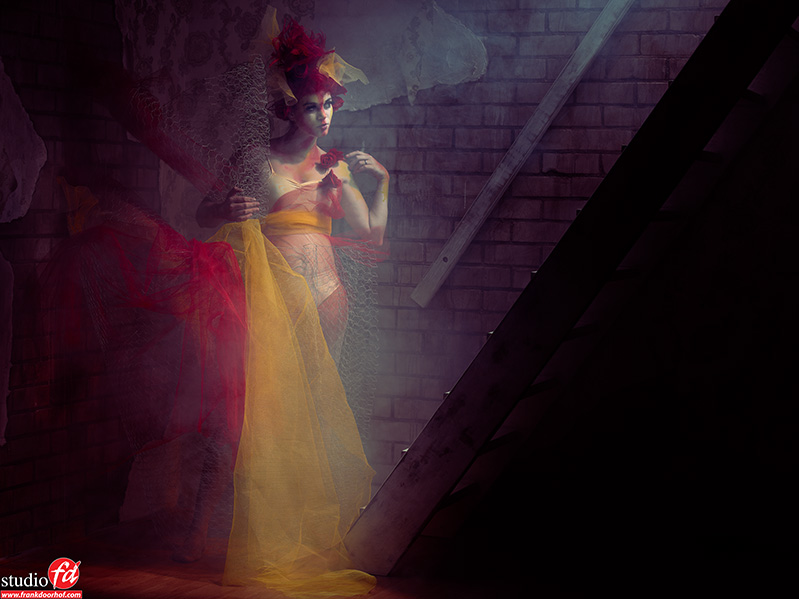
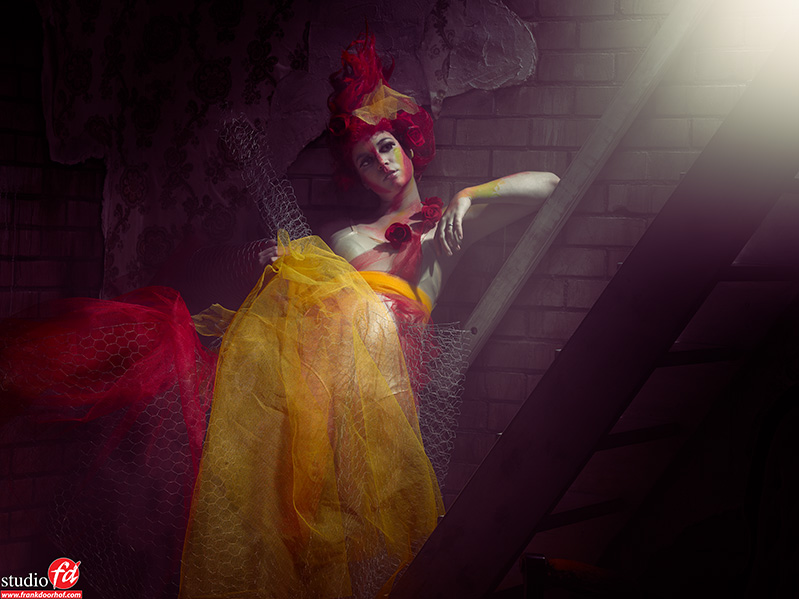
In this case I placed one strobe on the top of the stairs with a very thick grid aimed down at the model, angled slightly away from the wall. When shooting like that the image would look already nice, but a bit too clean for the idea I had with this image, so I used a smoke machine to create a layer of “mist” in the studio and especially around the model, smoke and light from an angle always is a key to some awesome moods and also in this case it just completed the image.
You might not recognize the smoke at first (and that’s a good thing), but when you try to recreate the look you will very soon find out that the images look too “clean” so what do people do, they will try to hunt down the magic filter in Photoshop (which is not there) and try to emulate the look, and that will probably end up in a fake looking image that has no real power left, or looks too digital (for which there is a market of course).
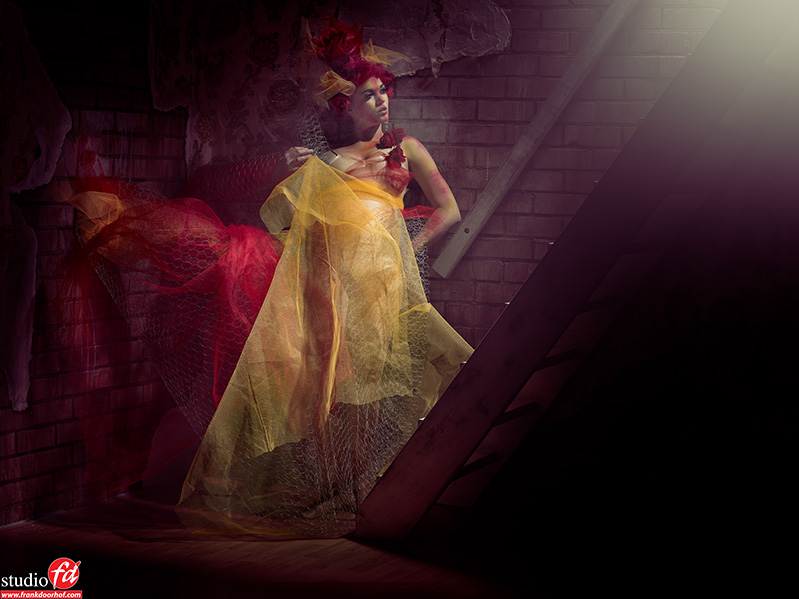
A similar story can be told for this shot.
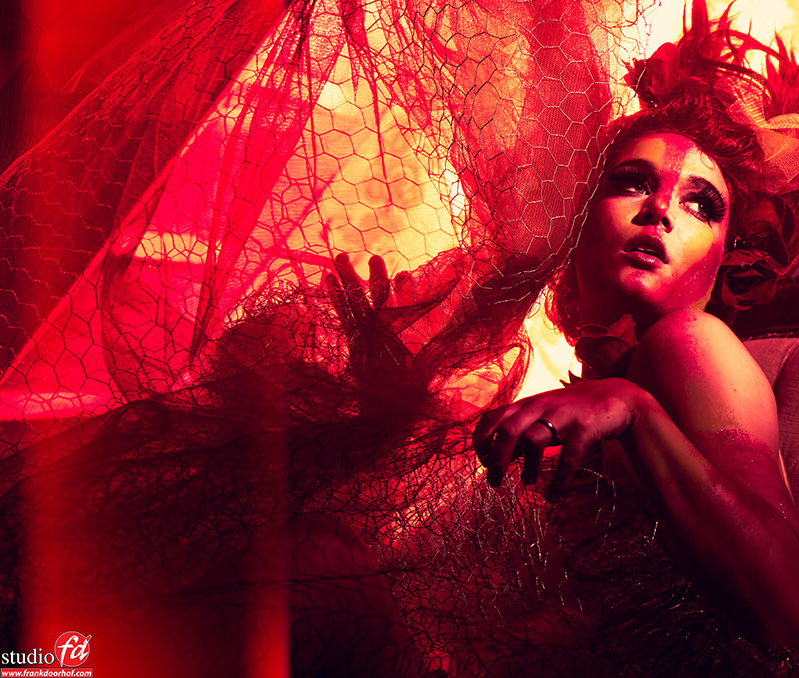
One strobe with the Elinchrom Deep Octa and lighttools grid on the model from very close (quick light falloff), some smoke to even out the tones and light and one strobe on the back with a grid and a red gel.
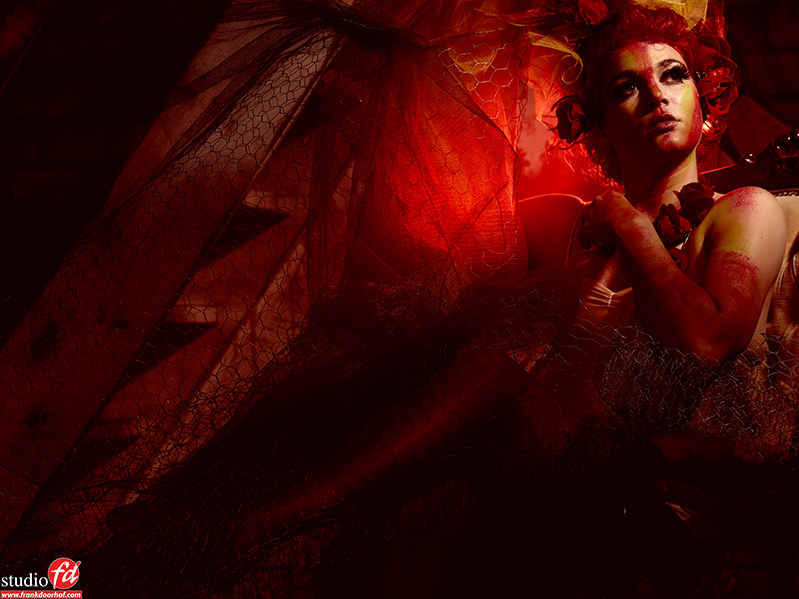
By using the material of the clothing the reds on the background are nicely shining through and creating some mood, however although I like this shot I wanted something more dramatic. So I removed the grid and gave more power on the background, technical some people will label the next image as wrong because there is a lot of blown out whites, but you know… for me it sets the mood much more powerful than the previous one and for me that’s the end goal.
Do always remember that what I post on this blog is my PERSONAL opinion. There will be people that claim that this can be done in Photoshop (although I think that will be VERY hard), and maybe that can be, however this setup took me about 2 minutes to setup and in Photoshop I only used the NIK colorefex suite to tone the image to a more red dominated tone, total Photoshop time less than 1 minute. When you want to create this in Photoshop alone from a standard lit image (if even possible) it will take you a lot more time I’m afraid.
So learn your lighting skills, but most of all use light to set the mood, one strobe can be enough to create something that will stop people from going to the next image, be clever with effects like smoke and diffusion and you can create things that are impossible (or very hard) in Photoshop.
One last tip for today.
Some people think that smoke machines are expensive….. I’ve already shared this tip a few times on my blog but look for example to this link and you can see they are not expensive, in fact they are probably the best bang for your buck in your photography.
If you like what we do here, and want to support the blog please buy from our affiliate companies by following the links or the links below.

Want to be inspired by the best, make sure to get a subscription to Kelbytraining via this link?
Even the pros get their inspiration from them 🙂


Super… very creative 🙂
I have yet to see a tutorial or seminar that teaches people to learn about lighting from Photoshop. Post production is about image modifying, which is fine, but it is not photography. By the way, the fog machines are quite inexpensive…do you know a way to add color to the fog without using colored lights?
Color without gels… no sorry.
Lighting in Photoshop is actually not that hard, can be done manually with a technique called “paint with light” on a 50% gray background.
OR with the new lights module in PS6.
Very nice article Frank, and stunning photos! R’n’R