Tag Archive for: tricks

Nadine outside

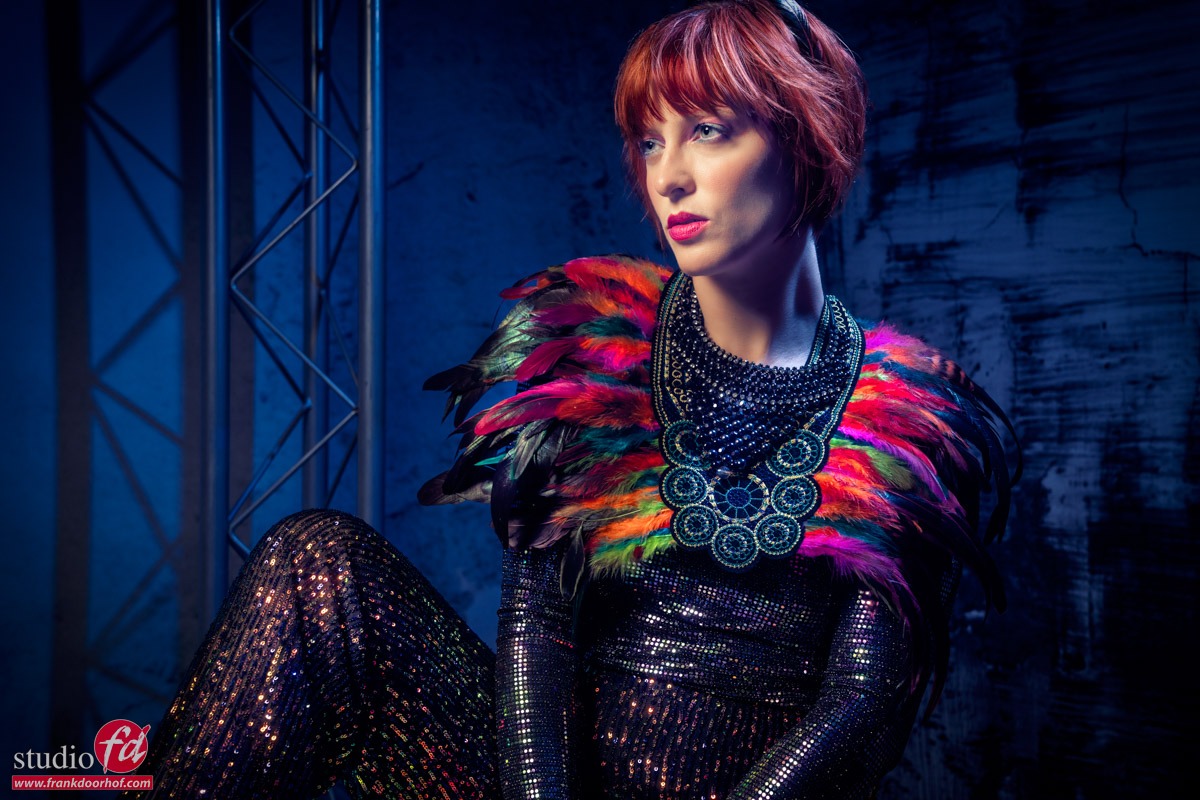
Today the second part of the series about the shots we did with Nadine in Almelo.
Today a small tip about “fighting” the ambient light.

Read more

Quality vs Speed vs What the…..

During seminars and workshops a lot of the students ask me “why did you choose Lightroom and switched from Aperture”, or “I will not use Lr because CaptureNX is much better for my Nikon files”, or “Capture One is better than Lr so why Lr” etc. the list goes on and on and on……


Images in this blogpost are from google search, so not my own.

Well today my opinion on this.
When I started out with digital photography I wanted the best image quality possible…. well ok….. it stopped there, first of all to be able to work with the RAW files was limiting my options like crazy, actually only Photoshop was a valid option, maybe bridge and I found a cool program later on called ACDsee which worked pretty well. Over the years MUCH has changed, we now have a choose of RAW convertors that will make your head spin, the ones I use(d) are Lightroom, Capture One, DxO and Aperture to name just the big ones. I experimented with Silkypix for a while for my Fuji’s but was glad that Lr started with support for those because somehow the workflow was just something I could not get used to (or wanted).

Read more

Some tips for travel photography

Let me start off by telling you that I don’t think of myself as a great travel photographer, my main focus is fashion/glamour and teaching those areas of photography. However thanks to my work I do travel a lot and over the years I’ve been building a portfolio from the shots I take during the trips that I even feature on my website, meaning that I really like those shots. Of course most of the images I took 2-3 years ago are now replaced by new ones, and the new ones I like a lot better so I’m learning every trip.


During my seminar “being creative and getting the shot” there is a lot of attention for some parts of travel/street photography and people respond very positive to this part of the seminar, so I thought it would be fun to share some tips on the blog, I hope it will help you out on your next trip/vacation to take better shots. And remember that ALL these techniques also translate to model/fashion/glamour photography.


Find reflections
Reflections are found everywhere, you can start out with some reflections of yourself in sunglasses or in windows, but it gets more interesting when the reflections are getting bigger and what is better for this than huge skyscrapers. Play a bit with the tilt of your camera (angle) and you can create some very interesting looking images.

Read more

Why you should trust the meter

After my workshops a lot of students switch to the use of a light meter.
They see how quick it is to setup the lights, meter the background, make sure there is detail in whites or blacks and much much more but that’s “only” part of the story. Let me tell you two stories that are real life stories and will show you a different side of why to use a meter….


The workshop story
A while ago I taught a workshop for a group of professional photographers (always a tough crowd), most of them (to my surprise) did not use a meter. After my story about why to use a meter and telling them that it was really a great tool to make sure you get what you want it was time for my photoshoot. Now believe it or not but the first shot I took was terrible, whites were all blown, blacks were blocked up and it was just plain terrible….. Some of the people in the crowd were a bit like “yeah, sure that’s why we don’t use a meter”, and some asked “ok, so now you’re gonna tweak the lights, right ?”


I surprised I think the whole crowd when I did not change anything on the lights but asked for the remote of the projector. In a few seconds I changed the brightness and contrast settings and the image looked the way I intended, now I hear you think “yeah sure, that’s not the way to do it”, well actually they also asked me about that (of course), so to prove my point I reset the projector and showed a grayscale 10 step bar. On the non adjusted settings there were only a few bars visible. And after setting the brightness and contrast all bars were shown, and also the image was showing up correctly.


The Glyn Dewis lens story
During the first “Frank Doorhof and Friends” workshop there was a small problem with one of the light setups.
Read more