Tag Archive for: technique

Tip : Strong backlighting

In the 70’s they knew….
Using strong backlighting can be cool, it creates cool lens flares and it really spices up a shot, I won’t say that after the 70’s the photography went south and flat but in all honesty I sometimes am stunned by the questions I get during workshops about lens flare and backlighting, so I thought it would be cool to write a small blogpost about them.

Whenever I post an image with a strong backlight people ask me for the filter I used?
Now don’t get me wrong I do use filters… I love DxO filmpack and Alien Skin Exposure for tinting my images and I use a LOT of MacPhun intensify to spice up the pop of my images, but the lens flares are in 99% of the cases 100% real.

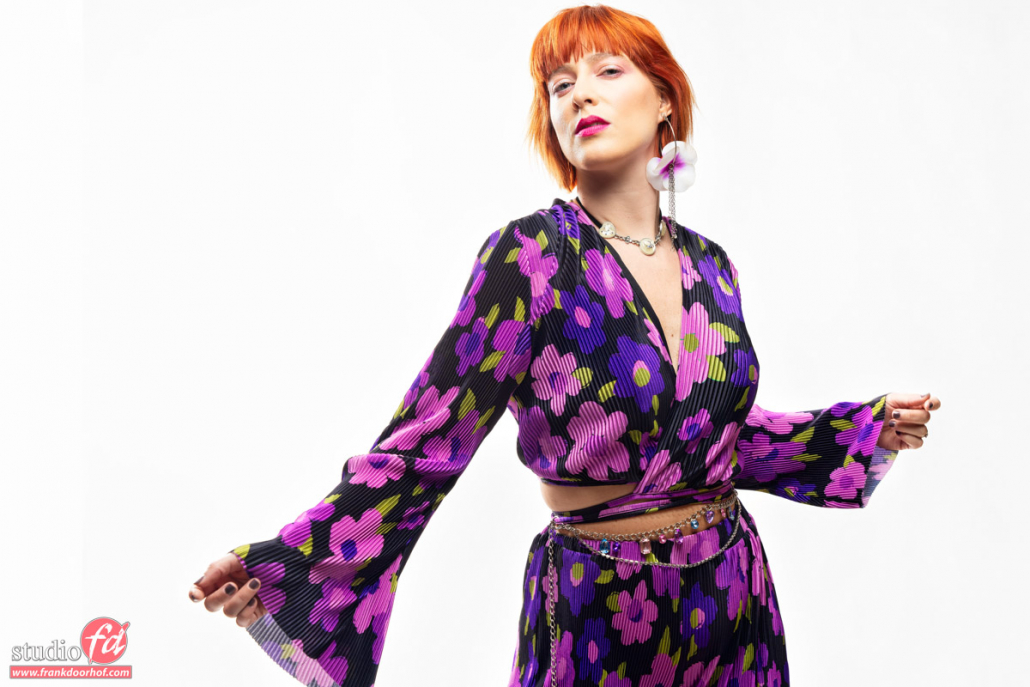
The shot on top we shot during last weeks workshop with iris and is just a strobe right behind our model without any modifier.
If you meter in front of the model (in this case pointing towards the camera) the exposure on her face will be correct, in fact it’s the scatter light from the studio lighting her face. This is also the cool thing about using an incident light meter (A sekonic in my case), if you hold it in front of the area you want correctly exposed you will get a proper exposure. Now it’s up to you to determine the look you want. In this case I only used one light so it COULD be that the backlight is way too strong, you can than do a few things. You can feather the light (turn it away from the model), or move it to the side of the model so not all light is hitting her (when using a reflector), or (when using a bare strobe) move it further back, or use a reflector in the front, all these techniques will do one thing, lower the contrast between the backlighting and front light.

In essence it looks like a very easy setup, but if you just throw in your lighting you will probably fail, or need a lot of Ps work, so make sure to meter correctly.
If you want to learn techniques about metering, check out our video on the light meter via Video downloads

When you want to do these kind of shots make sure to practice a lot with a mannequin or doll before doing it live with a model.

Some more samples where I used strong(er) backlighting from the sun and strobes.


Want more in-depth tips and techniques?
Check out my book “Mastering the model shoot” or get one of my instructional videos via Direct video downloads

Nadine Maart 2016 Imaging days Brussel Sony RETOUCH 0015

Nadine Maart 2016 Imaging days Brussel Sony RETOUCH 0002

Nadine Professional Imaging - 64 March 14, 2016


Nadine Januari 2 2016 0817

KelbyOne Day 3 Setup 2 82 - April 29 2015

Nadine Cannenburch 43 - September 06, 2015

Nadine Cannenburch 11 - September 06, 2015

Carre February 11 2015 27975 1

Rosa Augustus 26 DC 0038

Nadine Juli 9 2015 0065


Adding some spice with masks

One of the things I love to do is play with masks.
You could make the joke that it saves on retouching, or it even makes an ugly model look great, but (although all true) in essence for me it’s also the fact that you don’t see any facial expressions, so believe it or not it’s actually MUCH harder to pull off a good shot.

As human beings we are triggered by expressions, emotions (like laughing, smiling, being sad etc) and when you take these away the whole shot can become very “static”, and this is what you actually do with a mask. Now it’s up to YOU to create something interesting.

This weekend was the first time Iris was our model for a workshop, I did a testshoot with her of course but this was her first real “in front of the camera during a workshop” day. I always leave a lot of freedom to the models to think of something cool during the workshops, Iris and Liselotte came up with the following idea… and I loved it.

We often visit flea-markets (for our comics addiction and) to buy some cool stuff for our photoshoots, flea-markets and secondhand stores are actually goldmines for photographers and stylists, often you can get great deals on awesome props. When they are selling gas masks I’m always interested, somehow I just love the story they tell but also the look they give a model, you can combine them with dresses (in this case an awesome Sinister dress) but also with nudes (if you shoot them) and …. well it’s the kind of accessory that CAN work always, but it can also completely destroy a shot, so be careful and think about what you’re doing.

Lighting wise I used one simple lightbulb, no reflectors, no strobes, just a 100W bare bulb.
Here are some of the results.
Also see the difference the BW conversion makes, I always have difficulty choosing so I included both 😀


Want more in-depth tips and techniques?
Check out my book “Mastering the model shoot” or get one of my instructional videos via Direct video downloads

Iris May 10  2016 1912 1

Iris May 10  2016 1912

Iris May 10  2016 1932 1

Iris May 10  2016 1932

Iris May 10  2016 1958

Iris May 10  2016 2231 1

Iris May 10  2016 2231


Tip : working with curtains

Sometimes you just wonder… “what to use as a backdrop”.
You’ve already used your seamless.
You’ve already used your walls.
You’ve already used……………………….

Remember that there is always something you can use as a backdrop, but it becomes interesting when a model can use it also in her posing, or to hide something. That’s why curtains can be absolutely awesome, you can mount them on a background system, or (like in this case) just use the curtains that are there.

This was shot during a demo day for Sony on the SS Rotterdam, and the curtains were actually part of the room we were in.
As you can see Nadine uses them to pose, hide and also I think they look great with her clothing, making something that in essence is pretty simple, really stand out. That’s also part of todays tip, don’t forget the styling, mixing things is cool but always keep an eye out that they fit together.


For much more tips, techniques etc. check out my book “Mastering the model shoot” or our instructional videos (also available via this site).

TIP : don’t fear the sun

A lot of people are somehow afraid to shoot straight into the sun….
Well I agree that there is a lot of talk online that it can fry your sensor but in all honesty if that was really true….well my sensors would have all been fried, just be smart and don’t look at the sun too long and keep the exposure time to your sensor limited, because… well it is a lot of light that is aimed at your sensor via a lens so don’t keep it on a tripod for an hour (just saying).

As soon as you overcome that “fear” of shooting into the sun a lot of cool options open up.
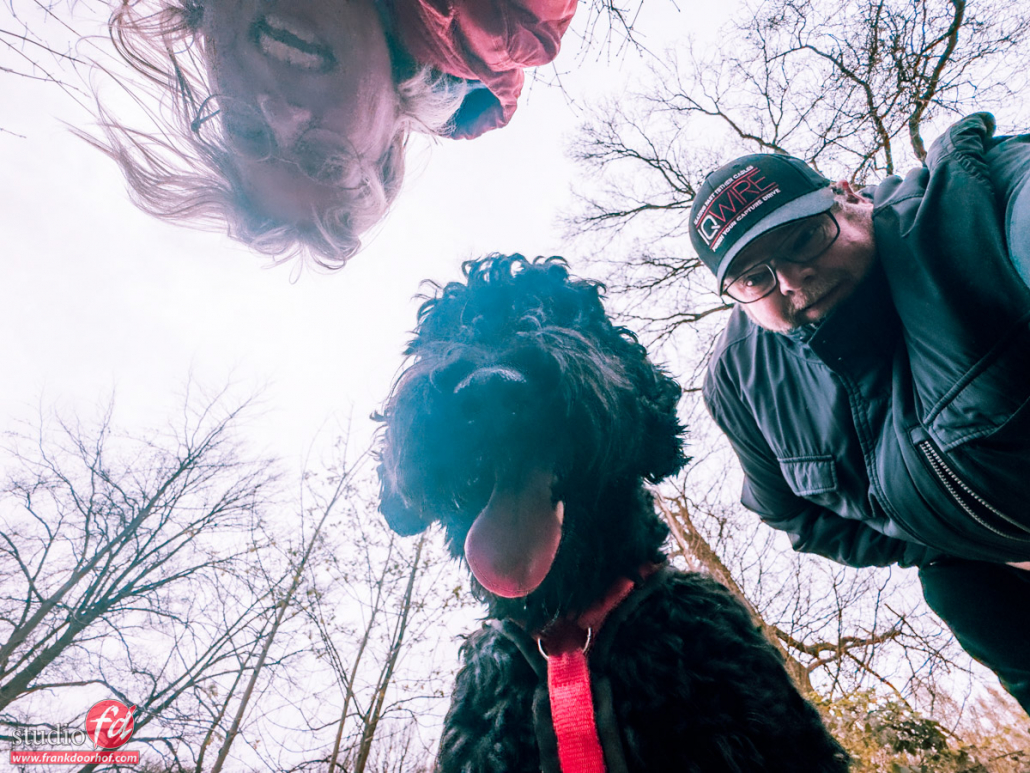
The shot you see in the opening post was done during a workshop with my DxO one connected to my iPhone, I choose a low angle because of the background (our studio).

So you do you meter something like this.
Here it’s important to understand the dynamic range of your camera a bit.
Especially knowing how much you can get back from both the highlights and shadows.
Always make sure you get enough detail in your models face, so don’t underexpose too much, but also don’t expose correctly for the model… and there are 2 reasons for this.


  1. If you expose your model correctly the background will be almost pure white due to the high brightness of the sun/sky. Also the model will look glued on the background, so always make sure the model is slightly underexposed which will make the shot look much more natural. This same tips also goes for sunsets, always make sure you underexpose your model slightly when using strobes (and light from the side) this way the model looks more natural in the scene.
  2. If you underexpose your model to the “max” of your dynamic range you can still raise the shadows/midtones in your RAW convertor enough to get the detail/exposure on your model that you want, the extra advantage is that with the highlights slider you can lower the brightness of the sky a lot more simply because it’s still in your dynamic range.


Planning a shot and knowing the limits of your gear is incredibly important when you like to be on the edge of lighting.
In most cases I’ll shoot as perfect as possible in camera, but when you know there is a lot of backlighting and you don’t use a reflector or strobe (like in this case) it’s always good to know these limits because now you know how much you can underexpose to “save” as much as possible from the sky, and actually almost mimic the use of a reflector or strobe.

Now don’t be afraid of noise/grain in you’ll probably shoot these kind of shots on ISO100 and often you will open up a max of 2-3 stops so in essence you’re shooting on 400-800 max for the model and with modern day cameras that is no problem at all.

So the next time you’re shooting on location try a few shots with just this technique (so no strobes or reflectors) you’ll see what your camera can do, plus it will help you in situations where you have no choice….


Want more in depth tips and techniques?
Check out my book “Mastering the model shoot” or one of the many instructional videos via this site (see the menu on the left).