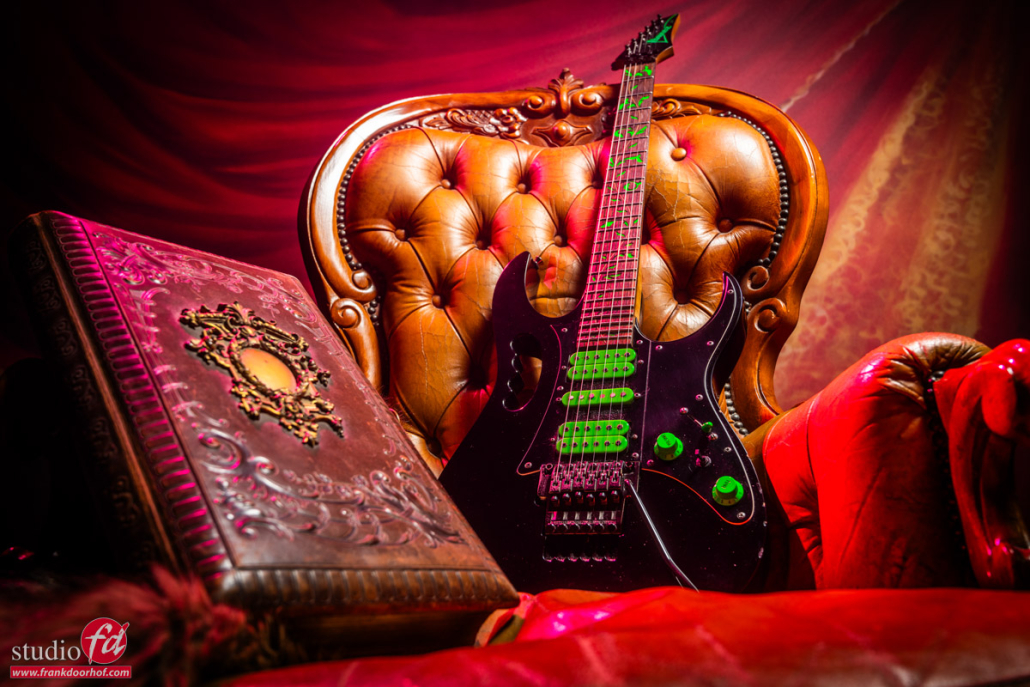
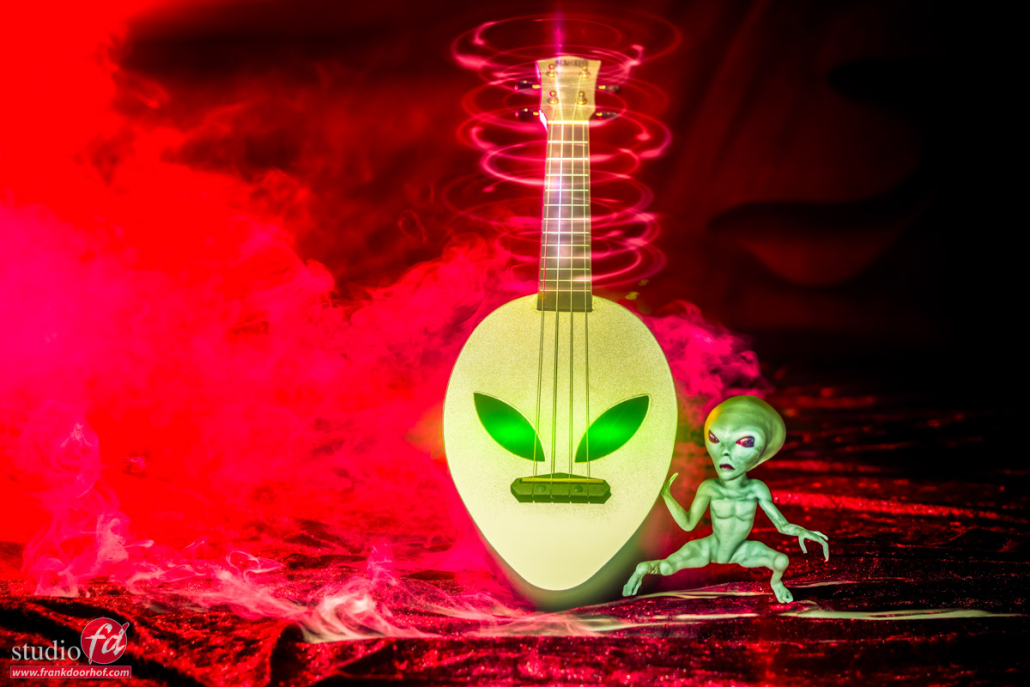
Using a gobo projector with different colors
Its fun
To experiment with different solutions to get cool looks.
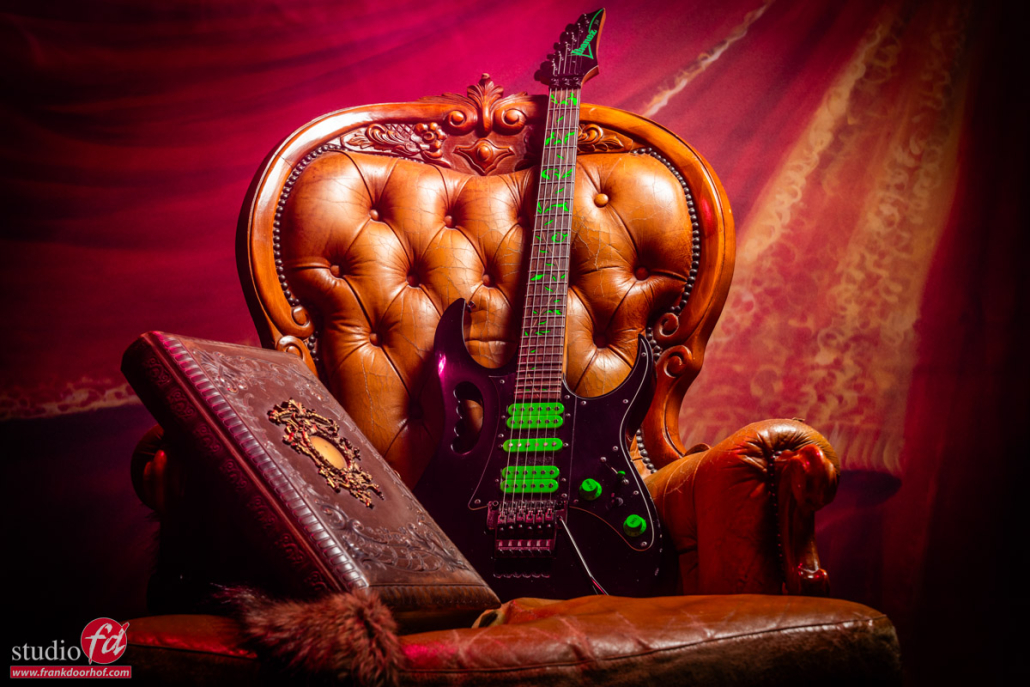
As you probably know I’m a big fan of focussed light sources, and the gobo projector is of course an awesome light shaper that does this and so much more.
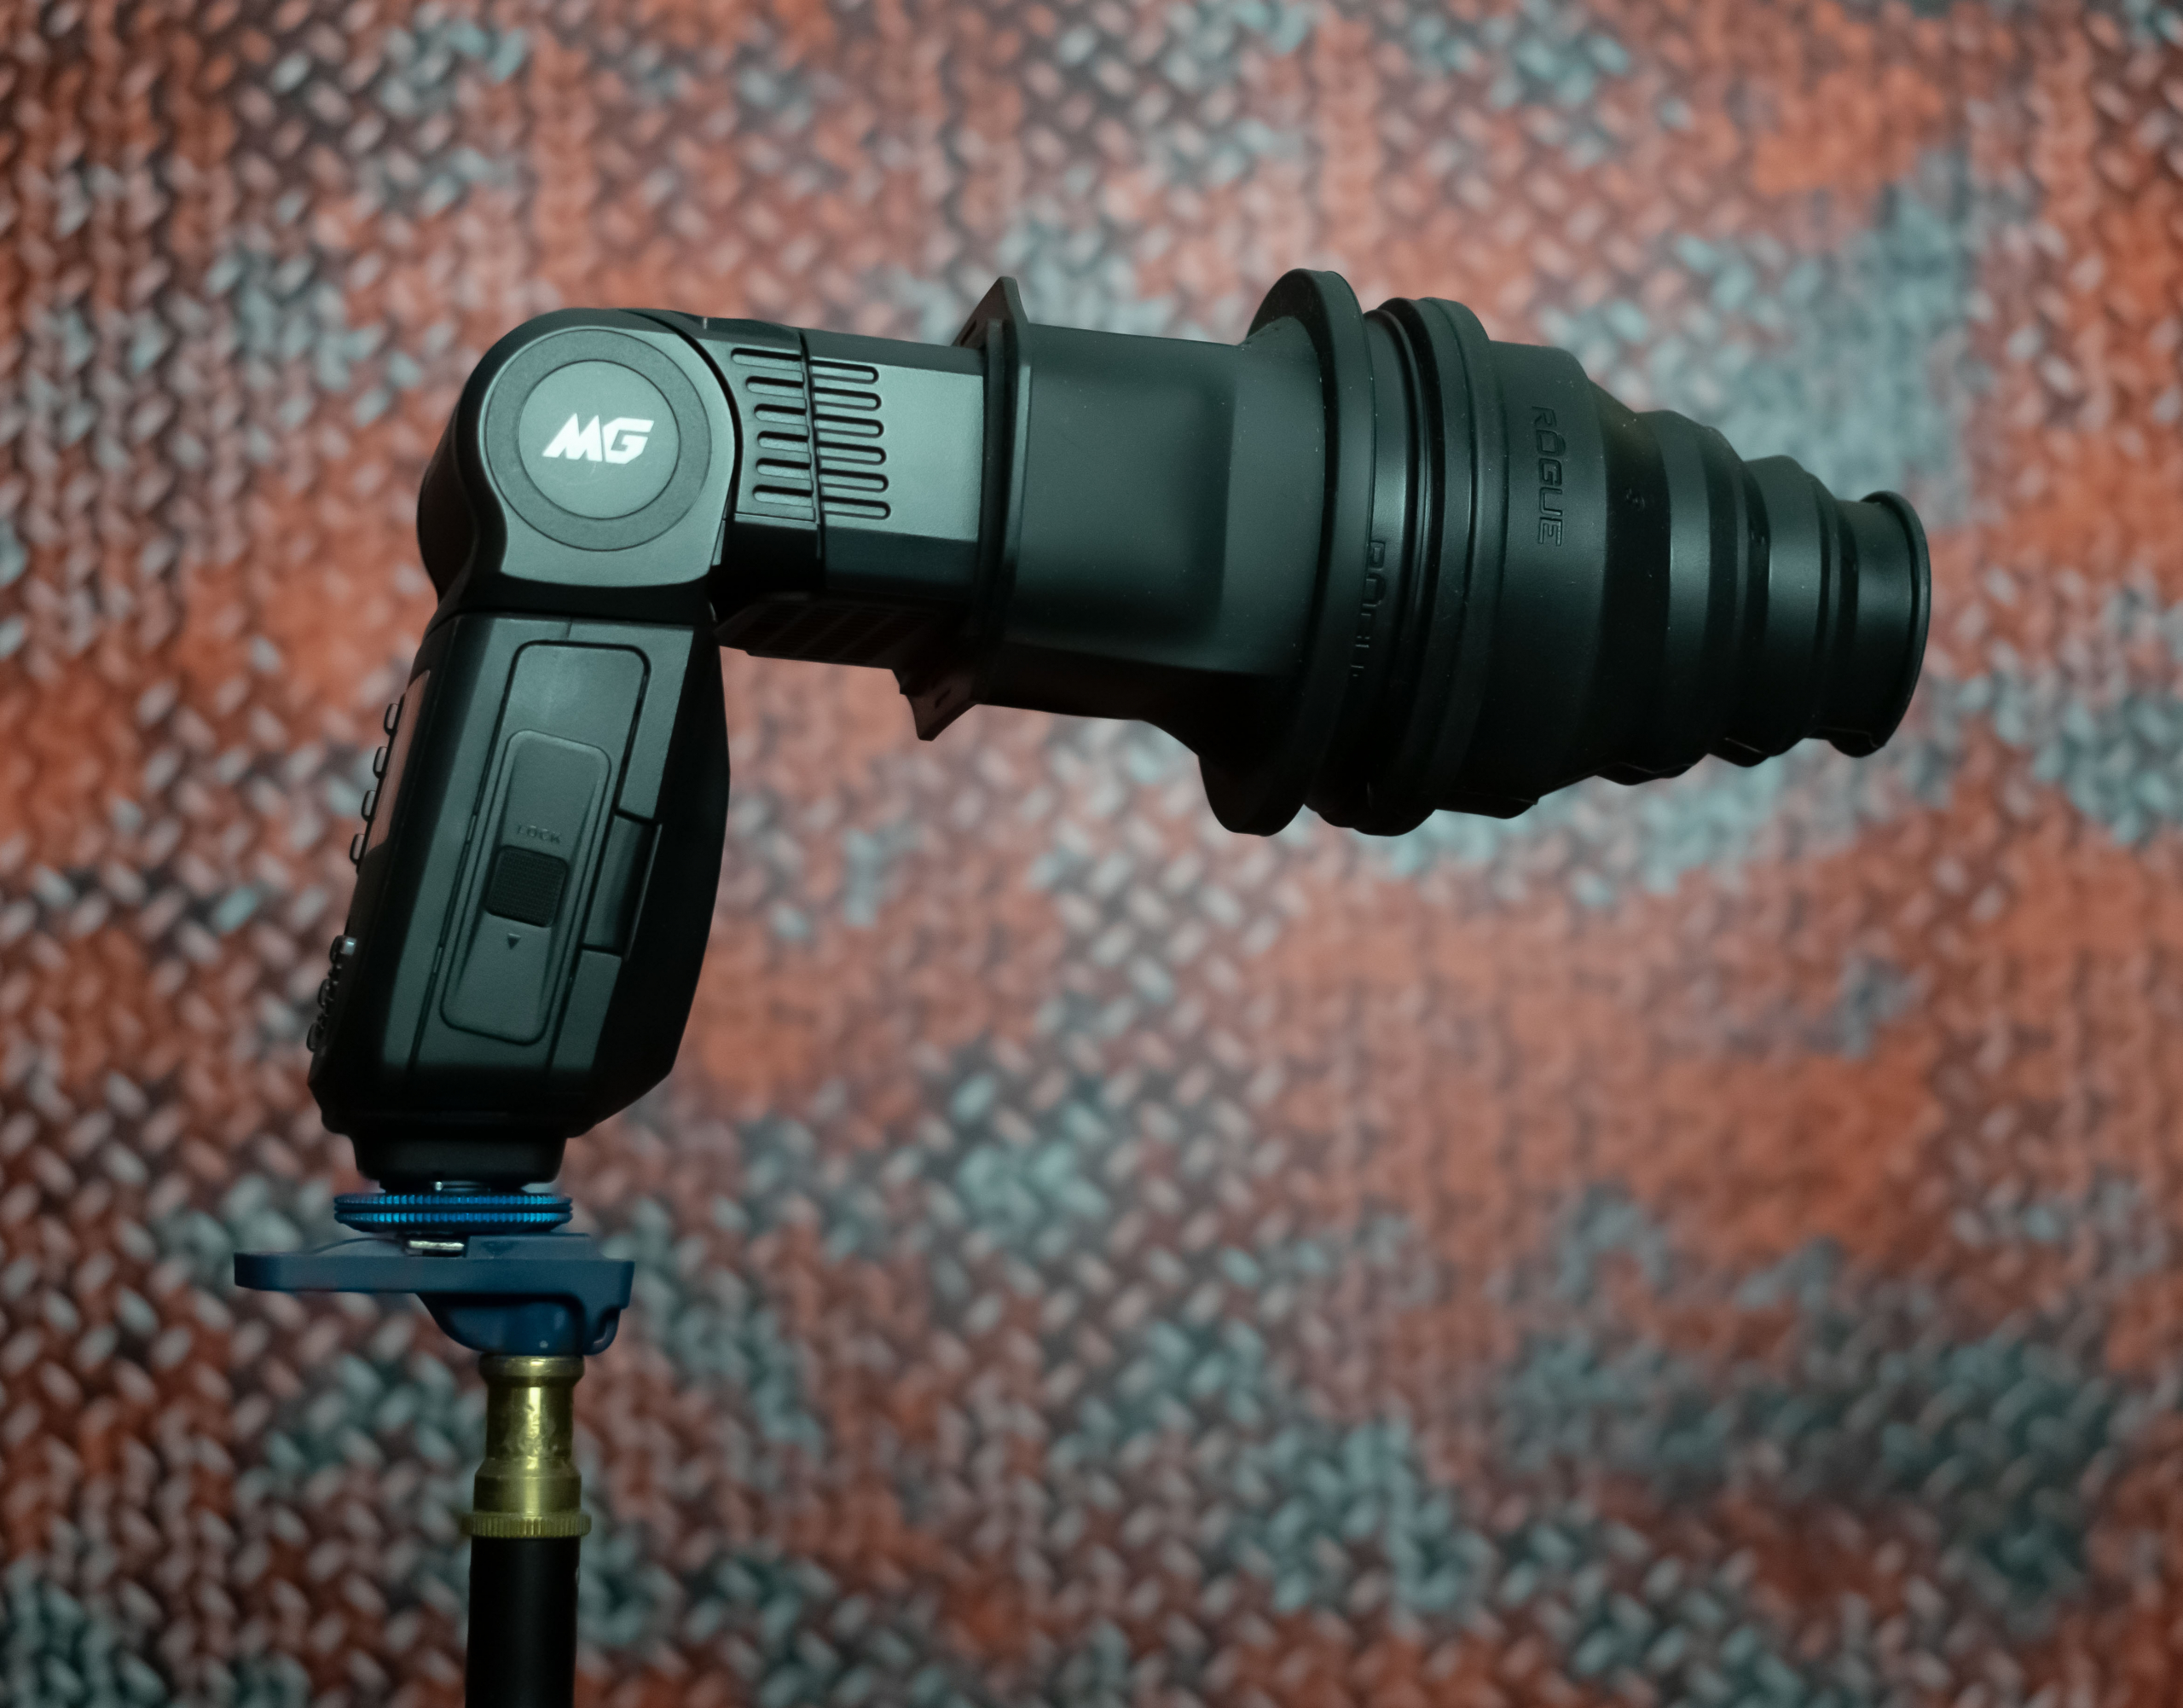
The Gobo projector I’m using is the Westcott Lindsay Adler version.
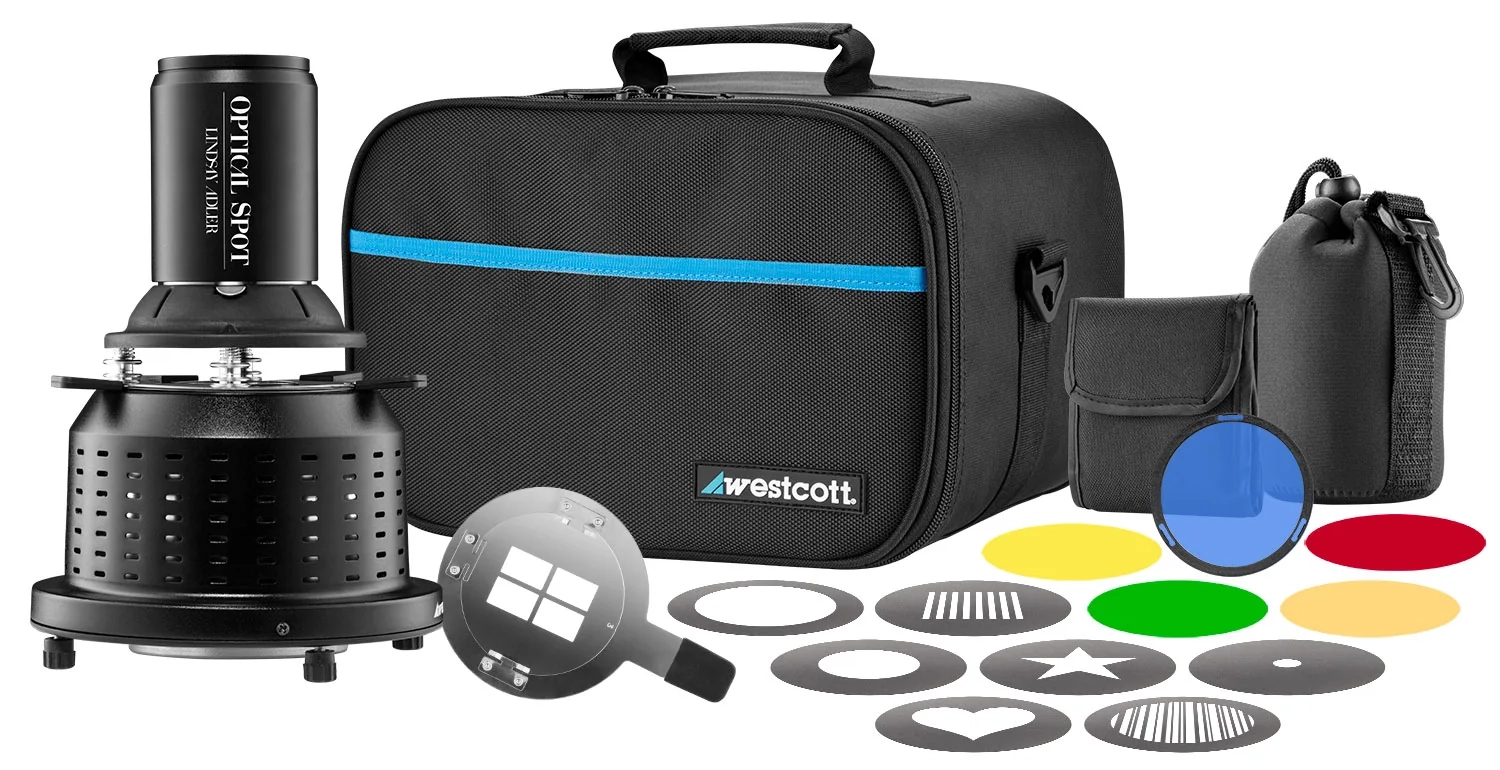
Standard it’s delivered with a 135mm lens but I’m mostly using a 50mm 1.8 lens on it to get the light spread out more over a larger area.
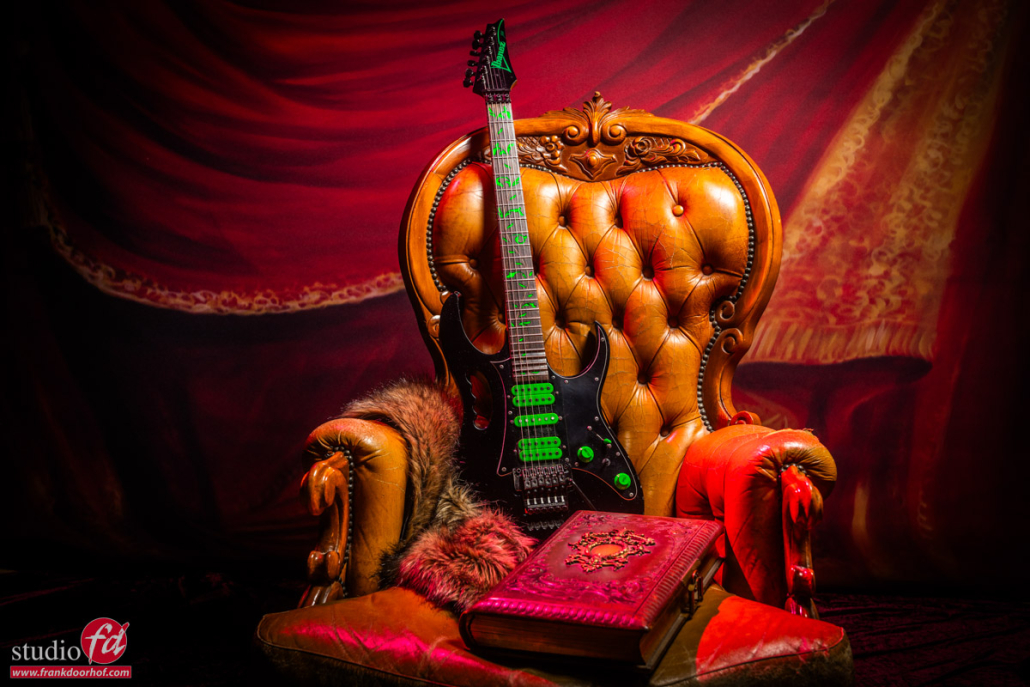
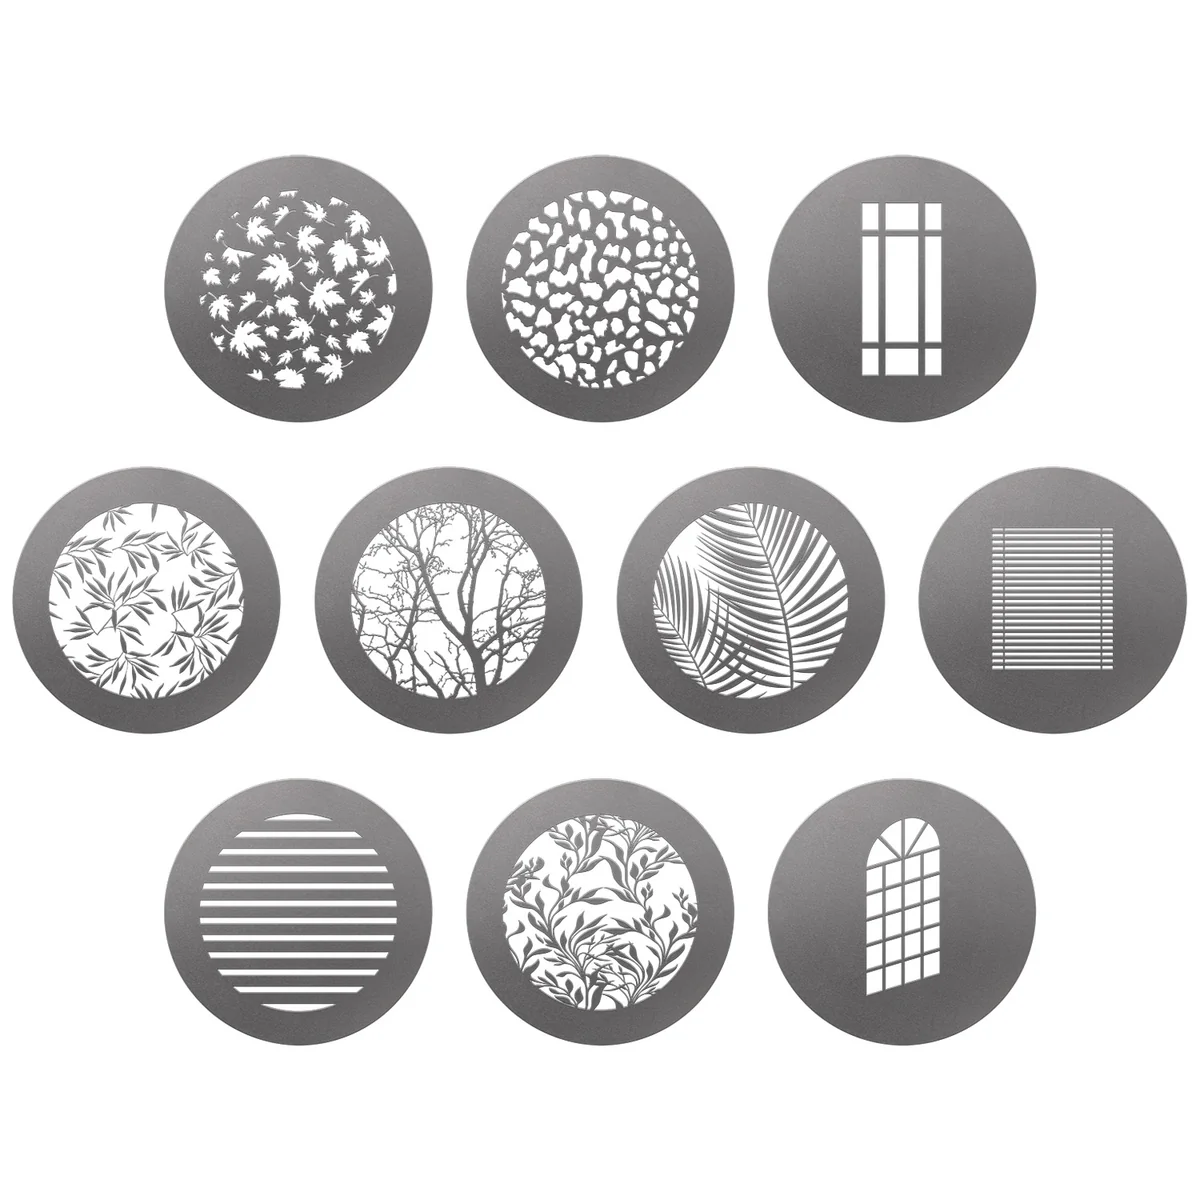
With this Gobo projector you can choose to just use the blades to create shapes and really focus the light with one small beam on your model, or you can use the gobos themselves, small metal plates with patterns that you place between the lens and your lightsource. The cool thing about a gobo projector is that with the lens you can focus the patterns on y0ur subject or background.
Adding some colors
Normally you use the gobos as they are, but during the workshops I love to experiment so for this setup I’m using two gels I put on the gobo.
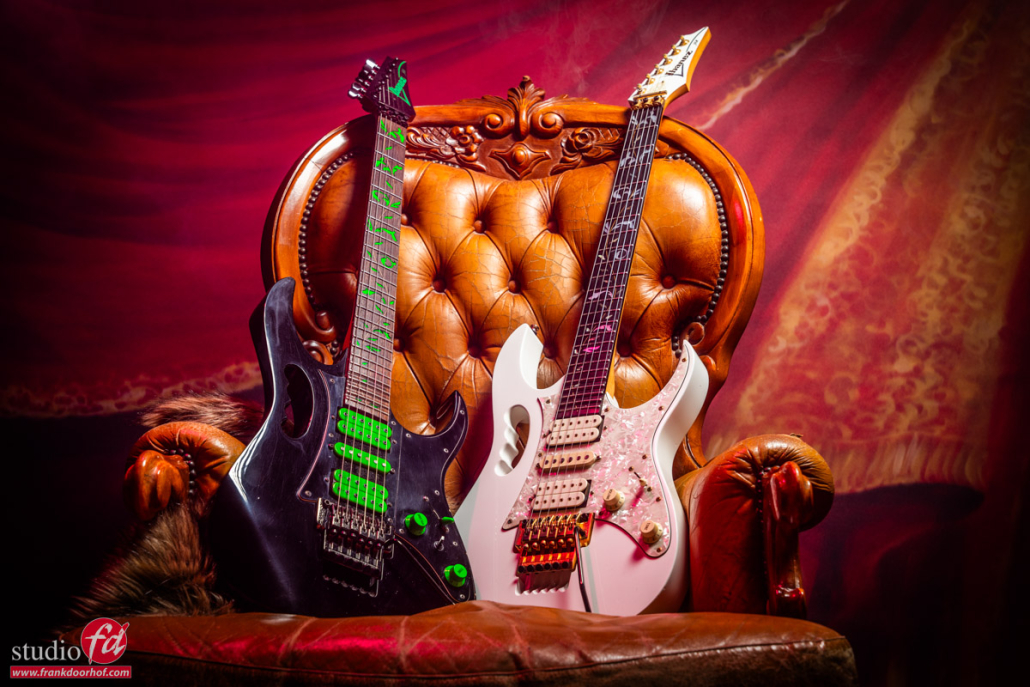
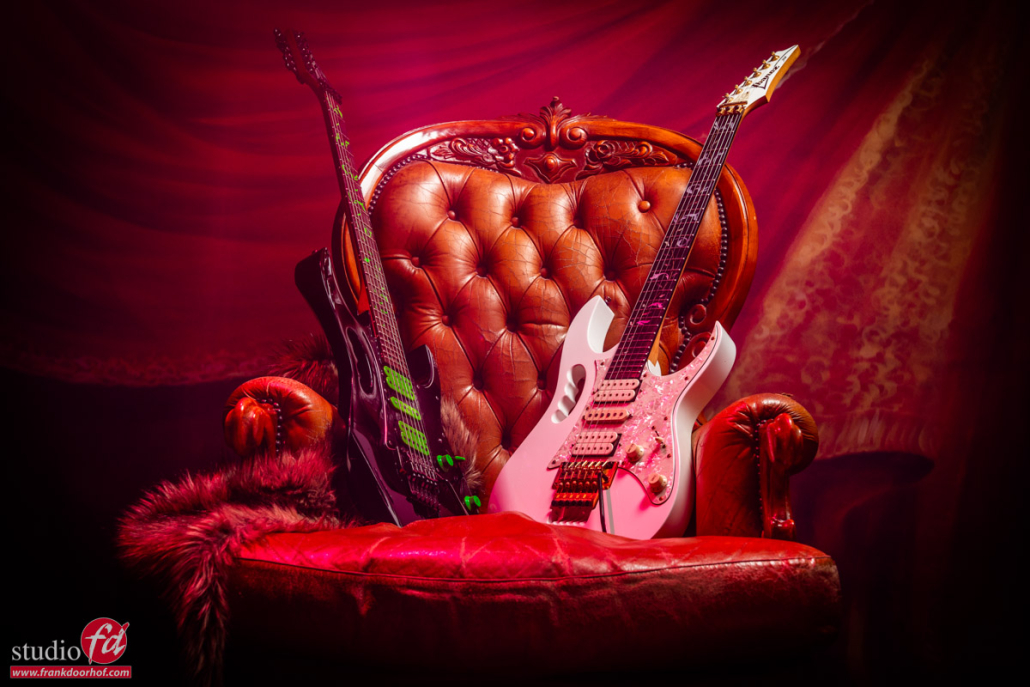
As you can see it still needs some work, but the effect is very cool
You do have to take into account that this will REALLY eat your light, a gobo projector is not very bright, but when adding gels into the game means that in this case I’m shooting at slightly higher ISO’s than I would normally use with strobes. Luckily the Geekoto strobes I’m using can also be turned down to a really low output, meaning they mix perfectly with the projector.
Model : Felisa
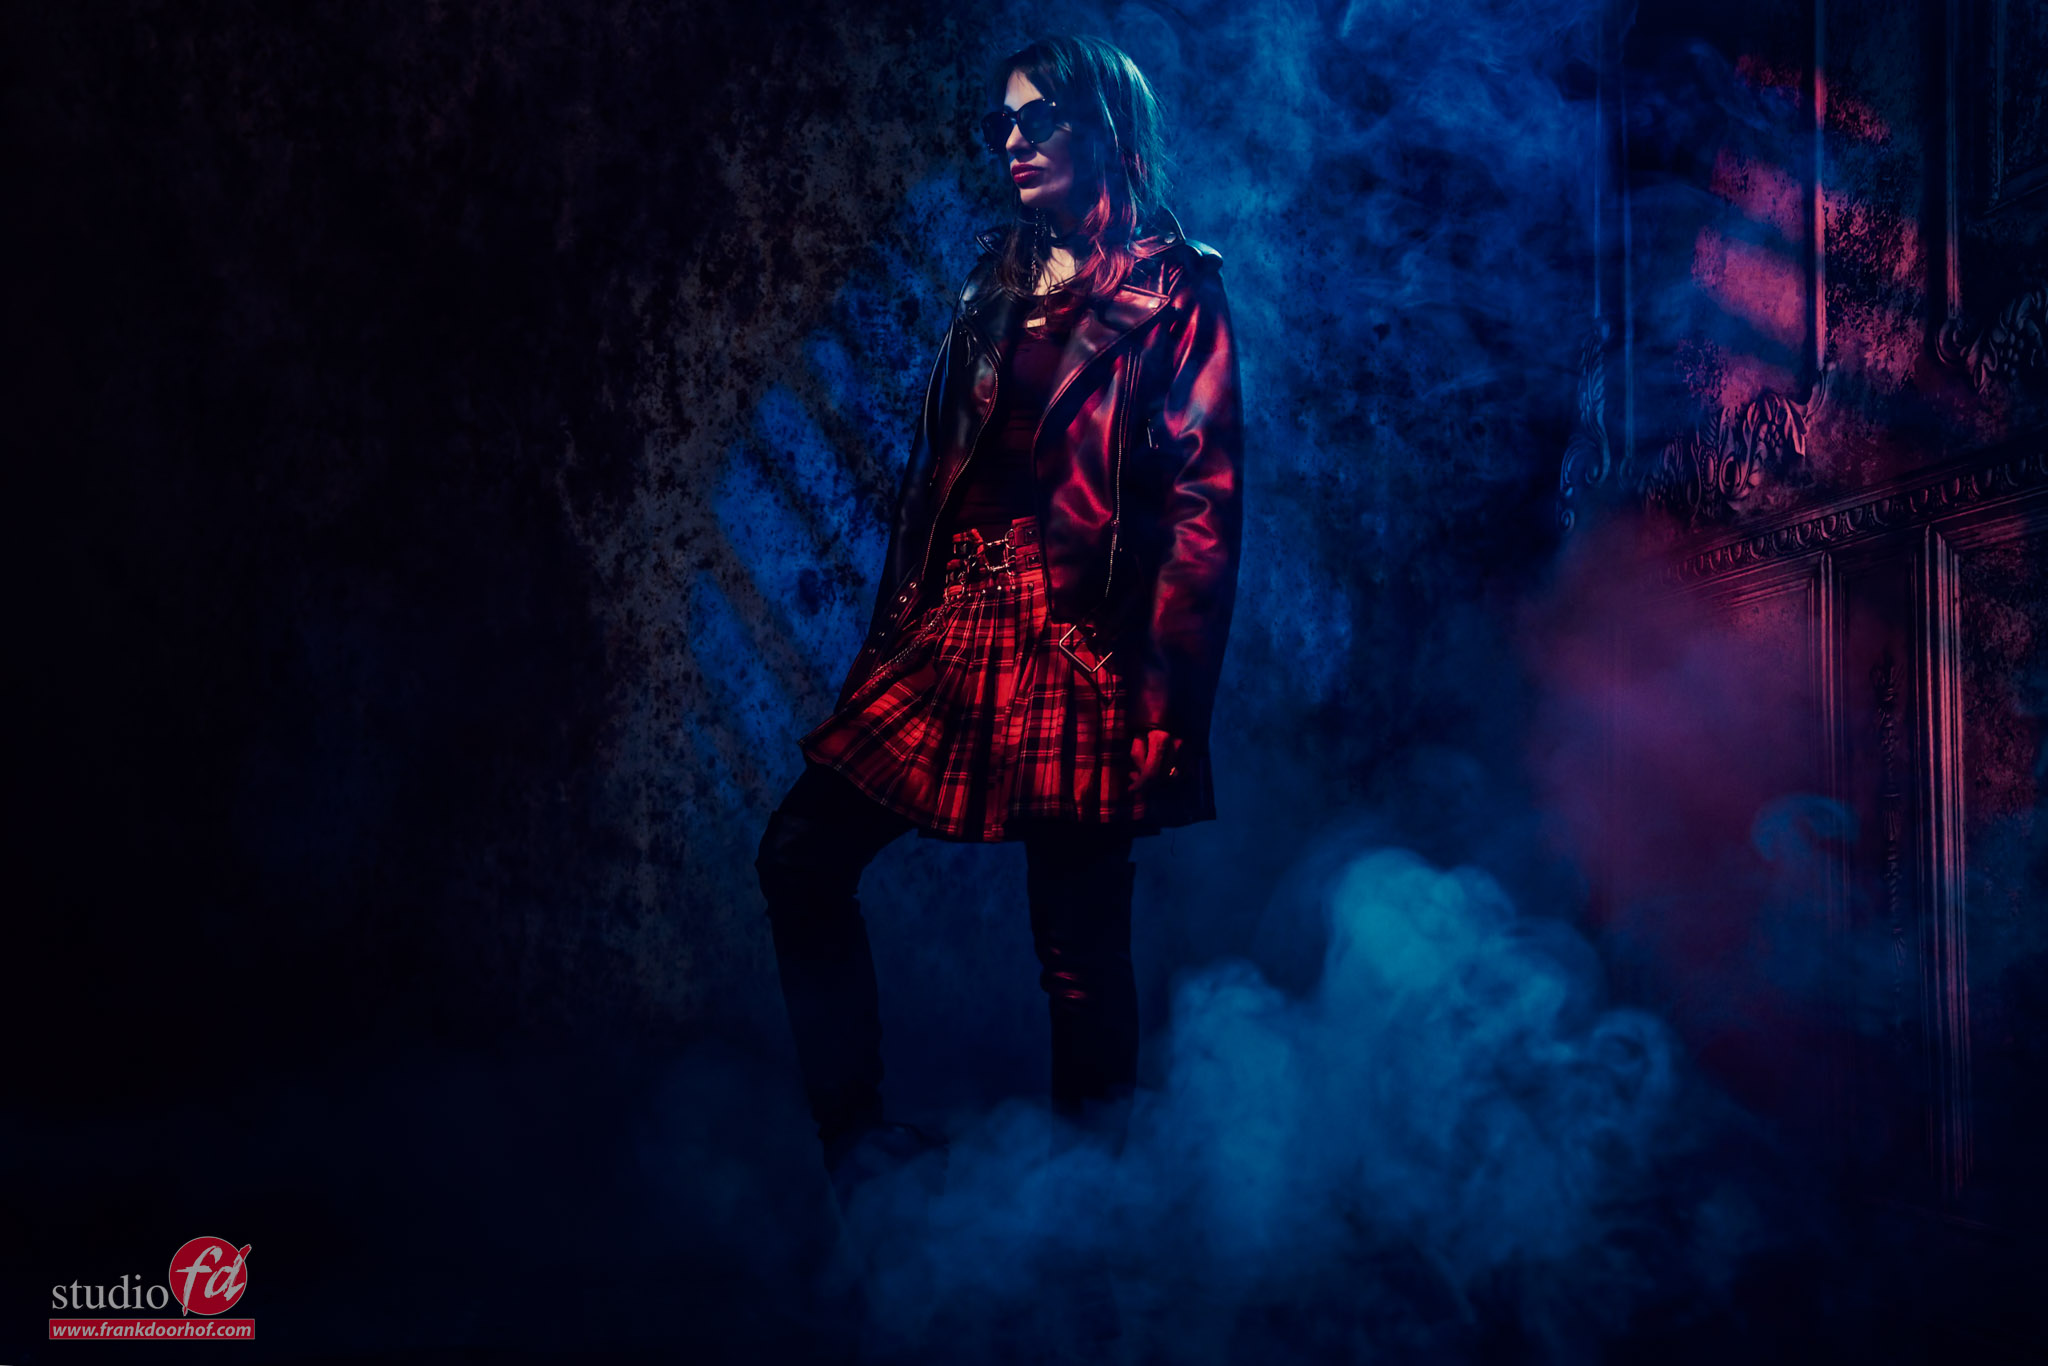
Adding some smoke made the image complete for me.
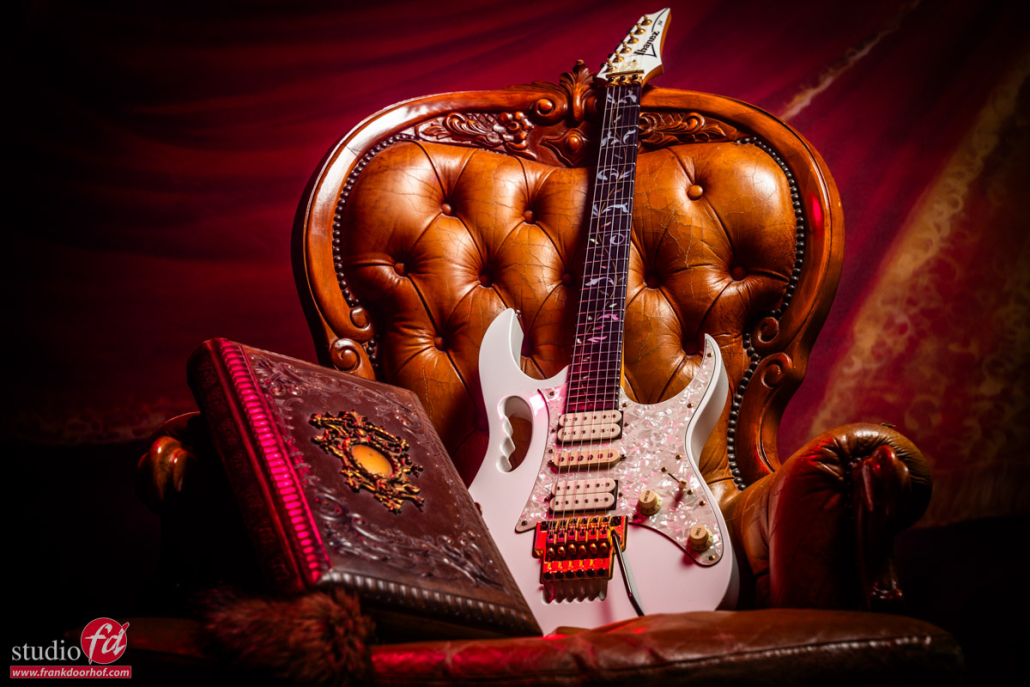
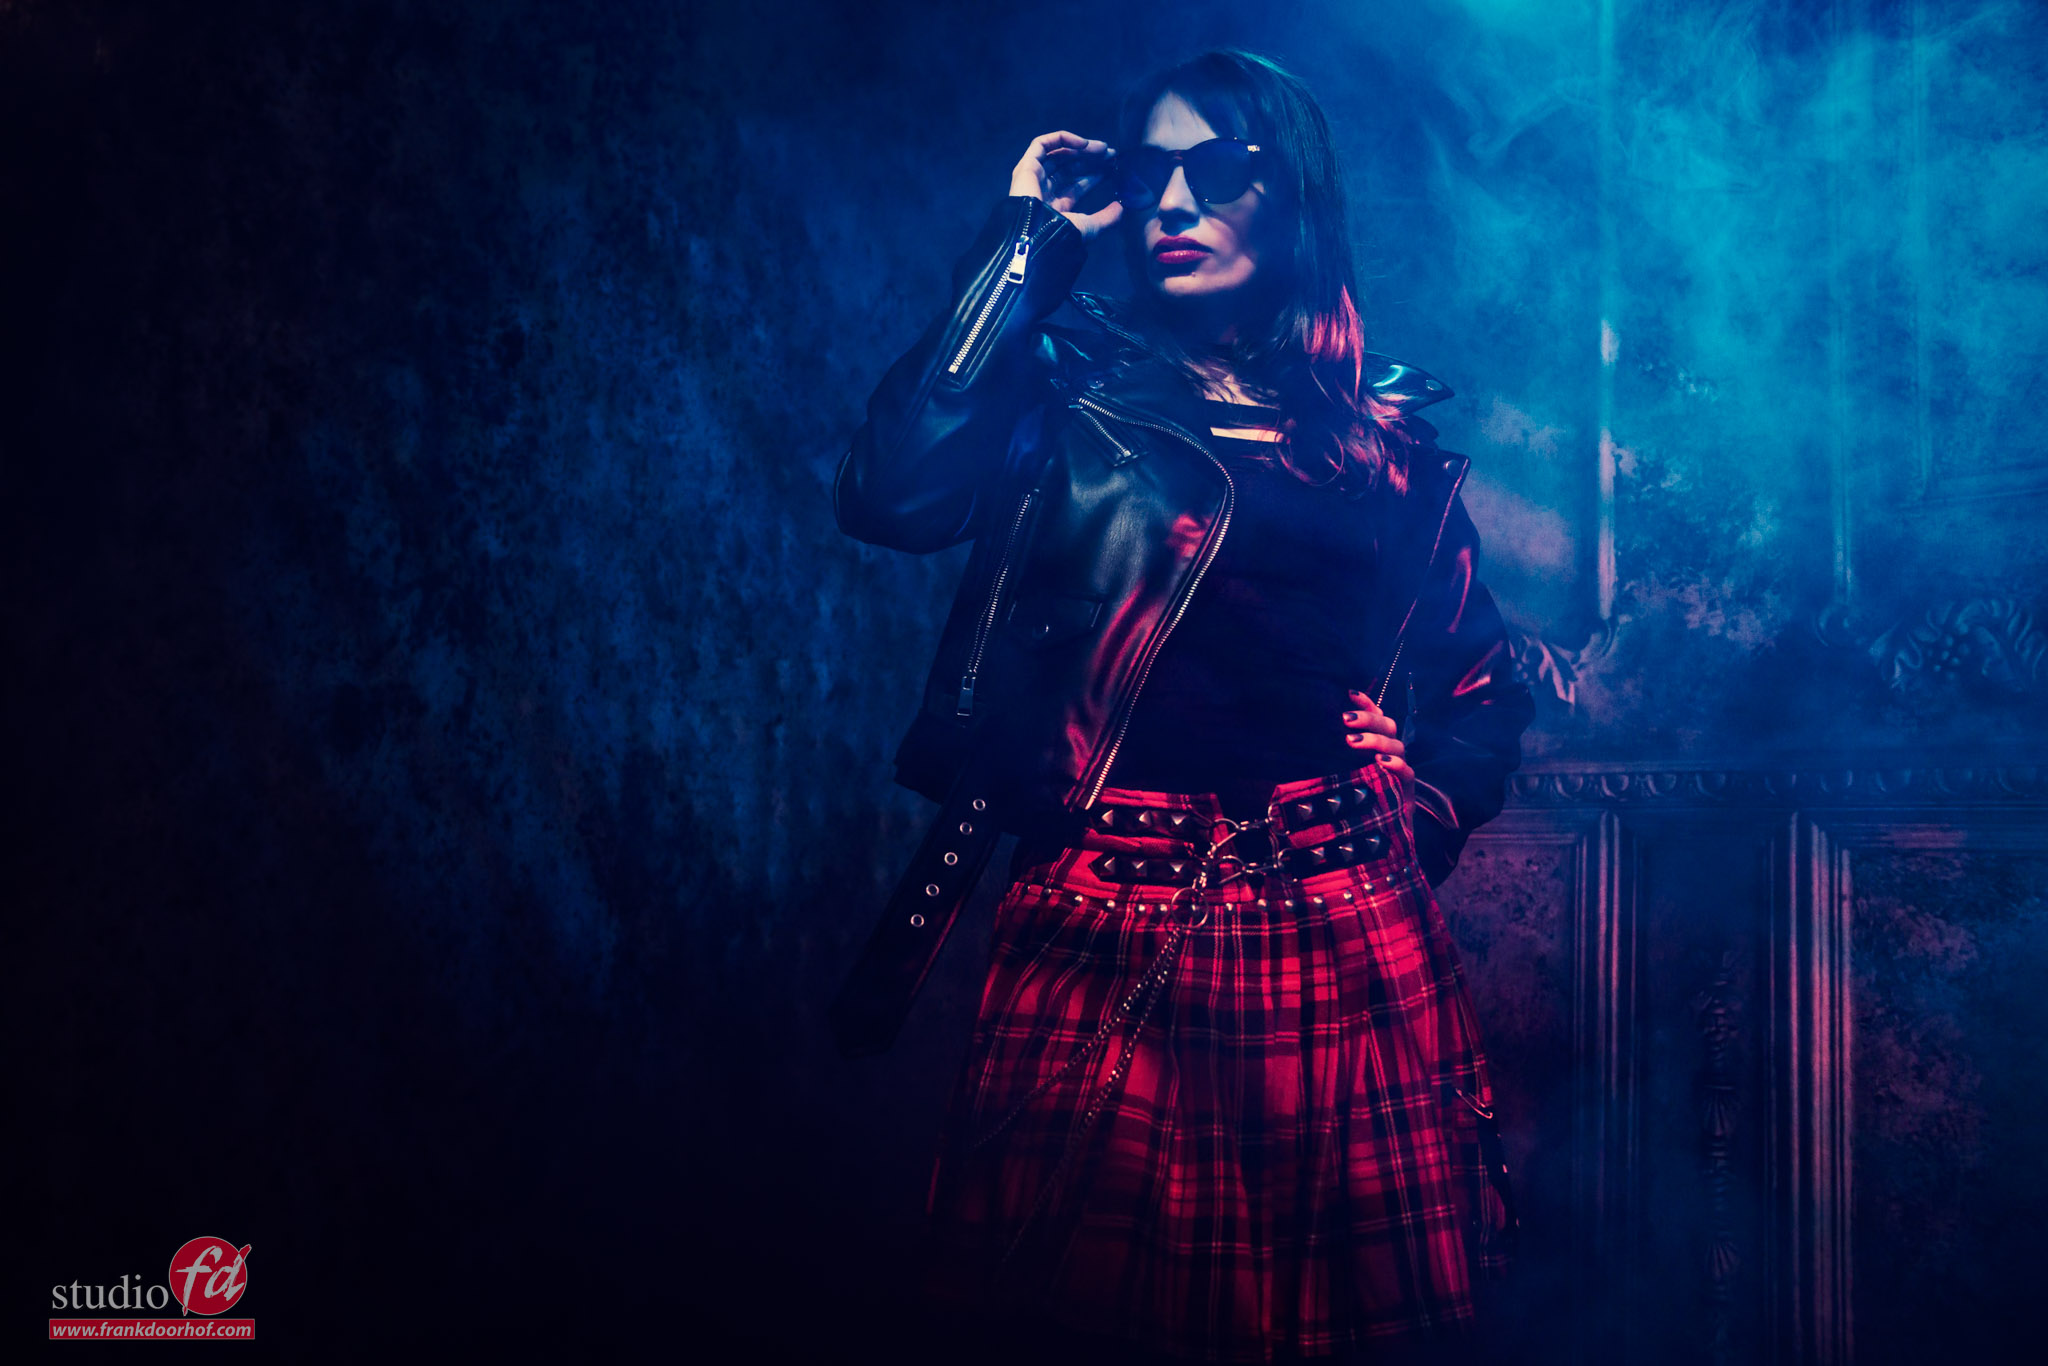
But also always walk around your model and try different positions, it has happend countless times during workshops, events and commercial jobs, me and the client think one angle or position is best, and I always try to include some different positions at the end of the session, and in some cases I actually prefer the alternatives. So always make sure you shoot from as many different positions and angles as time and space allows.