Free video tutorial about mixing flash with continuous light
It’s one of those questions
That always comes back, and we’ve discussed it several times on the blog.
But because video is always better, today a free 2 hour tutorial about mixing light sources.
But first I’ll show you the results from the video, and give you a short explanation of the setup.
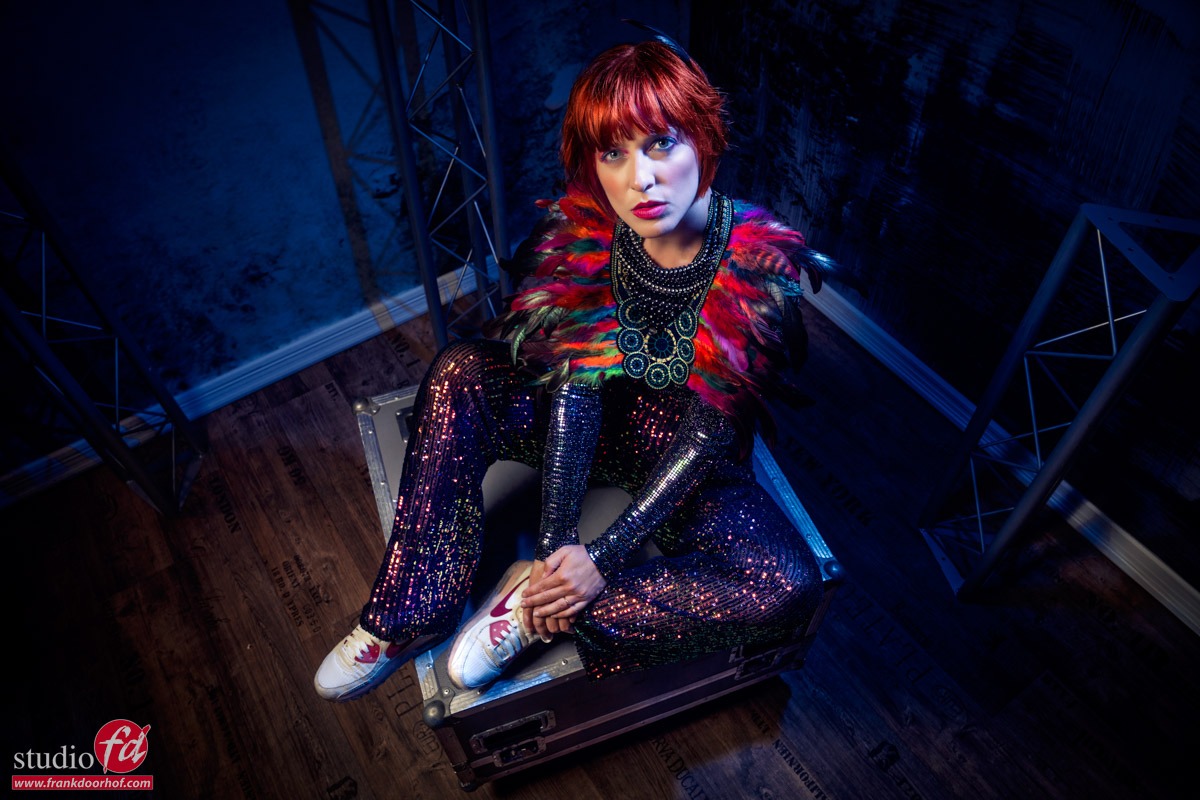
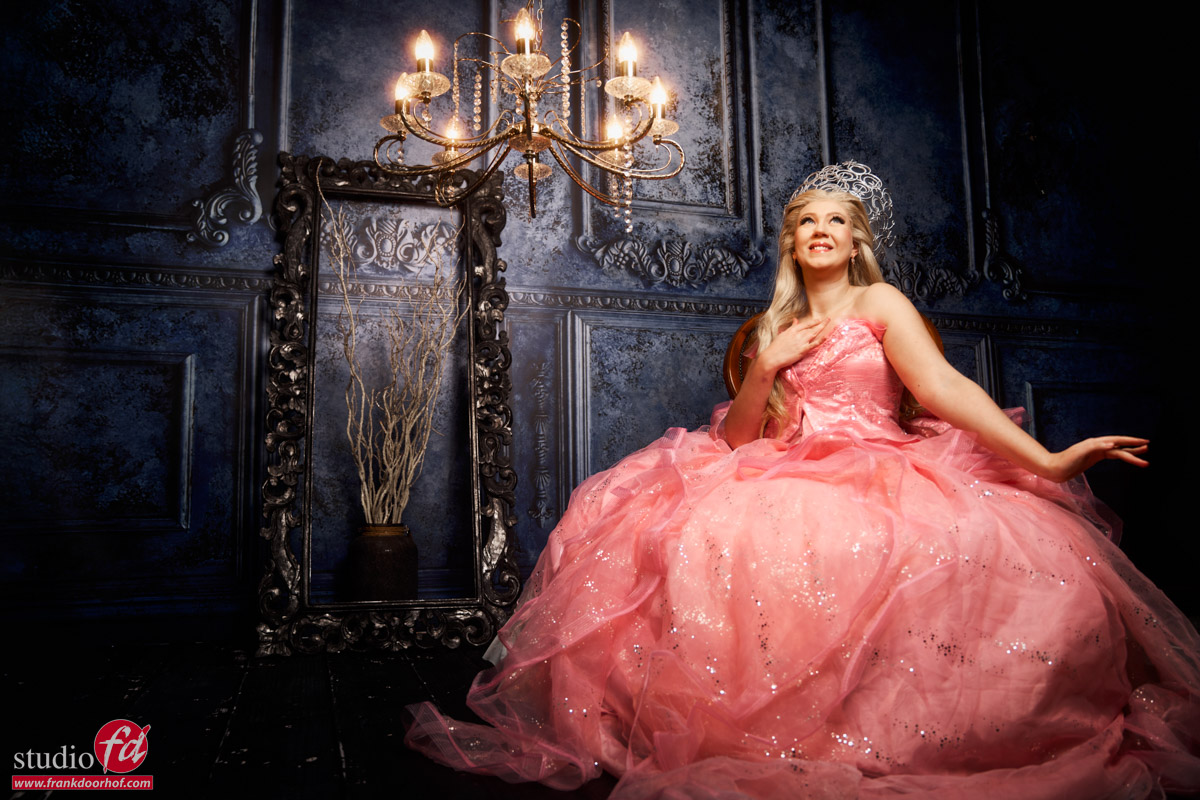
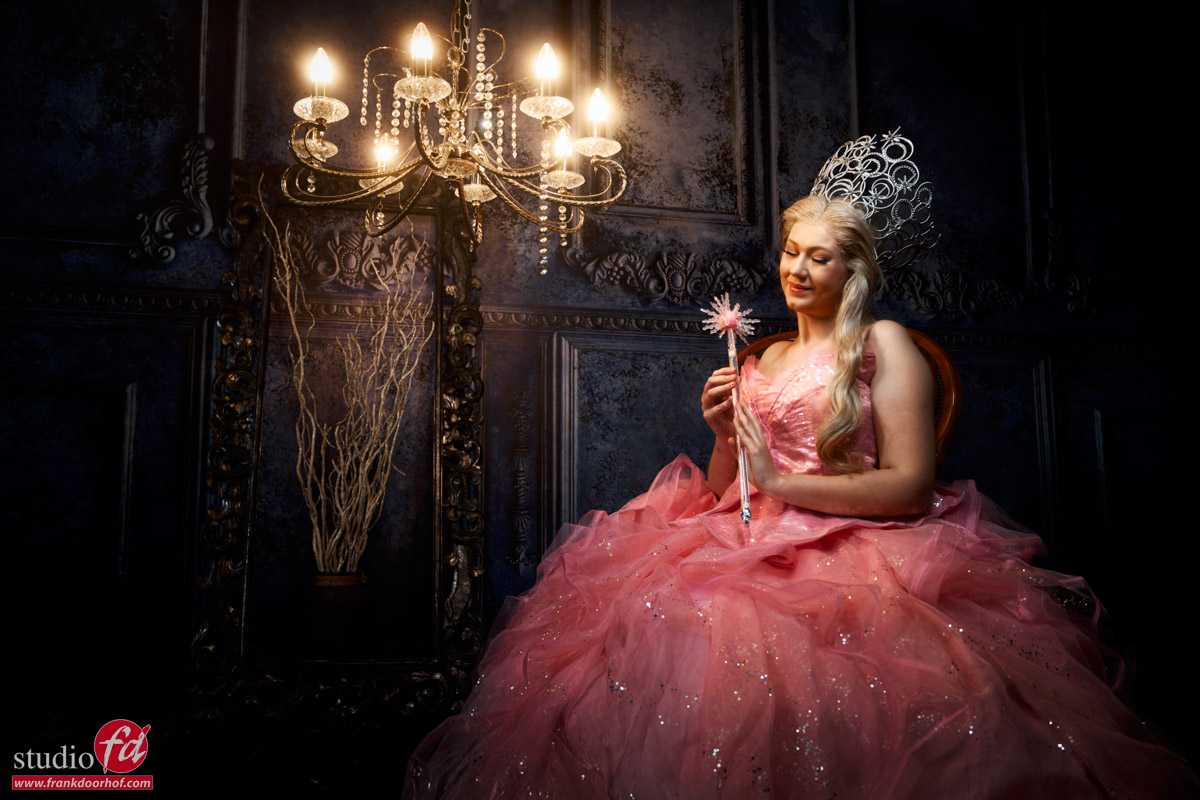
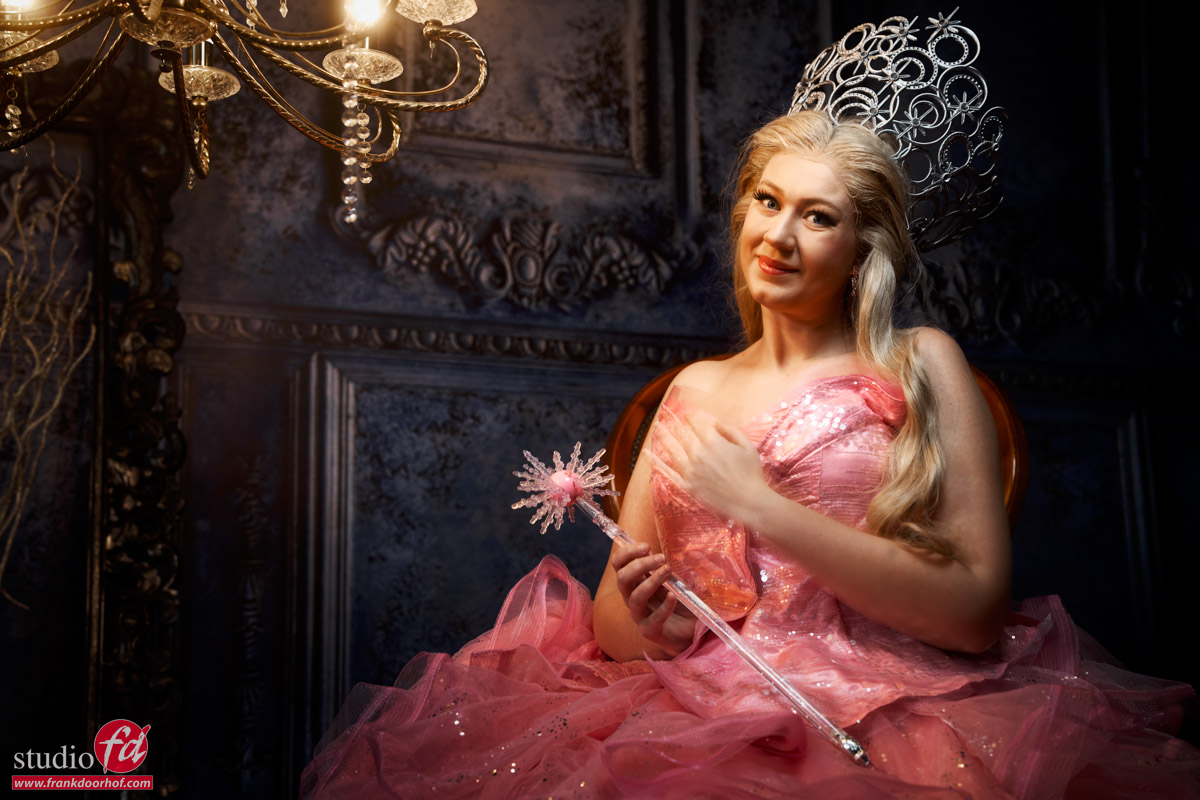
Due to the different lighting setups I have chosen to edit the final results also with different looks which I think fits the mood.
During the video you see the lighting setups and also part of the retouching process in Lightroom, Photoshop, BorisFX and Luminar Neo
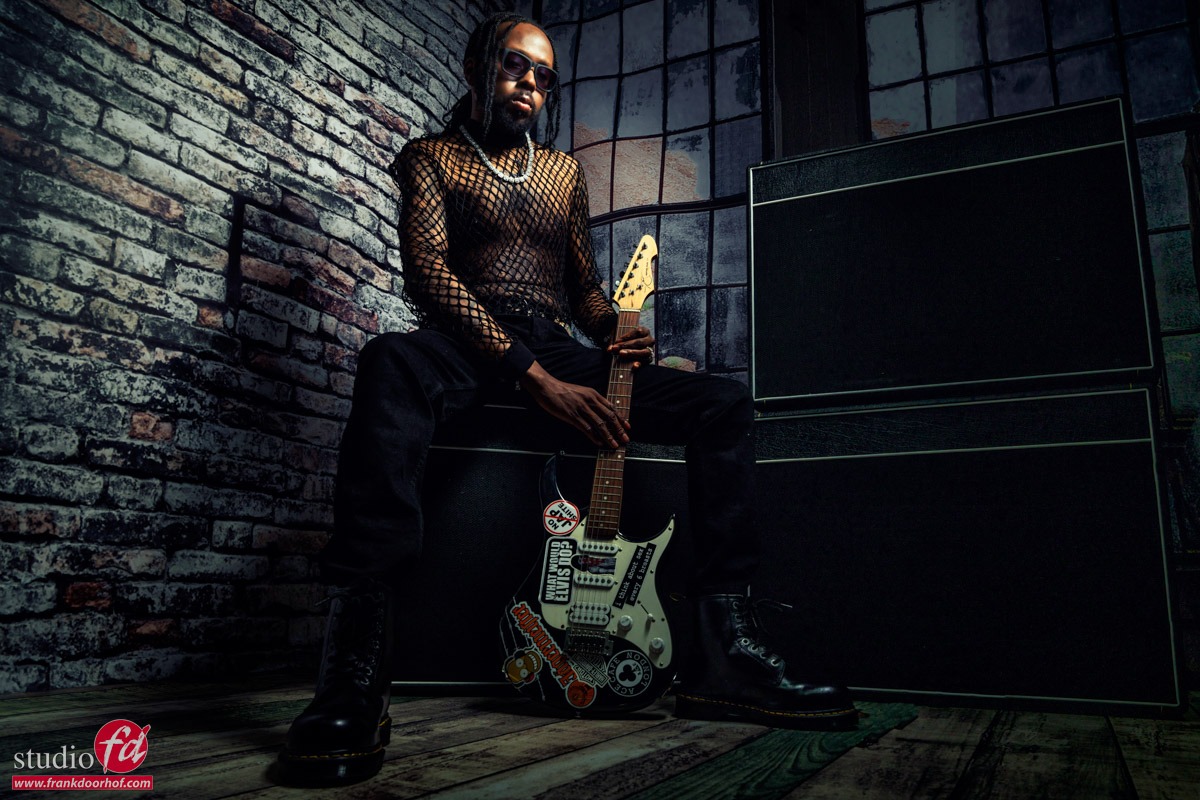
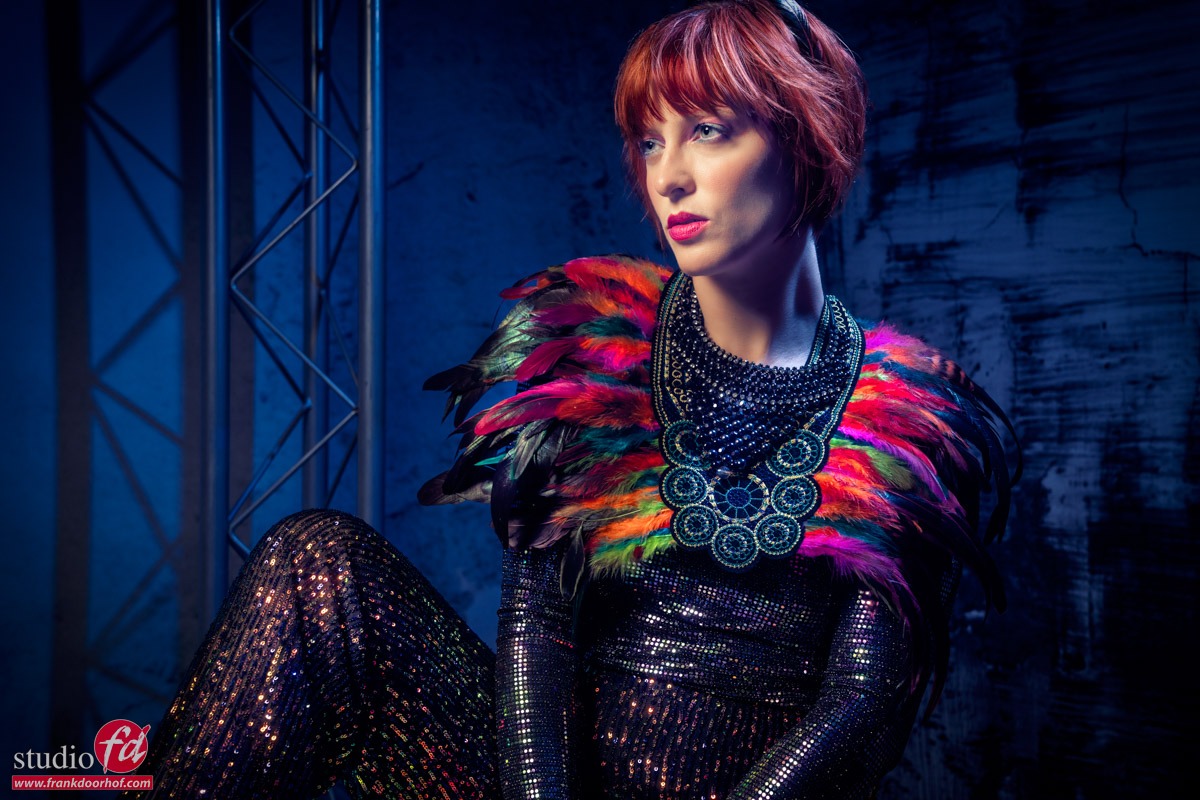
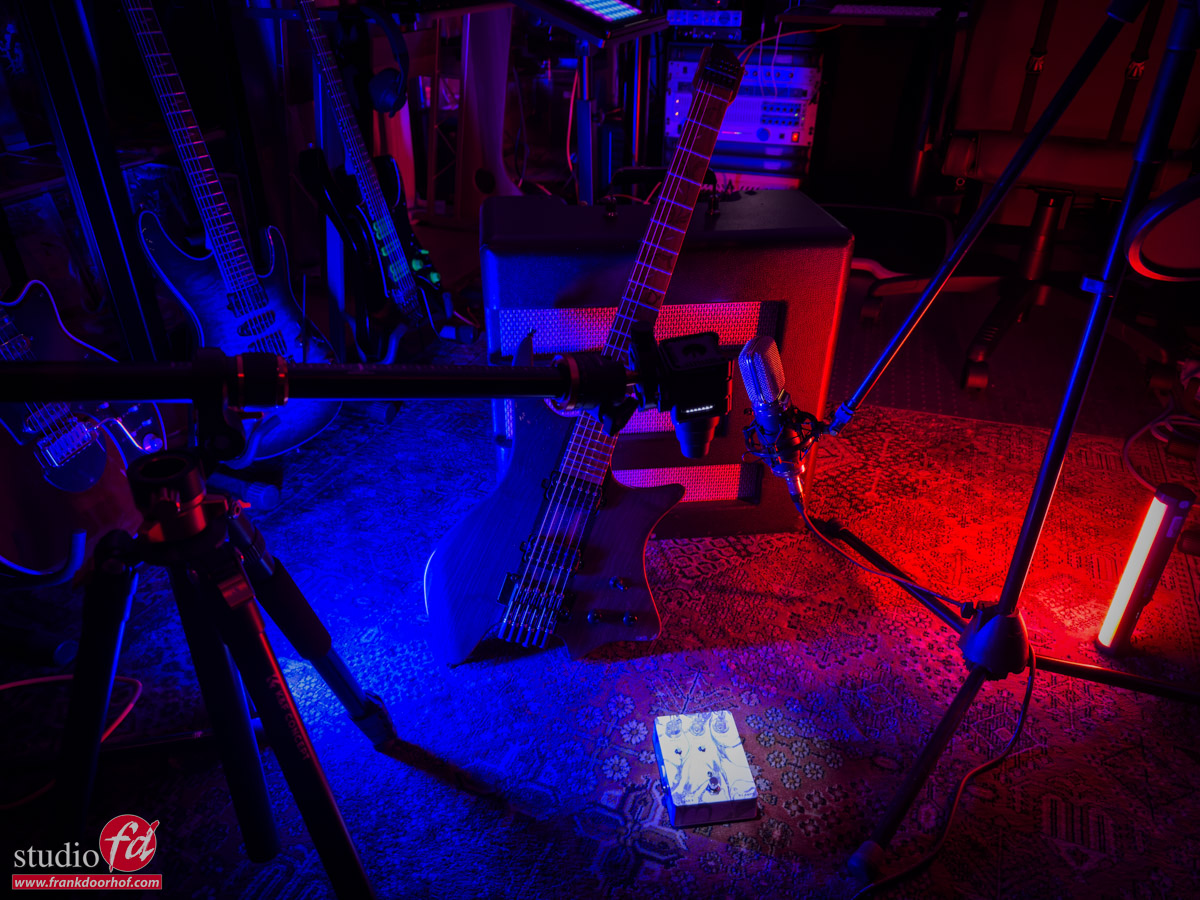
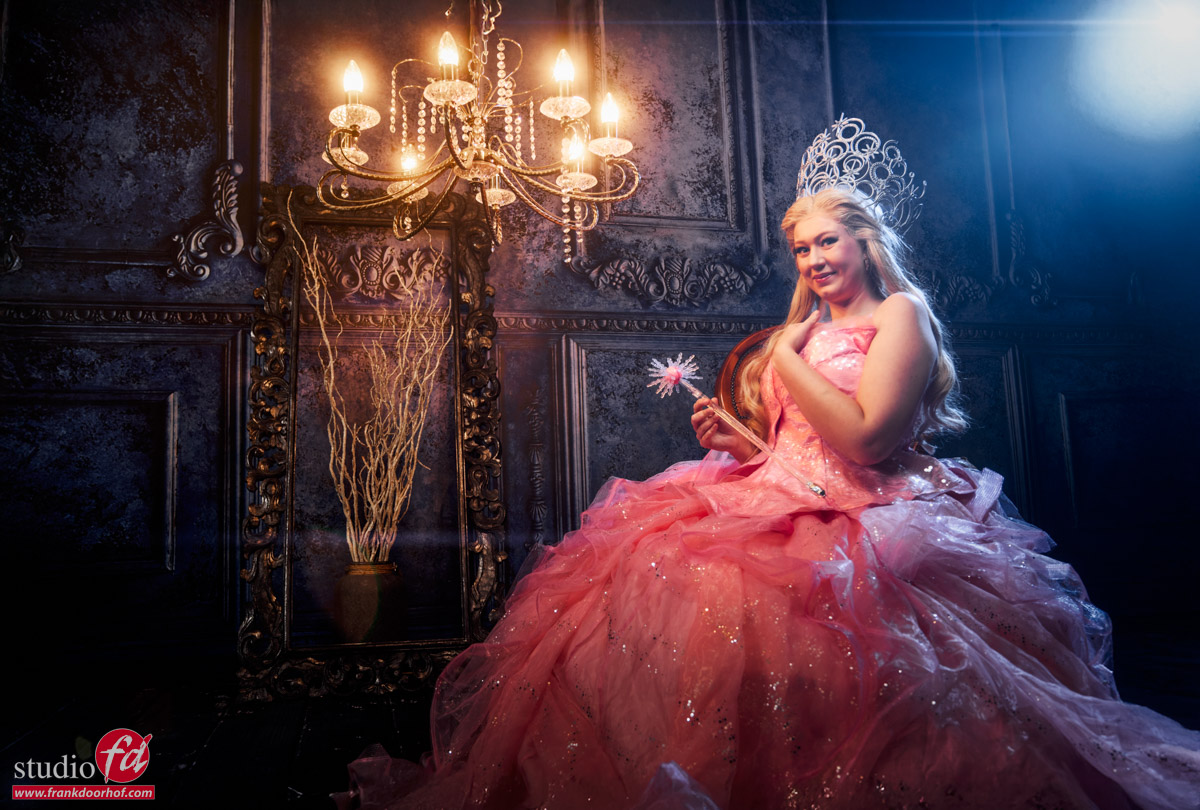
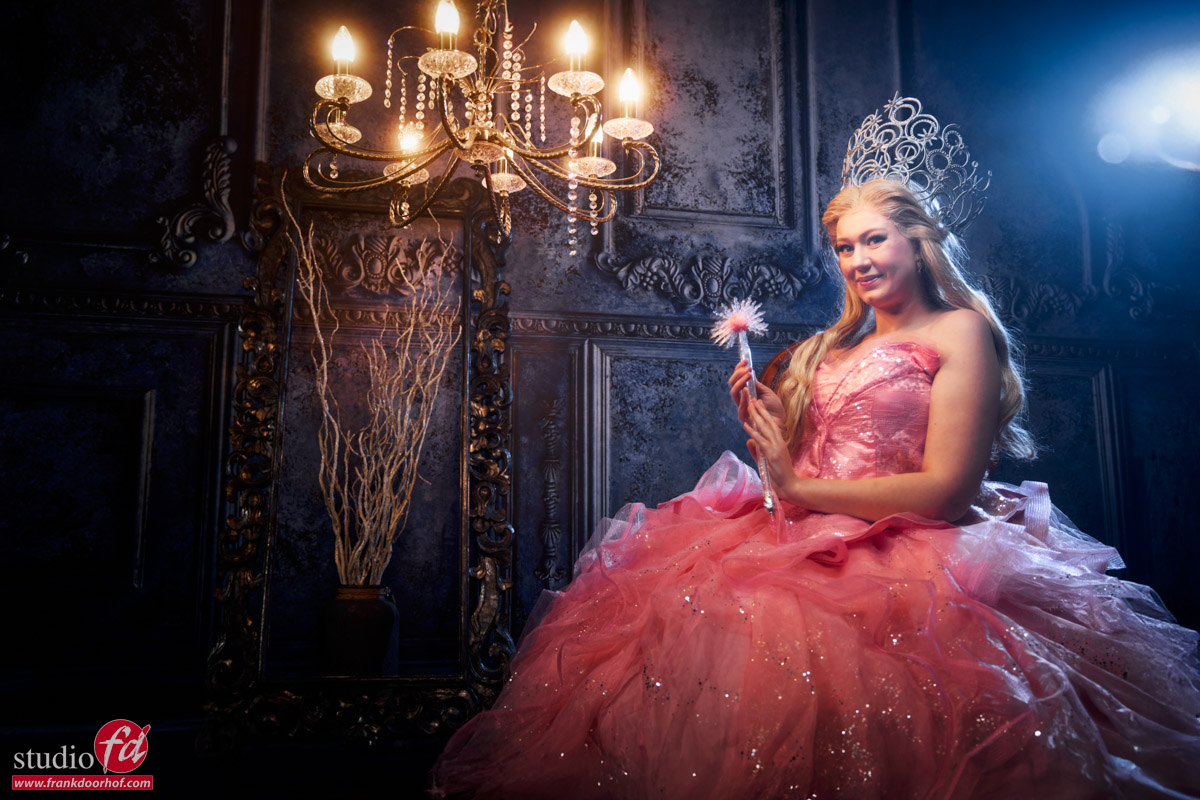
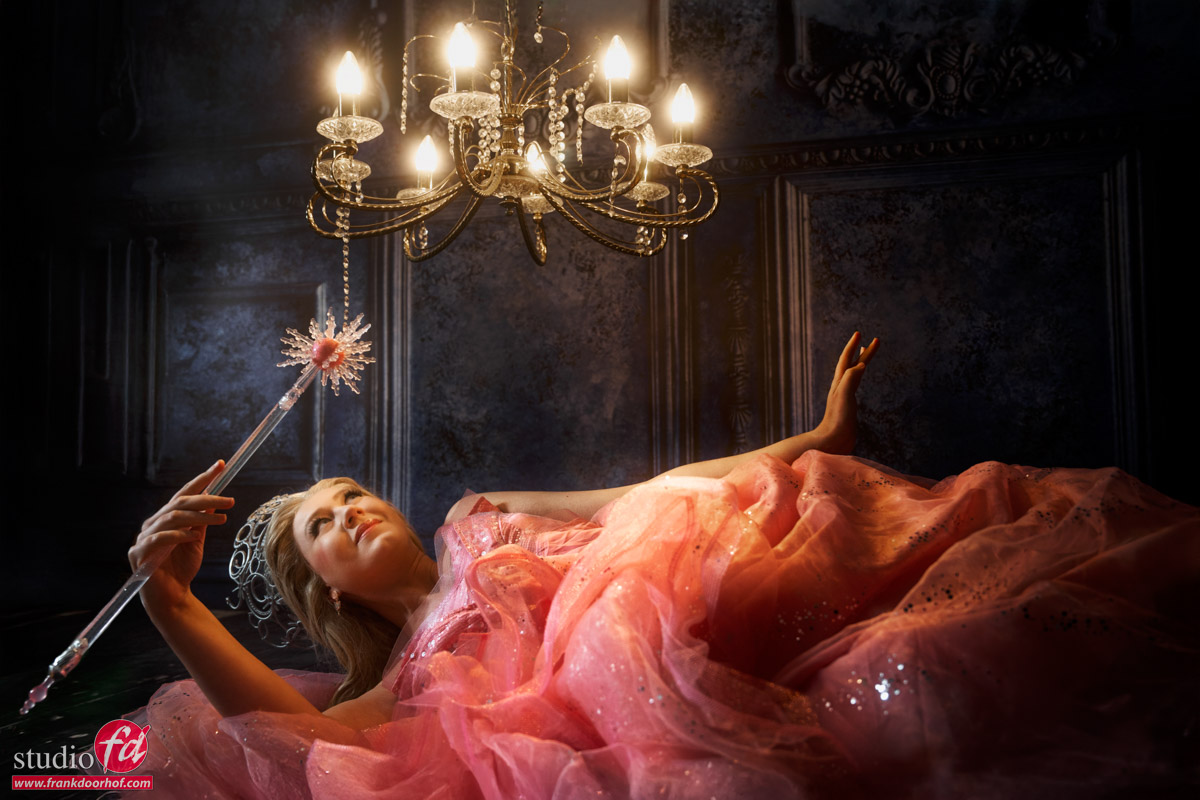
Chandelier
Strobes are fun, but just a chandelier can be great too.
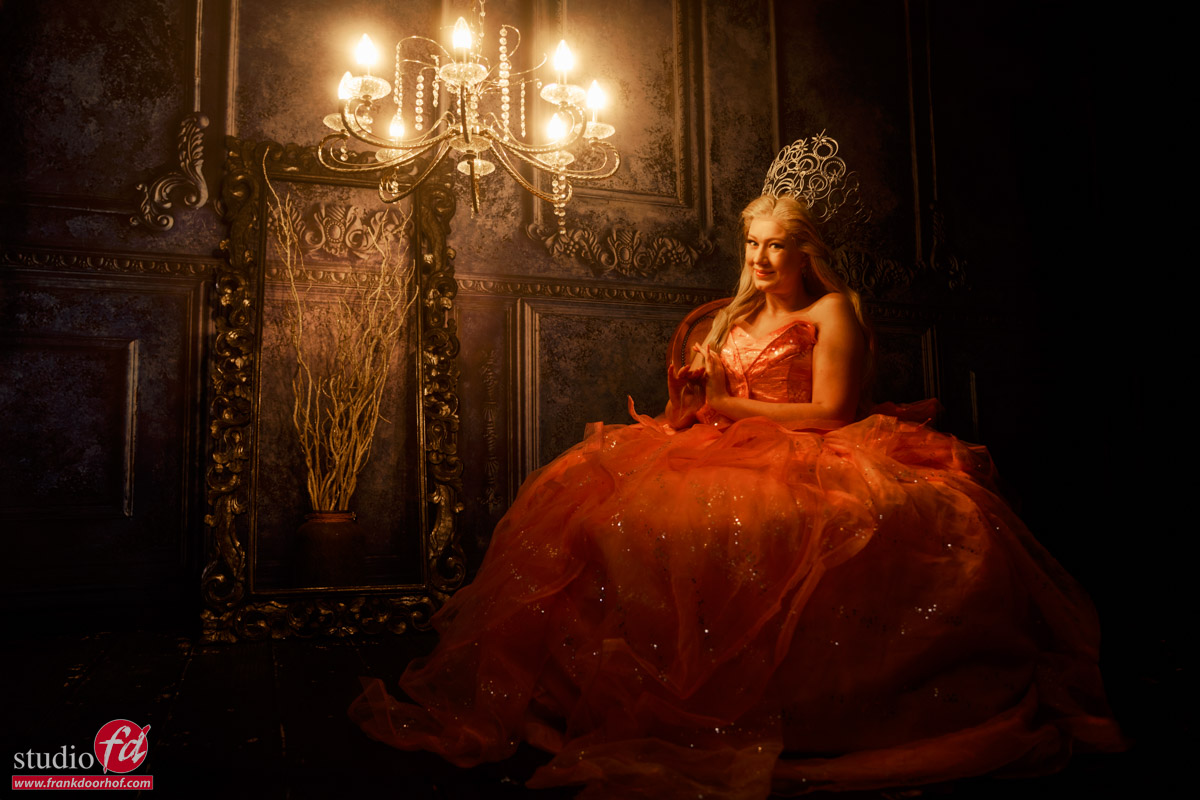
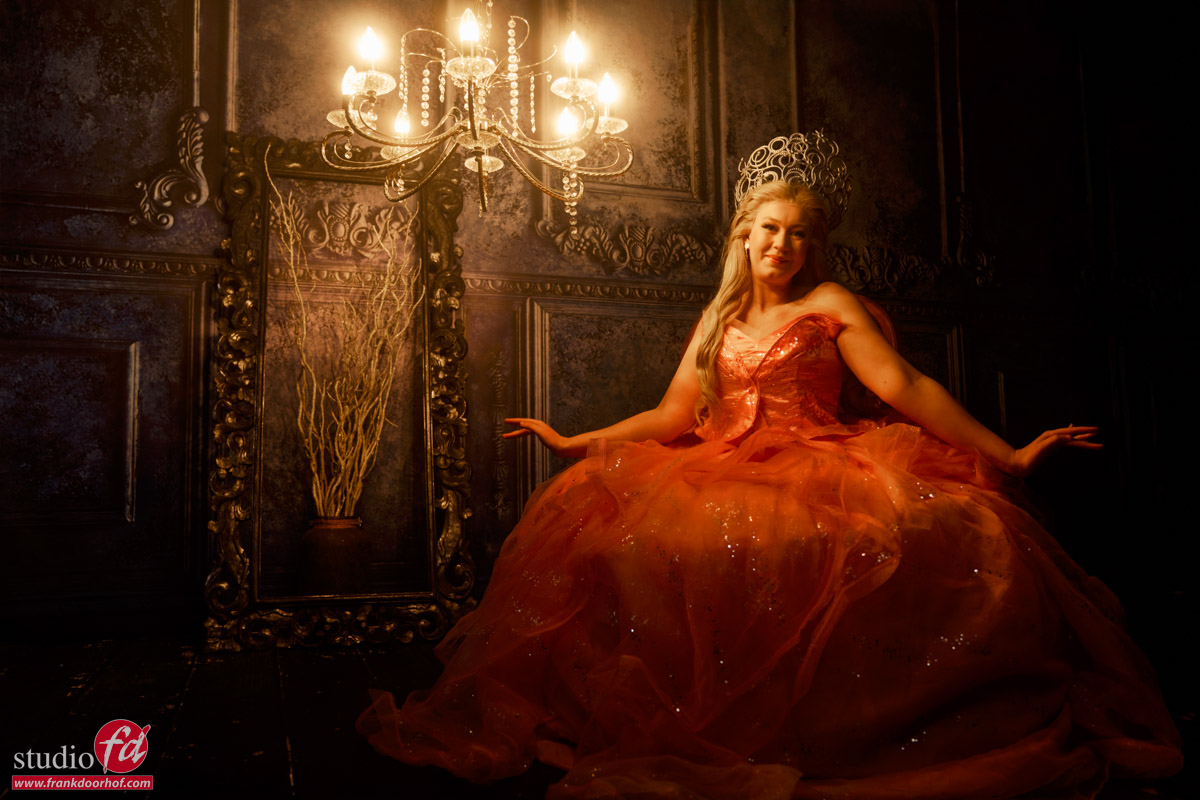
Mixing the chandelier with strobes
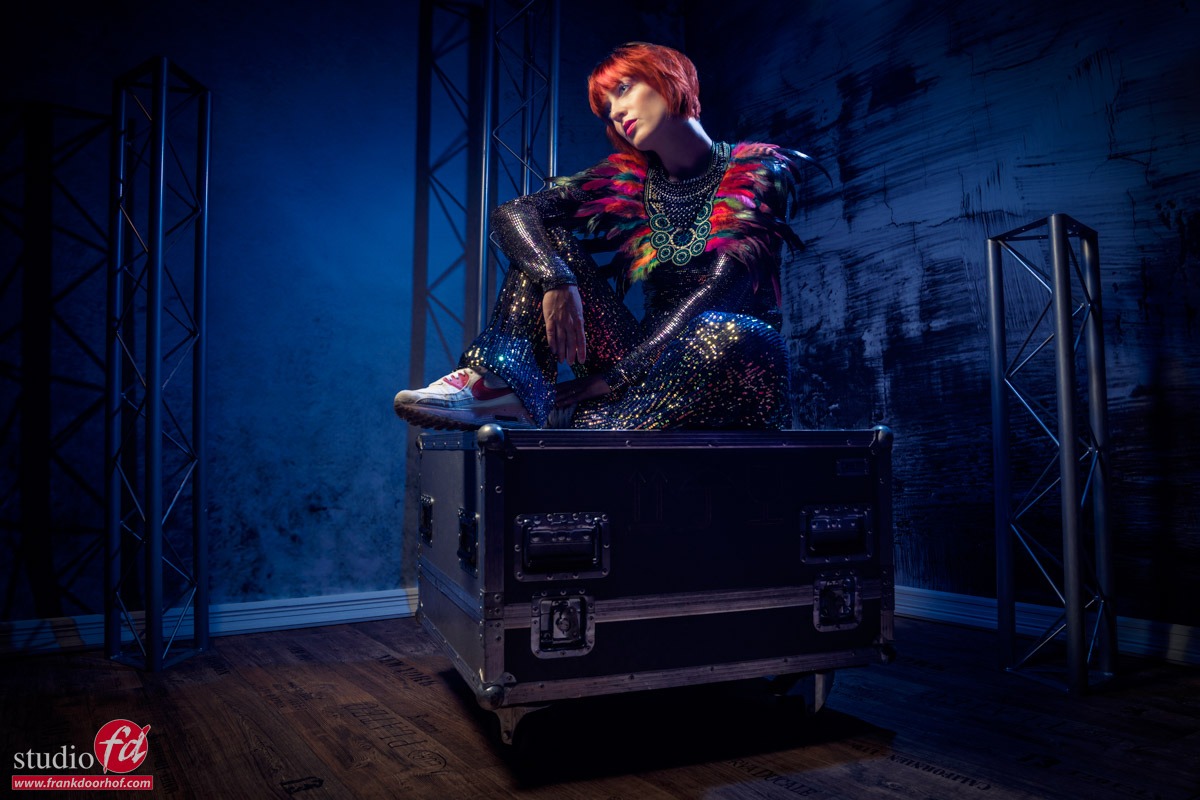
In the following shots I started with the Geekoto Lantern, and later switched to the Geekoto Quicky softbox, both on the Geekoto GT400.
As you can see the difference is clearly seen between the more focussed lightsource and the lantern which spreads the light out much more.
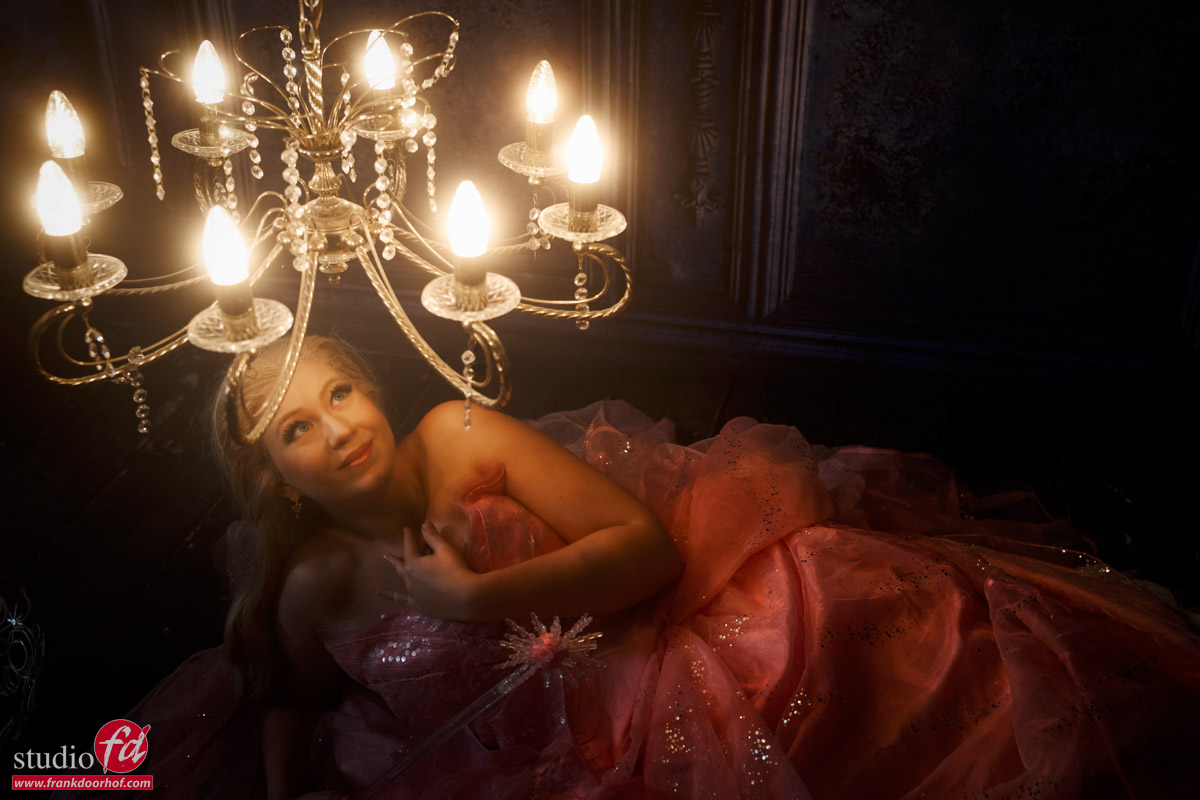
In the later shots I compensated with the light output of the chandelier by changing the shutterspeed. (explained in the video)
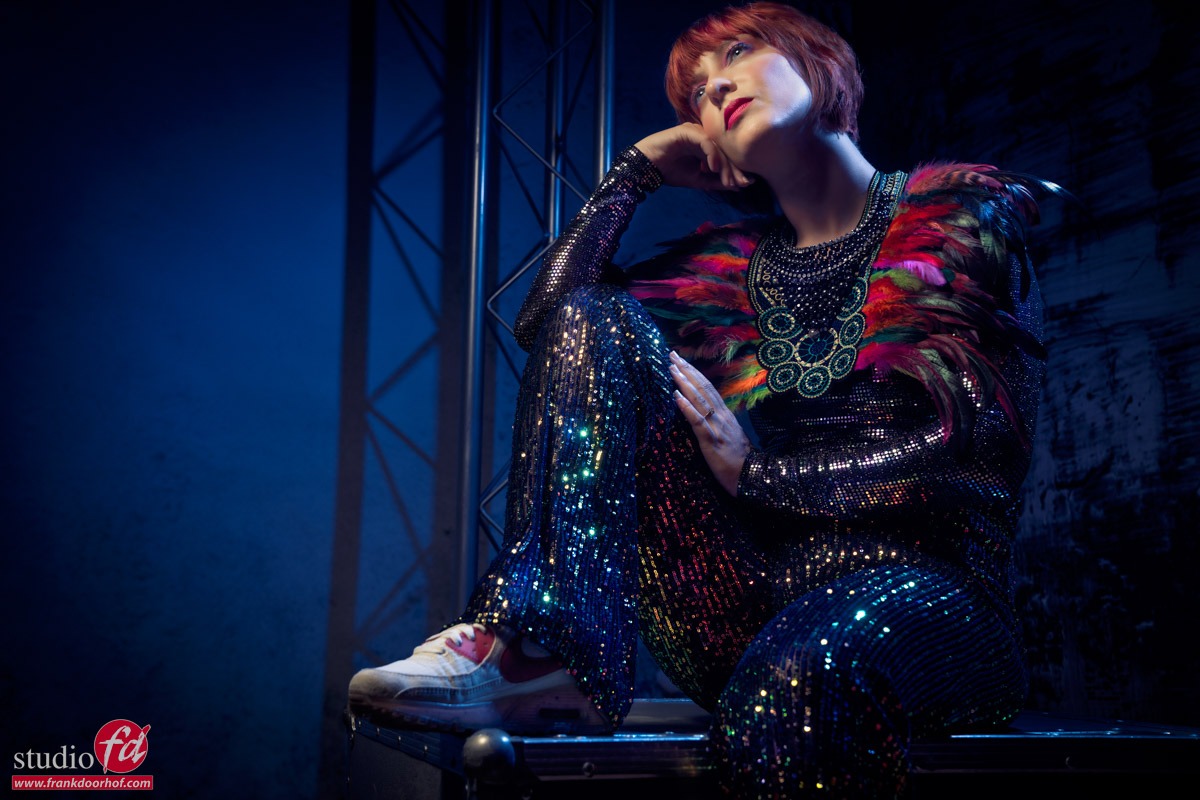
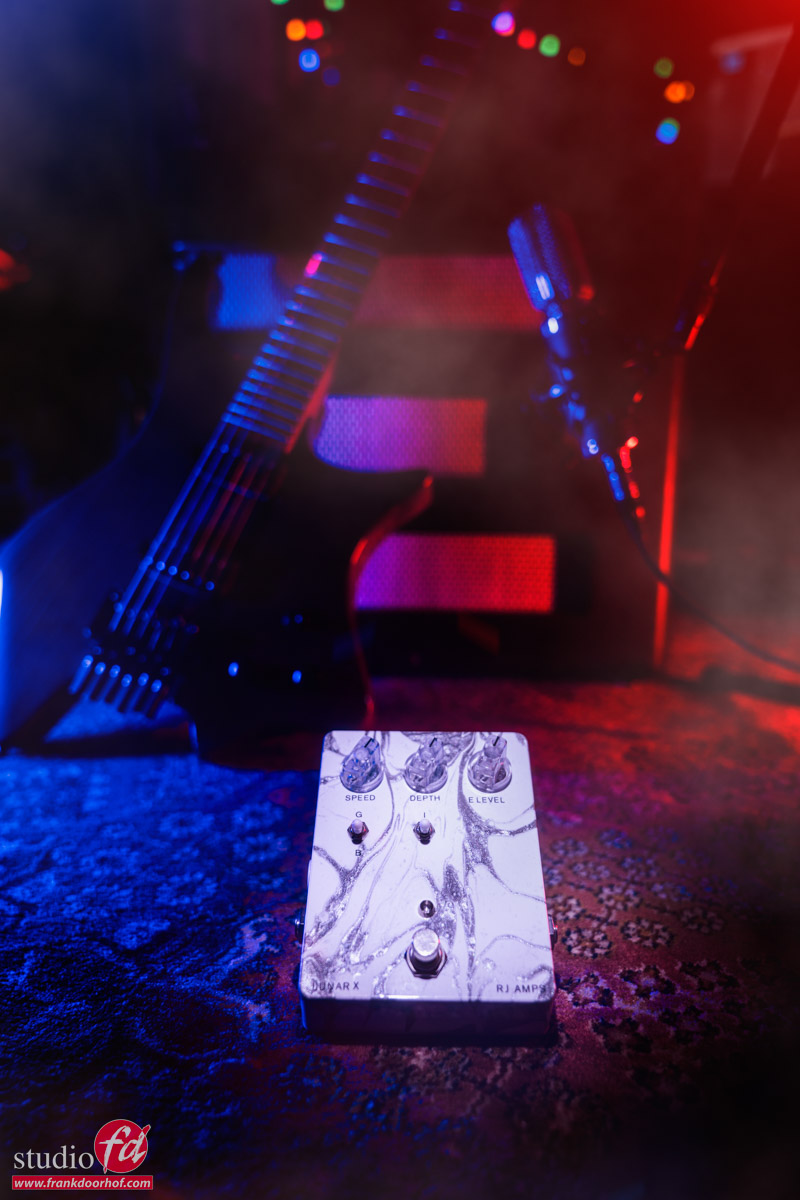
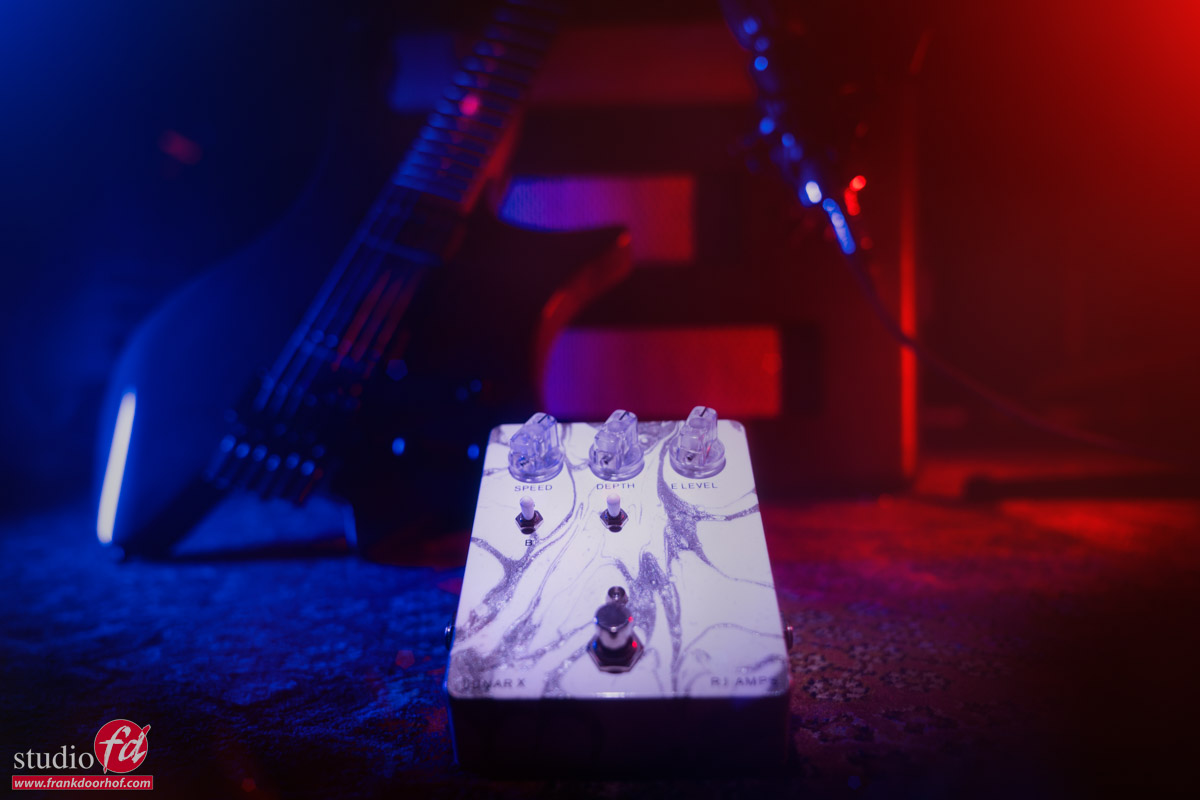
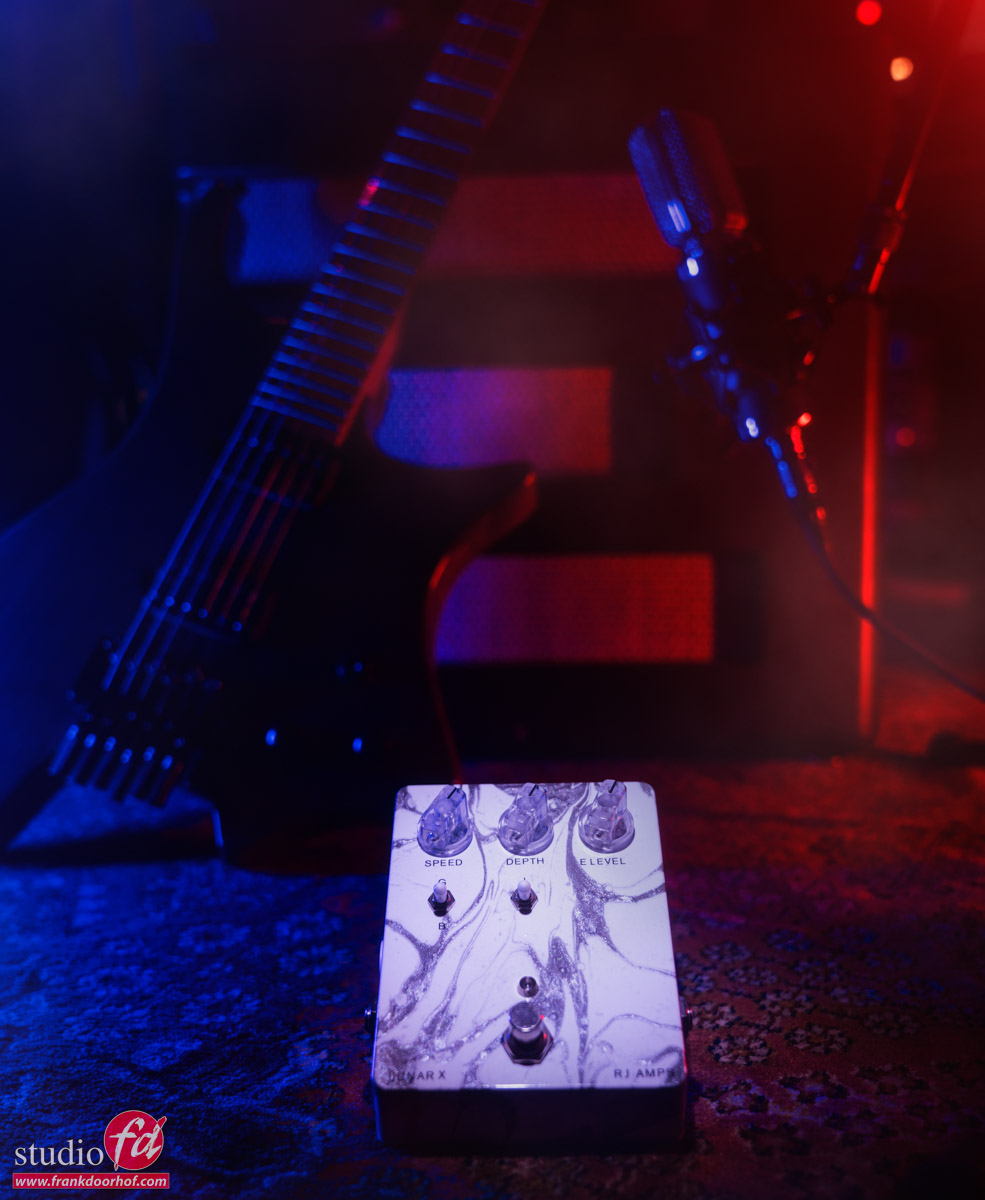
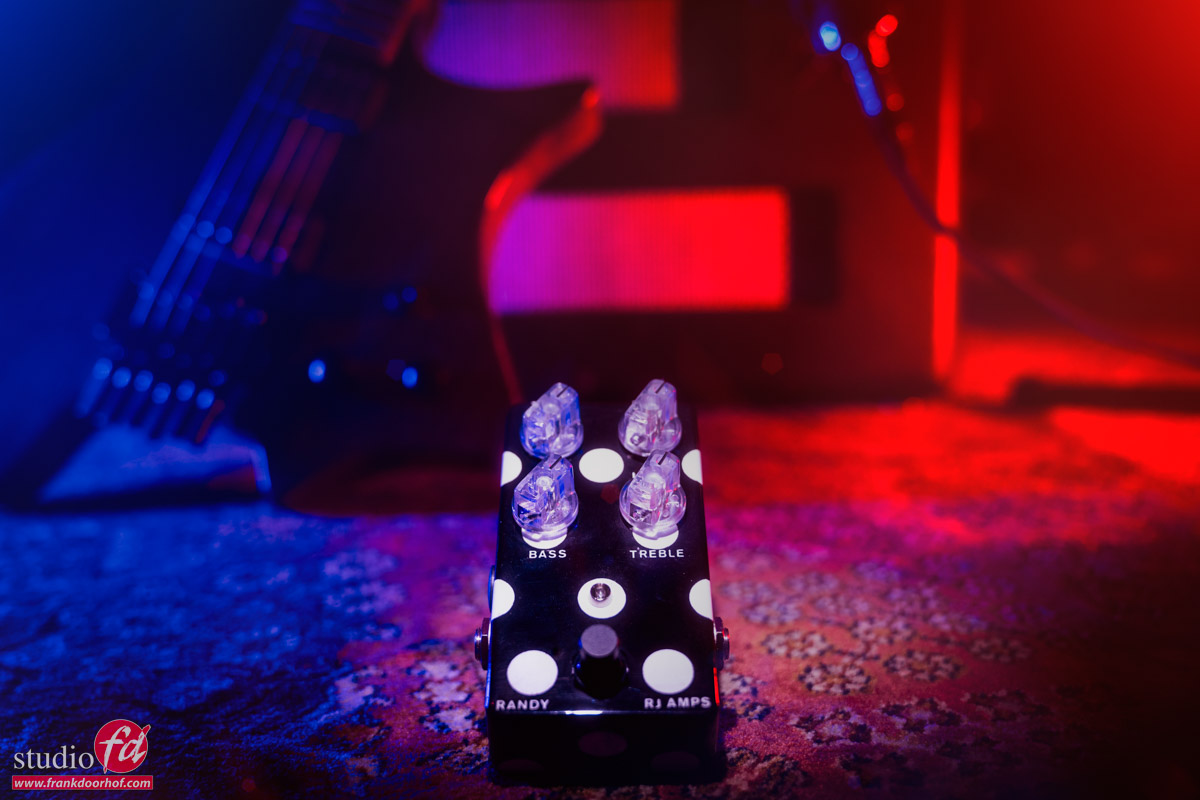
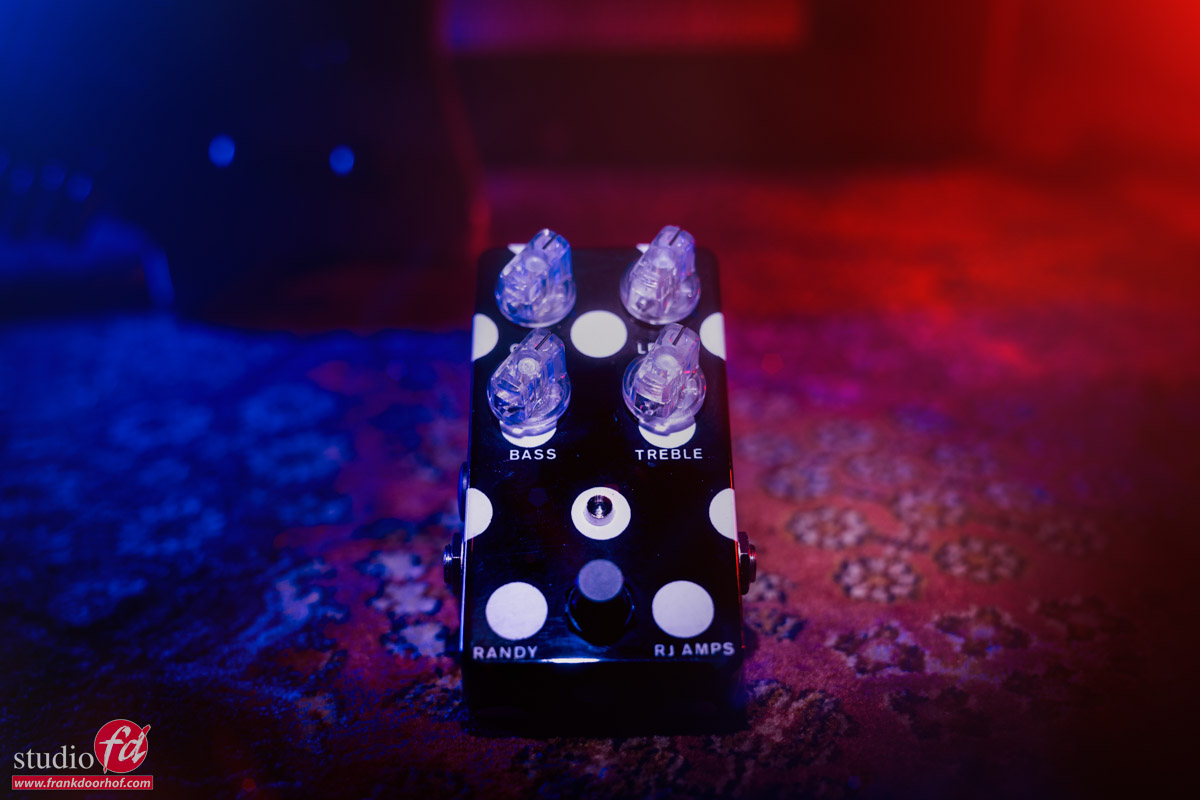
More focussed lightsource.
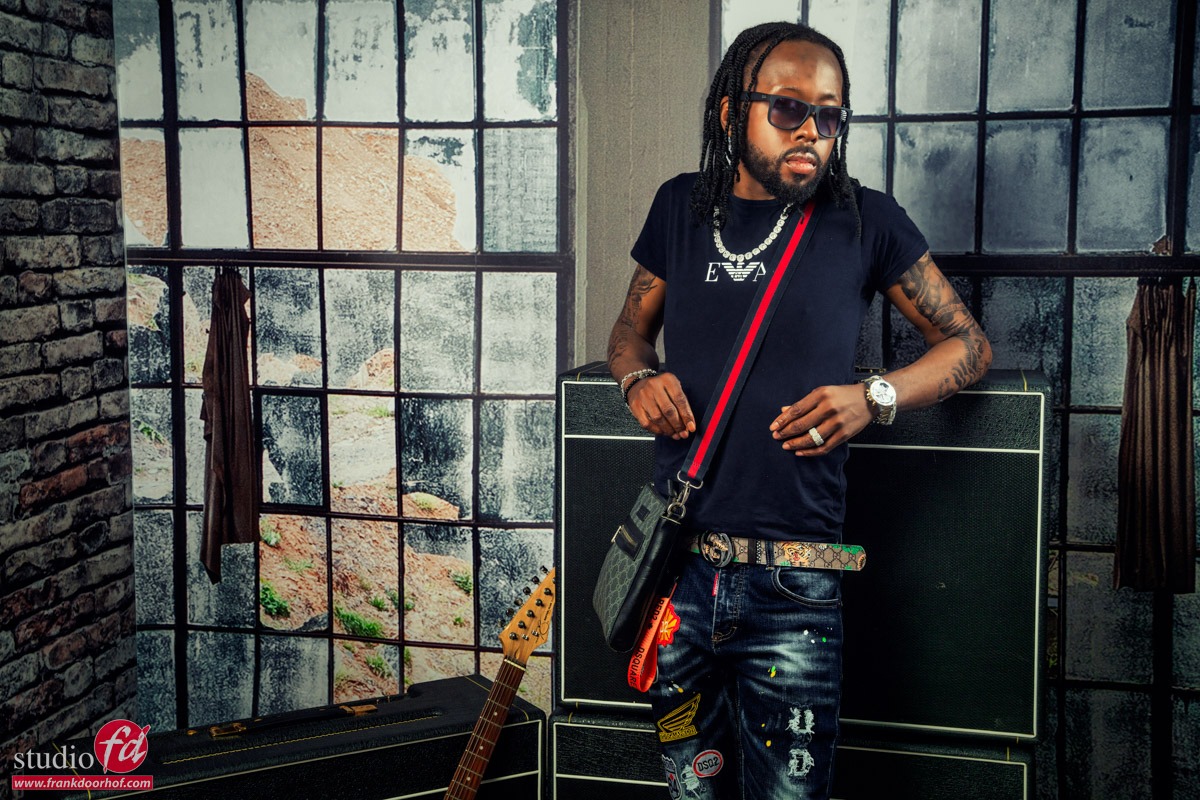
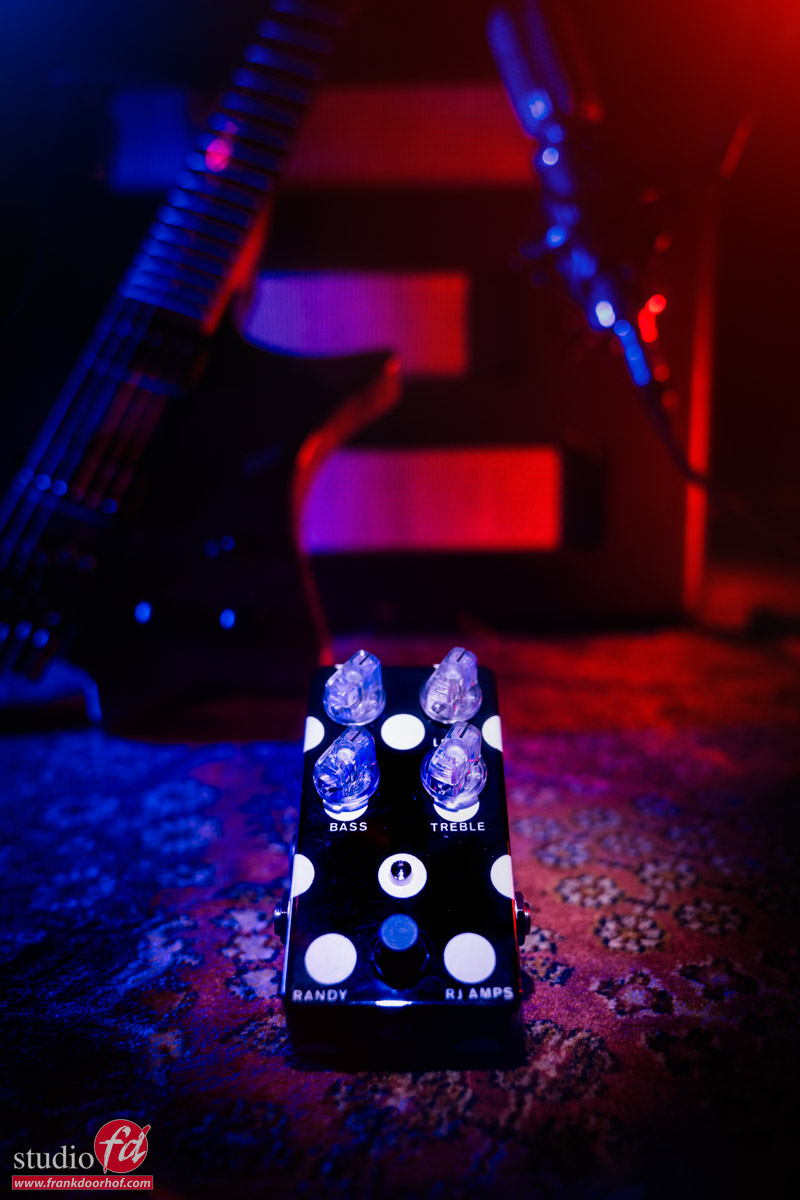
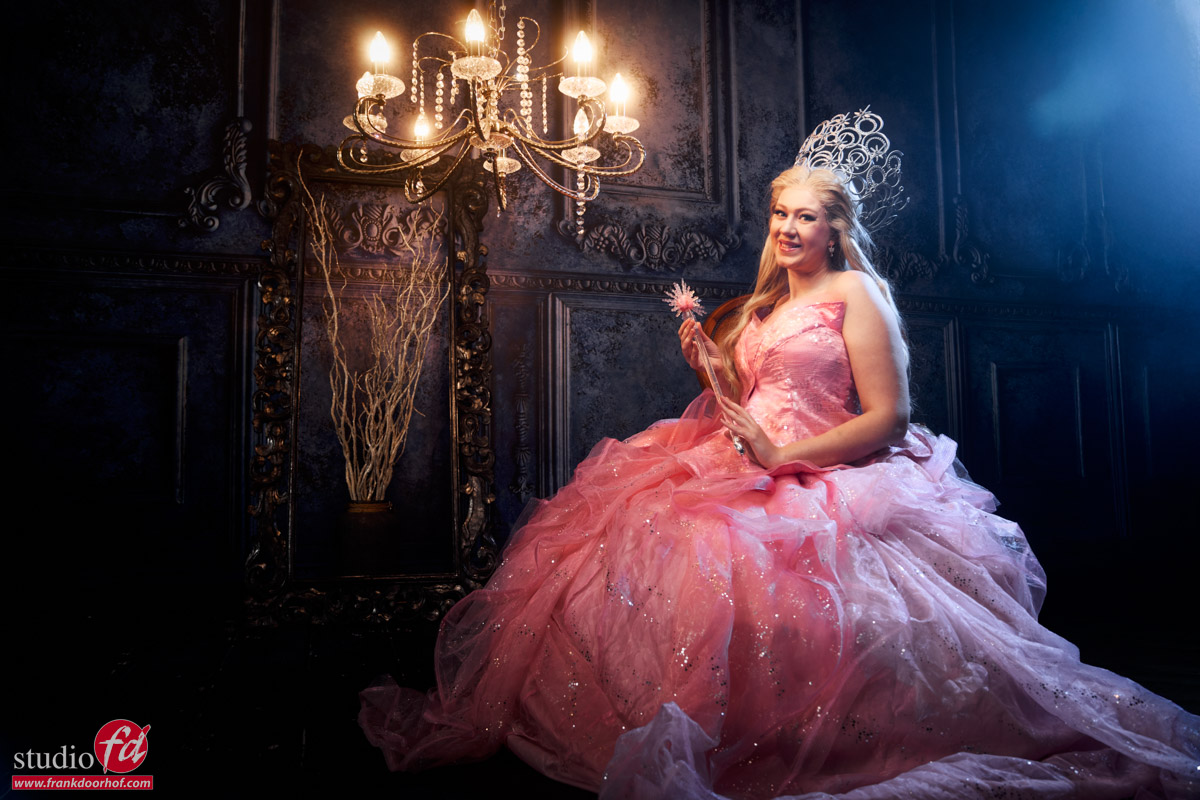
And of course it’s always fun to add some extra color.
Here I’m using the Rogue magnetic system on the Geekoto GT200 with a blue gel
The black diffusion filter helps with the lens flare.
You can always add some extra “oomph” to your lens flares with software like BorisFX, which I used in the first shot.
The lens flare is there, but it just gives it something extra.
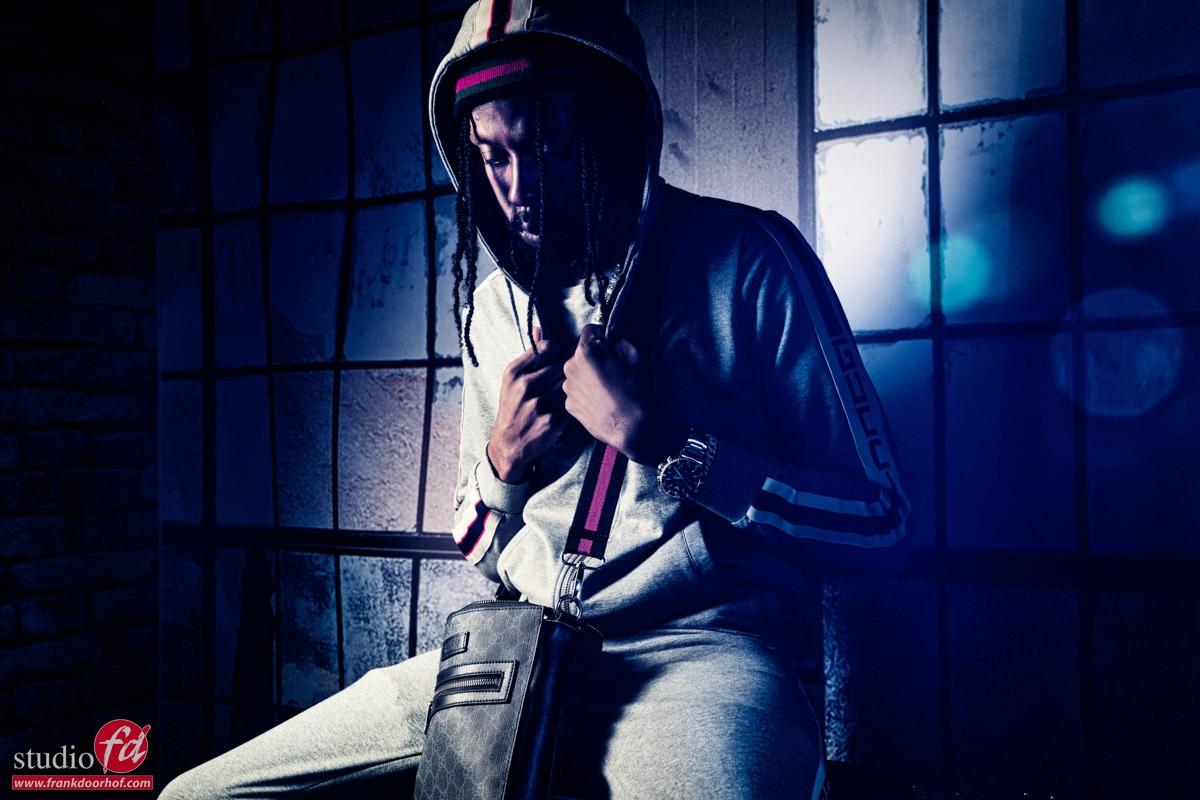
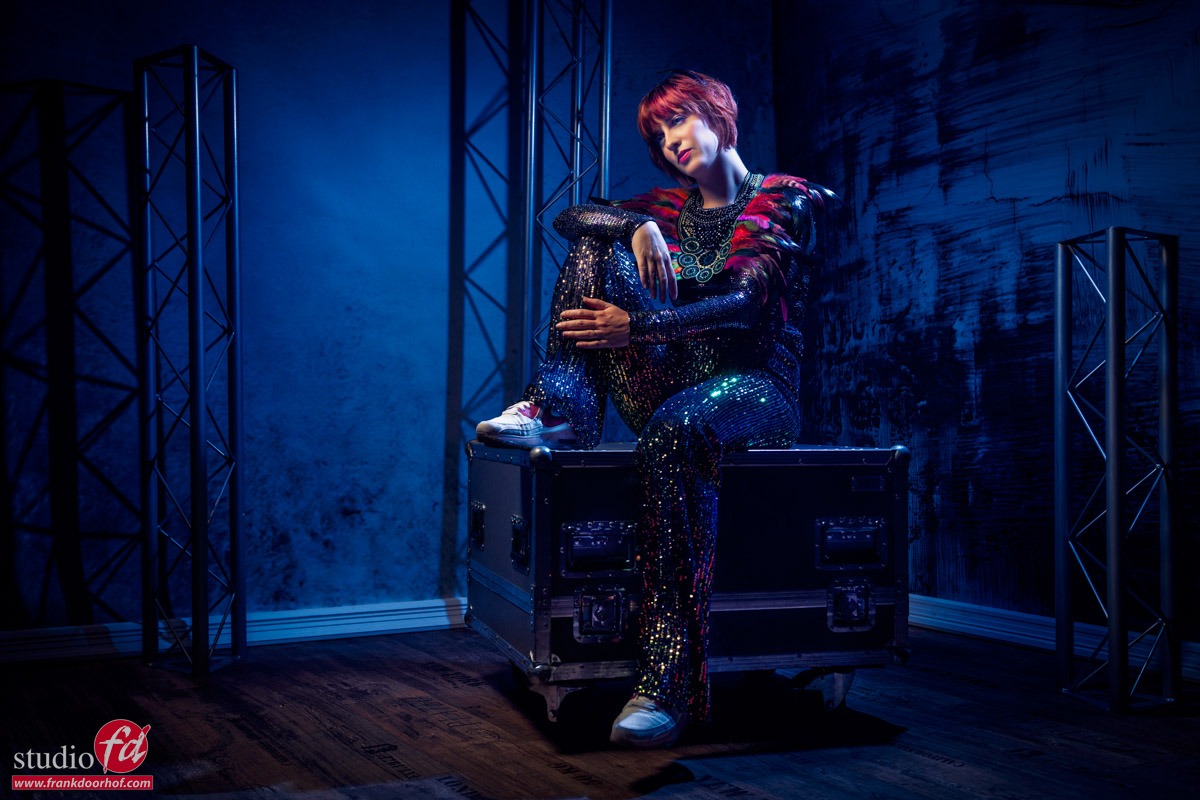
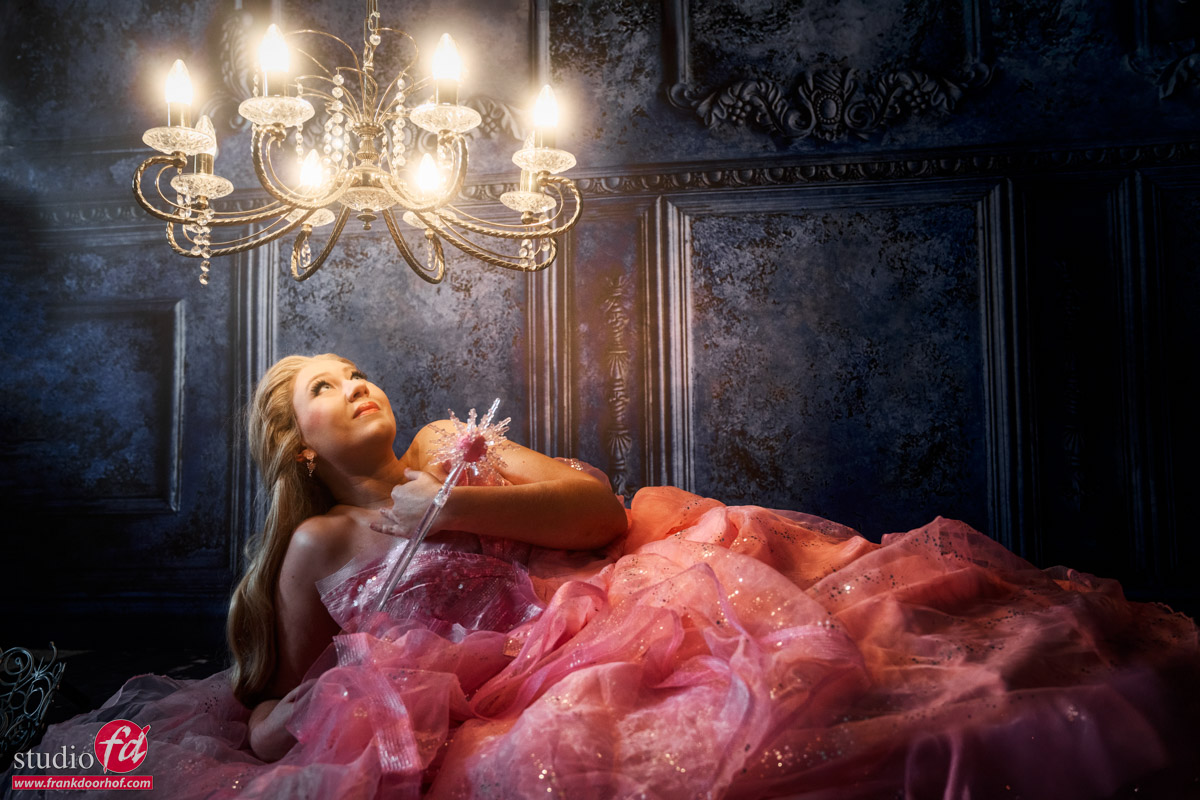
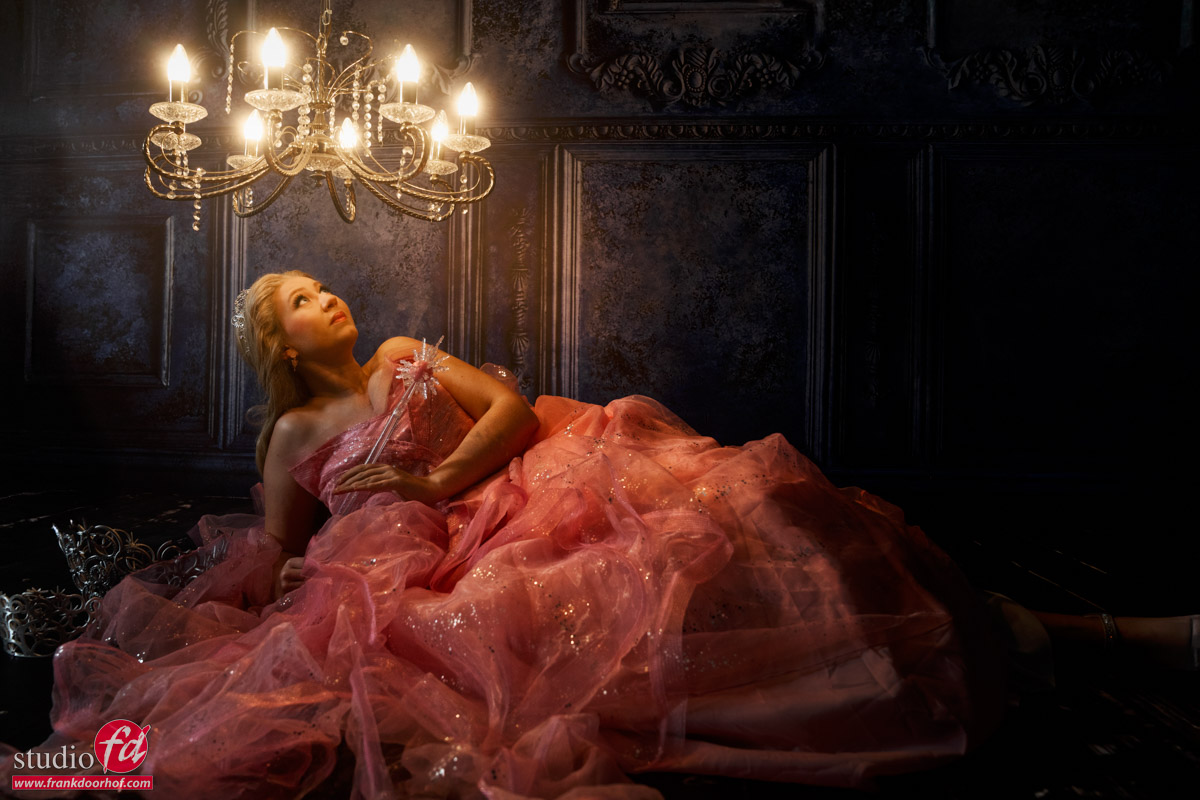
Back to the chandelier
In the final part of the tutorial I switch back to the chandelier, but with a different setup.
This setup goes into detail about the inverse square law and shadow problems when shooting closeup light sources.
The tutorial
After seeing the results I hope you are looking forward to the tutorial.
The tutorial is part of our Digital classroom series, which you can find on our YouTube channel.
If you want to learn more about lighting in small groups check fotografie-workshops.nl for the Dutch workshops and events.
If you don’t speak Dutch and let us know a few weeks in advance we can switch the workshops to English.
And if you are not able to travel, no problem, we have a great setup for 1:1 (group) workshops online Online 1:1 workshops