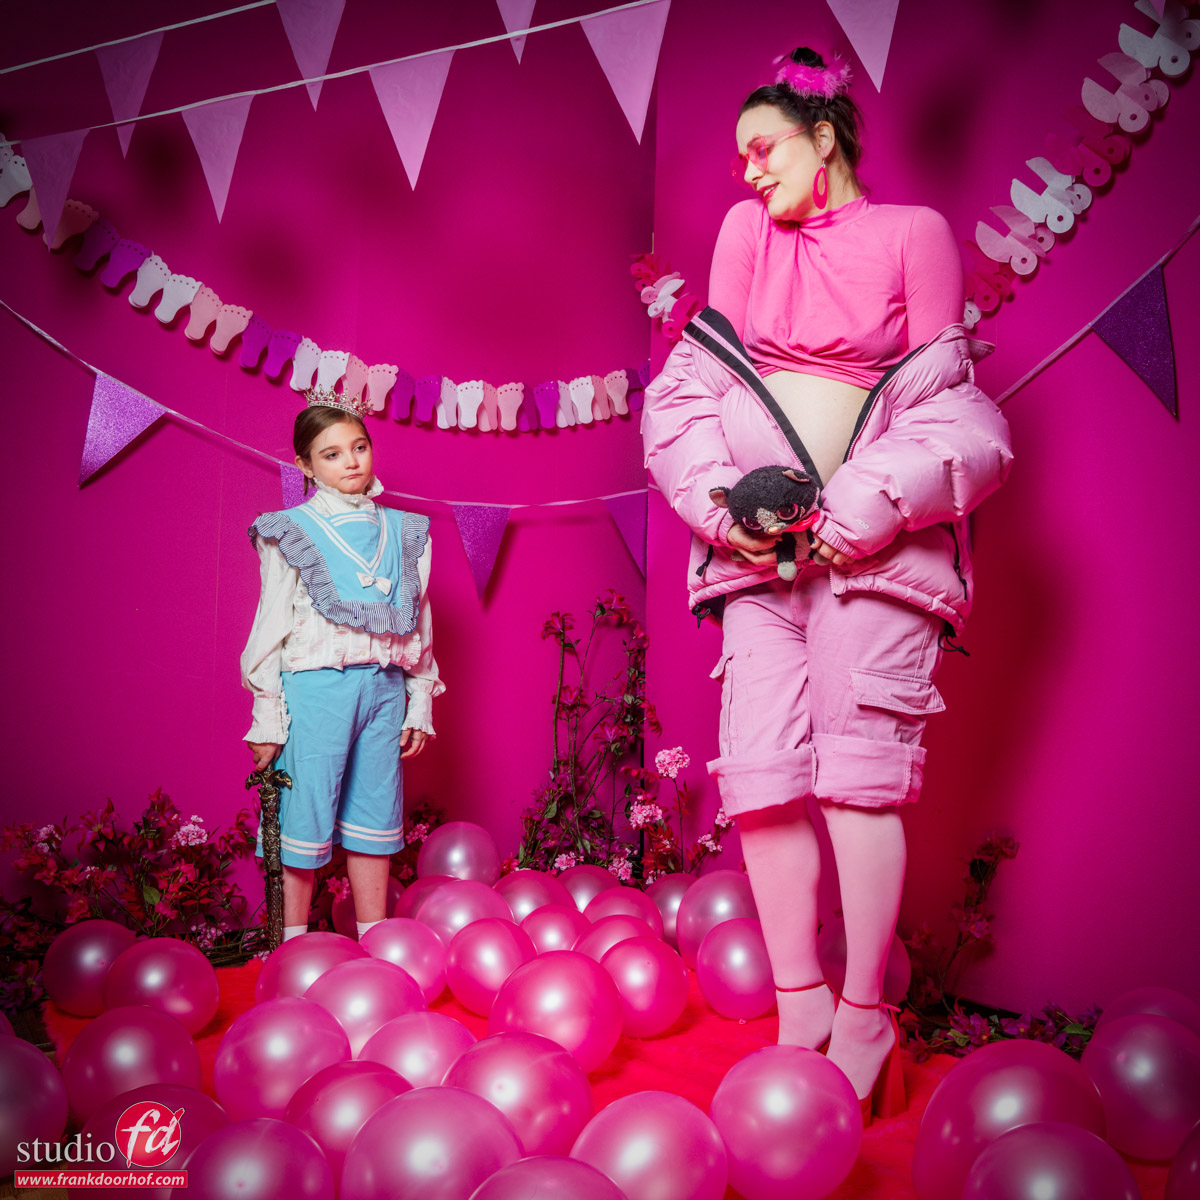
Using loads of flowers in a set for an awesome pregnancy shoot
Styled pregnancy photo shoot video
When your model is pregnant it’s time for some extra shots, especially when the model is our friend and stylist Nadine!
Every pregnancy is unique, and when we shoot a pregnancy I always try to find something fitting for the model.
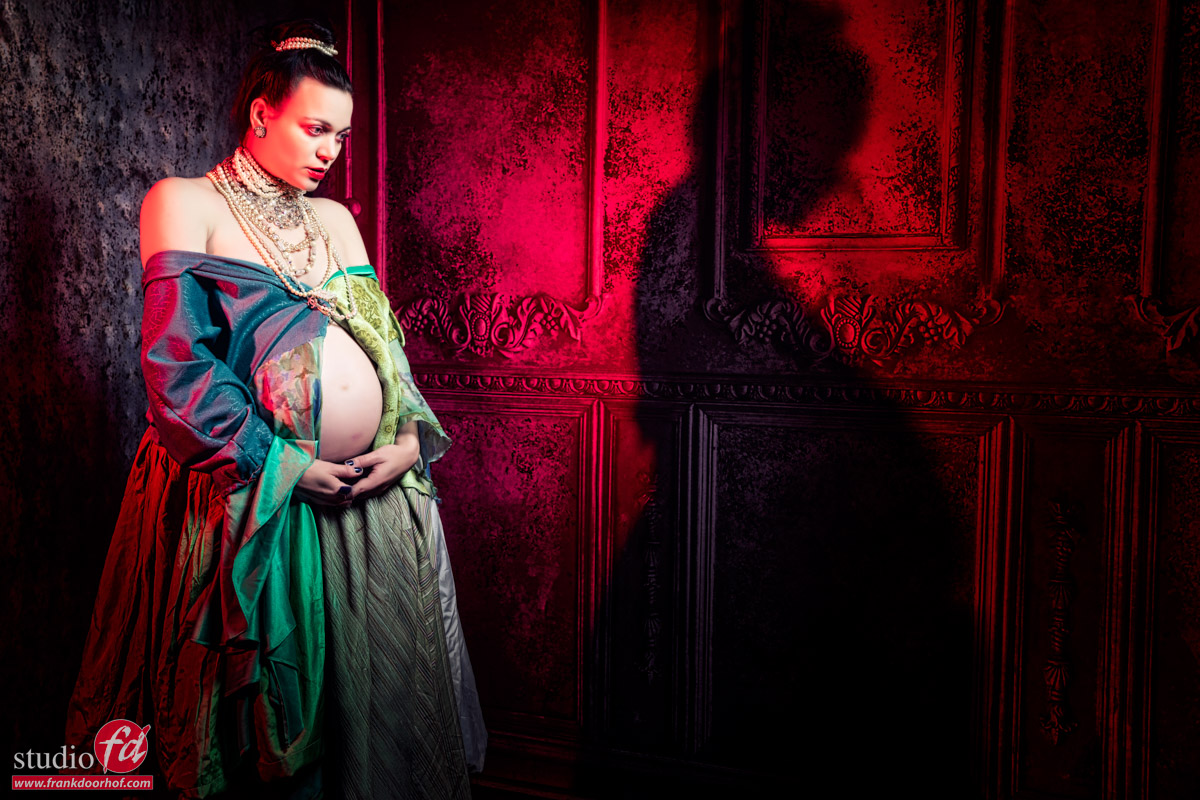
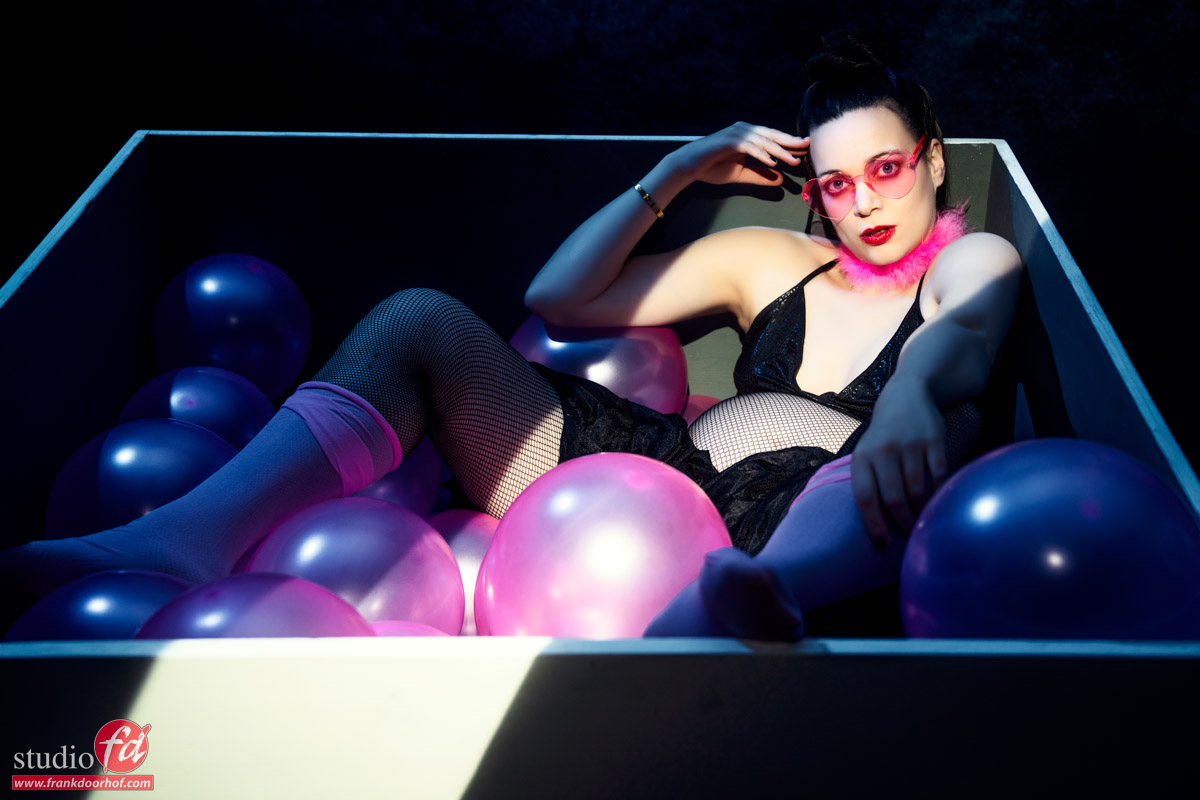
I think we all know Nadine, and with Nadine, it’s impossible just to shoot some images of her belly. So during a recent workshop, we decided to shoot different setups all aimed at a part of Nadine’s character and of course my input 😀
it was a load of fun, Nadine got several totally different pregnancy shots, and well… we got some cool behind the scenes videos.
Today the video about this shot.

In the video, I show you the lighting setup and explain the idea behind the shoots.
We always appreciate a like and subscribe to our YouTube channel.
You can read more about this shoot in another blog where we accidentally caught some amazing shadows.

You must be logged in to post a comment.