Tag Archive for: rogue

Using old lenses is awesome

Old glas is awesome

When we buy lenses we often try to get the latest technology, the best quality etc.
But did you know there are loads of great lenses out there that you can buy for next to nothing that will give you awesome results?

Today a quick behind the scenes tips video on using those great vintage lenses in a live setup

Because old glass is so incredibly beautiful

Lenses can be a money trap

There will always be something new, better and cooler.
And lenses are no exception. But is it always necessary to upgrade your lens?
Well sometimes yes, if a lens is a lot faster or has a longer/wider range that you need.

But before you run to the store for the latest and greatest also thing about this alternative.

Old glass is awesome

One of the great things I love about the Sony cameras is that a few years ago I was able to use my vintage M42, Leica R, Minolta etc. lenses on my modern camera as autofocus lenses. And although it won’t break any speed records it actually works great. Those convertors are available from FotoDiox and TechArt but if you want to use something a bit more modern I can highly advise Sony owns convertor like the LA-E5

With a convertor like this you can use older Minolta lenses and A mount Sony lenses on your modern E mount camera.
And the fun thing.
You can get some great deals on vintage Minolta lenses and they are absolutely awesome.

The great Minolta 85mm

For these shots with our model Janaika I’m using the Minolta 85mm F1.4.
Ofcourse with a lens like this you want to shoot close to, or wide open for that very shallow depth of field.
Make sure you also shoot under a slight angle to get that nice smooth silky transfer, when you shoot under a straight angle you will miss that effect for a large part. And for me it just makes the difference. And of course try some from a low angle but portraits like this can also look great from a higher perspective.

But let’s add some depth

To create some extra depth to the image I’m now adding a side/accent light.
My favourite light shaper for this is a nice small striplight with a grid. And thanks to the Geekoto system I can now use gels behind the softbox meaning I can now gel a whole softbox with one gel from our Rogue magnetic system. But in this case I’m not using a gel.

The Geekoto system also makes it possible for me to shoot wide open, the strobes can be set to a very low output, which in this case makes shooting wide open very easy without the need for ND filters.

Also want to visit a workshop?
visit www.fotografie-workshops.nl for the agenda and more information.

Two light sources

Two light sources

As you know the light shapers we use determine how the light behaves on our model, set, and background.
lass=”yoast-text-mark” />>When you look at a light shaper, it’s pretty easy to predict how the light will fall on your subject, just follow the lines of the ribs. Today it’s just about 2 light sources and one background.

Today, a quick tip about light shapers


During the workshops, we always work with different light setups. And one of the setups in the essential lighting techniques is working with, for example, the Geekoto Lantern for a very broad light source, and, for example, the Rogue FlashBender  XL in strip light setup

Now when you hear a broad light source, you might think it always means flat lighting. But that’s not necessarily the case.
When you move the light source to the side of the set, you get a beautiful shadow site on the model. And because of the open sides of the lantern, it will also light the background. If you think the shadow side is a bit too dark, you can easily place a reflector on that side because the lantern is a very broad light source. So, it “always” reflects back on a reflector on the other side.

two light sources

But of course when we use a background with a floor part, I always want to shoot a full body image.
With the same light setup.

two light sources

Well that’s ok, but what about adding some motion, and a lower angle.
It’s not perfect, but during the workshops I often take 3 shots and let the attendees shoot.
two light sources

And even with a broad lightsource like the lantern you can still shoot very high contrast images, just use an extreme angle for some beautiful almost silhouette like shots.
Clients absolutely love these.

Now I was doubting about all the mess in the back, but… somehow it also really helps in the shot in this case.
The more I looked at it the more I thought “let’s just keep it in, it looks cool”.
So sometimes maybe leave the mess in the shot….


Let’s change the light

For the next setup I’m using the Rogue FlashBender XL from the side and slightly above the model.
We will upload a video in the blog soon to show it during the workshop

As you can see with the FlashBender the light is much more focussed on the model. You can’t see anything in the background. And even the brighter background doesn’t show up. But also due to the more focussed light beam you now get much deeper shadows. Using a reflector is now also becoming  more complicated because you have to angle it very precisely.

For high contrast images the FlashBender can be placed very close to the model. Due to the fact the strobe is aiming straight up in the striplight you always get indirect diffused light. In other words very nice and relatively soft for a very small light source. But if you like to light your complete model you can just move the FlashBender further away. Or take the strip light off and attach the softbox diffuser, also there the trick is: indirect diffuse light.

Rogue FlashBender v3 XL Pro

Also want to visit a workshop?
Visit www.fotografie-workshops.nl


Lois vs the Gobo projector

The Gobo Projector, Westcott Optical Spot by Lindsay Adler

Some images are special

In this blog I tell you more about the Westcott Optical Spot by Linsday Adler and how I use it.

Creative images are without a doubt my favorite kind.
Of course, we also shoot families and events. But when I have the chance to have a bit more freedom I love to use light shapers that give something special to the shoot. One of my favorite light shapers is the Lindsay Adler Westcott optical spot, sometimes also called a Gobo projector.

The Gobo projector projects patterns on your subject or background via metal plates.

Westcott Optical Spot by Linsday Adler

Westcott Optical Spot by Linsday Adler the Gobos. But you can also use the blades

By using a lens in front of the gobo it’s possible to focus the shadows. In other words, you can easily create razor-sharp or super soft shadows in all kinds of patterns. And even when you don’t want to use the metal gobo’s the spot also has blades which are great to create more straight shapes.

During the recent Digital classroom I used the spot for most of the sets.
Today the results.
Do take into account that these were shot during a live stream with video lights, so they are a bit “rough” with the lighting, it’s very hard to see in a bright studio 😀

Set 1 with the Westcott Optical Spot by Linsday Adler

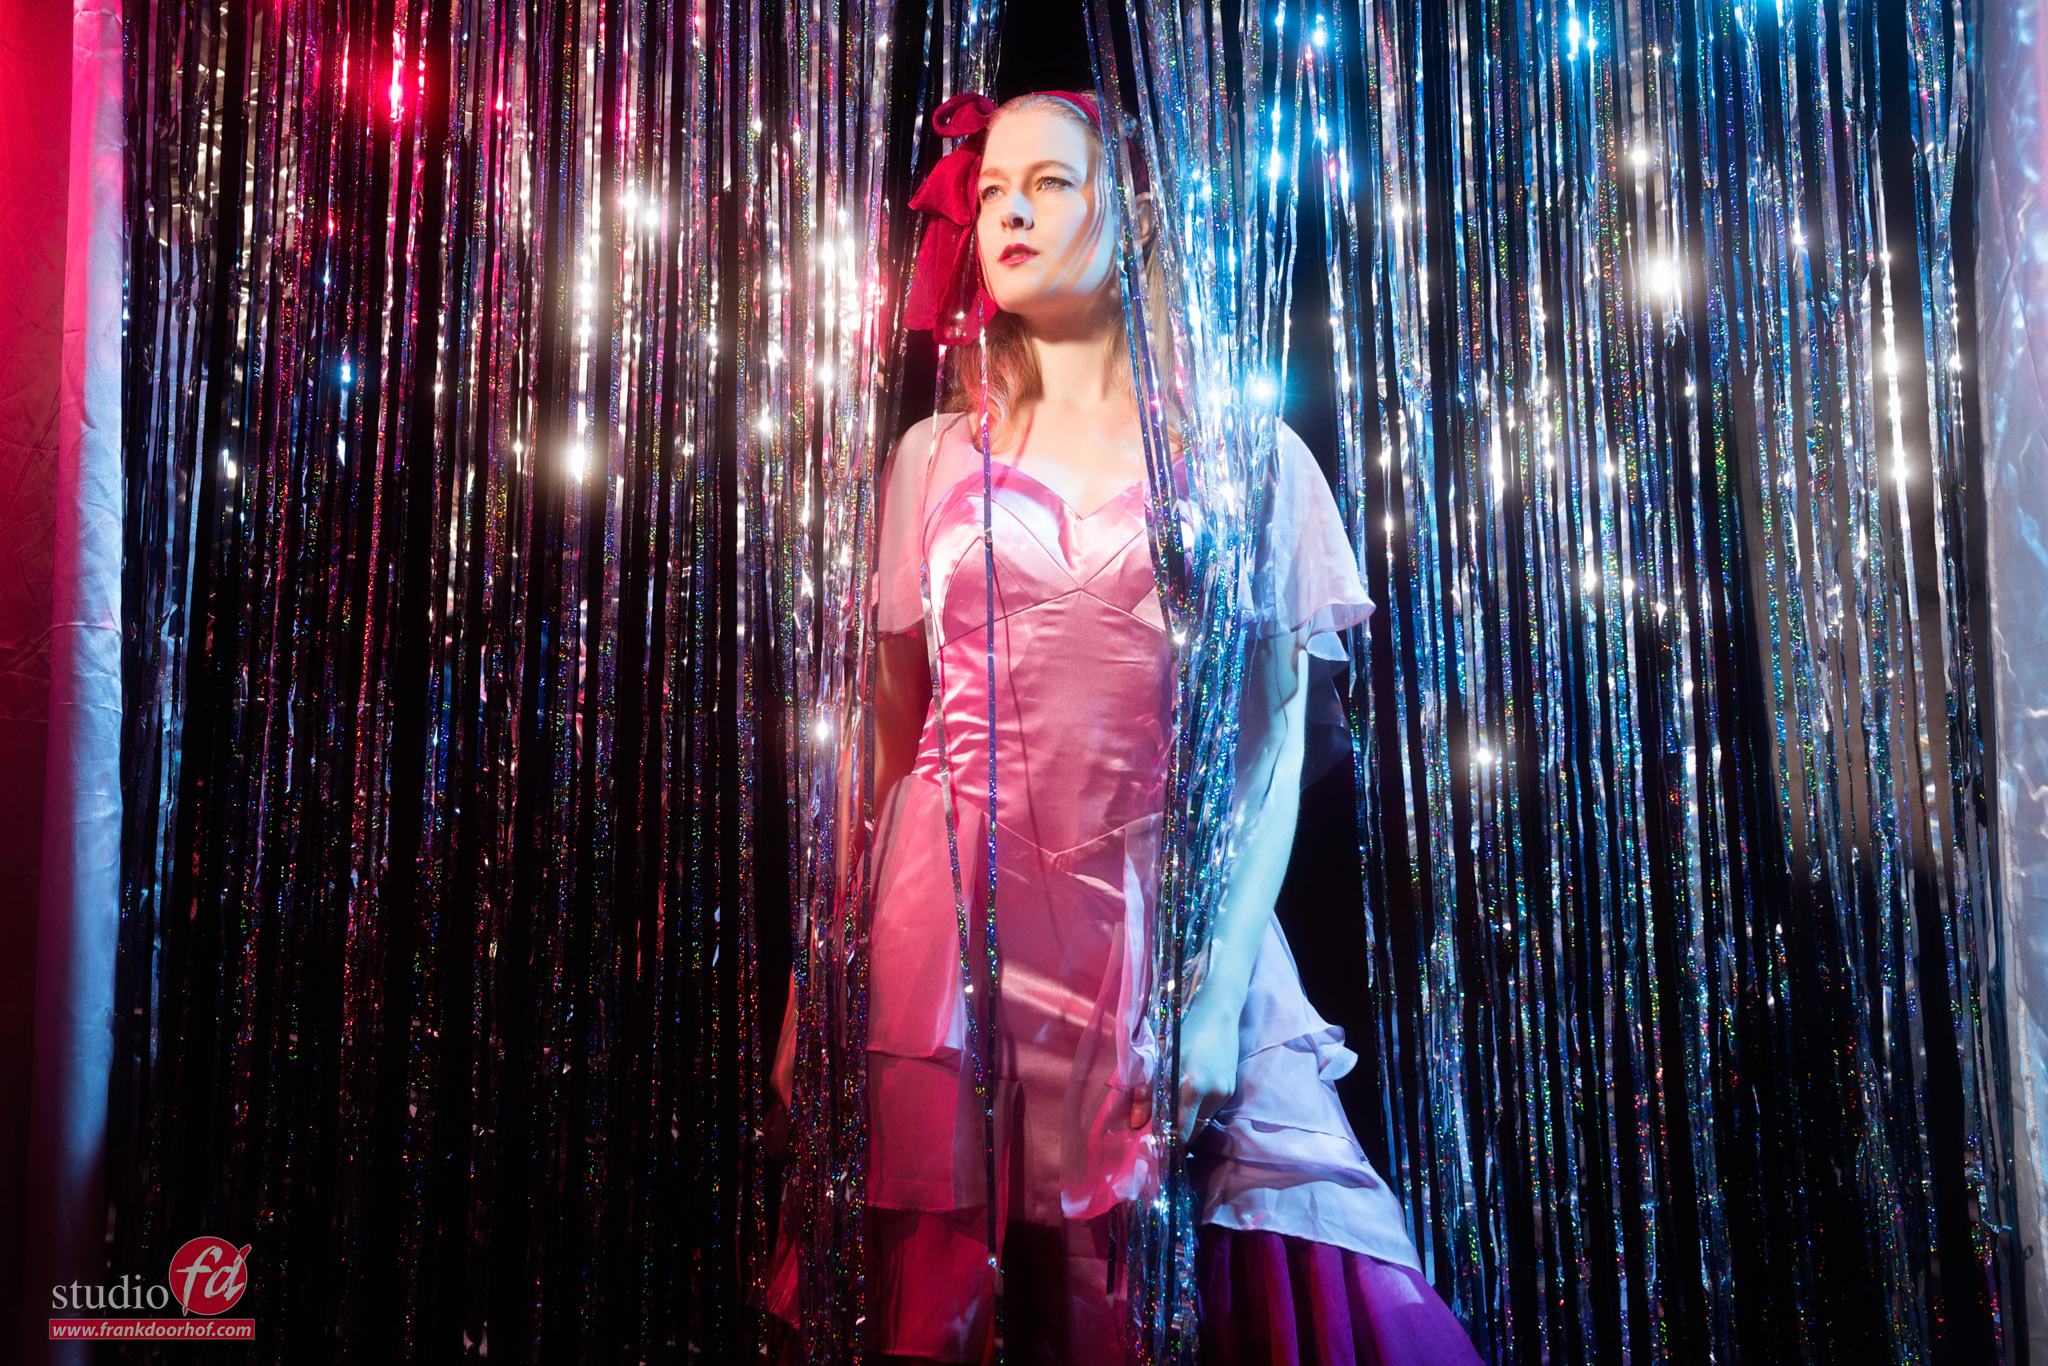
With the stars Gobo on a Geekoto GT400
As an accent light a Geekoto GT250 with the Rogue magnetic system and a blue gel.

Westcott Optical Spot by Linsday Adler Westcott Optical Spot by Linsday Adler

Set 2 Westcott Optical Spot by Linsday Adler

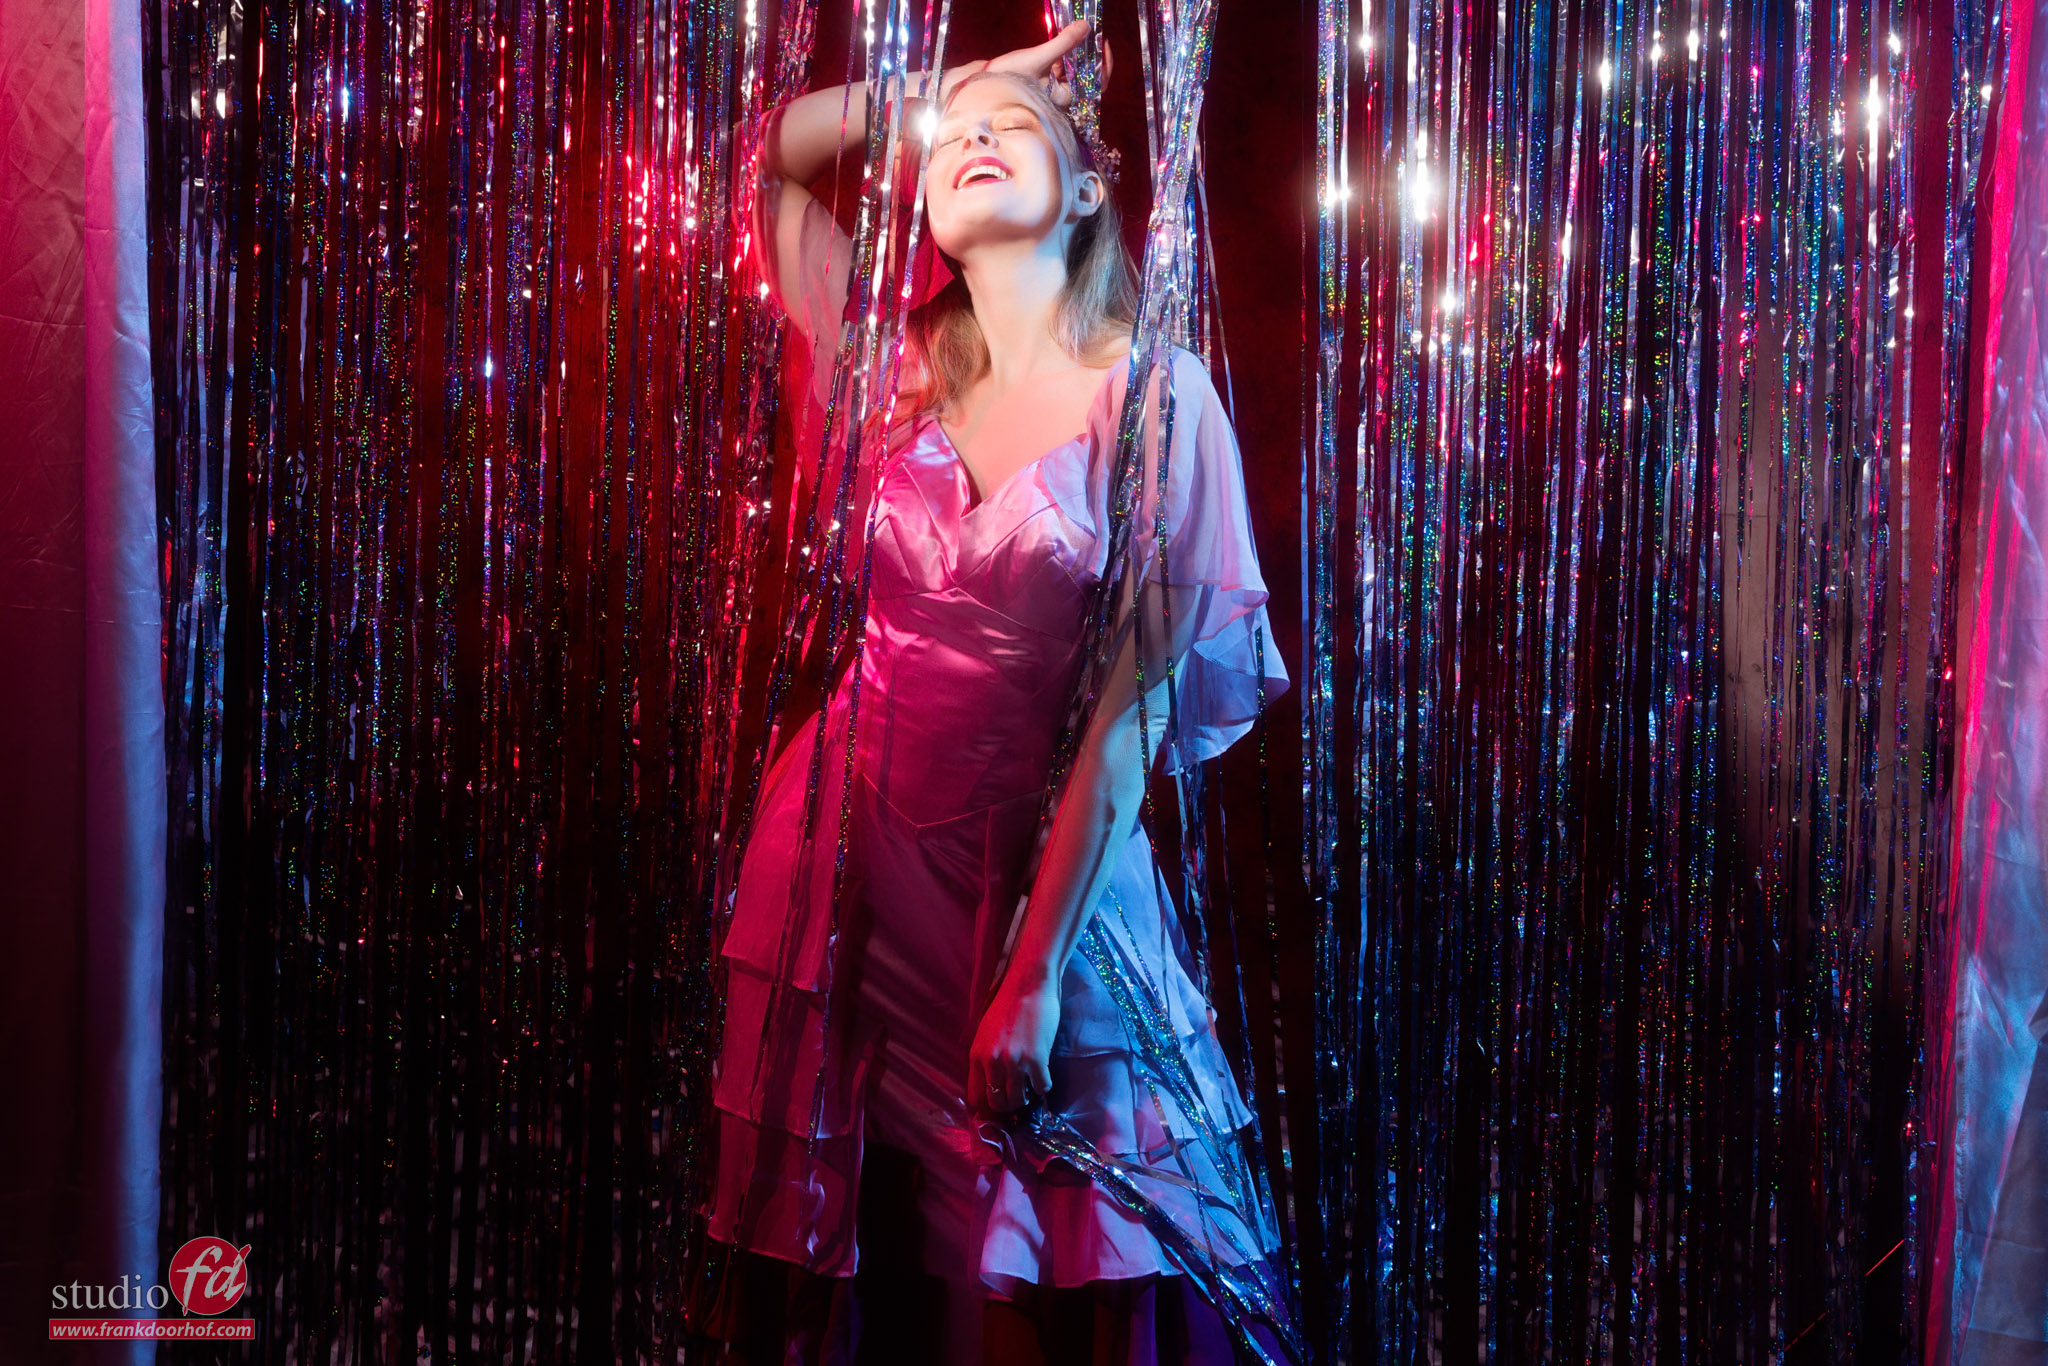
For the second set, I’m using the same Geekoto GT400 with the spot only this time I’m using the diagonal lines.
During the setup, I added a red gel on our Rogue magnetic system in different positions giving it different lens flares and looks.

Westcott Optical Spot by Linsday Adler Westcott Optical Spot by Linsday Adler

Set 3 Using only the blades of the Westcott Optical Spot by Lindsay Adler

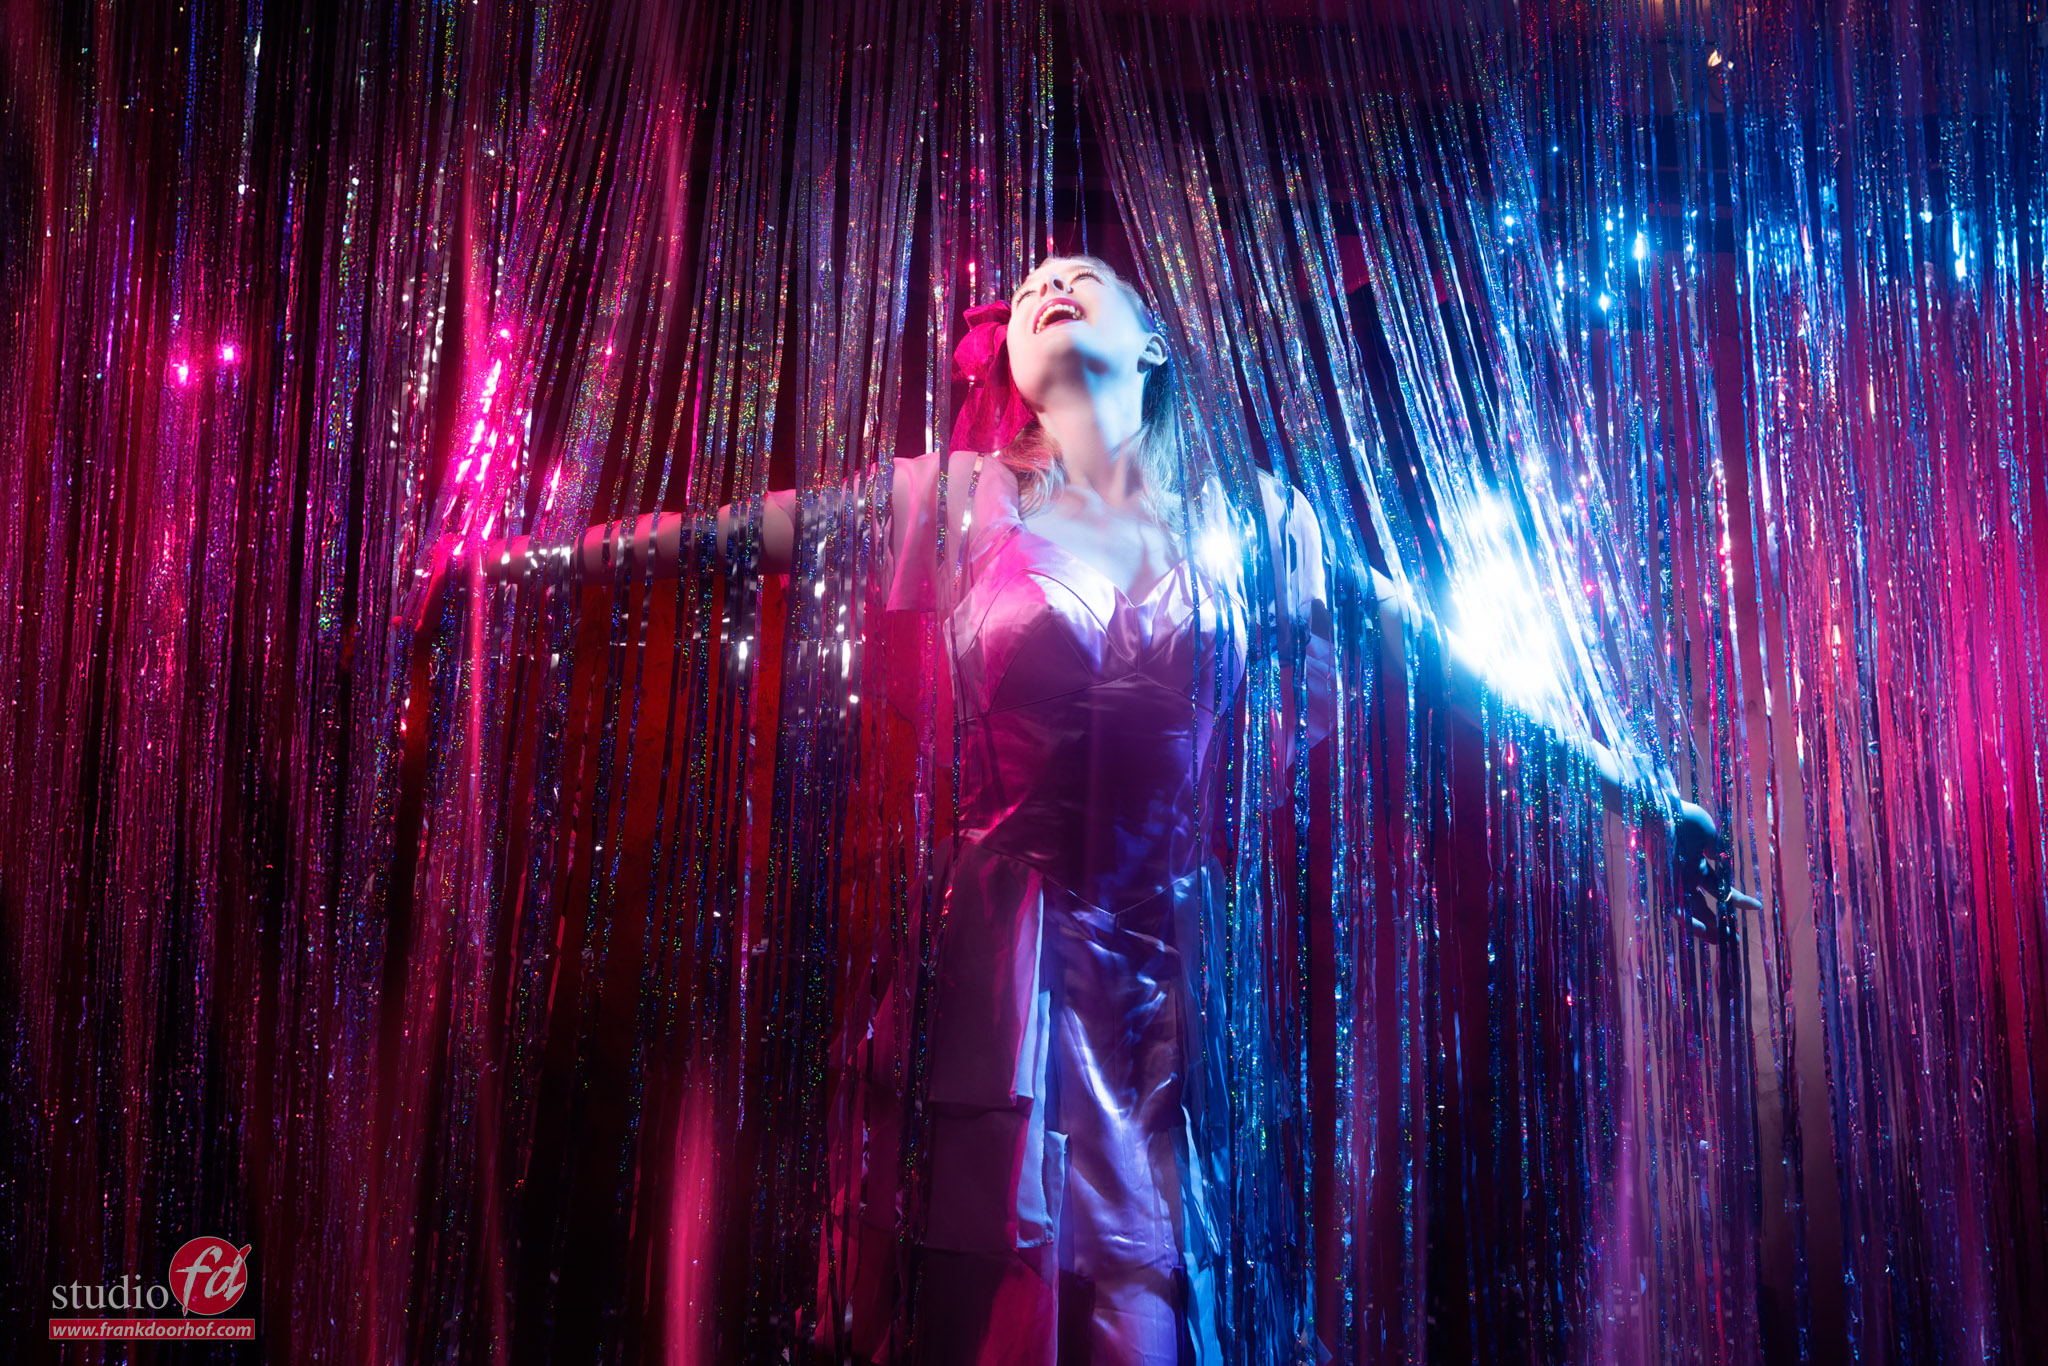
For this set, I’m not using a gobo but the blades inside the optical spot.
As an accent a red gel from the side which I varied in output and angle during the shoot.

Westcott Optical Spot by Linsday Adler Westcott Optical Spot by Linsday Adler used on model Lois

Set 4 not with the Spot, but with the Frank Doorhof FlashBender v3 XL Pro

We always get a lot of questions about the Rogue FlashBender (Frank Doorhof edition), so also this time during the digital classroom I did an extra set with the FlashBender. I’m using it on a Geekoto GT200 in the striplight configuration.

Want to see the live stream again, and see all the setups?


Digital Classroom

Every month we stream a live broadcast from our studio in Emmeloord. Most of the time with a model, but sometimes also about street and travel photography (my other passion) or just retouching tips and tricks). But also from our workshops, we make short “how did I shot this” videos. 

We don’t sell the Lindsay Adler Projector but you can buy it from our friends at B&H 

Check out this video when we used the Westcott Optical Spot by Lindsay Adler for a pregnancy shoot with Nadine