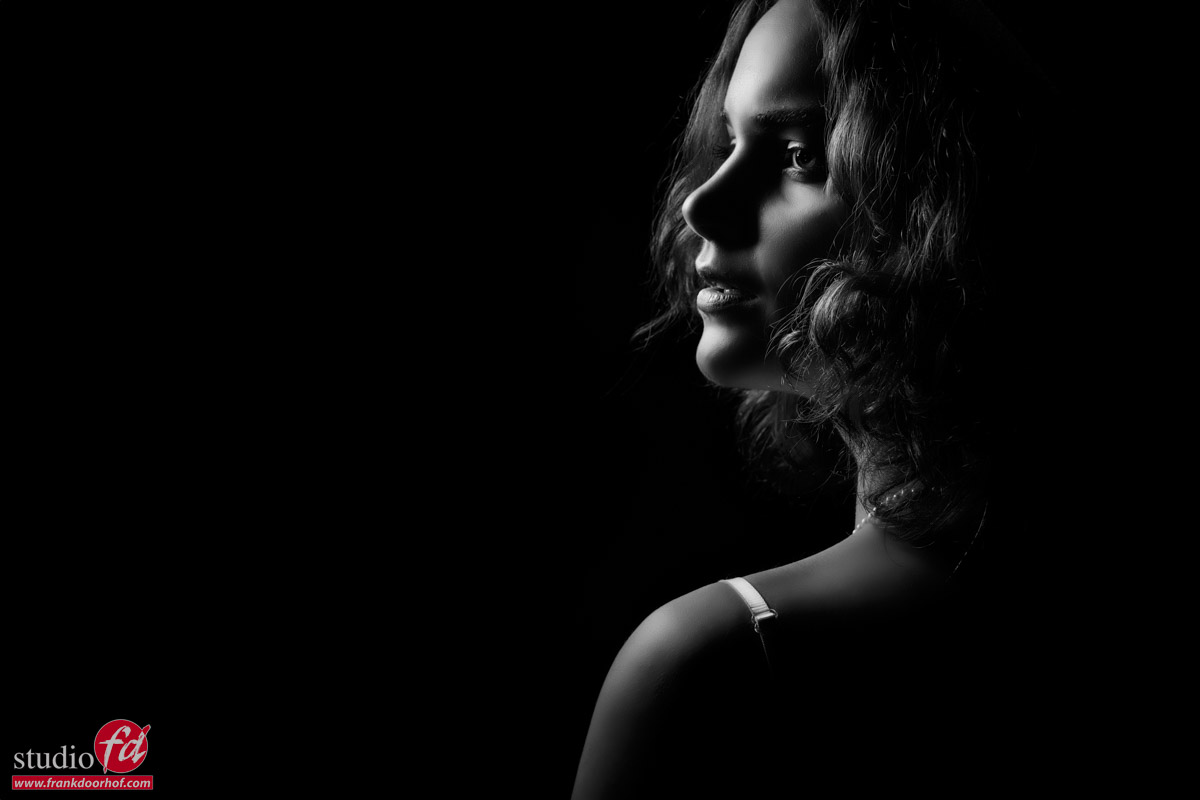
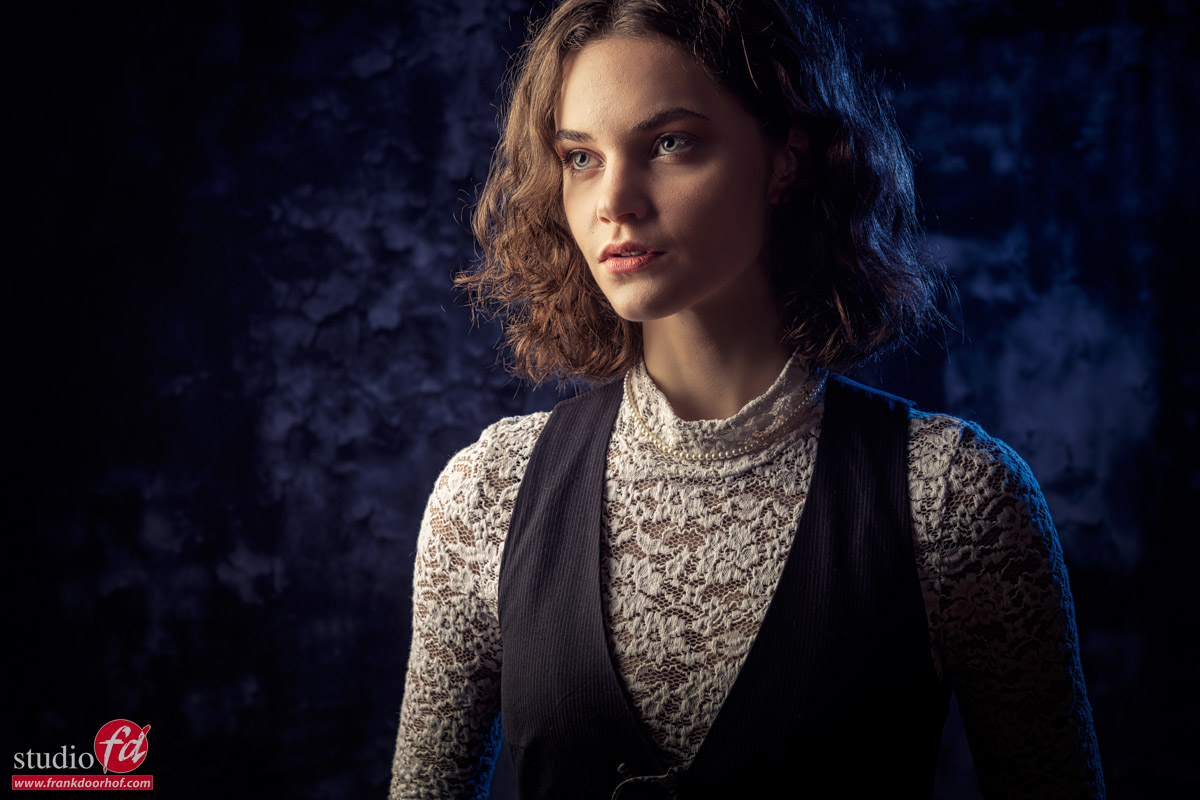
In today’s blog the results from the Digital classroom episode with Jannaike in which I explained the differences between Geekoto softboxes.
Remember that these were shot during a live broadcast with loads of ambient light so it’s a bit harder to set the light perfectly.
But I’m very happy with the results.
https://frankdoorhof.com/web/wp-content/uploads/2024/09/Jannaika-45-September-18-2024-Edit.jpg8001200Frank Doorhofhttps://frankdoorhof.com/web/wp-content/uploads/2015/03/studioFD_Logo-1FV.pngFrank Doorhof2024-09-23 18:00:032024-09-23 10:06:31Geekoto softboxes compared: results from the Digital Classroom with Jannaika
I think most of us will agree on this. If you want proper colors and happy customers (depending on the assignment of course) it’s very smart to calibrate your monitor at least once a month, but preferably before every important retouching job. But what are the important settings during calibration?
Calibrating your monitor is super easy.
I’ve been using Calibrite (X-rite) products for years. They are easy to use and compatible with the hardware calibration options inside my BenQ monitor. This is a big plus because although the software from Calibrite is great, hardware solutions are always better, of course. Most professional and semi-professional monitors support hardware calibration.
By the way, if you are in the market for a new monitor and you live in the EU drop me an email, I have a few 10% discount codes from BenQ They have been supporting my work with Digital Classroom for years and love to give you guys a nice discount.
Anyway back to the story.
Even with easy software, it’s sometimes easy to get an error that… well you can’t fix.
You checked everything, and although you know your brand new monitor should really be perfect, it’s far from.
Or maybe you don’t know how to read the rapports and just wonder why there is so much fuzz about professional monitors.
Step 1
This one is for all systems.
When you are using the HDMI connection make sure your monitor is set for 0-255 or FULL RGB.
If it’s set up for 16-235 (video) you will get all kinds of weird behaviors, very noticeable in the dark and bright areas, but in essence, your whole image looks way off.
When you are using USBc, TB, or Display port you don’t have to check this.
Those connections automatically select the right output.
So is HDMI bad… absolutely not, it’s just as perfect for what we do as USBc and Displayport, you just have to check that one setting.
Step 2
And that’s the nasty one.
In the Mac, there is one setting that will almost certainly have you scratching your head and probably a little bit in panic mode.
If whatever you do, you can’t pass the final certification from your calibration and the errors are constantly changing per calibration, there is probably one setting you forgot the turn off. You can find it under “Displays” in Mac OS.
This one will give you A LOT of issues when you want a stable and trusted display.
So turn it OFF.
This goes for all settings with labels like “auto”, “Enhancement”, “Super”, “Real”, “natural” etc.
Just turn everything off and run the calibration software.
You will see that you will pass the certification without any problems now 😀
Don’t forget this important setting during calibration!
If you have any questions, feel free to leave them below, or reach out via our social media.
https://frankdoorhof.com/web/wp-content/uploads/2024/09/Untitled.png20482048Frank Doorhofhttps://frankdoorhof.com/web/wp-content/uploads/2015/03/studioFD_Logo-1FV.pngFrank Doorhof2024-09-21 18:00:542024-09-19 13:36:18That setting that drives you nuts during the calibration process on Mac (and windows)
“This camera is unusable for studio use, that’s insane for such an expensive camera…. etc”
Countless of these kinds of bashing cameras can be found online, especially when the EVF in a camera was not as widely used as now. But why is the screen black when you are using strobes?
So what’s going on here?
In the older cameras, we used the sensor only as a replacement for film.
The image was still split into a part where you see the image, focus is done, etc., and a part where it’s hitting the sensor.
With the mirrorless cameras, everything changed.
First of all, we could get super accurate focus (well not at first, it was terrible at times) because you literally focus on the sensor, but we could now also use the viewfinder in a completely new way.
It started with the Sony A99
One day I got a call from Sony if I wanted to test a brand new camera that was “soon” to be released and do the press release in Dubai.
At the moment I wasn’t really into Sony. I was working with Canon cameras and absolutely loved the camera and the people at Canon (I still do :D)
But testing out new gear and getting carte blanche for my review, ……send it in.
Now there is a really funny story about batteries and Sony the Netherlands hanging up several times because they thought I was not serious seeing they didn’t know the camera yet. When it got solved I was literally stunned when looking through the viewfinder… this looks like fricking Topgun 😀
Yeah well, it was a huge improvement over the standard OVF (now I feel old).
The only problem with the A99 was the speed of the EVF. You probably remember the videos of people running through parking garages with their cameras and falling down because the EVF was too slow. In all honesty, when you do stuff like that it’s probably not just the EVF that has a … well ok it was funny 😀
Nowadays EVFs have greatly improved and yes you can now run around with them, although I would not recommend it.
But one problem remains; the black screen when using strobes
When you use the camera in the studio, the image you see through the viewfinder is totally black, and maybe when you press the shutter you can see a little bit of light. So what’s going on here?
The EVF actually does exactly what it’s supposed to do, it emulates the exposure….. ok let’s rewind.
Remember that A99?
Another thing that I found out with the EVF was that taking pictures outside was awesome, even the most difficult situations like backlighting were no problem anymore. Just change the exposure compensation till you see what you like and press the shutter. I called it the WYSIWYG display (What You See Is What You Get).
And this is the problem in the studio.
In a dark studio with the settings 1/125, F11, and ISO100 it should be 100% black in the viewfinder.
And of course, this also happened to me. And remember this was my first EVF. There was no manual and I had no contact person I could reach on the weekend. So, there was one solution, because this couldn’t be how it worked. I went through every single setting in the menu looking for something like LCD or EVF off. I couldn’t find it. Maybe it really was like this… no… ok now let’s try out all the settings. Finally I found a setting with the “not so clear for me” name “setting effect”. Because there was an option ON and OFF, I decided to go from ON to OFF… and like magic, there was my whole studio 😀
So the solution is actually pretty simple
In most cameras with an EVF, you can switch the EVF to roughly two modes.
One is an emulation of what you will get when you press the shutter with those settings.
and the other one is an emulation of what an OVF would show (optical view finder).
This means that in the studio we use the EVF on OFF and outside it’s in most cases best to leave it on ON.
On all cameras, the wording is a bit different but look for settings like “Emulation mode”, “Lighting emulation”, “Setting effect” etc.
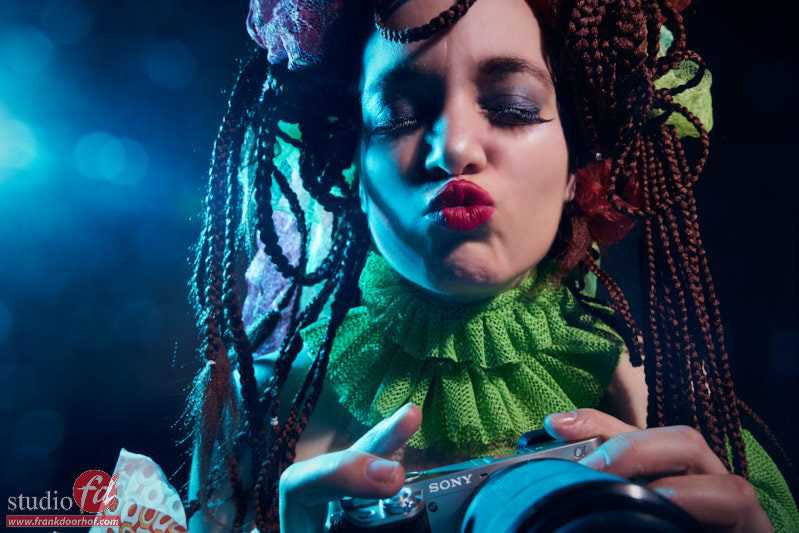
To show it on my Sony A7RV I made a small video about the black screen when using strobes and how to solve it.
For this one, we made 2.
The first one is in English the second one is in Dutch.
If you have any questions feel free to ask.
Use the links in this blog post to order and support our work.
For the gear I use visit frankdoorhof.com/shop
https://frankdoorhof.com/web/wp-content/uploads/2024/09/Black-frame-4K.jpg540960Frank Doorhofhttps://frankdoorhof.com/web/wp-content/uploads/2015/03/studioFD_Logo-1FV.pngFrank Doorhof2024-09-09 18:27:002024-09-05 18:51:13Never the black screen again when using strobes