But it’s also always a challenge.
In fact (believe it or not) I don’t prepare the livestreams. Of course we know the theme, select some backgrounds but from there on it’s all just made up on the spot, which makes the livestreams (and workshops/demos) not only a lot of fun for me but also for the viewers, they always get something unique and it makes it possible for me to respond to questions.
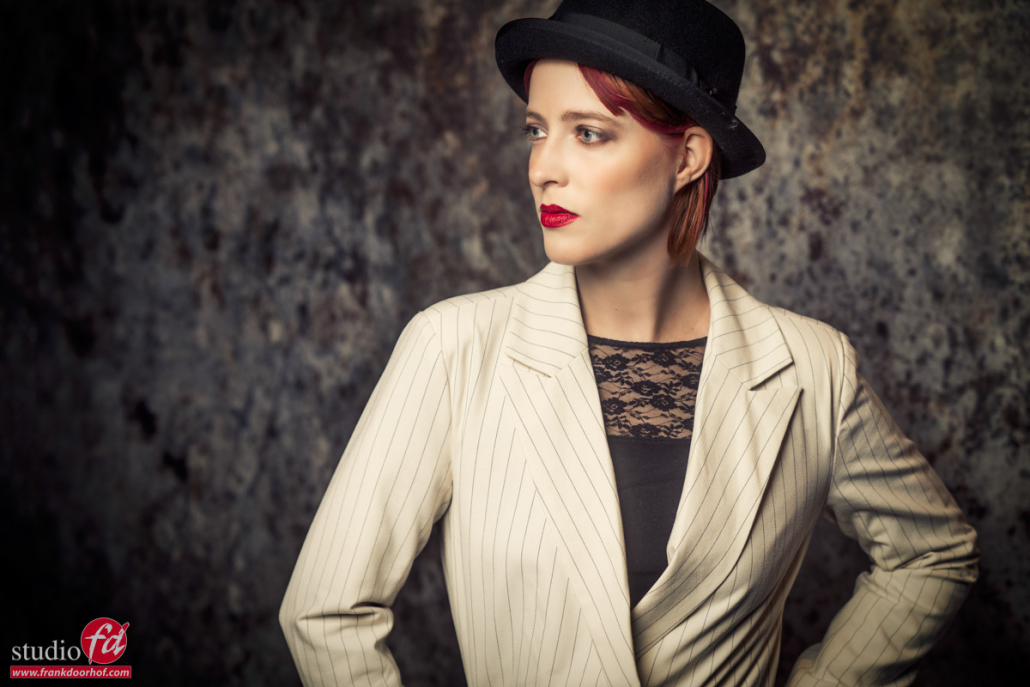
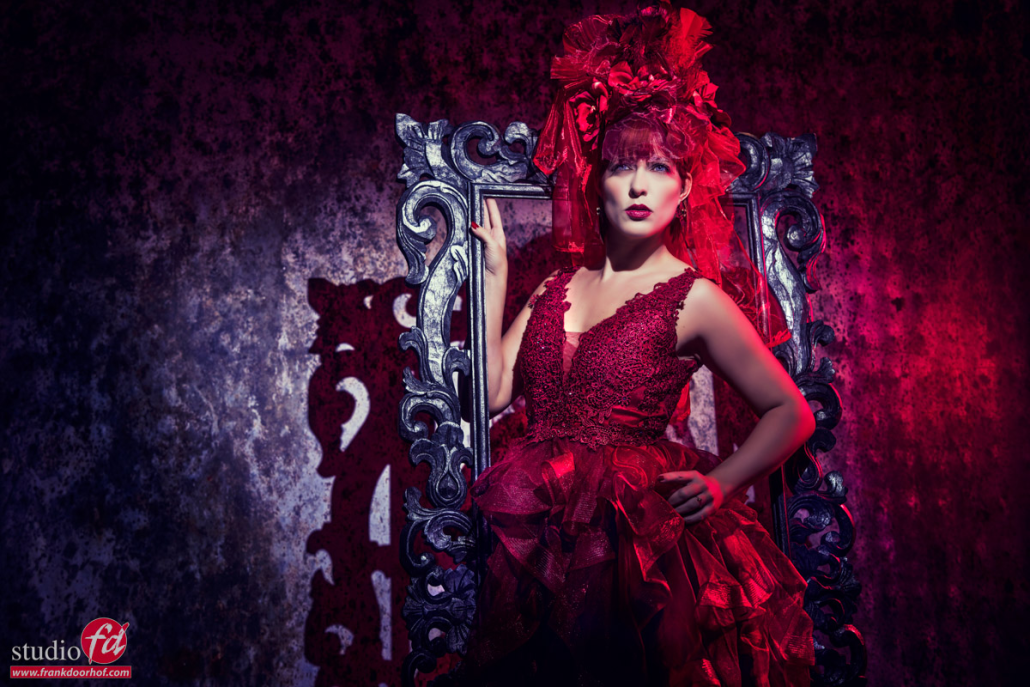
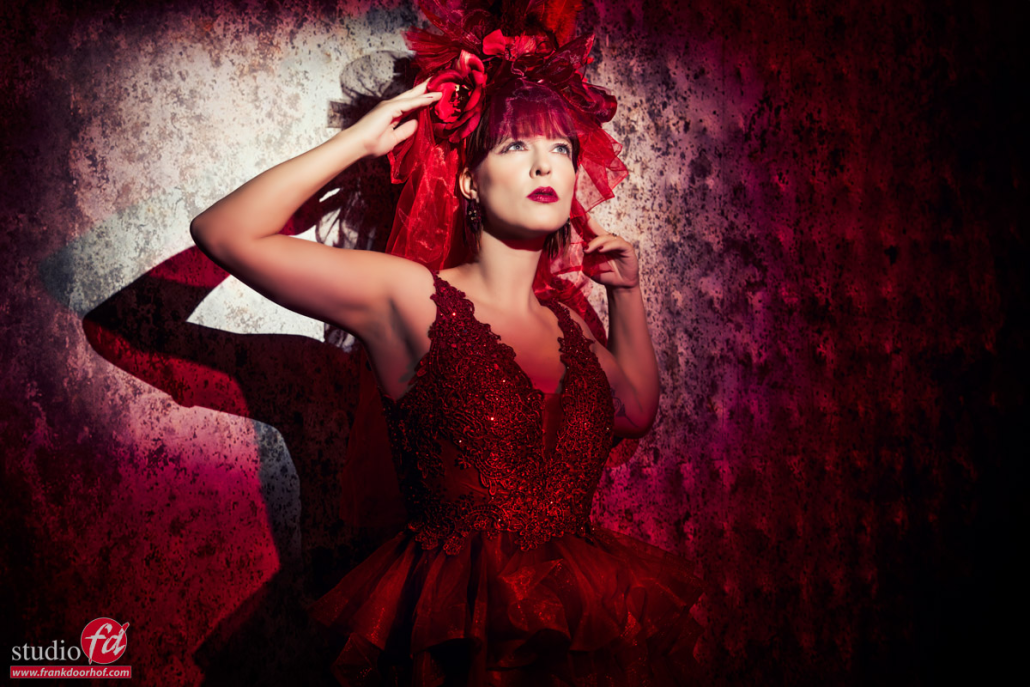
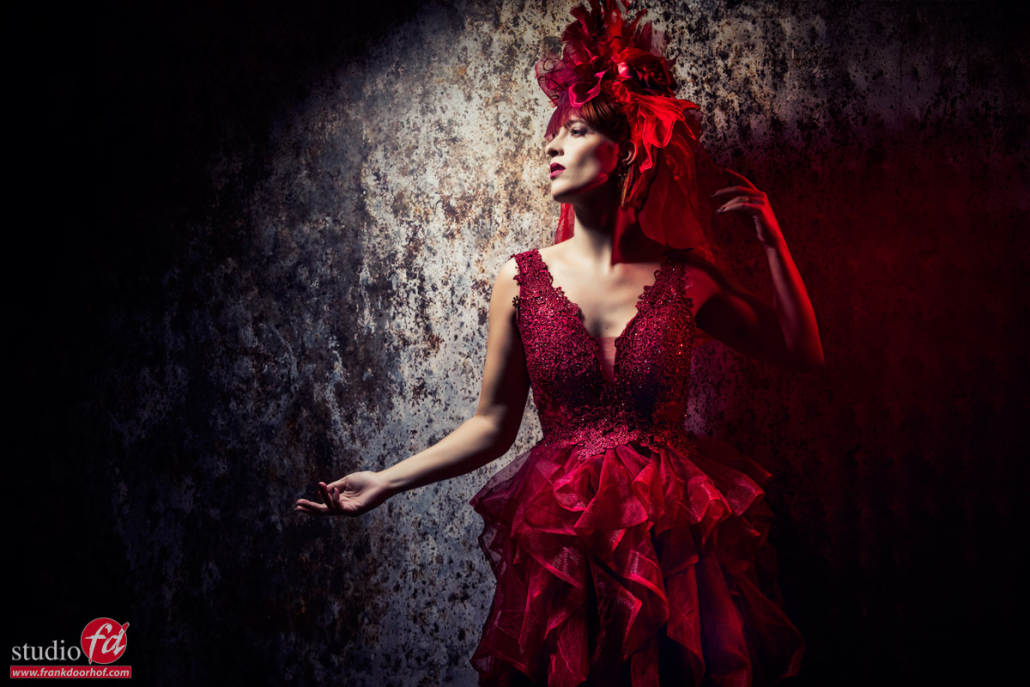
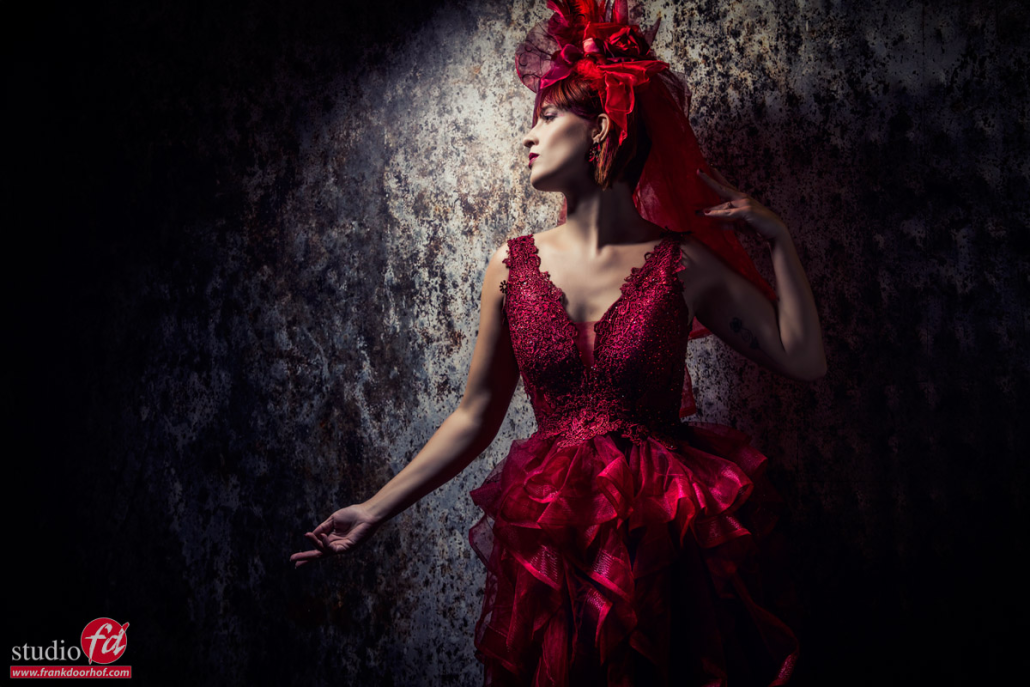
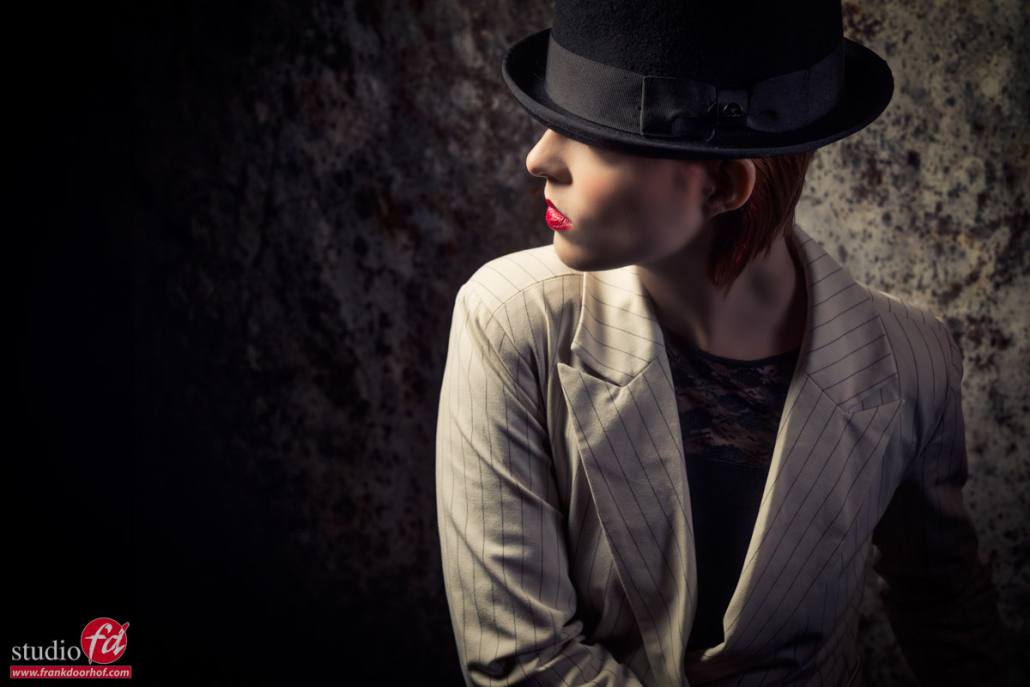
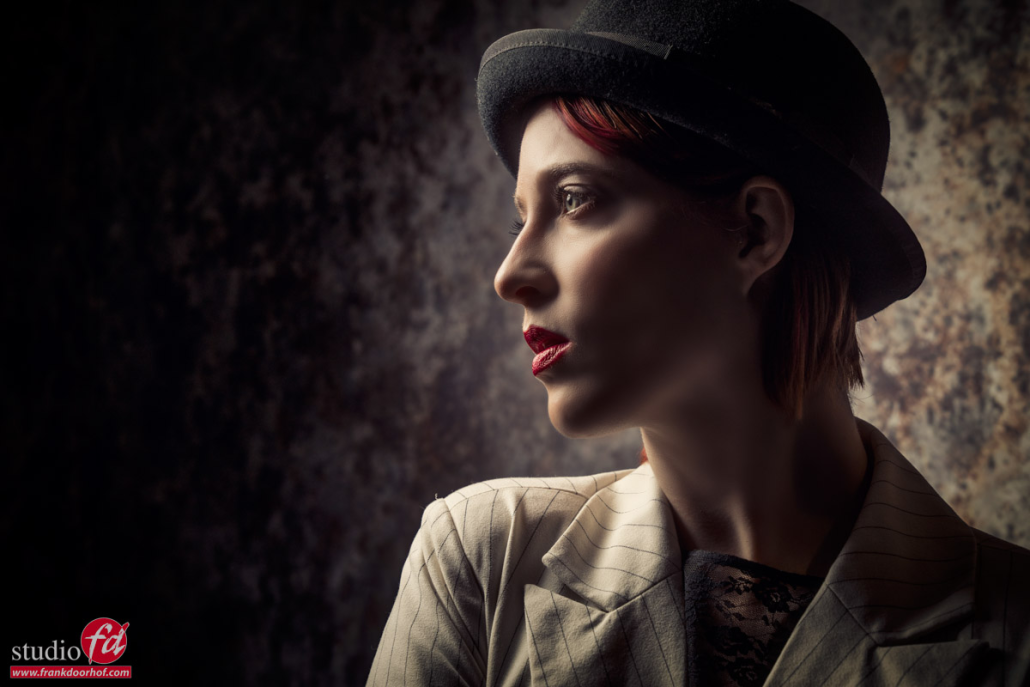
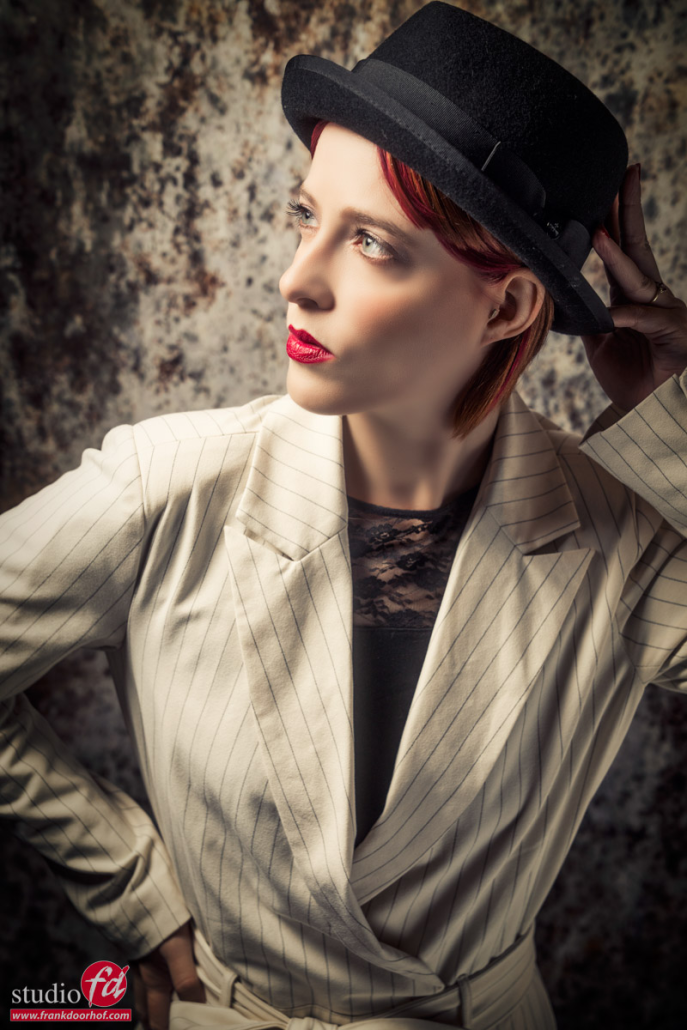
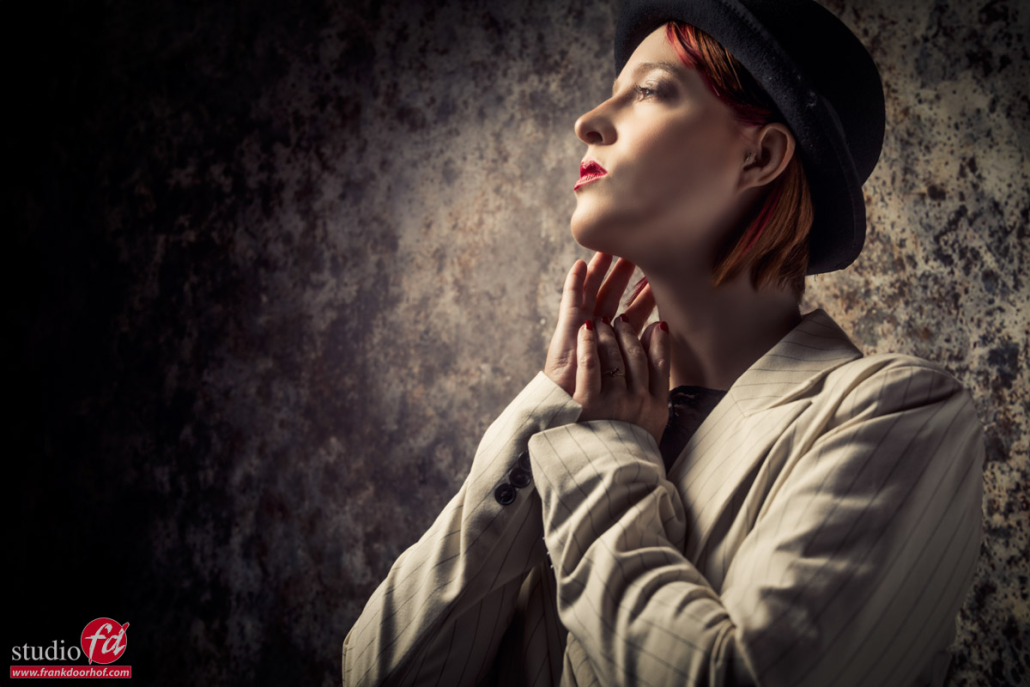
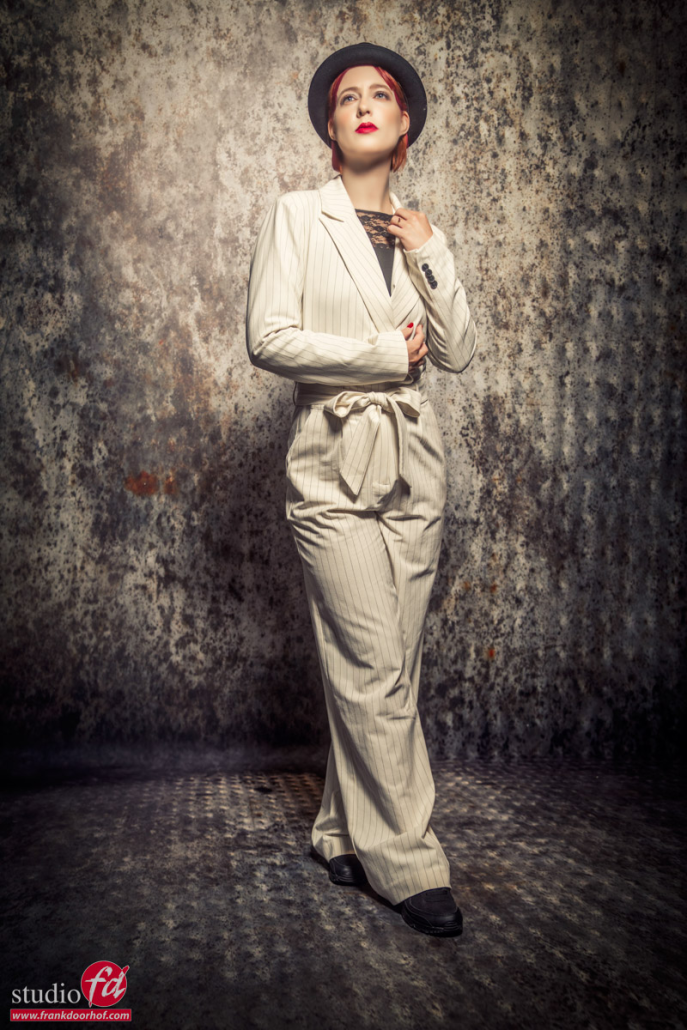
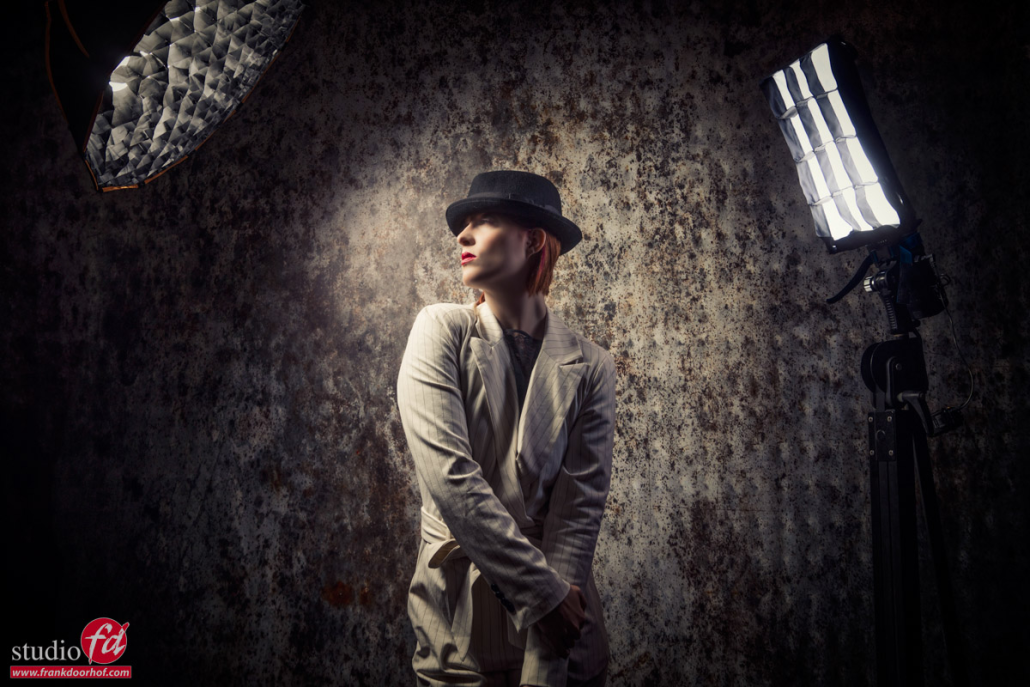
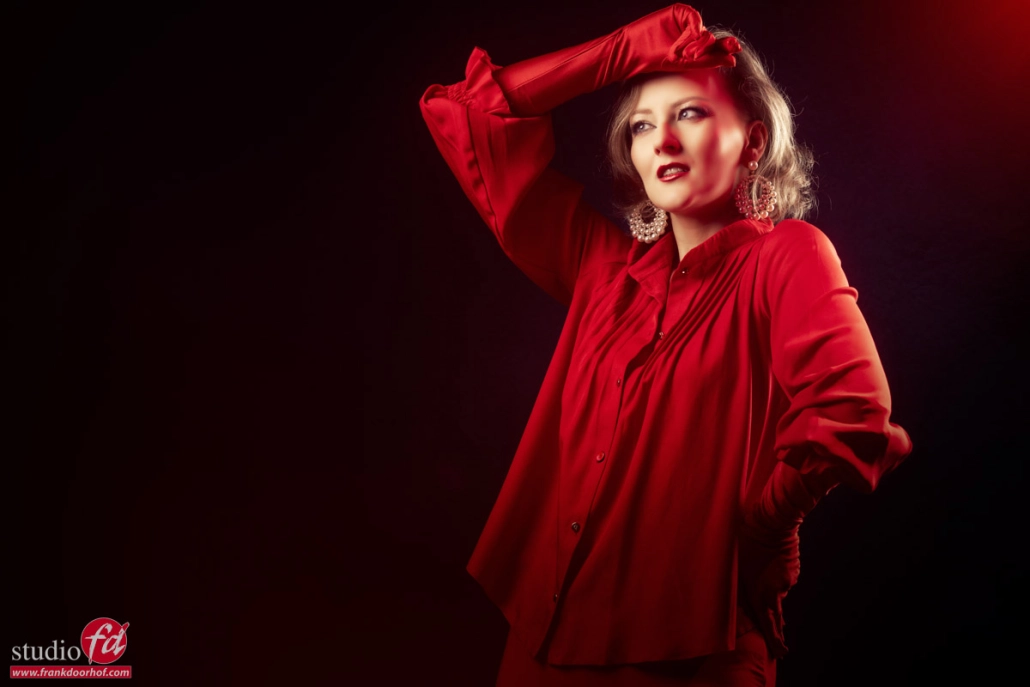
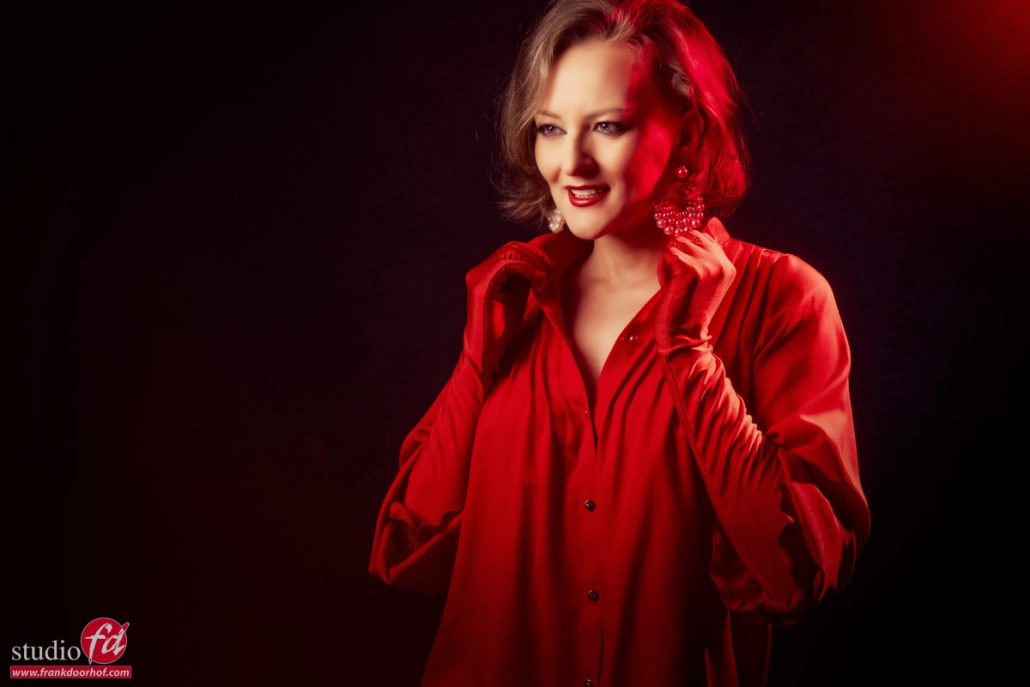
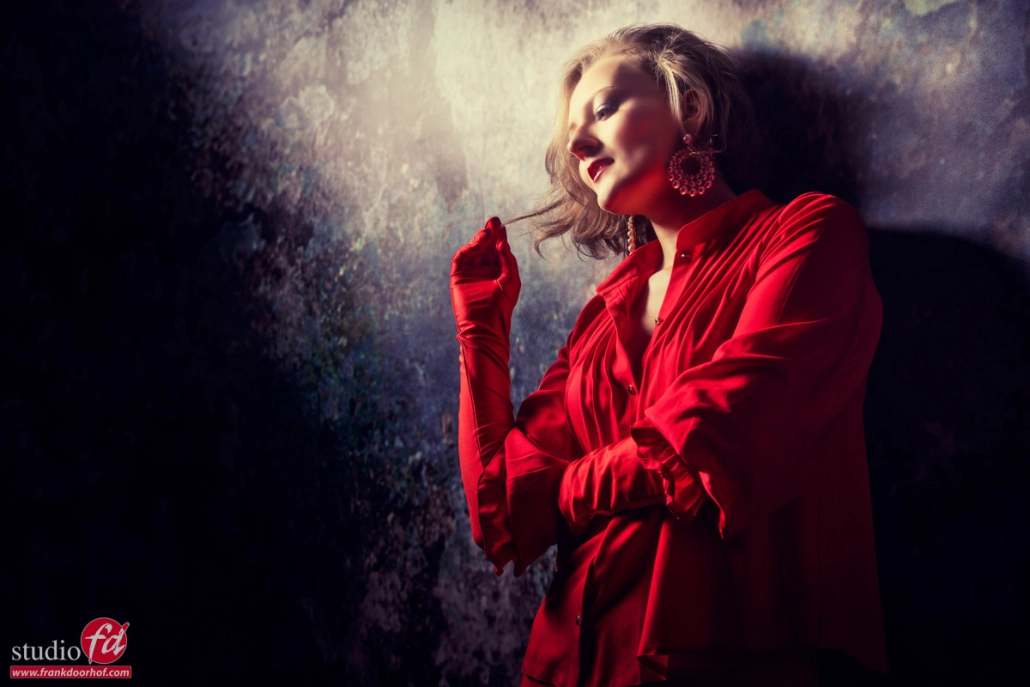
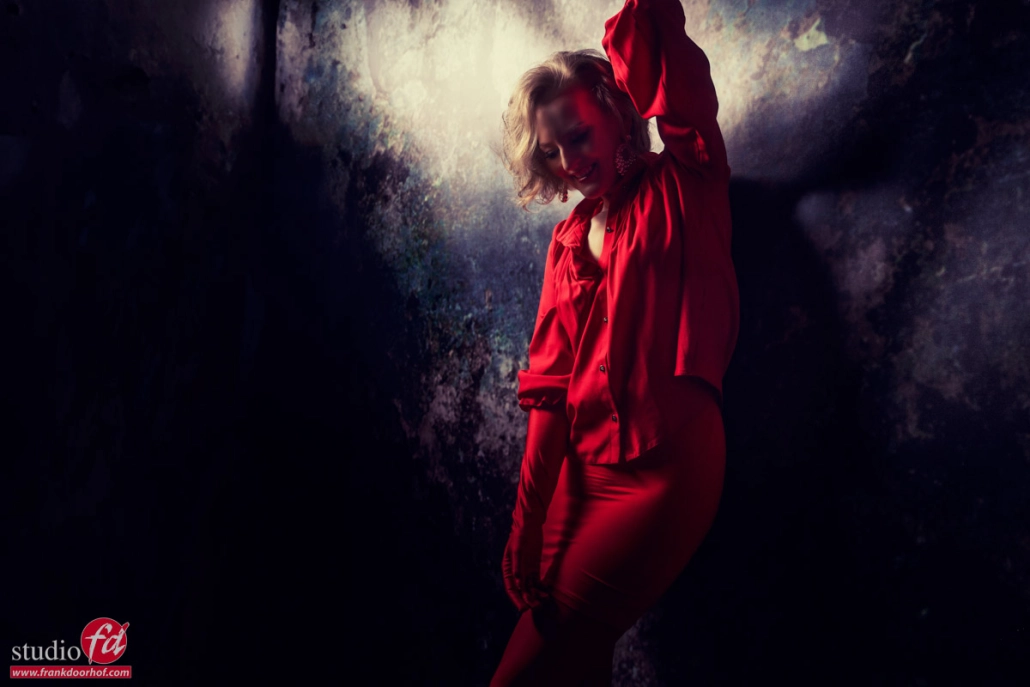
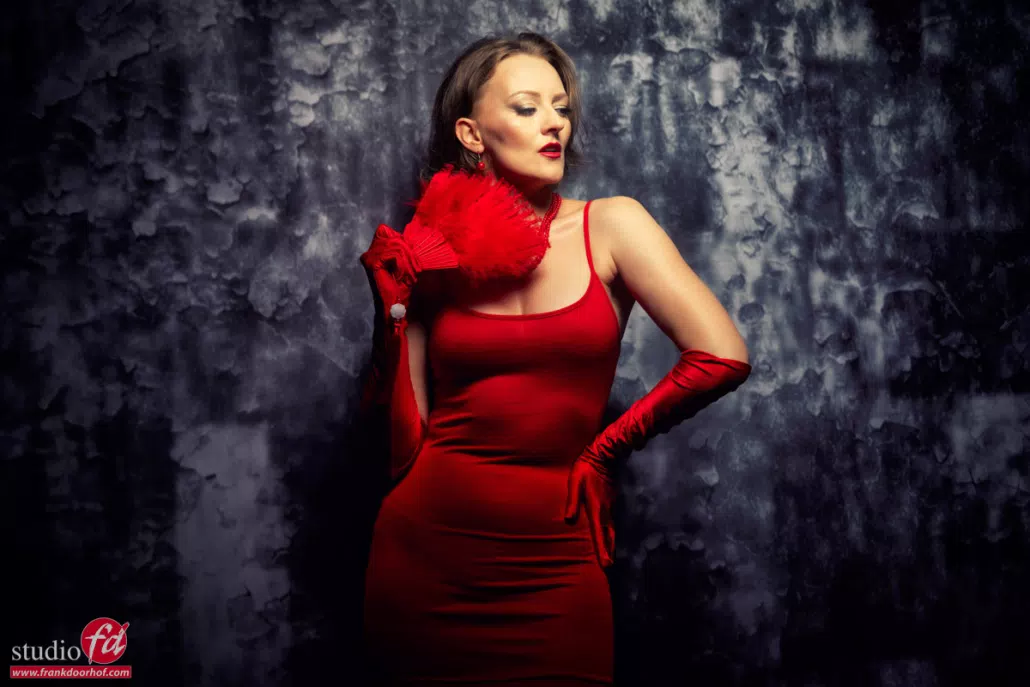
Today the results from the latest digital classroom episode.
I actually make a complete blogpost with the video here.
The results
During this episode we did two different setups.
The theme was mostly about what different modifiers can add to a scene.
I’m using two different Geekoto softboxes to show you what the depth of the softbox does (it might surprise you), but I also used the flashbenders and magnetic system, including a cool shoot with the magnetic snoot (love that one).
https://frankdoorhof.com/web/wp-content/uploads/2024/06/Claudia-june-12-2024133-Edit.jpg8001200Frank Doorhofhttps://frankdoorhof.com/web/wp-content/uploads/2015/03/studioFD_Logo-1FV.pngFrank Doorhof2024-06-16 18:00:472024-06-13 10:57:09Great results from the Digital Classroom with Claudia
This is how digital classroom started.
Just a webcam starting in the morning and ending when we were done, and I could hardly believe it but some people stayed awake the whole day, which for them was actually night time.
Although this was fun, it was not really something we could do often due to the very bad internet quality.
A few years later we wanted to start the live streams again but in a different format, a 3 hour live semi workshop.
At that moment we had to stream via a satellite uplink, which mostly meant I was worried almost the whole episode, because just one fat cloud and it would fall below the range of YouTube which meant “lost connection”.
Nowadays everything has changed.
We are now streaming with 4 live cams, we have a chat running where people can ask questions and of course we are now streaming via a super fast fiber connection.
Digital classroom has grown
Digital classroom now is totally different from when we started, but we are continuously looking at ways to make it more interesting for you guys. And the first thing we did was shorten the episode length to 90-120 minutes (3 hours was too long).
And of course we can’t do it without the support of our sponsors. So let’s give them a big shout out.
BenQ :
Great monitors for designers, photographers and video.
Without a doubt my choice for monitors.
And they sometimes have great offers for our viewers, like a 10% discount for all EU customers (mail us for the coupon).
Rogue :
We’ve been working with Rogue for almost as long as I shoot models.
The Flashbender is probably the product I’m the most involved in, but Rogue is the kind of company that really listens to their ambassadors and create awesome products. I use the flashbender and magnetic system in almost all my shoots.
Geekoto :
Awesome compact strobes, with great easy to setup softboxes.
And for the price, it’s almost unbelievable what they deliver. I’m very picky and have been shooting with them for over 2 years now and didn’t have any issues at all.
Calibrite :
I always advise to get a proper calibrated workflow, and Calibrite delivers all he goods you need.
I’m using their colorcheckers and analysers to get proper colors in my workflow.
Cascable :
When you see me shooting live there is a 99% change you see me using an iPad Pro, and on the iPad Pro I’m running Cascable, without any doubt my favourite tethering solution for iPad, it’s super fast and reliable, just what a I need under stress.
IQwire :
Tethering is showing your images directly on a large screen while shooting.
IQwire delivers the fastest and most reliable tethering cables and a complete defence system for camera, laptop/desktop and cable.
Available in 5-10-15 meters length (I’m mostly using the 15mtr which makes it possible to move around my whole studio without ever tripping over a cable.
ClickBackdrops :
We started with a signature series and I ended up with my whole studio filled with their amazing backdrops, and eventually we started selling them (they are just too much fun). Available in almost any size and in 2 materials. Vinyl for sharp and “harder” prints and ProFabric, which mimics the old canvasses we all love but can’t afford 😀
Most of these products we now also sell in our webshop at frankdoorhof.com/shop so make sure to check it out.
The reason we chose these brands to work with, or sell, is that they are designed FOR photographers/videographers/designers instead of designed for the photography market (a huge difference in usability).
Ok…
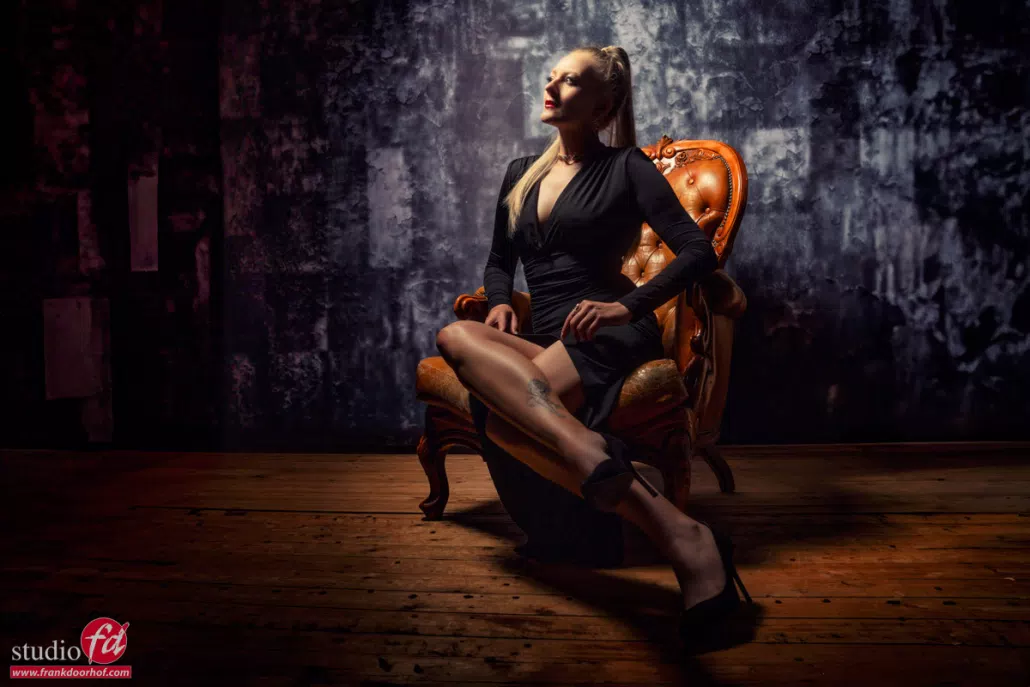
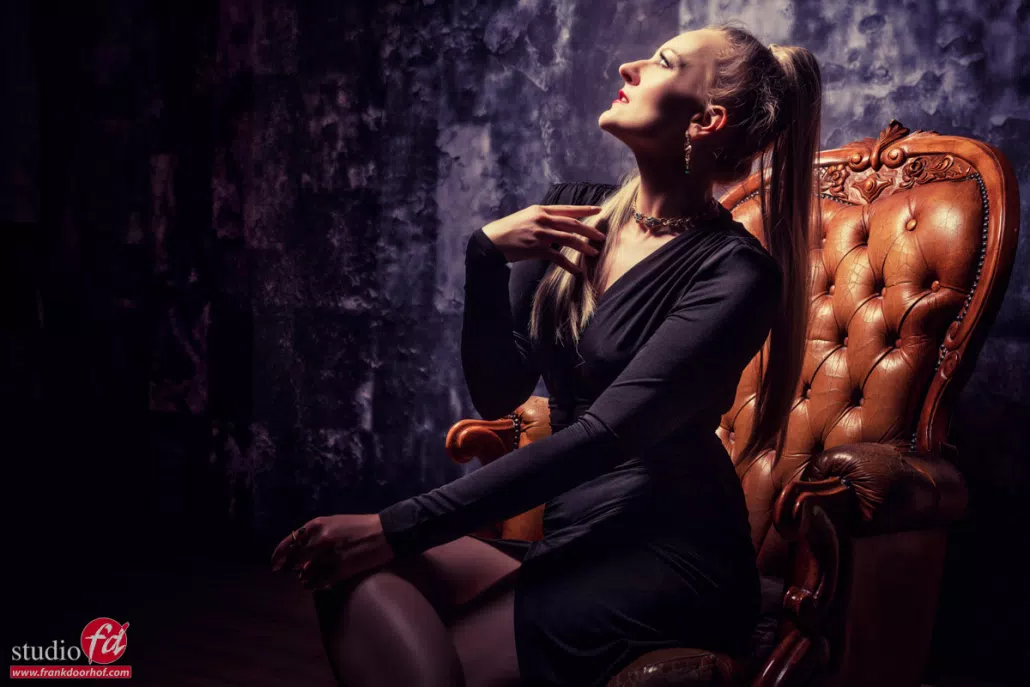
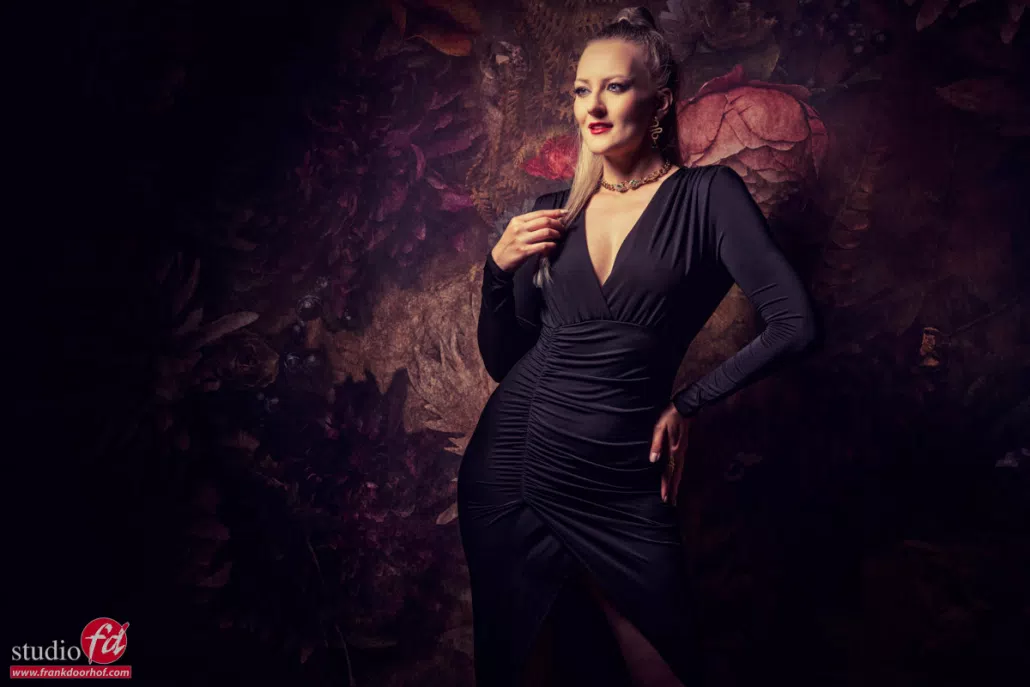
Let’s go straight to the brand new episode of digital classroom with our model Claudia.
https://frankdoorhof.com/web/wp-content/uploads/2024/06/Claudia-june-12-20242-Edit.jpg8001200Frank Doorhofhttps://frankdoorhof.com/web/wp-content/uploads/2015/03/studioFD_Logo-1FV.pngFrank Doorhof2024-06-13 18:00:332024-06-13 10:29:01A cool behind the scenes during a fashion shoot including all the info free tutorial
We are always looking for new models for our workshops and events.
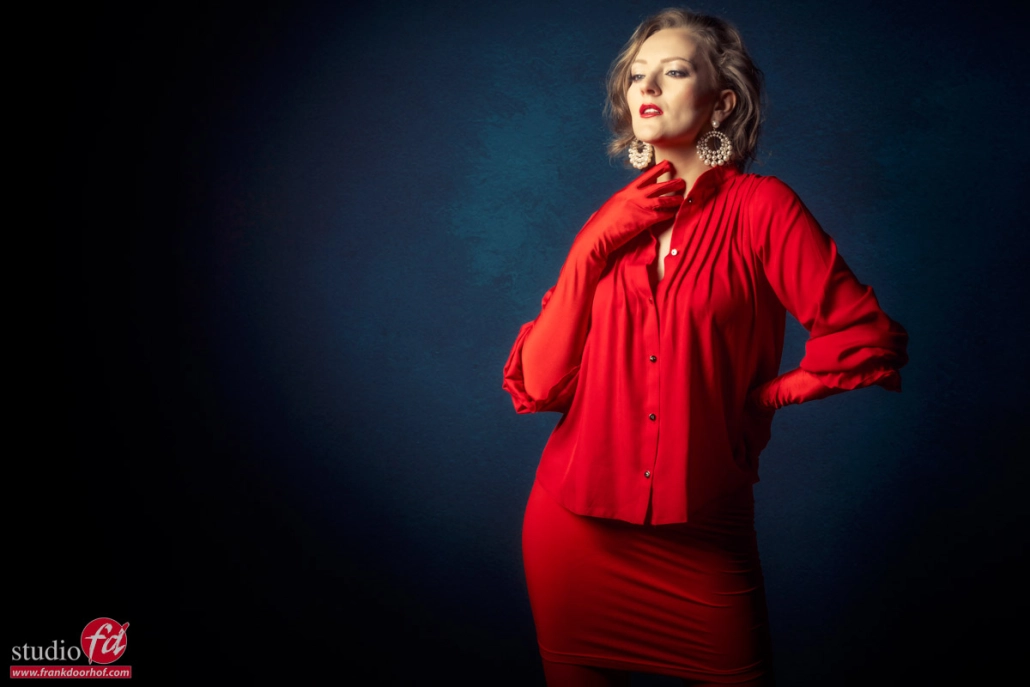
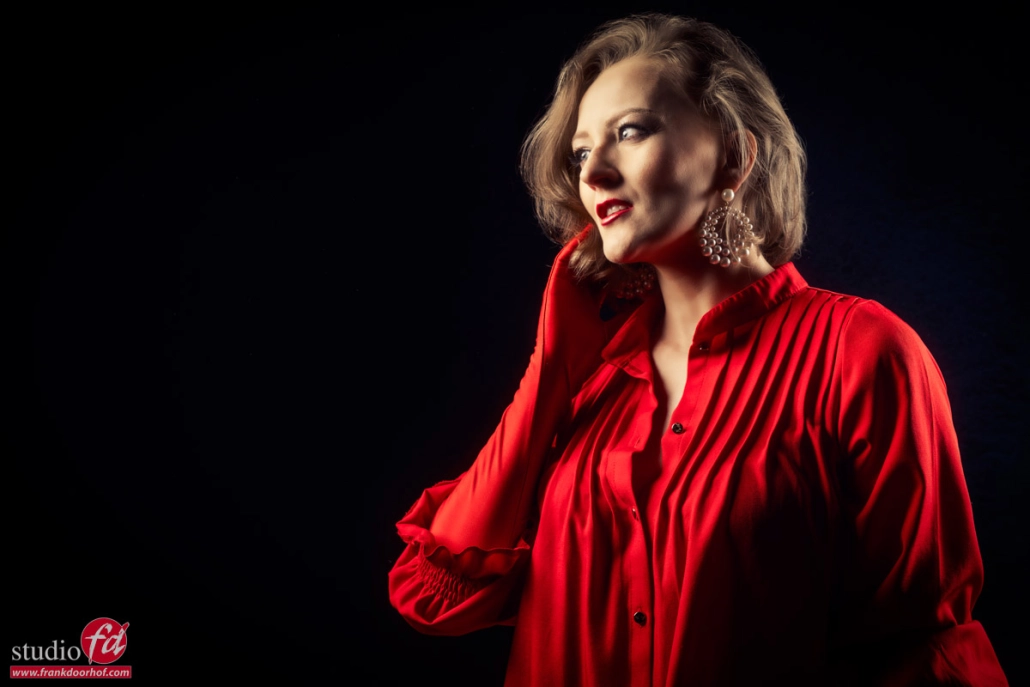
Today the results from the test shoot with Monika.
Fun detail, she lives at almost walking distance from our studio, what a coincidence.
During the test session I will shoot 2-3 different lighting setups, nothing special but a good way to see how somehow interacts with the camera 😀
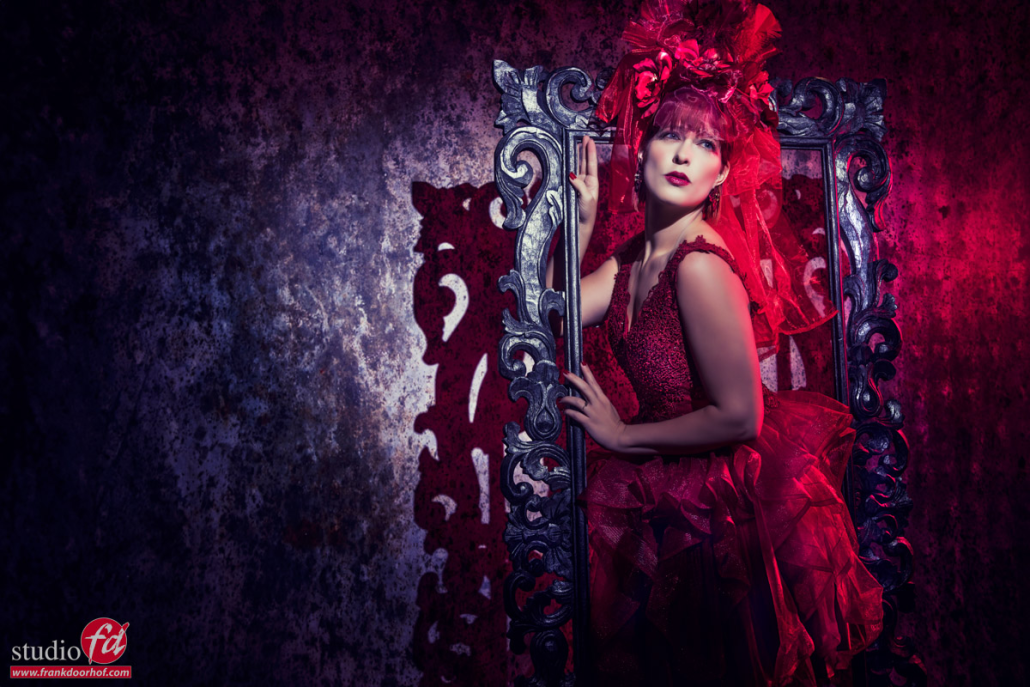
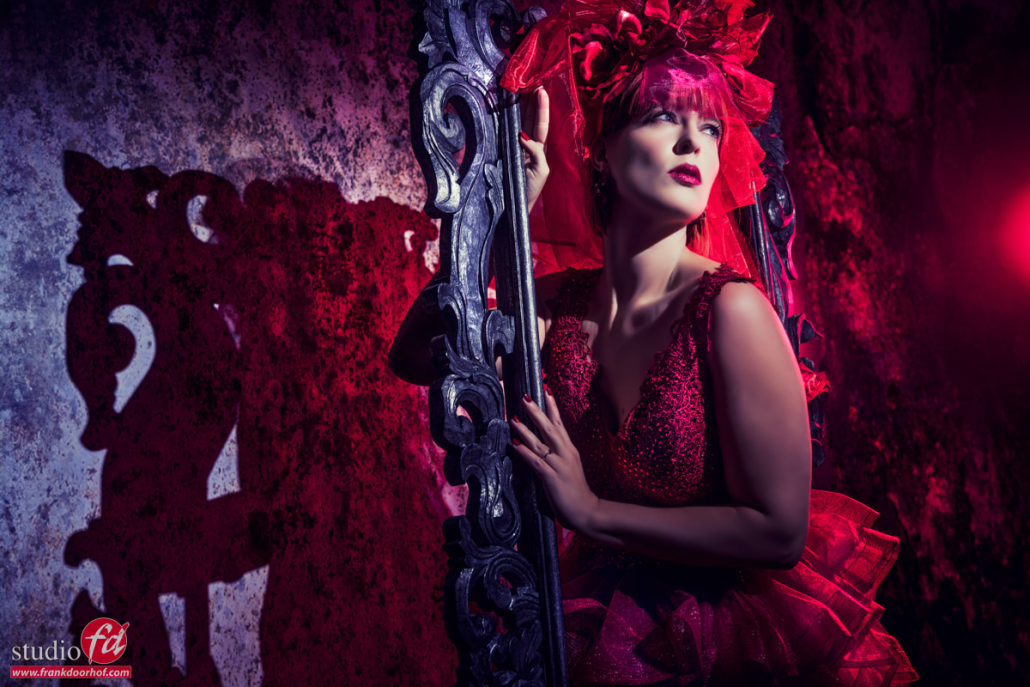
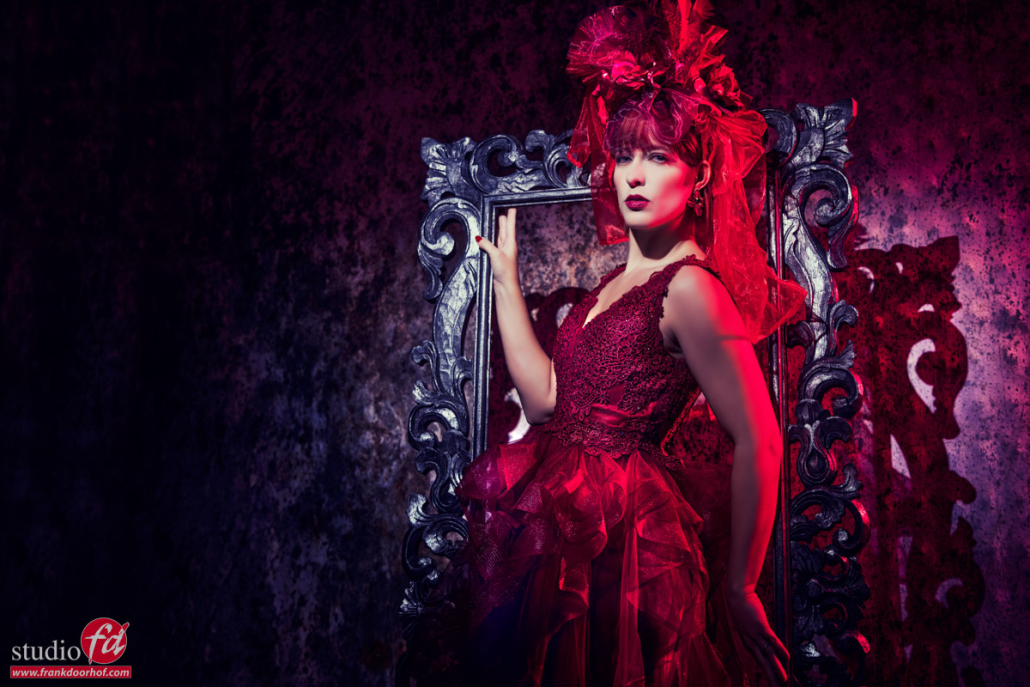
https://frankdoorhof.com/web/wp-content/uploads/2024/05/Monika-testsession-14-May-22-2024-Edit-jpg.webp8001200Frank Doorhofhttps://frankdoorhof.com/web/wp-content/uploads/2015/03/studioFD_Logo-1FV.pngFrank Doorhof2024-05-27 18:25:472024-05-23 18:41:15An awesome test shoot with some strong colors
In the previous blogpost you already saw the results from the test session with Jannaika.
The images were shot during the Digital Classroom live stream.
Today in the blog the full episode of Digital Classroom with a much requested topic.
“how to work with models during their first shoot and how to make it a success”
See the full session and get all the tips about lighting, posing and how to coach your model.
https://frankdoorhof.com/web/wp-content/uploads/2024/05/Jannaika-27-May-15-2024-Edit.jpg8001200Frank Doorhofhttps://frankdoorhof.com/web/wp-content/uploads/2015/03/studioFD_Logo-1FV.pngFrank Doorhof2024-05-25 18:22:312024-05-16 18:29:23Working with a model during her first shoot and how to make it a success

You must be logged in to post a comment.