Having fun with poses. This will get you more dynamic photos and much more fun during the shoot
We all want stunning images
We all want images that jump off the screen! But how do we get free of the “forced” poses? Today I talk about breaking the forced poses and getting more dynamic photos. Like most people when I started with photography I was using the so-called “posing” books. One thing I learned very quickly was that although some worked. It always ended up looking forced, or just plain awkward. And let’s be honest, every person is different so having a posing book in hindsight does sound a bit weird.
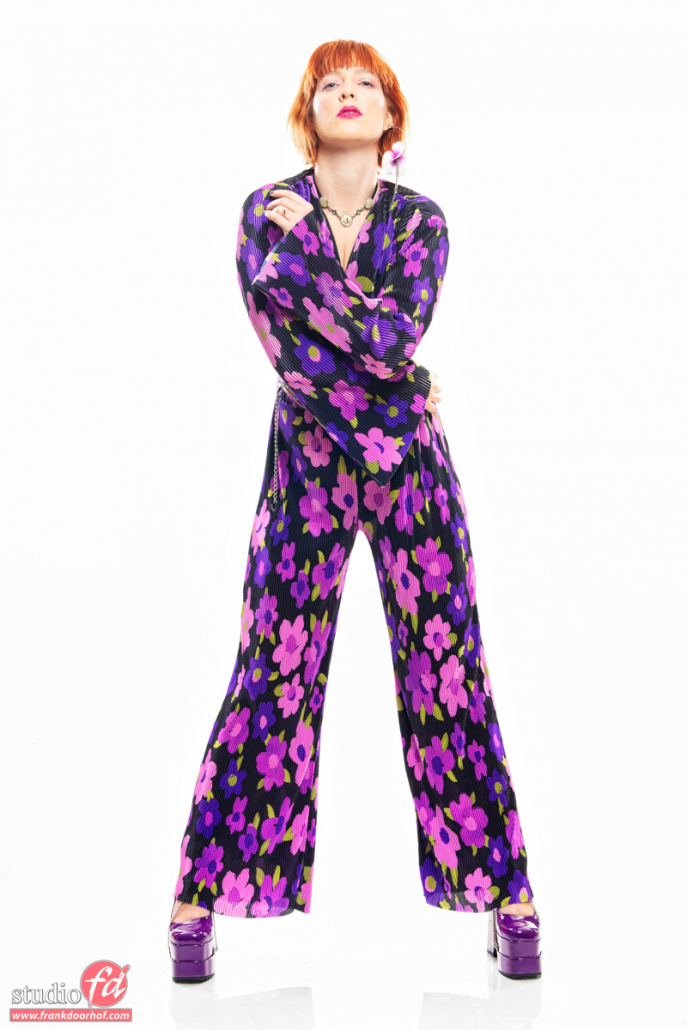
Finding the perfect lines in the body of your model
One thing that I learned after the posing books was finding the lines in a pose.
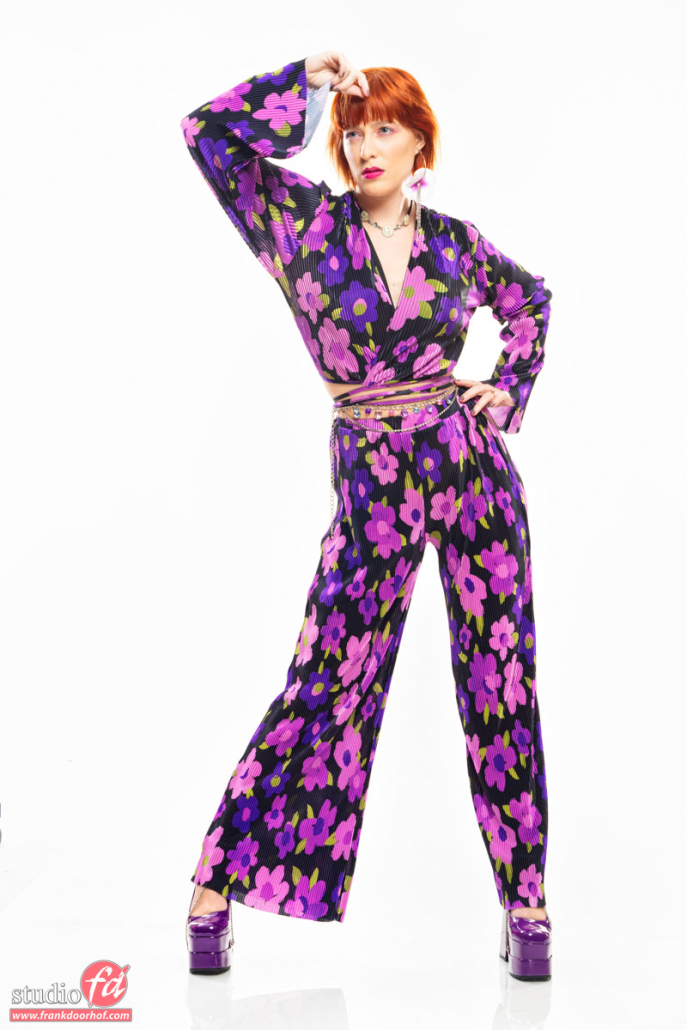
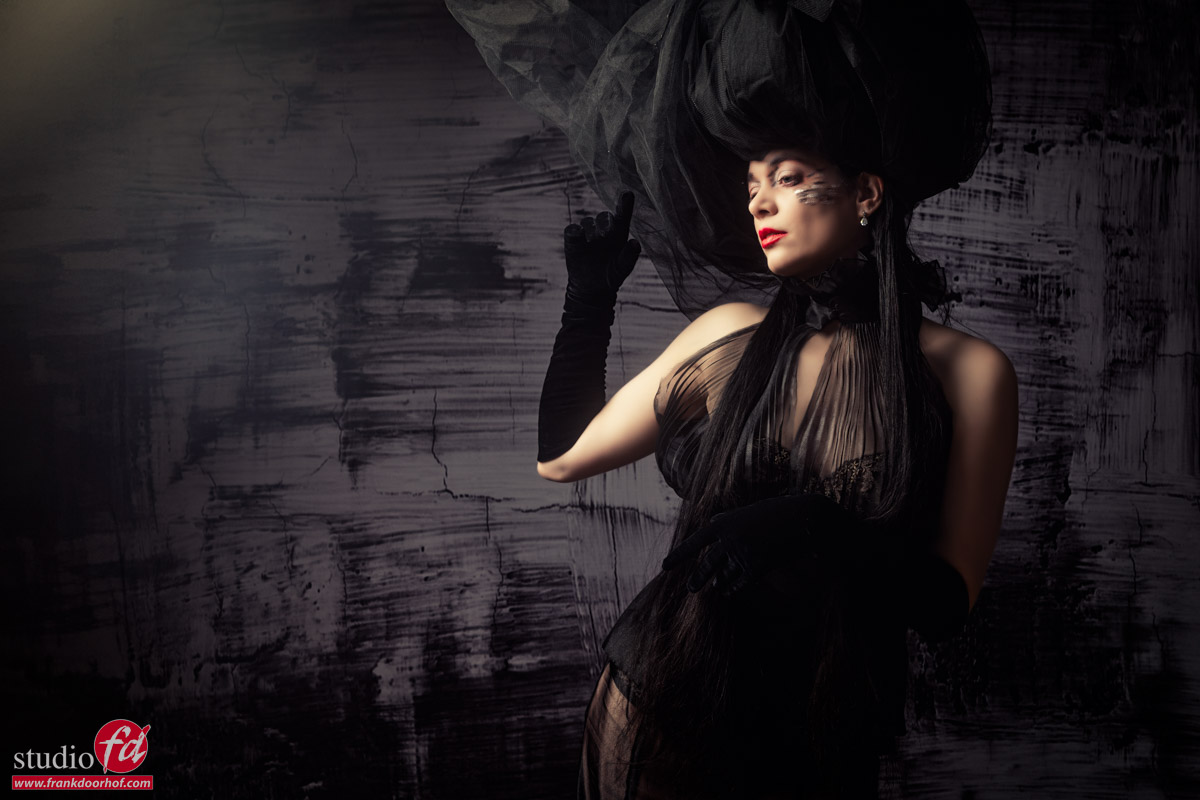
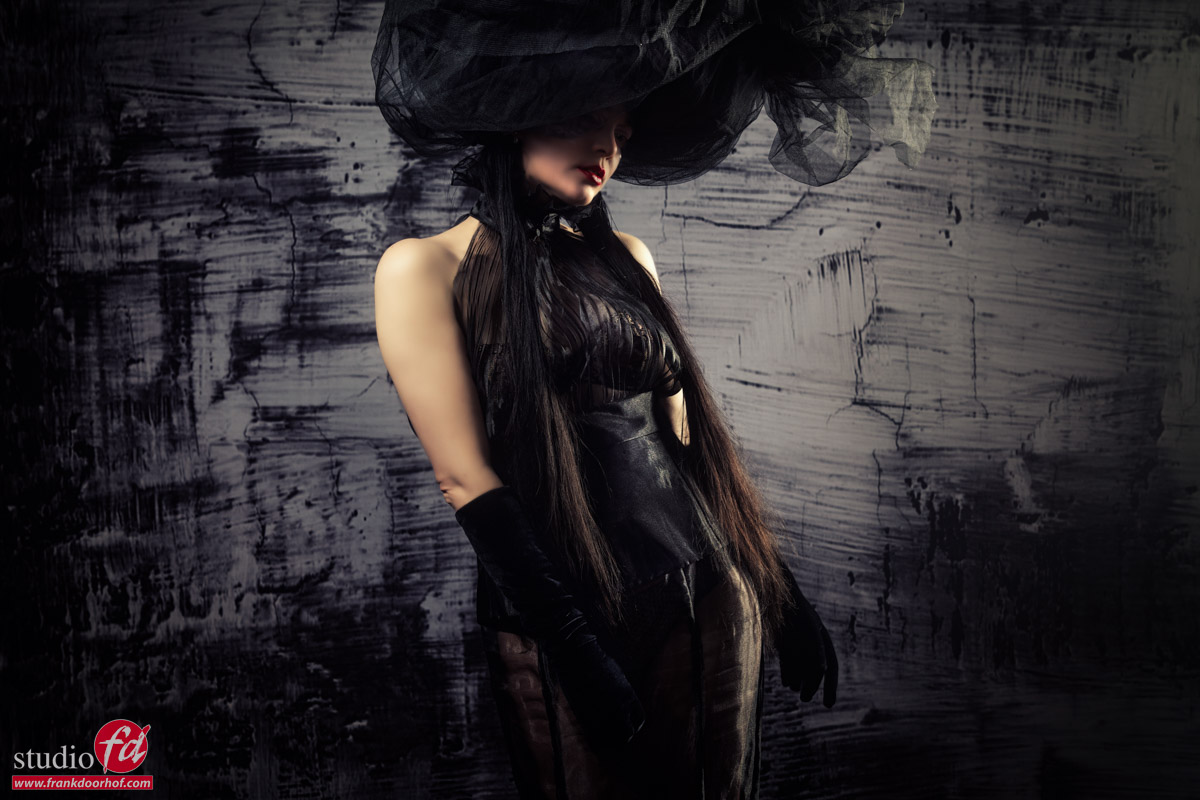
Sometimes it’s a nice flowing S-curve in a pose, and sometimes I love working with triangles.
Now in all honesty I didn’t really look for triangles. It just happened that all the shots I liked had some triangles in the poses.
Letting go, go with the flow in your shoot
When I started shooting more and more models and also did assignments for brands it became very clear that posing a model wasn’t a thing I liked. Luckily at that moment, I worked with some models on a weekly (and sometimes several times a week) that were always in for experimentation. Also during that period, I watched several videos on the work of LaChapelle, Avedon, Newton, etc. and the thing that really caught my eye was that they most of the time didn’t really pose the model to perfection but also just let the model go.
The moment I let go was the moment my photography changed from “stiff poses” to much more free-looking and natural poses.
The trick is actually incredibly simple.
You pose the model for 50% of what you want, angle, leaning against something, etc.
And after that you…. well just let go and shoot.
So let’s take a look at what happens.
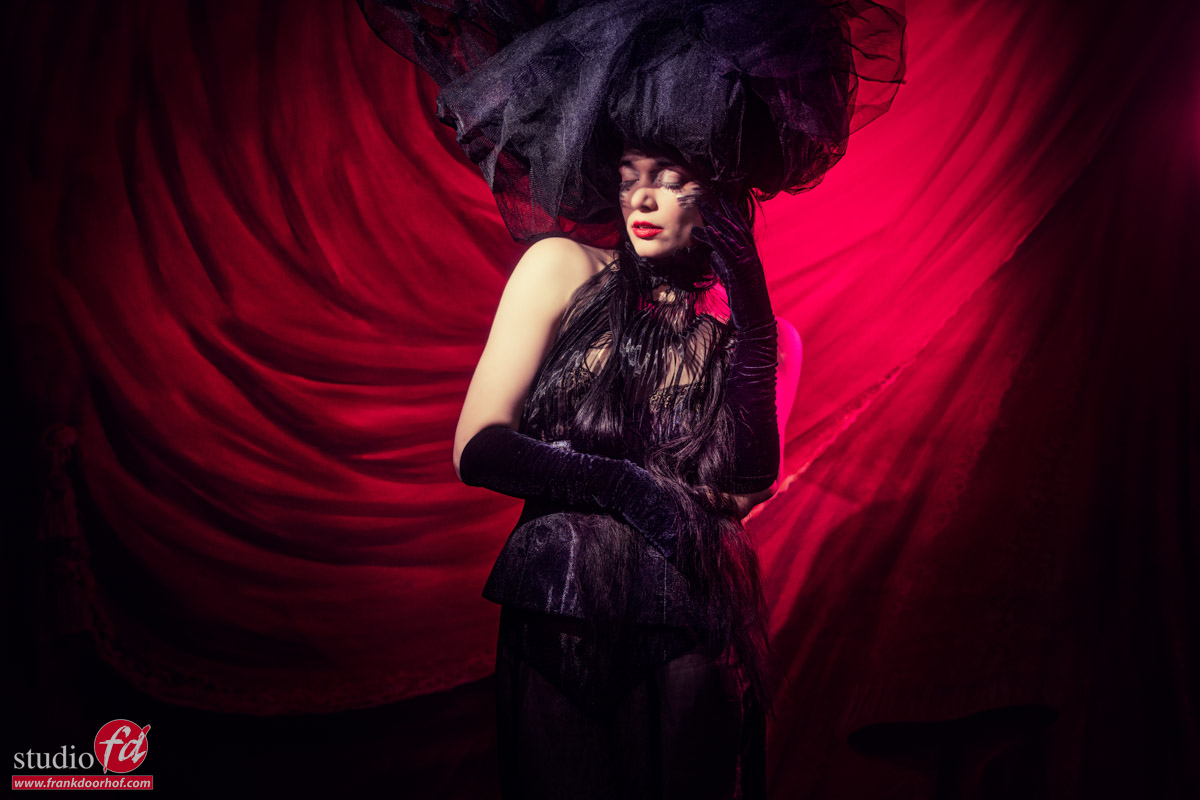
Some examples where I let go and just shoot
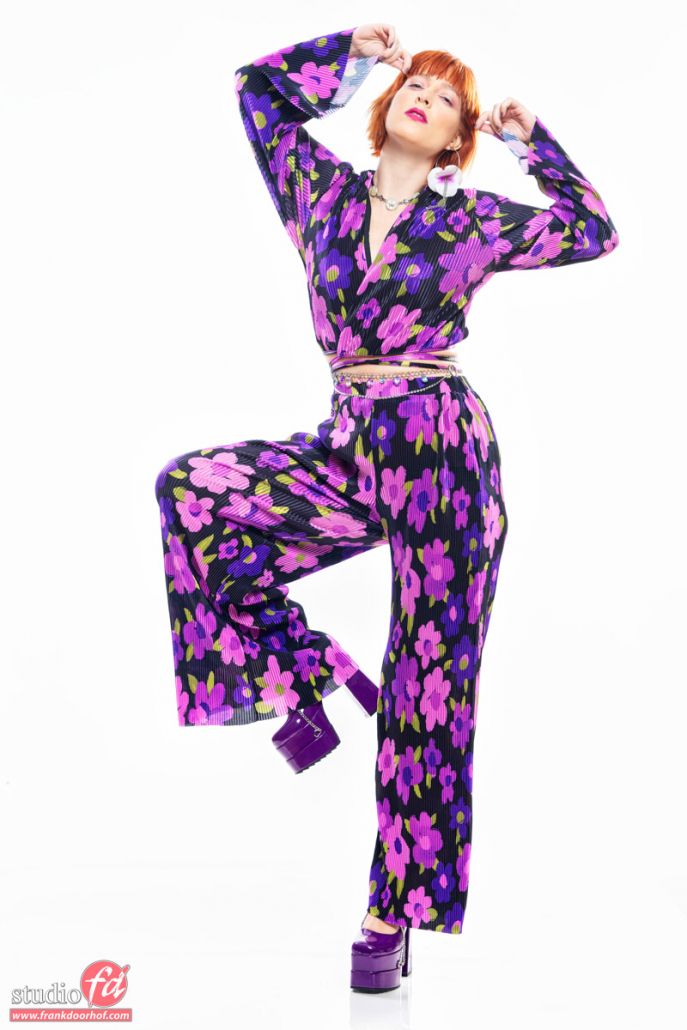
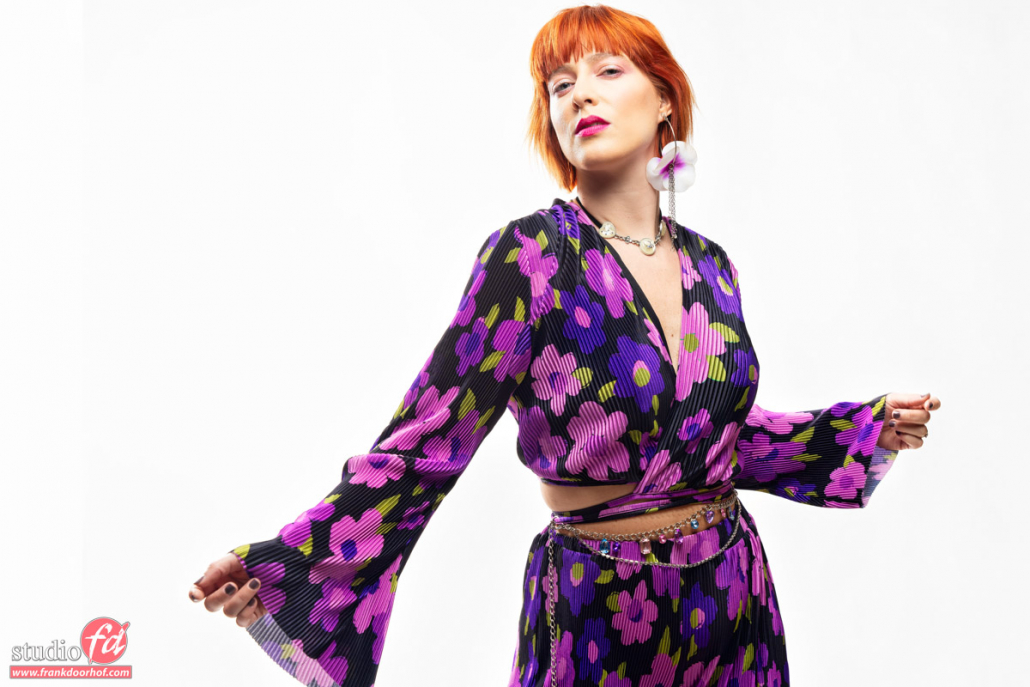
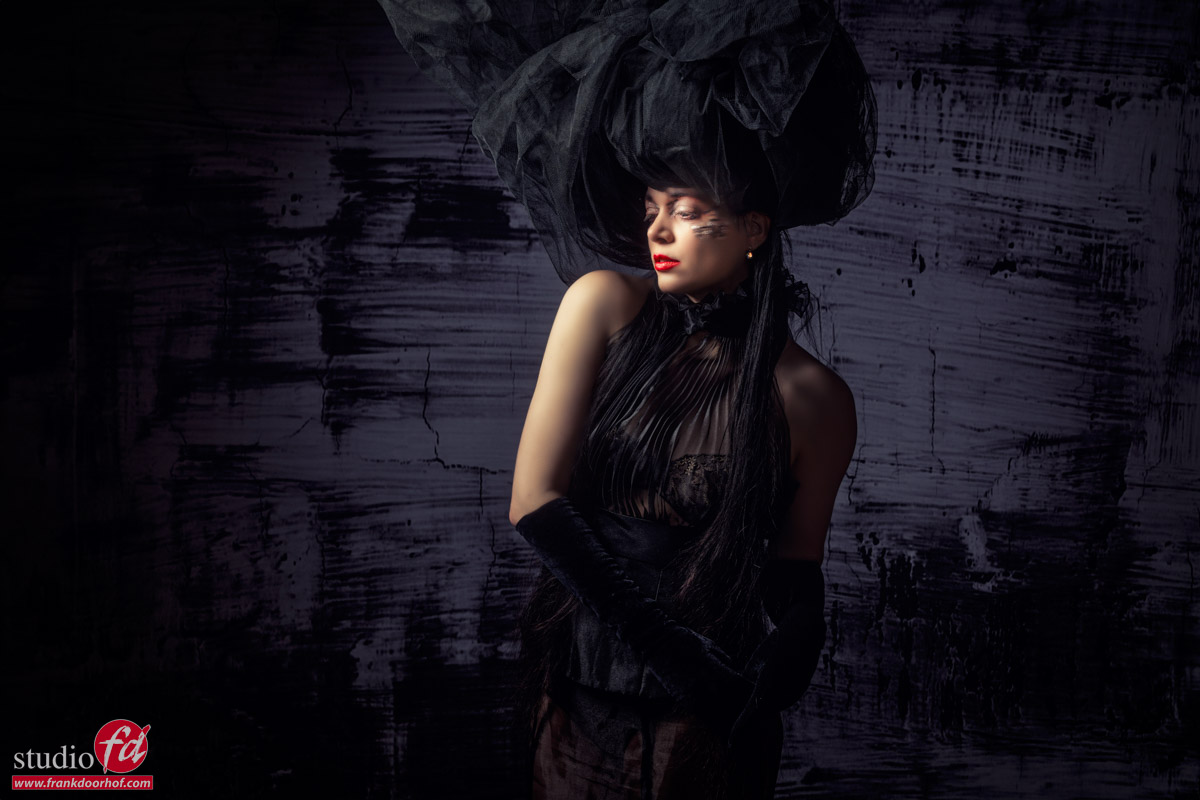
During a recent workshop with Claudia, we did exactly that.
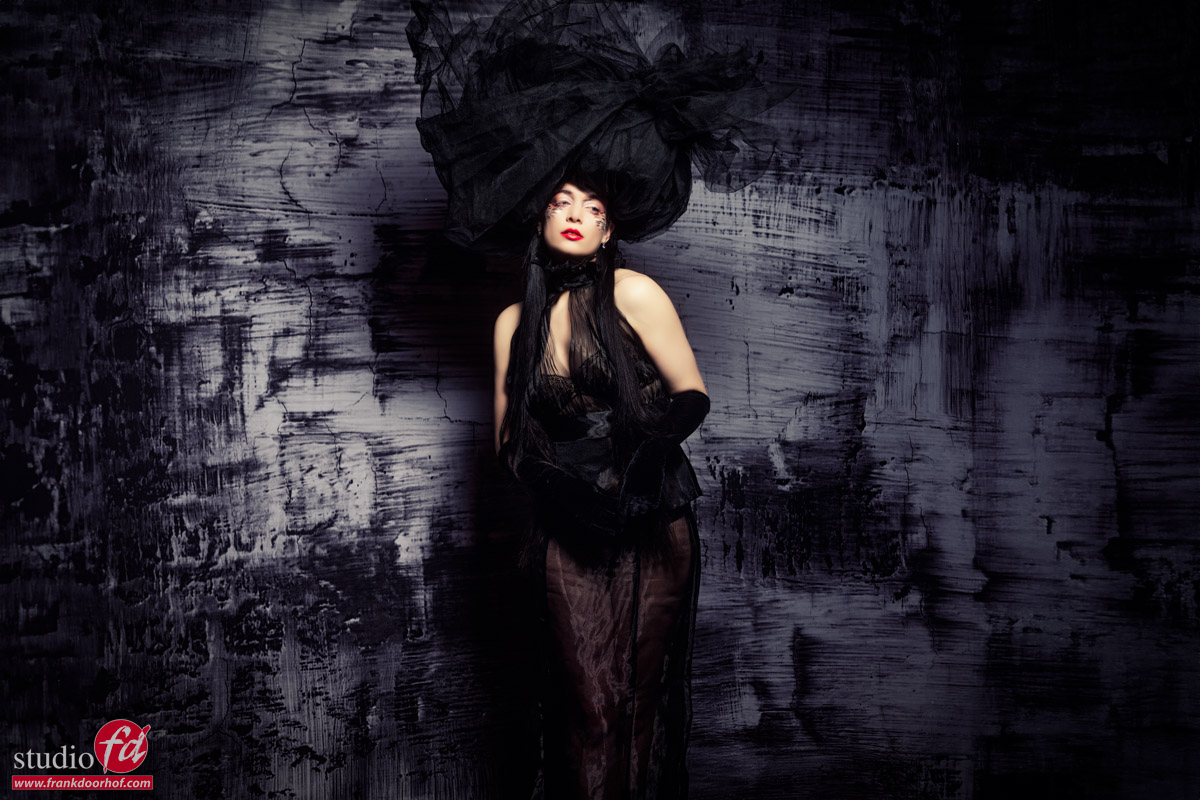
I chose the most simple background setup and lighting so the model had to do all the work.
The nice thing about this approach is that you will always get fresh looks. Instead of always seeing the same poses. But it also really loosens up the model and the mood in the studio. Put on some music and just let the model literally flow through the poses and keep shooting.
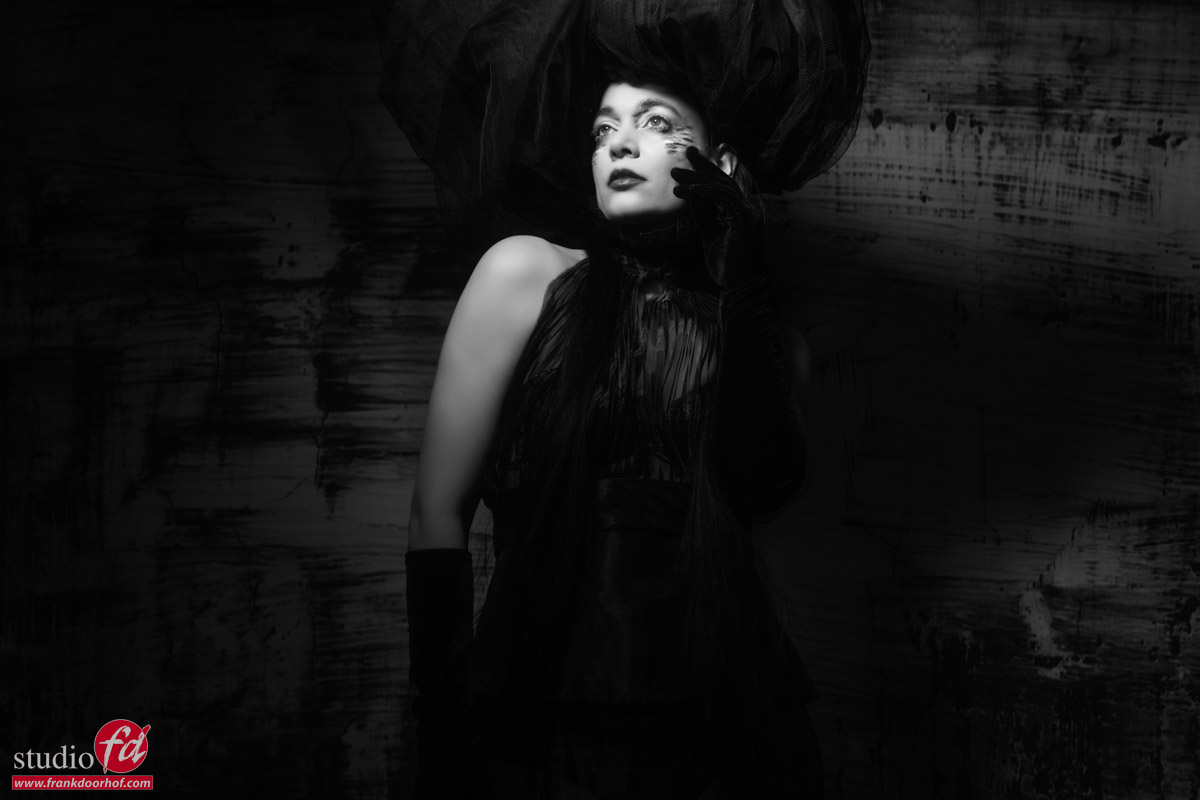
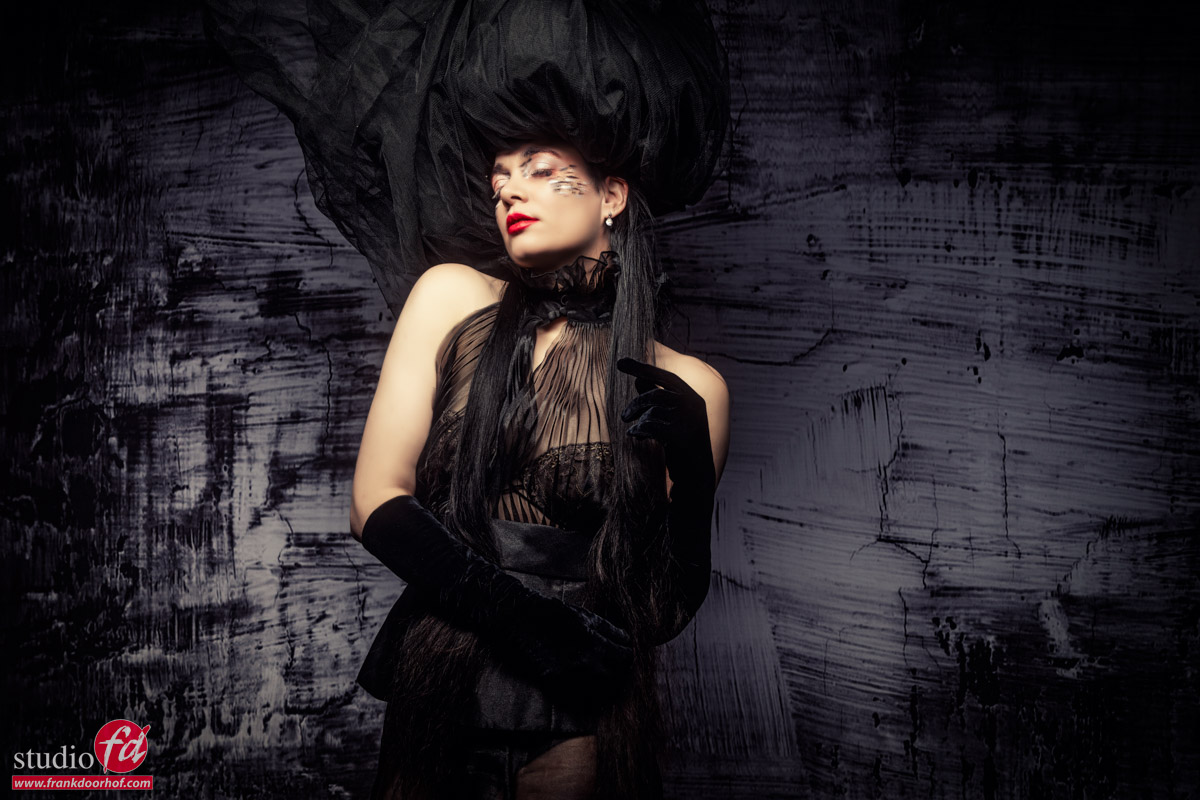
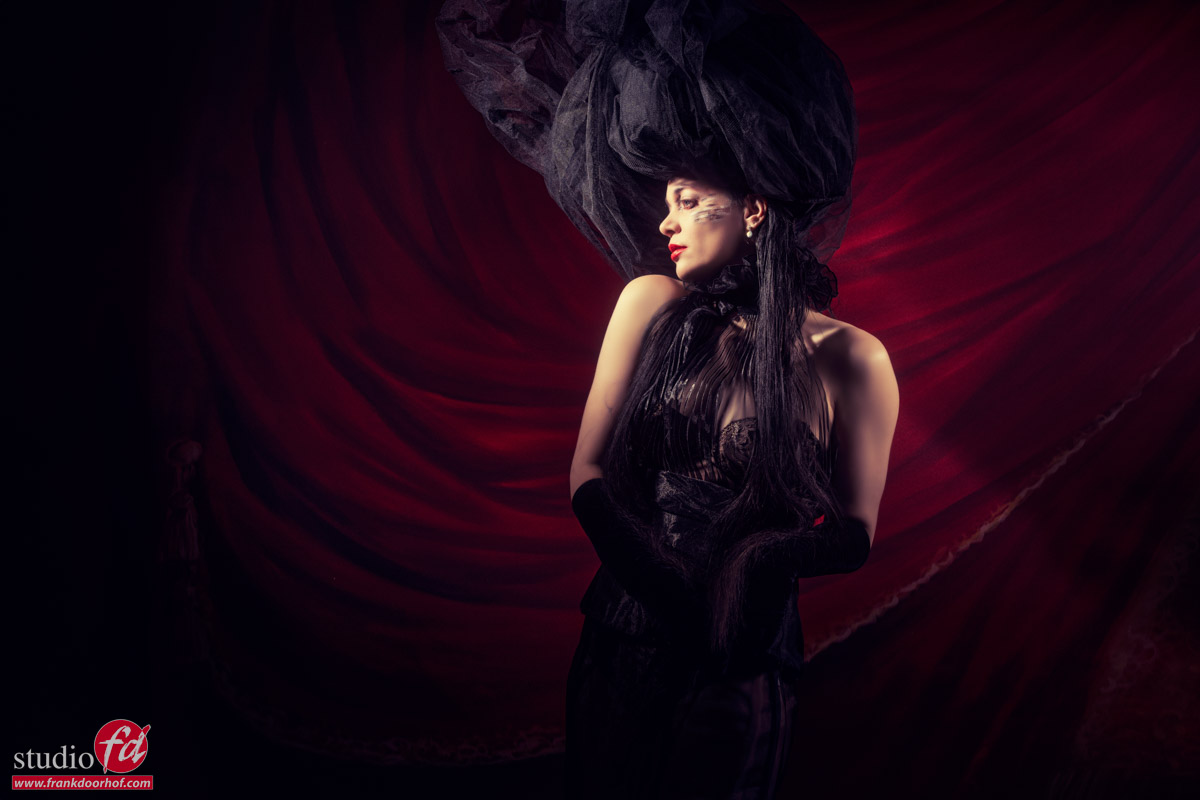
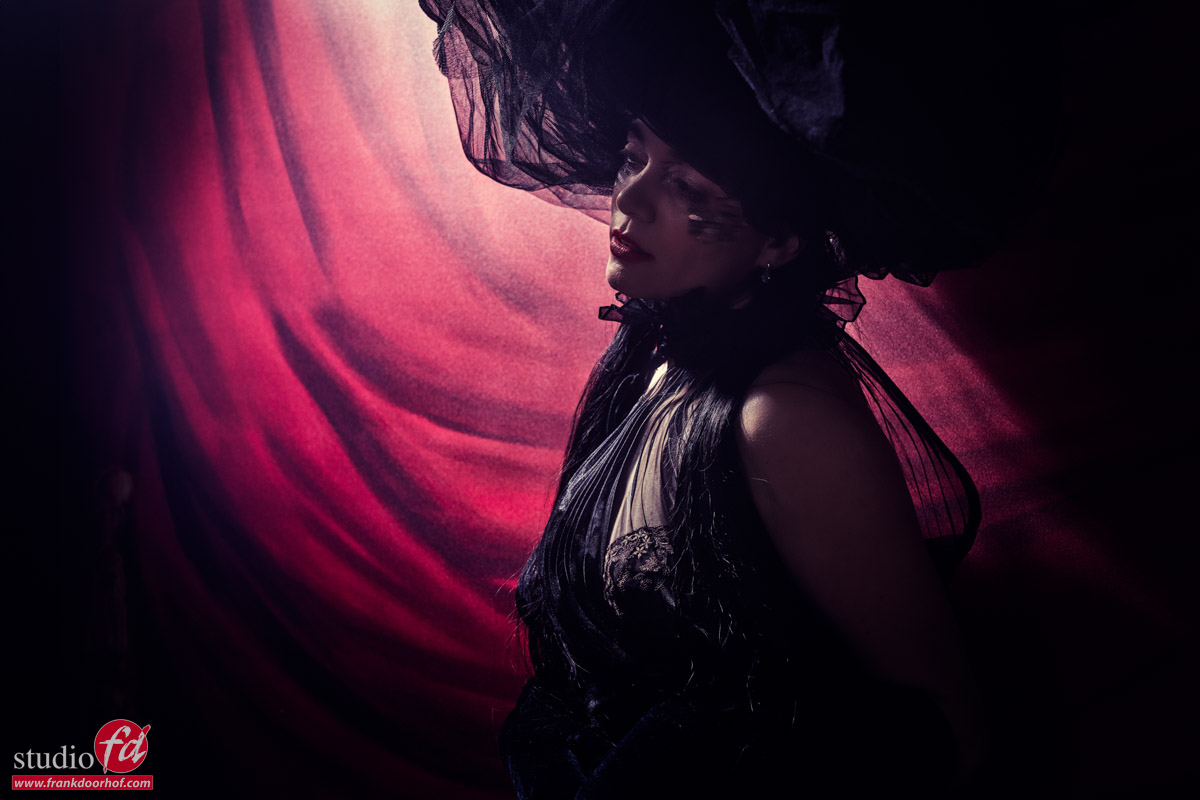
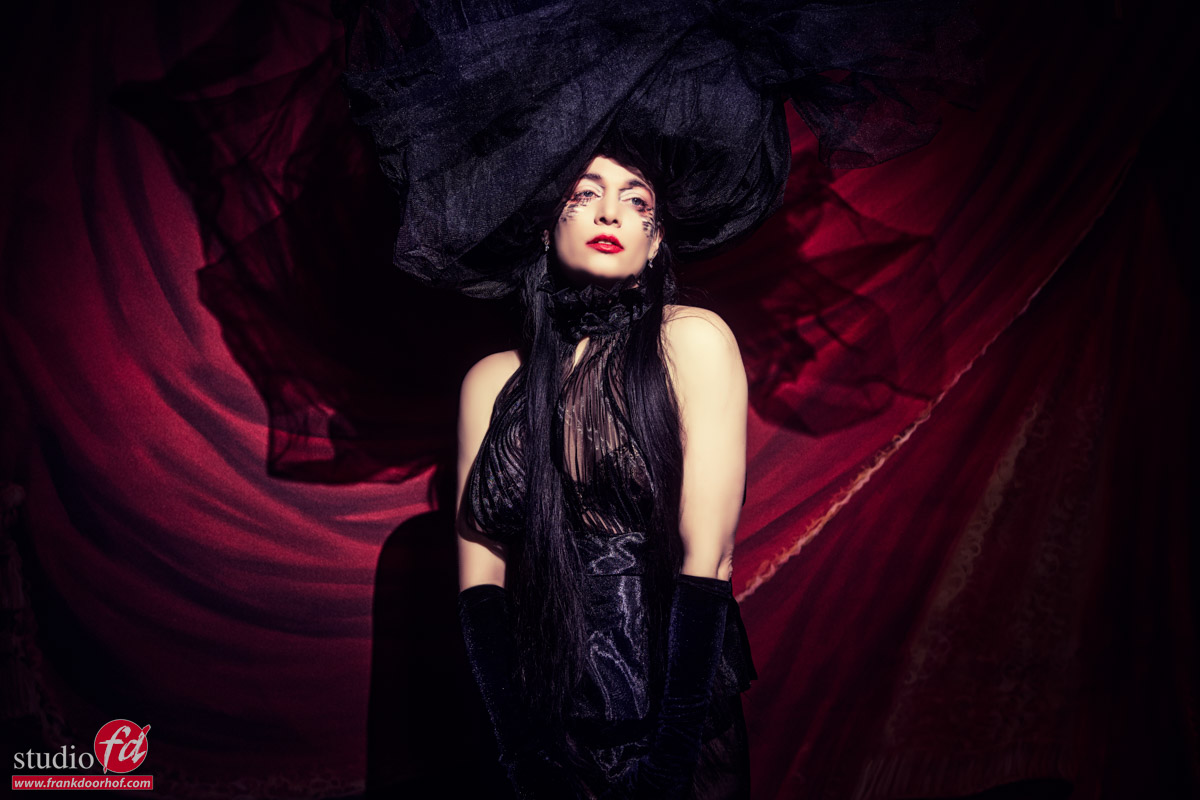
So let’s take a look at some of the results from a few minutes.
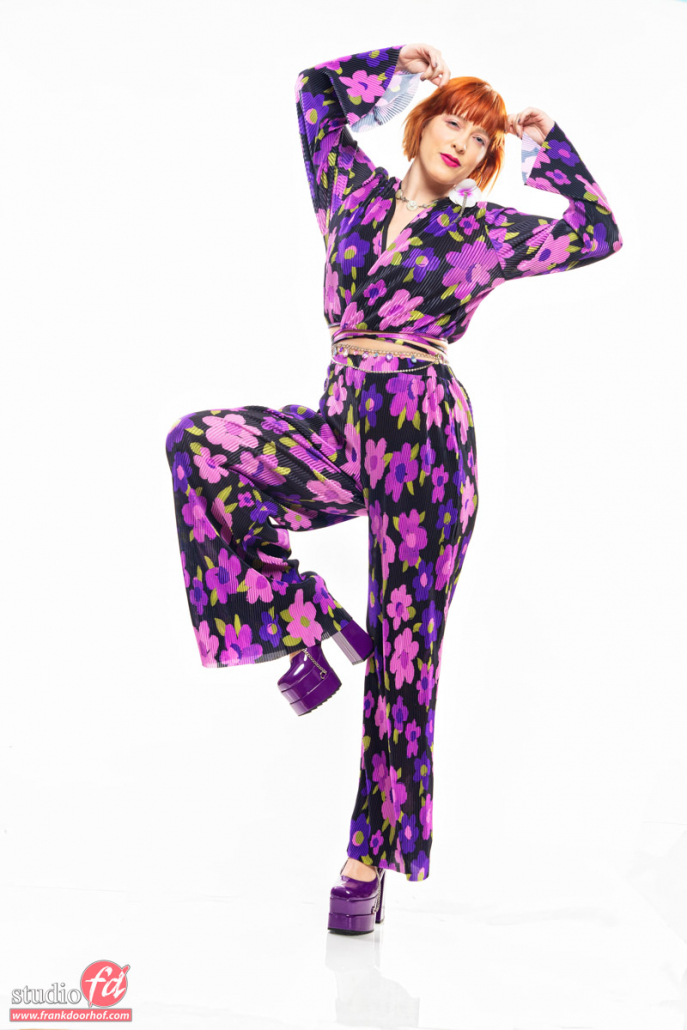
Now it might not immediately catch your eyes, but when you work this way you will find that not only the poses look much more natural and “flowing” but also the expressions of your model will be much more relaxed. and that is the start of more dynamic photos.
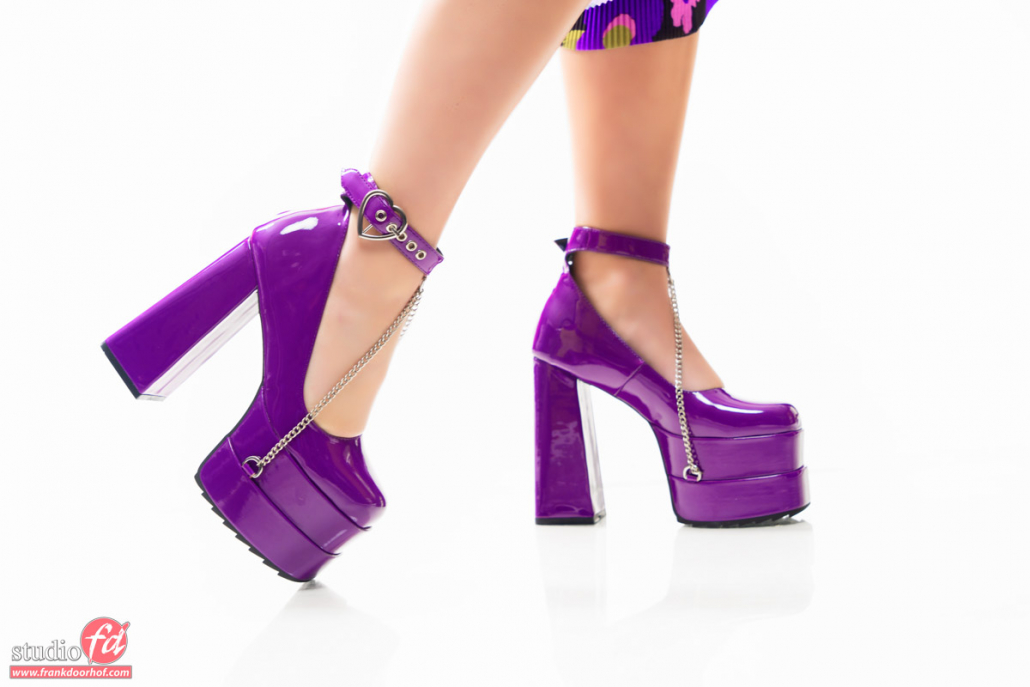
And of course, don’t forget some close-ups 😀
Conclusion on how to get more dynamic photos
Of course, photography is very personal, and what works for one won’t work for everyone.
However, over the years I’ve found out that getting the model at ease and relaxed really boosts your photoshoot and gives much better results than just pushing a model into a pose.
So what is your next move to get more dynamic photos?
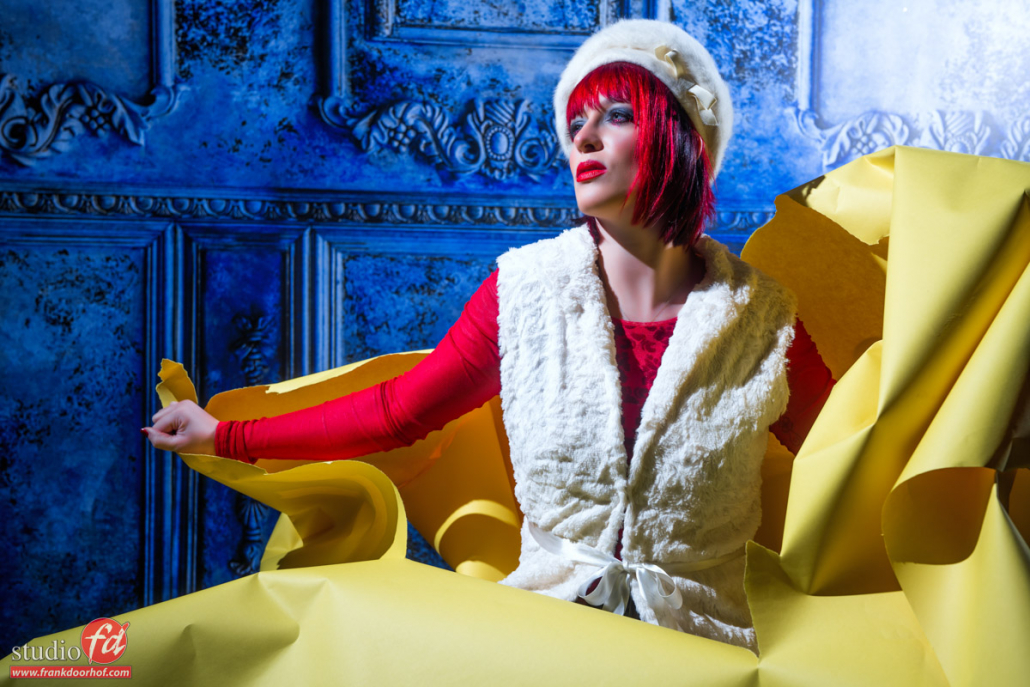
Claudia is an amazing multivalent! check out the blog where I used seamless paper as a dress
Fashion shoot? use this is a great backdrop for more impact
Check out this video about using a reflector


You must be logged in to post a comment.