Tag Archive for: lighting

Day of the dance, photographing motion

Today is the day of the dance

Today we celebrate International Dance Day (click here for more info). So this is a great reason to write a blog post about photographing motion and some tips.

This day was created to celebrate dance as an art form and inspire people worldwide to dance, move, and express themselves through music and rhythm. In the Netherlands and Belgium, a lot of attention is paid to dance on this day. Dance schools organize open lessons, workshops are given for young and old, and performances and flash mobs take place on squares and in theaters. From classical ballet to hip hop, from modern dance to folk dance – today it’s all about the power of movement and connection.

Dance connects people, brings joy, and is a universal language that needs no words. It is an outlet, a form of expression, and a way to come together, regardless of background or age.
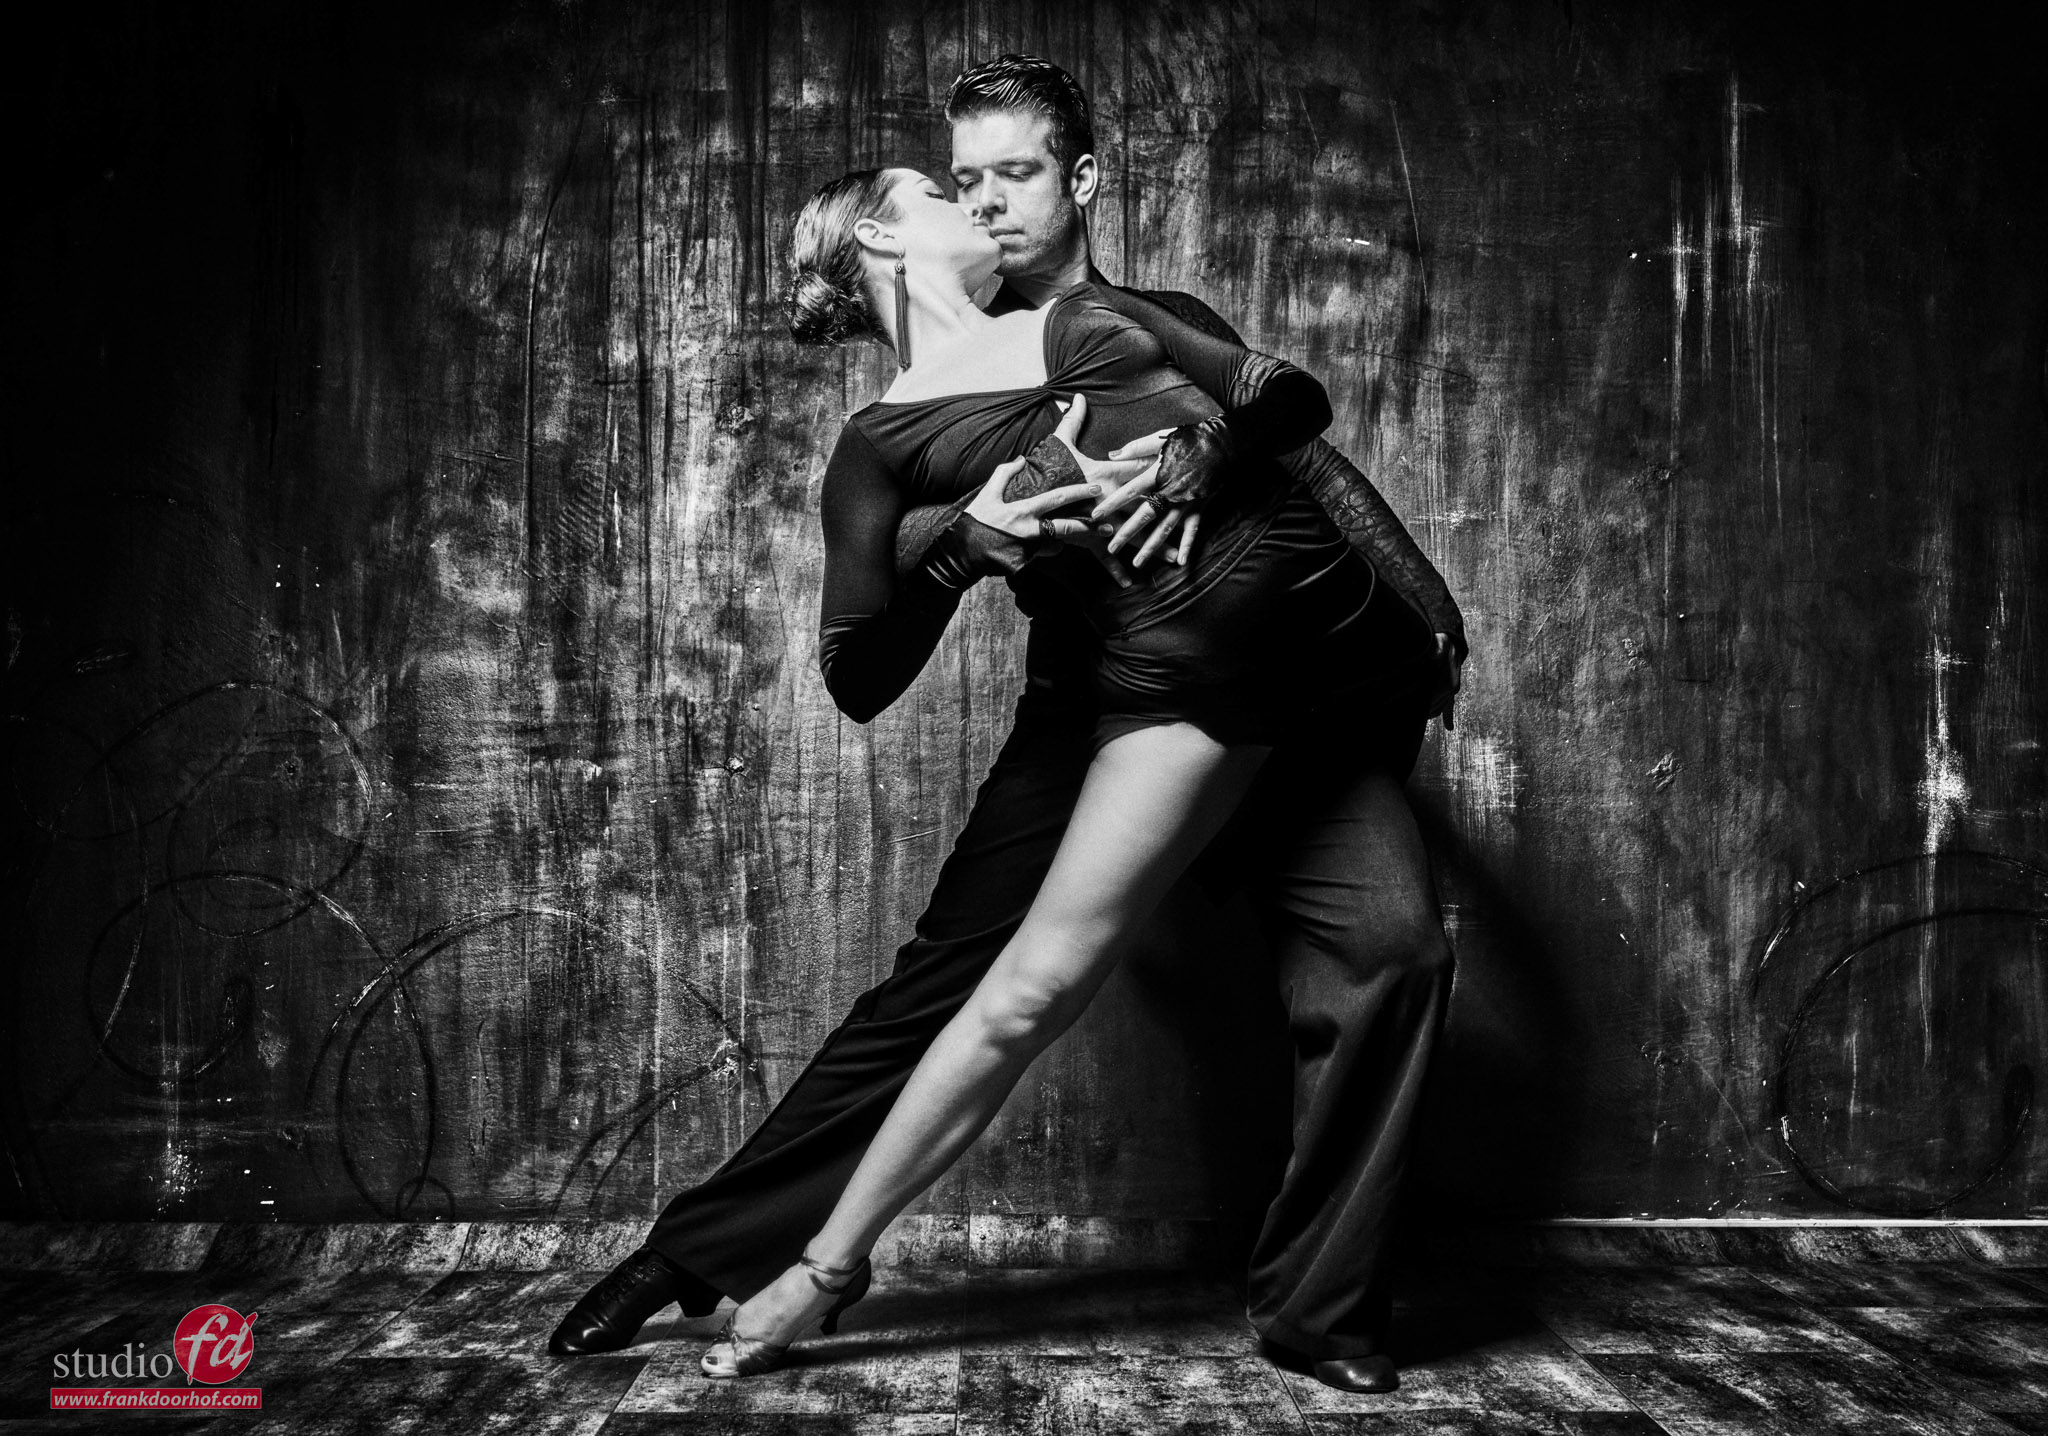
photographing motion

I love photographing motion

For me, adding some motion to a photo always adds so much more than just that motion. Somehow, you just keep looking at the image.
To freeze motion with strobes, you have to make sure you use strobes with a fast flash duration. For most situations, a flash duration of 1/2000 is enough for a proper “freezing the action shot”. Of course, you can also play with this technique. For example, use a fast strobe on the face of the model but use a very slow strobe as an accent to get some nice blurs in the highlights.

The best way to use your strobes when freezing motion

To figure out the best way to use your strobes is much easier than you might expect.
If you by accident, own a Sekonic 858 lightmeter, you can actually measure the flash duration (very cool), but don’t worry if you don’t own one, there is another way.


one of the results from one of my first KelbyOne classes.

Use a fan

Yep, it’s that simple :D. Photographing motion by using a fan.

Set up the fan and use the highest setting.
Now shoot images on the lowest setting and build it up per stop on your strobe untill you hit the maximum output. (Don’t forget to change the aperture).
If you look at your images, you will see that on some settings the blades of the fan are sharper than on other settings. You now know on which setting the strobe has the fastest flash duration and the slowest. Always use that setting when freezing motion, and you’re done.

Remember that you don’t do these tests on HSS, only Manual mode.
Also, remember that in the studio, the shutter speed on the camera is always kept at 1/125, to make sure you can freeze the action as clear as possible always take one shot without strobes to make sure you have no spill light in your studio.

We recorded a “How did I shoot this one” about freezing motion and using a fan. 

Need more light?

One of the problems you can and probably will run into is light output.
The main problem with motion is that you are often stuck with a very limited range on your strobes, and in most cases, the fastest flash duration is not on full power but somewhere between 50% and 75%. Now add to this that you want to avoid shooting on F2.8 but preferably use F11-F16, and you already see that we can run into issues with light output. Luckily, we also have solutions for this.

ISO

The first thing you can do is raise your ISO.  With modern cameras, it’s absolutely no problem to use ISO800, and with some proper noise reduction, you can easily use ISO1600.
However, especially with commercial work where fine detail is important, I always choose to solve the issue with a proper light shaper, or the lack off.

Light Modifier

For motion, I love the more harsher quality of light for focus. And of course contrast. This does give me a head start because the light-shapers are already more efficient than for example a softbox. Think about this: with a softbox, you use several layers of diffusion material, which takes away light. With a light-shaper like a reflector, you can already see that the material is shiny. Which means that in the reflector, the light is focused via the reflective layer, which gives you a lot more output.

The size of the reflector is just as important as the material that is used inside.
Some of my favorites over the years were the Hensel 14″ spot and the Elinchrom Maxilight/spot, both gave a tremendous amount of extra light. I used them also a lot for outside sessions, and they saved me a lot of batteries 😀

Nowadays I’m using the Geekoto strobes, and the GT200 is a great strobe for outside use and freezing motion. Due to the fact it used a built-in Fresnel lens you get more light output from a standard flash tube. The compact design, in fact it gives more light output than the  Geekoto GT250, which in its defense, uses a different flash tube. The design of a  Fresnel gives you extra light output, and when used in a light shaper, also gives you a great quality of light, think about the old theater and movie spots.

Photographing motion

Fresnel

Which brings me to my favorite light shaper at the moment.
I use it for portraits, fashion, freezing motion, and outside work. It boosts the light output,t and you can focus the light. I’m talking about the Nanlite FL20G Fresnel 

In the past, Fresnels were very expensive, but with the Nanlite, you can now get a Fresnel for a ridiculously low price, and thanks to the Bowens mount, you can easily fit it to most strobes out there. So, if you want a great high contrast and high output light shaper make sure to check out the Nanlite Fresnel. (Or any other Fresnel, of course).

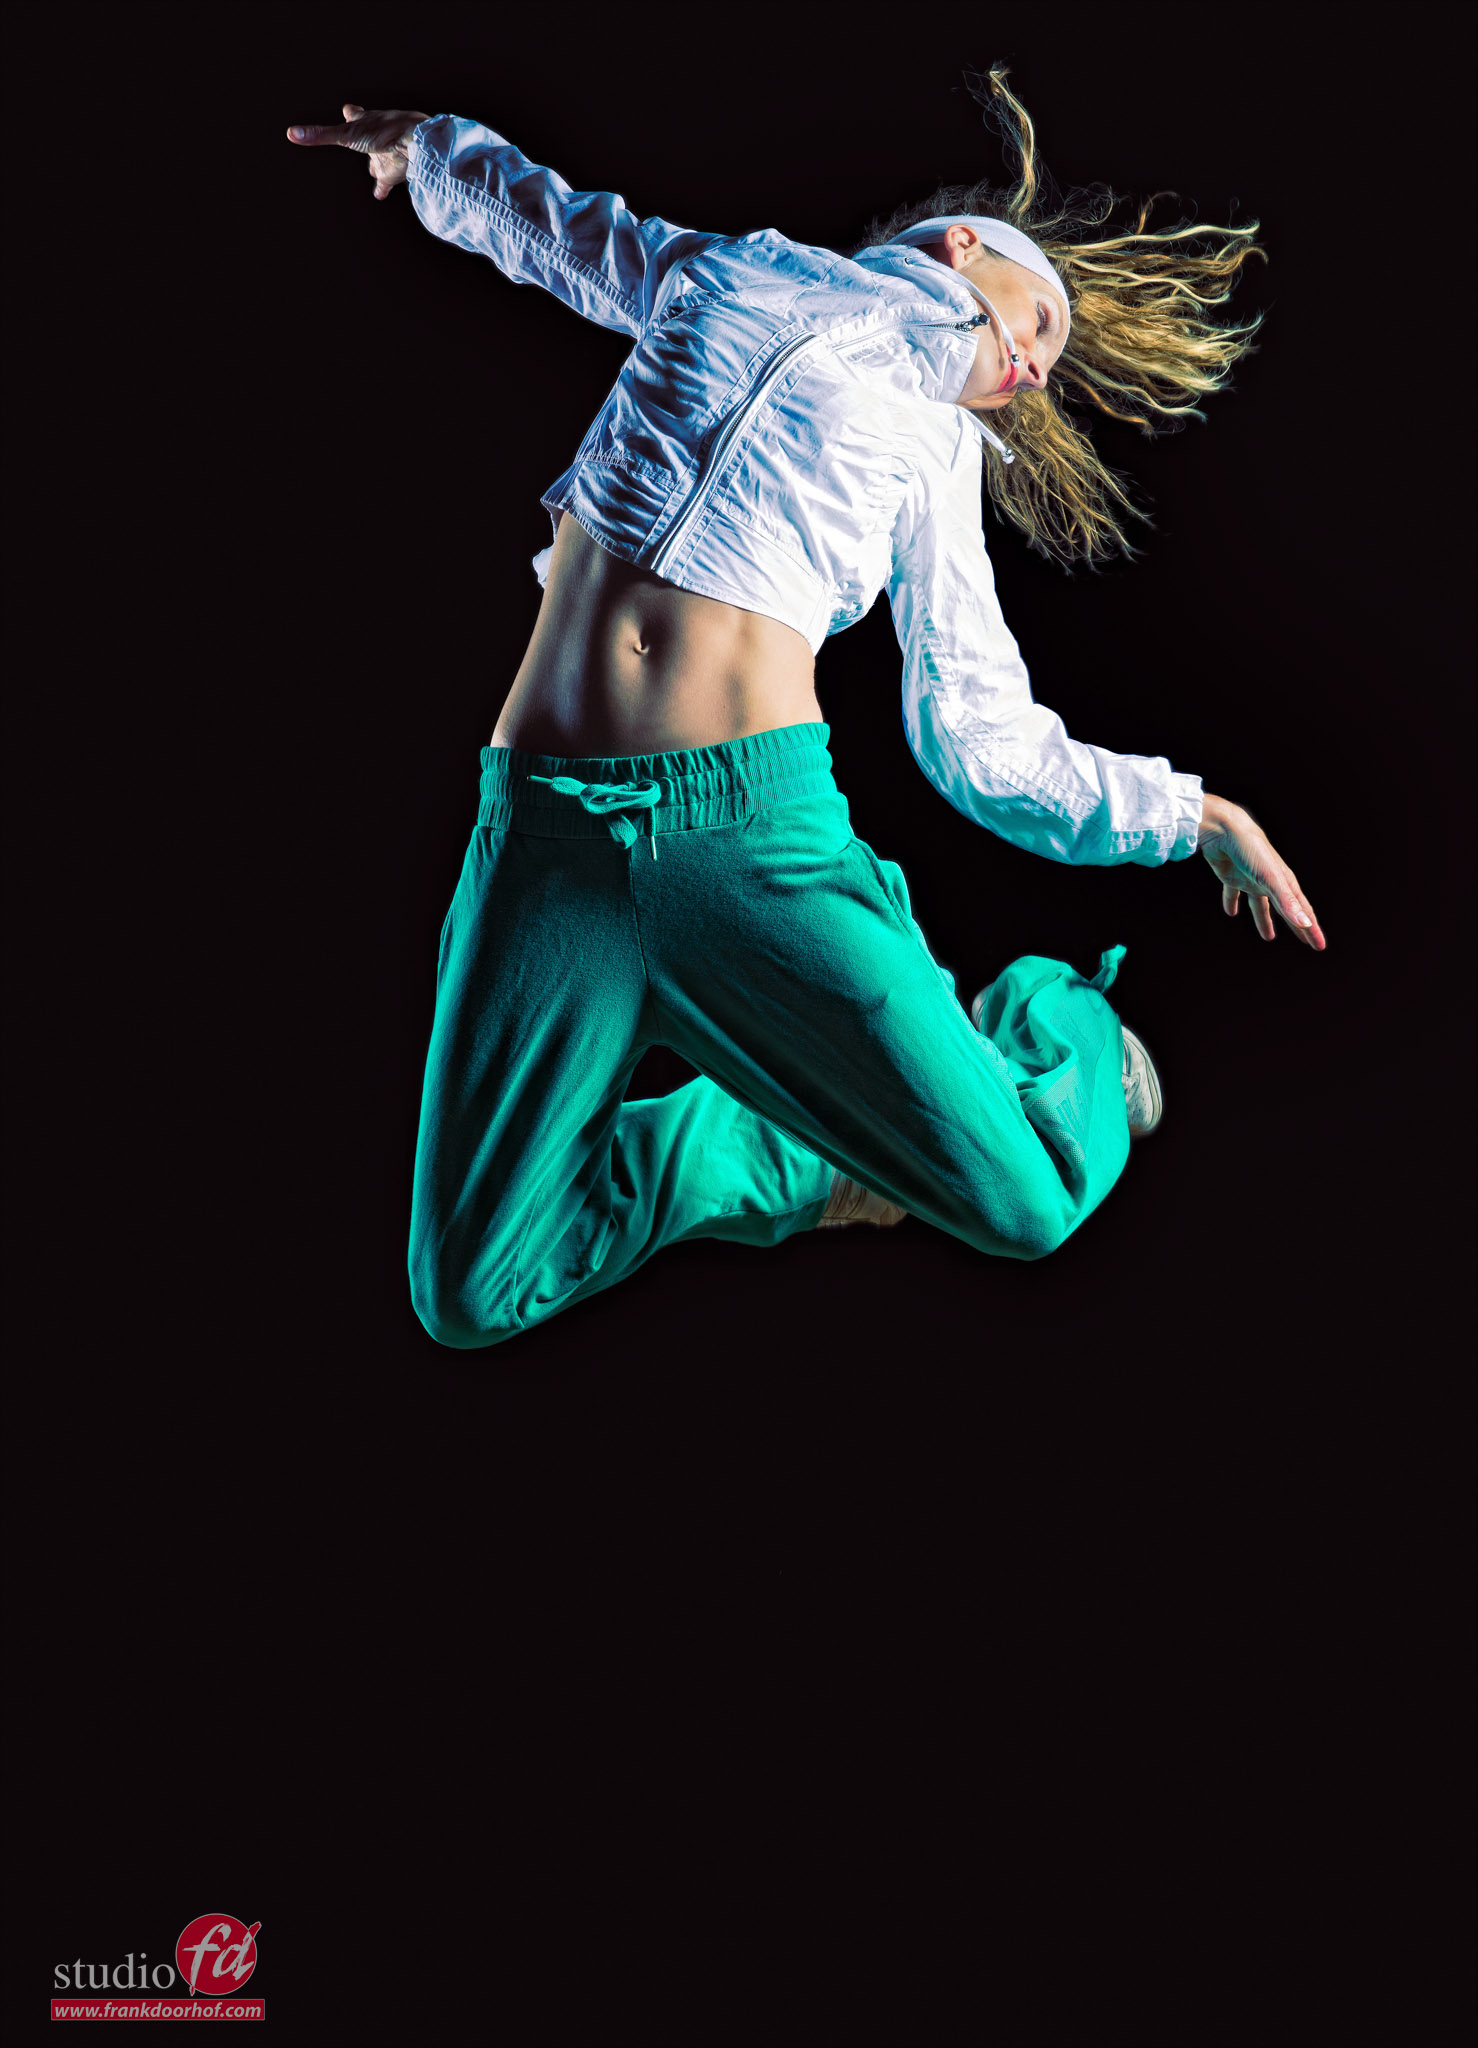
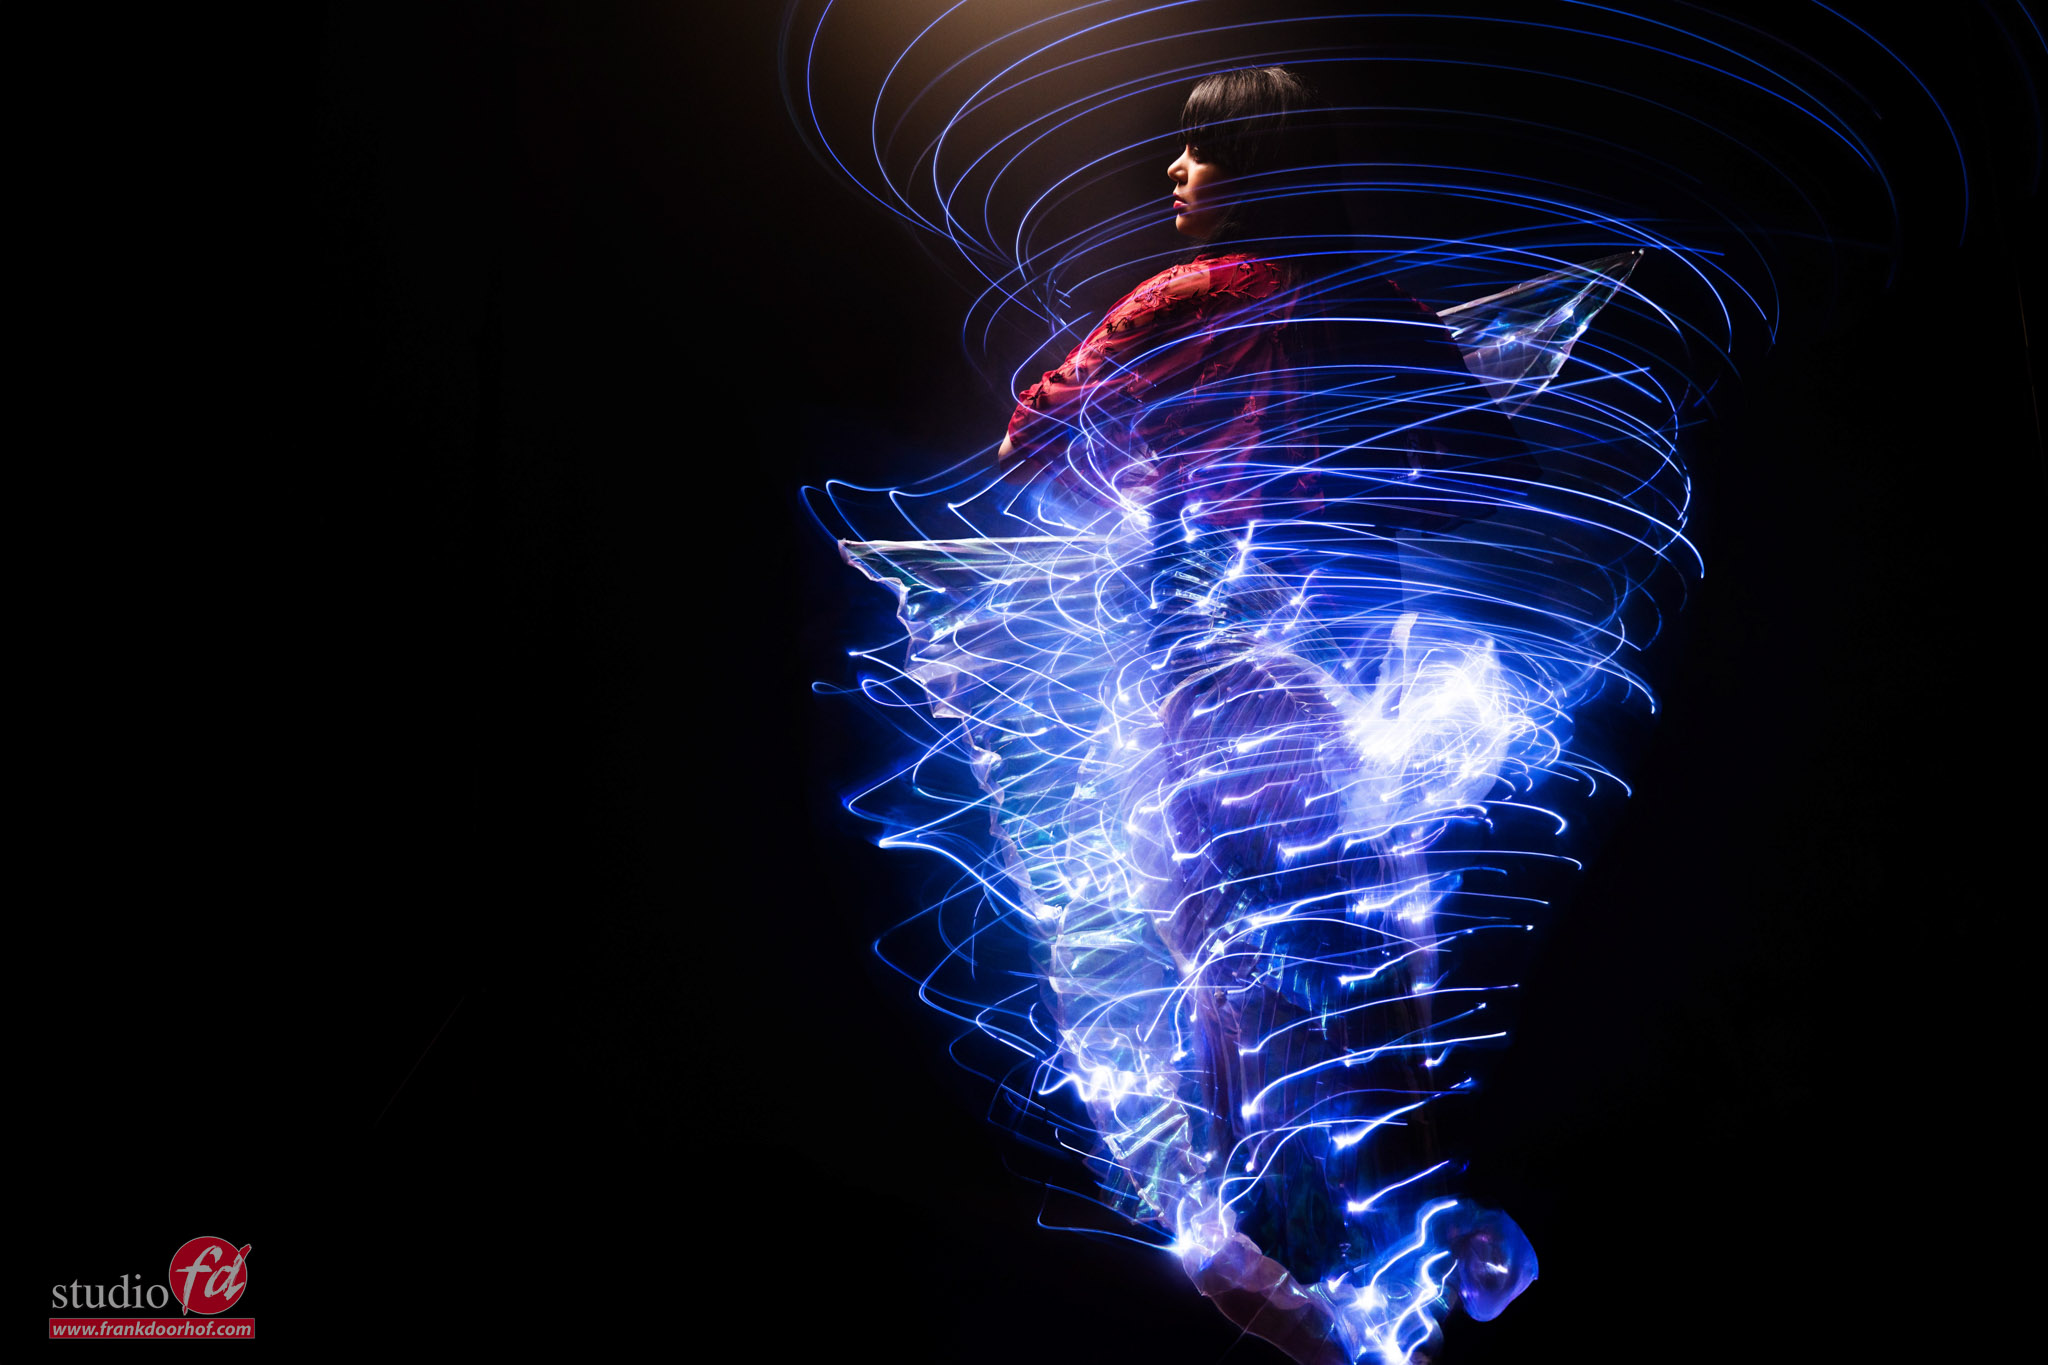
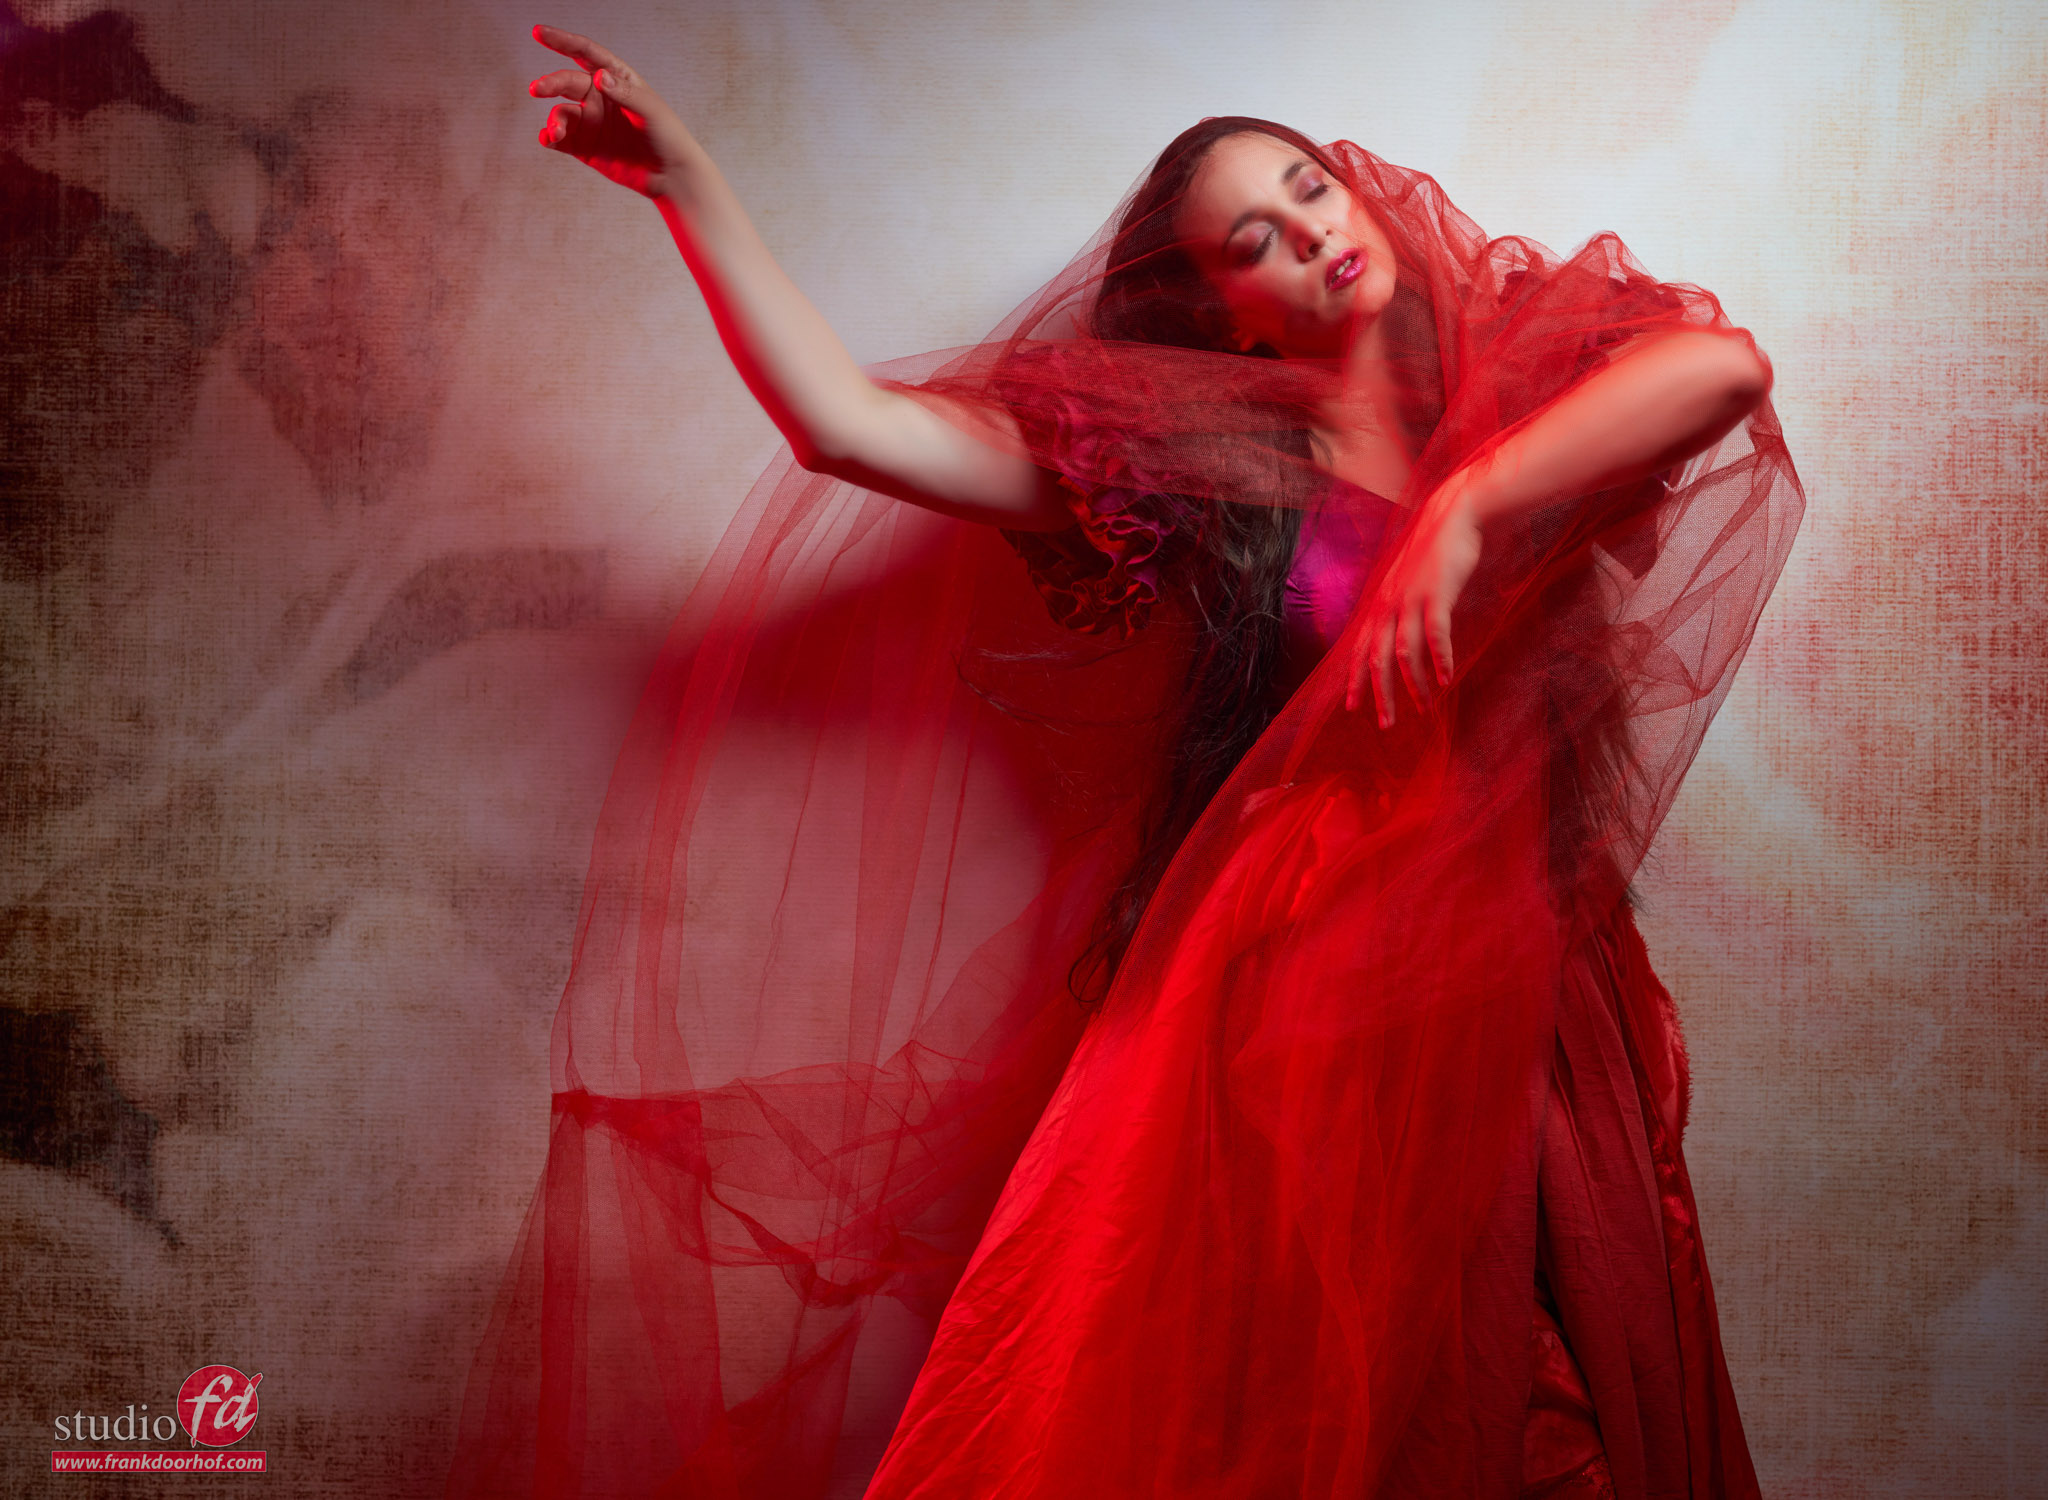
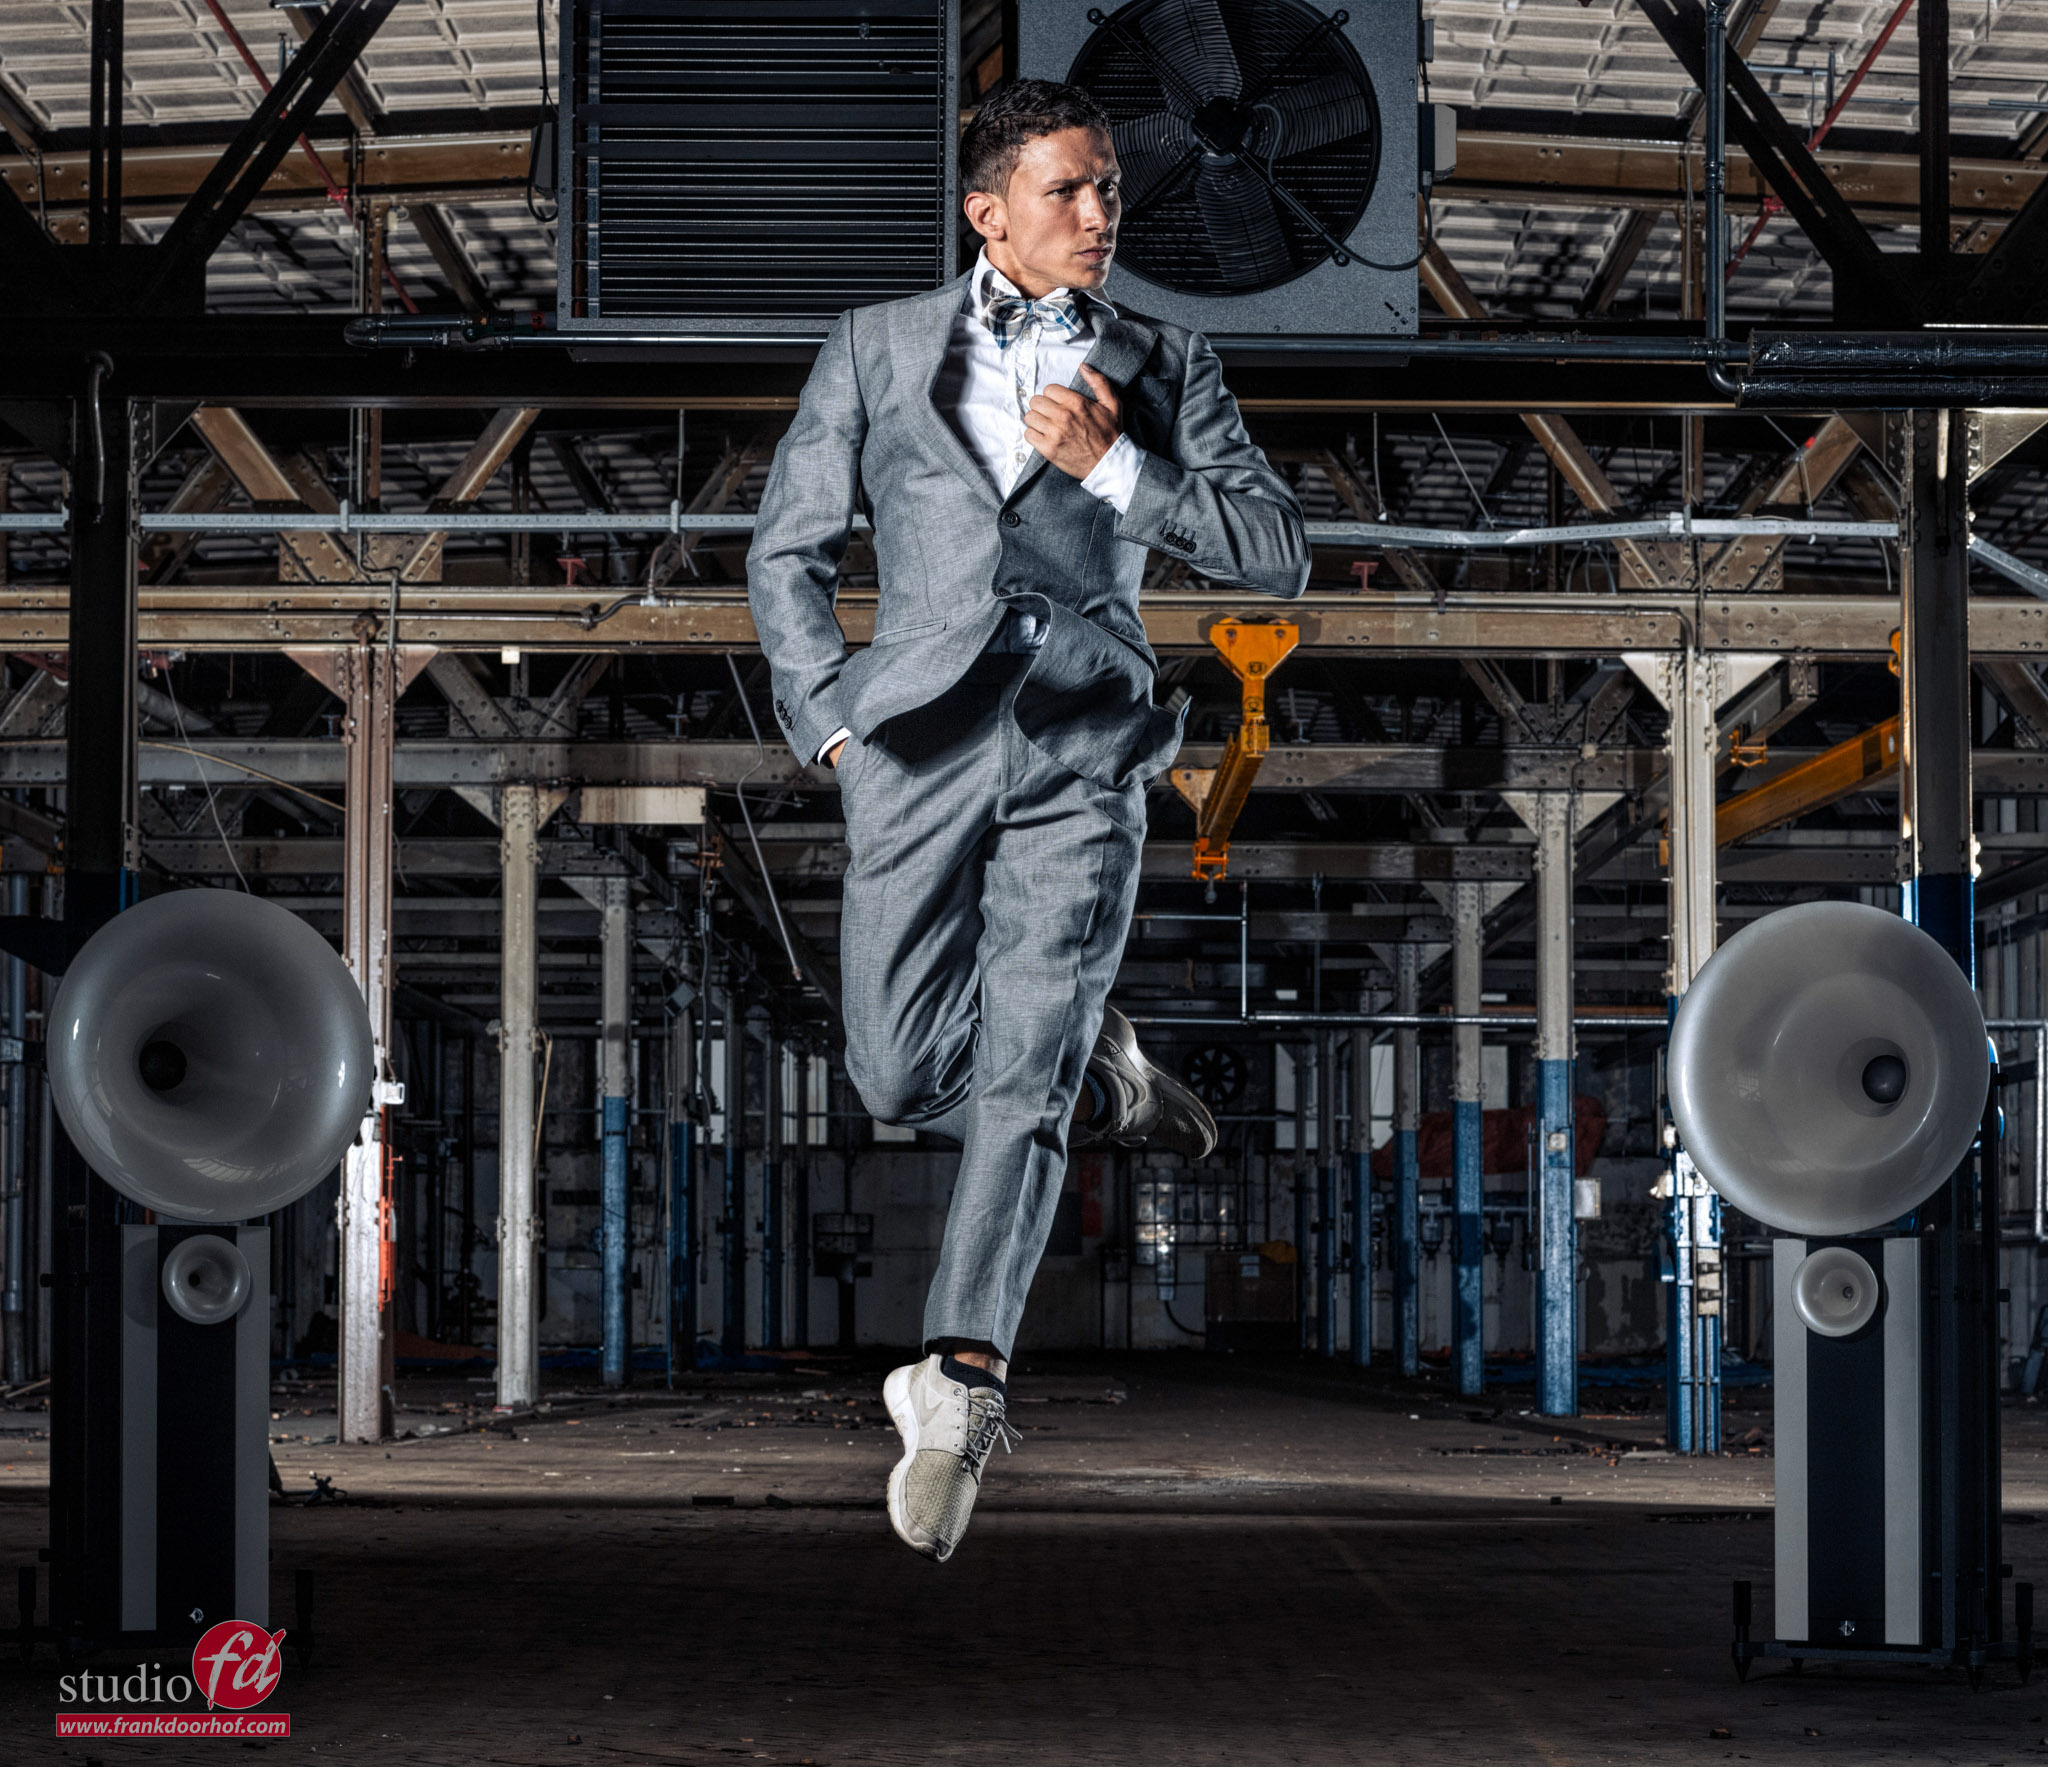
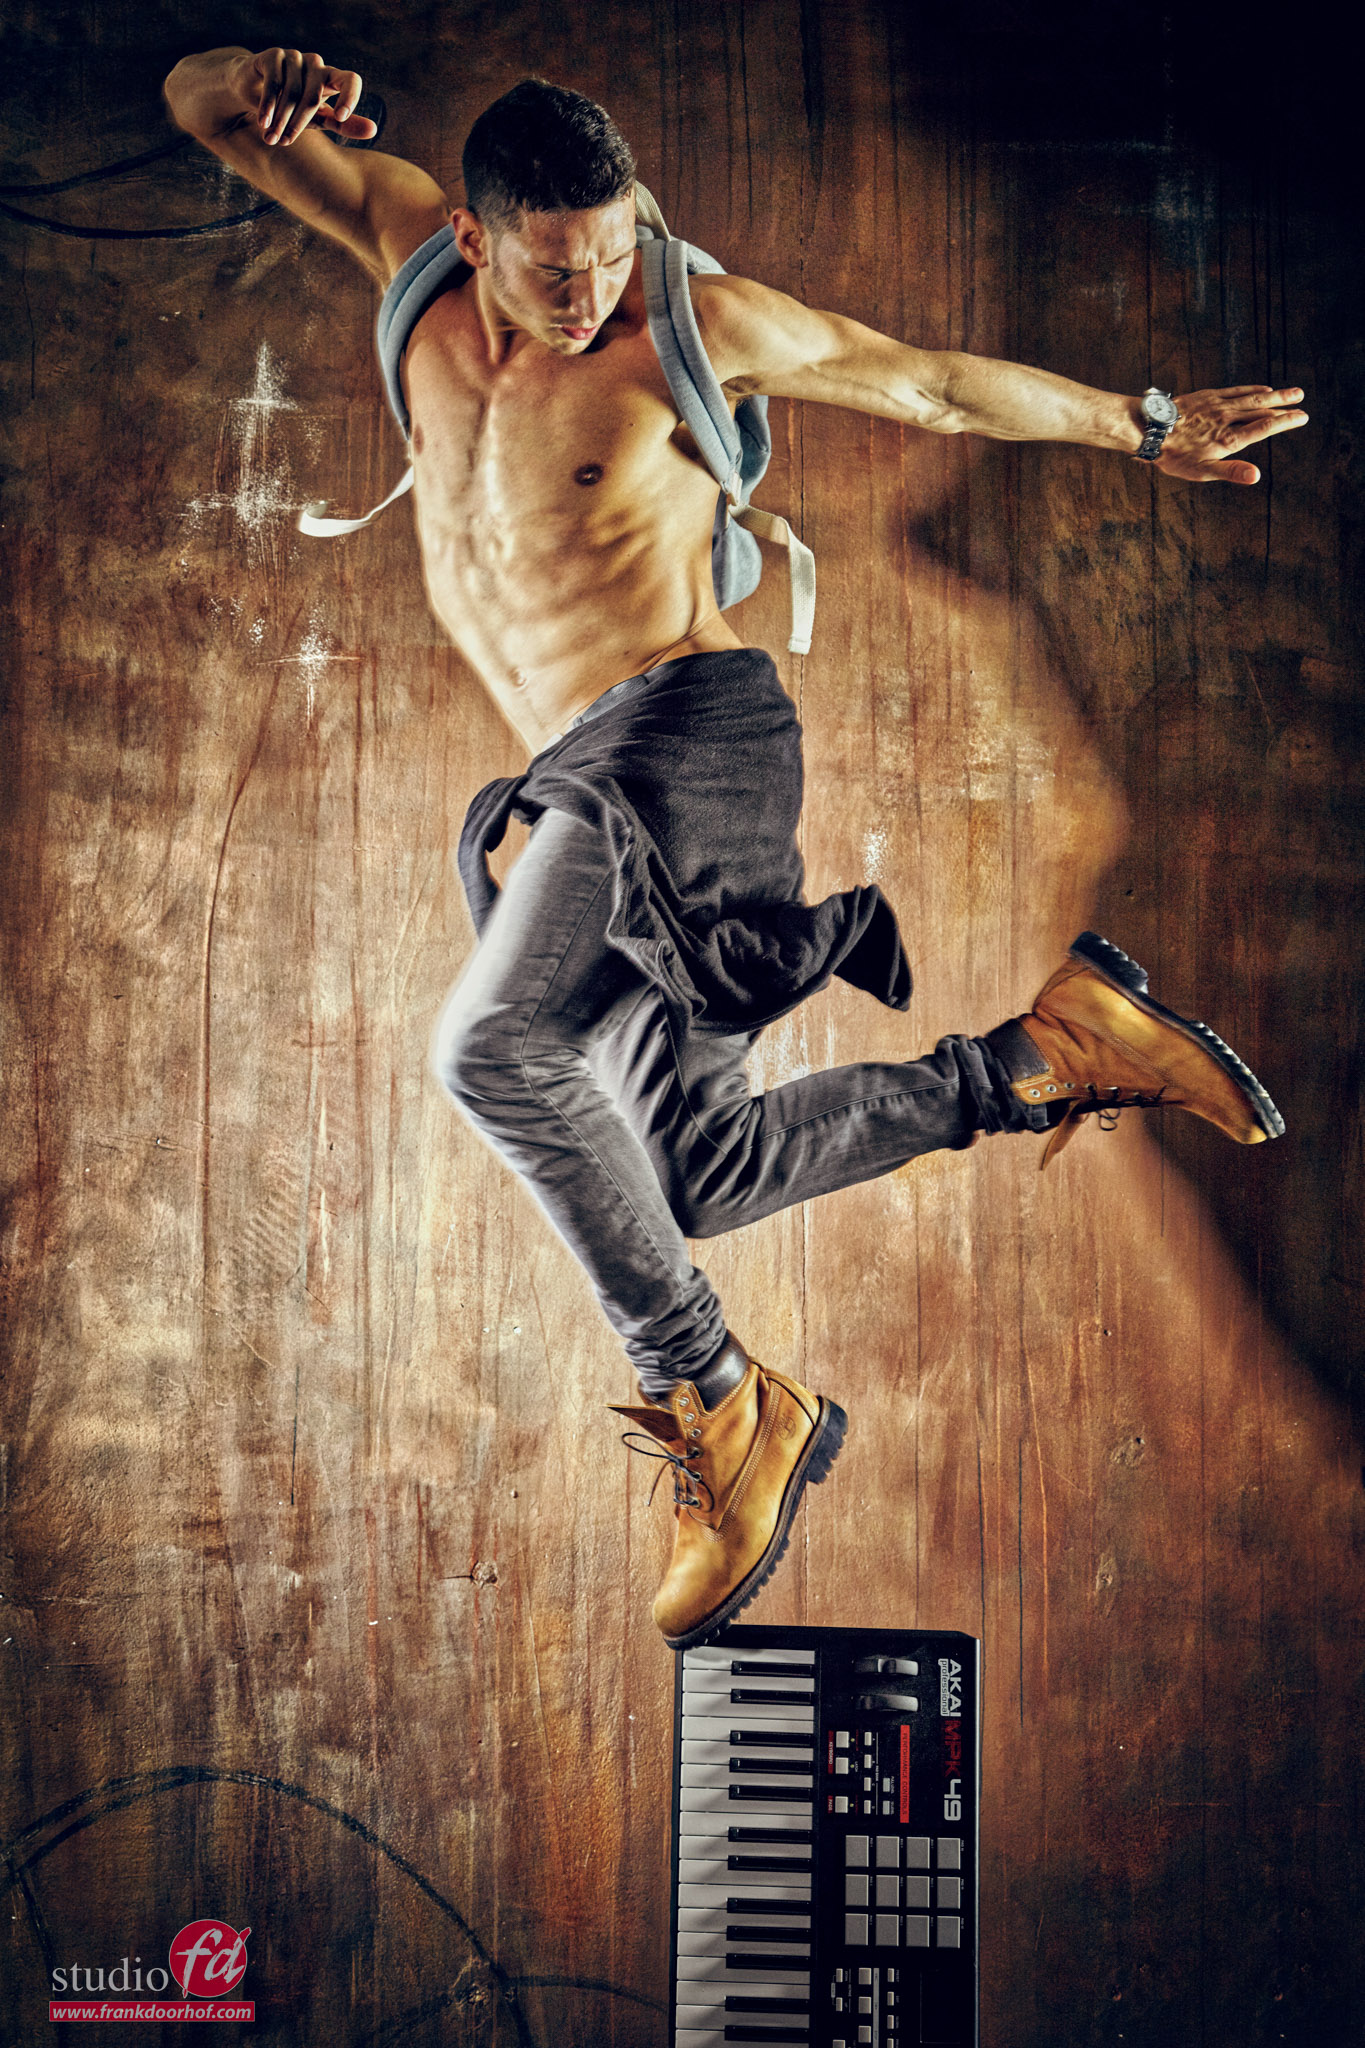
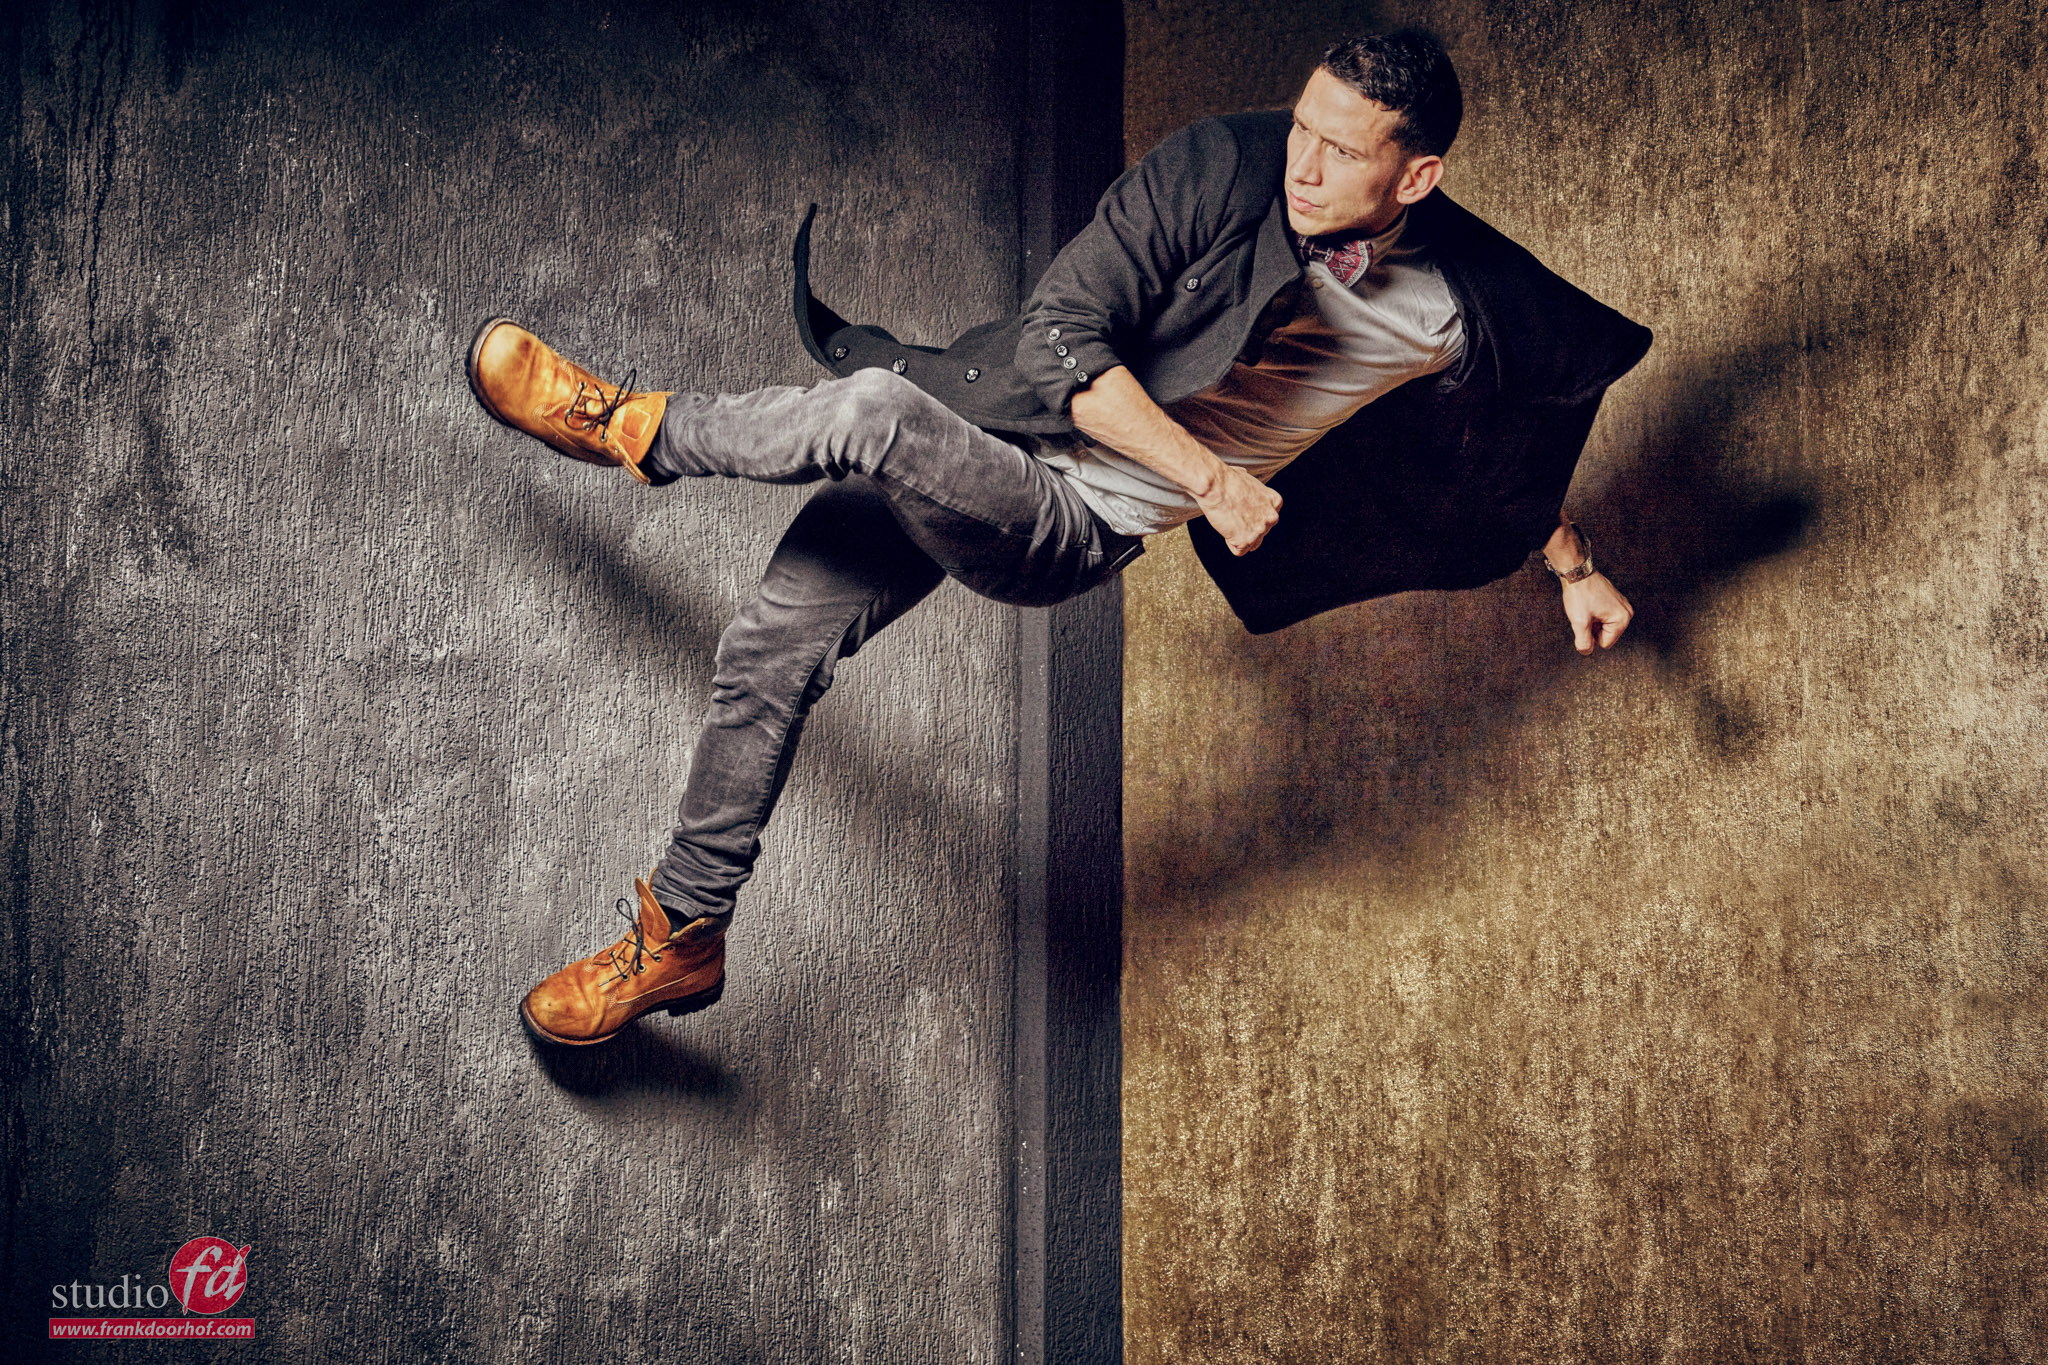
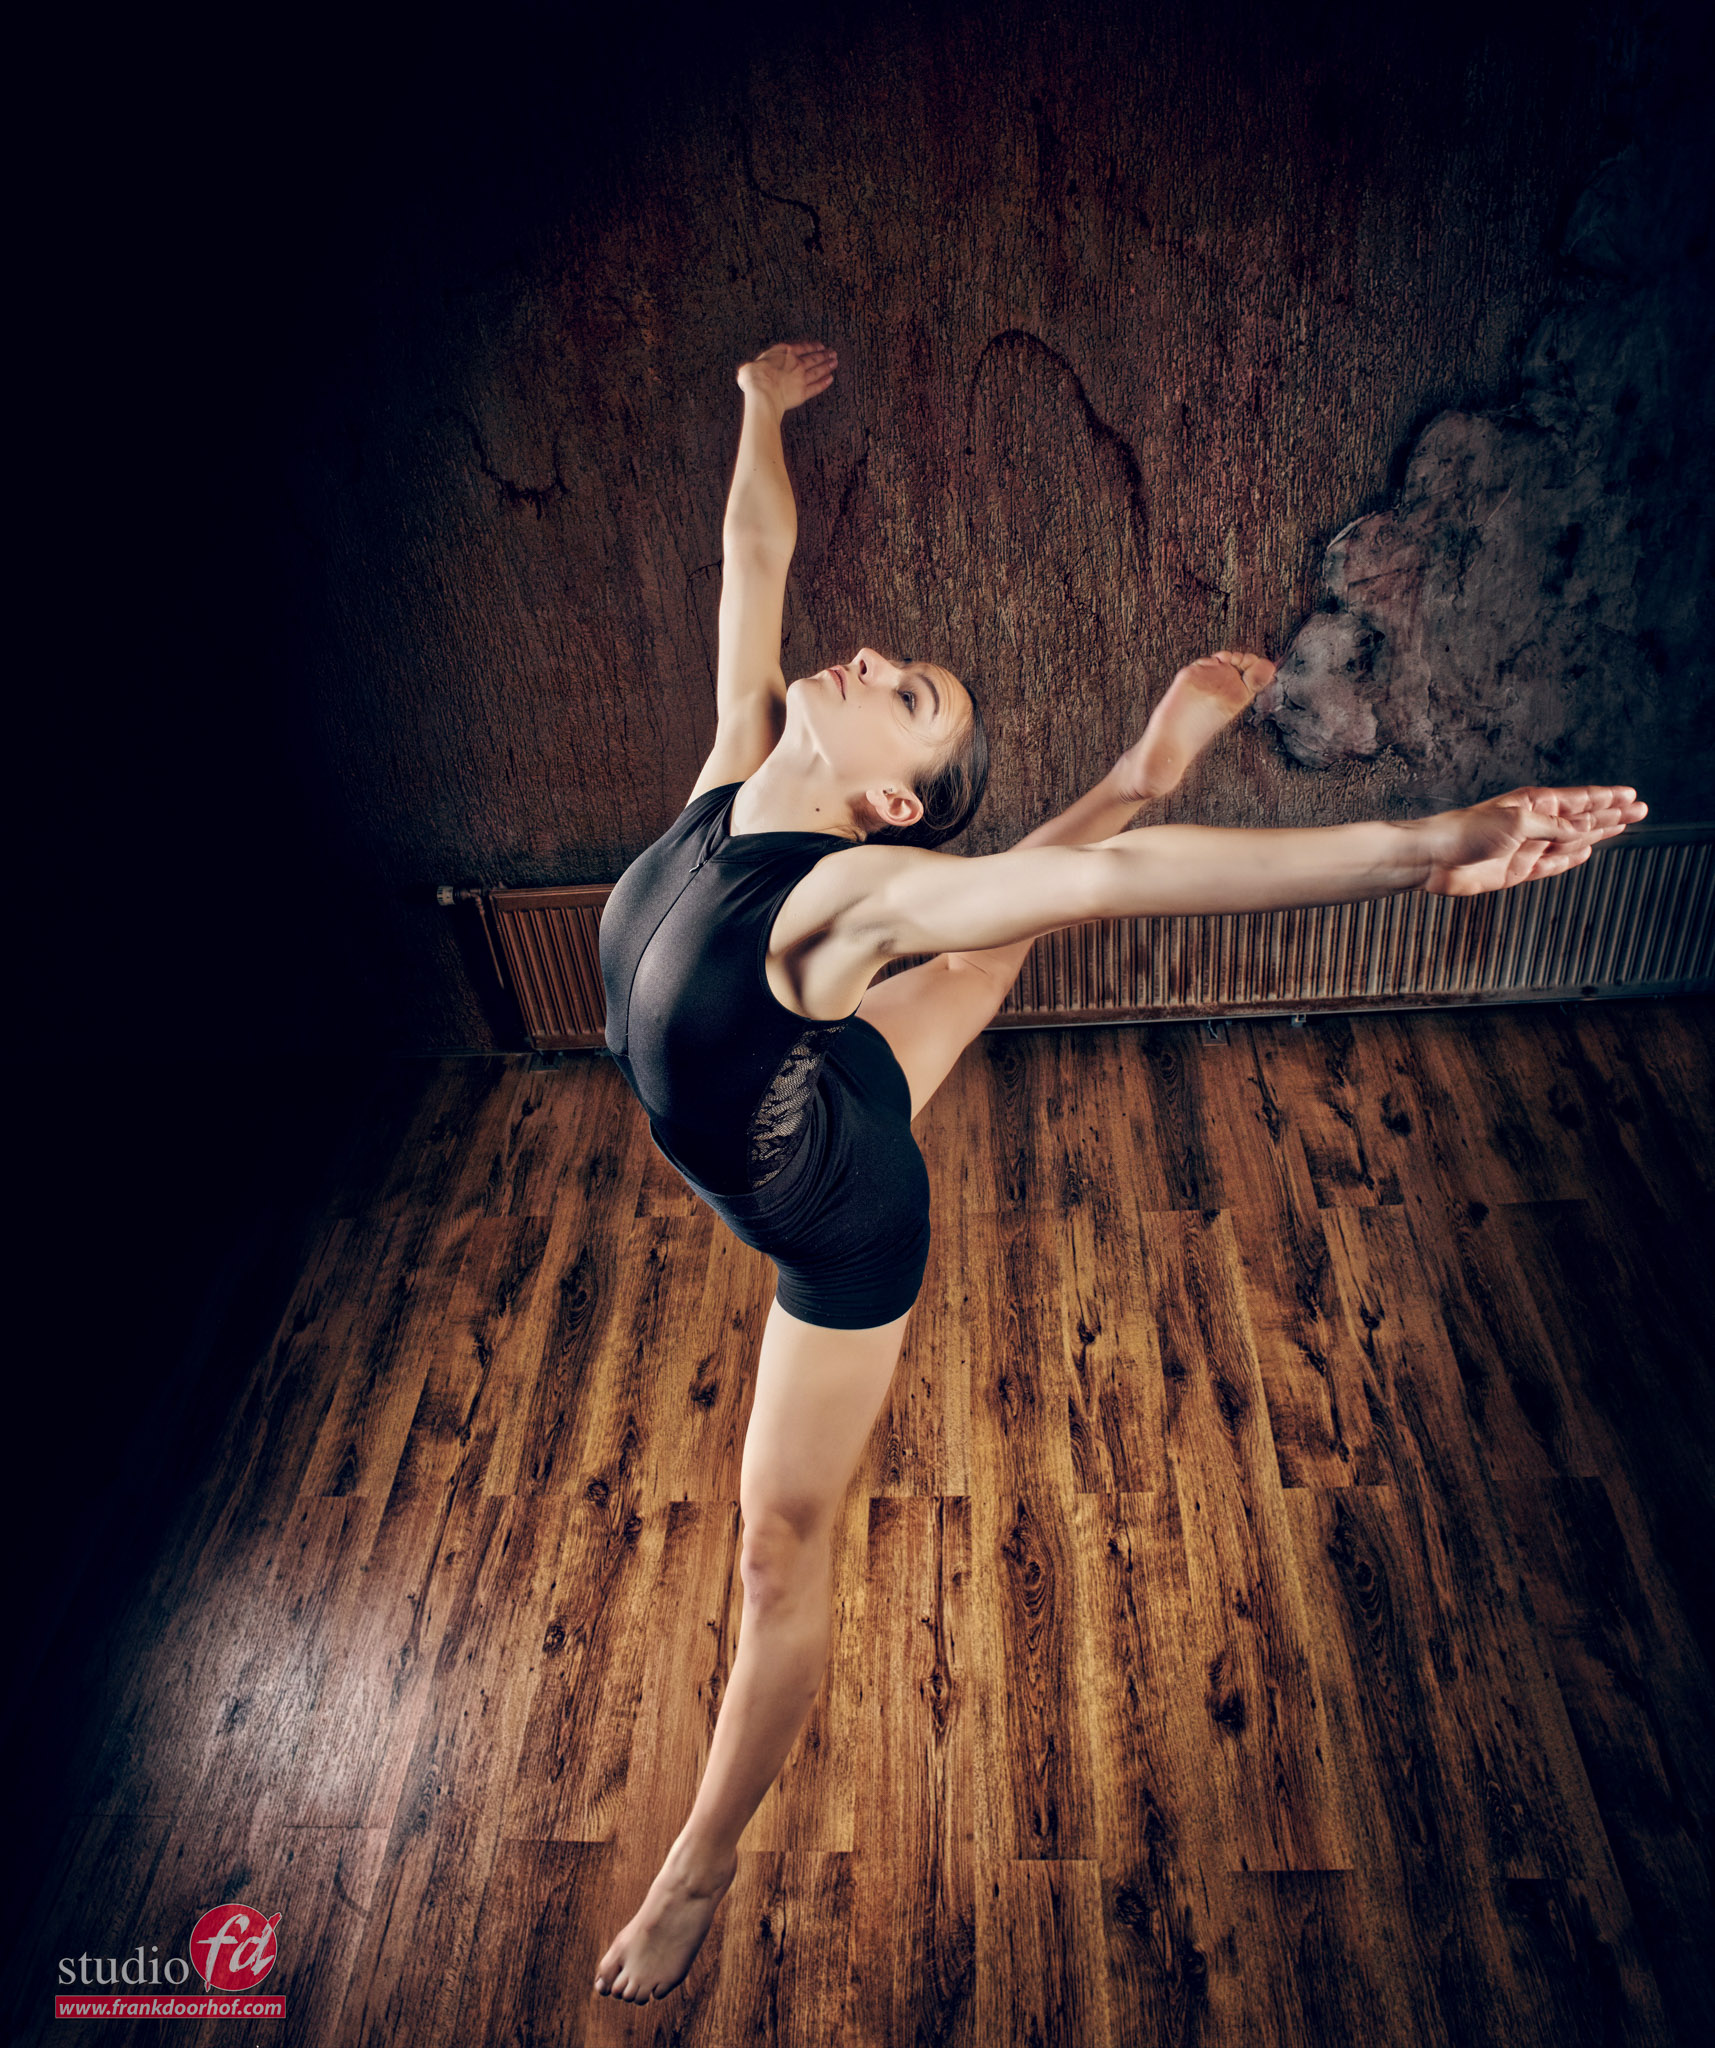
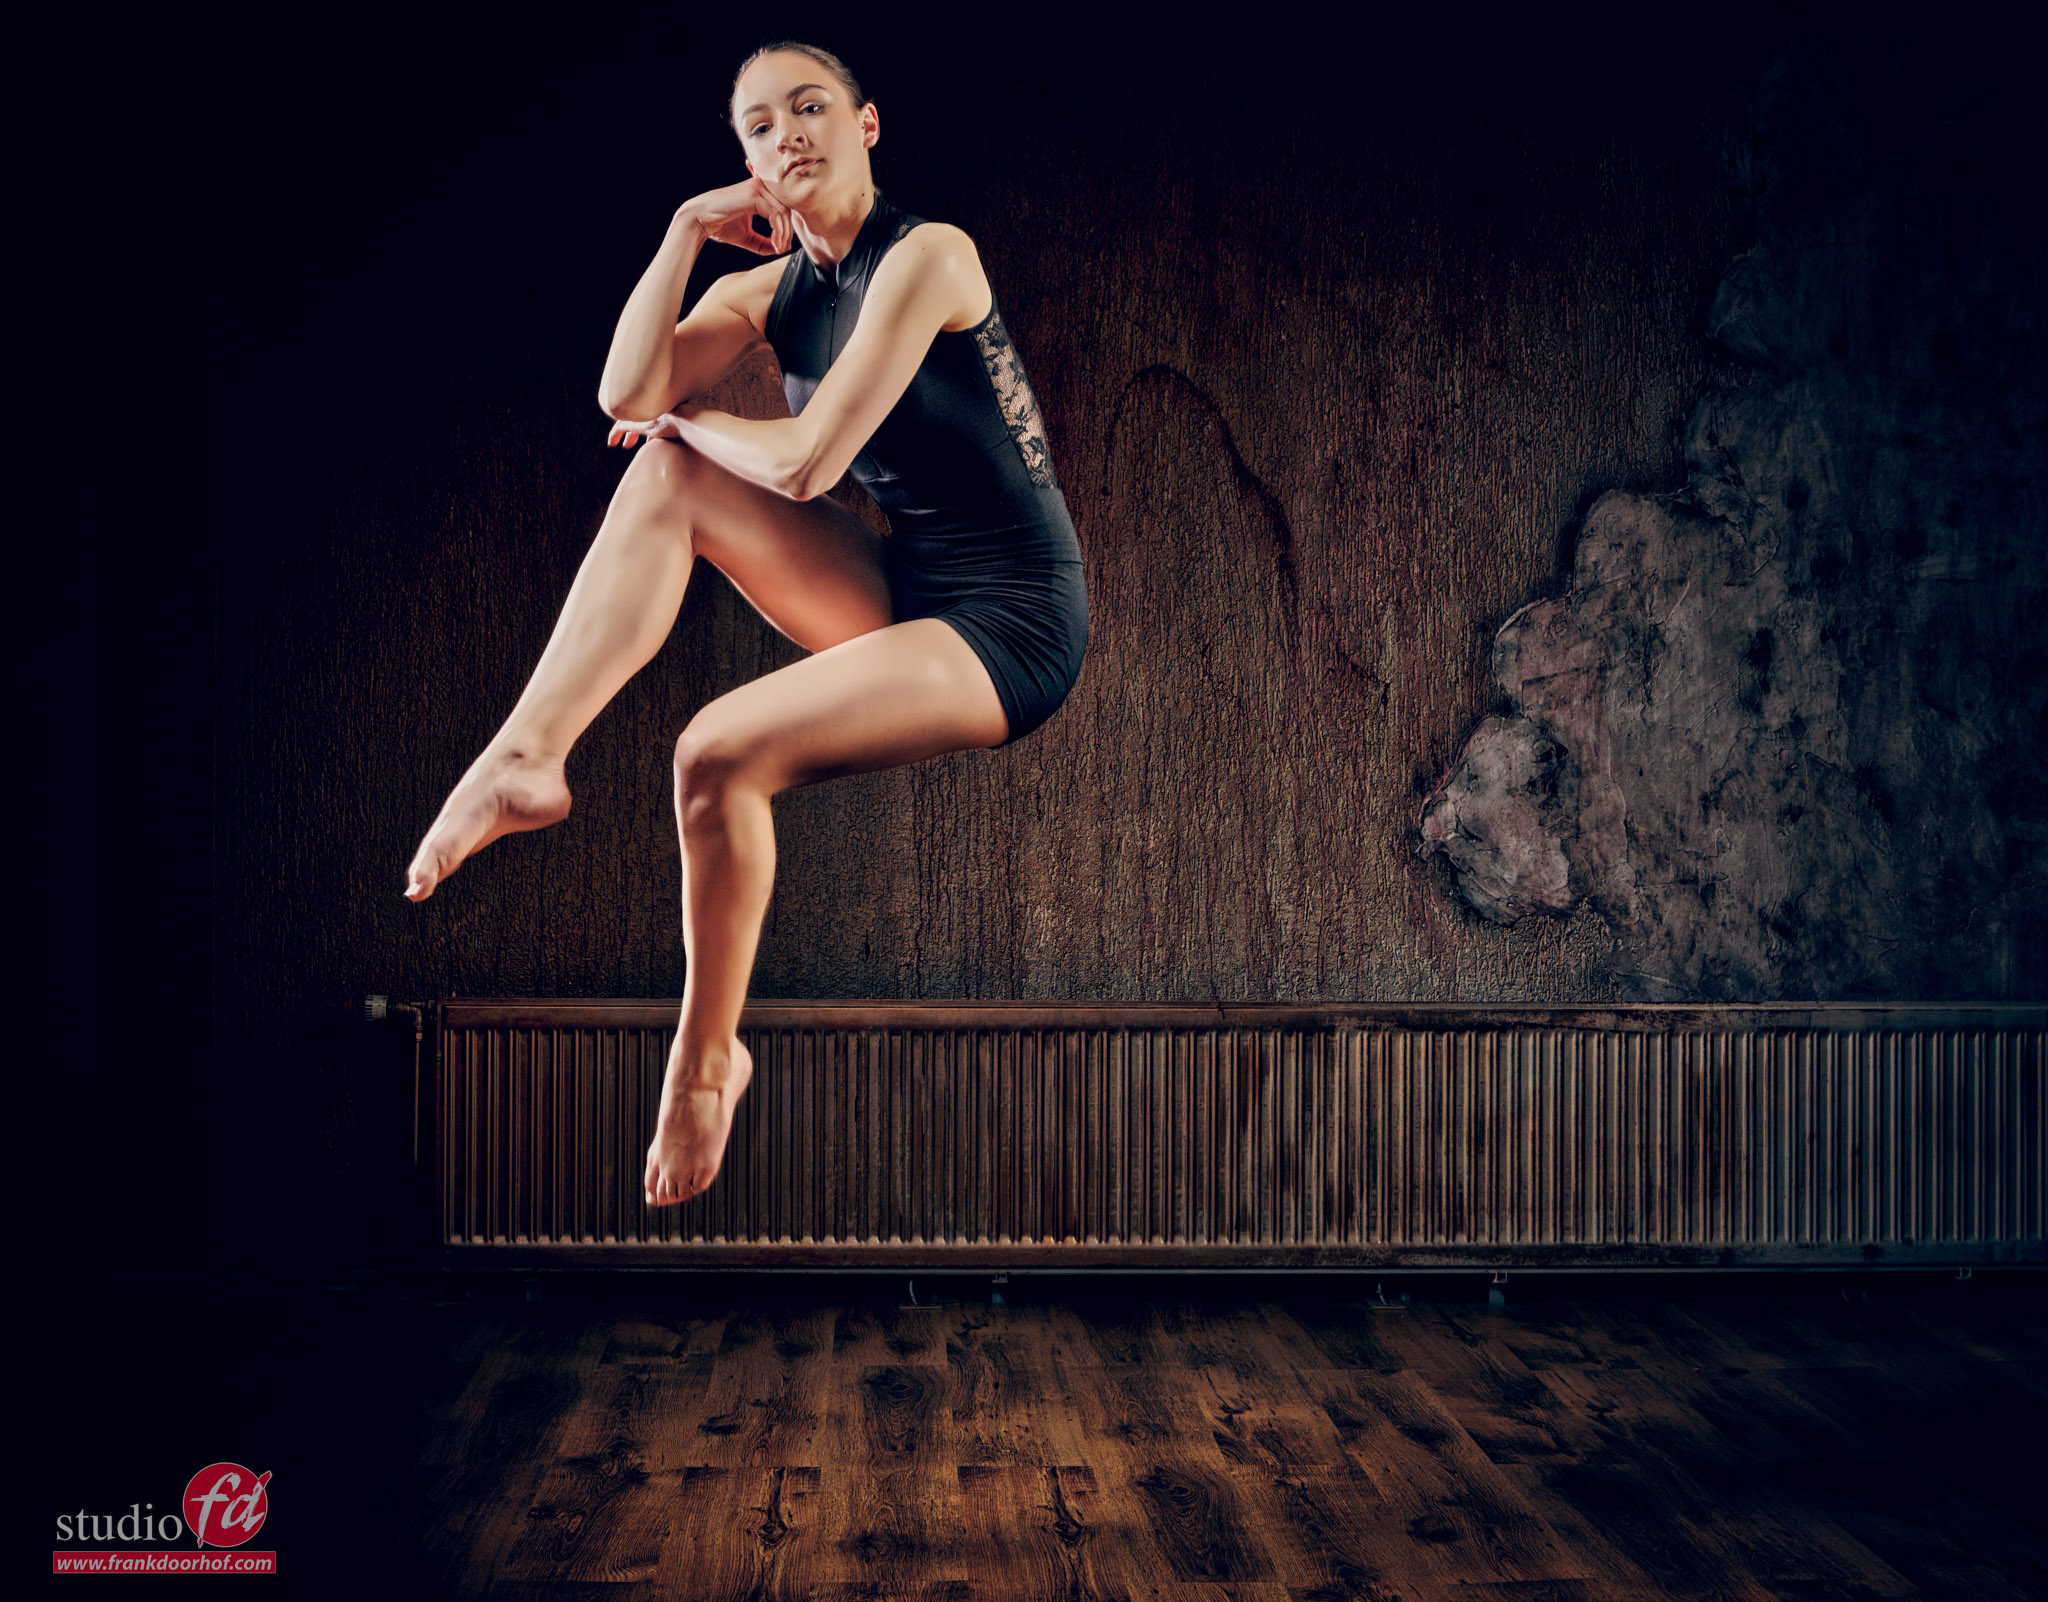
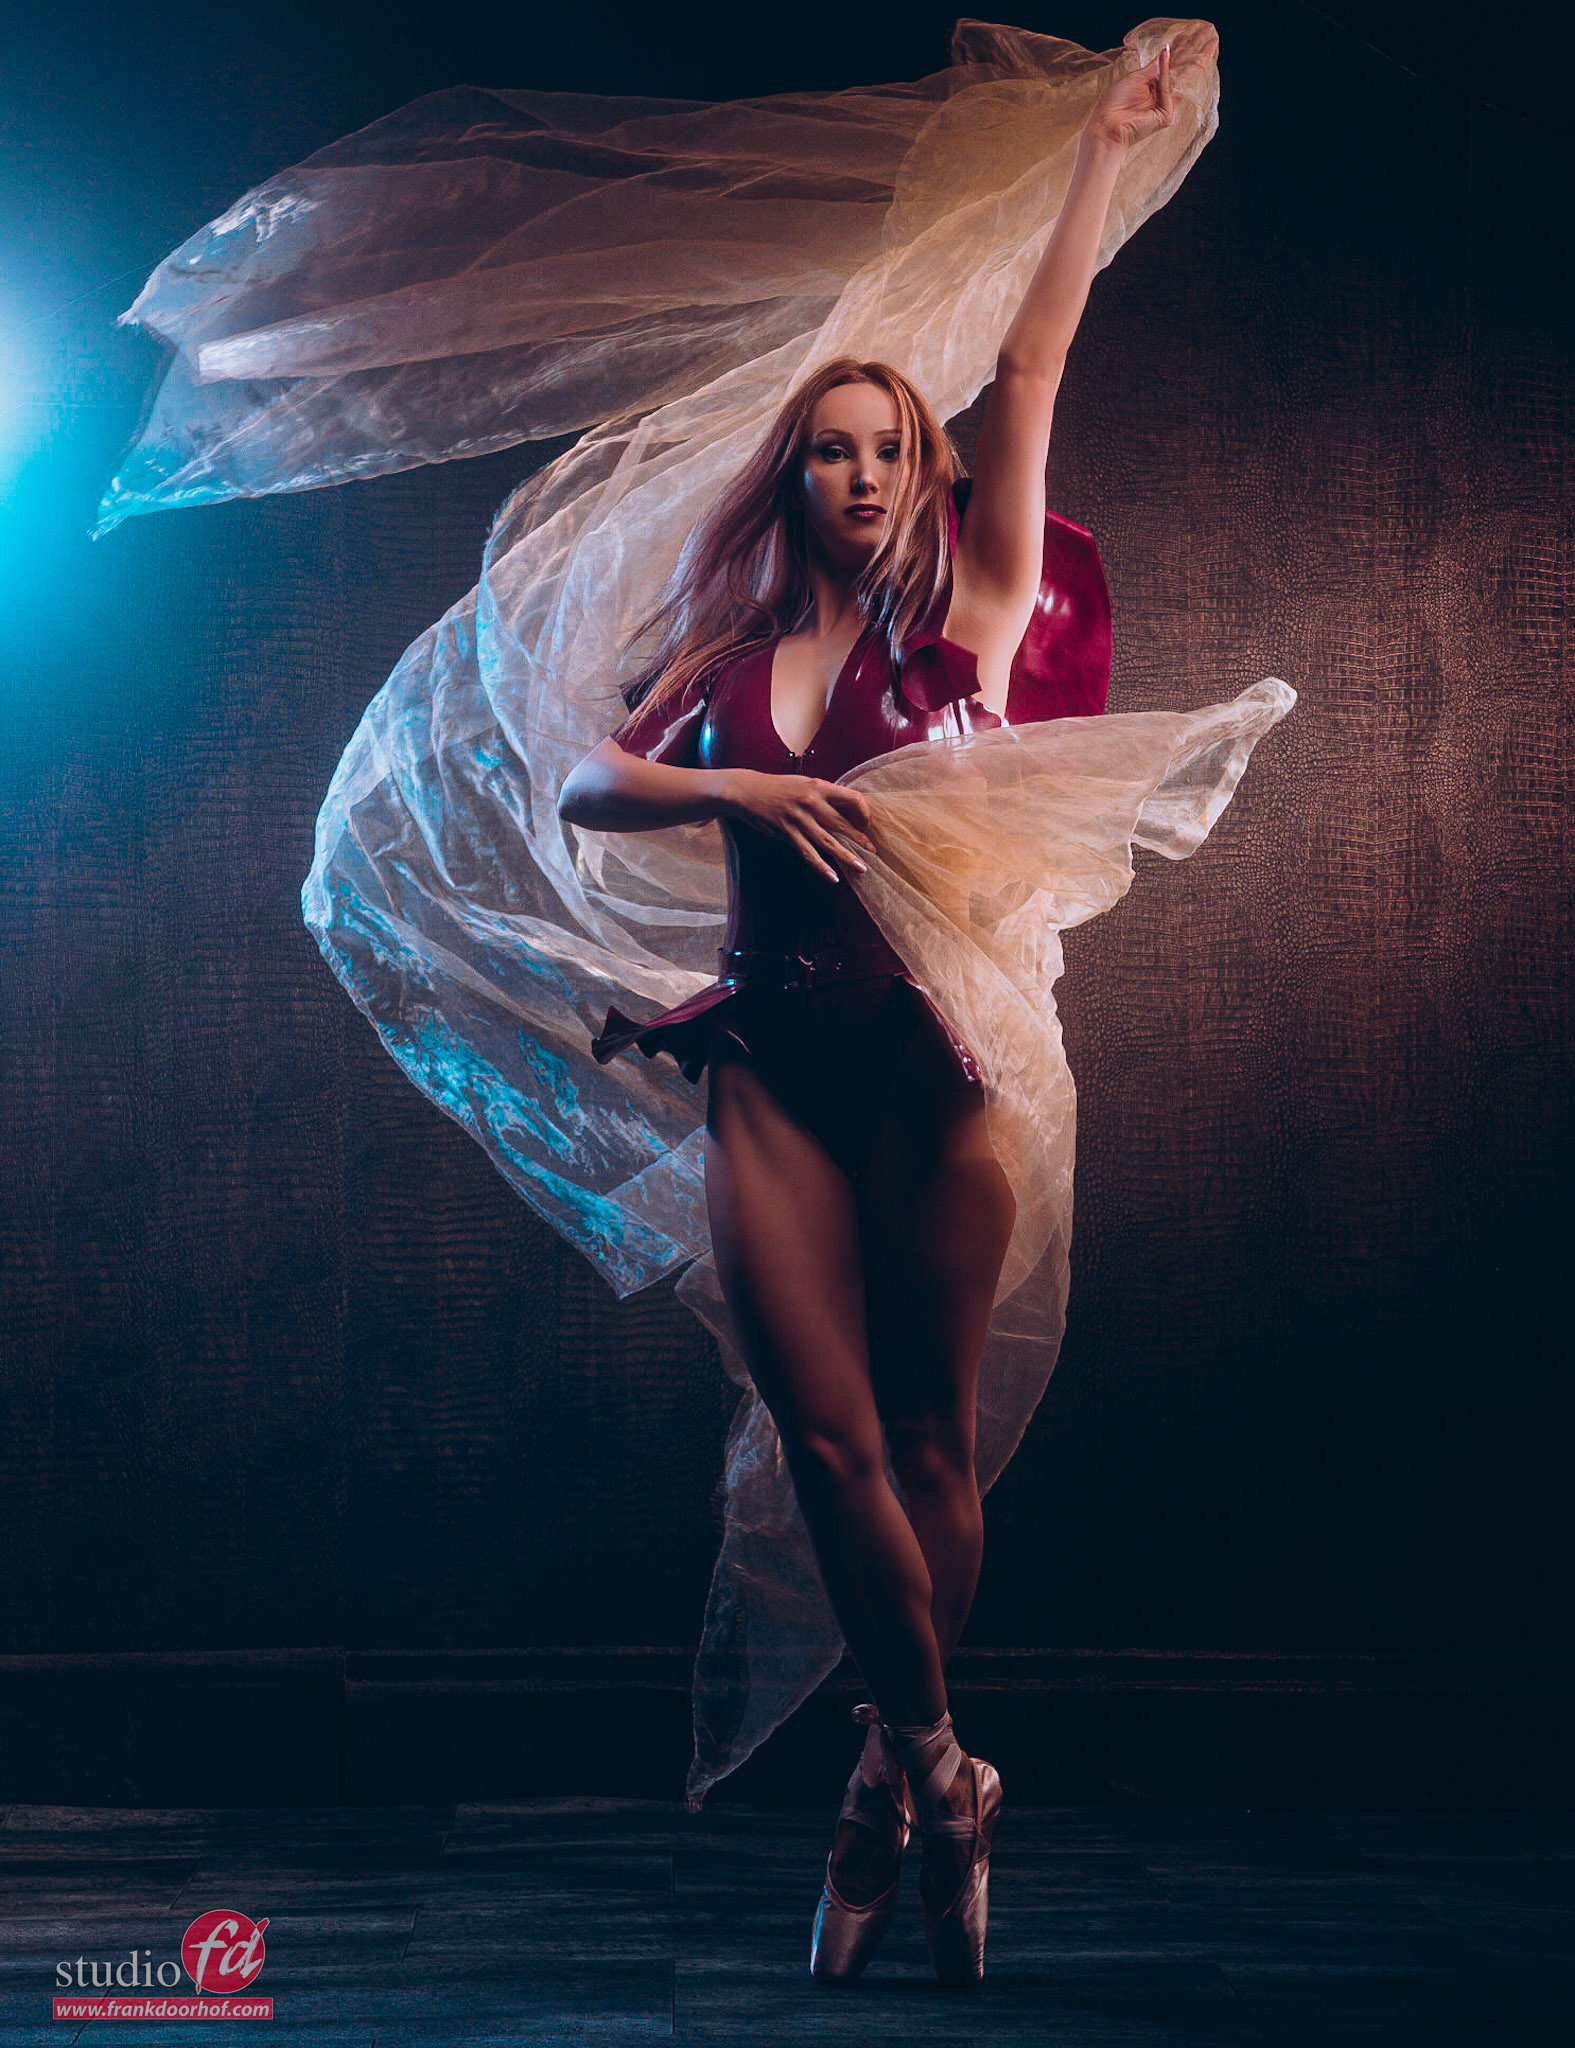
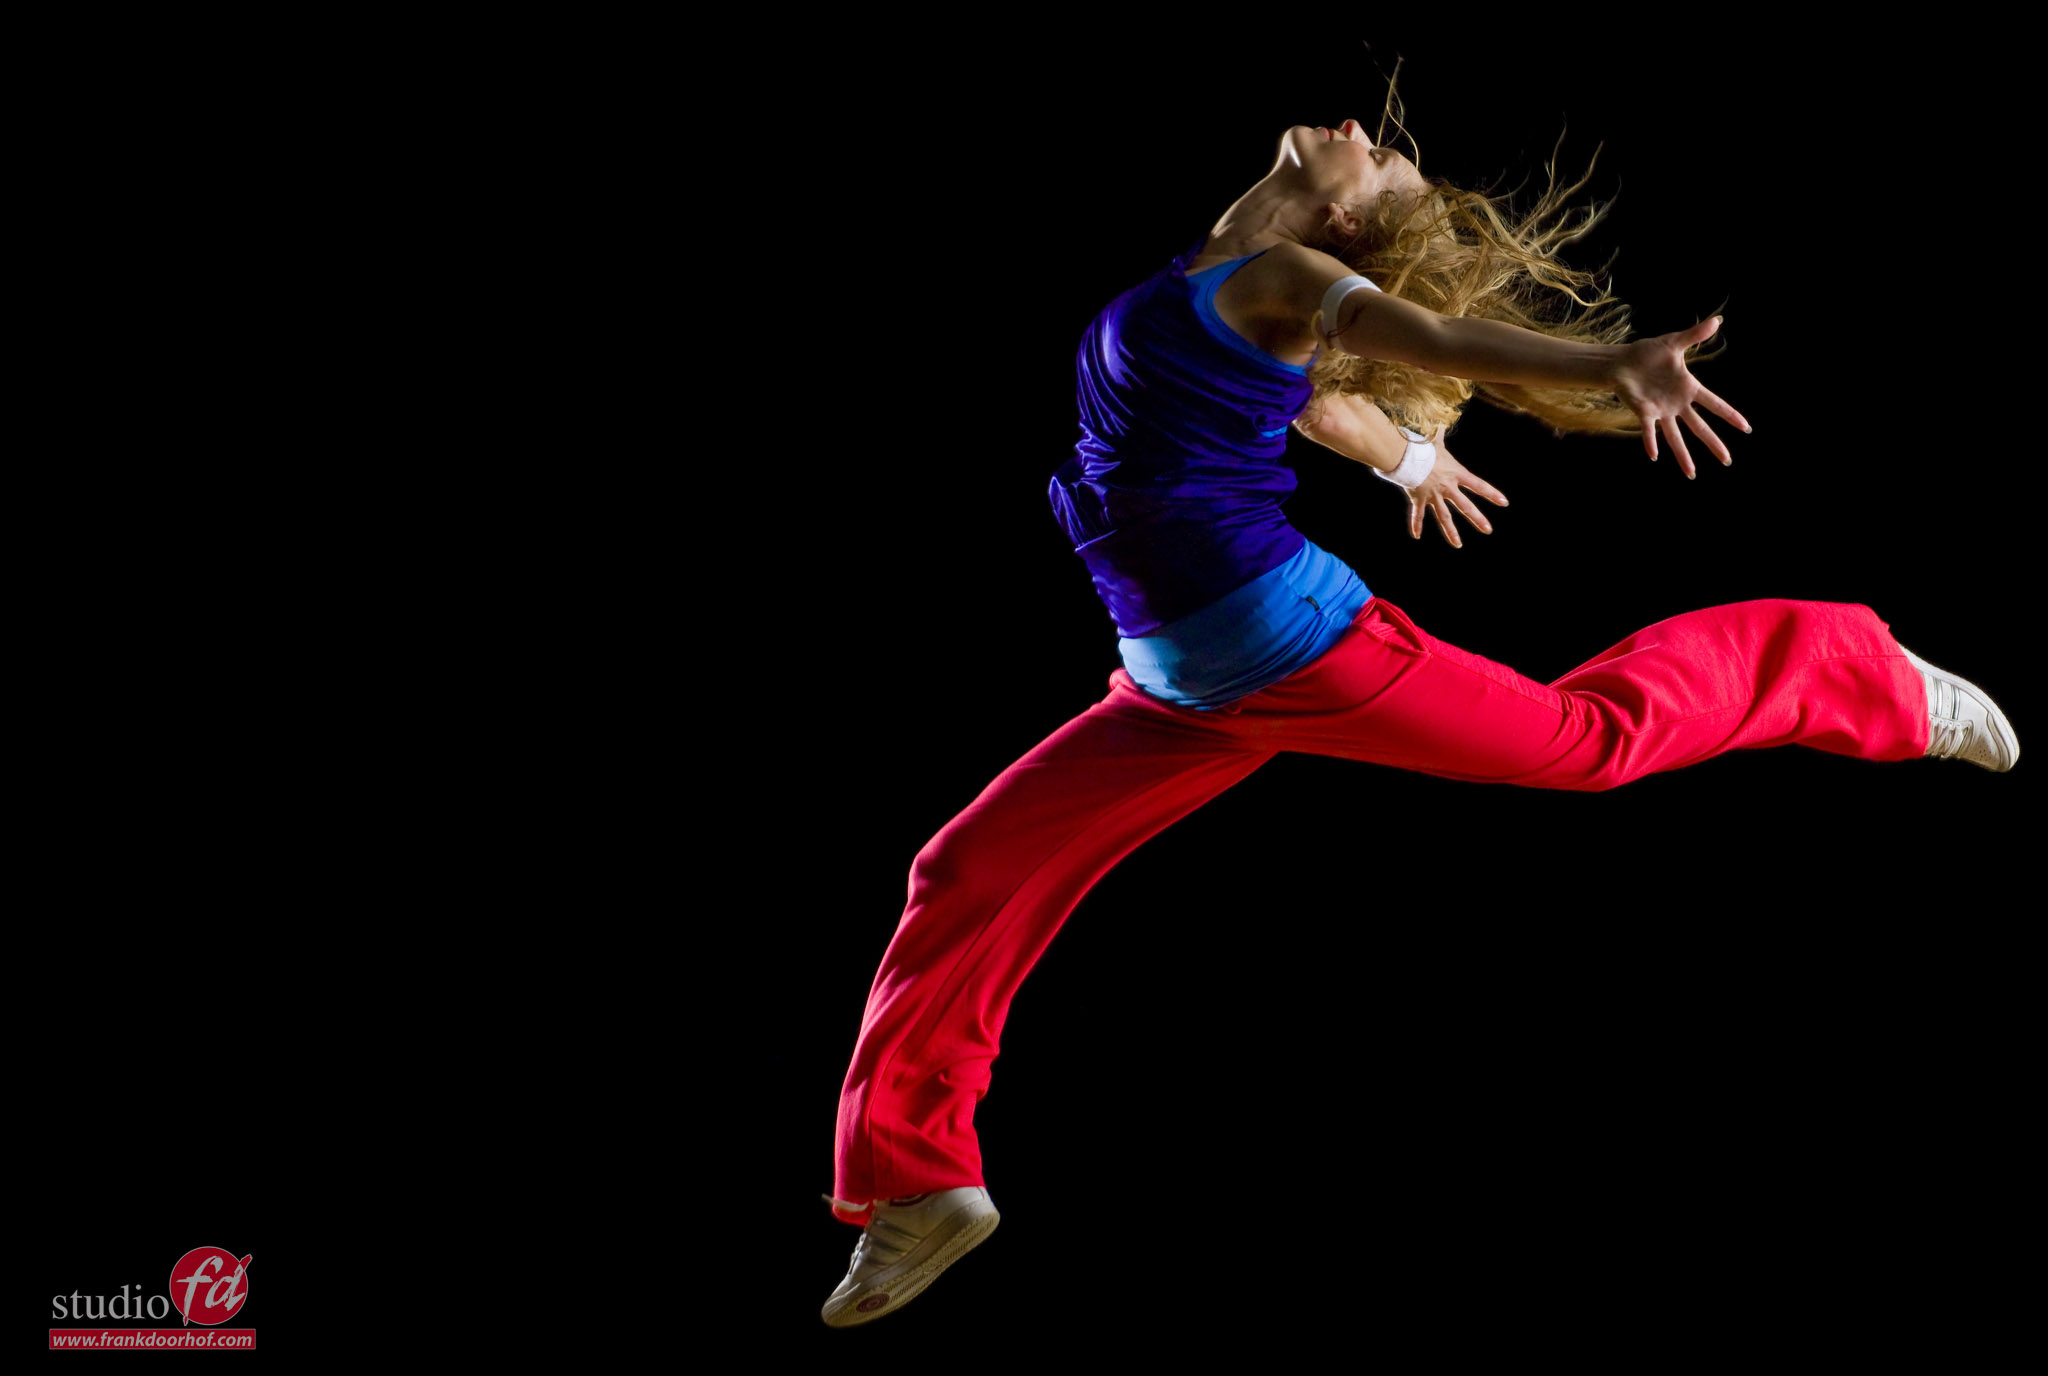
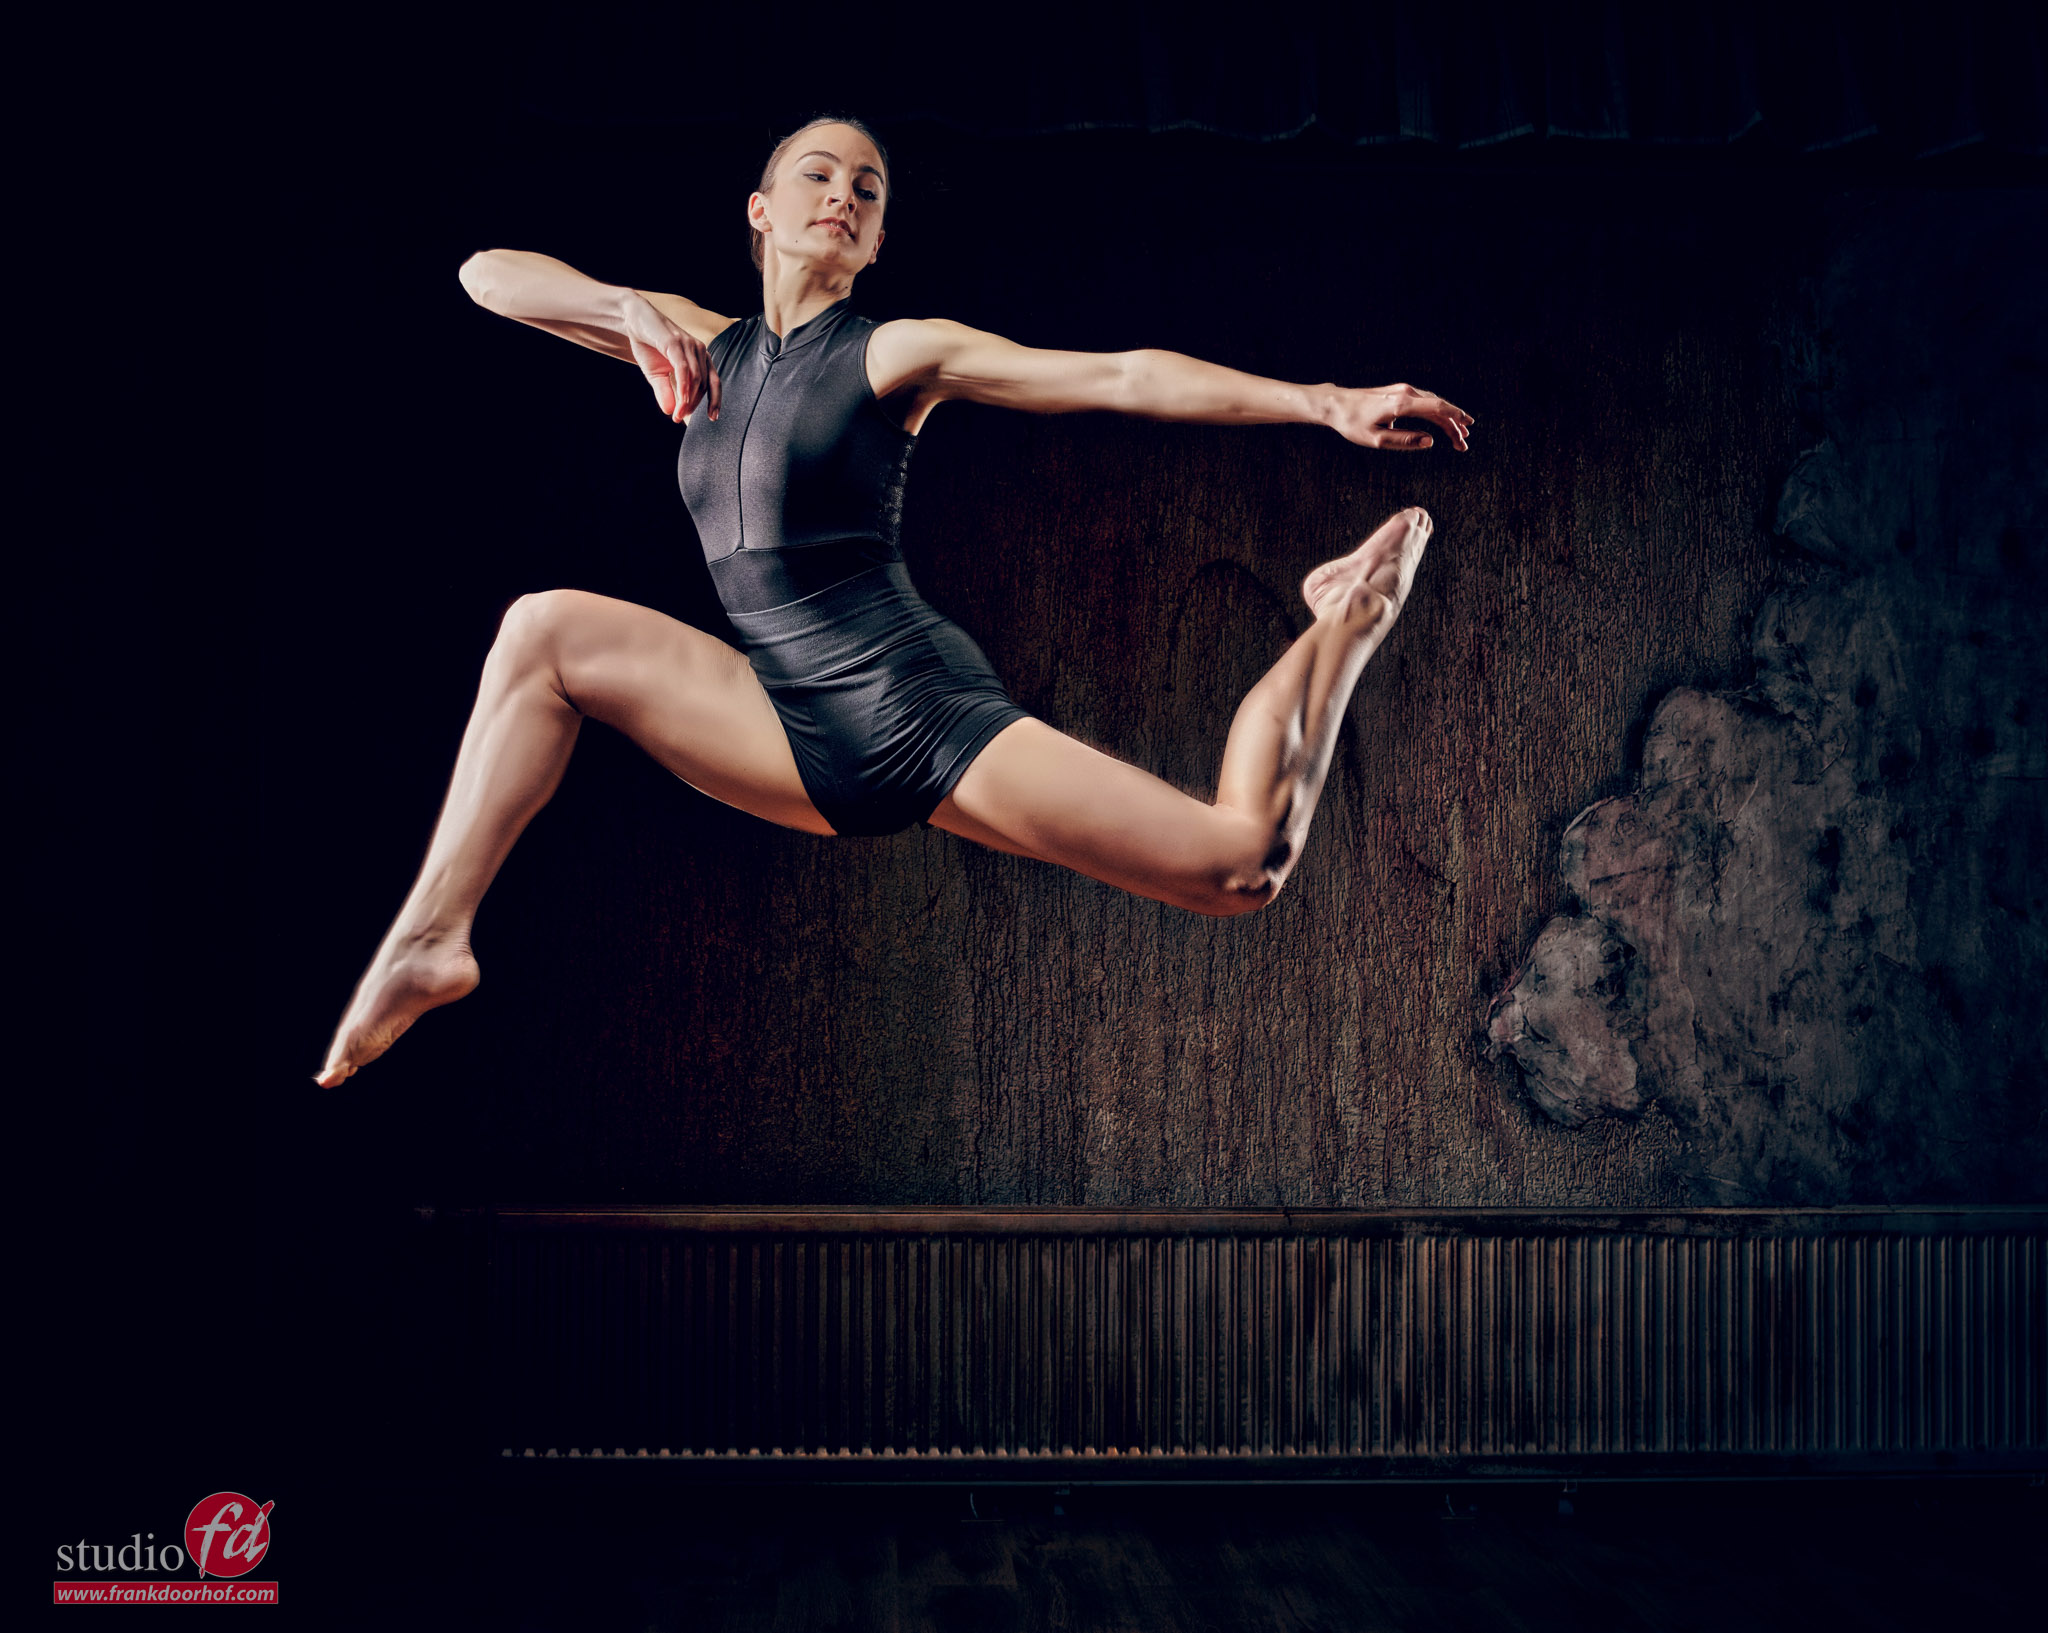
Let’s conclude today’s blog post with some dance/motion-inspired images. I love photographing motion and in my workshops I often show this technique to my students.
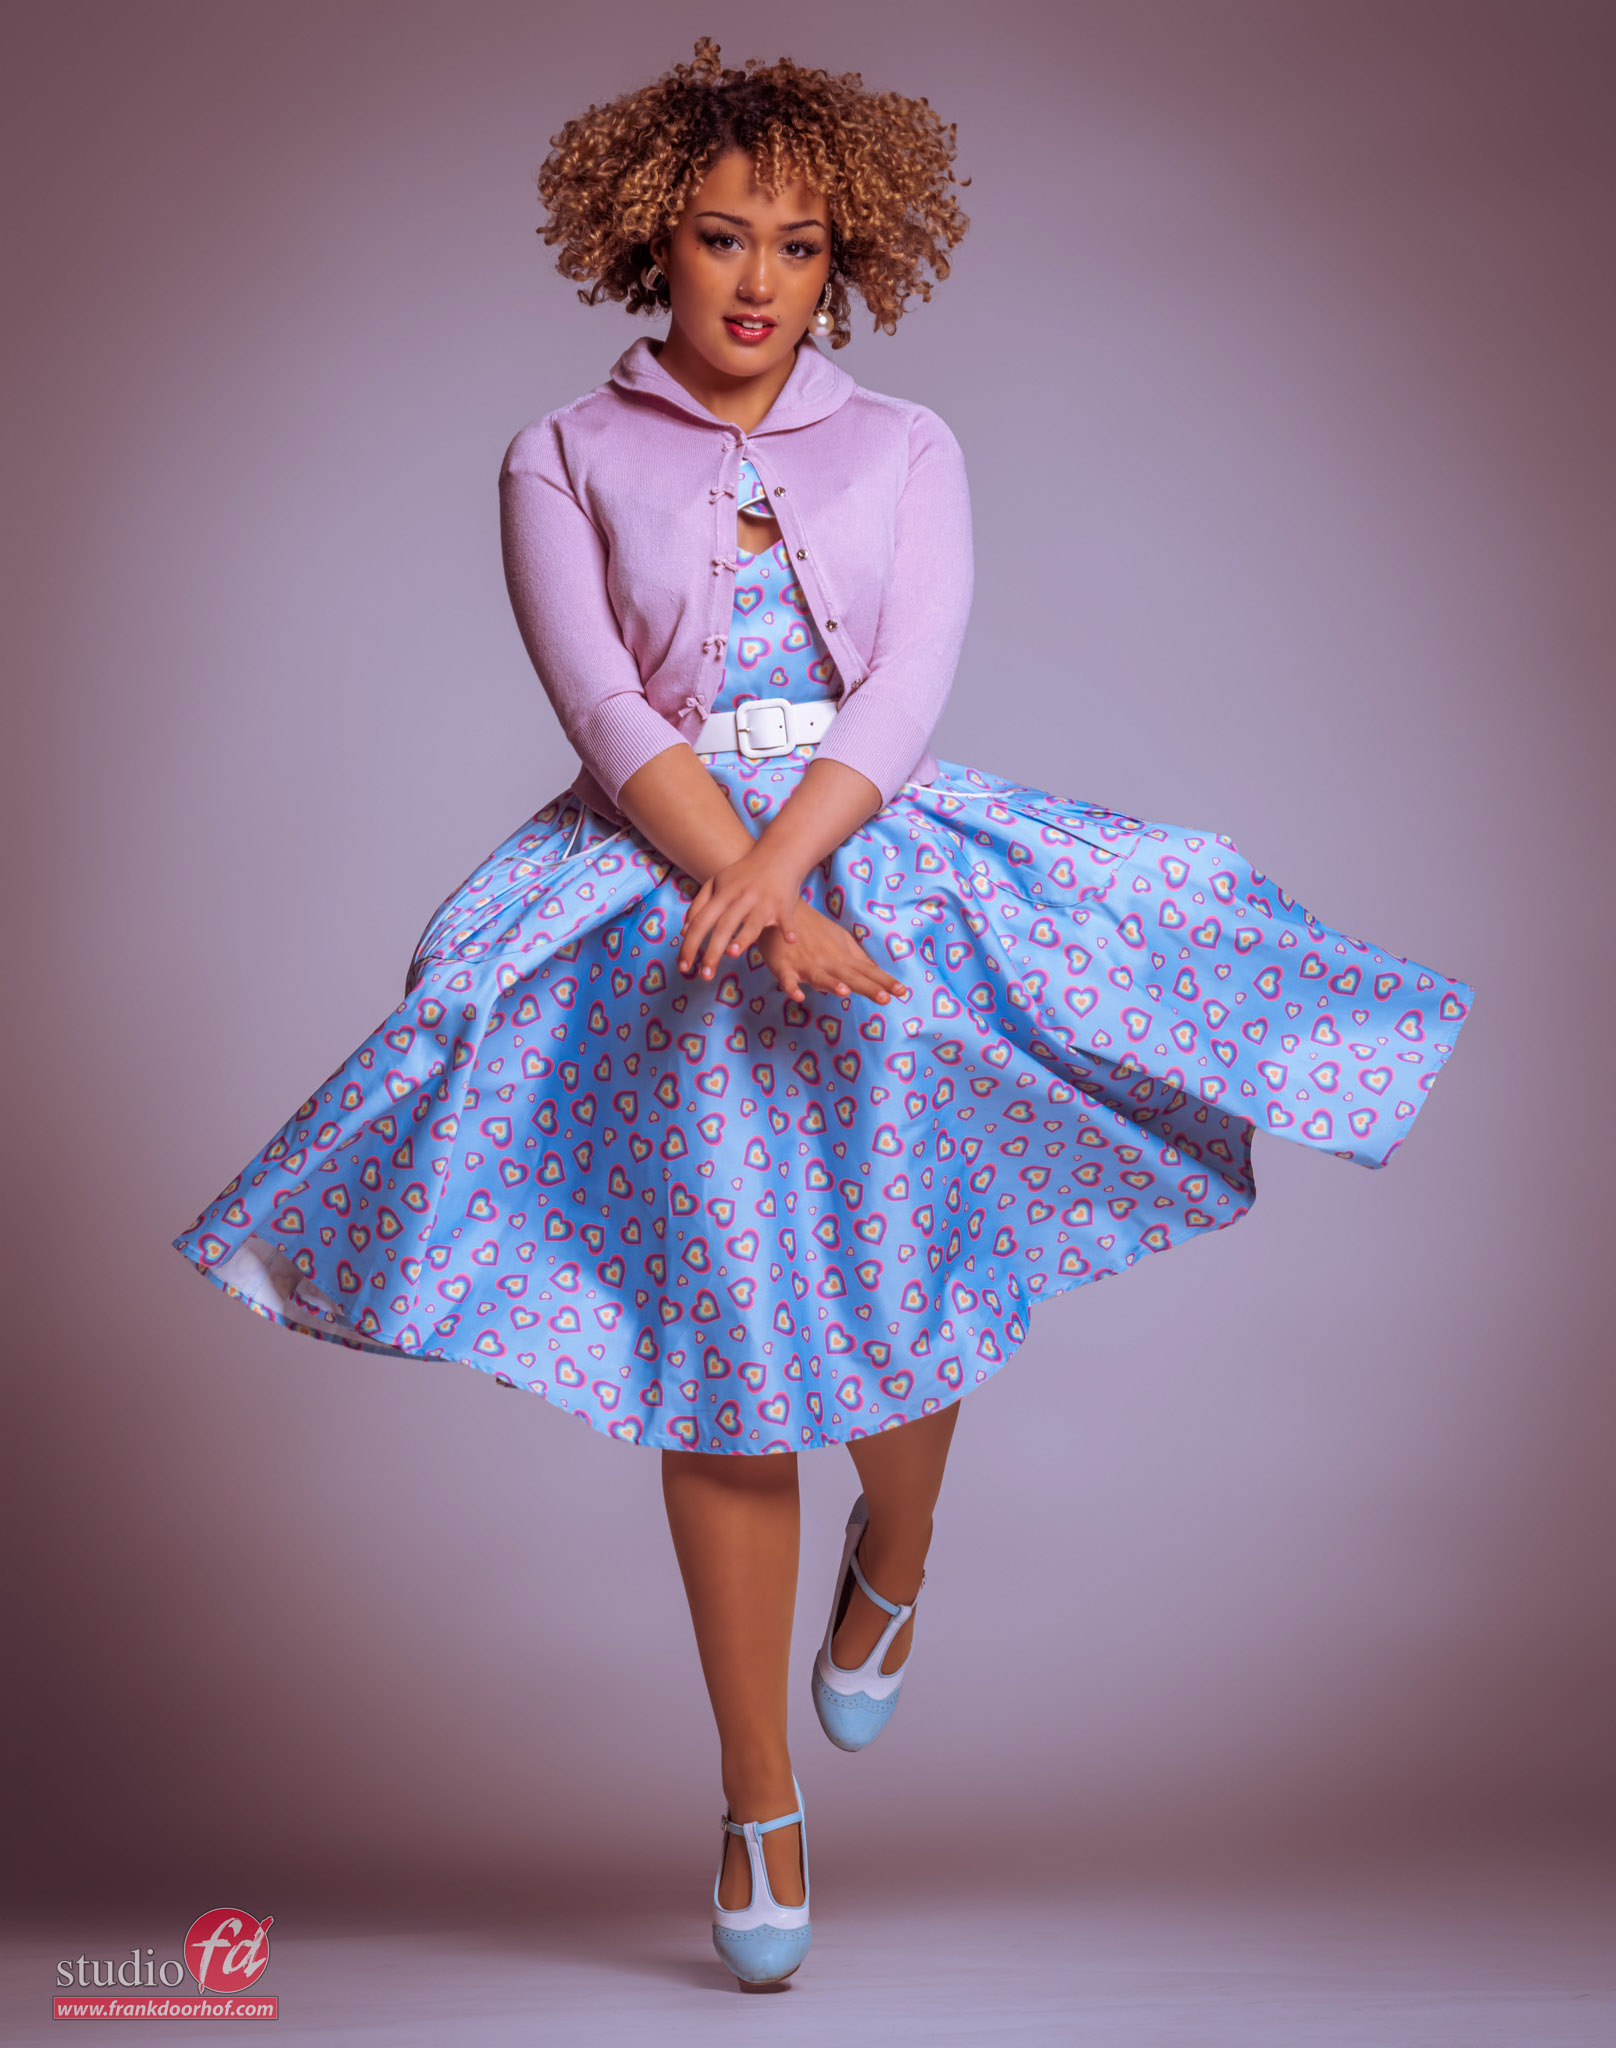
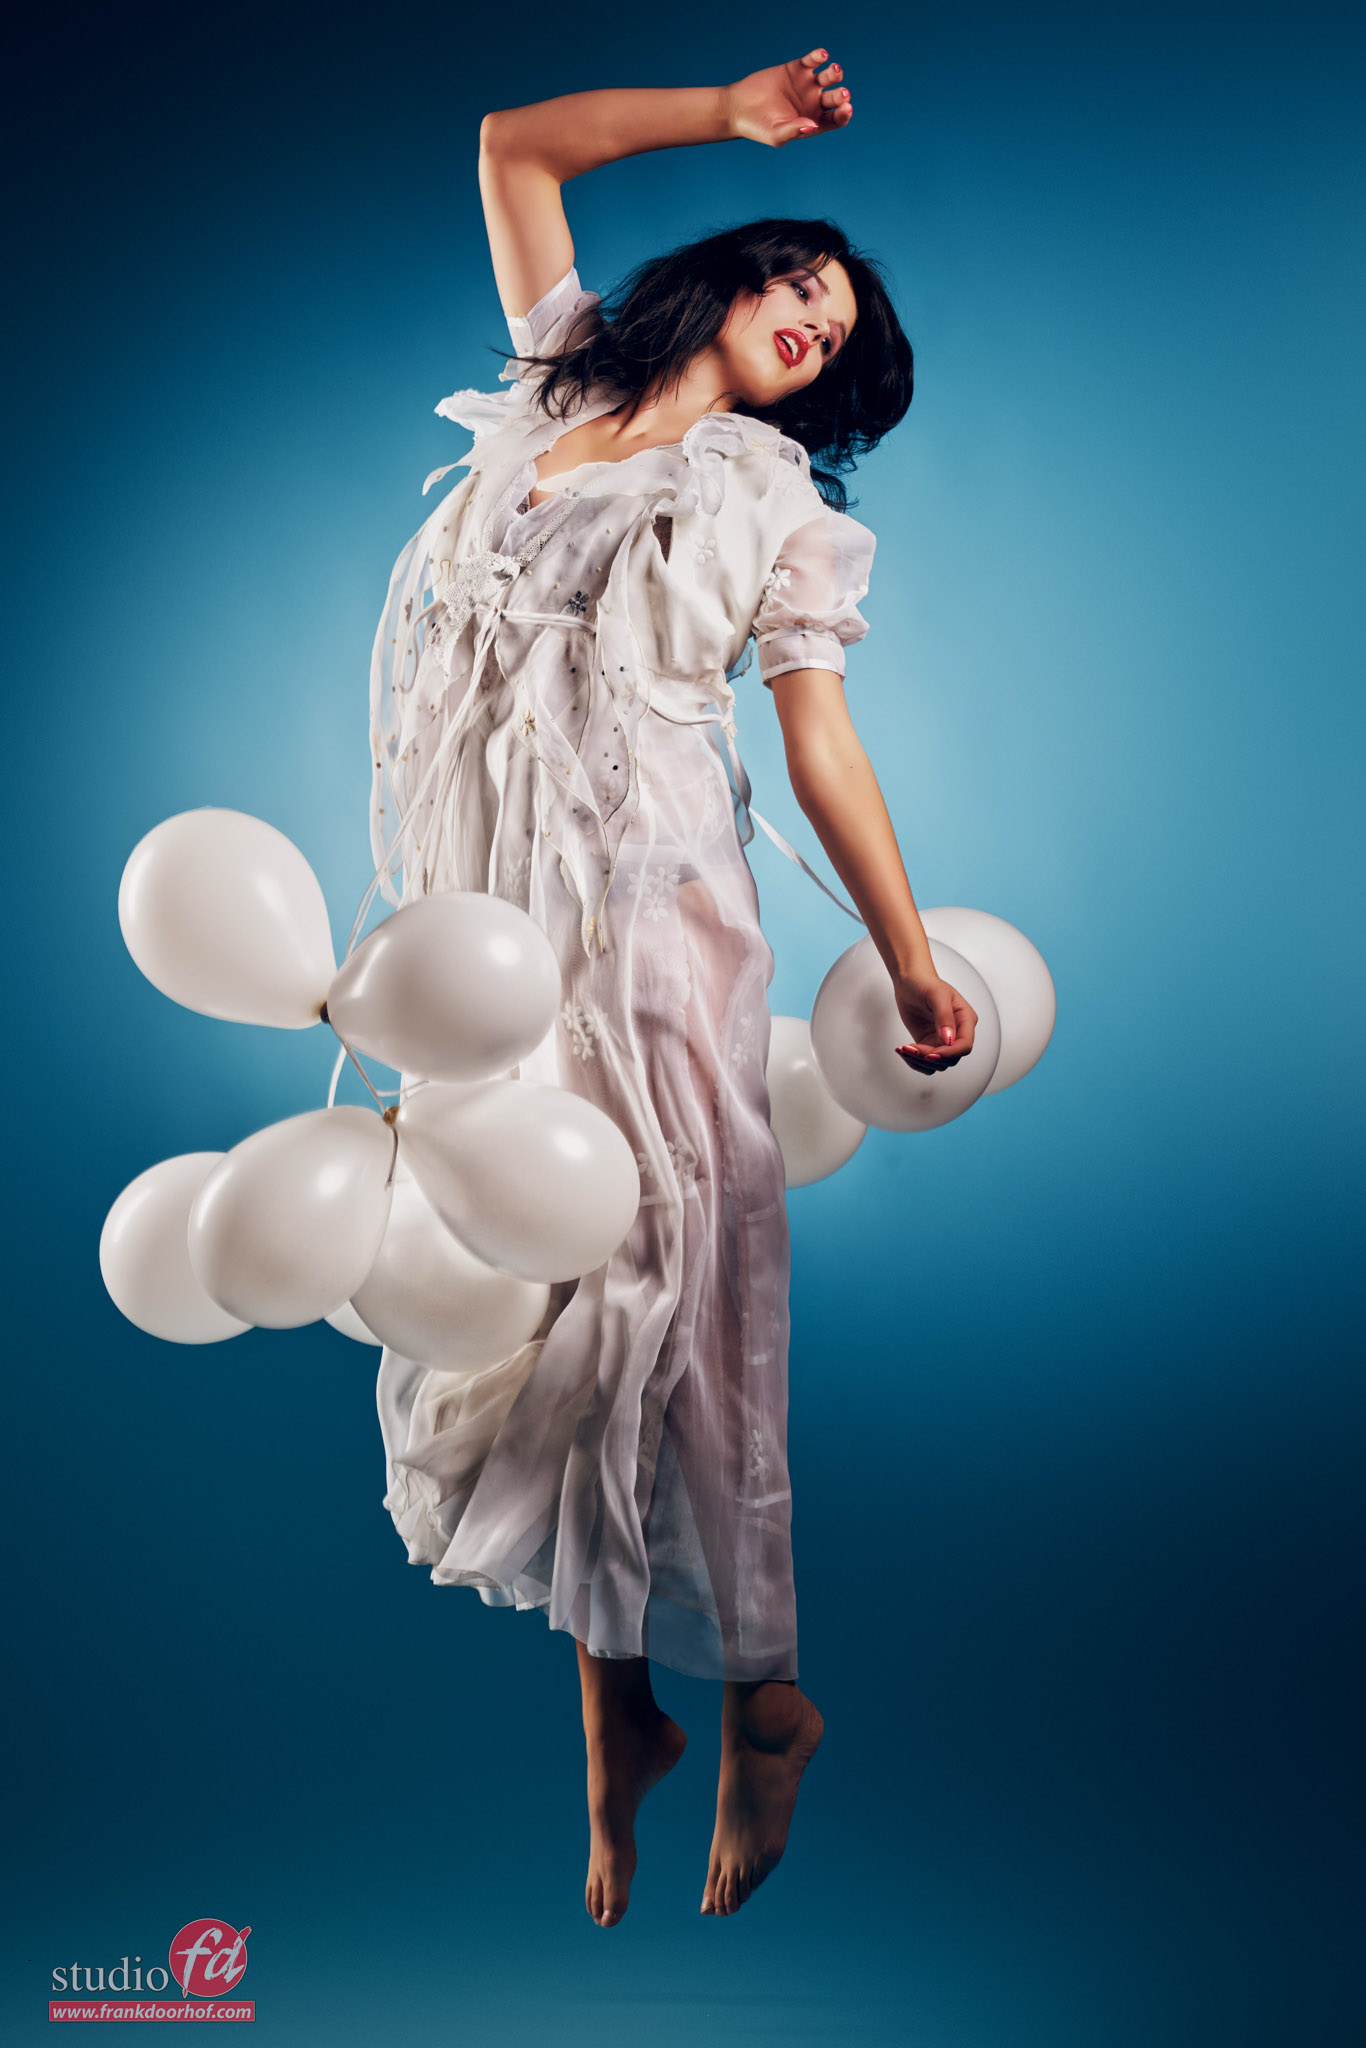
 photographing motionPhotographing motion Photographing motion


The awesome low light setup for glamour

Today part II in my favorite glamour lighting setups

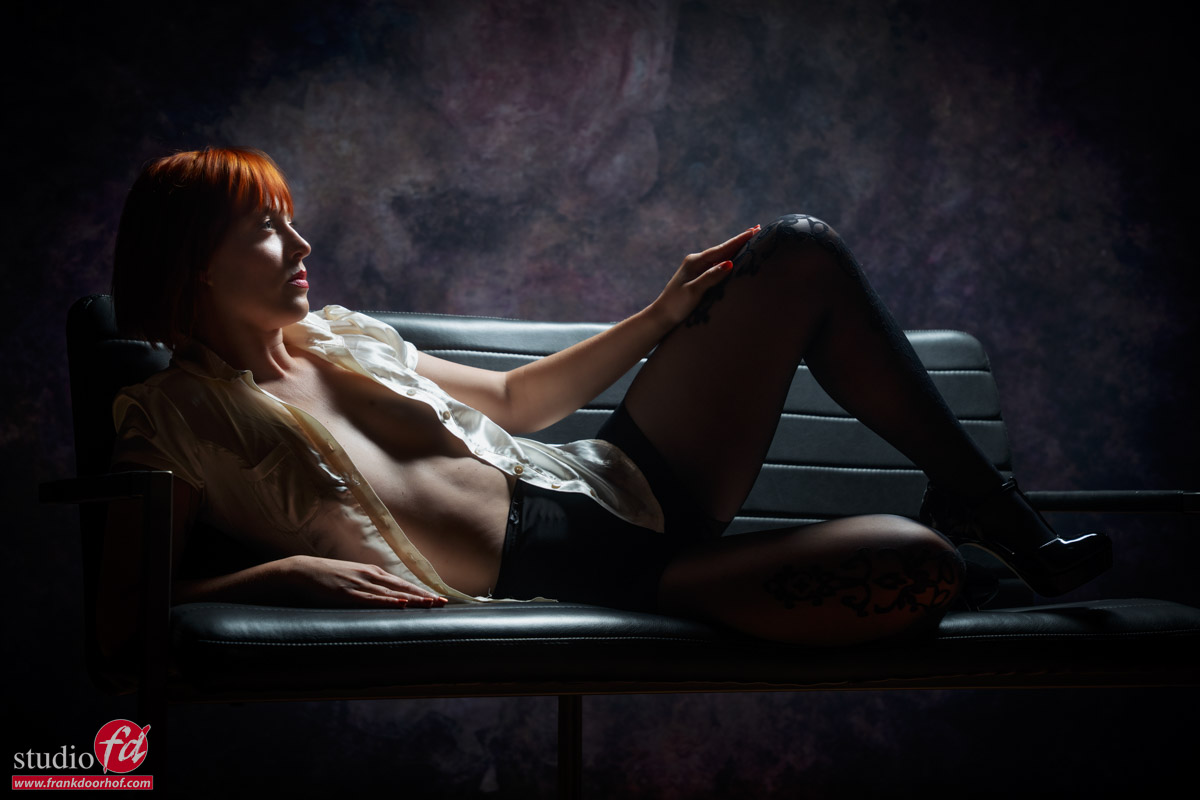
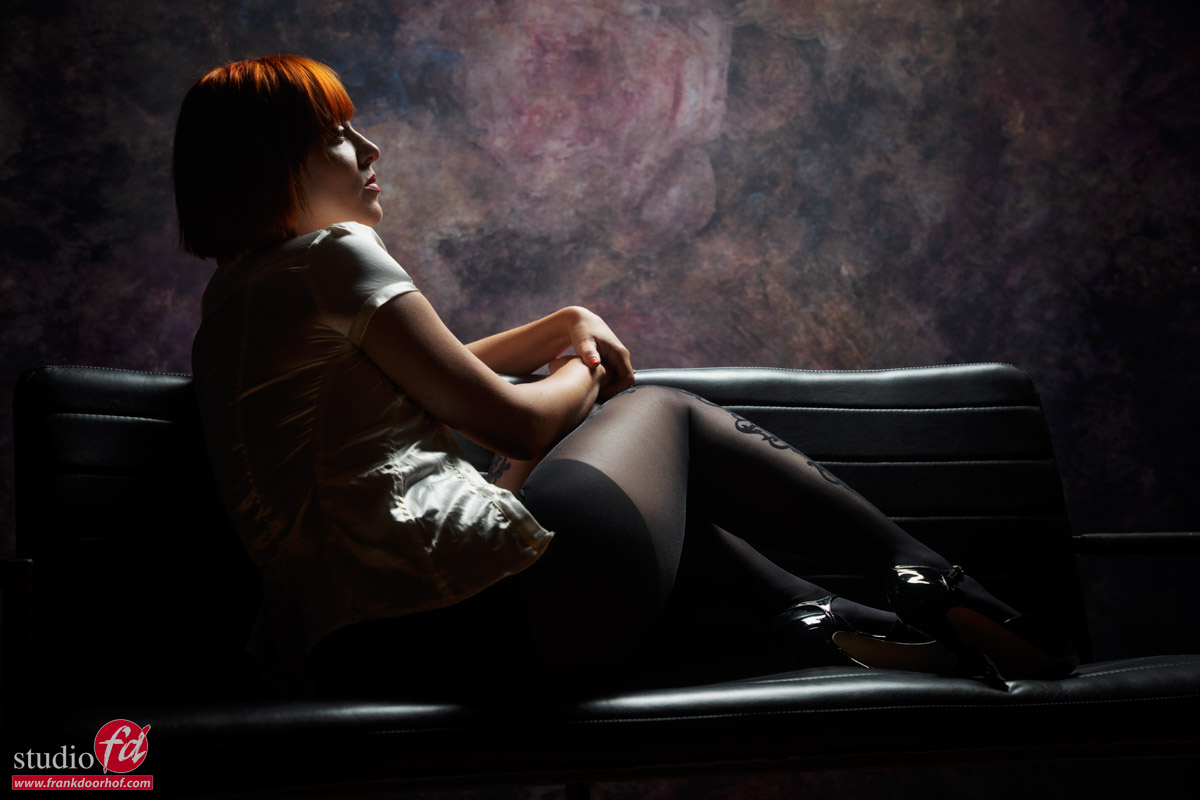
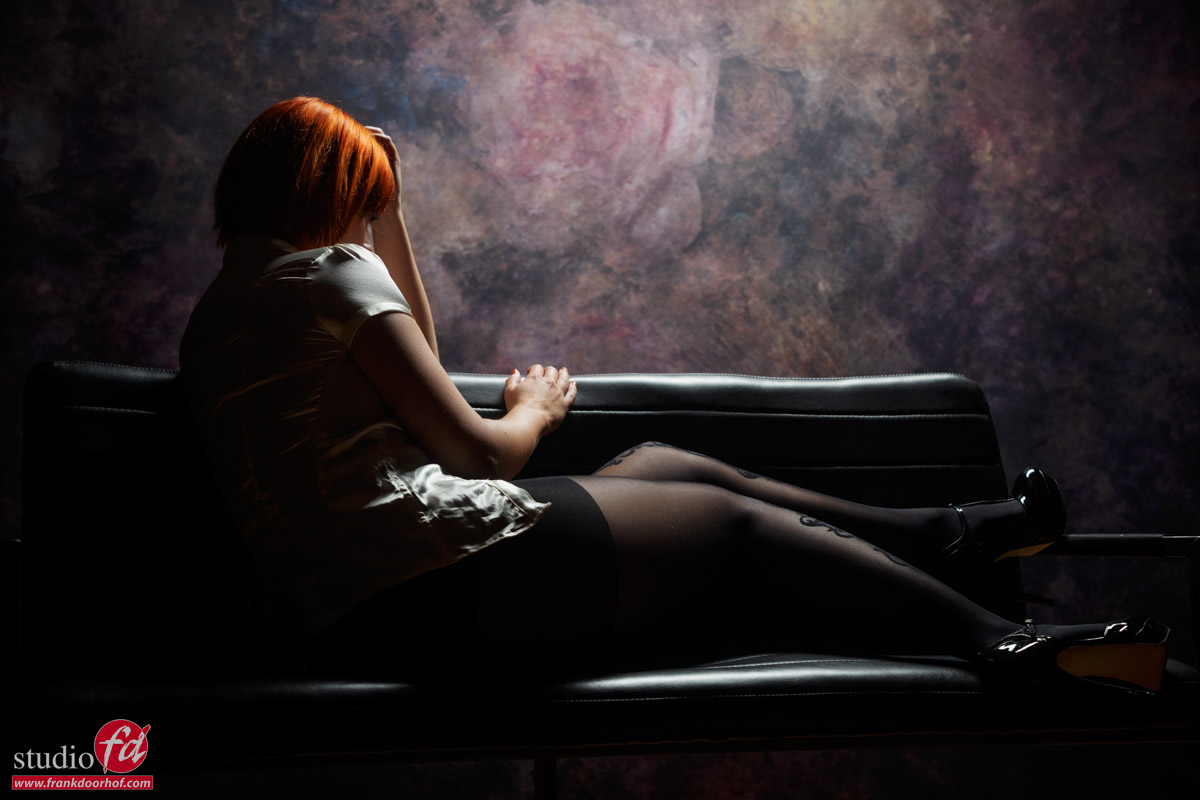
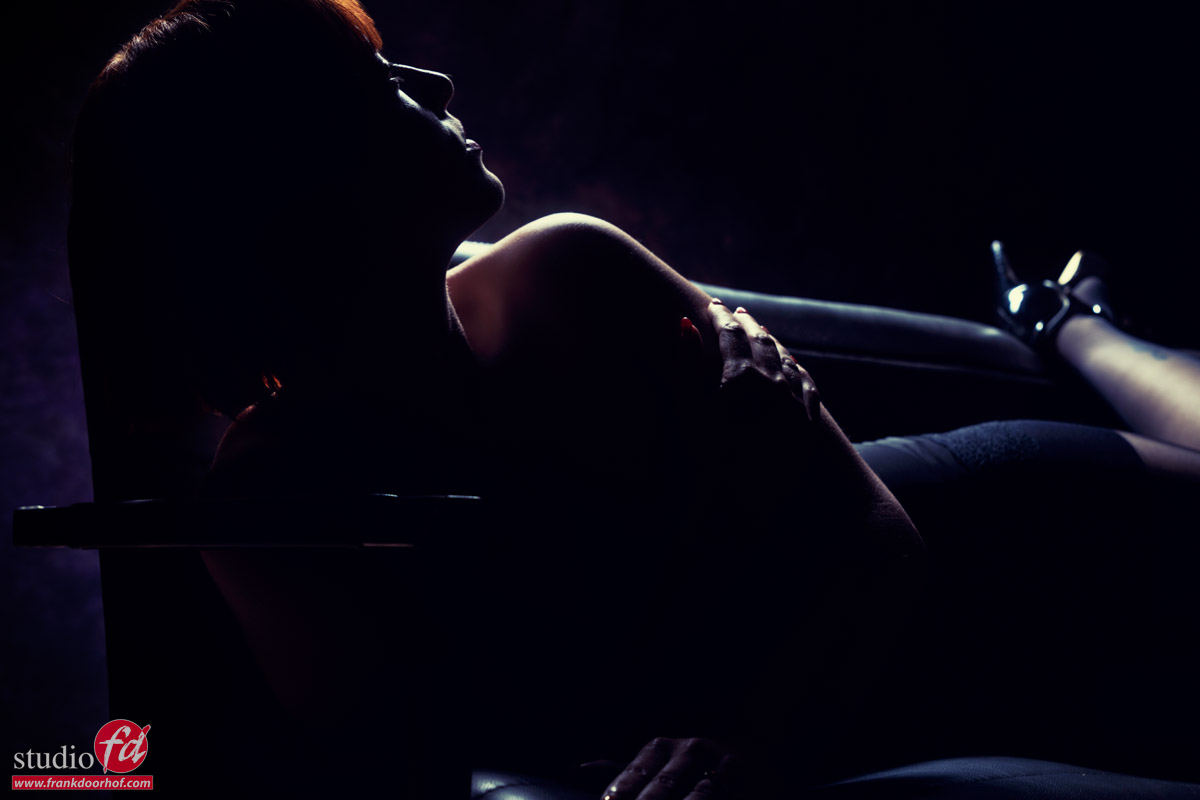
In the previous article we talked about a more flat light setup, today we are going the opposite direction. As mentioned my favorite photographers were often working with high contrast and low key setups. So today I want to share one of the most awesome setups for glamour in my opinion. And you don’t need a lot.

For the main light it works best when you use a striplight, it can be done with a small softbox and grid, but if you want that nice “beam” of light effect a striplight works best.
In this setup I’m using the Geekoto 48″ striplight. I started with the smaller 36″ version but to get the light the way I wanted from feet to head I ended up using one step longer. The nice thing about these two Geekoto strips is that they are both the same width, so you can really mix and match them in setups without losing focus on the model.

The same effect can also be done with the Rogue “Frank Doorhof” Flashbender in stripligh configuration. Meaning you can always use this setup on location or in the studio with just one strobe and a very portable light source.

The trick is to place the light behind the model aimed slightly forward, now change the height for the area the light will hit, higher means the area lit will be wider, placing the light closer means the beam of light will get narrower. The angle and the depth of the grid determines the light hitting the background. If you have the perfect setup but need more or less light on the background and you can’t solve it with angles or grids… keep everything the same but just move the model and the light backward (more light on the background) or forward (less).

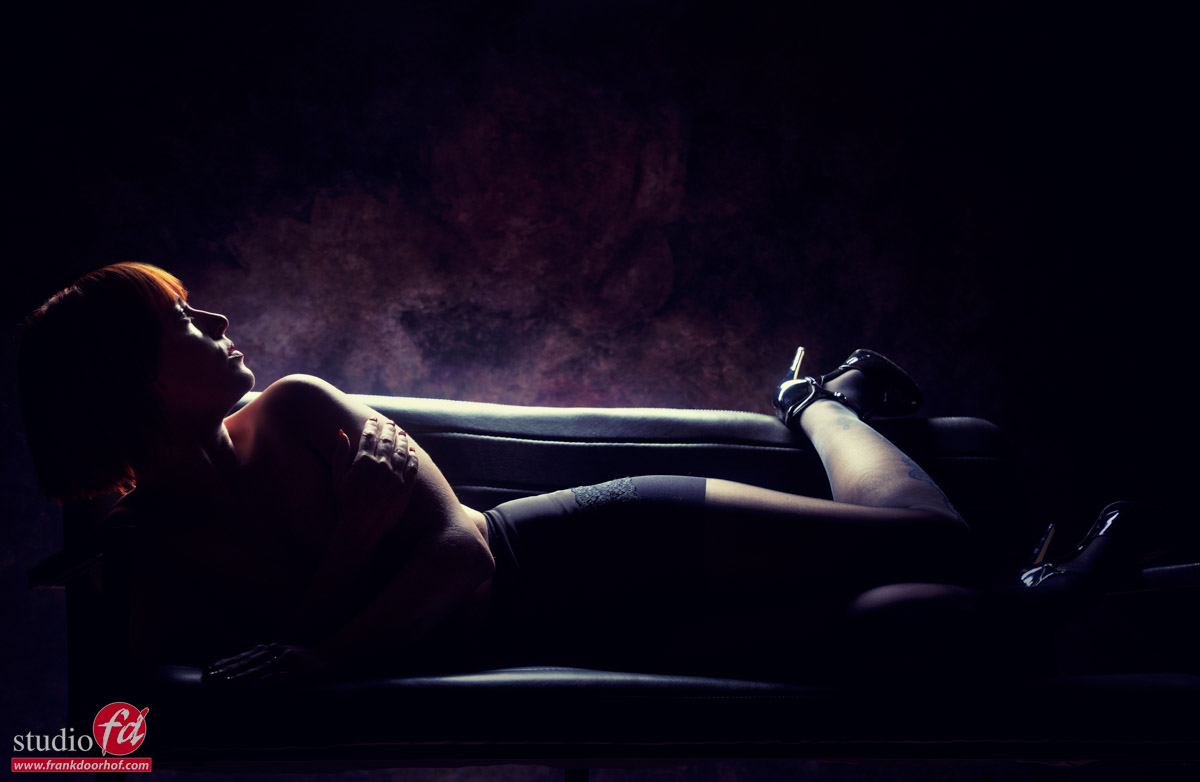
The effect is great and really nice for body scapes and moody shots.

Shot during a recent workshop with Claudia.

And of course always include some extra images where you walk around your model.
Sometimes it works, sometimes not and sometimes it will surprise you… but that’s a story for the next blog post.


The lighting setup for awesome glamour

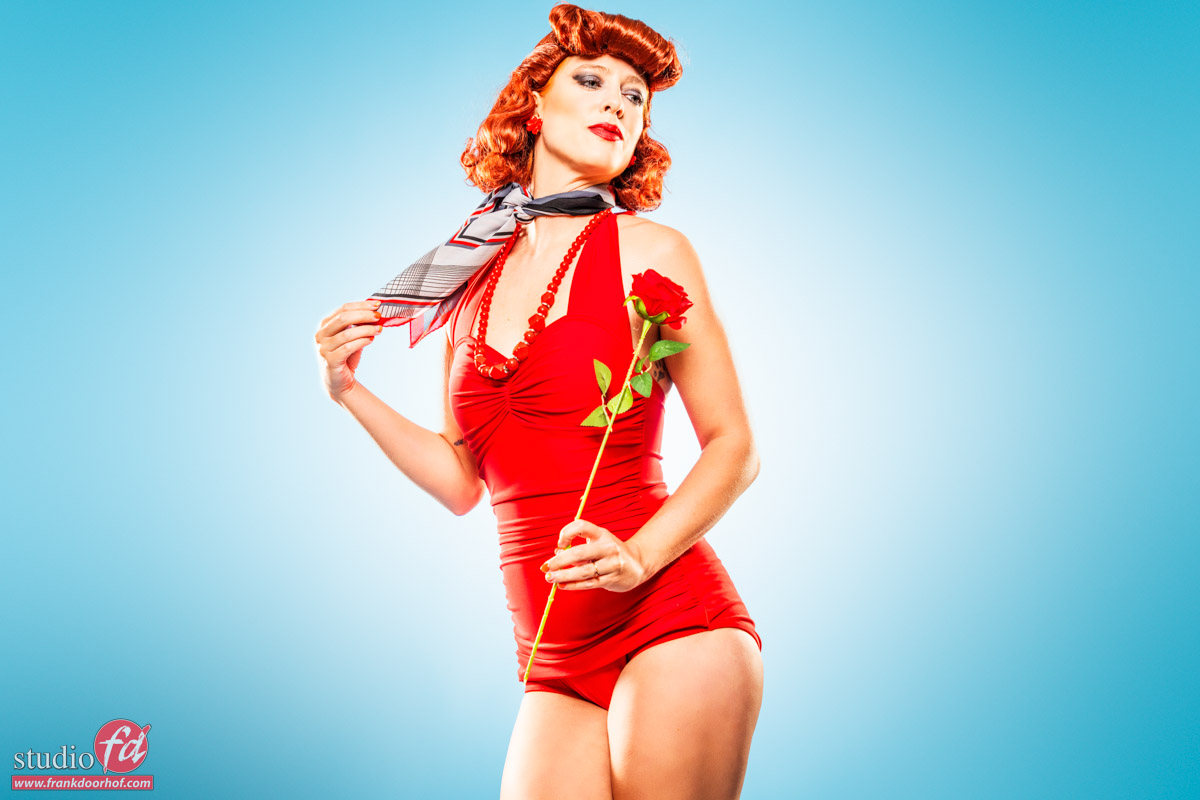
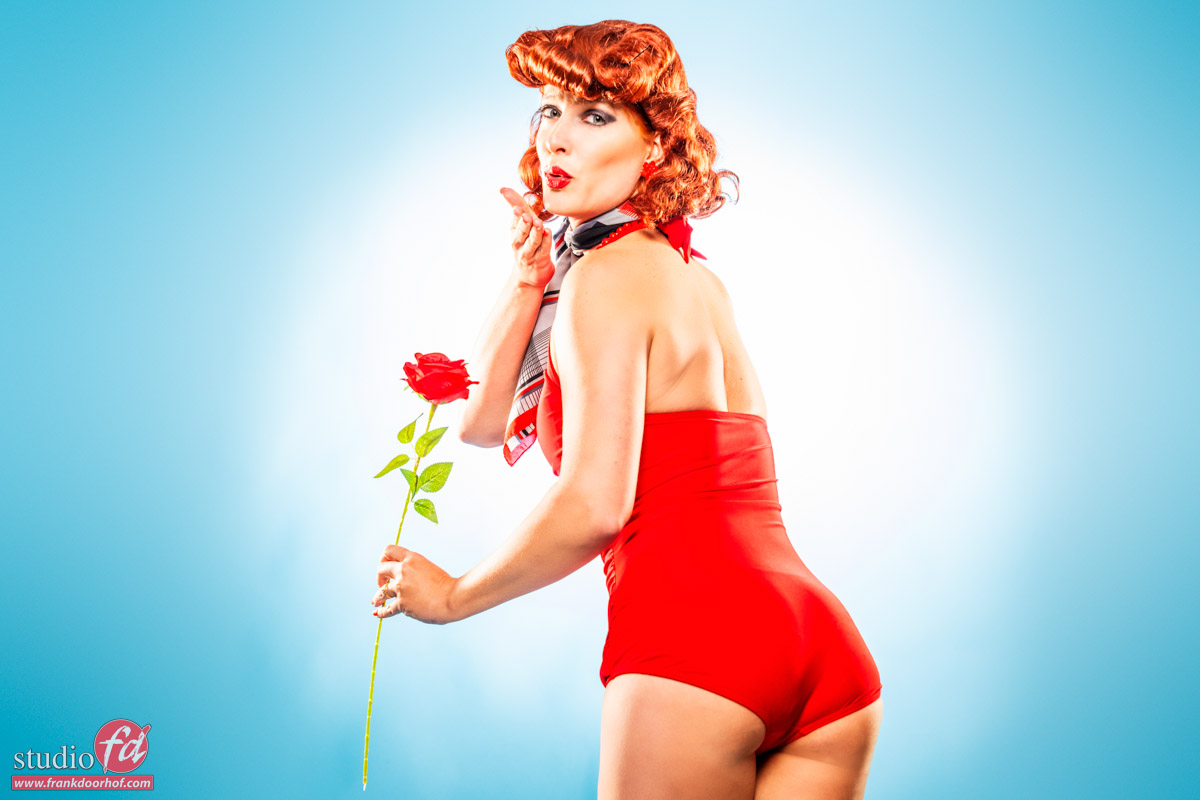
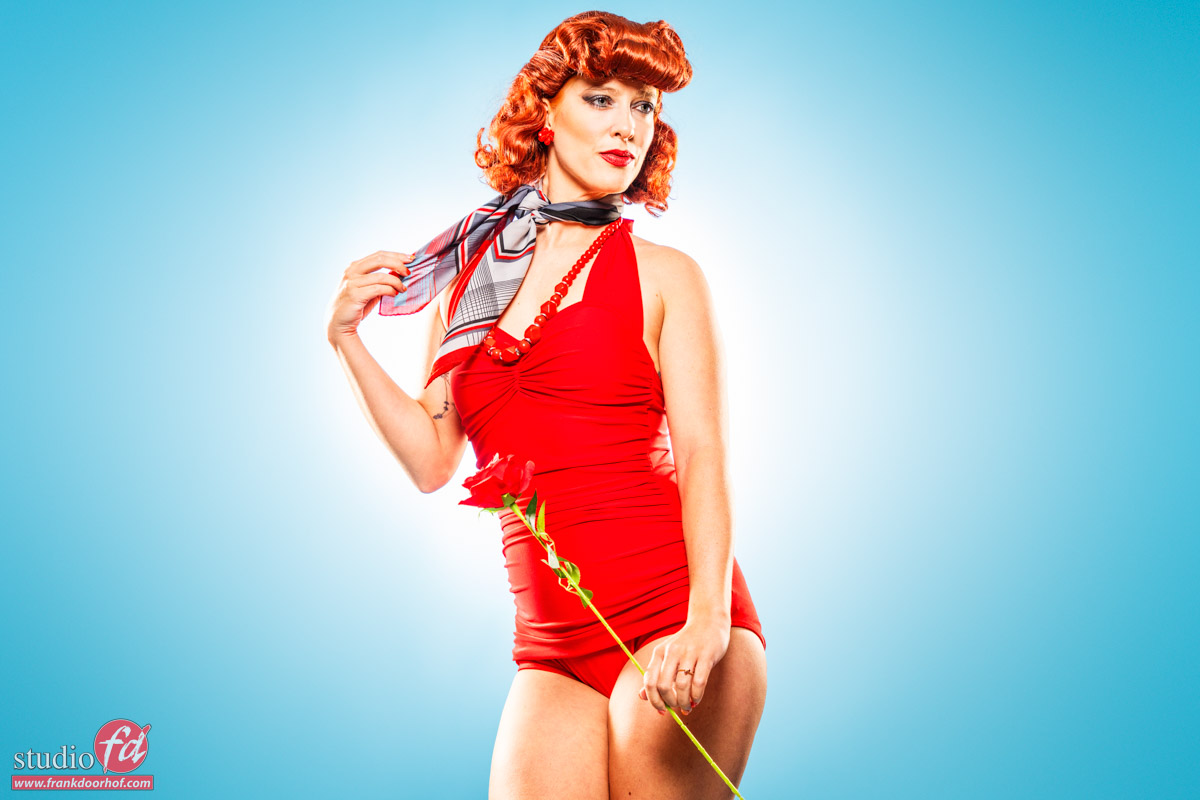
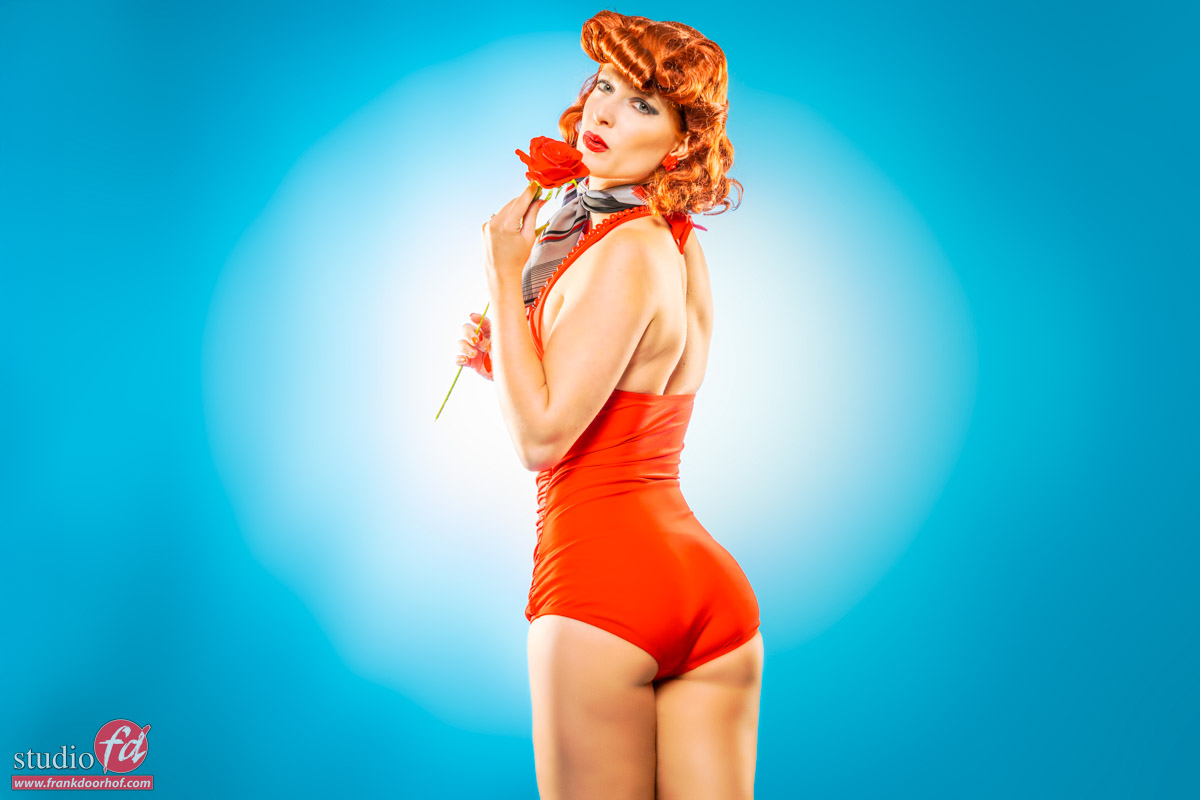
Vintage and pin-up photography and lighting

I love vintage glamour and pin-ups.Starting with George Hurrell, Avedon, Newton, to David LaChapelle.
And when you also want some insights into one of the best models in this genre, pinup/burlesque, make sure to check out Dita Von Teese, who wrote a great book about both being the model, stylist, and makeup artist.

In the next two articles, I’m going to show you two of my absolute favorite setups with vintage and pin-up photography and lighting, but on both sides of the spectrum.  Today, I’m showing the always awesome high contrast/flat lighting setup.


Flat lighting for pin-up photography

It might sound like a contradiction, but even with flat lighting, you can create some great contrast.
With low-key lighting setups, we play with shadows. With this technique, I’m actually working with accent lighting and highlights, which makes the depth of the face/body of the model jump out a lot more. Plus it looks great on shiny materials, and if you want, you can also get some lens flare.

The lighting setup

The setup is pretty simple, but you do need some strobes.
Mostly, I’m using a large softbox or umbrella in the front from a larger distance from my model than normal. This is done because I also want light to hit my background. So, due to the inverse square law, you can determine how much light is hitting your background.

Move the light further away from the model if you want more light on the background. Move it closer if you want less light on the background (of course, you have to re-meter the light on the model when you change the distance).

Accent lighting

For the accents, I love to use two strip lights with grids.
I’m using the grids because I don’t want double shadows on the floor. And because the accents are aimed towards the camera, this can happen very quickly when you are not careful. So, we aim the strobes mostly slightly up when shooting full body, the grid does the rest.

And finally, I’m using one strobe with the Rogue magnetic system with grids, or the snoot for the spot in the background.
In this setup, I like to overexpose my model slightly when shooting to get an extra “glow” in the skin.

Beware:

If the accents are too close to the model, you can get lens flare.
You can move the lights further away or use flags to prevent the lens flare.

The examples during this blog post were shot during a workshop with Claudia. And in most, I kept the colors pretty low in the blues to make the red jump out more. But as you can see, sometimes also boosting the blue can be great and striking. It’s in the end a personal choice, or just deliver both 😀

Vintage and Pin-up photography and lighting

Want to see the lighting and how we photograph these vintage and pin-up set?

In this video, you can see a similar setup during a workshop.

And the images

Vintage and Pin-up photography and lighting

See www.fotografie-workshops.nl for the workshops


The power of the expression

Lighting and styling is essential

We probably all know that proper lighting and styling is essential for a successful photo, but for me personally it’s the start.
During the photoshoot I try to think about the proper posing of the body, the hands, the shadows, the background etc. In other words a lot of stuff going on. This also means that we often forget to think about expression.

Now in all fairness it’s not always the most important thing, although looking neutral is also an expression of course, but in most photography I think the expression can make or break a shot.

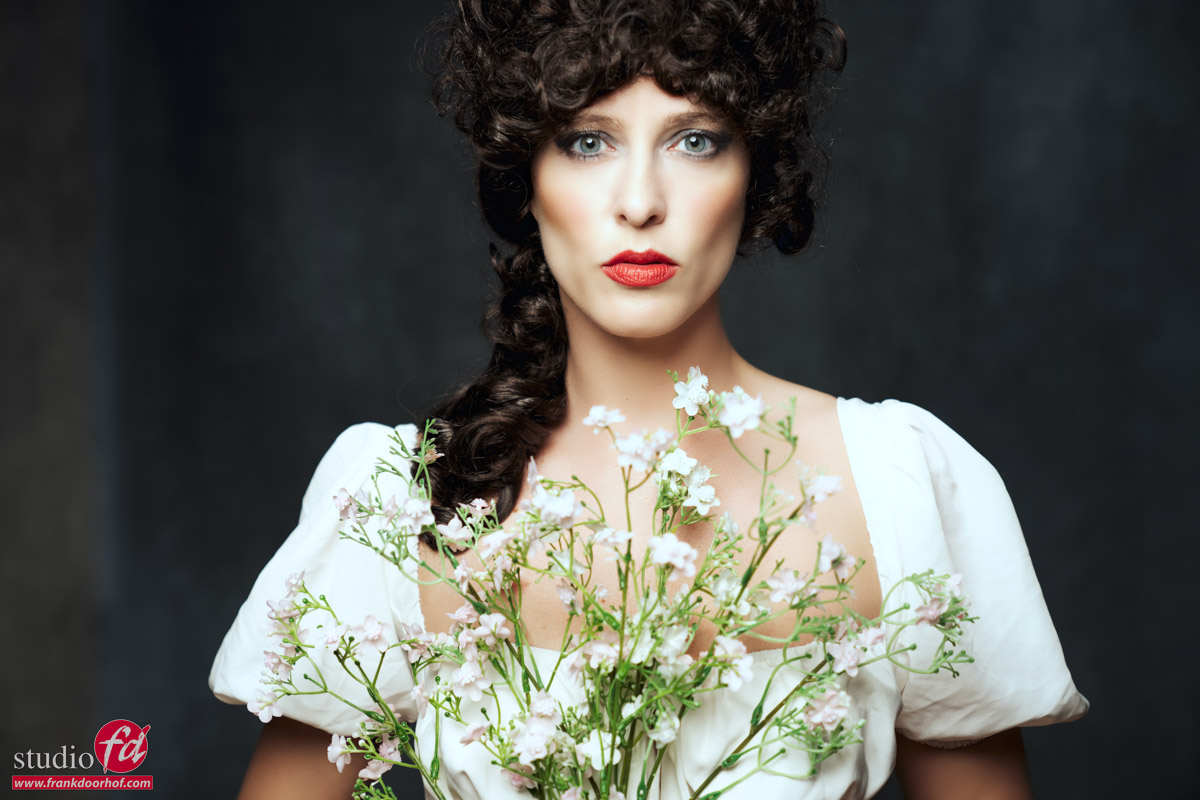
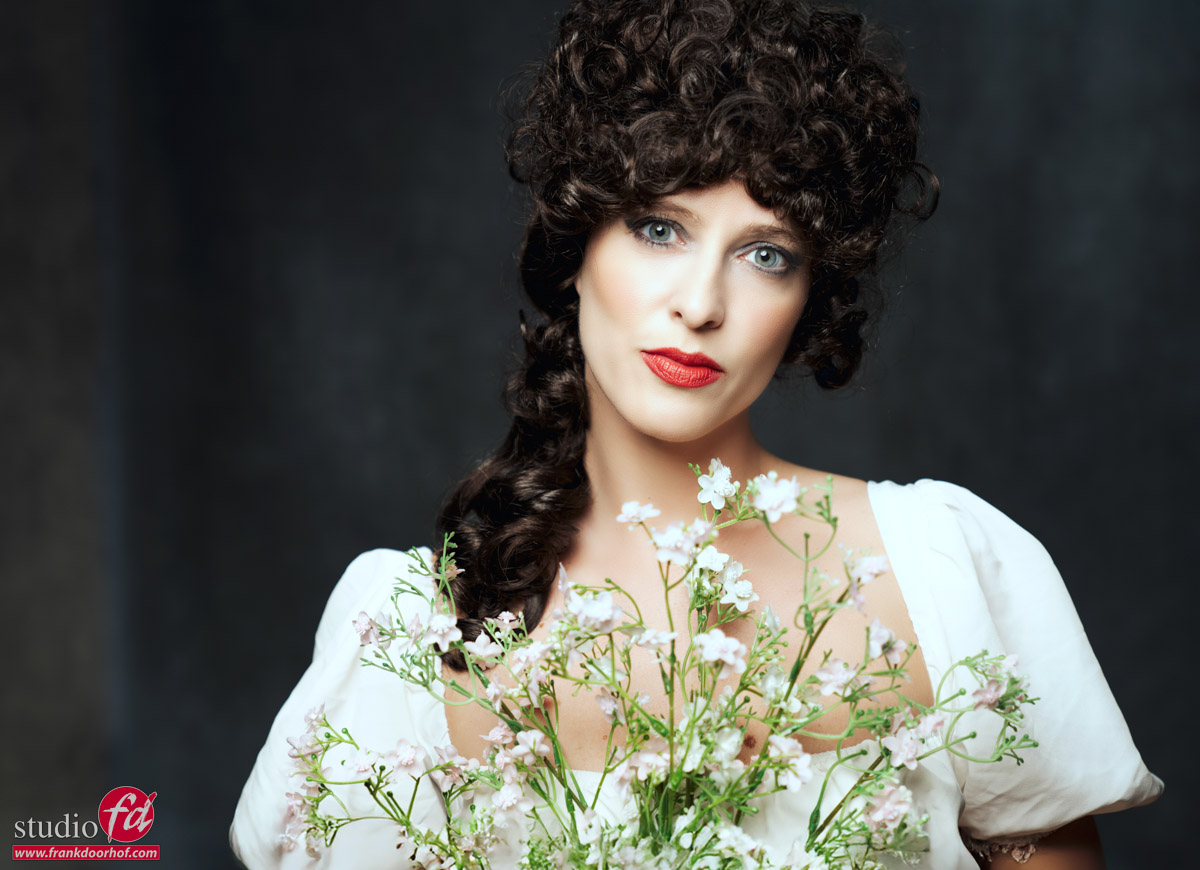
Let’s take a look at these 2 shots from our awesome model Claudia.
First image she is looking almost straight through the camera, powerful and almost arrogant, LOVE it.

Just tilt the head a little but, add a touch of a smile and as you can see we have a totally different vibe in the shot.
And trust me, it’s not just the smile, its the eyes that react to the (real) smile and the tilt of the head also gives a lot of extra expression to the final result.

So how do you do it?

In the past I tried different approaches ranging from showing images, telling the story behind the shot to get the proper expression, coaching etc. it all yielded results but in all honesty it was not easy and certainly not always “bingo”.

What I mostly do nowadays is just make sure my model is 100% at ease and has a “click” with me and the team.
This means the model is at ease and you can make her/him laugh without doing a lot of work.

Some things to take into account

A smile is with your whole face and body. If you just move the mouth it looks fake.
Make sure when you talk to your model, she/he can’t talk back. This sounds a bit mean, but imagine shooting a model that is talking 😀 You got it right?

So just make the flow in shoot nice and relax and if you want a laugh, don’t tell your model “Laugh” but just make a funny comment and just say “ok let’s have a real airy/funny or whatever look you like” and in most cases the models will just laugh and when you click, you got it.


During the workshops we don’t just talk about lighting and styling, getting the CORRECT shot is a vital part of the workshops.
Do you want to visit a workshop in the Netherlands… visit fotografie-workshops.nl for more info.
If you don’t understand Dutch please let us know a few weeks in advance and I can switch the workshop to English.
And if you can’t travel, check out our online 1:1 workshops (they are awesome :D)