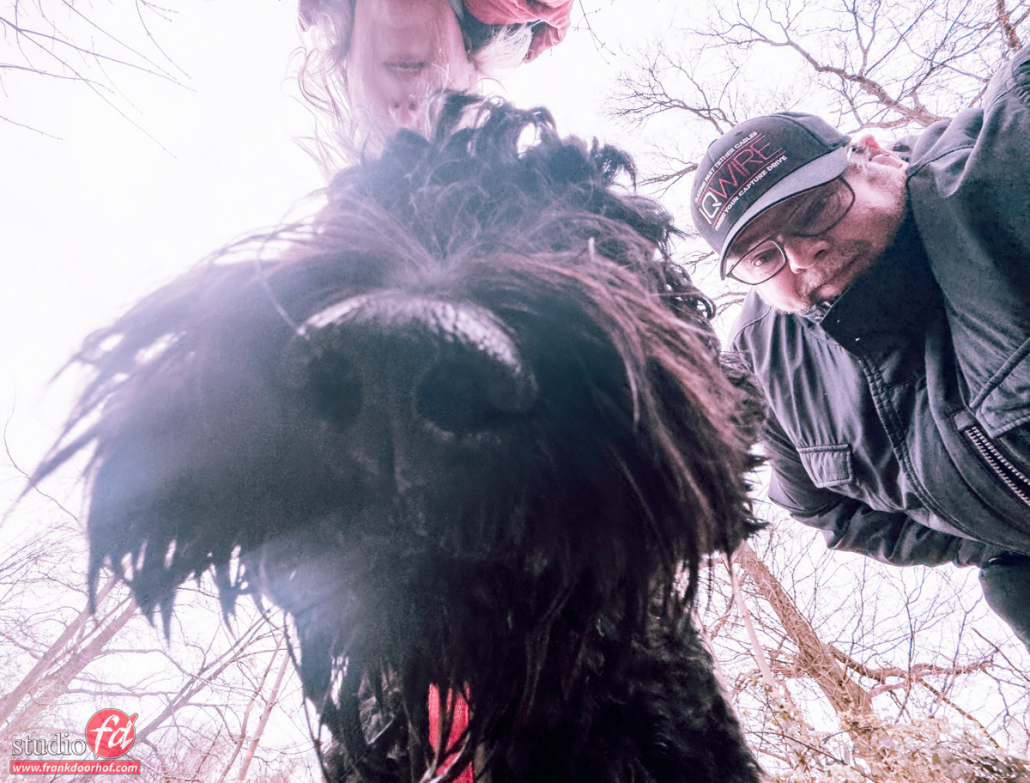
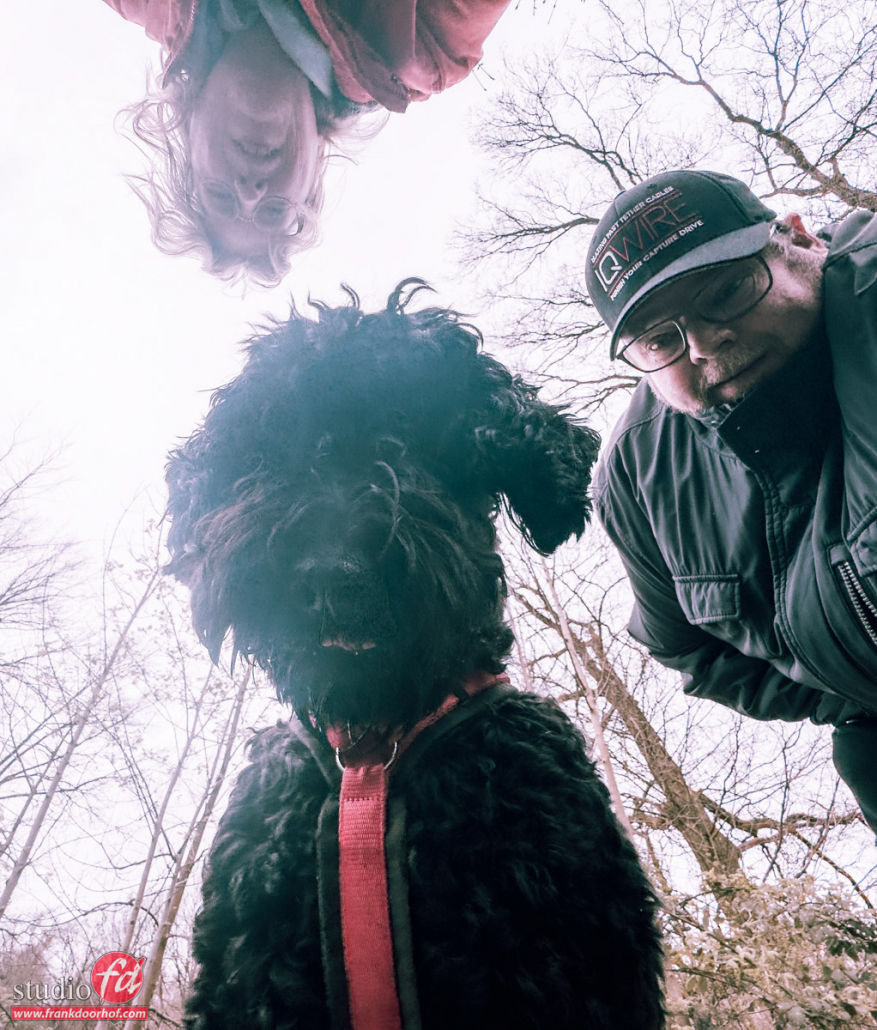
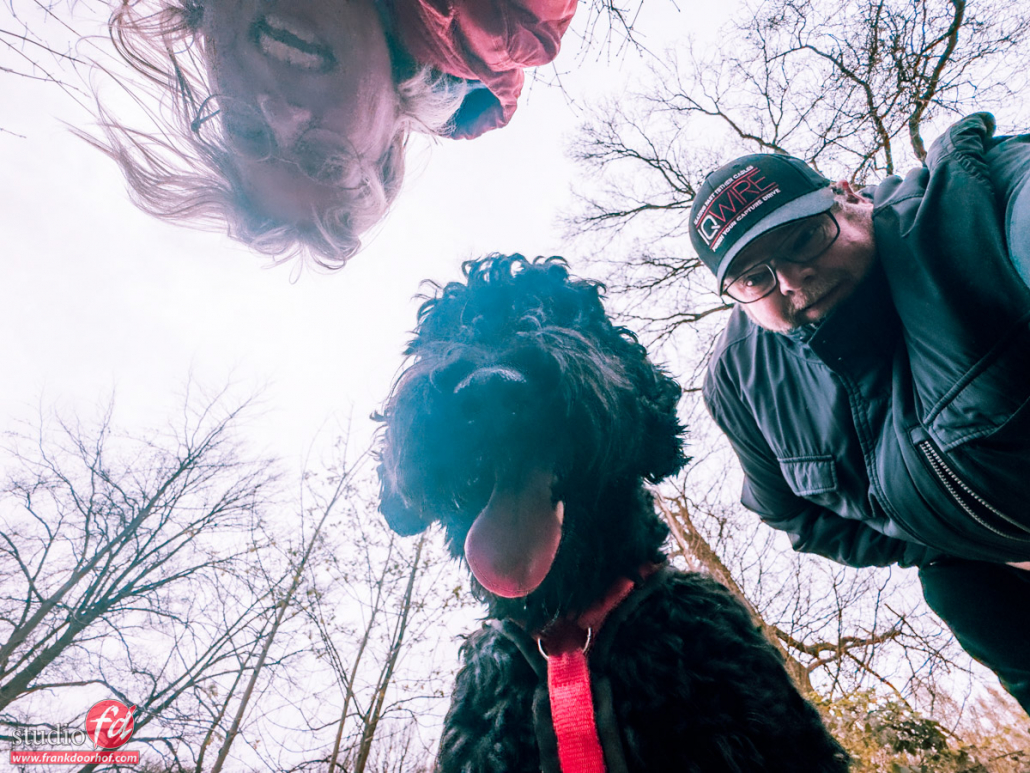
The Platypod in action
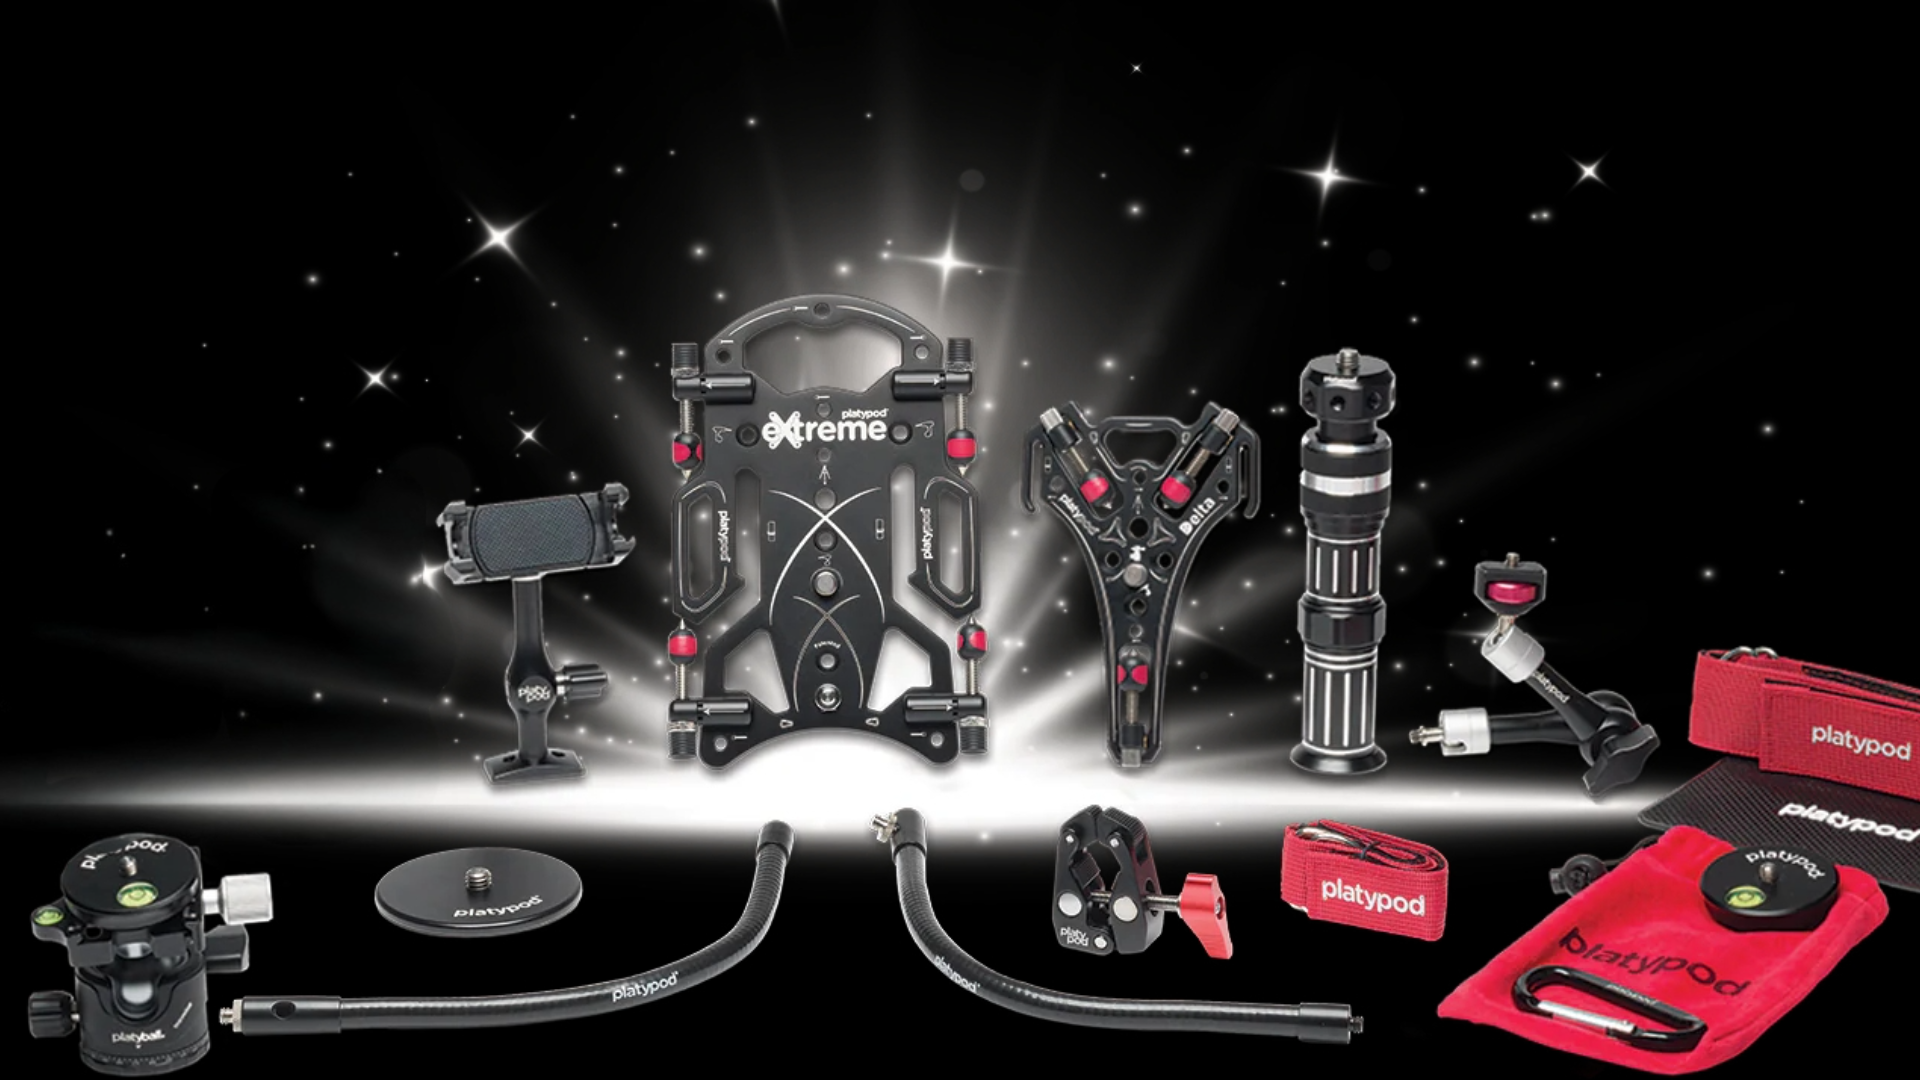
We love the Platypod lineup for many reasons
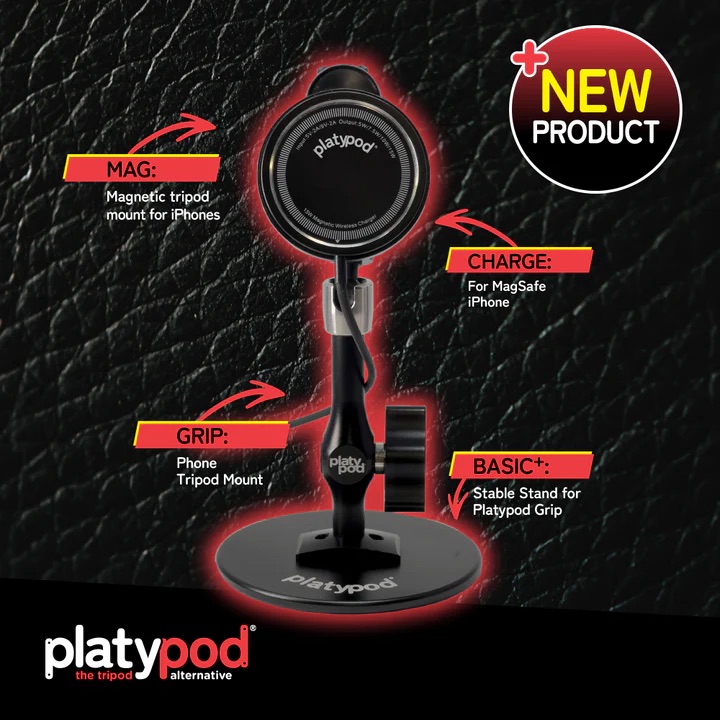
But without a doubt, one of my favorites is the Platypod Maggrip, as a replacement for a tripod when shooting video.
Especially when shooting multicam or in tight situations, using a tripod can be problematic. The Platypod system is a great solution in these situations. Read more about the Platypod in action.
For an upcoming video, we are shooting some material with iPhones using the Platypod Maggrip to place my iPhone easily in interesting positions. Due to the small ball head, I can adjust the angle of the iPhone to make sure I get the angle I need.
Recently, Platypod released the Platypod Mag Deluxe Set which also makes it possible to charge your iPhone during filming, so you never run out of power during the vital moments.
Filming and charging my iPhone
That’s the cool thing about the Platypod system: it’s a fully modular system, so you can add almost everything to the Platypod base plate. When filming, for example, we use small LED lights via the extra mounting arms
But as you can see in the behind-the-scenes images, you can also easily mount a Nanlite PavoTube.
The angle the iPhone sees.
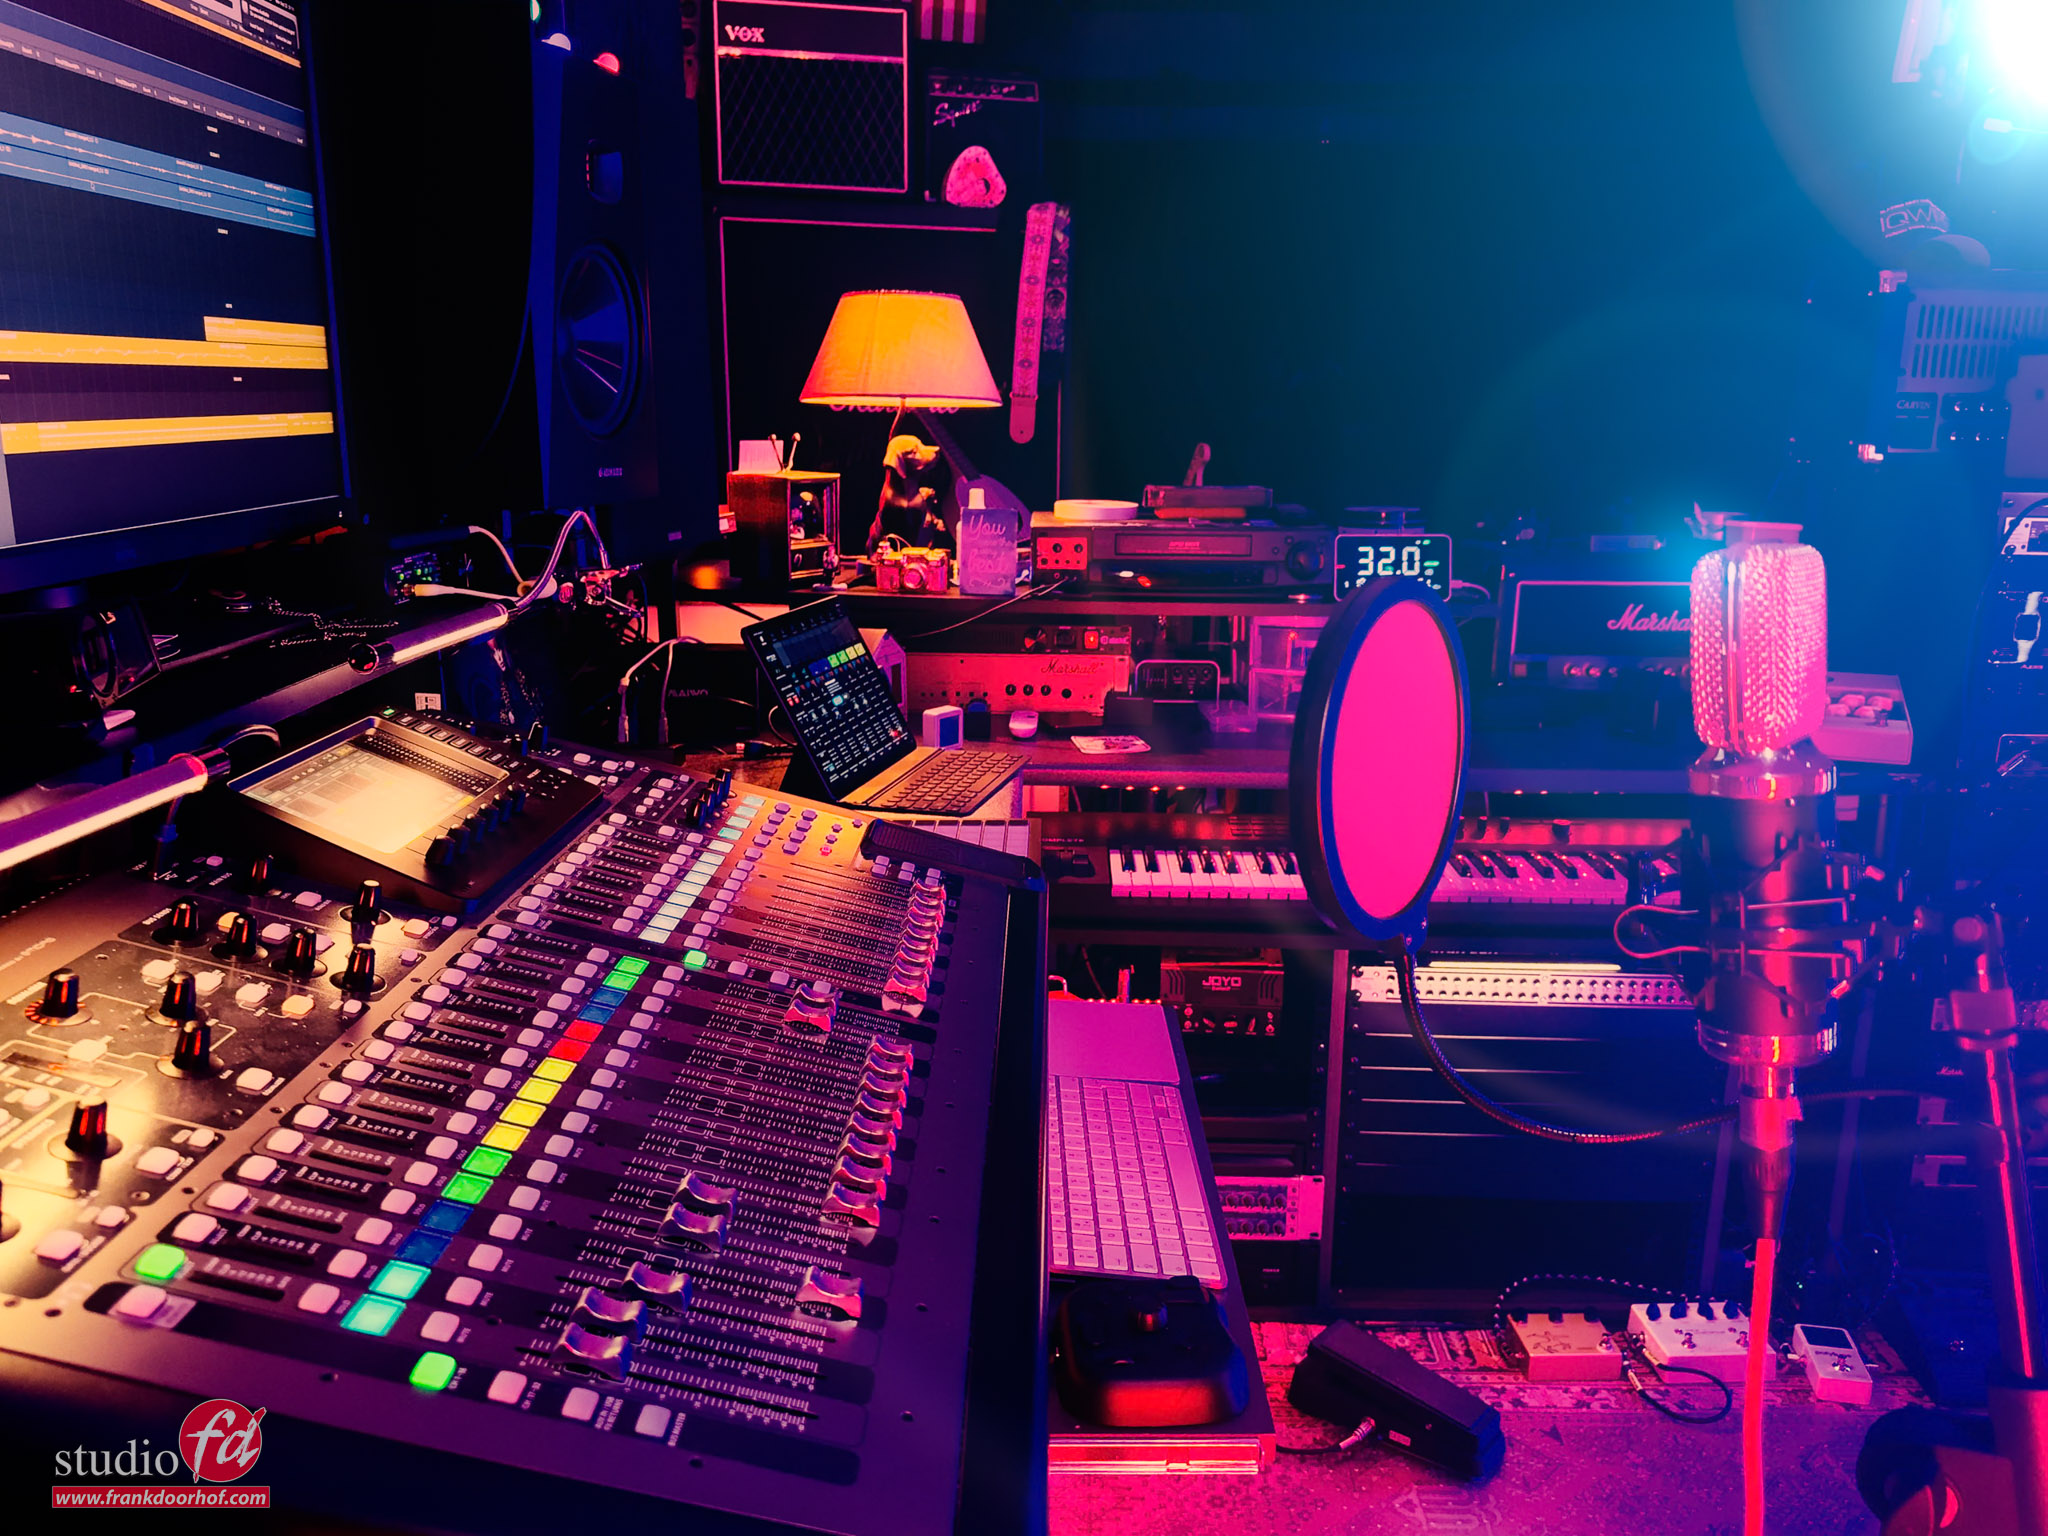
And the setup.
In this case, I’m using the Platypod with a Nanlite PavoTube connected on the Gooseneck.
In other words, it doesn’t have to be small lights, which makes the system very flexible to use.
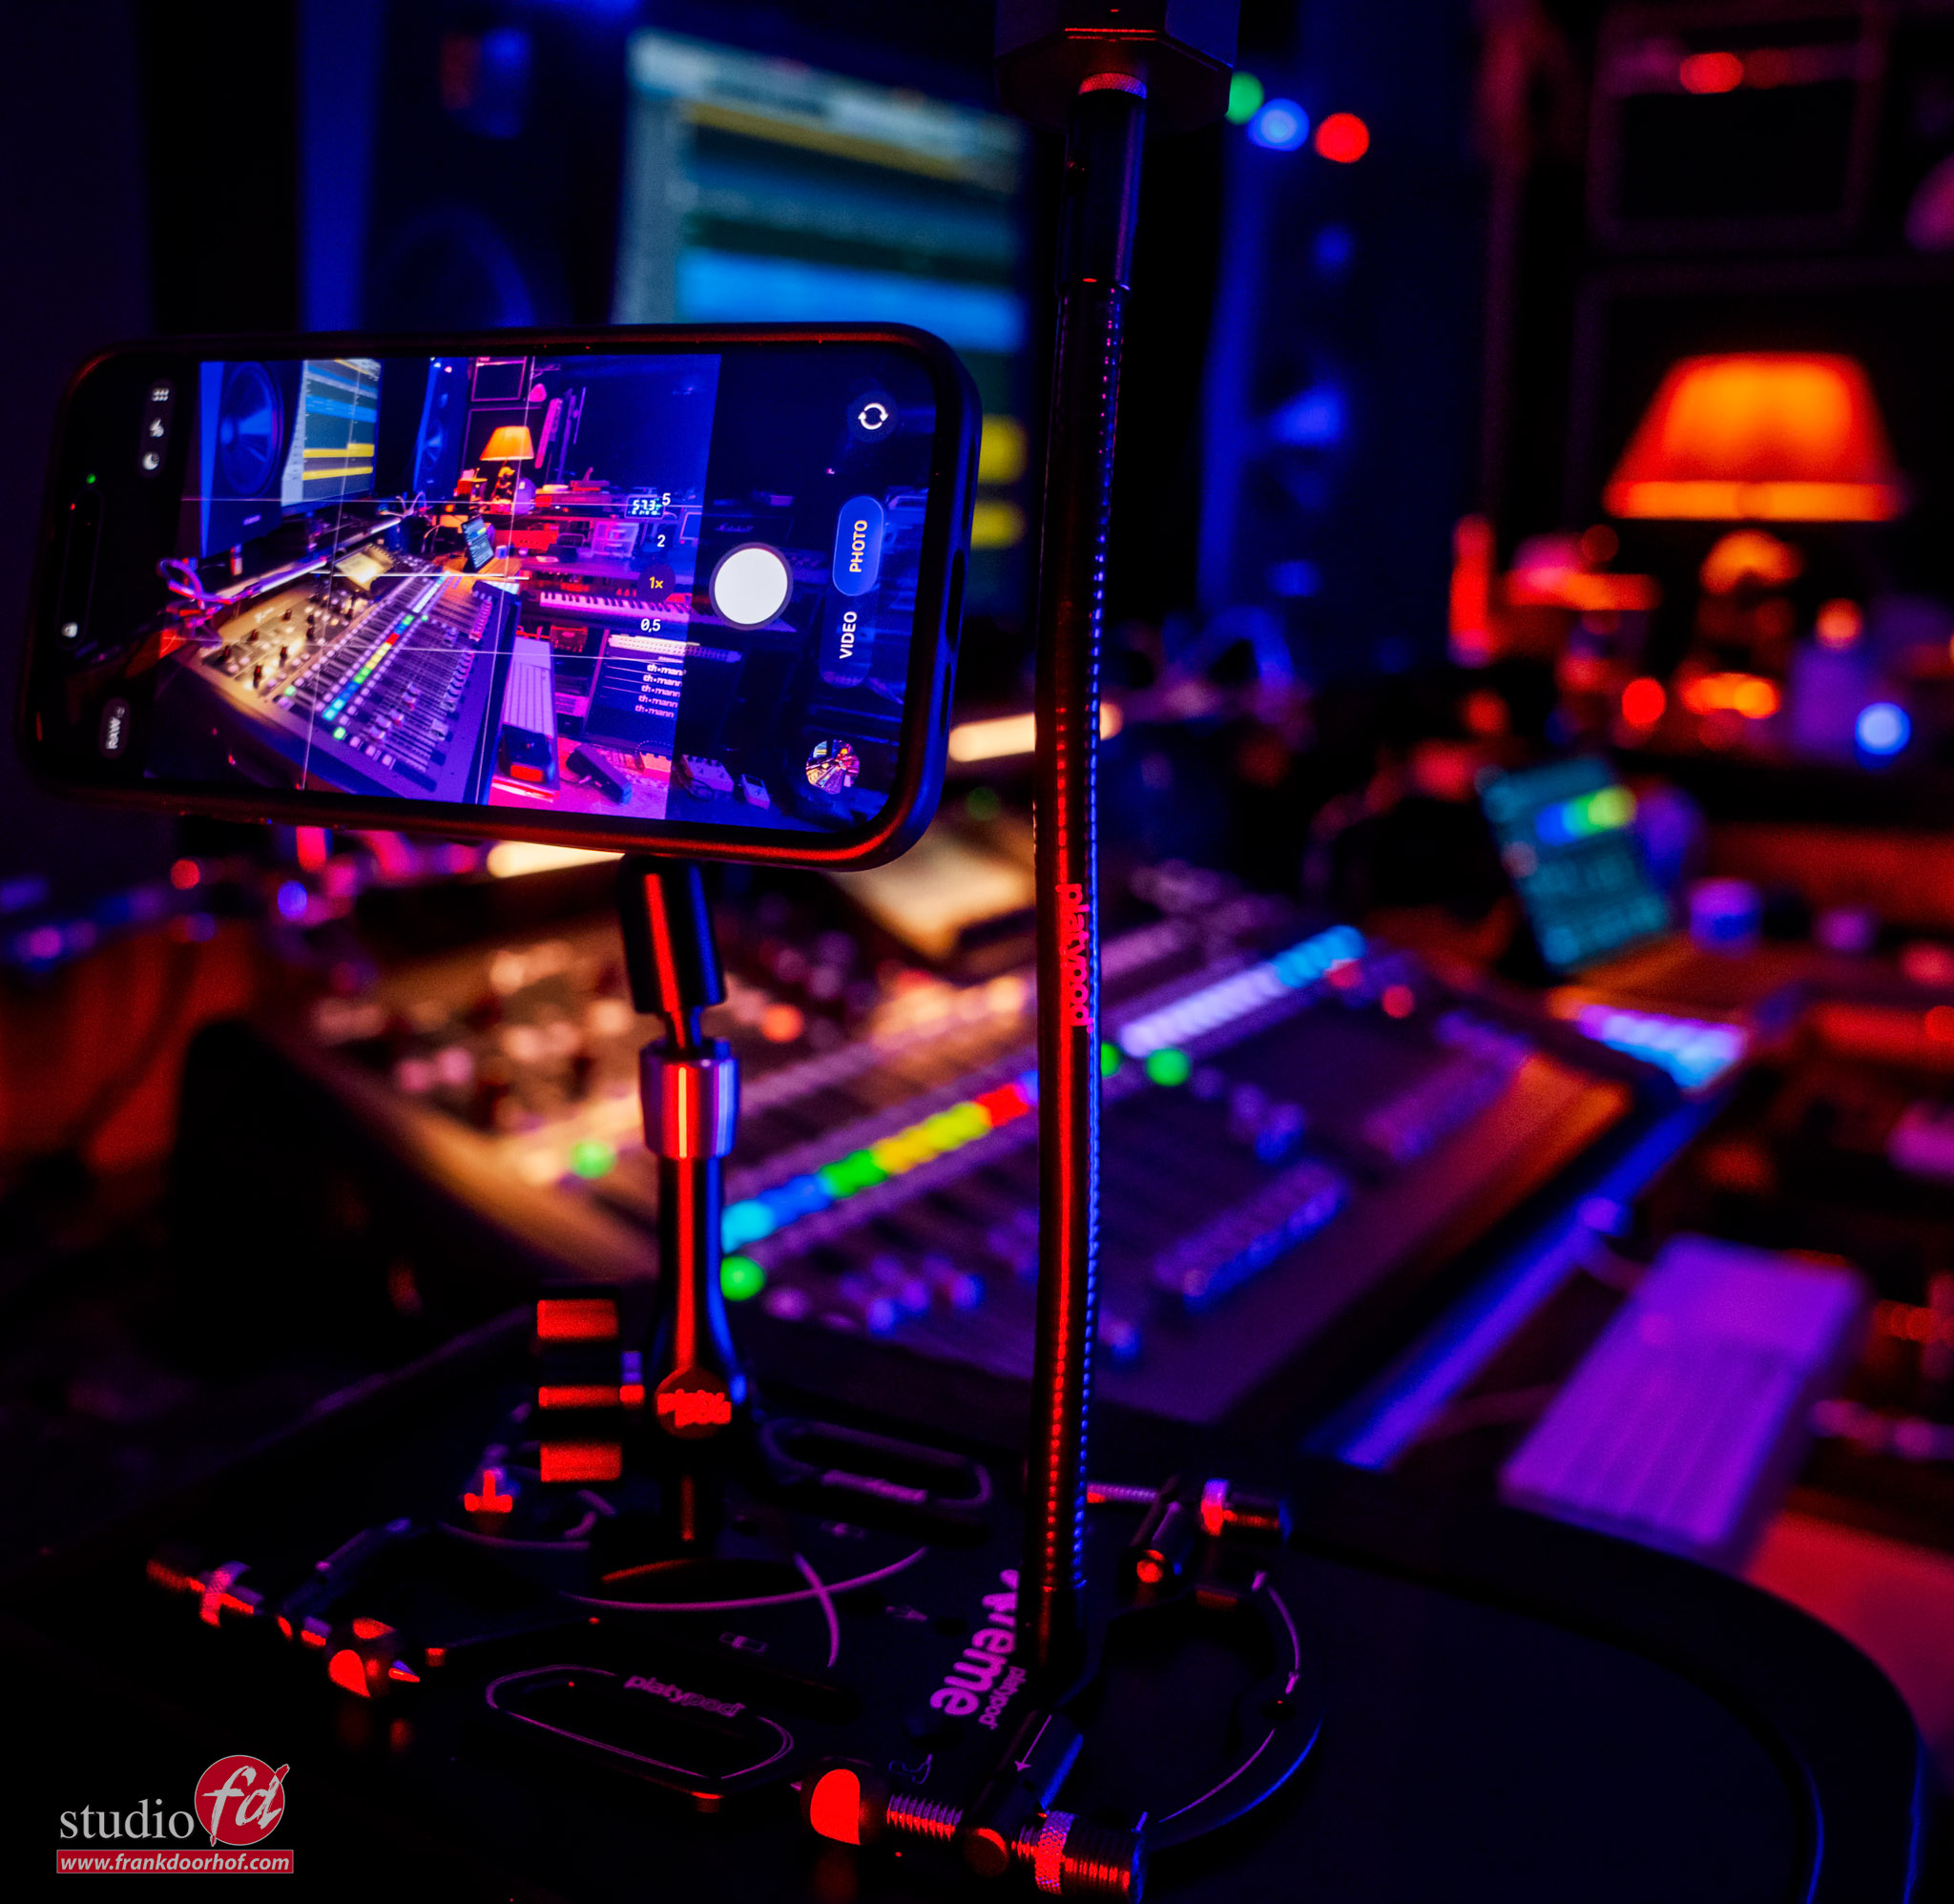
Platypod in action. I use the Maggrip on the Extreme base, which also holds a Gooseneck for the Pavotube

Also want to add Platypod to your bag?
Check www.frankdoorhof.com/shop for the gear I use, including, of course, Platypod
Workshops
Want to learn everything about light control?
Want to visit a workshop where it’s not just shooting a model with a fixed lighting setup, but see how the setup is build and adjusted to the taste of the group?
And of course learn how to work with poses, backgrounds, small sets, styling, retouching and a lot more…..
If this all sounds awesome, visit fotografie-workshops.nl and book your workshop.
If you don’t speak Dutch, no problem, let us know a few weeks in advance and we can switch the workshop to English.
Not possible to travel to The Netherlands?
We got you covered with our 1:1 online workshop.
We have a full streaming setup in our studio. 4 detail cameras and of course the retouching software so you can see every detail and of course ask questions during the day. Plus you get all the RAW files after the workshop.