It’s about the leading lines
Today it’s about one of those things that really can make or break a shot and other model photography tips. Let’s start with the angle.
When we talk about the angle of a shot we often immediately think about shooting from eye level, ants perspective, or the giant perspective.
The angle
We change the angle of a shot to get a different “vibe” in our shots. But also to create a more or less powerful character because it looks funky and great. Angles will really change the complete narrative of a shot. And don’t think it’s just with model photography, try putting your camera really low with landscape photography, maybe hover it over the water and you get some amazing shots. But there is more.
One of the things that always fascinated me was the creativity you could get from just choosing different lenses, apertures, and most of all the length of the lens when I started with photography.
My start of model photography
When I started taking photography more seriously I wanted to invest in good lenses.
Because almost everyone was using 70-200 f2.8 or longer primes (85-135) for model photography…. well that was my choice.
I also used a 24-70 f2.8, mostly for street and casual photography.
Till my 70-200 broke and I was “forced” to use my 24-70 much more. And to be fair, I’m glad that happened because my 70-200 f2.8 hasn’t been used a lot after it was returned.
“why?” you might ask.
Well it’s actually very simple.
When you shoot with a 70-200 you’re always using a rather heavy form of compression. This is great for getting out-of-focus backdrops and fitting a model on a not-so-wide background (the field of view is narrower with a longer lens). But you will quickly find out that when you start using angles to shoot your models there is a difference but it isn’t “WOW”. Another model photography tip is.
To get the WOW effect we need distortion
And no, I’m not talking about a blaring Marshall with a tube screamer….
When we use wider angles you will find out one very important thing.
The camera doesn’t see “depth”. It just renders objects closer to the lens as larger and further away as smaller.
When we use a wider angle this means that this effect is exaggerated, you can get some really cool effects with this.
For example, make a model point towards the camera and shoot it at a wide angle setting.
But for today’s blogpost, we take a look at another example.
A model and a guitar
During the workshops, I often try to bring cool props and create together with the attendees “fake” ads, or artist shots.
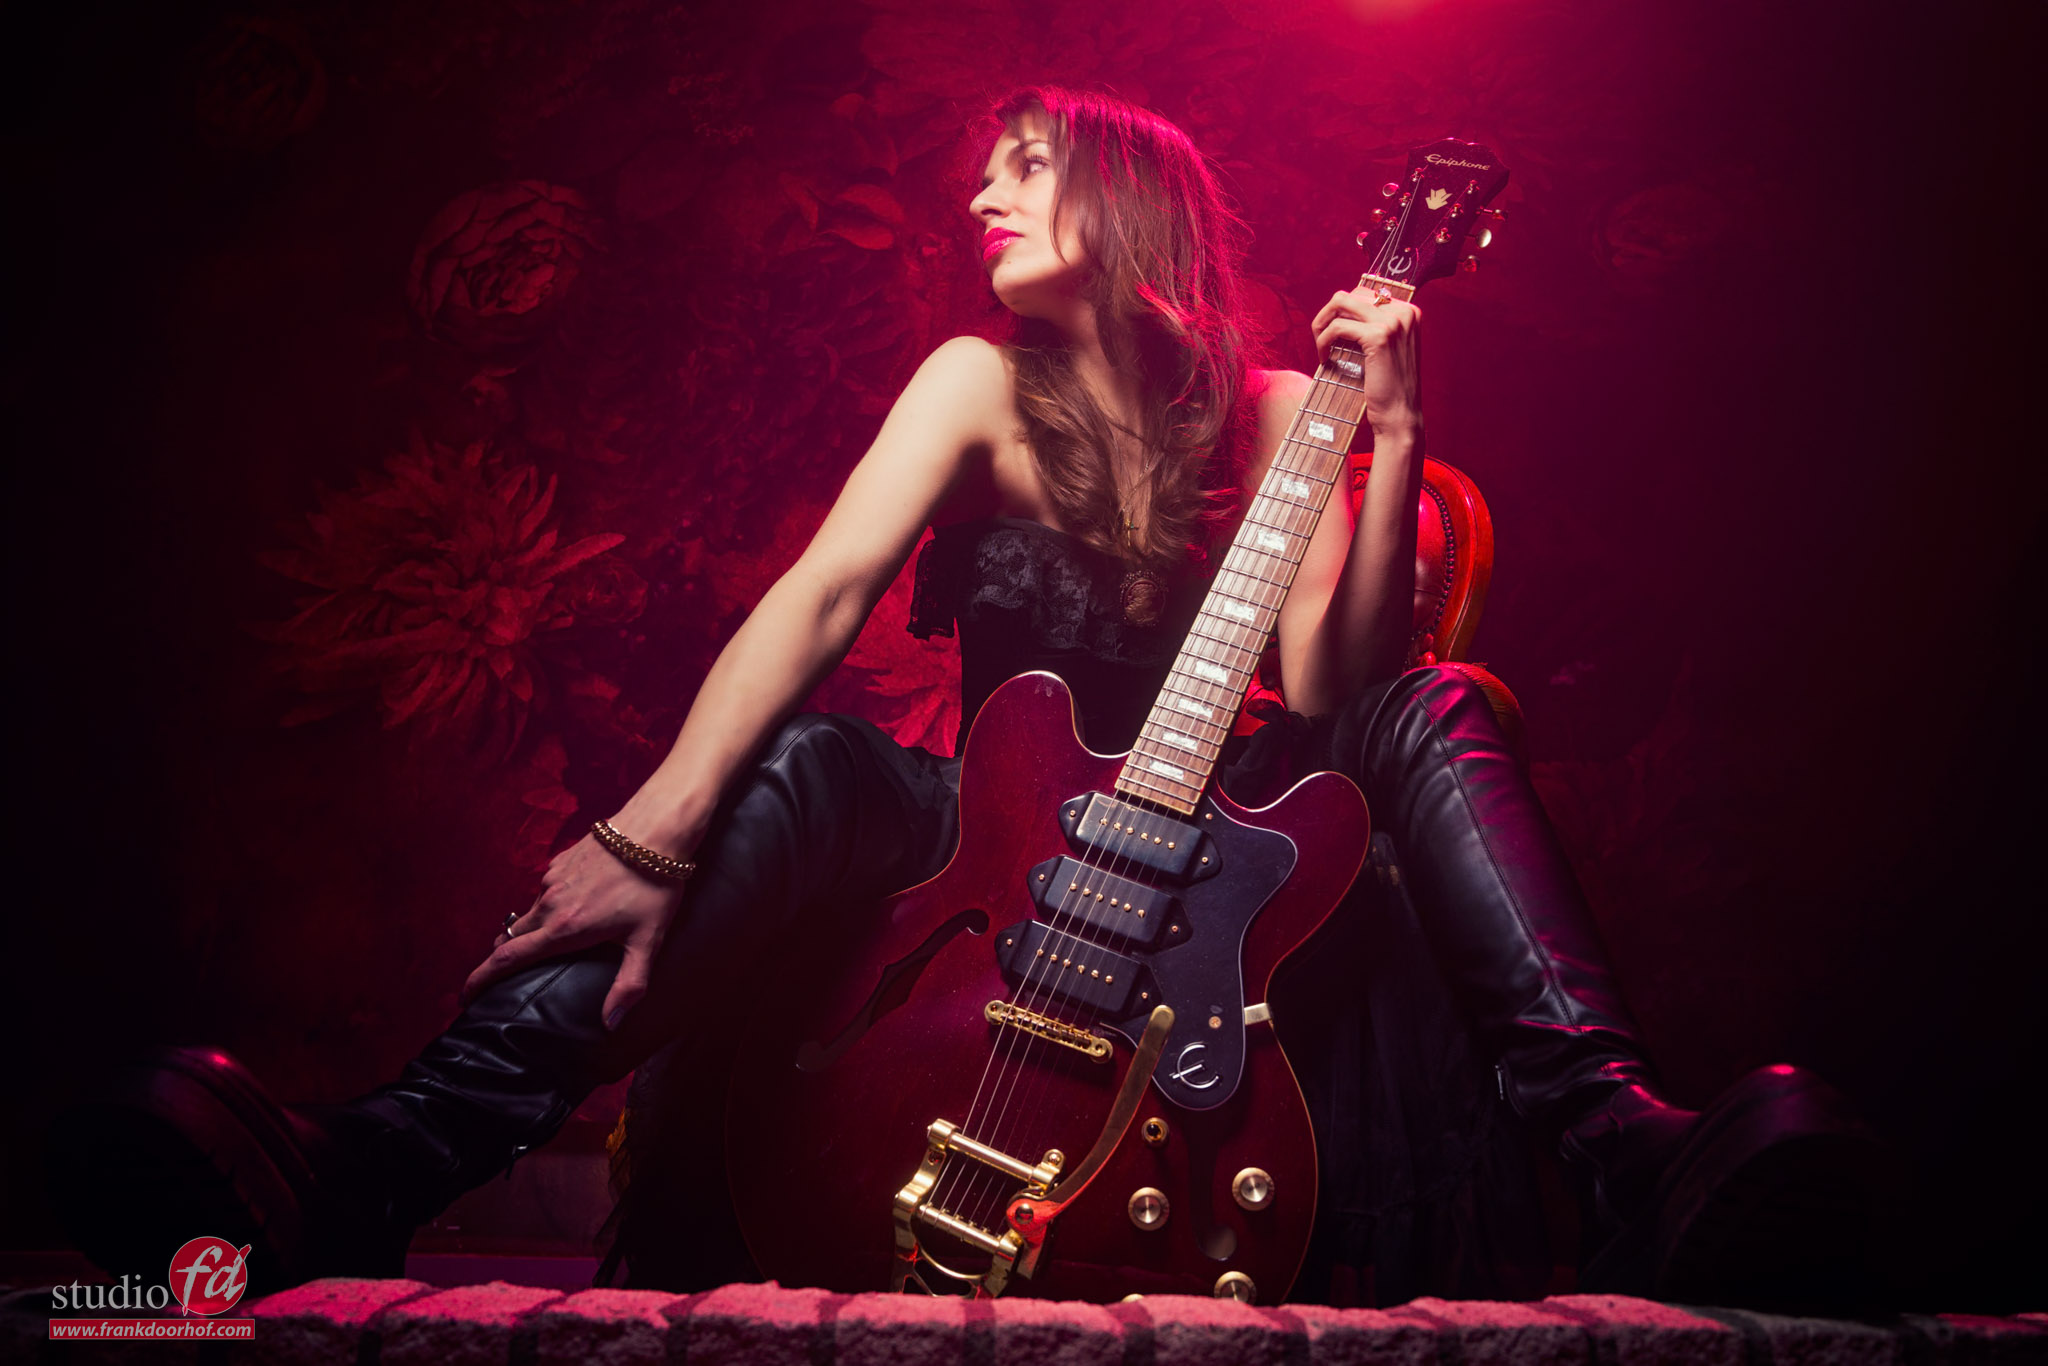
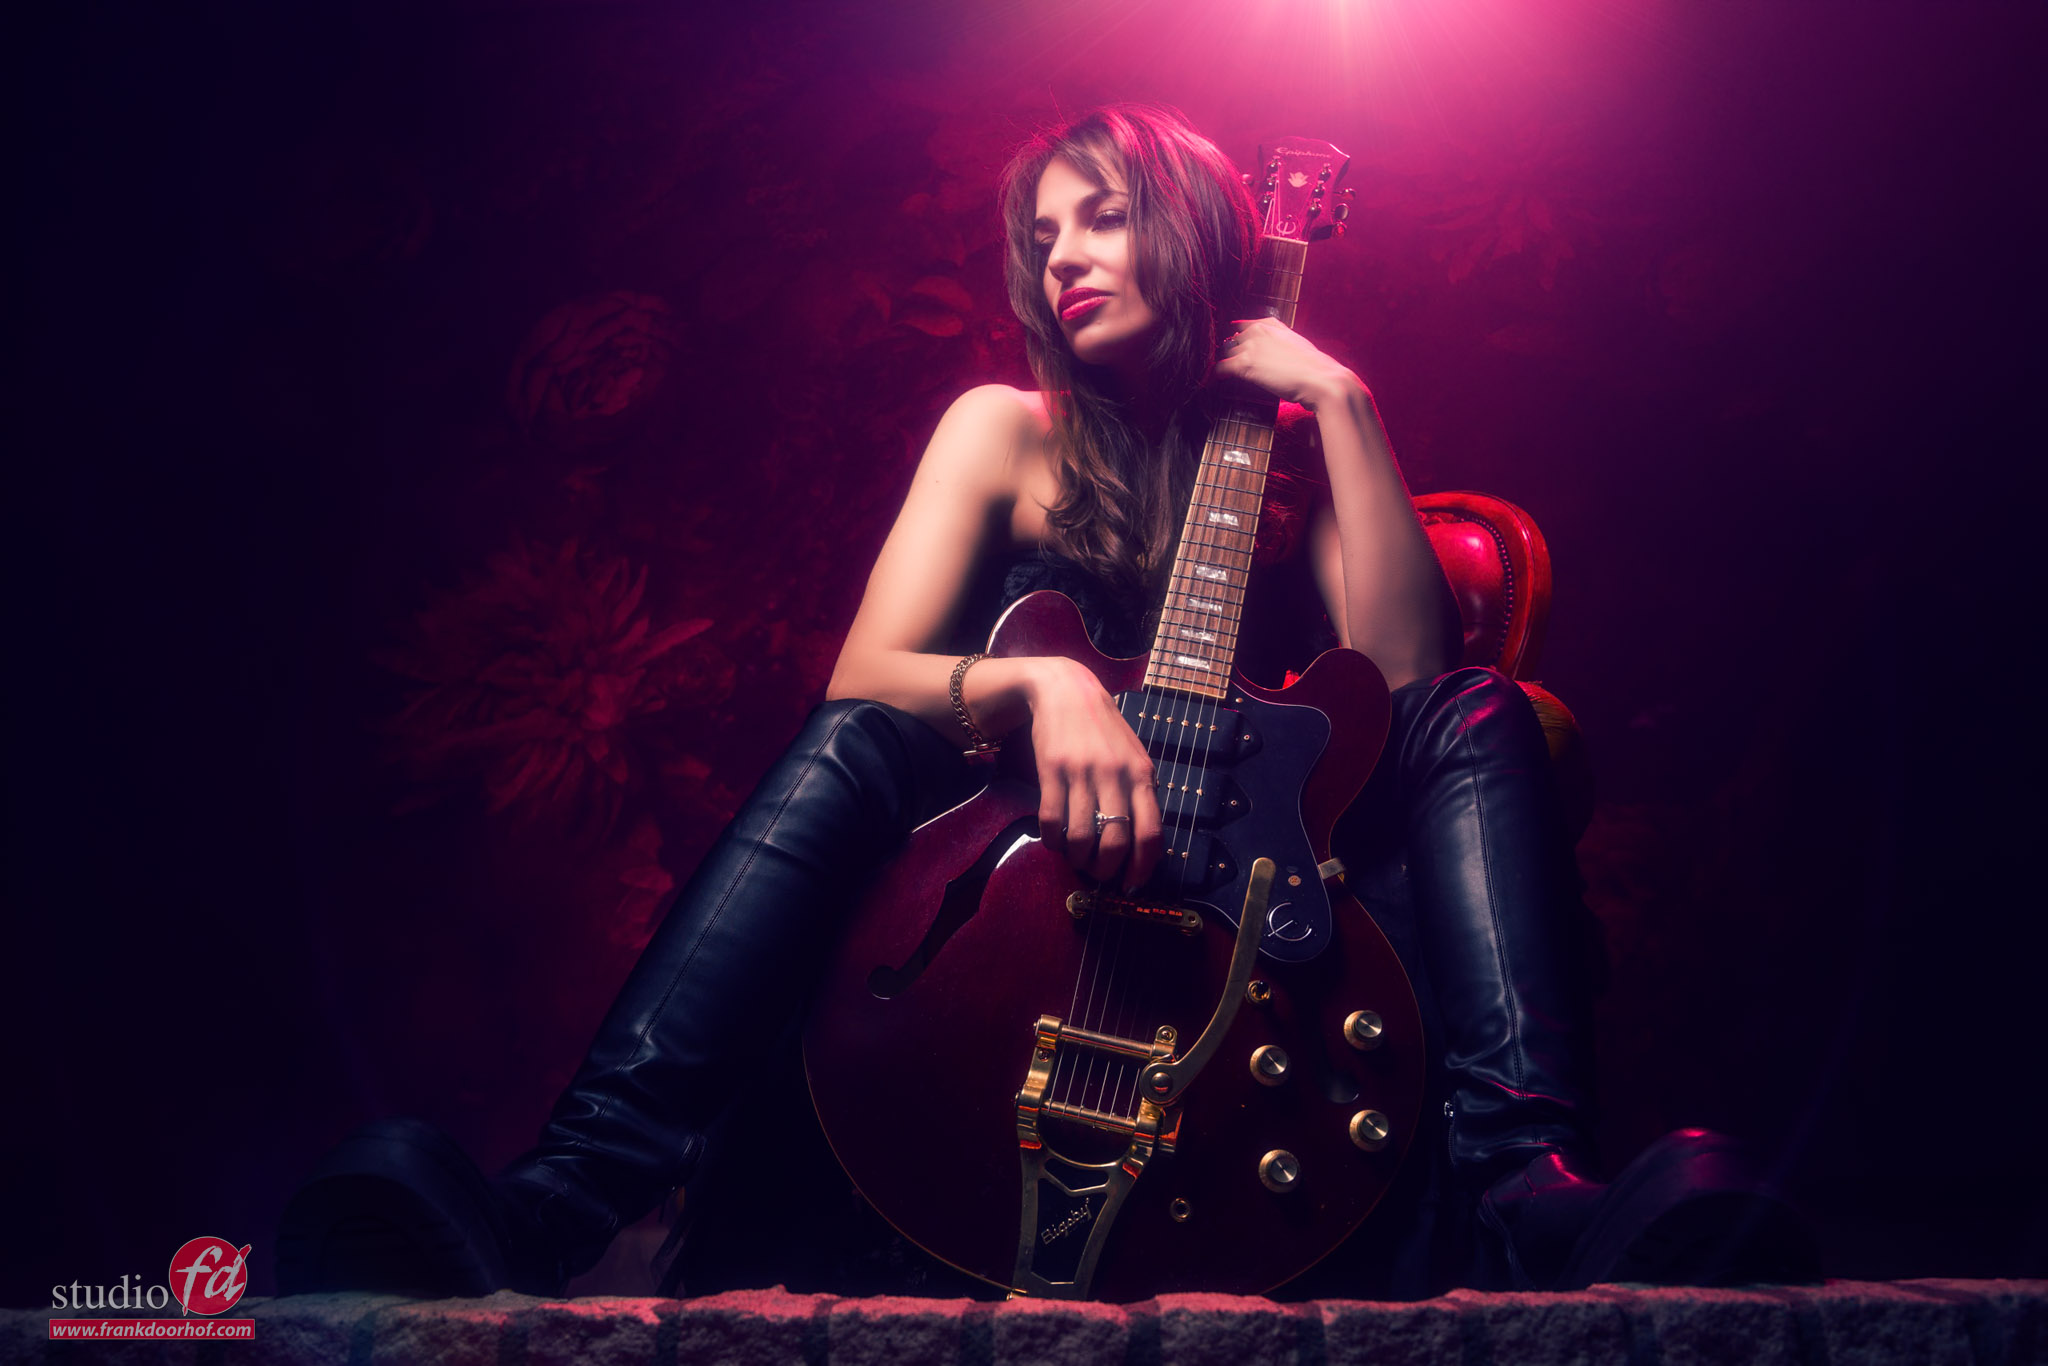
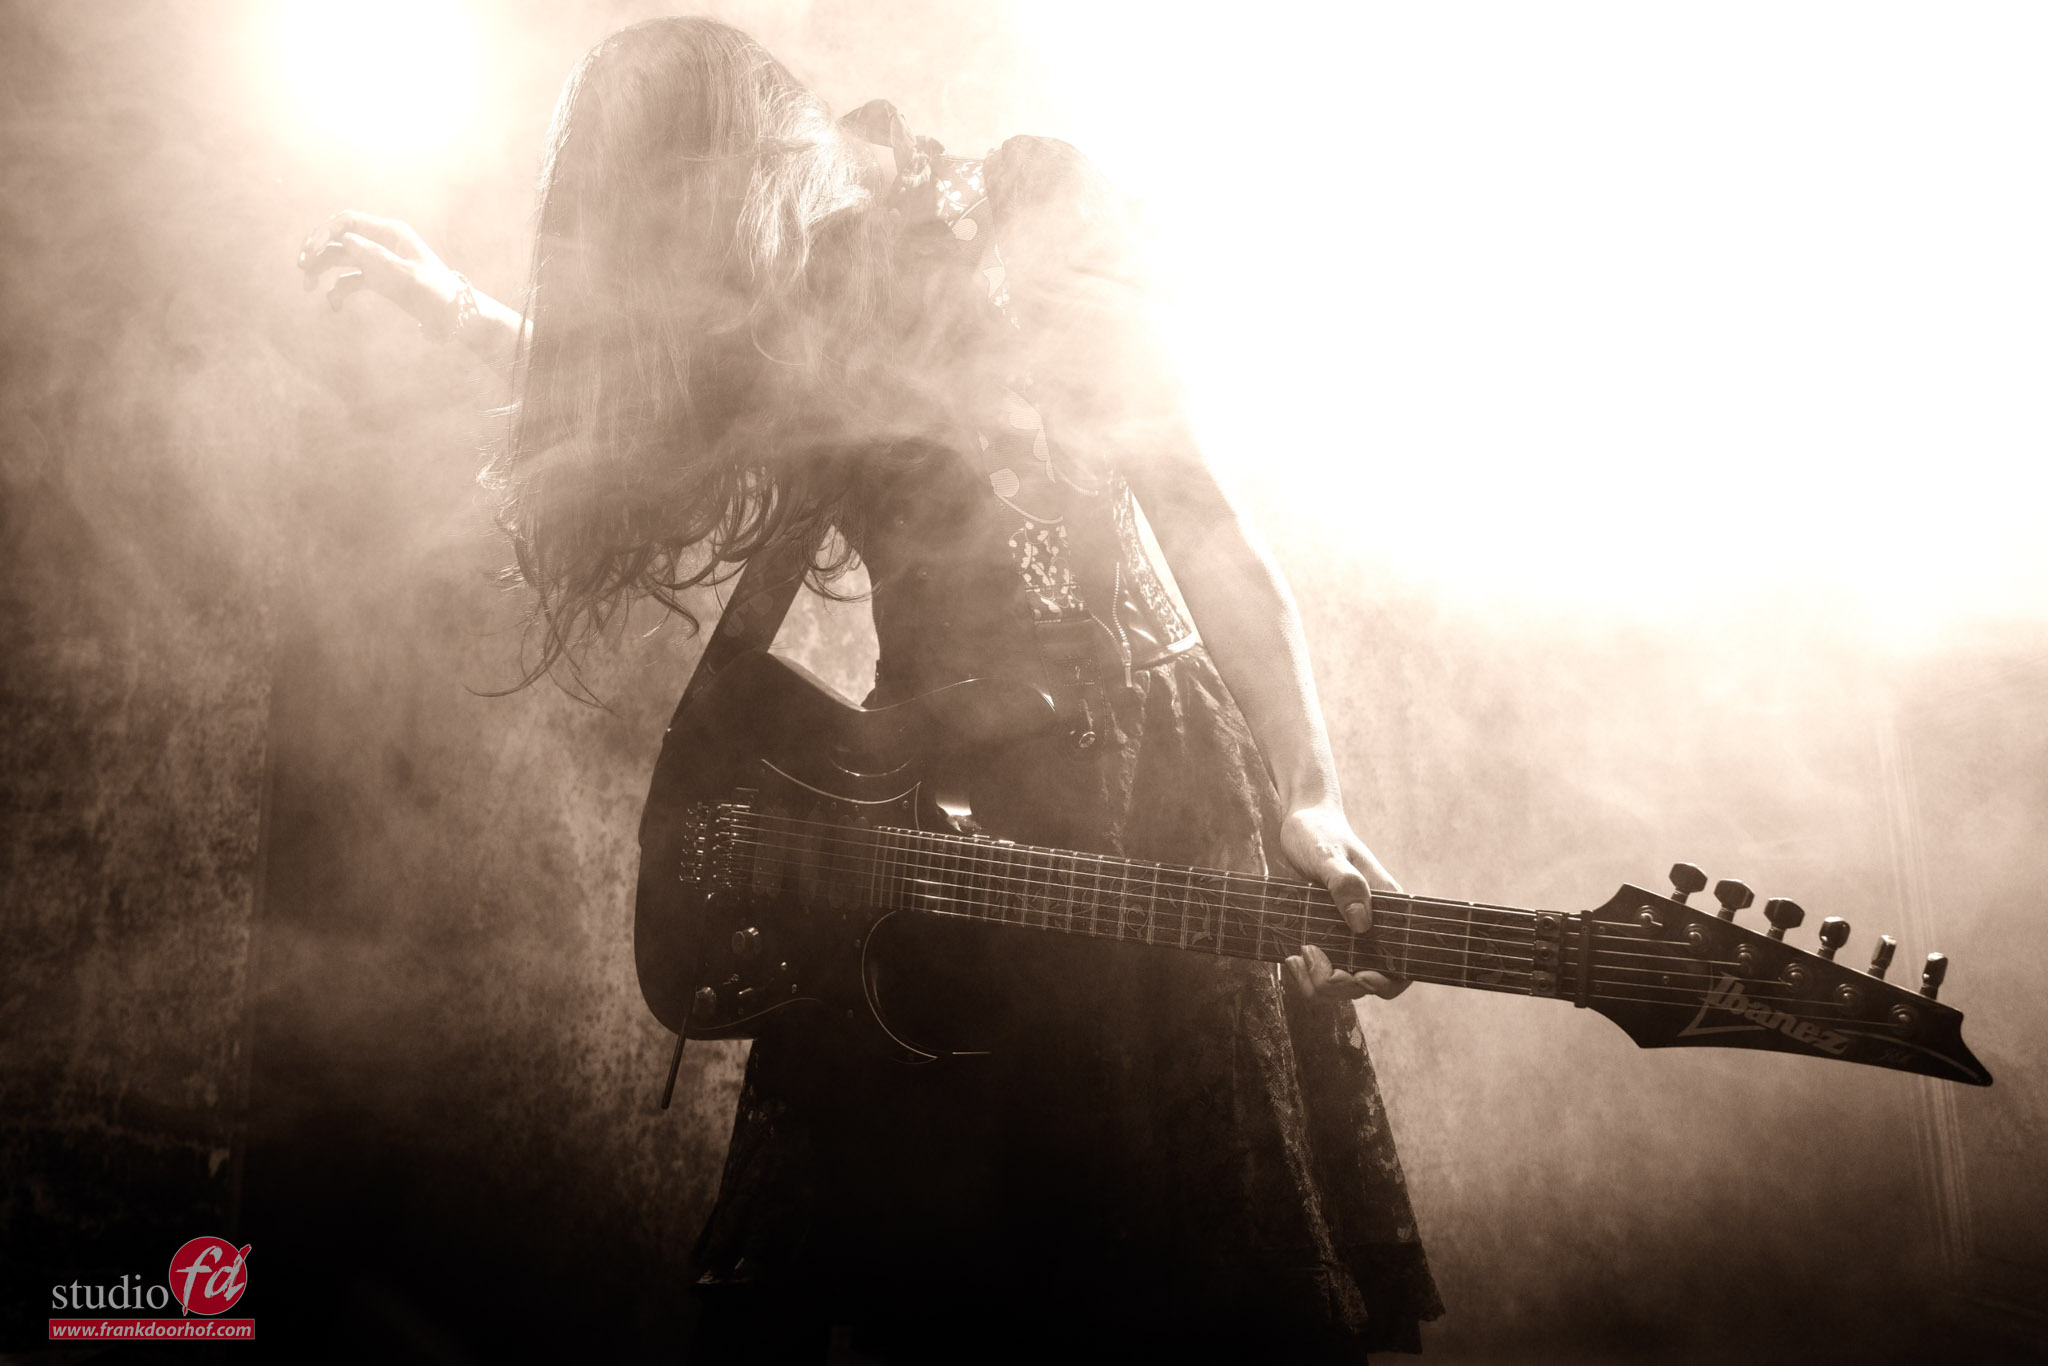
In this case, we use a beautiful Epiphone guitar, and our model Felisa is seated on the stage in our studio.
Lighting wise I’m using the Geekoto Quicky softbox on a Geekoto GT400 as my main light source.
I’m using the Quicky because it focuses the light on my subject without having the softbox really close to the model.
For the red I’m using one Geekoto GT200 with a red gel from our Rogue magnetic system.
Flow in my image
To get a nice “flow” in the image I’m shooting from a lower angle and using the 24-70 on a setting between 24-40mm.
It’s always wise to take several shots with different lengths. Sometimes a client will love the wider angles during the session, but later decide they might be a bit “too much”. This is why it’s always a good decision to shoot from different angles and different lengths. This way the client can always choose.
Same with smoke by the way.
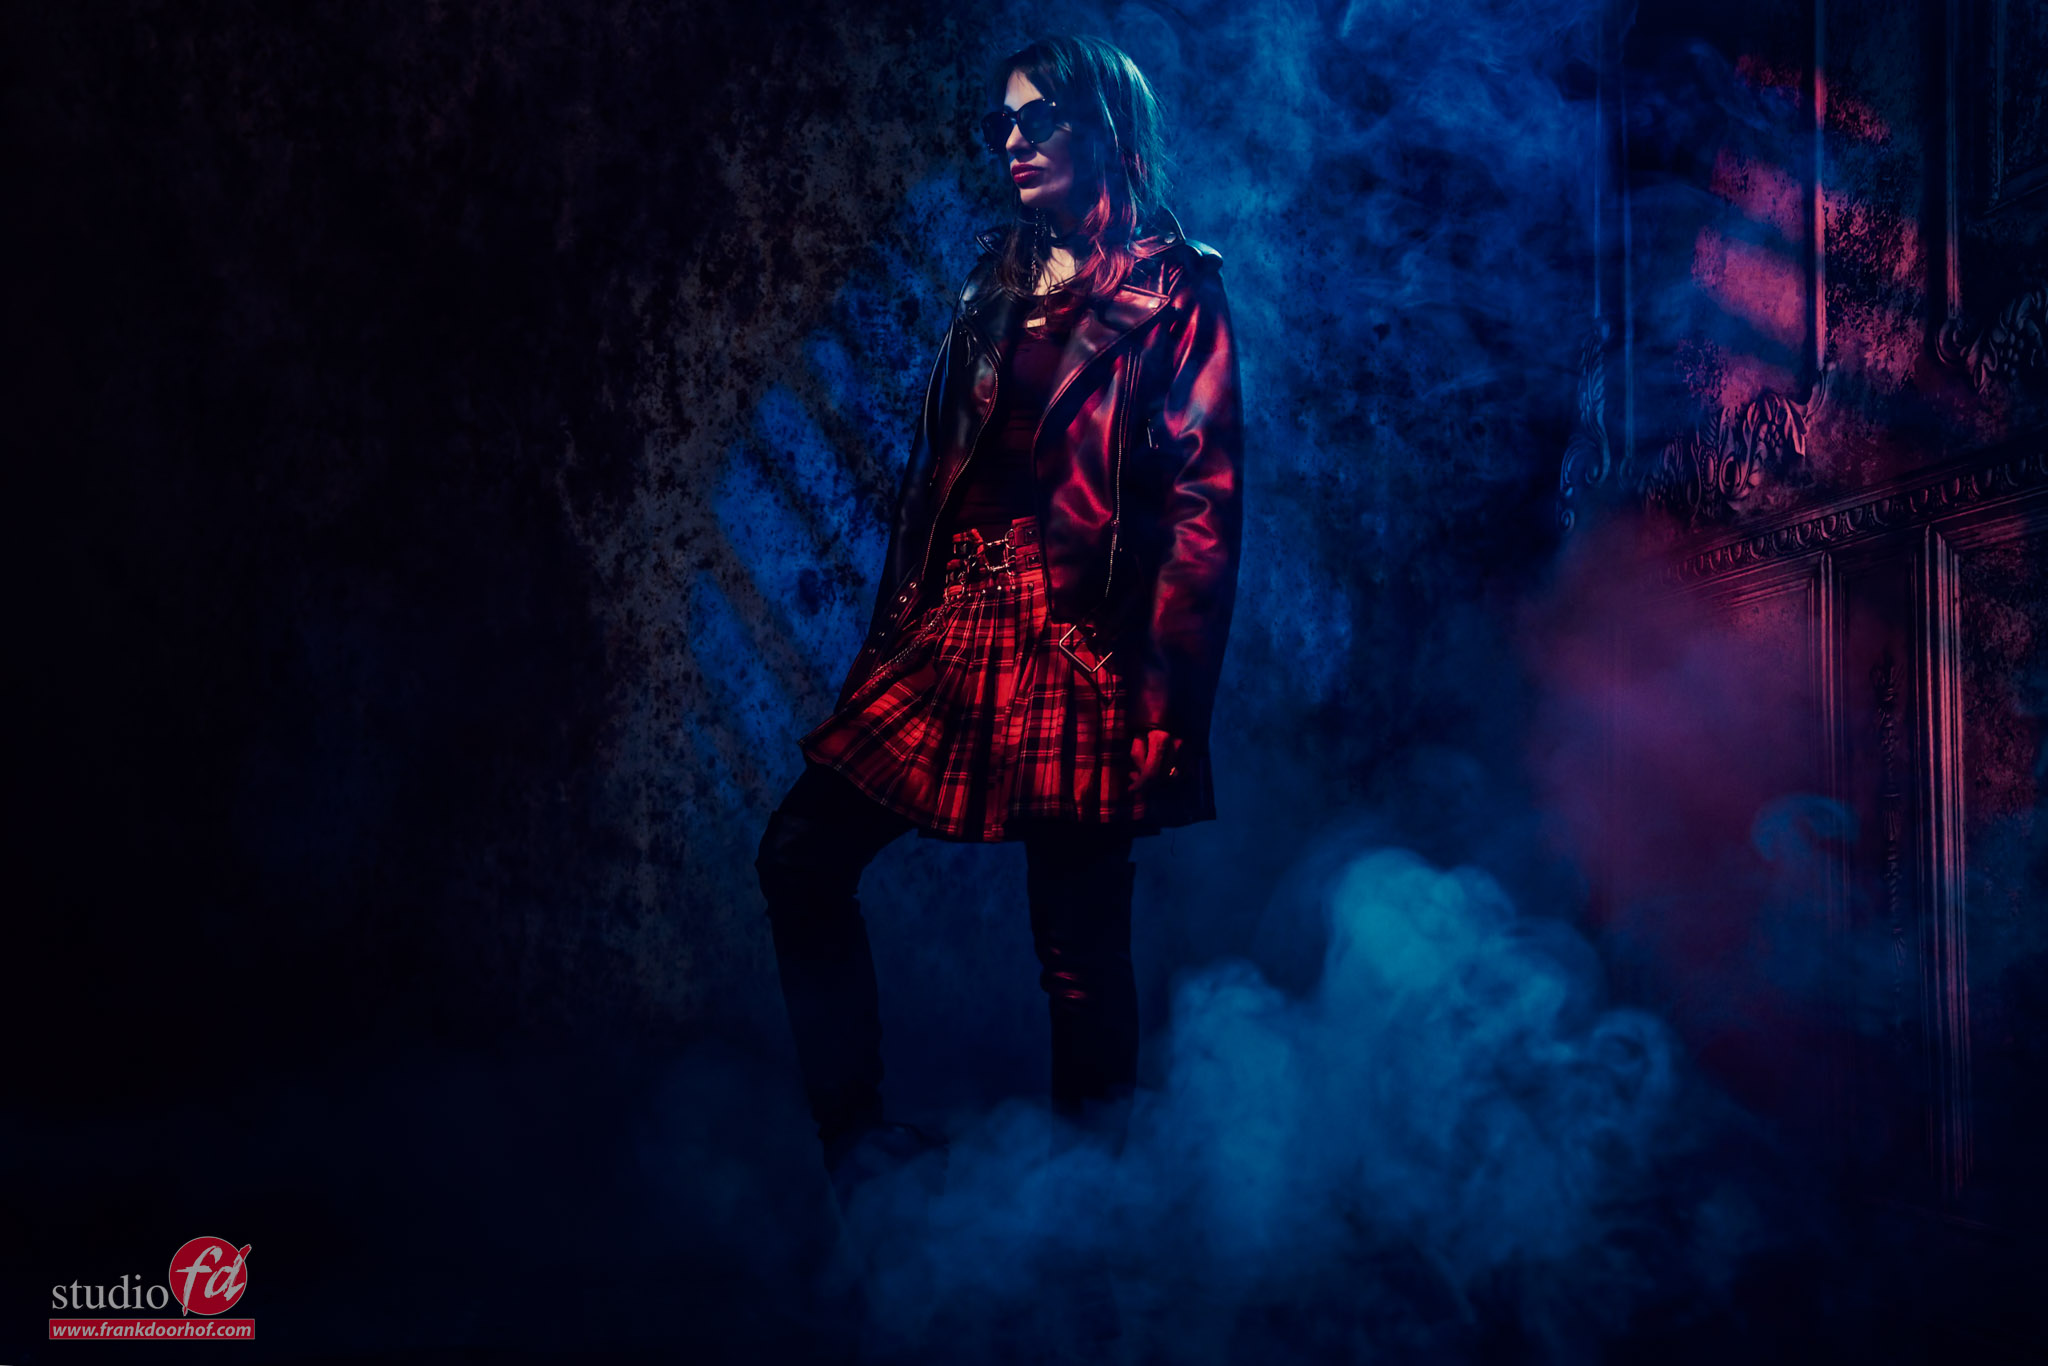
So the first image as you can see here is without the smoke.
But there are more model photography tips
By choosing the lower angle the model looks taller and more powerful.
I sometimes call this “the hero angle”.
But by adding the wider angle the distortion gives the images a very cool and powerful look.
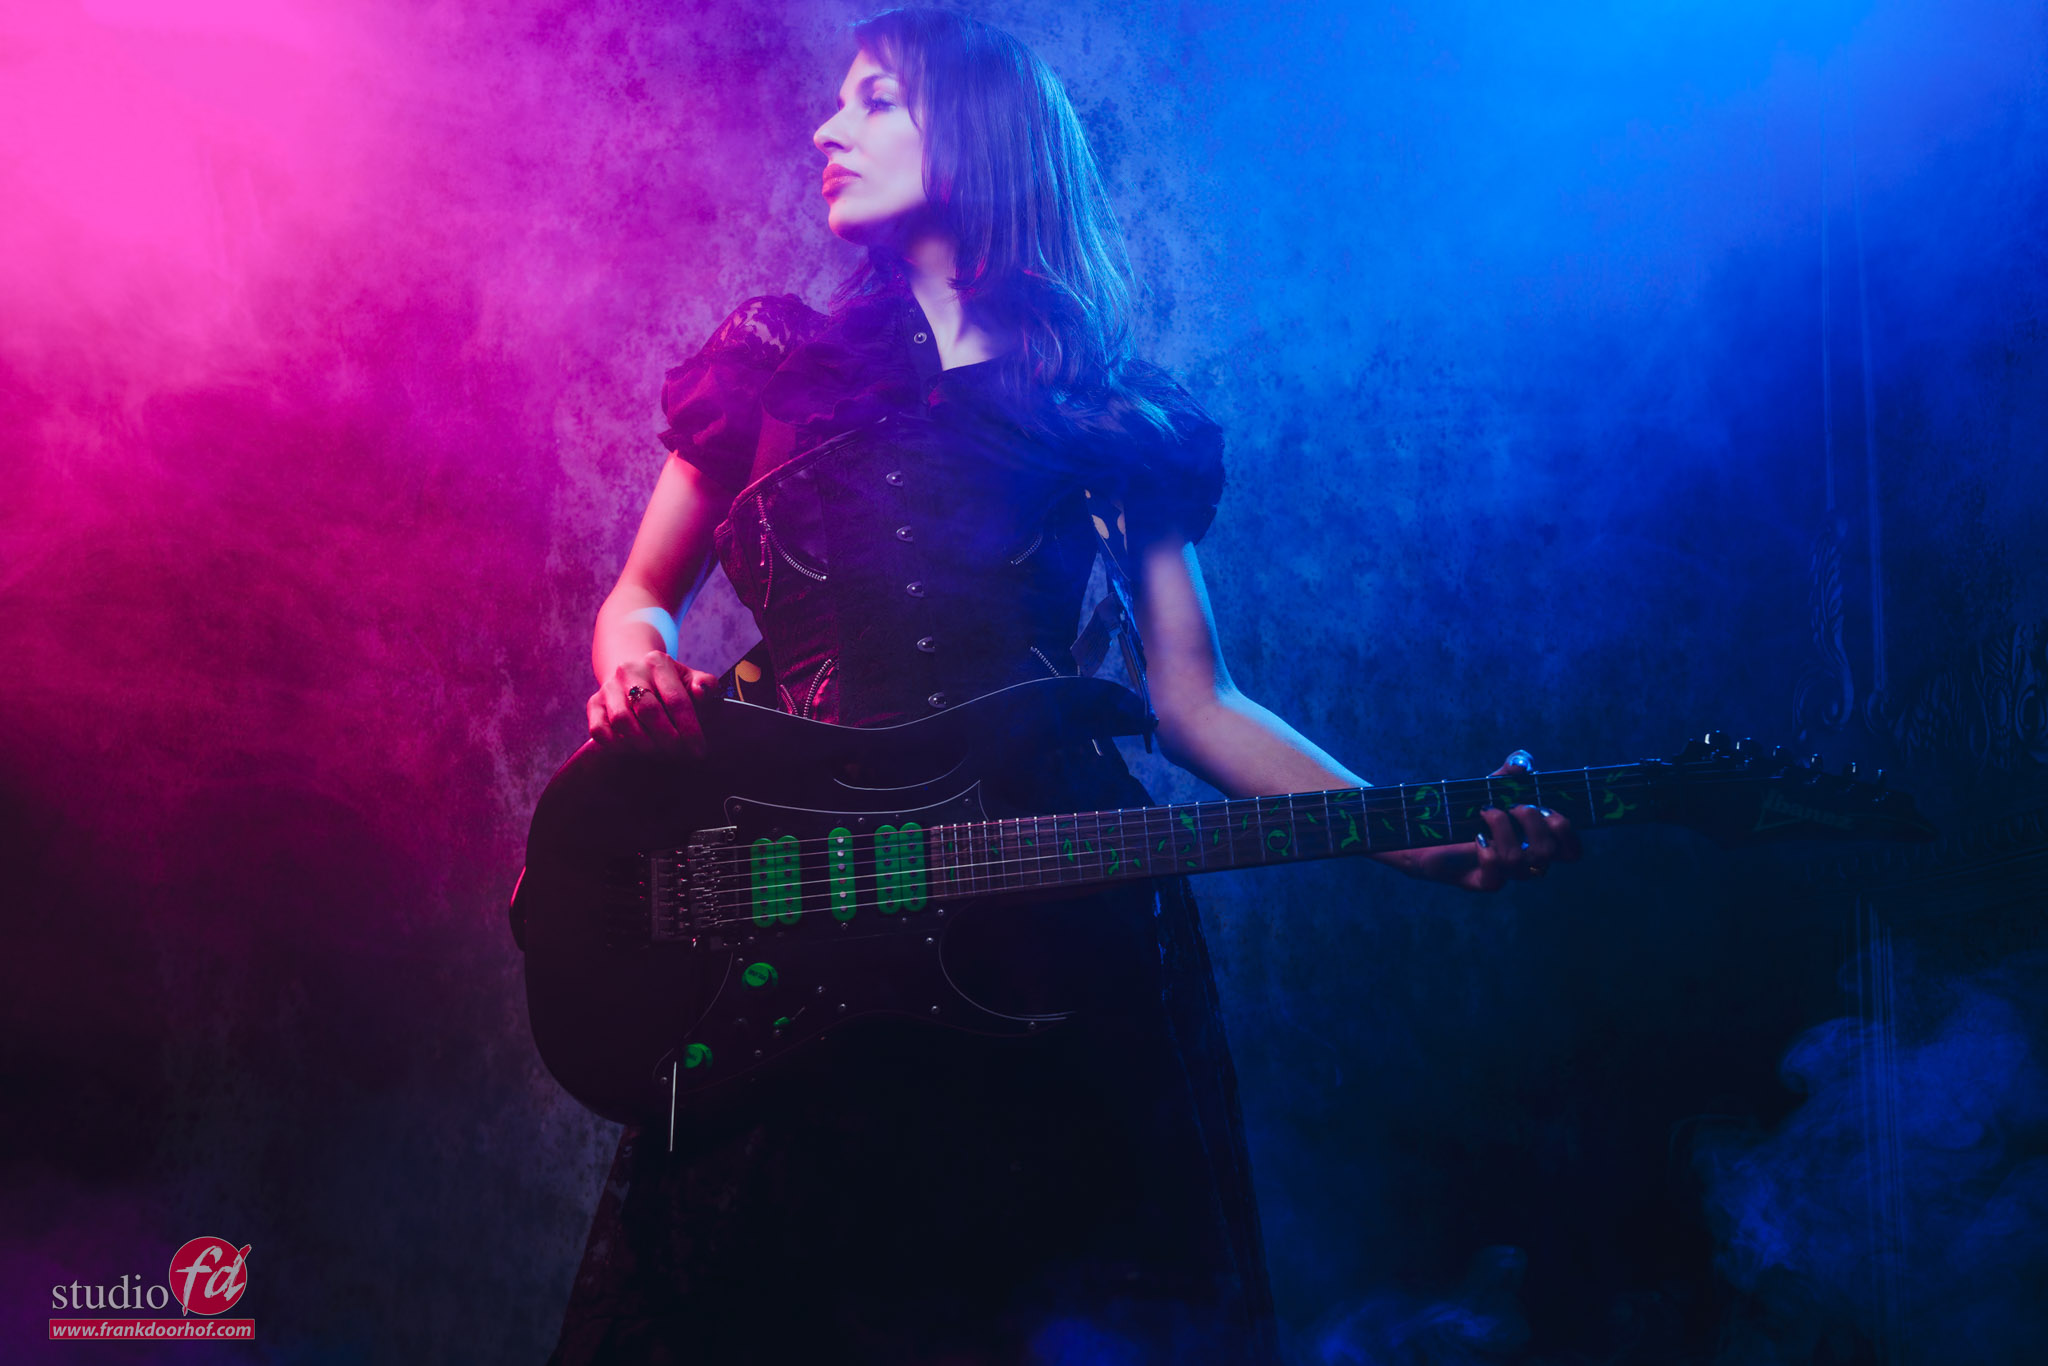
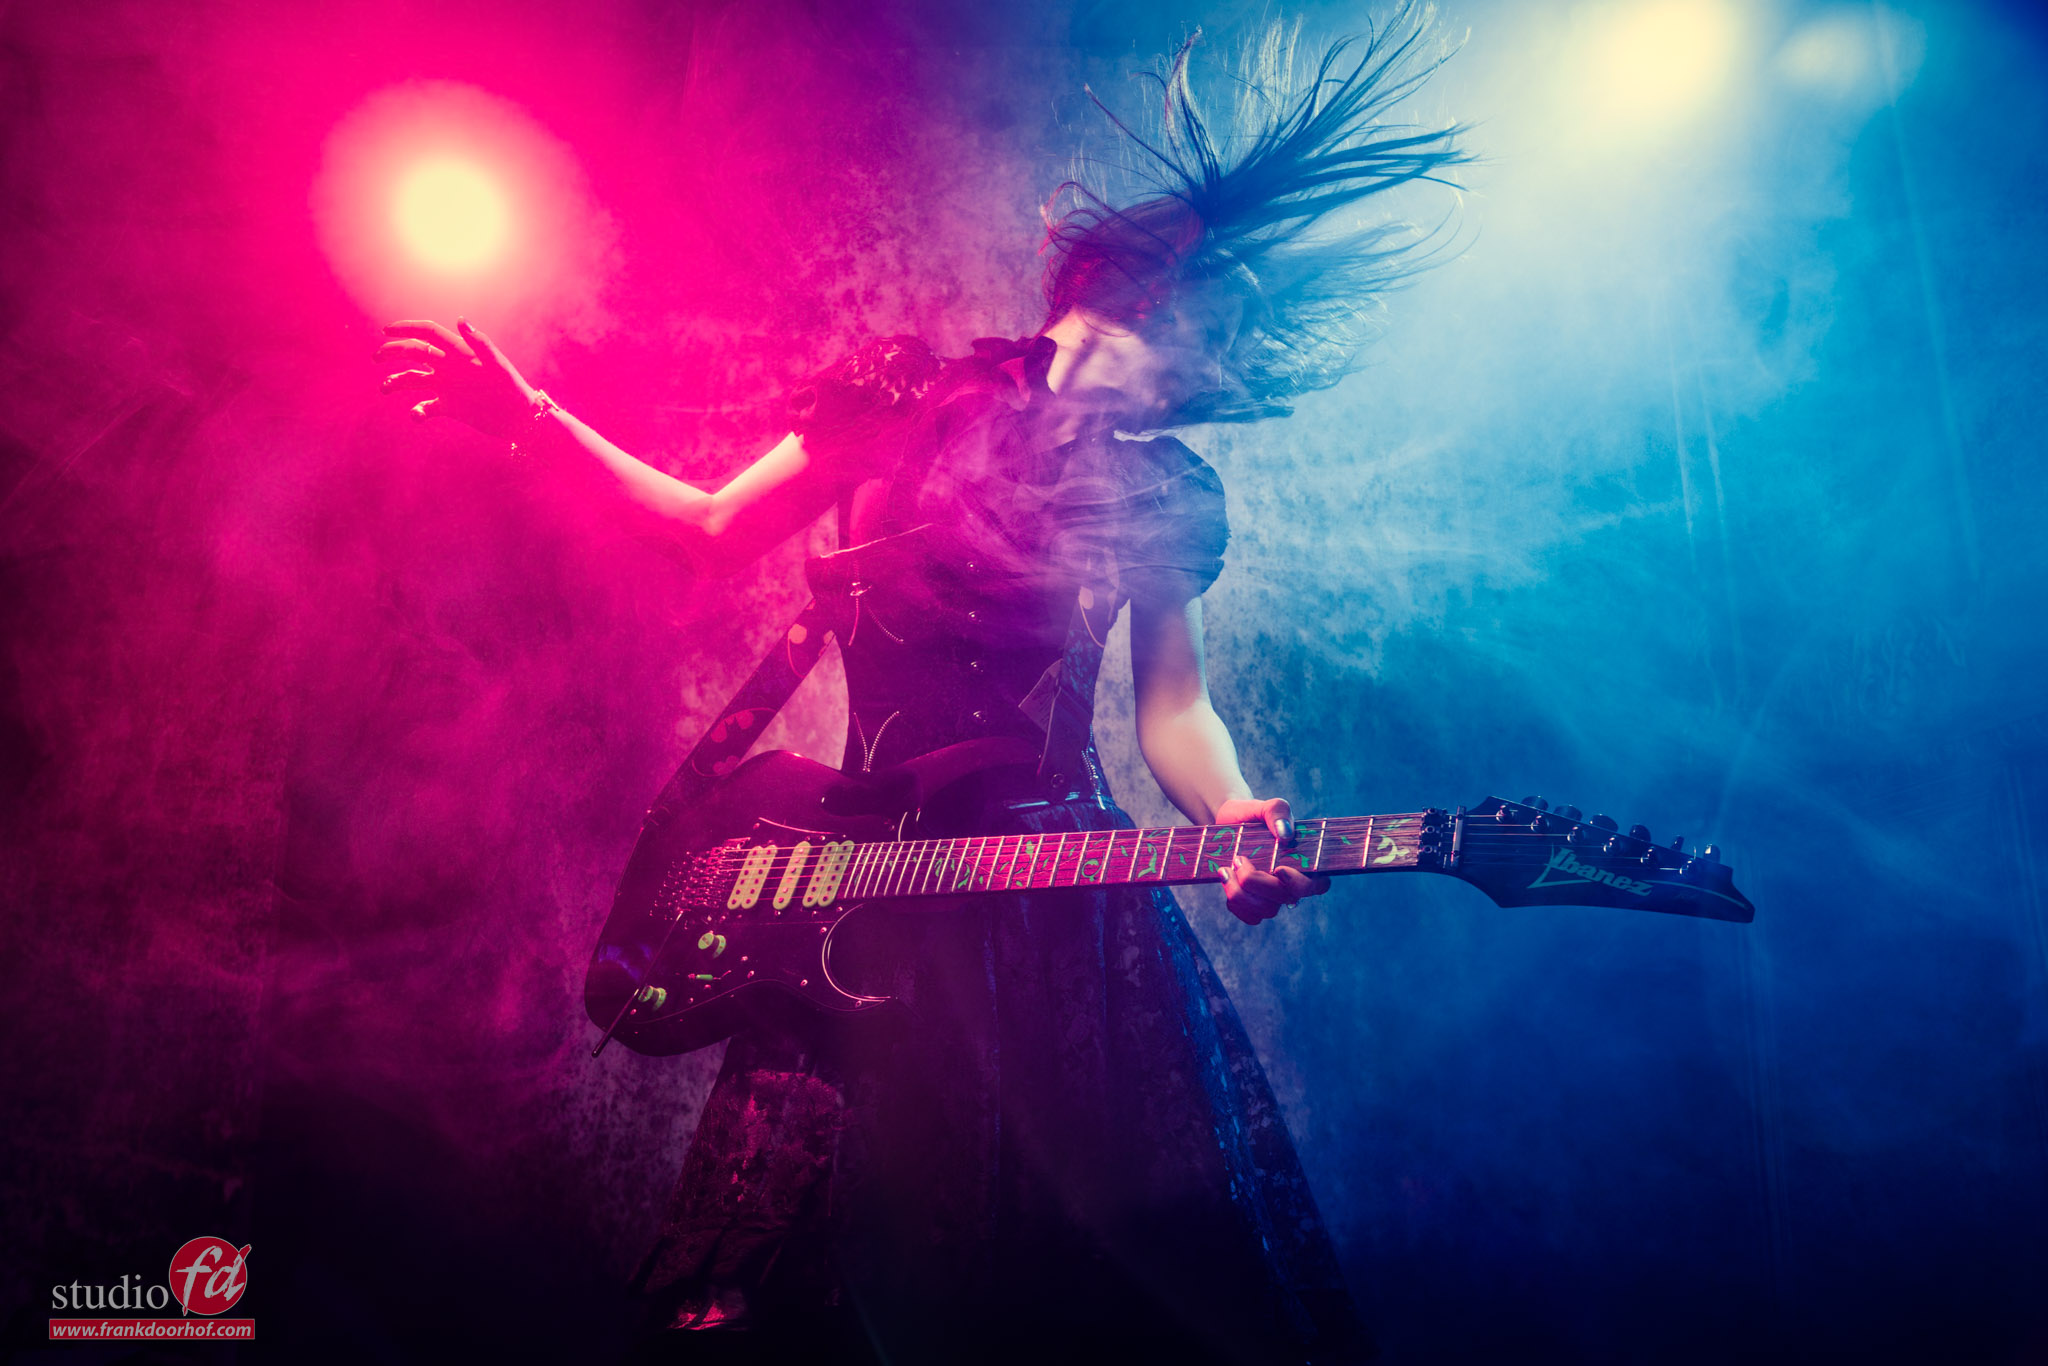
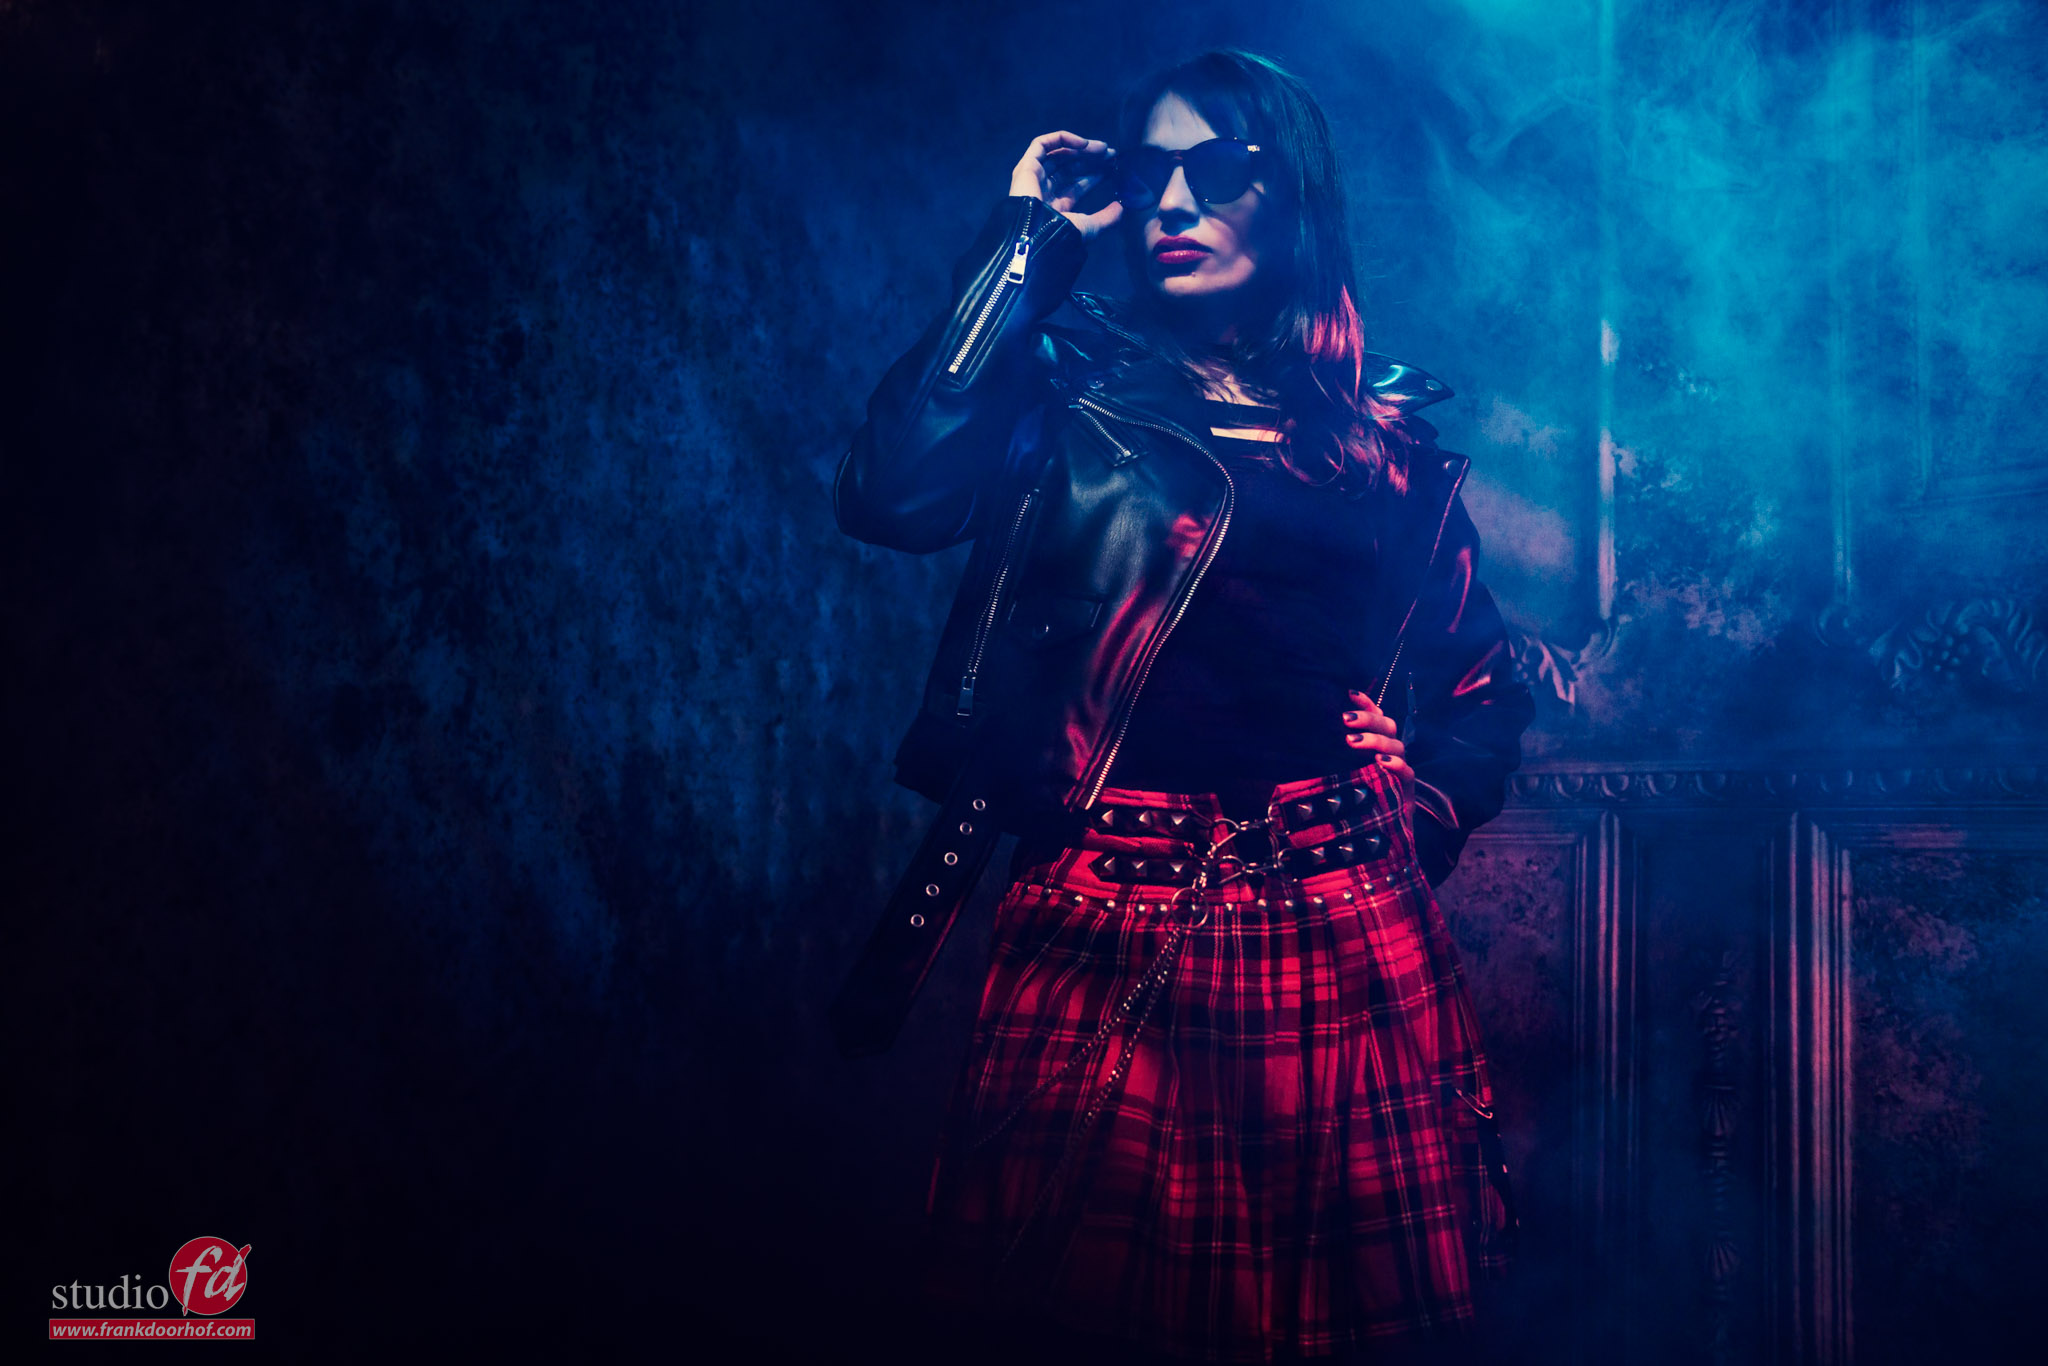
Now that the base is done, let’s add some smoke.
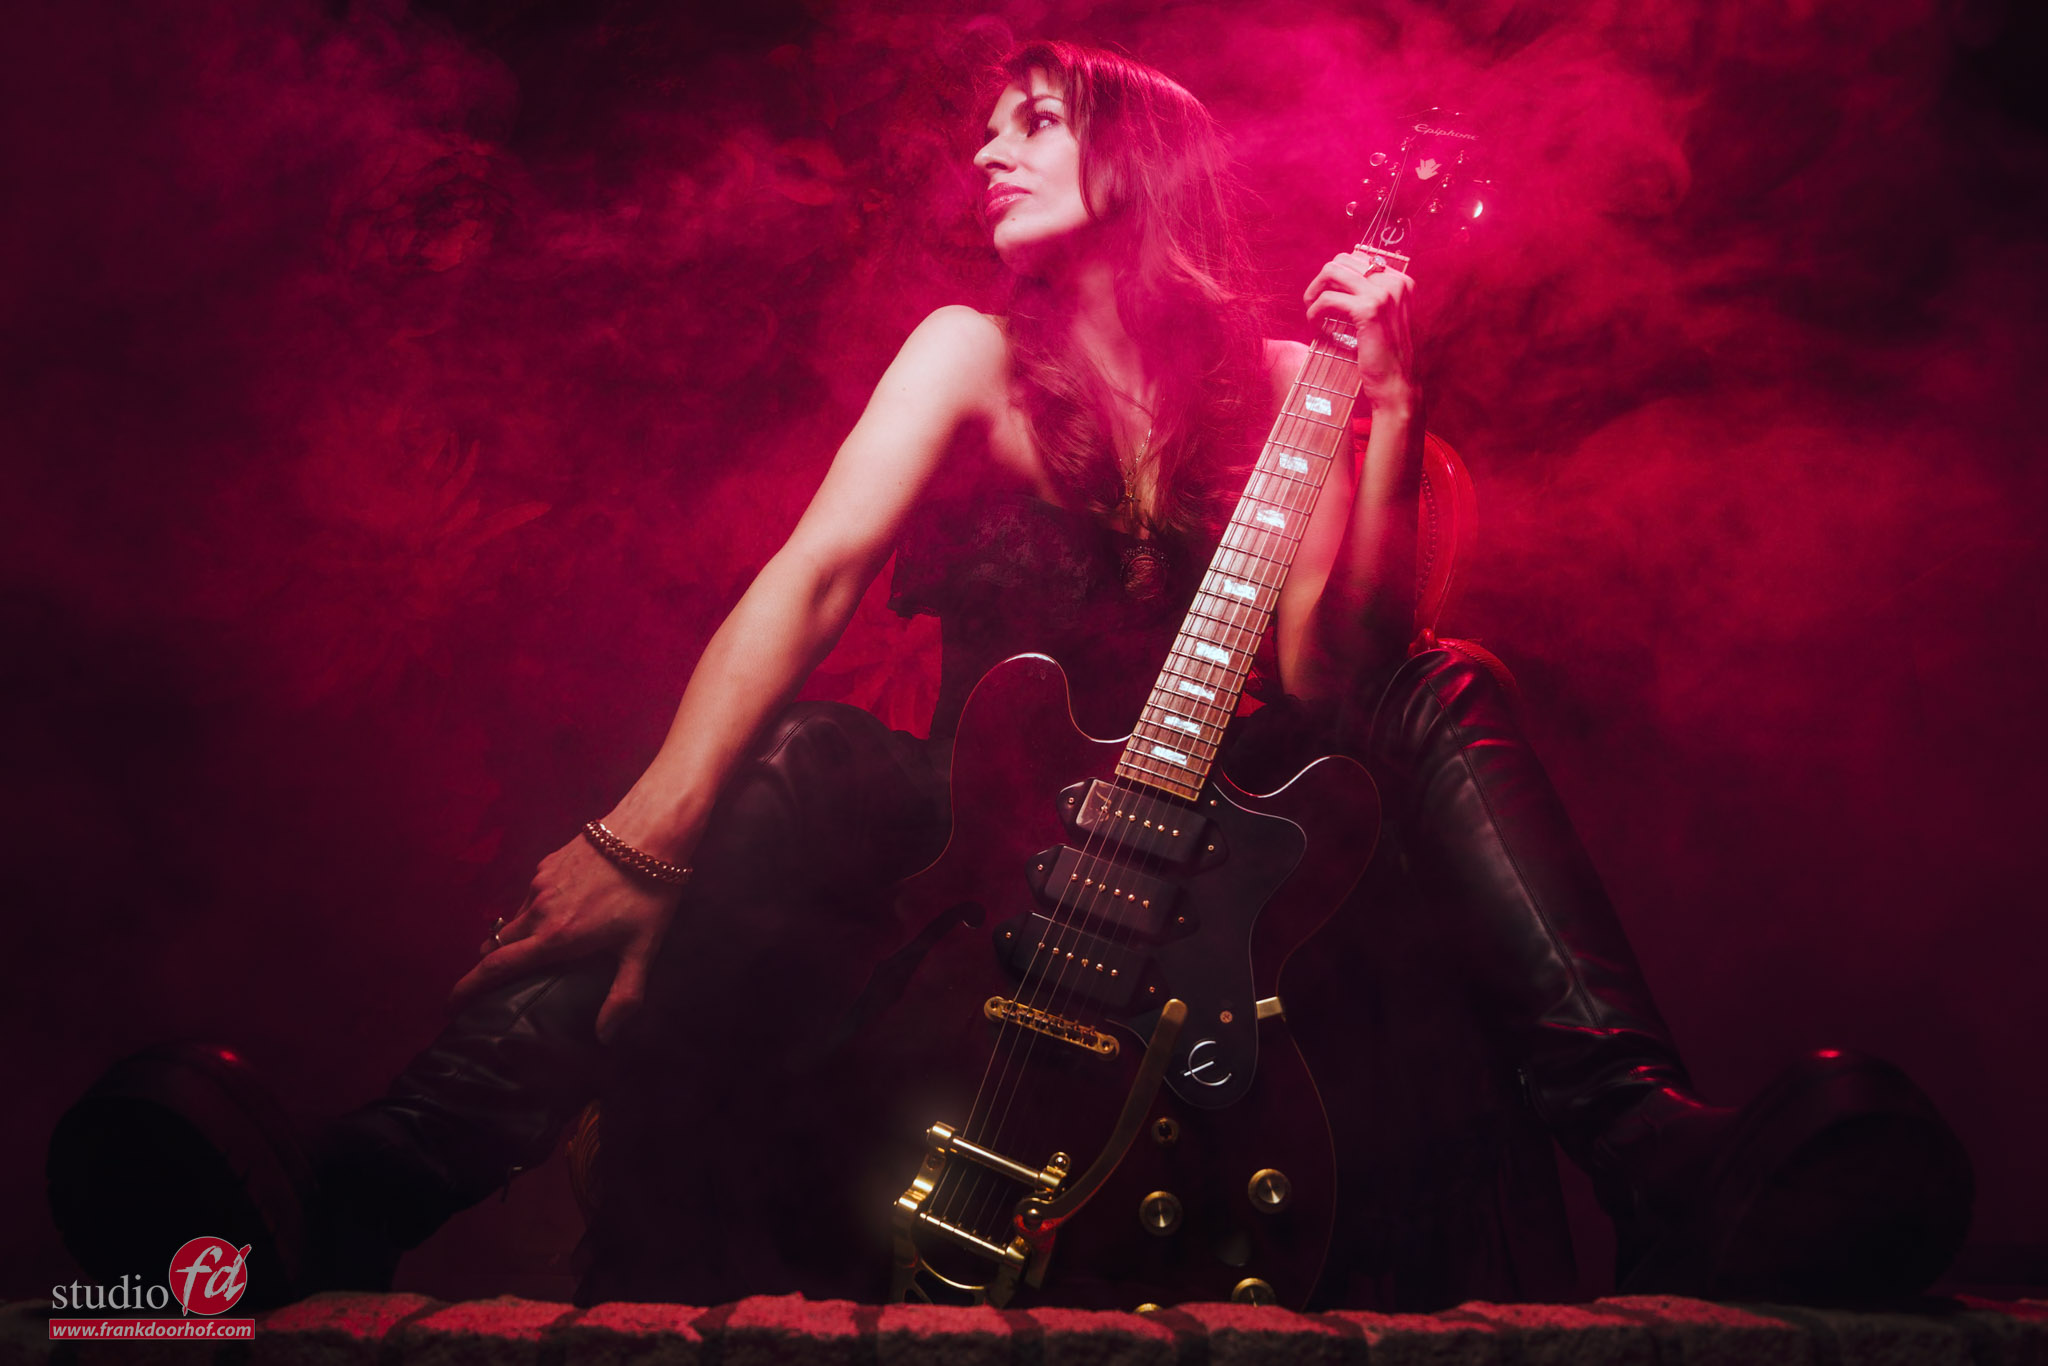
I did change the light slightly for this one to create a bit more “mood”.
And compliments to Felisa for nailing the same pose almost exactly.
When we did the first setup, I narrowed the light a bit more and moved the right strobe slightly to get a much more contrasty look.
As you can see I’m now also including the red gel in the shot.
The problem with this shot is that it’s “very red”.
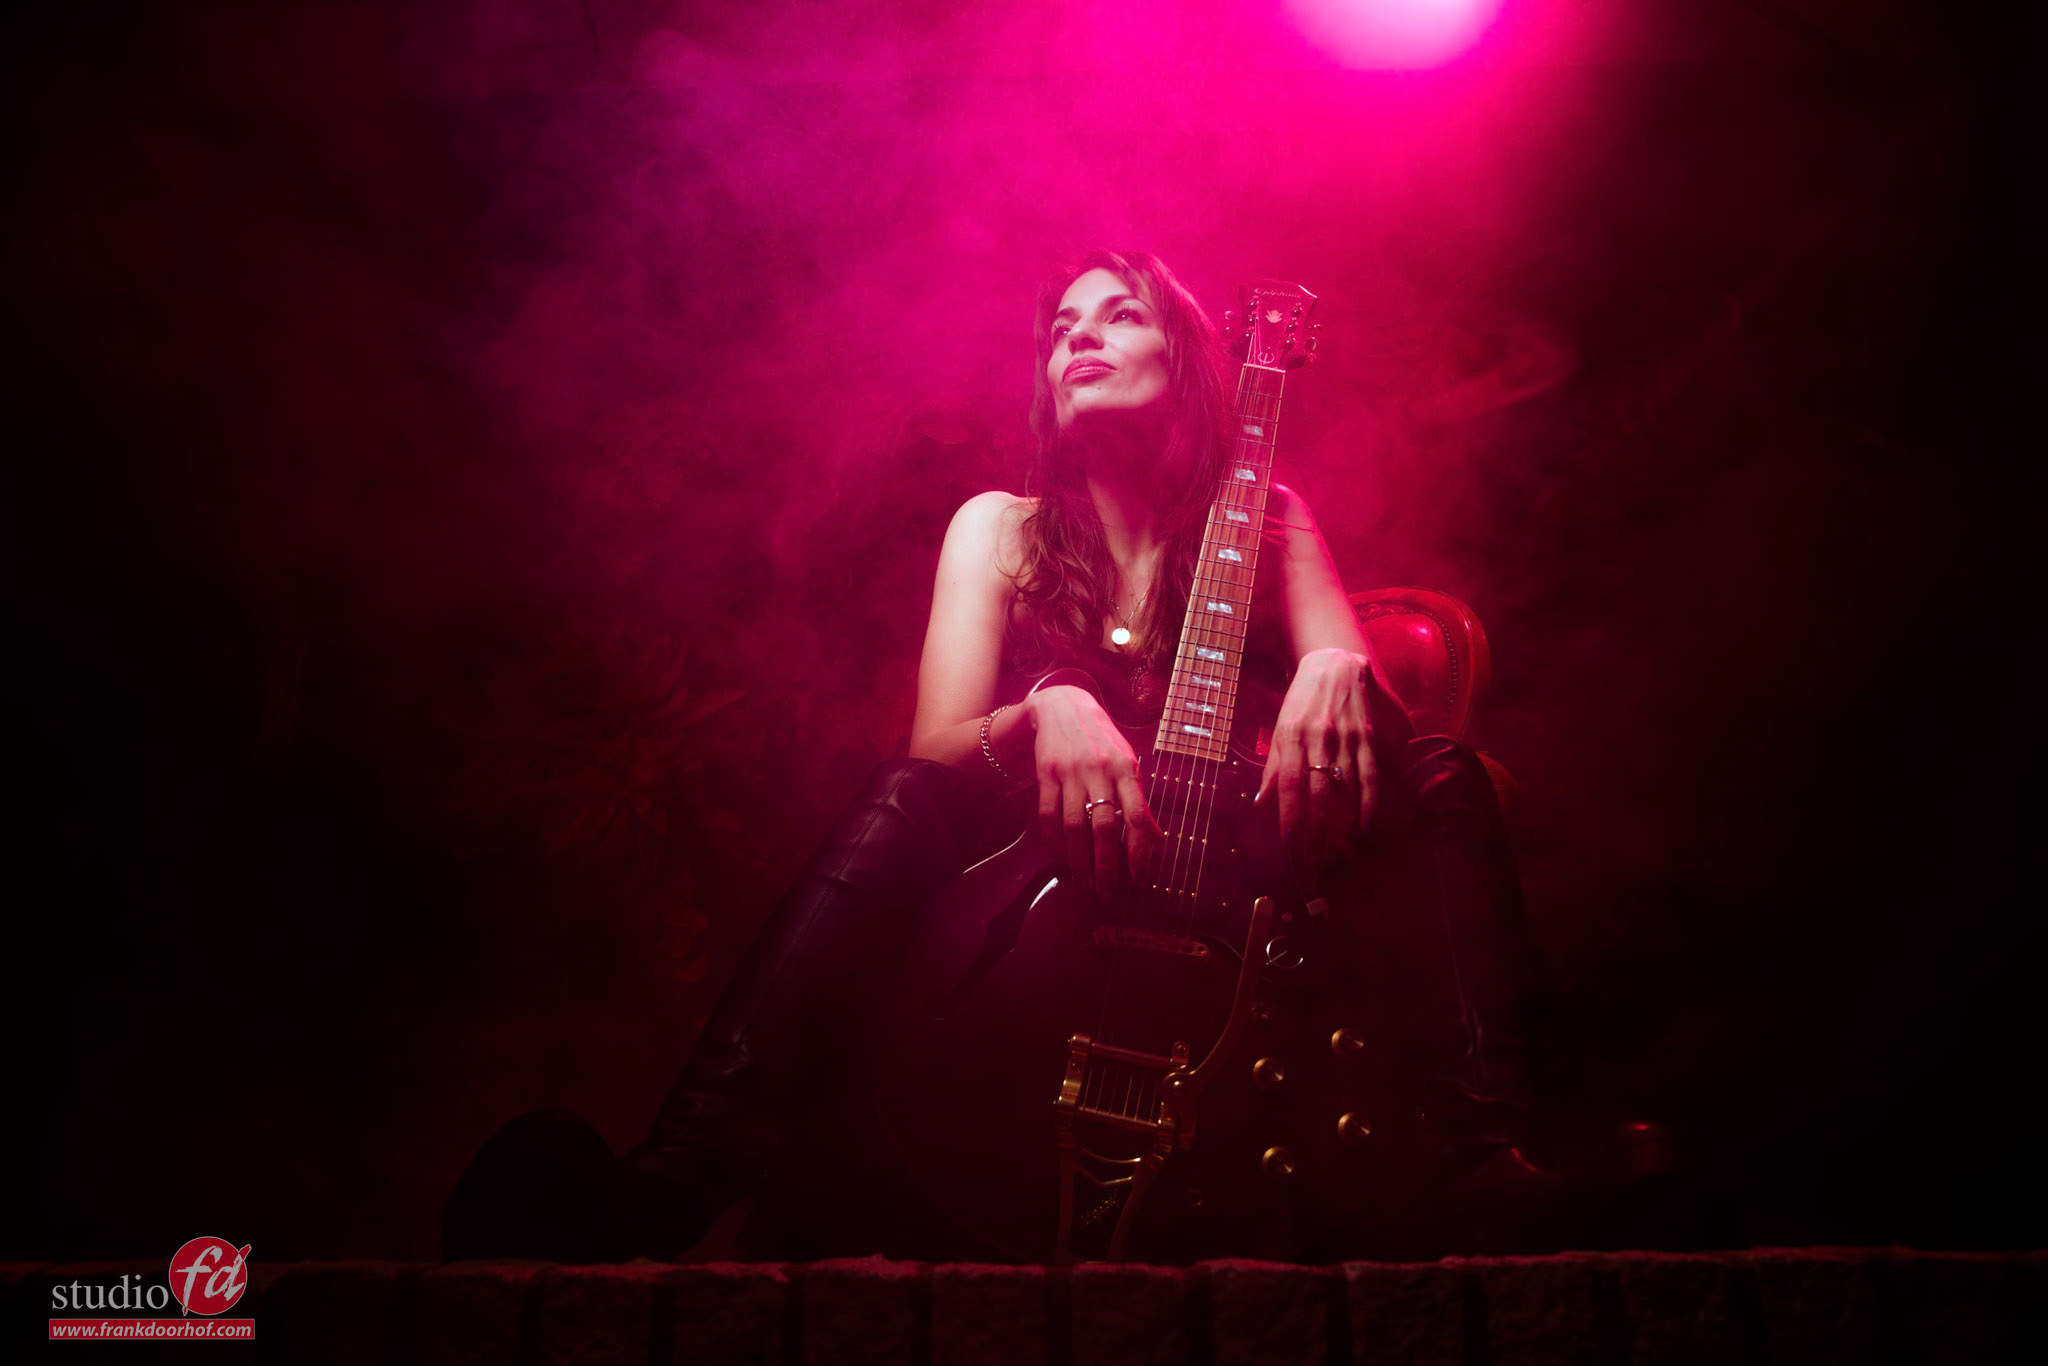
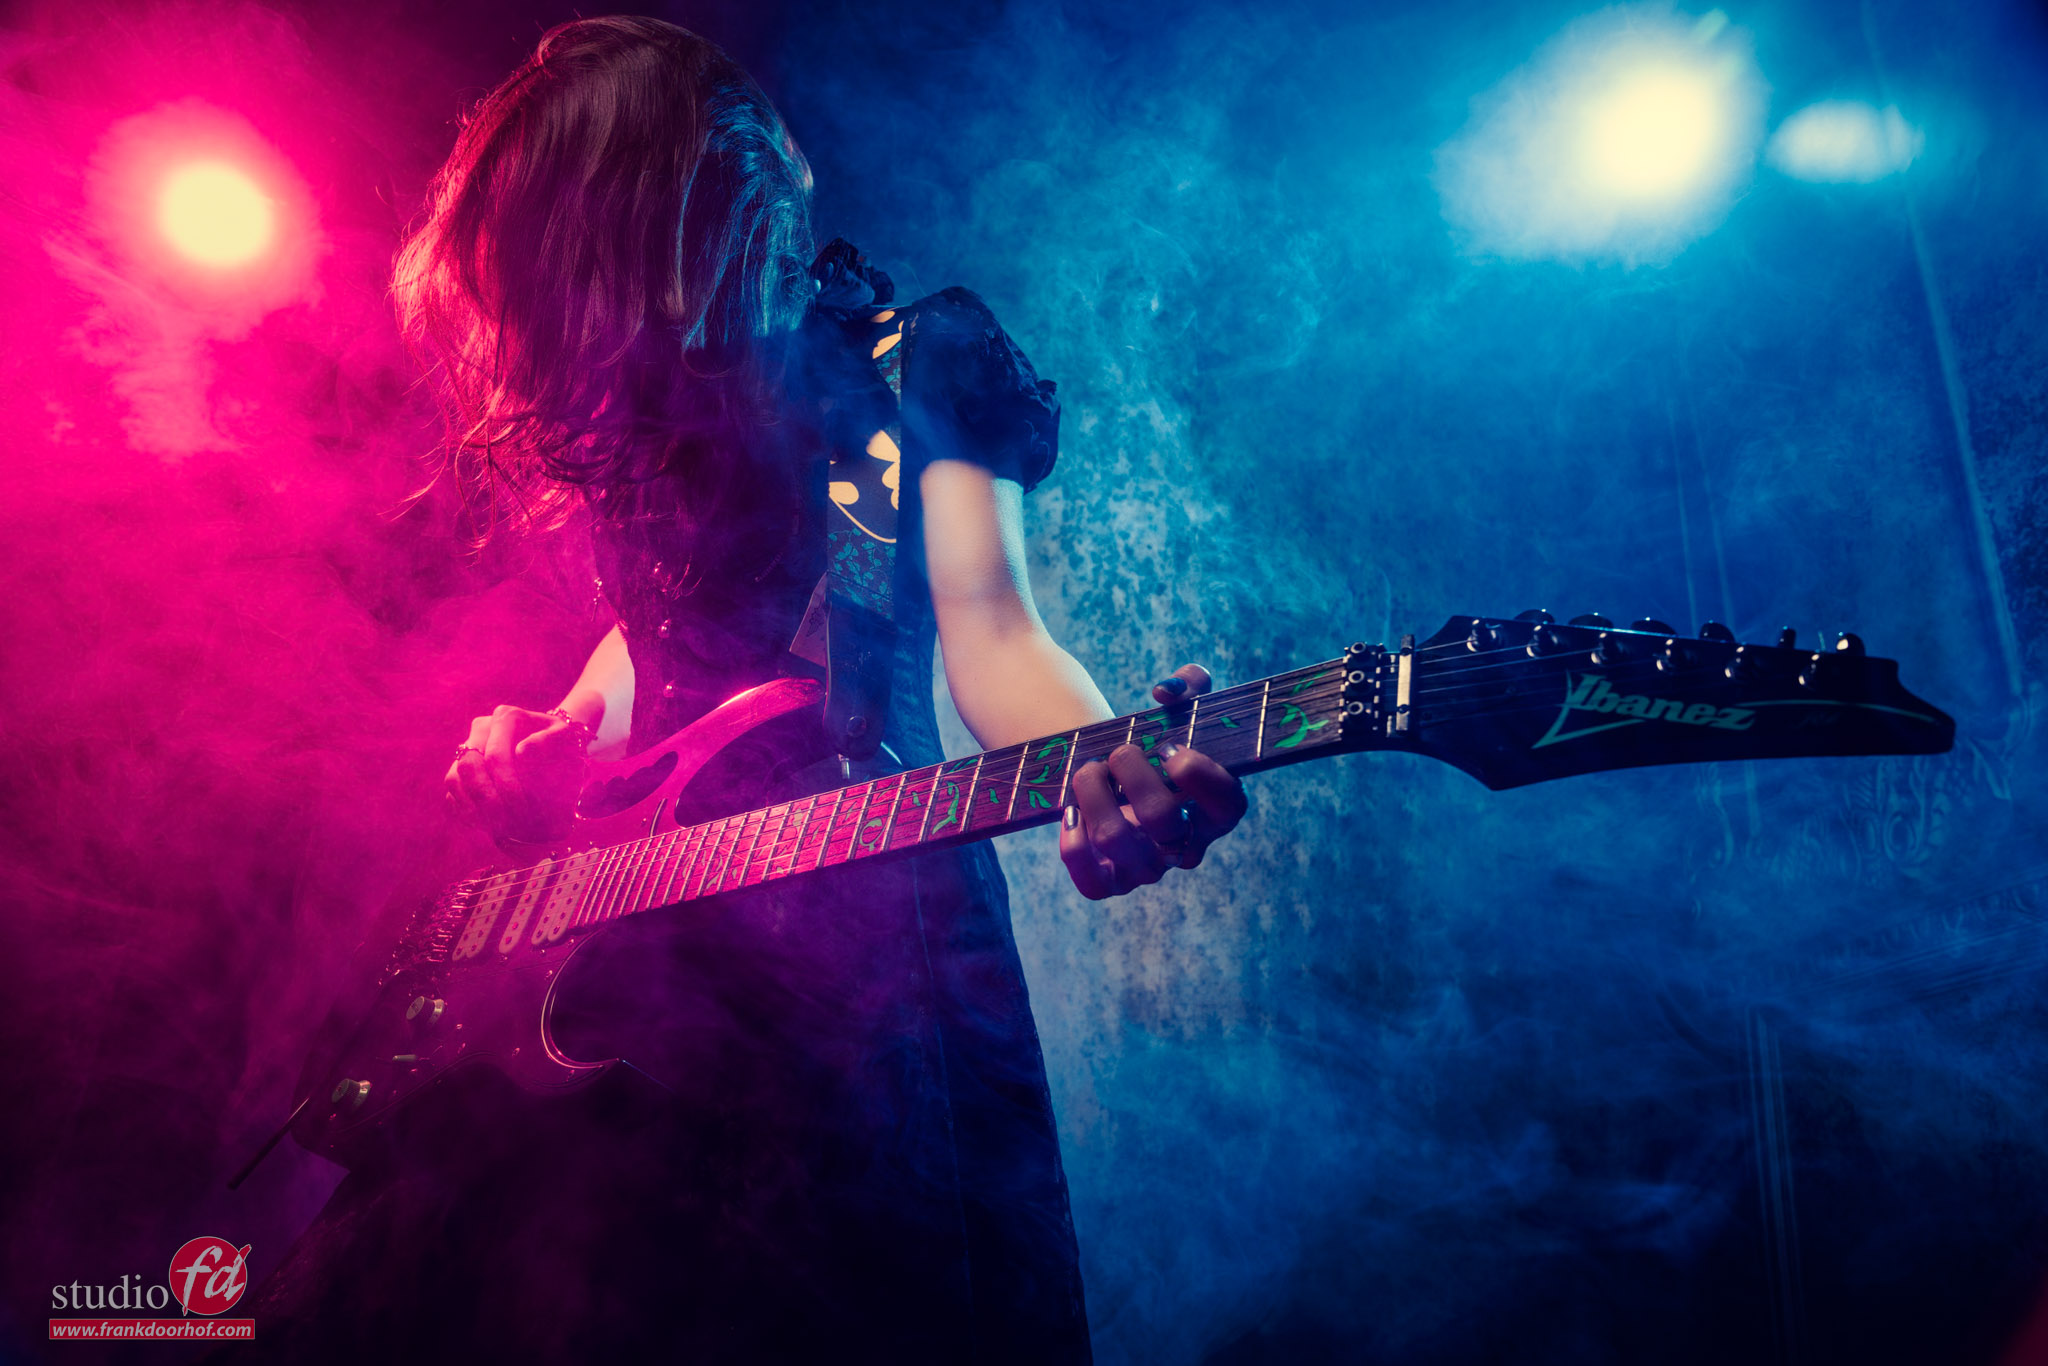
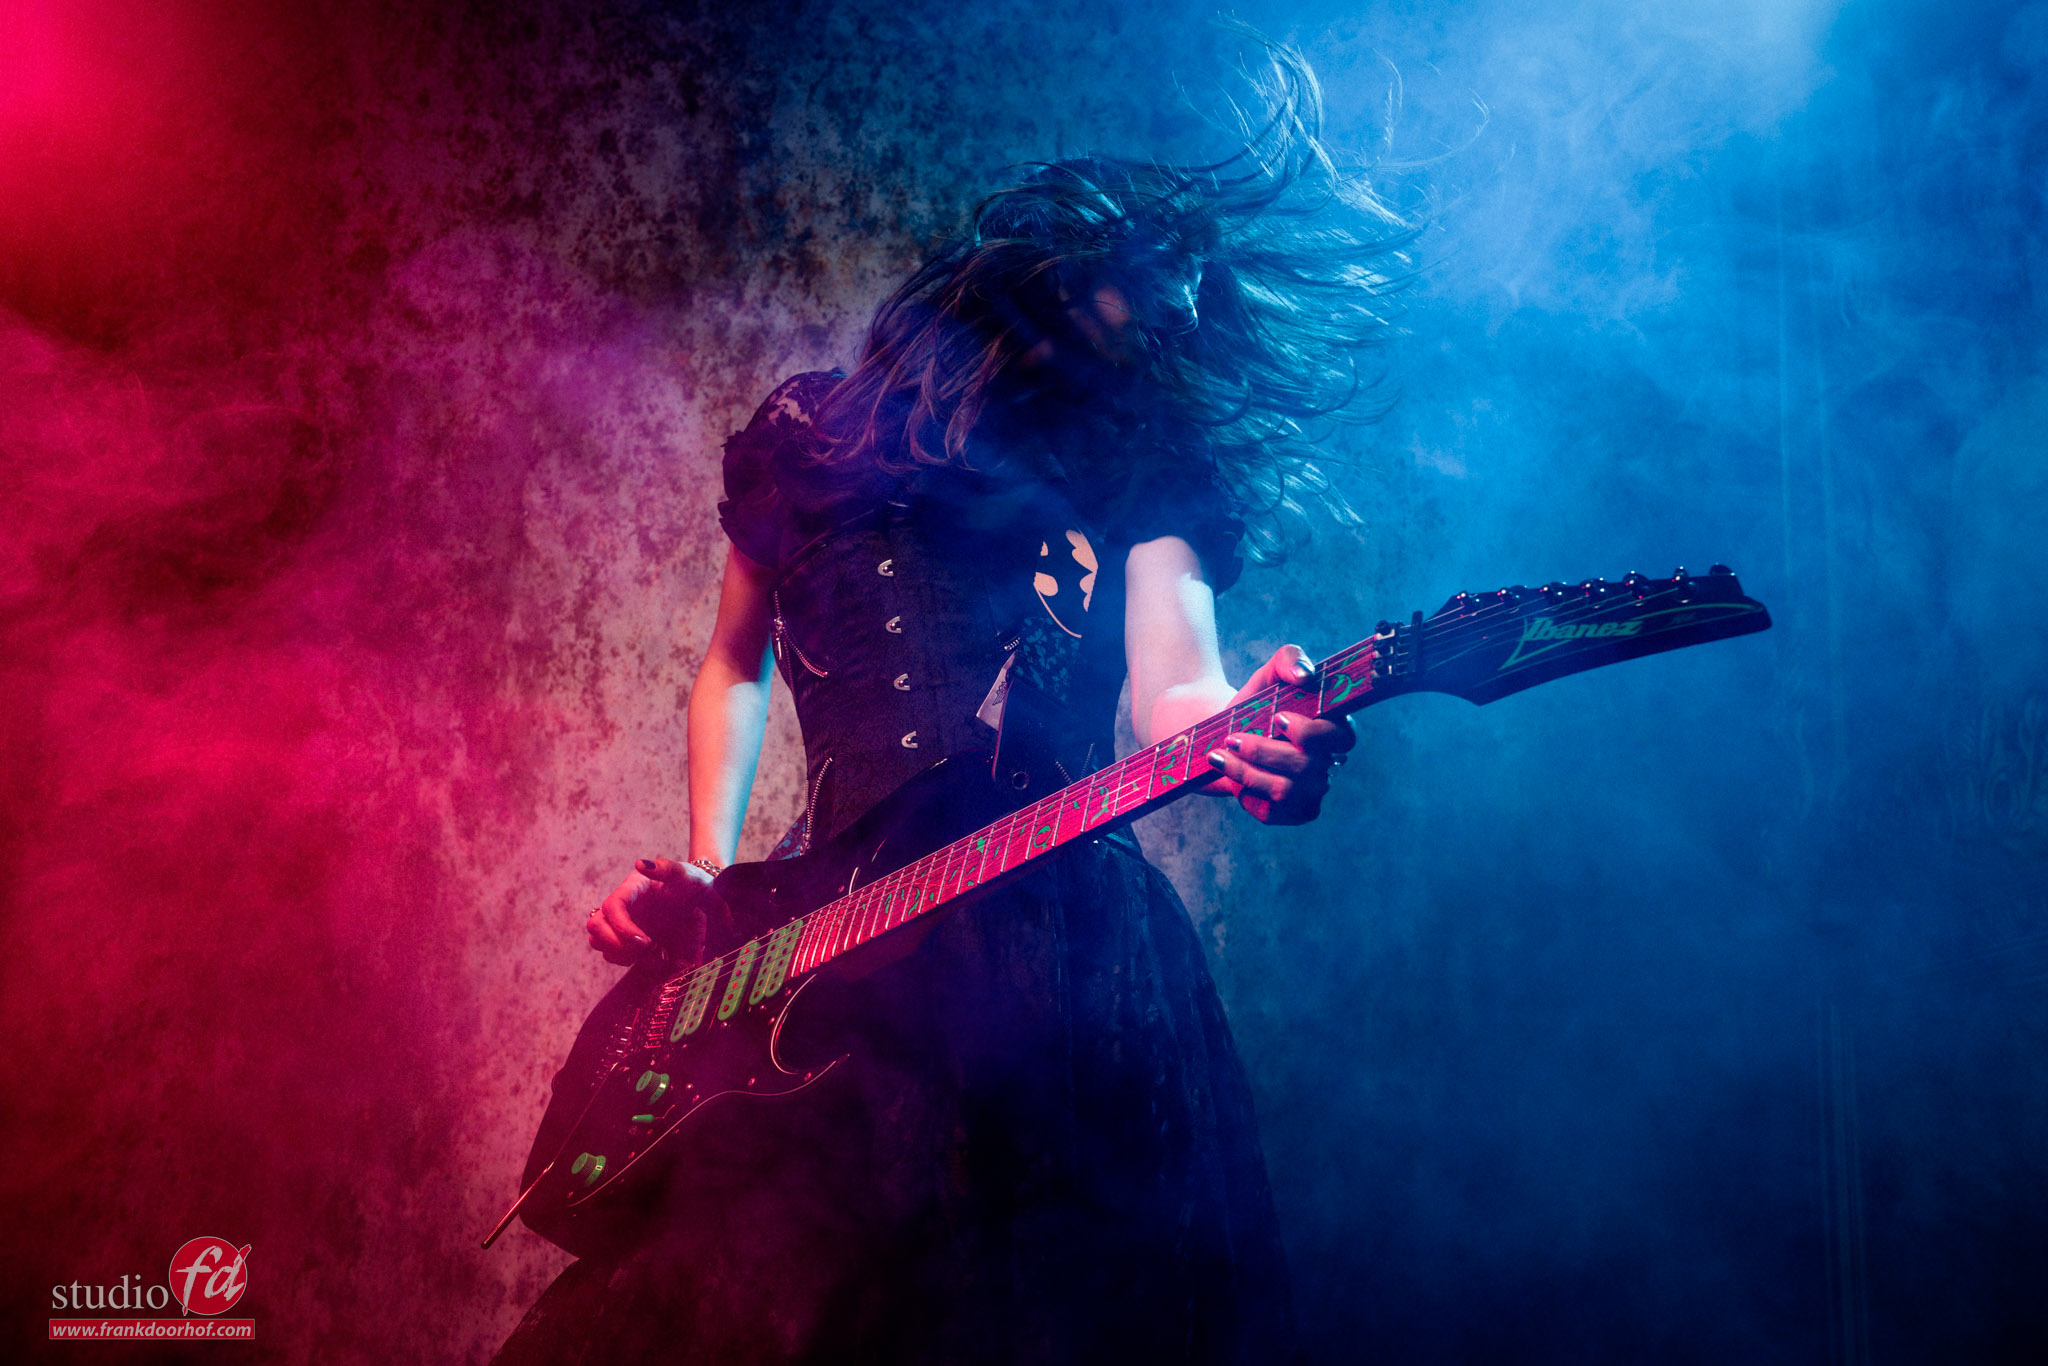
Same lights, different effect
By moving the red strobe you have total control over this effect.
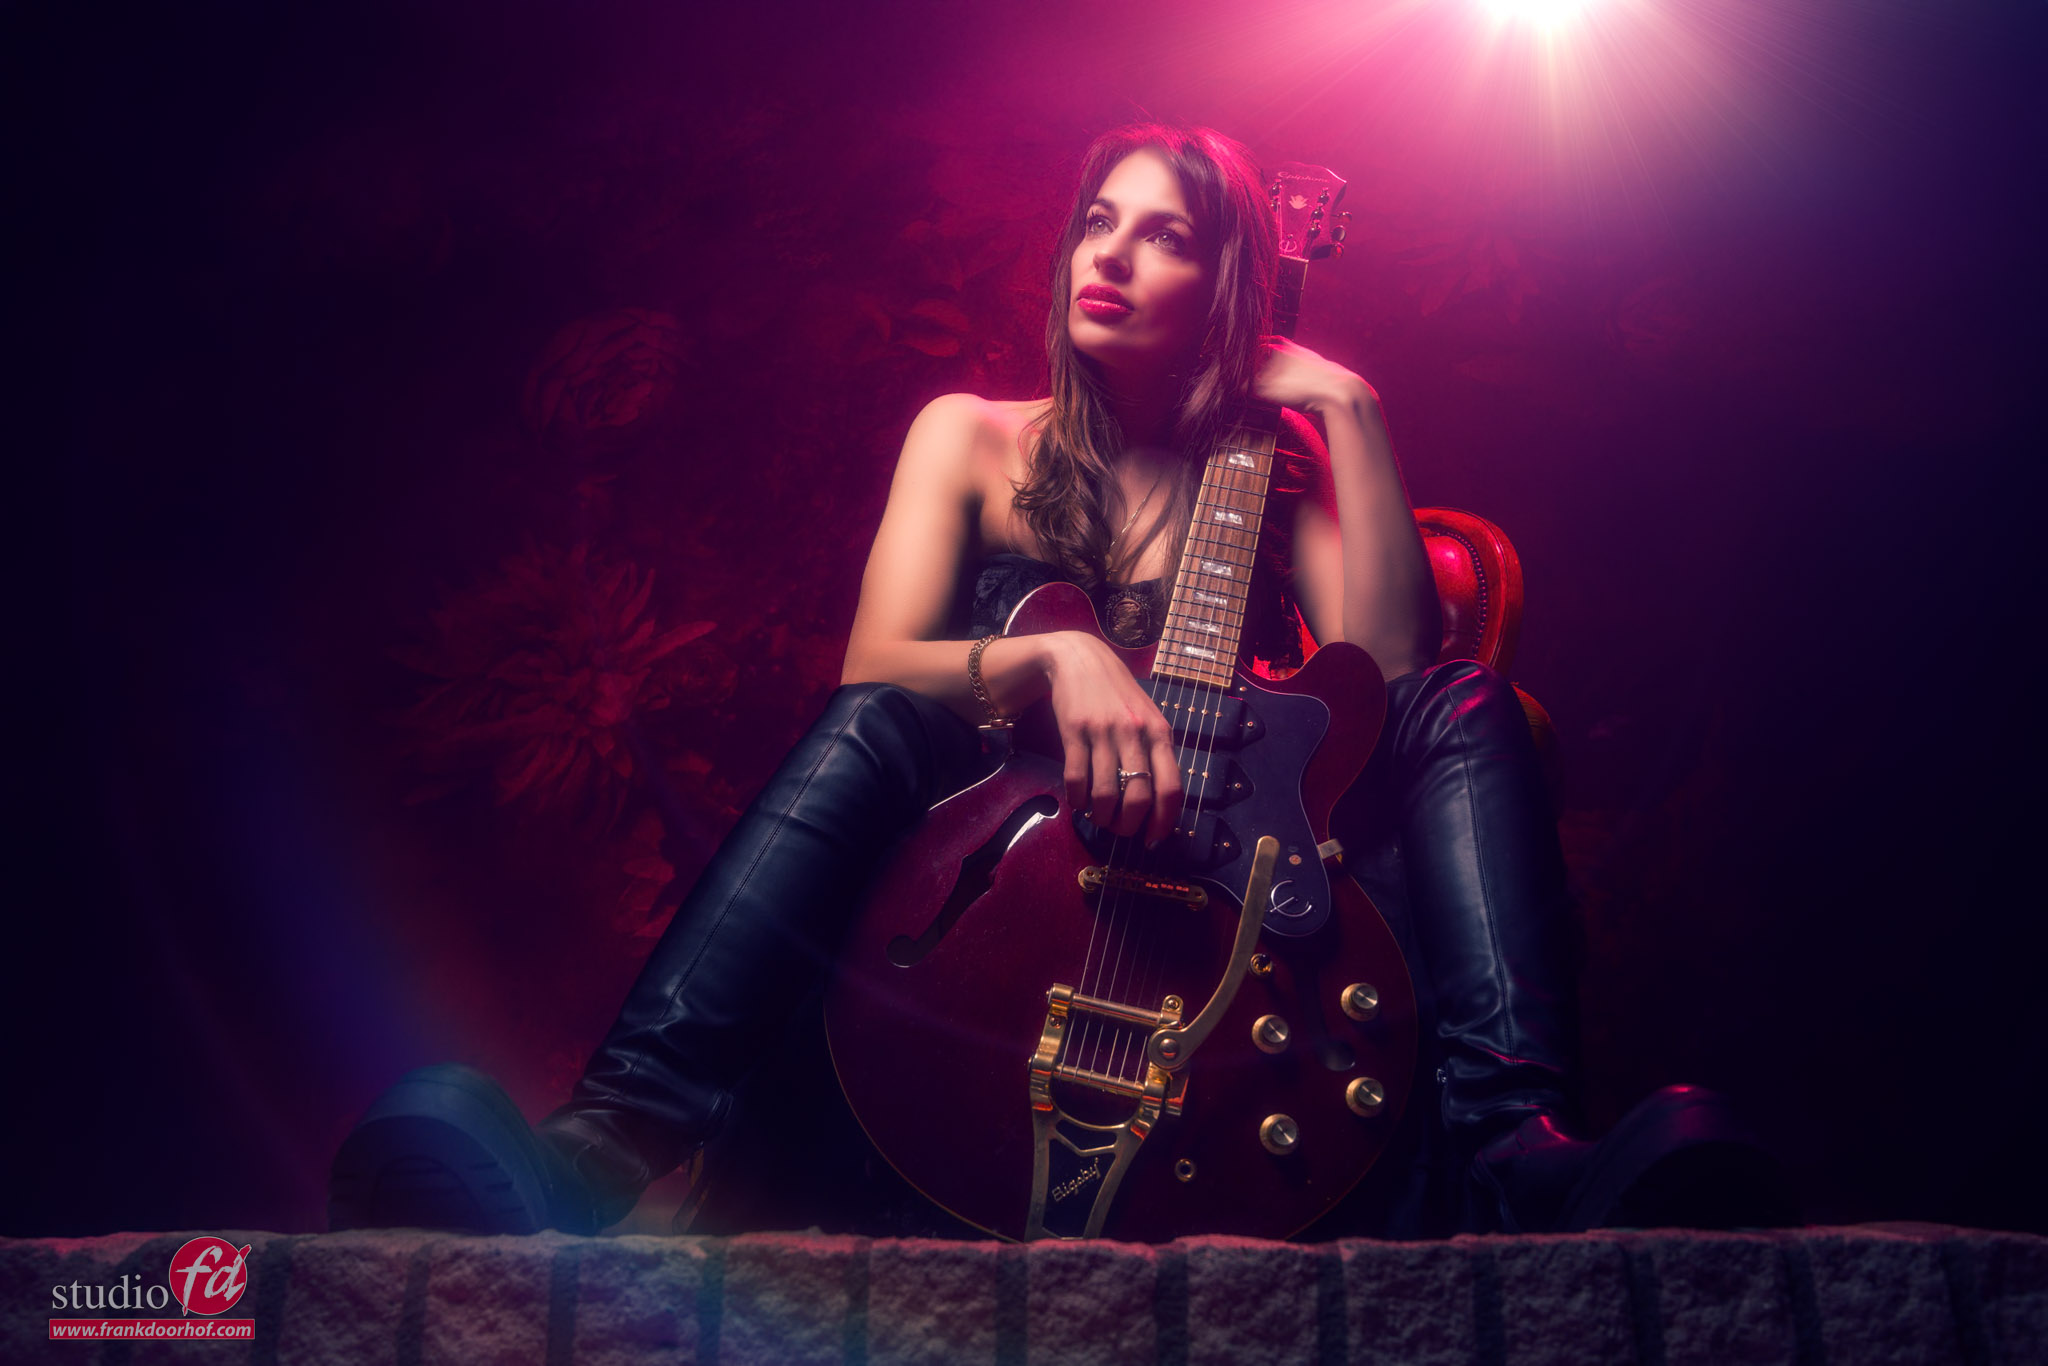
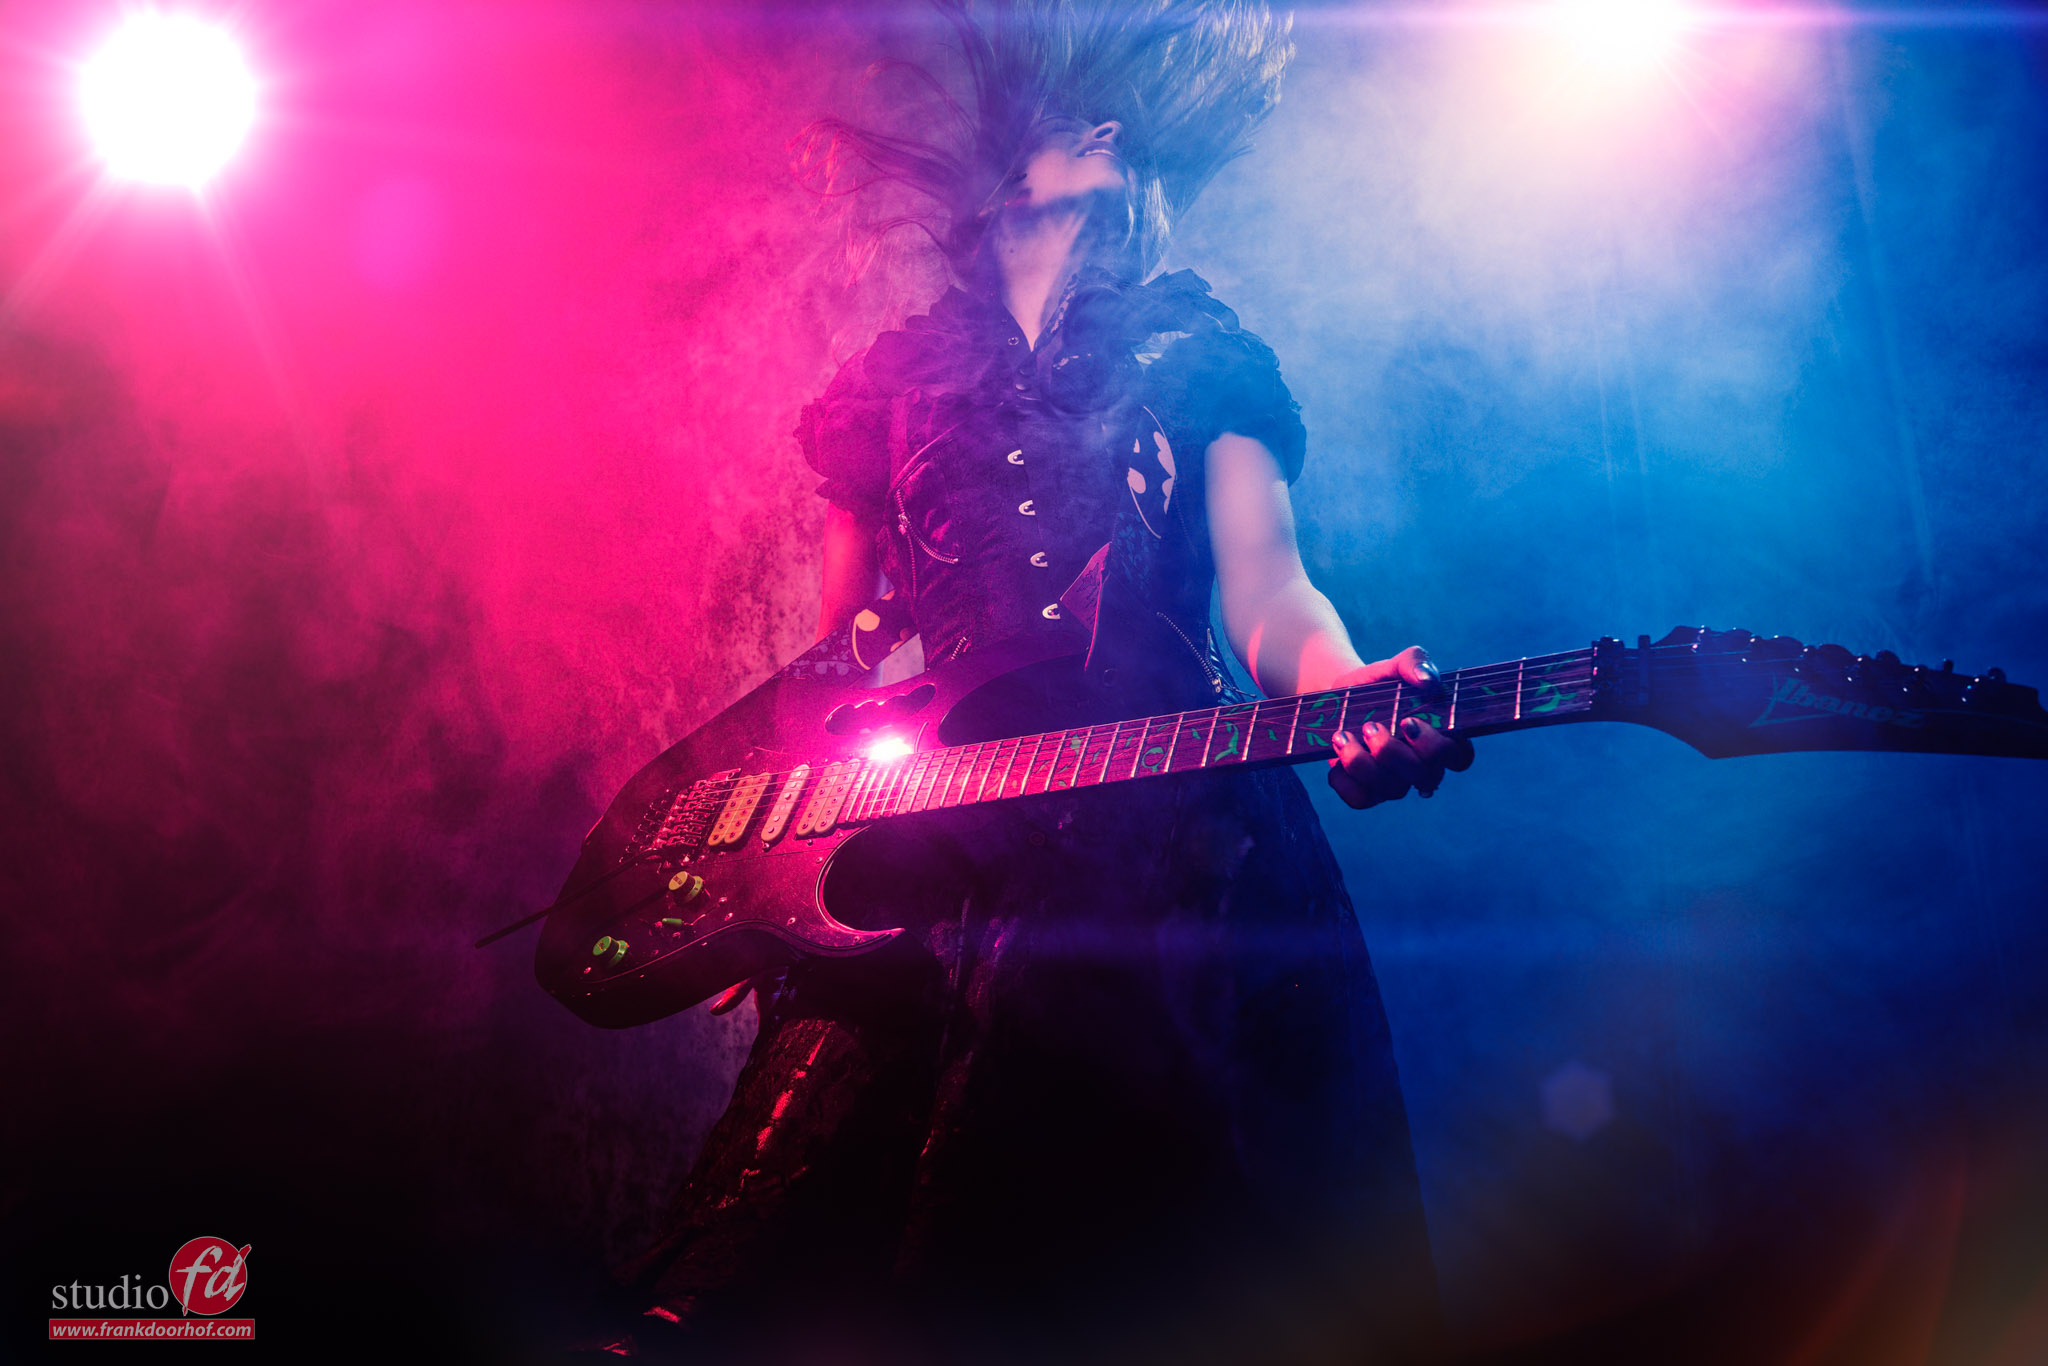
For the next shots, we moved the red strobe a bit more back and this is the final look I went for.
However, that doesn’t mean someone will probably like the previous ones more. So always select maybe also some images when you are still experimenting. sometimes those shots are a lot more funky/creative or unique.
By changing the angle of the head you can easily change the “flow” in your shot.
This is not a matter of good or wrong. Although in most cases I like the so-called S-curve in a photo.
However, in these images, we already have really strong guides by the legs and guitar neck,. So here the position of the head is more of a way to change the mood.
So if you’re still shooting with longer lenses…. maybe also try a wide angle sometimes 😀
Workshops are always fun
Most of the blog posts and videos you see online are created with material shot during the workshops.
I’ve been teaching them for over 15 years and in every workshop I try to create something unique for my own portfolio. But also for the attendees of course.
If you also want to visit a workshop visit www.fotografie-workshops.nl for the agenda and more information.
We can also teach the workshops online if you are not based in the Netherlands.
I hope you like these model photography tips. And if you have any questions, feel free to reach out on social media or e-mail.
Like this:
Like Loading...


You must be logged in to post a comment.