Tag Archive for: hensel

Adding a touch of color

In the past few days you have seen some images from the workshop “on location in Emmeloord” with our model Claudia where we look for interesting locations around our own studio.
Today the final part.

One of the things I absolutely love to do on location (or in the studio) is add a touch of color.
Always remember that color evokes emotion.
Think about watching a movie without any tinting or music, you will probably pretty quickly leave the cinema disappointed, unless of course the story is strong enough. But in most cases the reason we love certain scenes/movies is because of the tinting/music used.

So today let’s take a look at some images where I added color on location.

This image is without any added color.
I’m using a Hensel Porty here with the 14″ reflector.
This reflector gives a lot more light than a standard reflector and makes it possible to shoot amazing images even in bright sunlight.
I’m using a variable ND filter to be able to shoot on a wider aperture. When using the Geekoto system I can chose for the HSS options where you can shoot on faster shutter speeds but with standard battery packs like the Hensel Porty you are stuck with the X-sync which is often between 1/125 and 1/200. In situations like this that means that you are almost always shooting at F16 or F22. By using a variable ND filter you can take away some/a lot of light and shoot wide open or on any aperture you like.
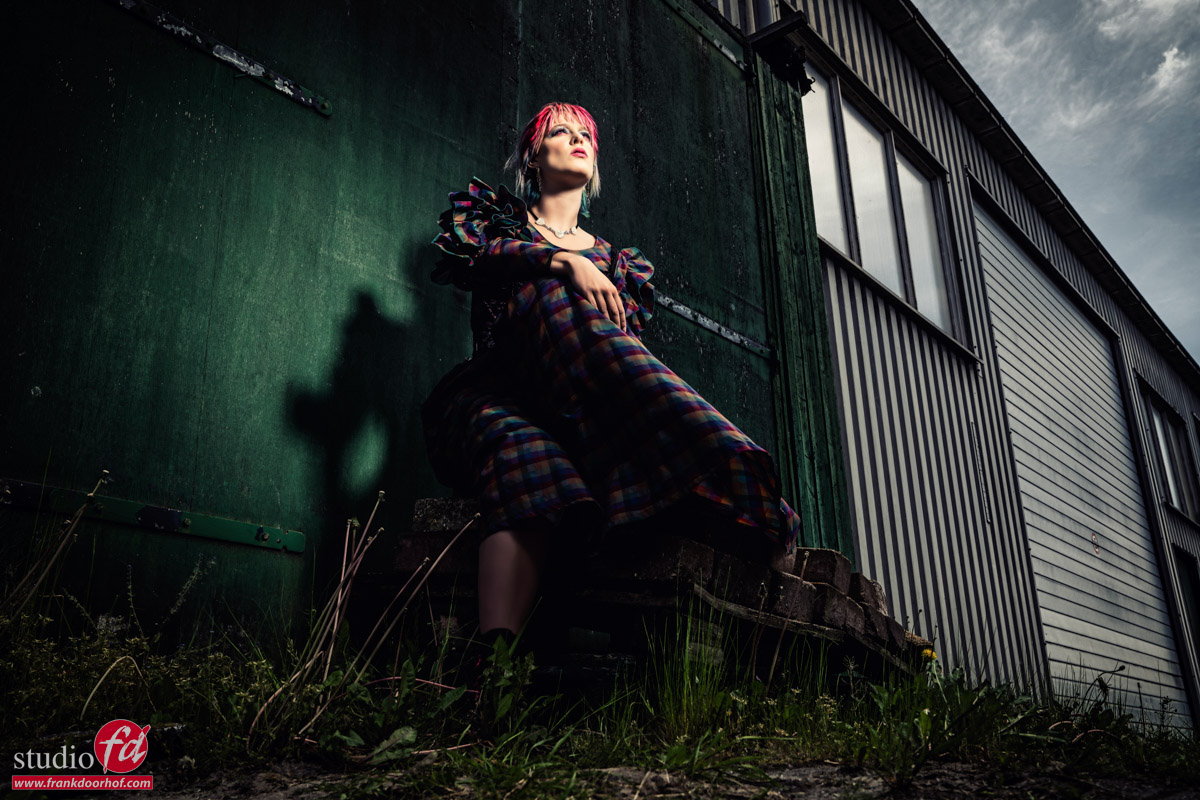
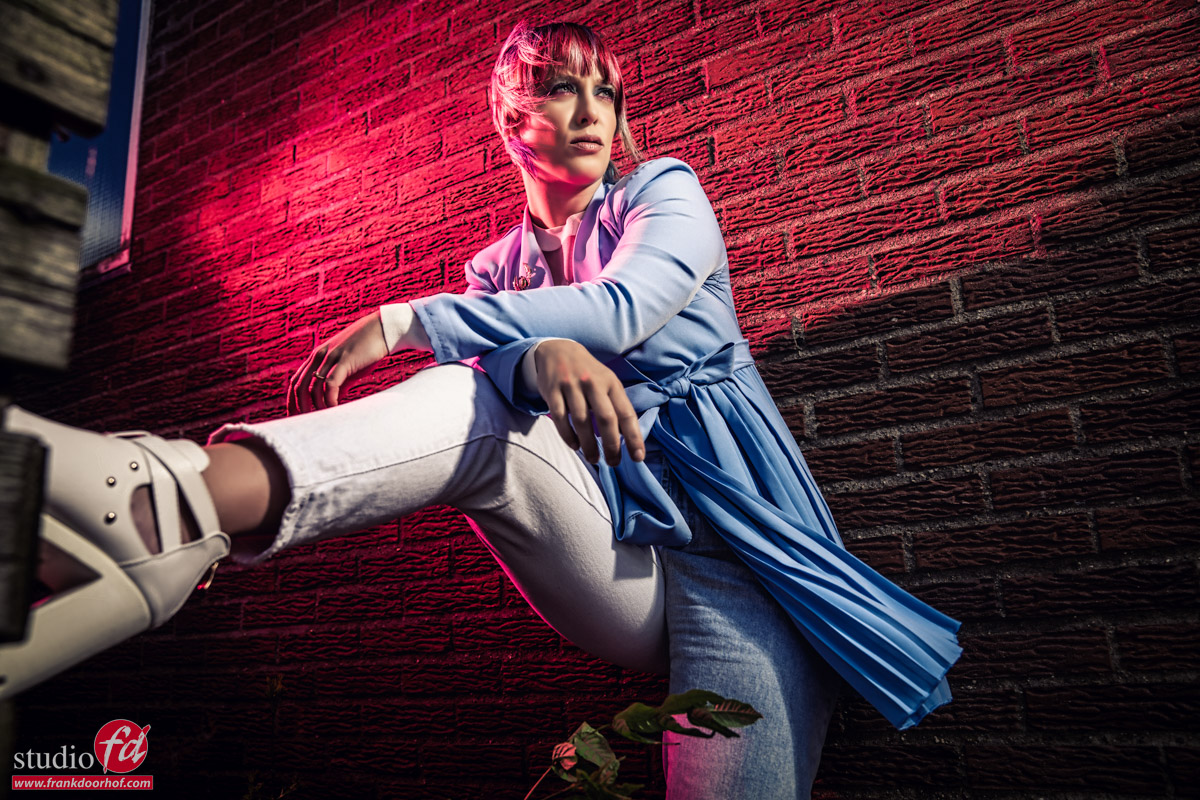
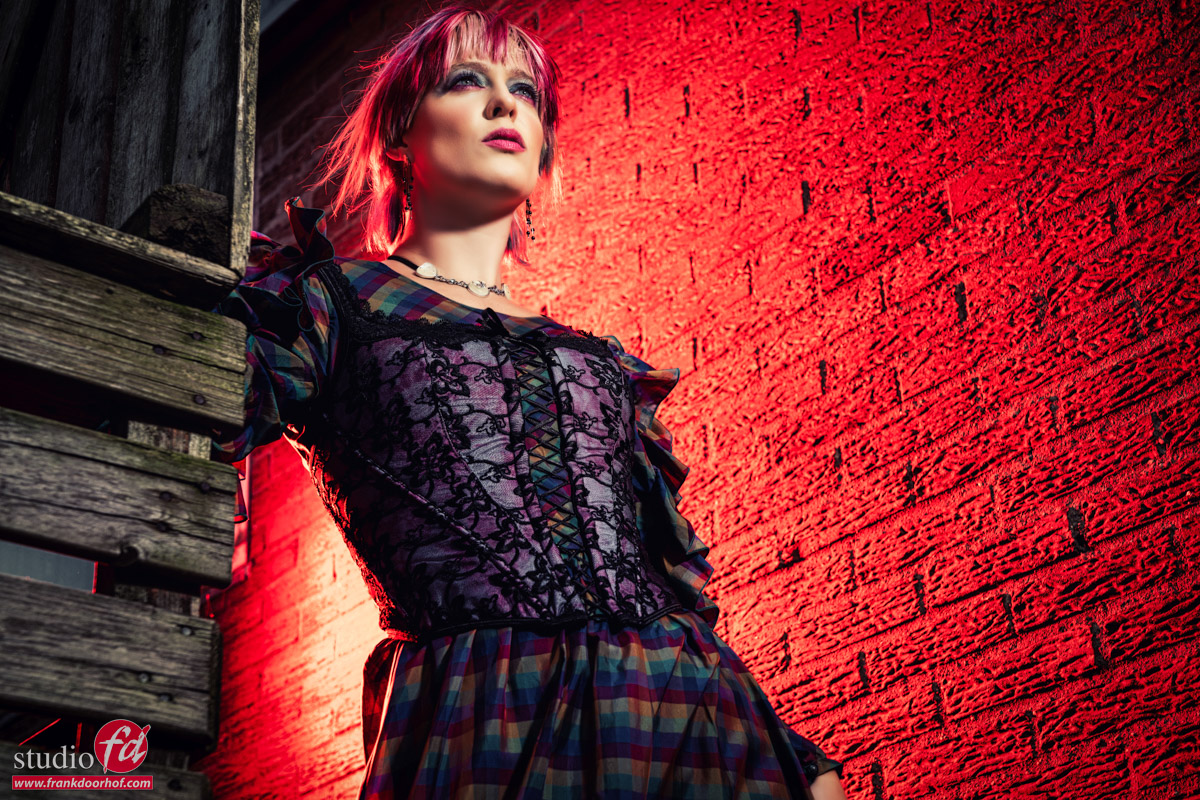
For the next shot I’m using a second Hensel Porty but this one is covered with a thick red gel.
I’m using the black diffusion filter here (from the same kit as the variable ND filter) to create a nice lens flare.
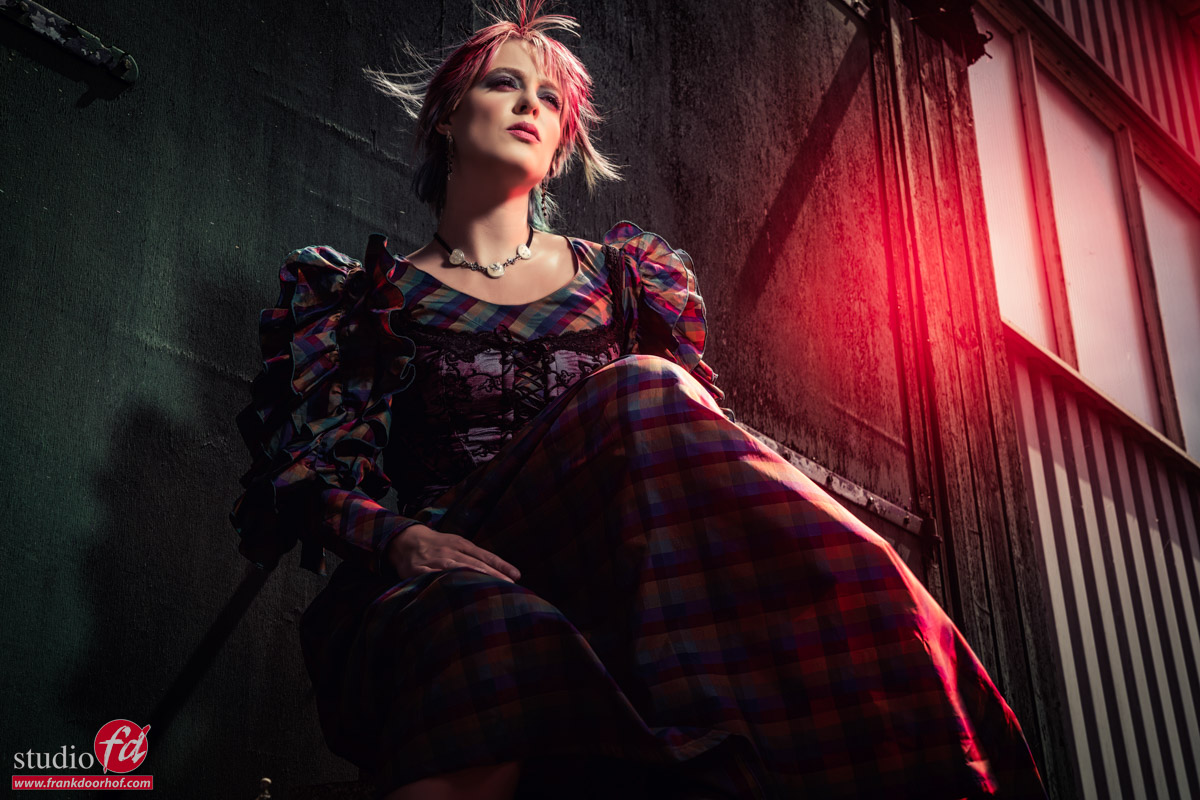
I love both shots, but the second one does give me a nice extra mood/feel.
You might say that you can add this in Photoshop in postprocessing, but I disagree, you can mostly easily see when it’s done in real life or added in post processing.

Now you might remember the blogpost where I showed you the Geekoto system for the first time with the red gels.
Let’s to refresh your memory show some of those images.
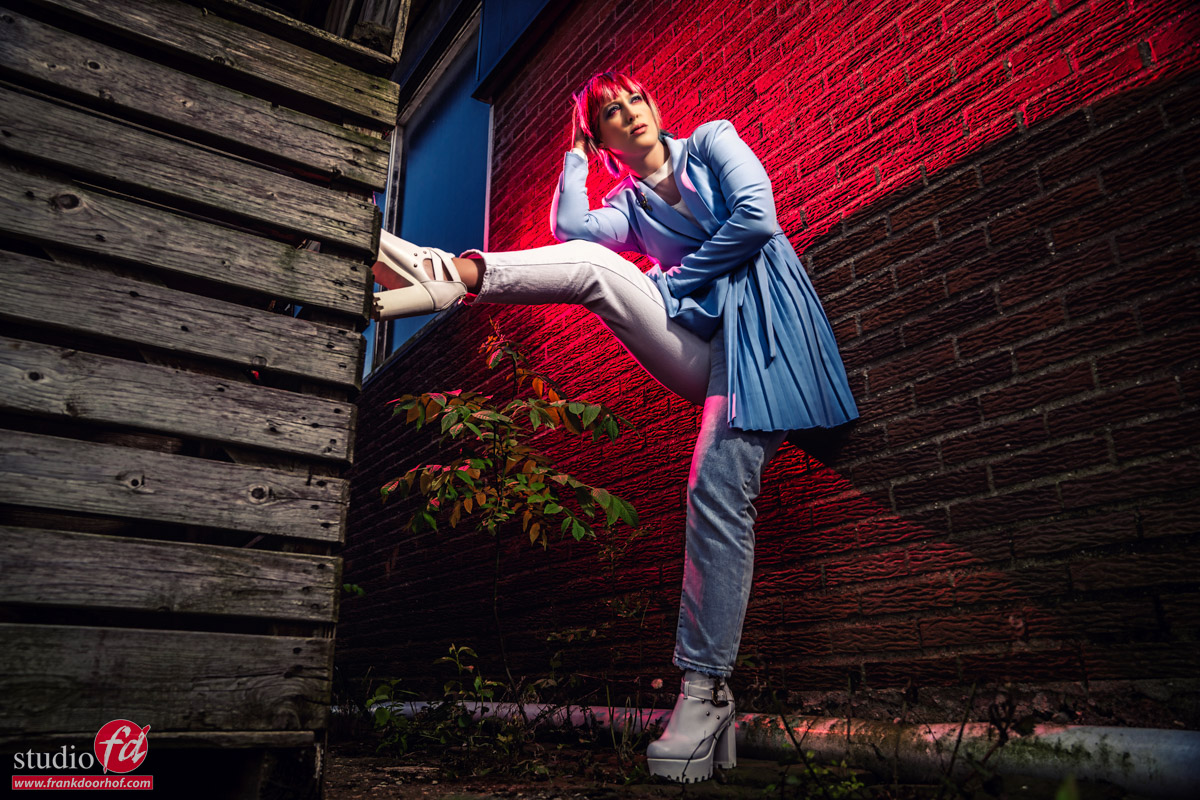
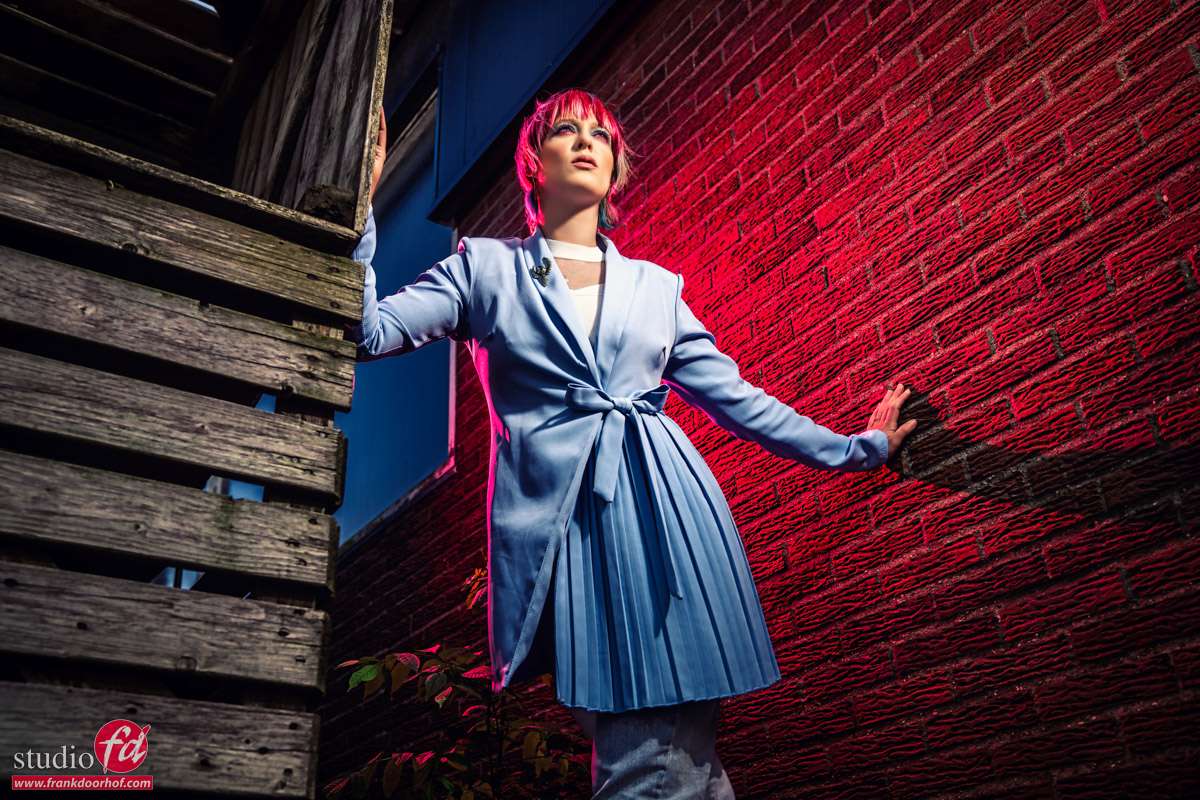
These were shot with the Geekoto GT200 and GT250.
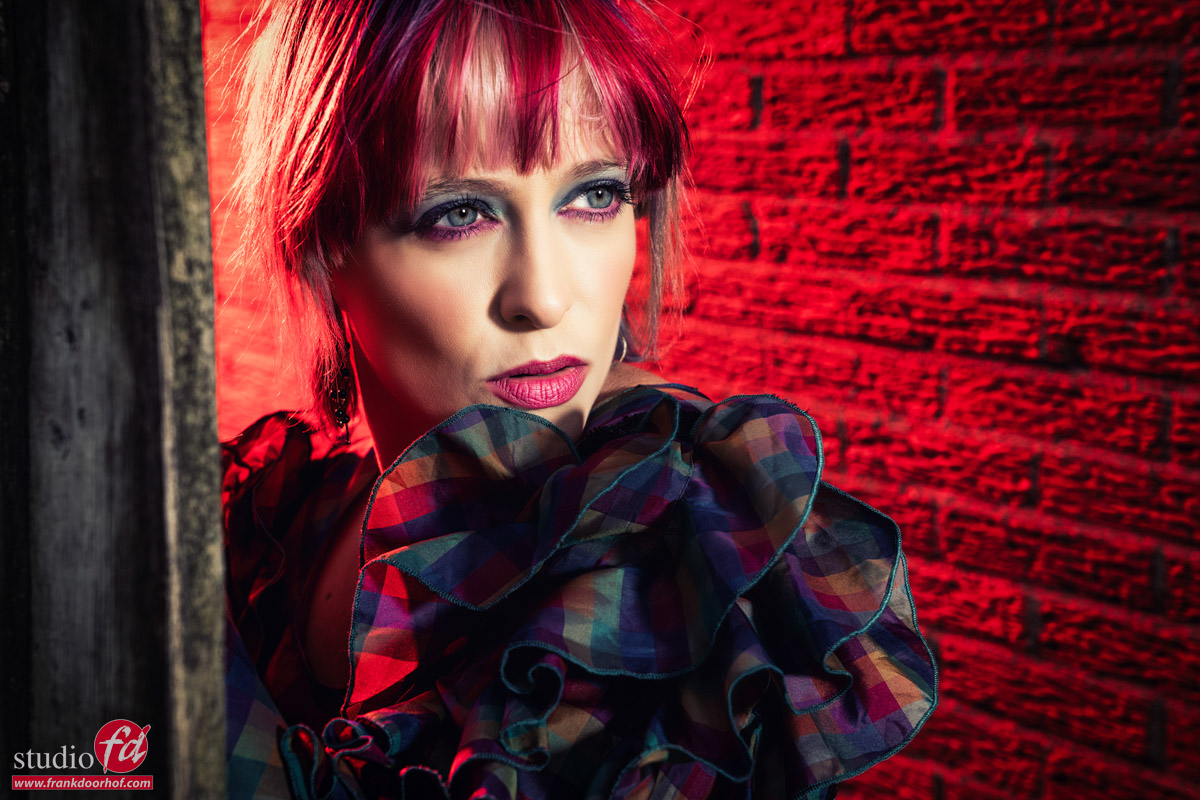
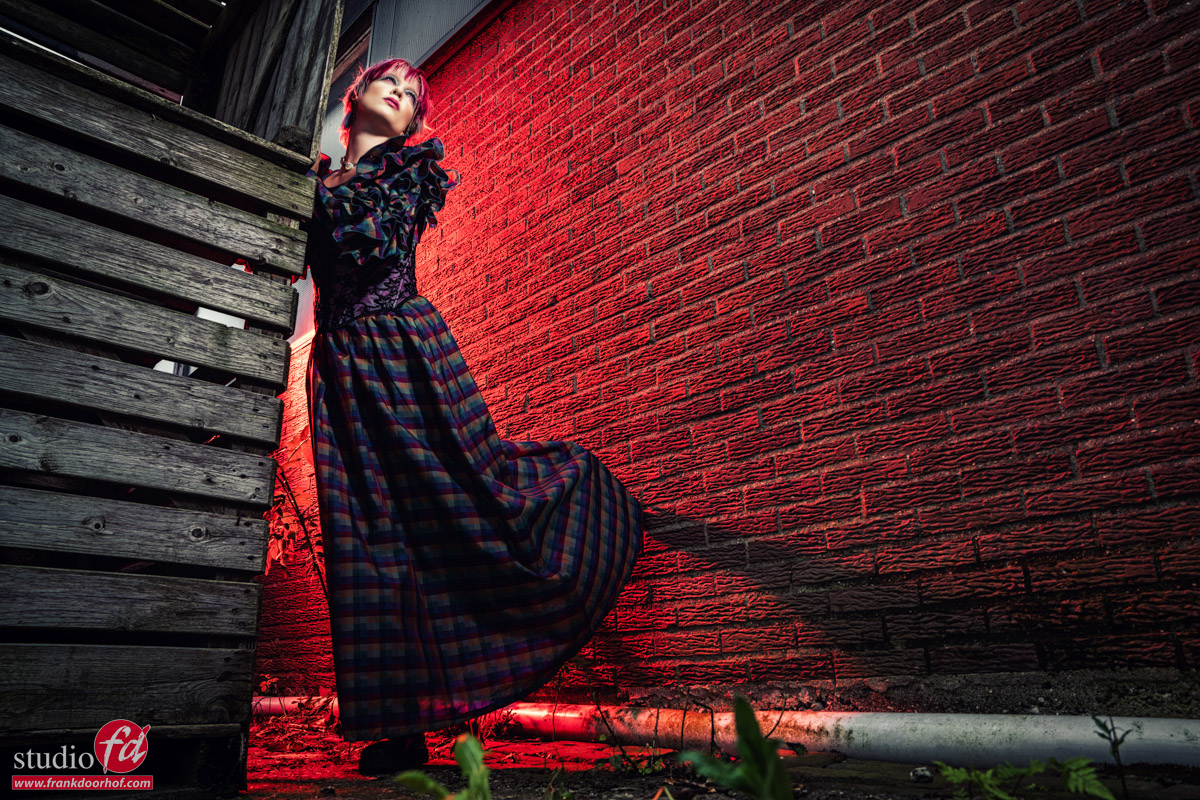
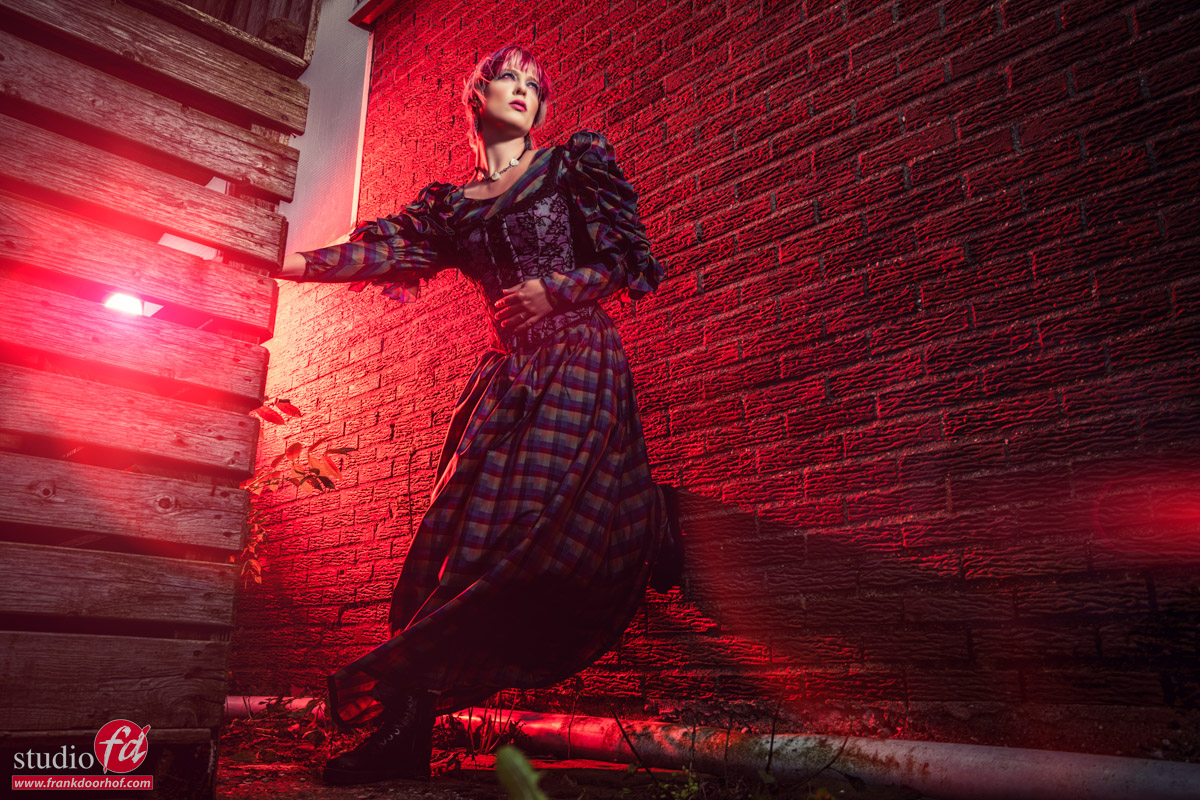
Small strobes that can shoot on HSS. As you can see I’m creating a nice Day2Night look here and the red really jumps off ow youthe background.

Now for the next images I’m using the exact same setup in the same location but here I switched the Geekoto for the 1200W Hensel porty system.
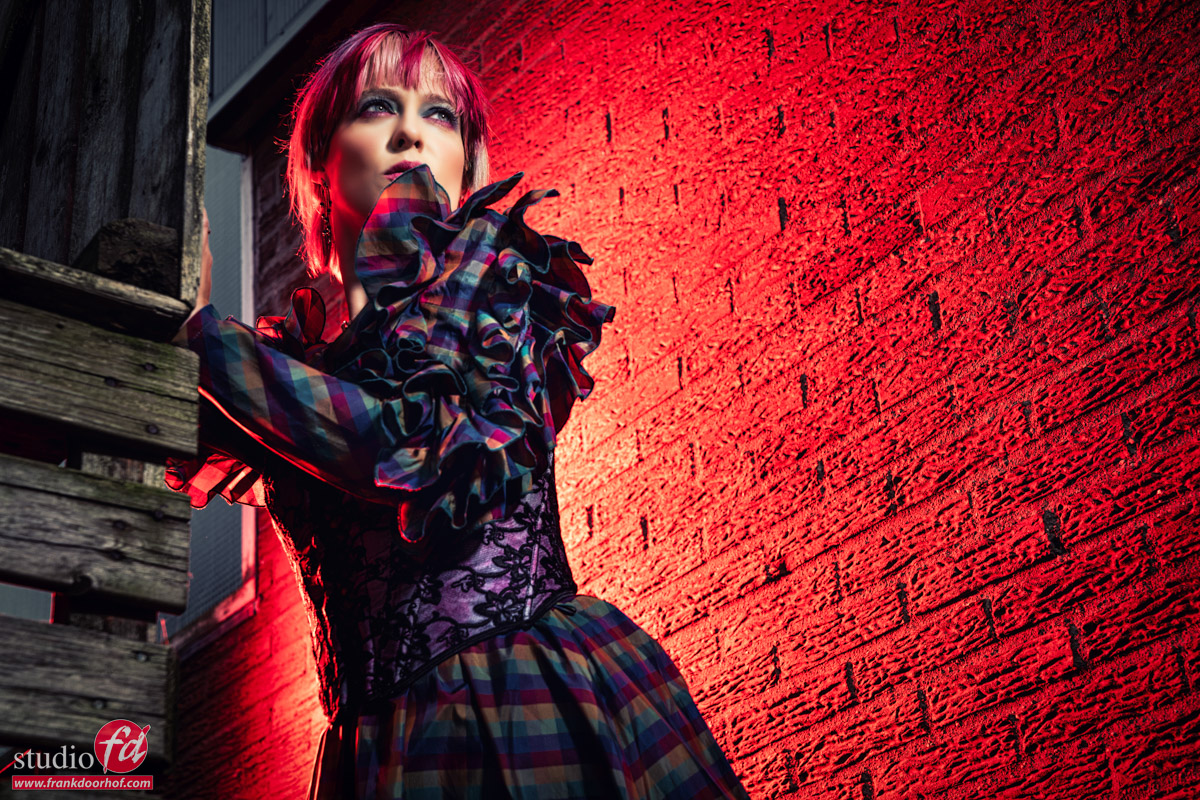
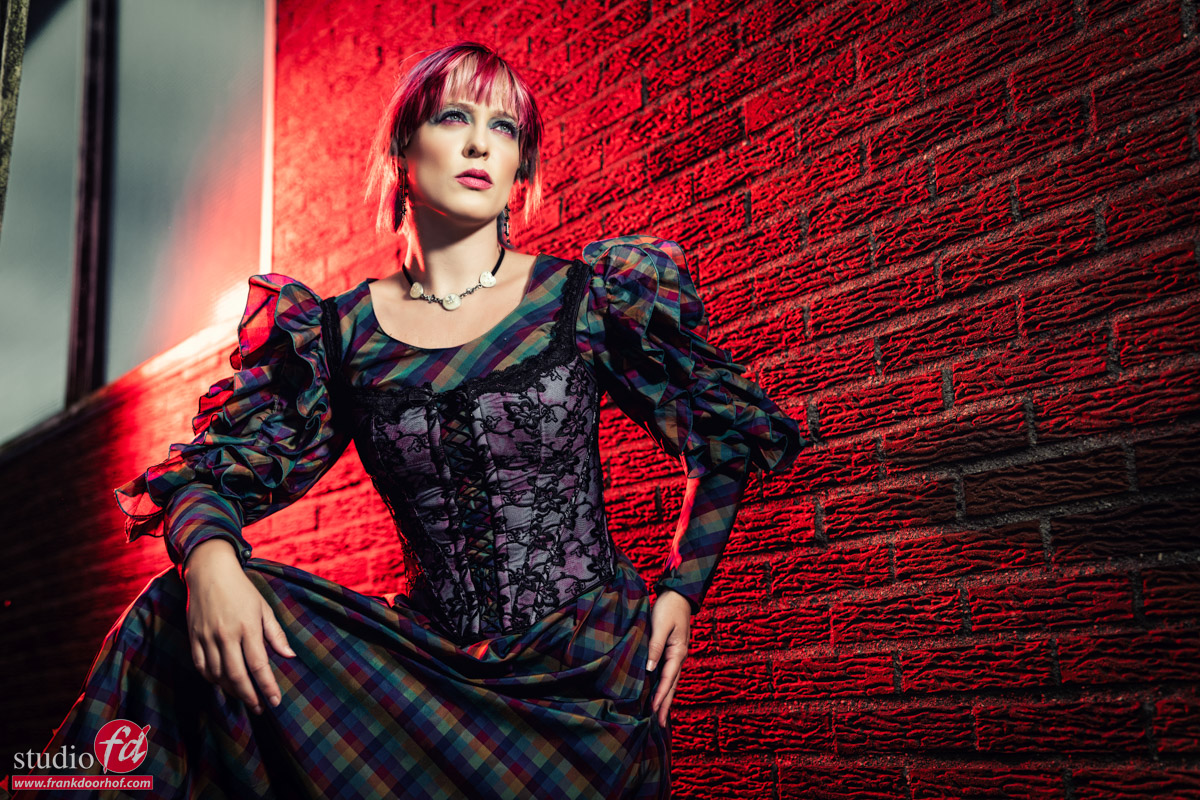
The Hensel system does have a lot more power but doesn’t support HSS and as you can see they give you results that are incredibly close to each other.
I think this is one of the most interesting parts of the smaller flash systems like the Geekoto they don’t like like much compared to a system like the Porty but due to the use of HSS they do pack an incredible punch.

Of course they can’t compete with the Hensel on durability, recycling speed, flash duration and raw power. But if you don’t need that raw power I think you can do awesome things with the smaller systems, something that wasn’t possible in the past when we still were depending on speedlights only.

 

Working on location and what does flash do?

During the workshop on location in Emmeloord with our model Claudia the theme is to find locations that might look boring and make them interesting enough for some cool shots. in my opinion this is one of the best things you can do to train yourself to create better images.

The reason most people don’t shoot images close to their home is probably that they see it every day and don’t realise anymore that some locations can be great to shoot images in or against. Every day I walk Chewie I see locations where I think “this would be nice to place a model” but somehow you always travel to cool locations to do the same while in essence you could take the same kind of images close you your own location.

Now of course we do want to introduce also some interesting lighting, because if you just shoot something with ambient light it’s boring right?
Or maybe not….
So during the workshop we actually run through several different lighting solutions.

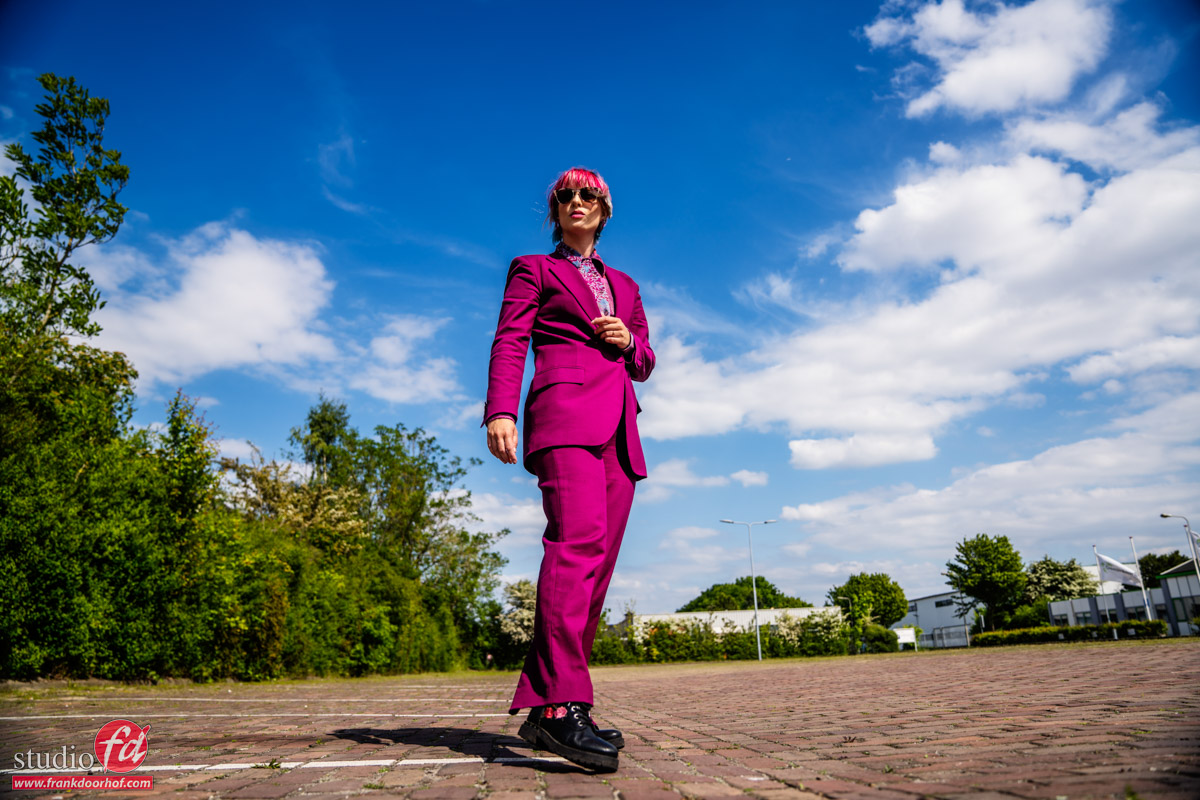
So today let’s take a look at what you can do with just an open parking place.

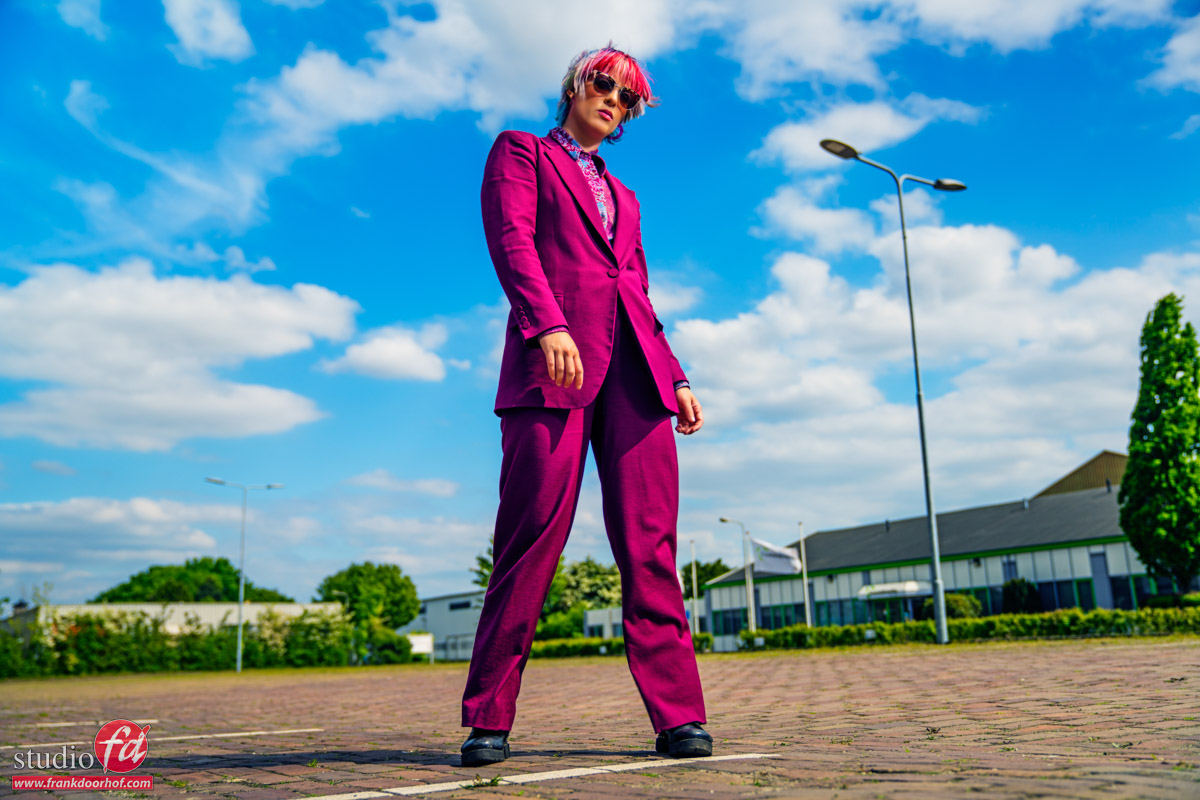
Let’s start out with ambient light only.

A low angle and a standard preset I created in Luminar AI (you can get those on frankdoorhof.com/shop)

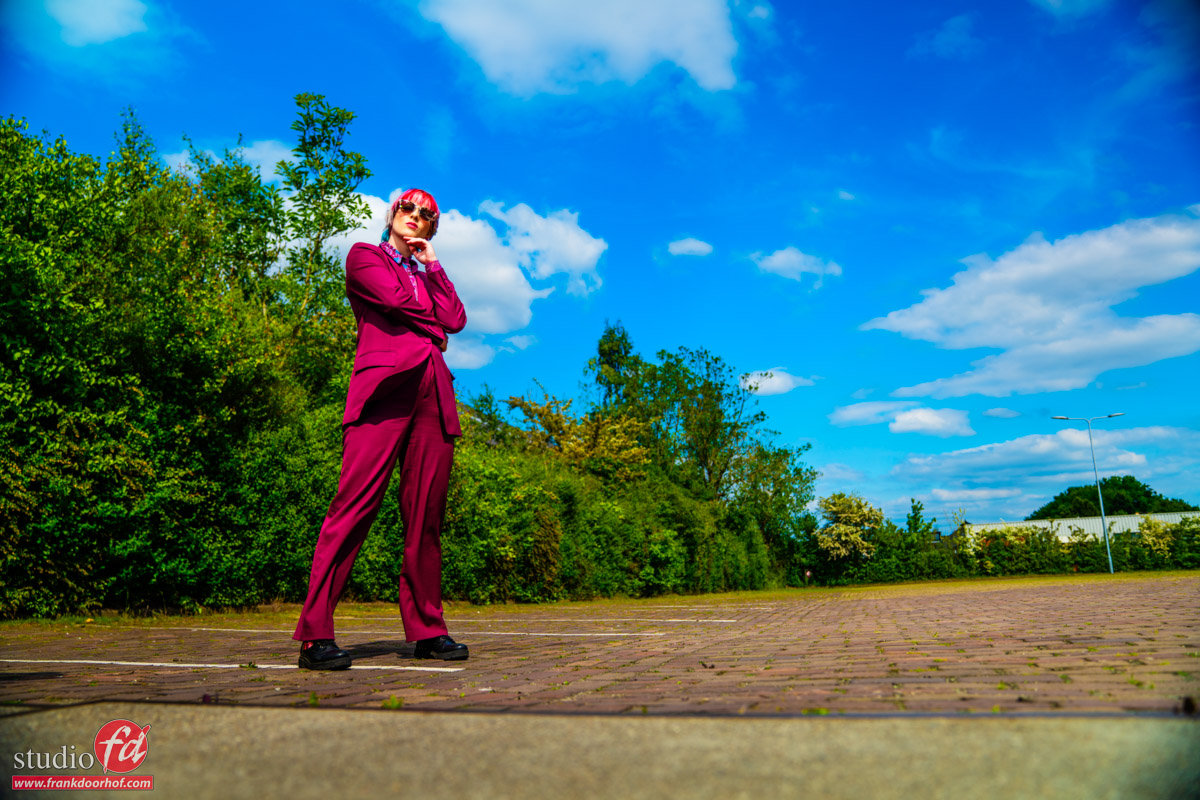
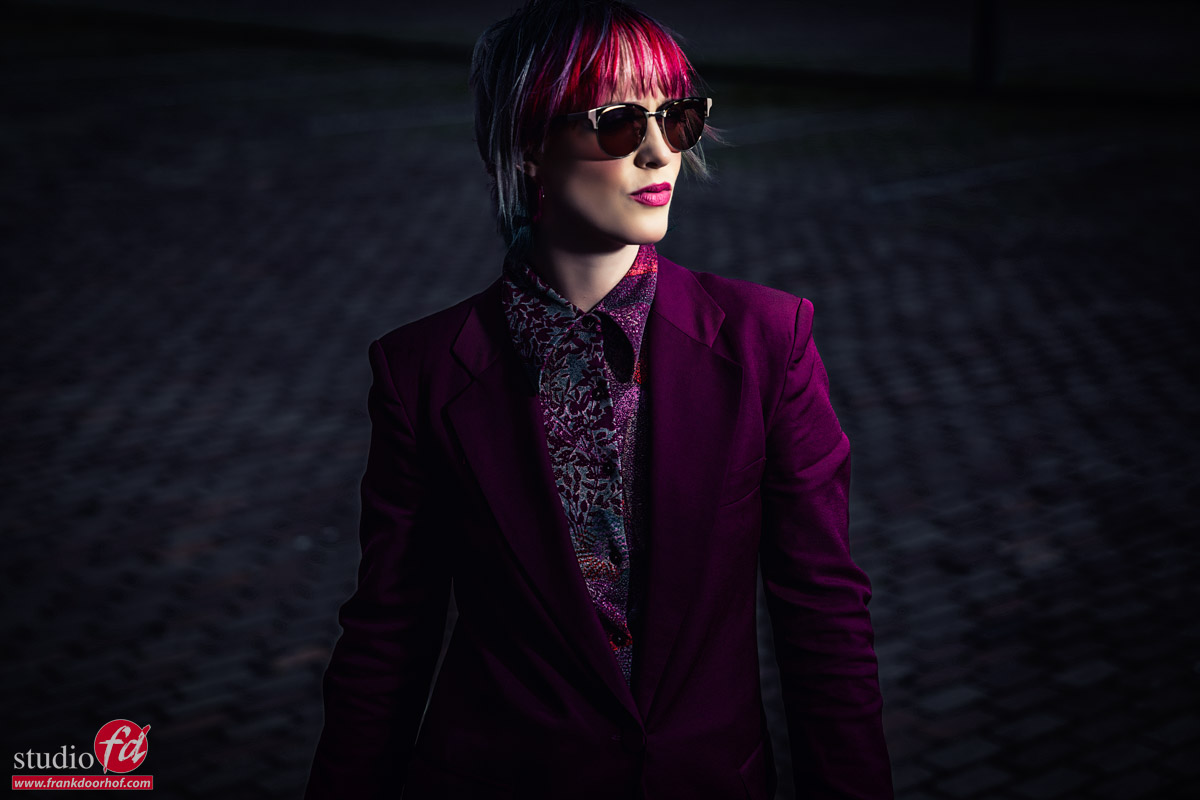
Now let’s add a just a slight amount of flash.
I’m using a Hensel Porty with a 14″ reflector here and to get this effect you really don’t need a lot of power, in essence I’m overpowering the ambient by just 1-1.5 stops.

With retouching you could get something similar quite easily.
Now one of the limitations of shooting with the Hensel Porty is that you are limited to the X-sync which in most cases lies between 1/125 and 1/200. So you will mostly shoot on smaller apertures when using a lot of power. This is why I’m using a variable magnetic ND filter on my lens when shooting with the porty system outside.

I’m using the K&F concept version which you can find in the Frank Doorhof kit which includes 2 Black diffusion filters (1/4 and 1/8) and the variable ND filter, all magnetic of course.

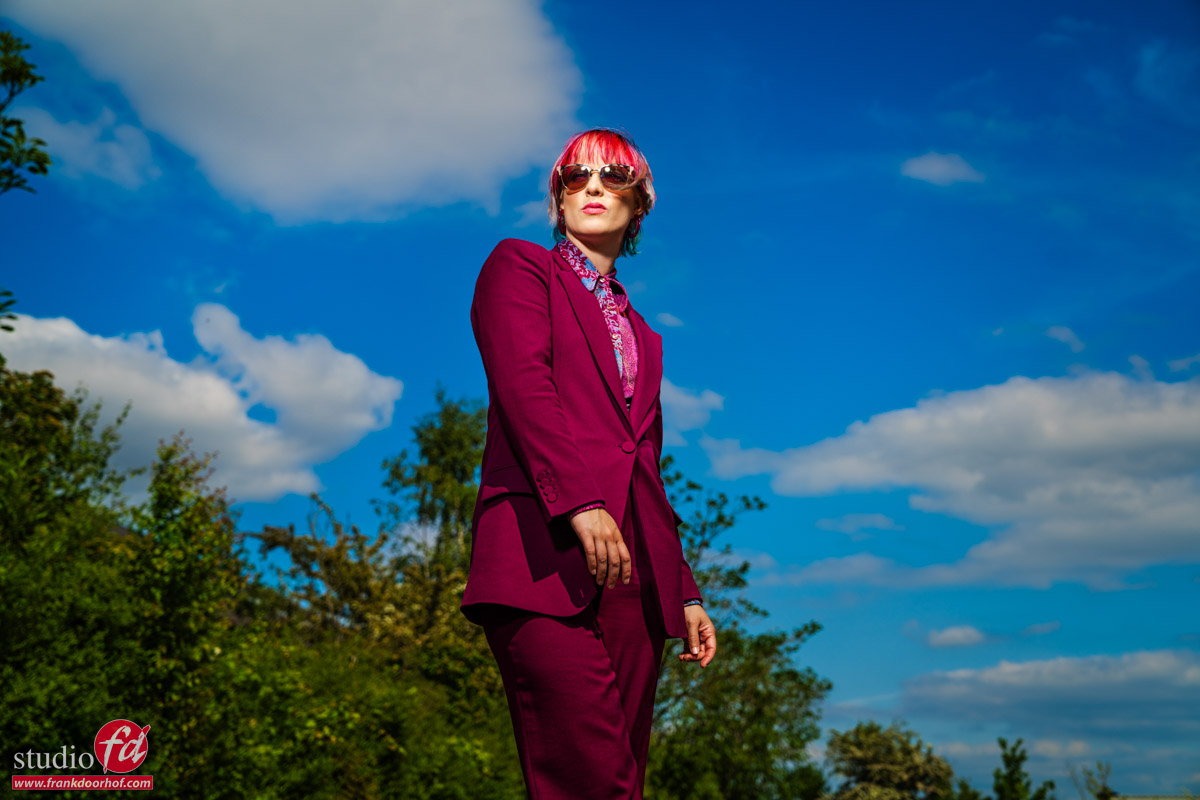
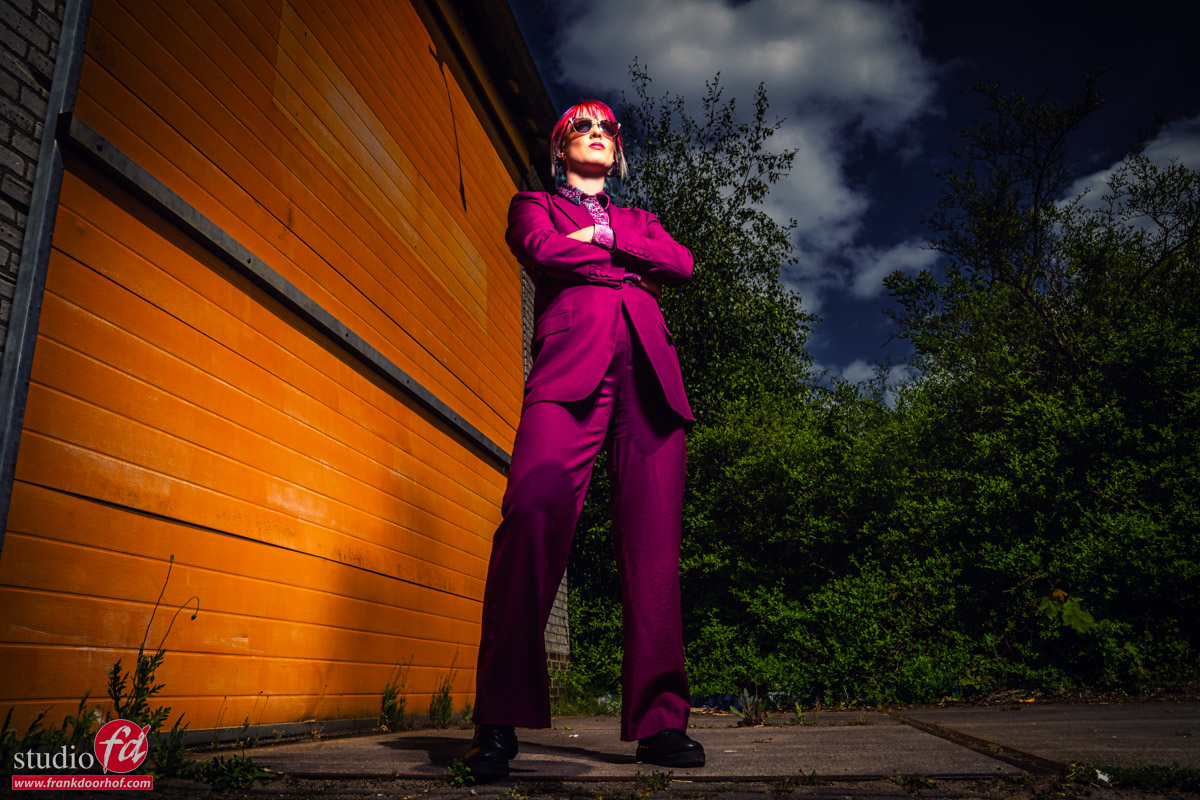
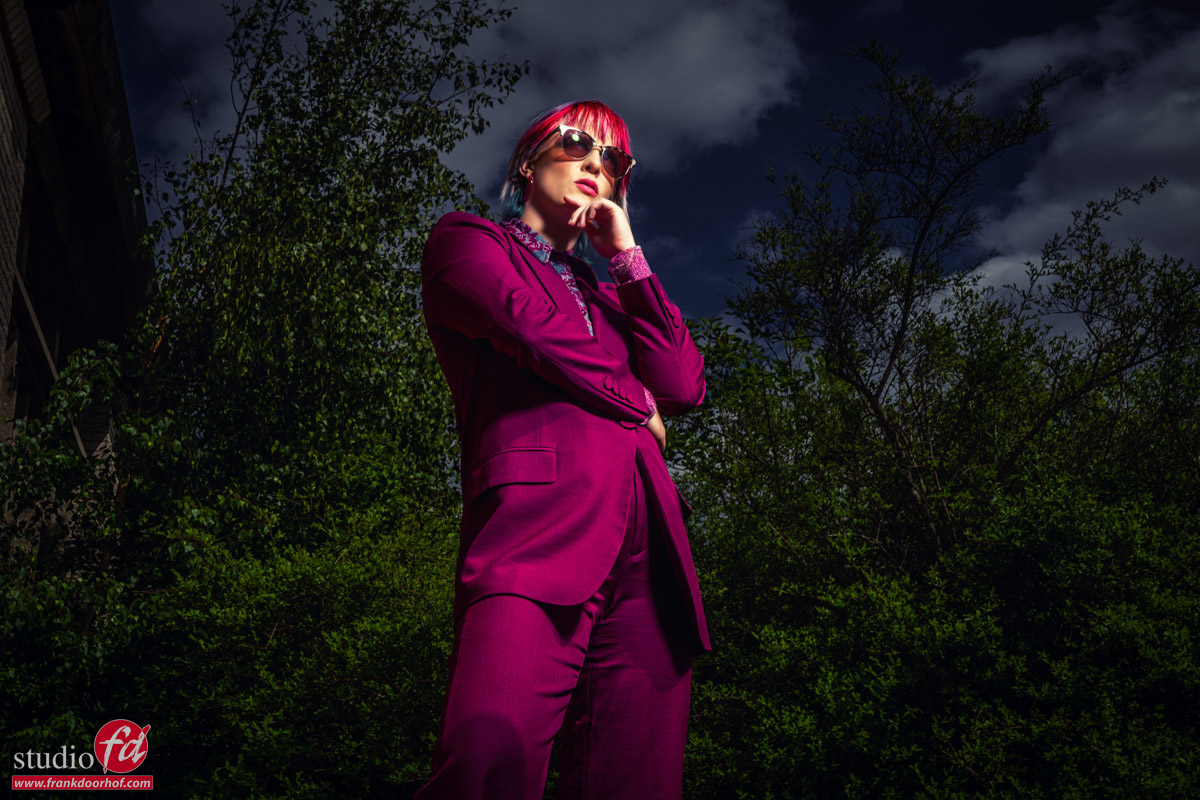
Ok, so now let’s add a lot of light.

Here I’m totally overpowering the ambient light and also chose a different angle to enhance the contrast even more.
One might say…”hey this is cheating because we don’t see the sky anymore”
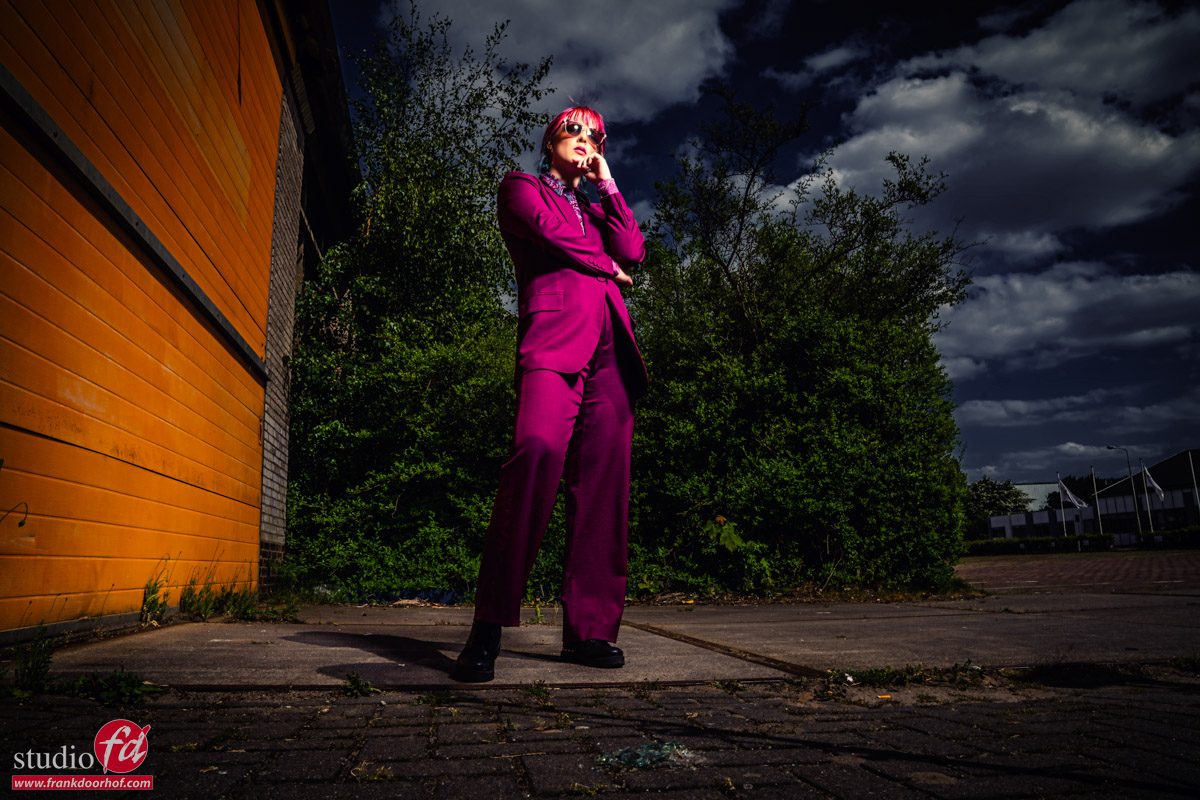
So of course I also shot some with the sky included but we did move the set a bit to make the series more varied.

This is something I always highly recommend.
If you shoot all images from the same angle and in the same location it can be very nice but also a bit boring, and you don’t have to travel or even walk to another location, it’s often a matter of choosing a location where you can shoot from different angles and create something new with every angle. It doesn’t only speed up your workflow but also give your client much more different images for the same price, so they will be much more willing to hire you again for another job.

As you can see there is a huge difference between the first and last images.
However in reality it’s “only” the difference in lighting and by choosing different angles.

So the next time you are shooting on location look around for areas that can be shot from different angles and don’t be afraid to shoot with or without strobes.


Register for the free webinar about capturing stunning colours and achieve a accurate workflow

Register for the free webinar about capturing stunning colours and achieving an accurate workflow

One of the most important things about photography and a reliable workflow is calibration.
In essence, by calibrating your workflow, you make sure you get the results you need. Not just colours but also black/shadow and white/highlights detail. So register now for the free webinar about capturing stunning colours and mor. And if you cannot attend live, you will receive a recording.

In all the workshops I teach it always shocks me how many people don’t use ColorCheckers, white balance tools, or even take the time to calibrate their monitor. And it’s not hard, it’s in fact such an important part of the workflow that the software/hardware is designed to be fast and easy to use.

In this free webinar in cooperation with our friends from Calibrite I talk about :
Calibration of the monitor
Using the ColorChecker Duo
The differences between the ColorCheckers

How colours interact
Why we use light meters
Using calibration when working with gels

You also get to see 2 “live” photoshoots where I talk about lens flares, filling in shadows with color, and using gels for extra impact to your shots.

And that’s not all.
We end the broadcast with several color manipulation tips and tricks in Lightroom and Photoshop.

Register via the link below.
You don’t want to miss this one.

free webinar about capturing stunning colours and achieve an accurate workflow

click on the image to register for the free webinar

Results from the glamour workshop with Claudia

Today it’s time for some results from the Glamour workshop with our model Claudia.
During the workshops I of course give a lot of attention to lighting techniques, but I also feel that styling, pose/expression and styling are all part of a successful photo.

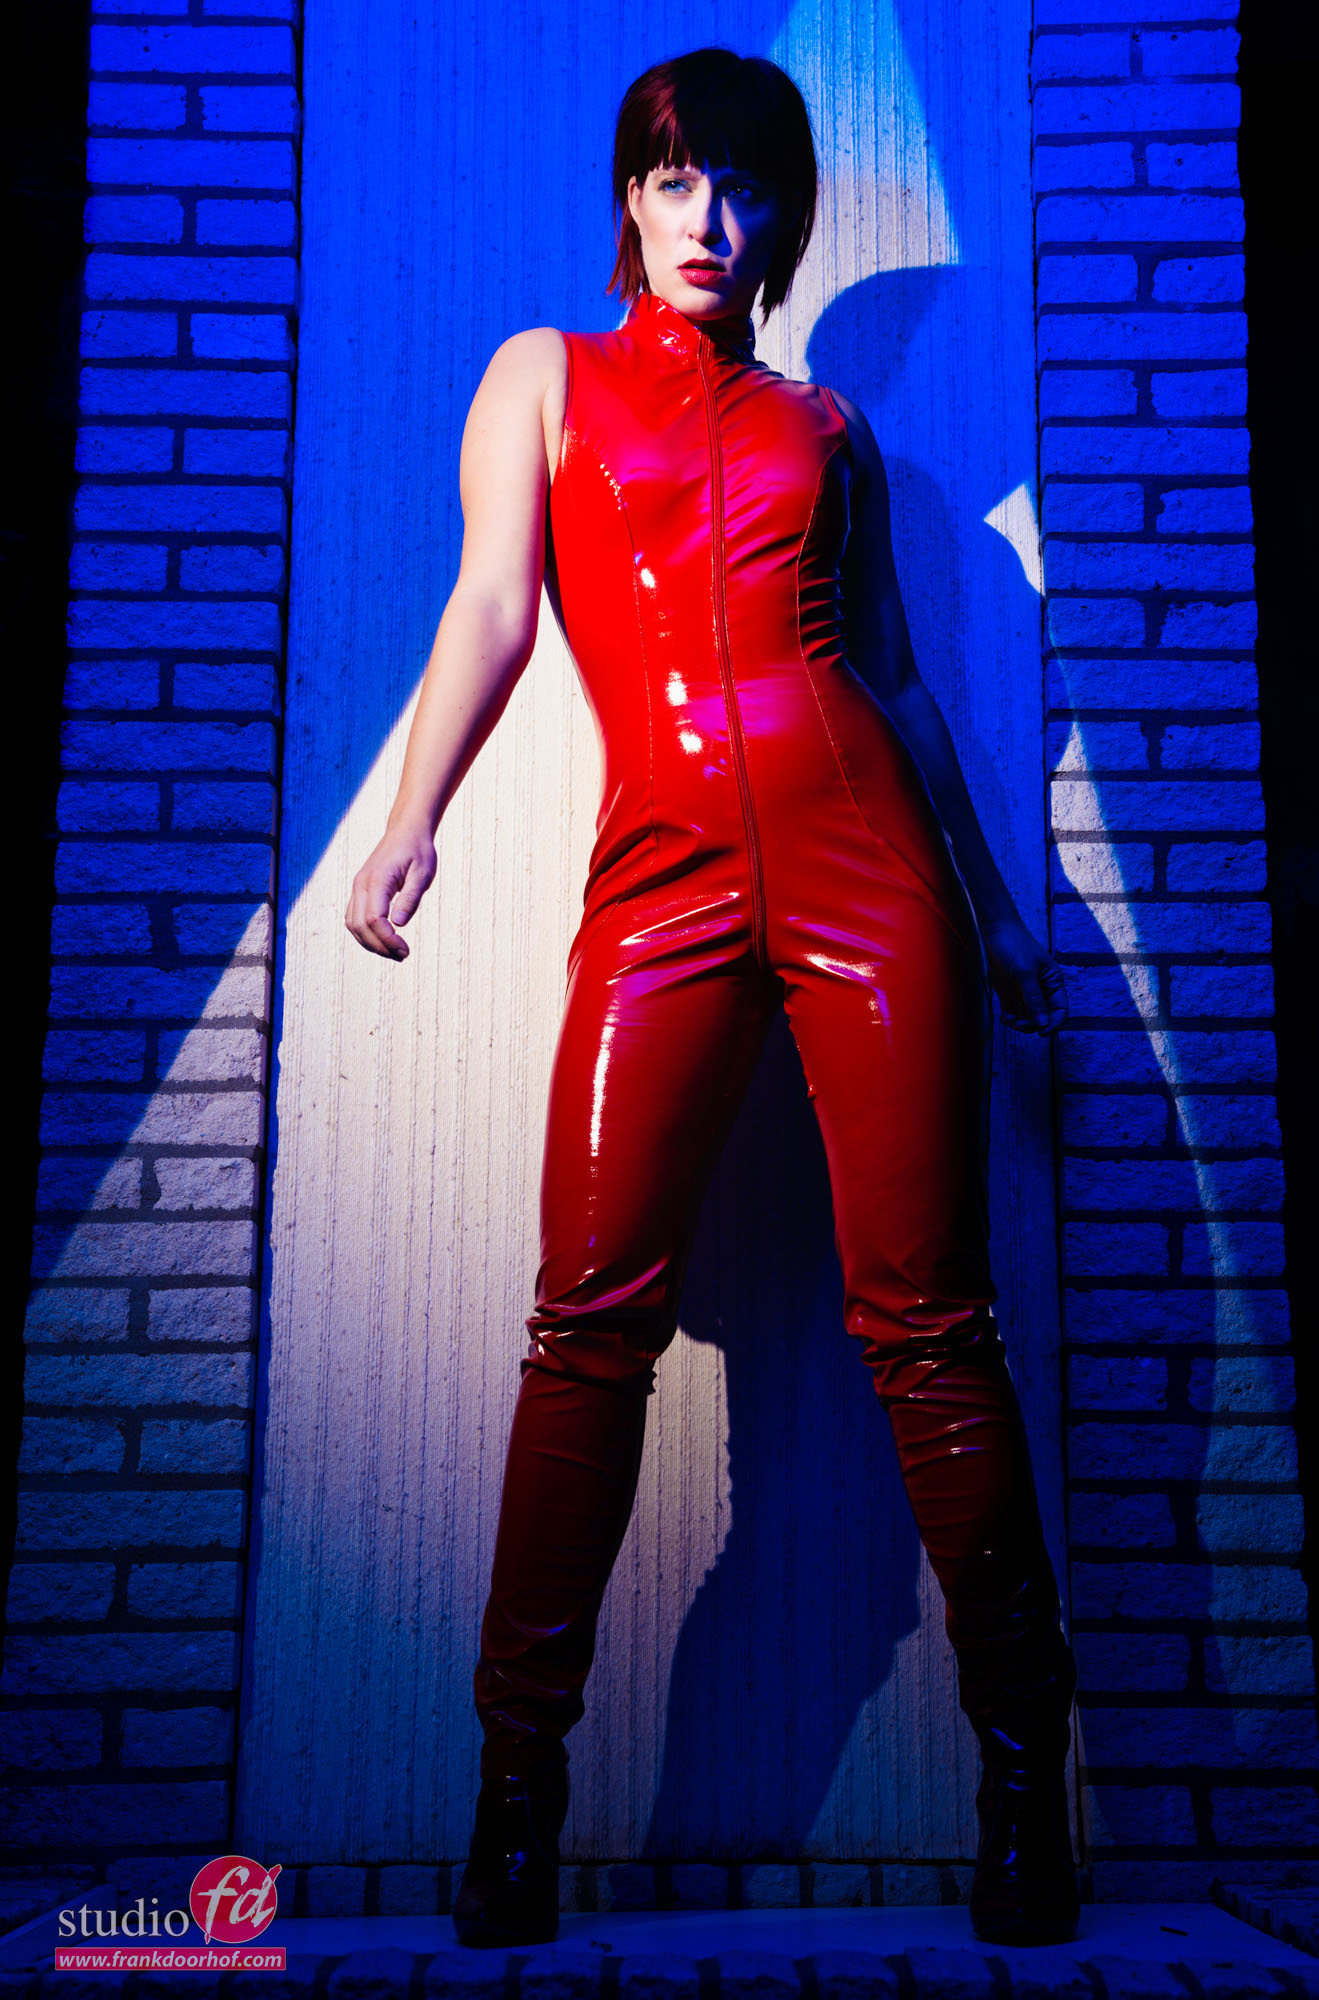
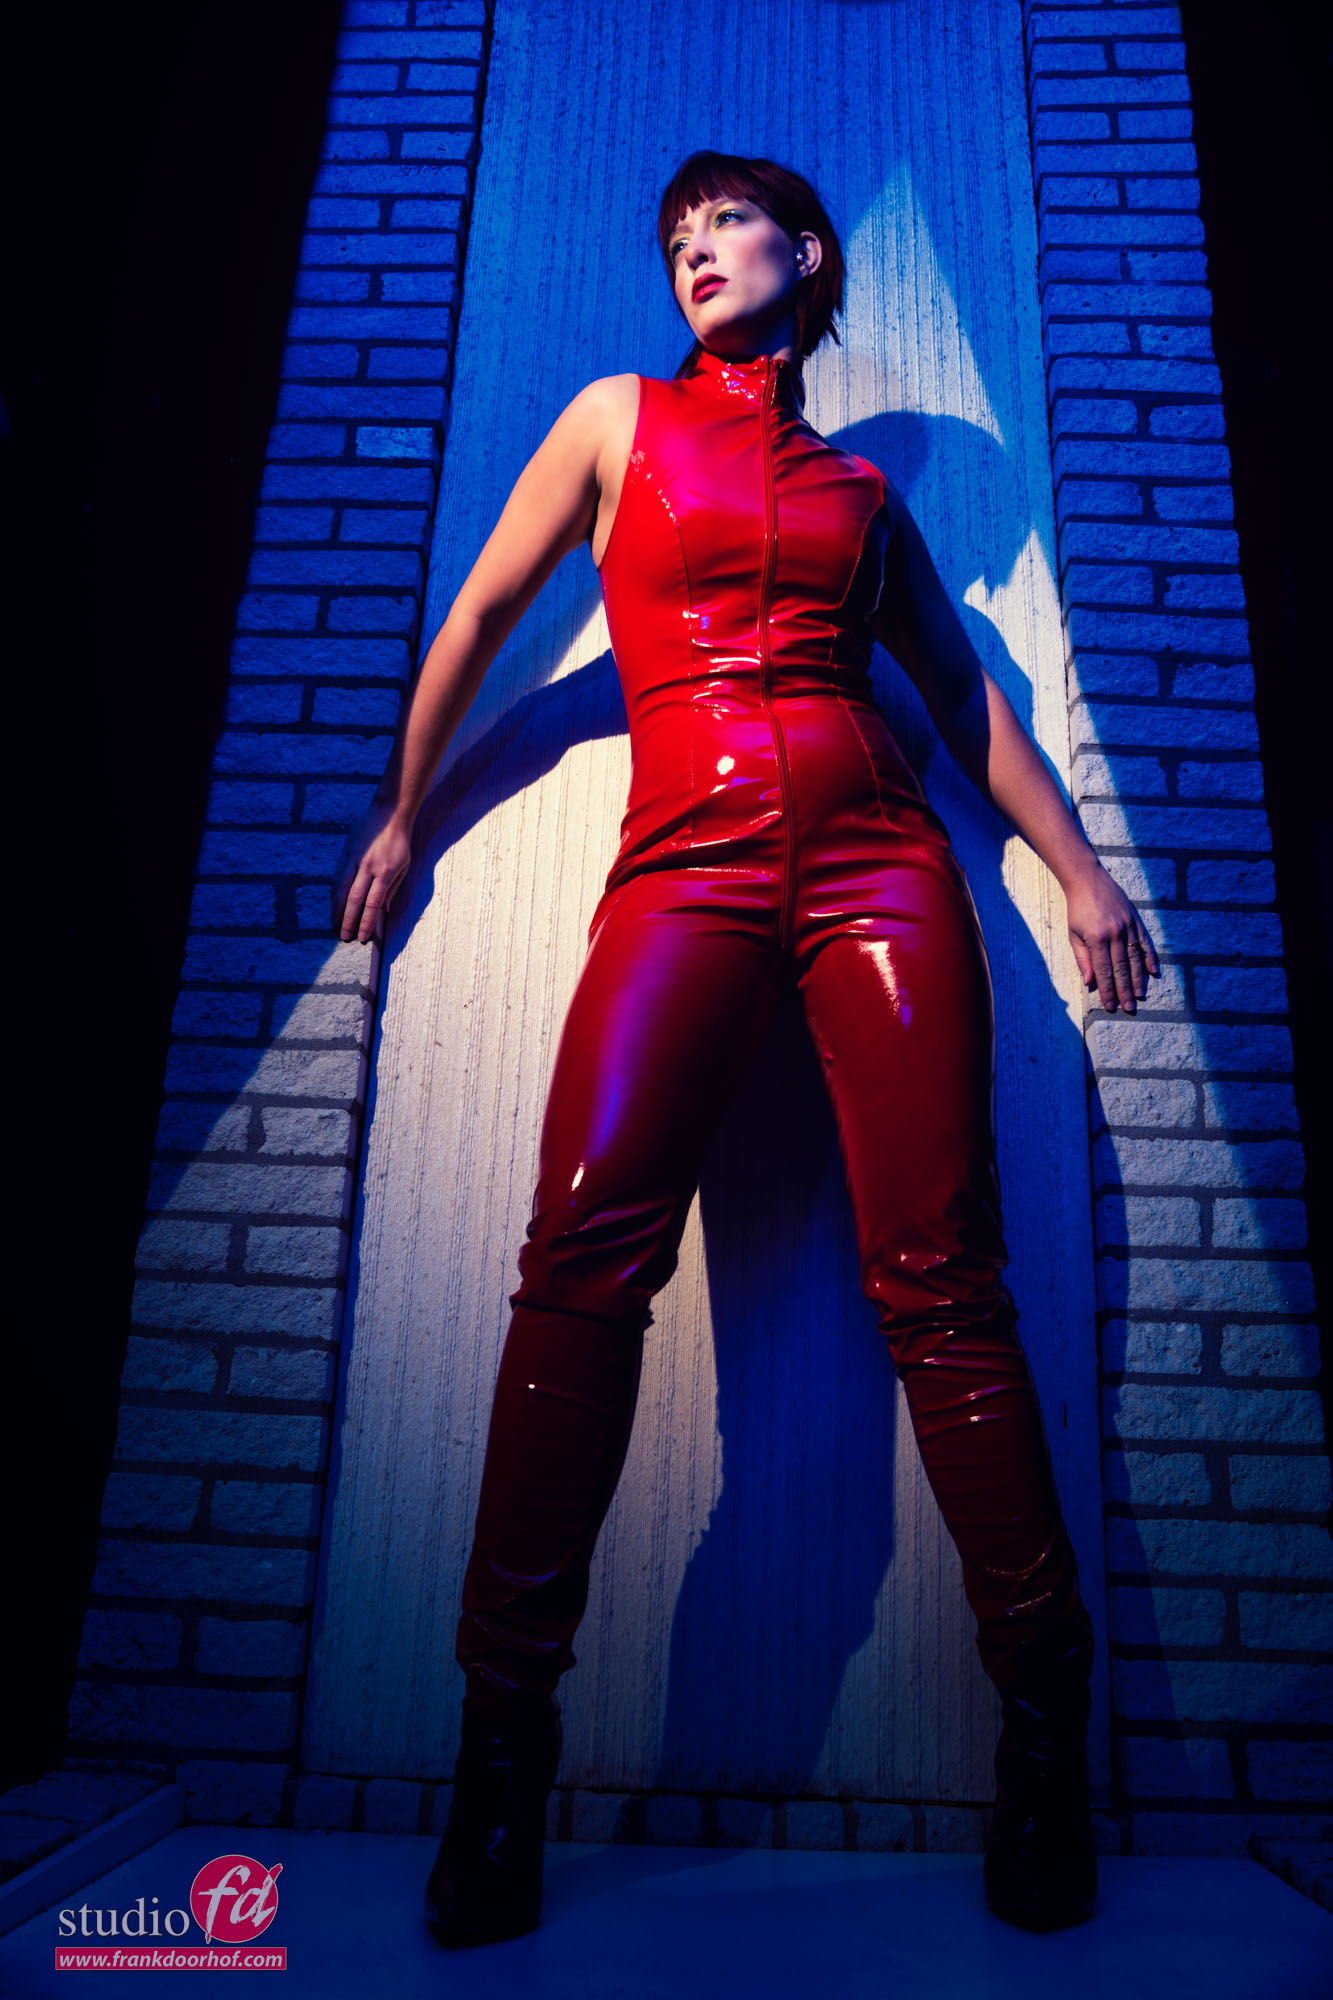
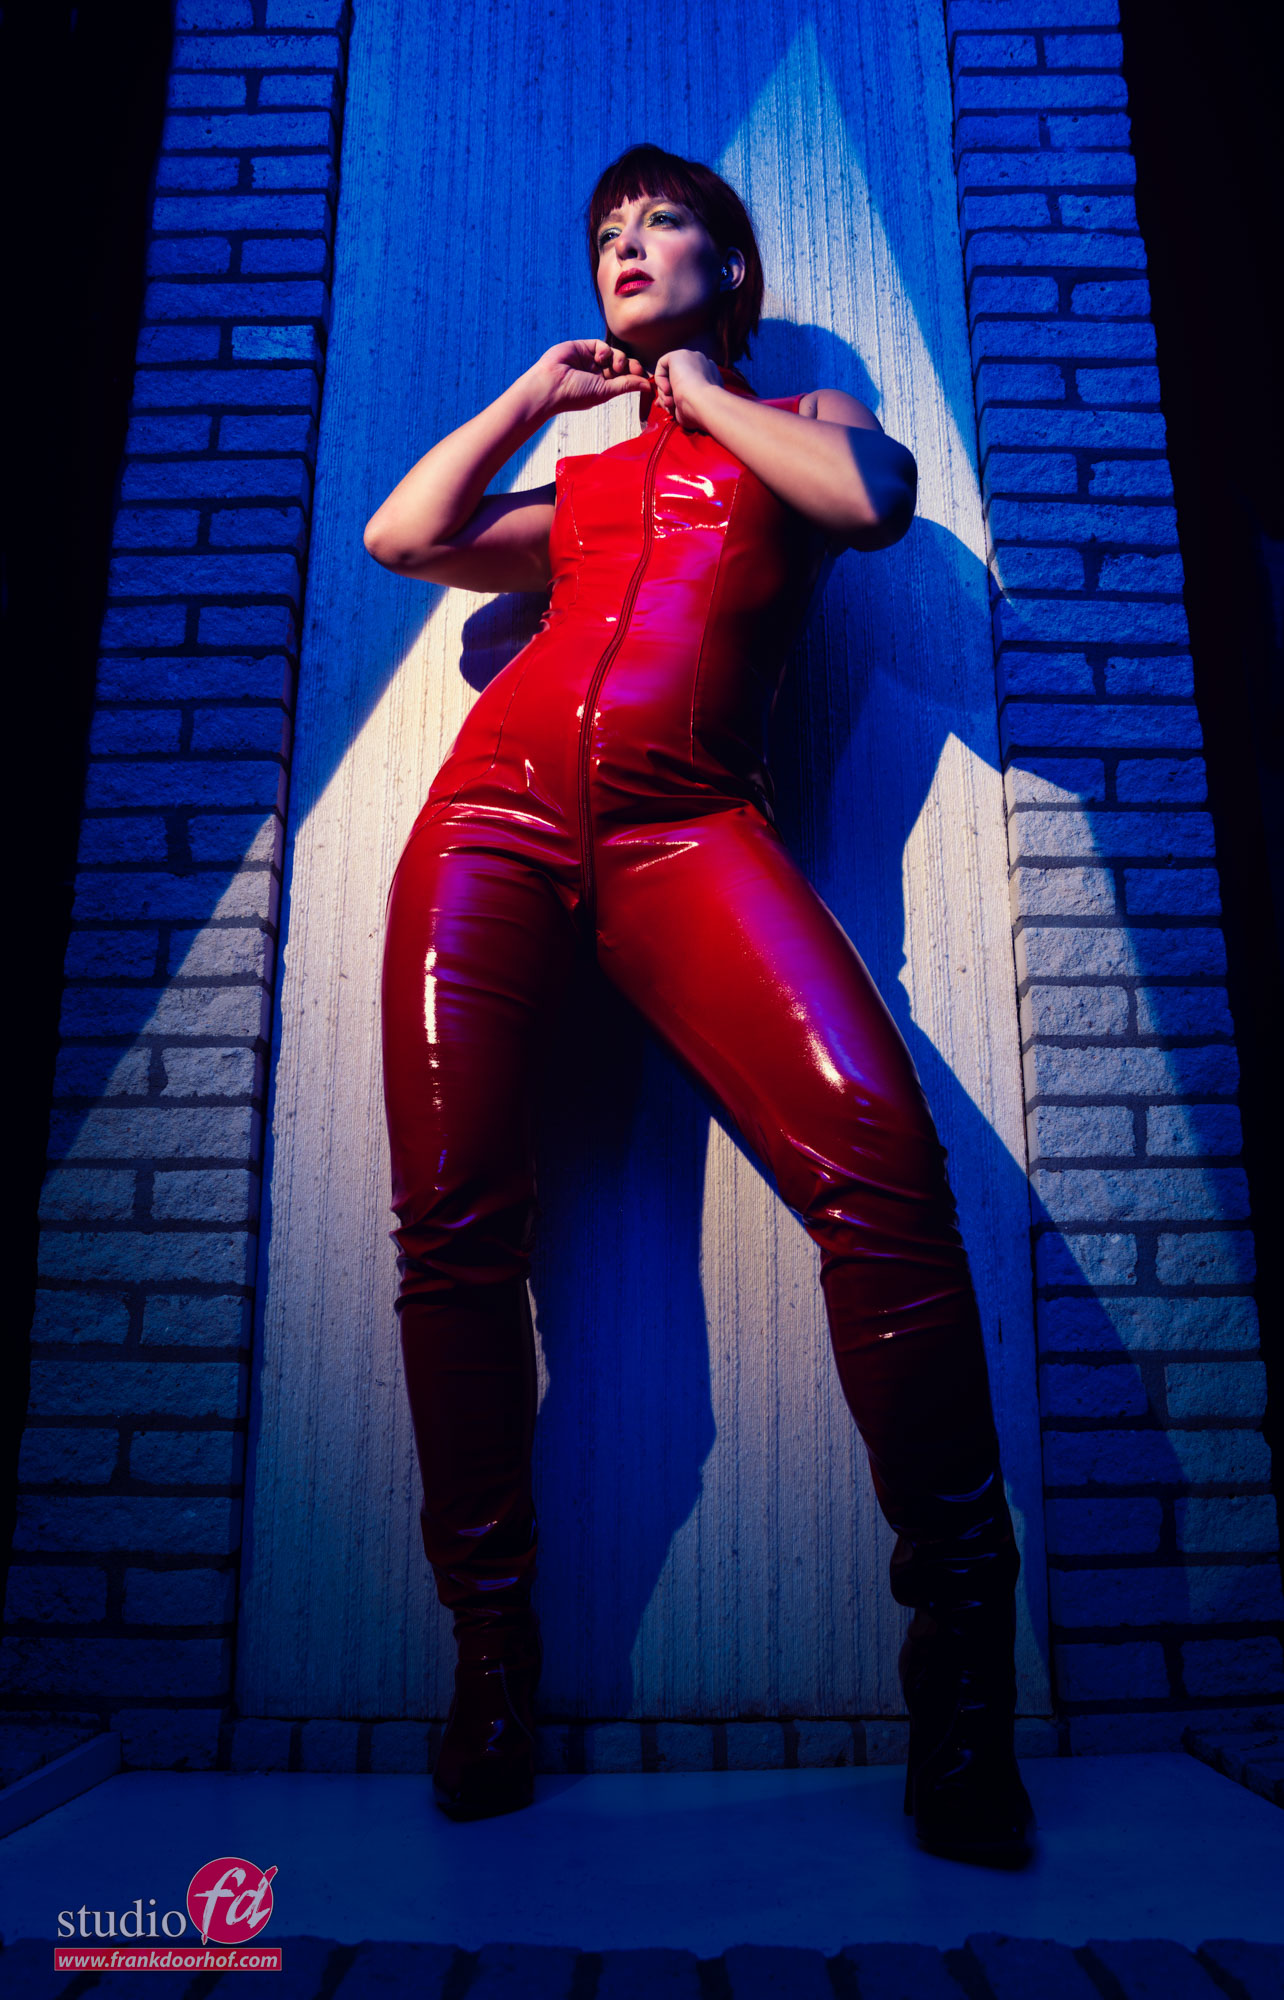
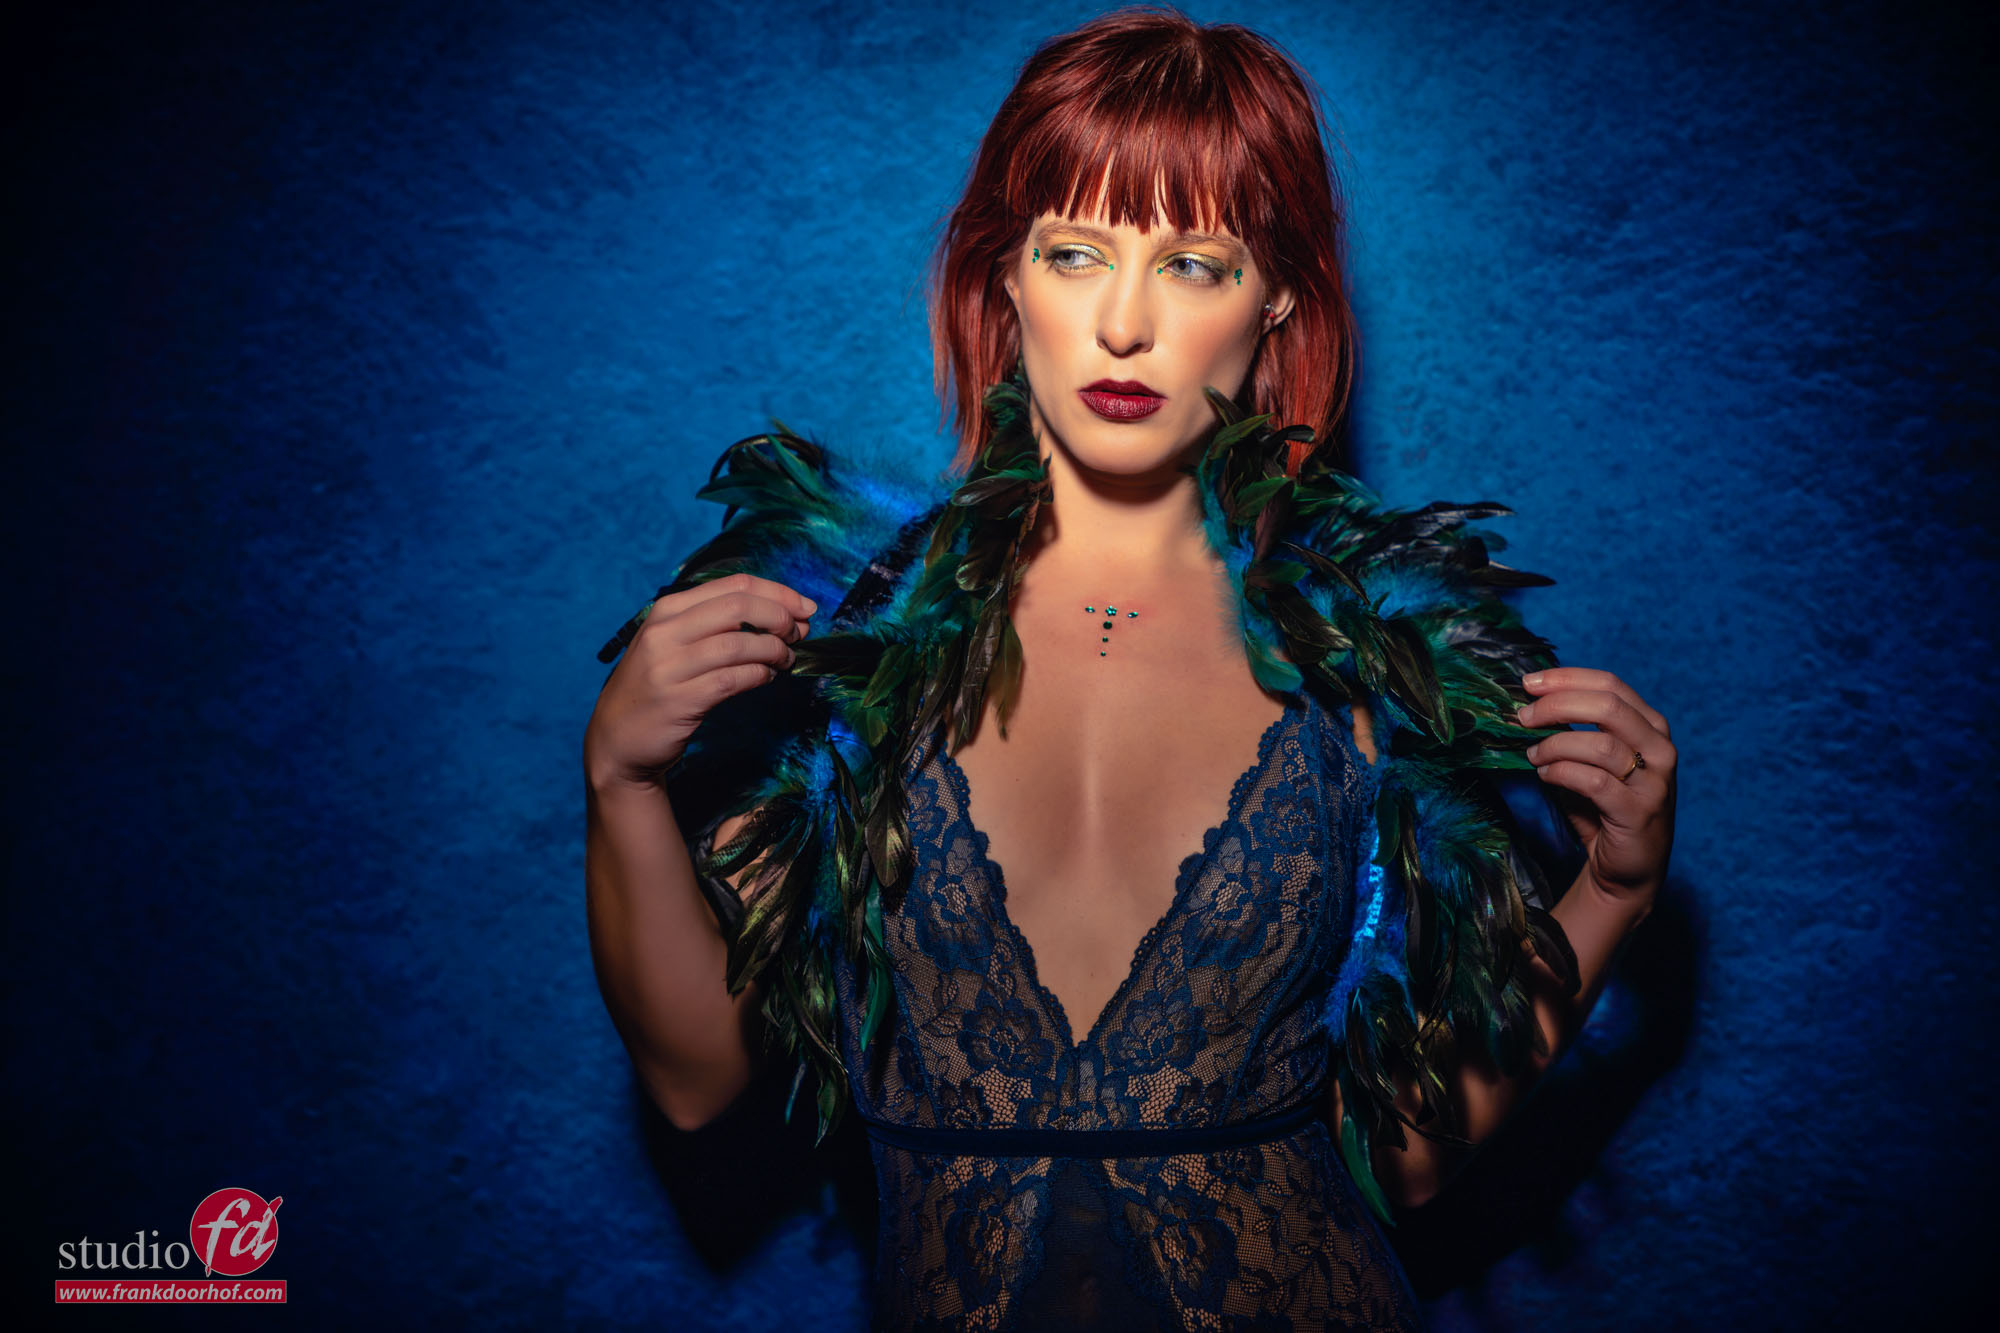
So for the first results I’m using the Lindsay Adler Westcott projector with the blades to create the triangle effect. This is an awesome light modifier with almost limitless options. For fill I’m using a blue gel because otherwise the sides would be totally black which I don’t think helps the image 😀

While shooting it’s important to not be fixated on one location or angle, as you can see in the results, the lower angle shots are clearly giving a totally different look to the the image. In my opinion a much stronger result. But the straight on results are also not bad, so always shoot both, sometimes the client will totally fall in love with one set and the next the other, so make sure you shoot both 😀


Also for the next setup I’m switching locations.
Make sure you setup your lighting so that it’s easy to walk around the model and you are able to shoot from different angles without having to move the light.

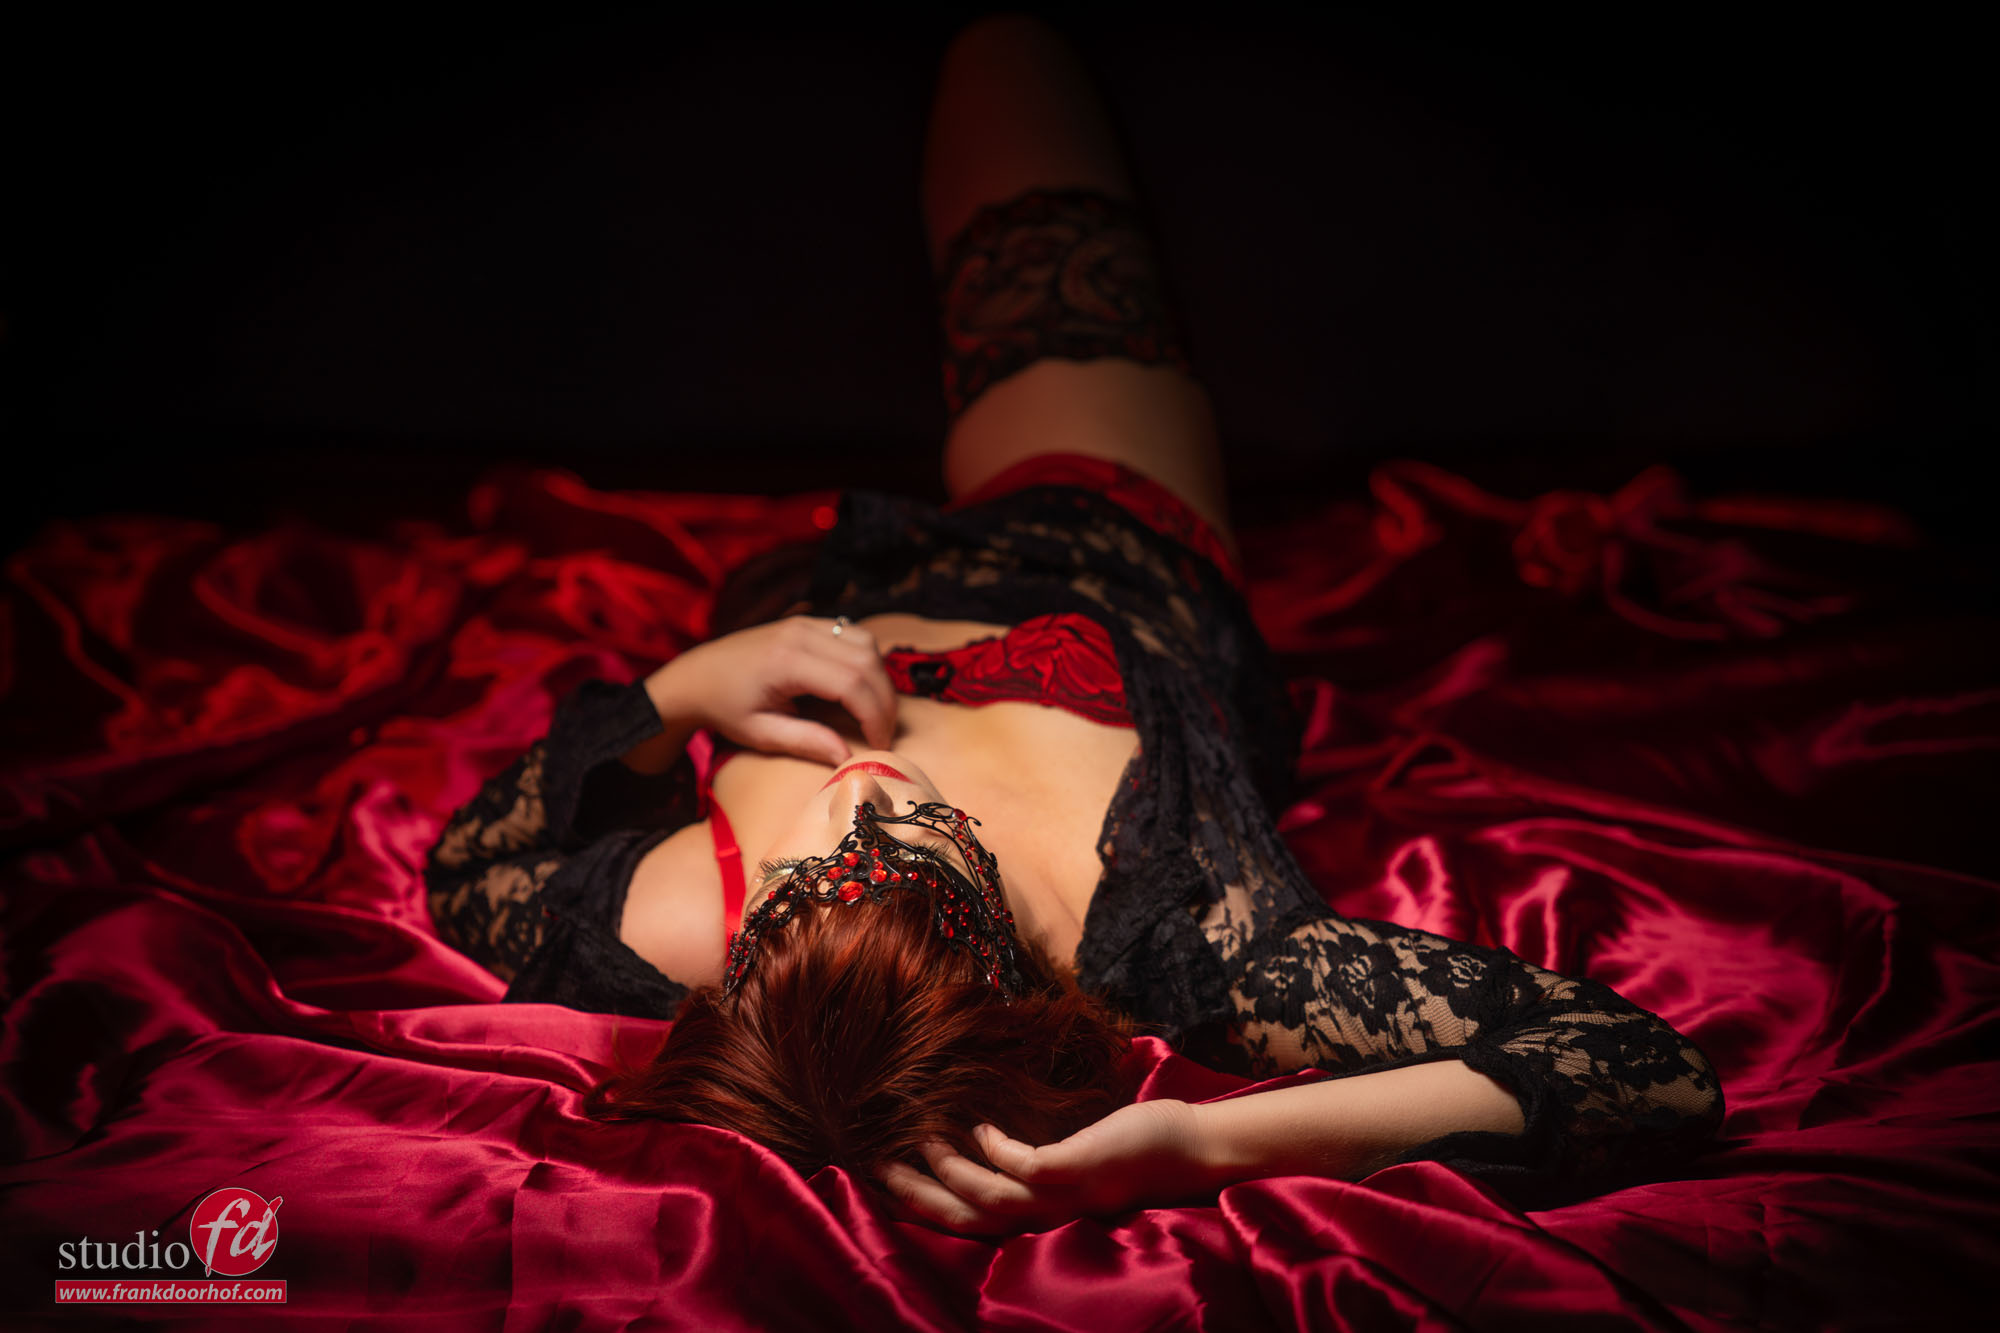
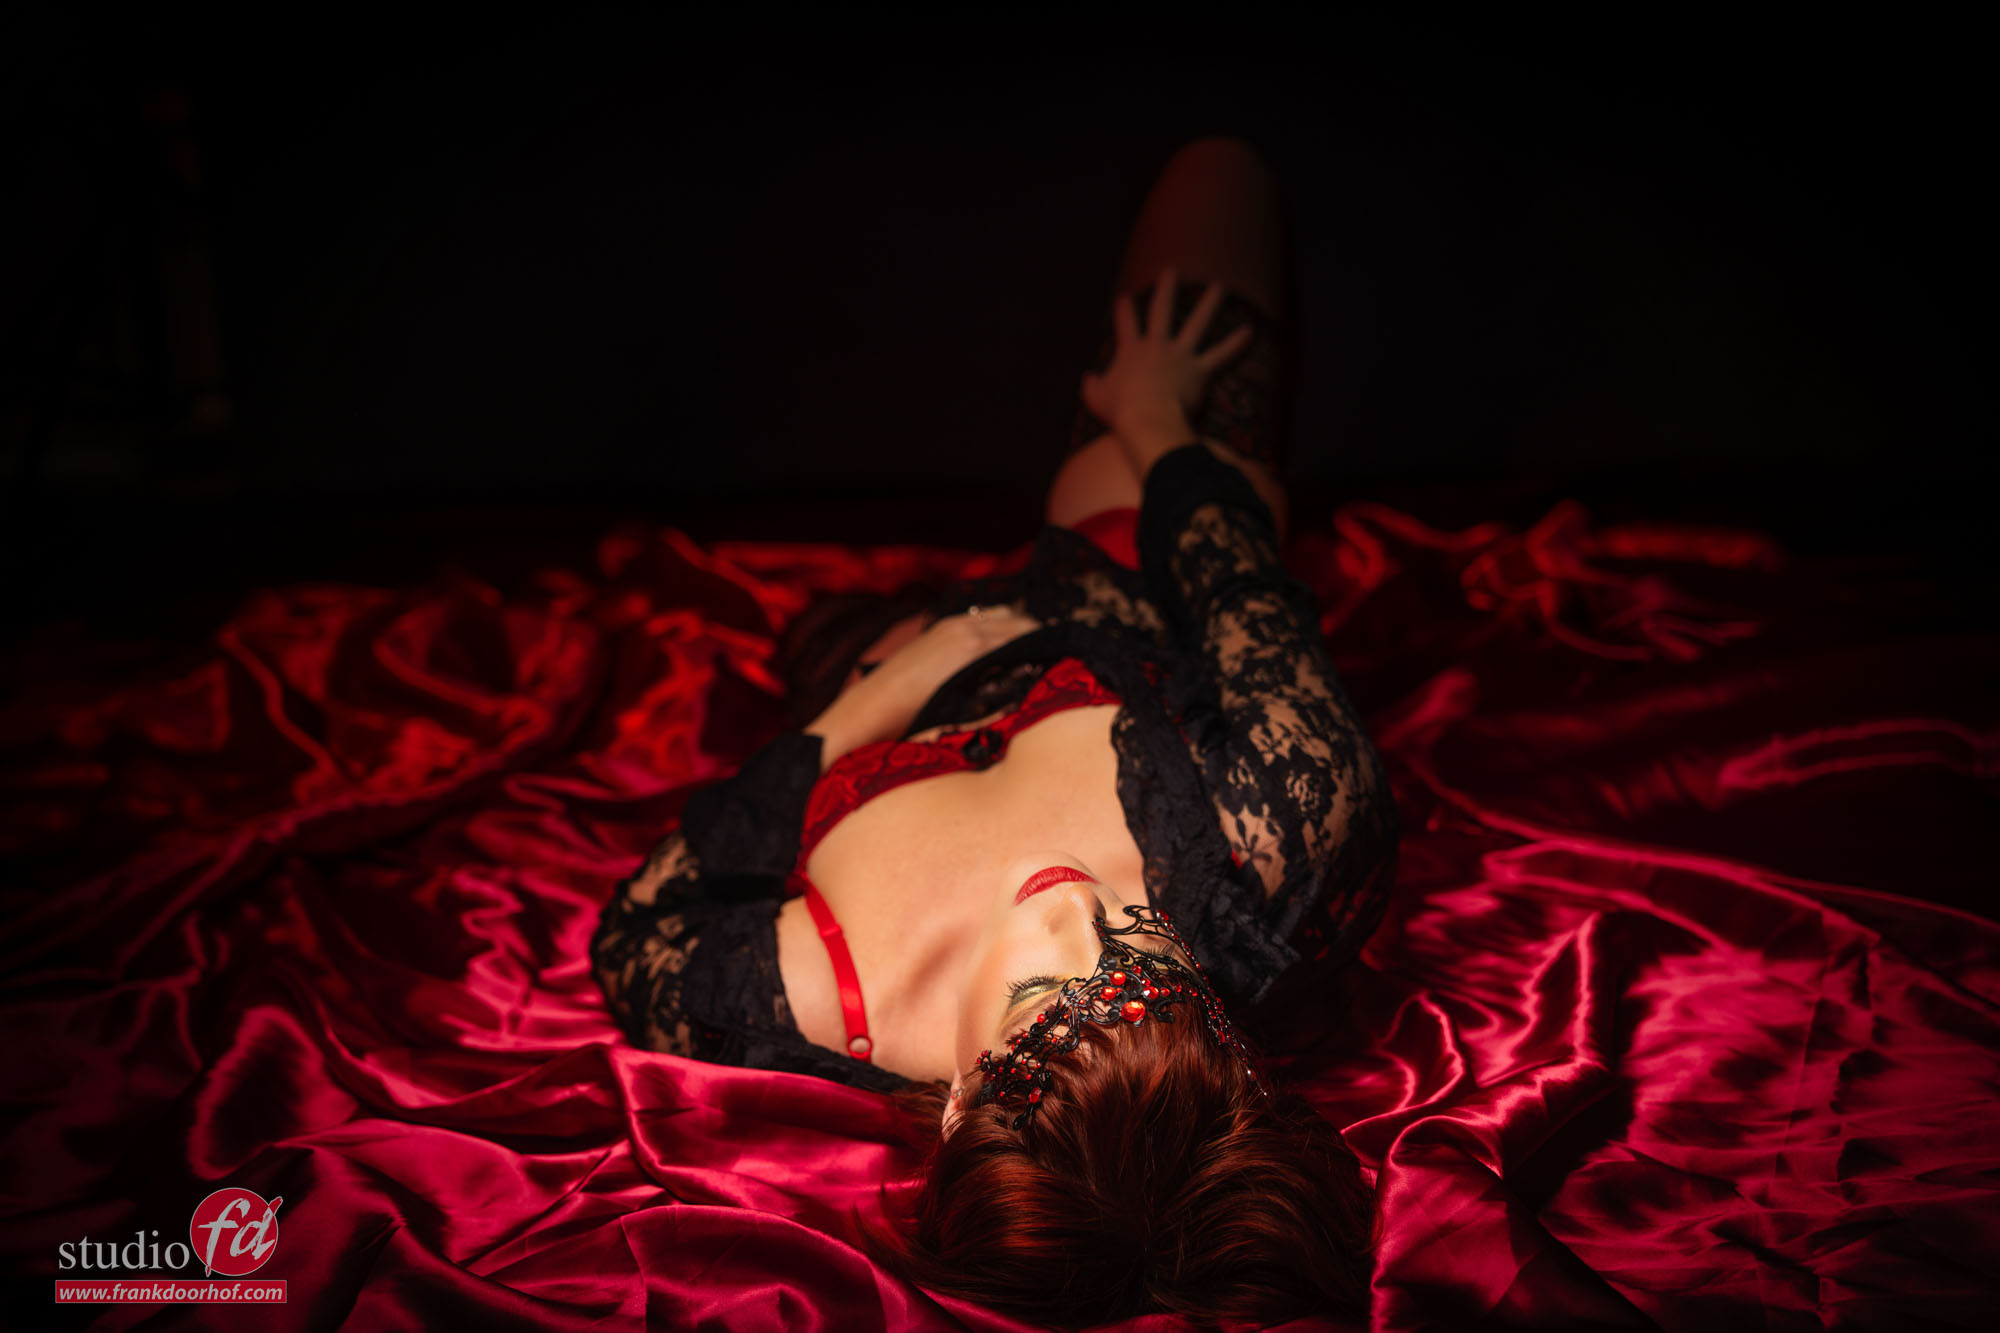
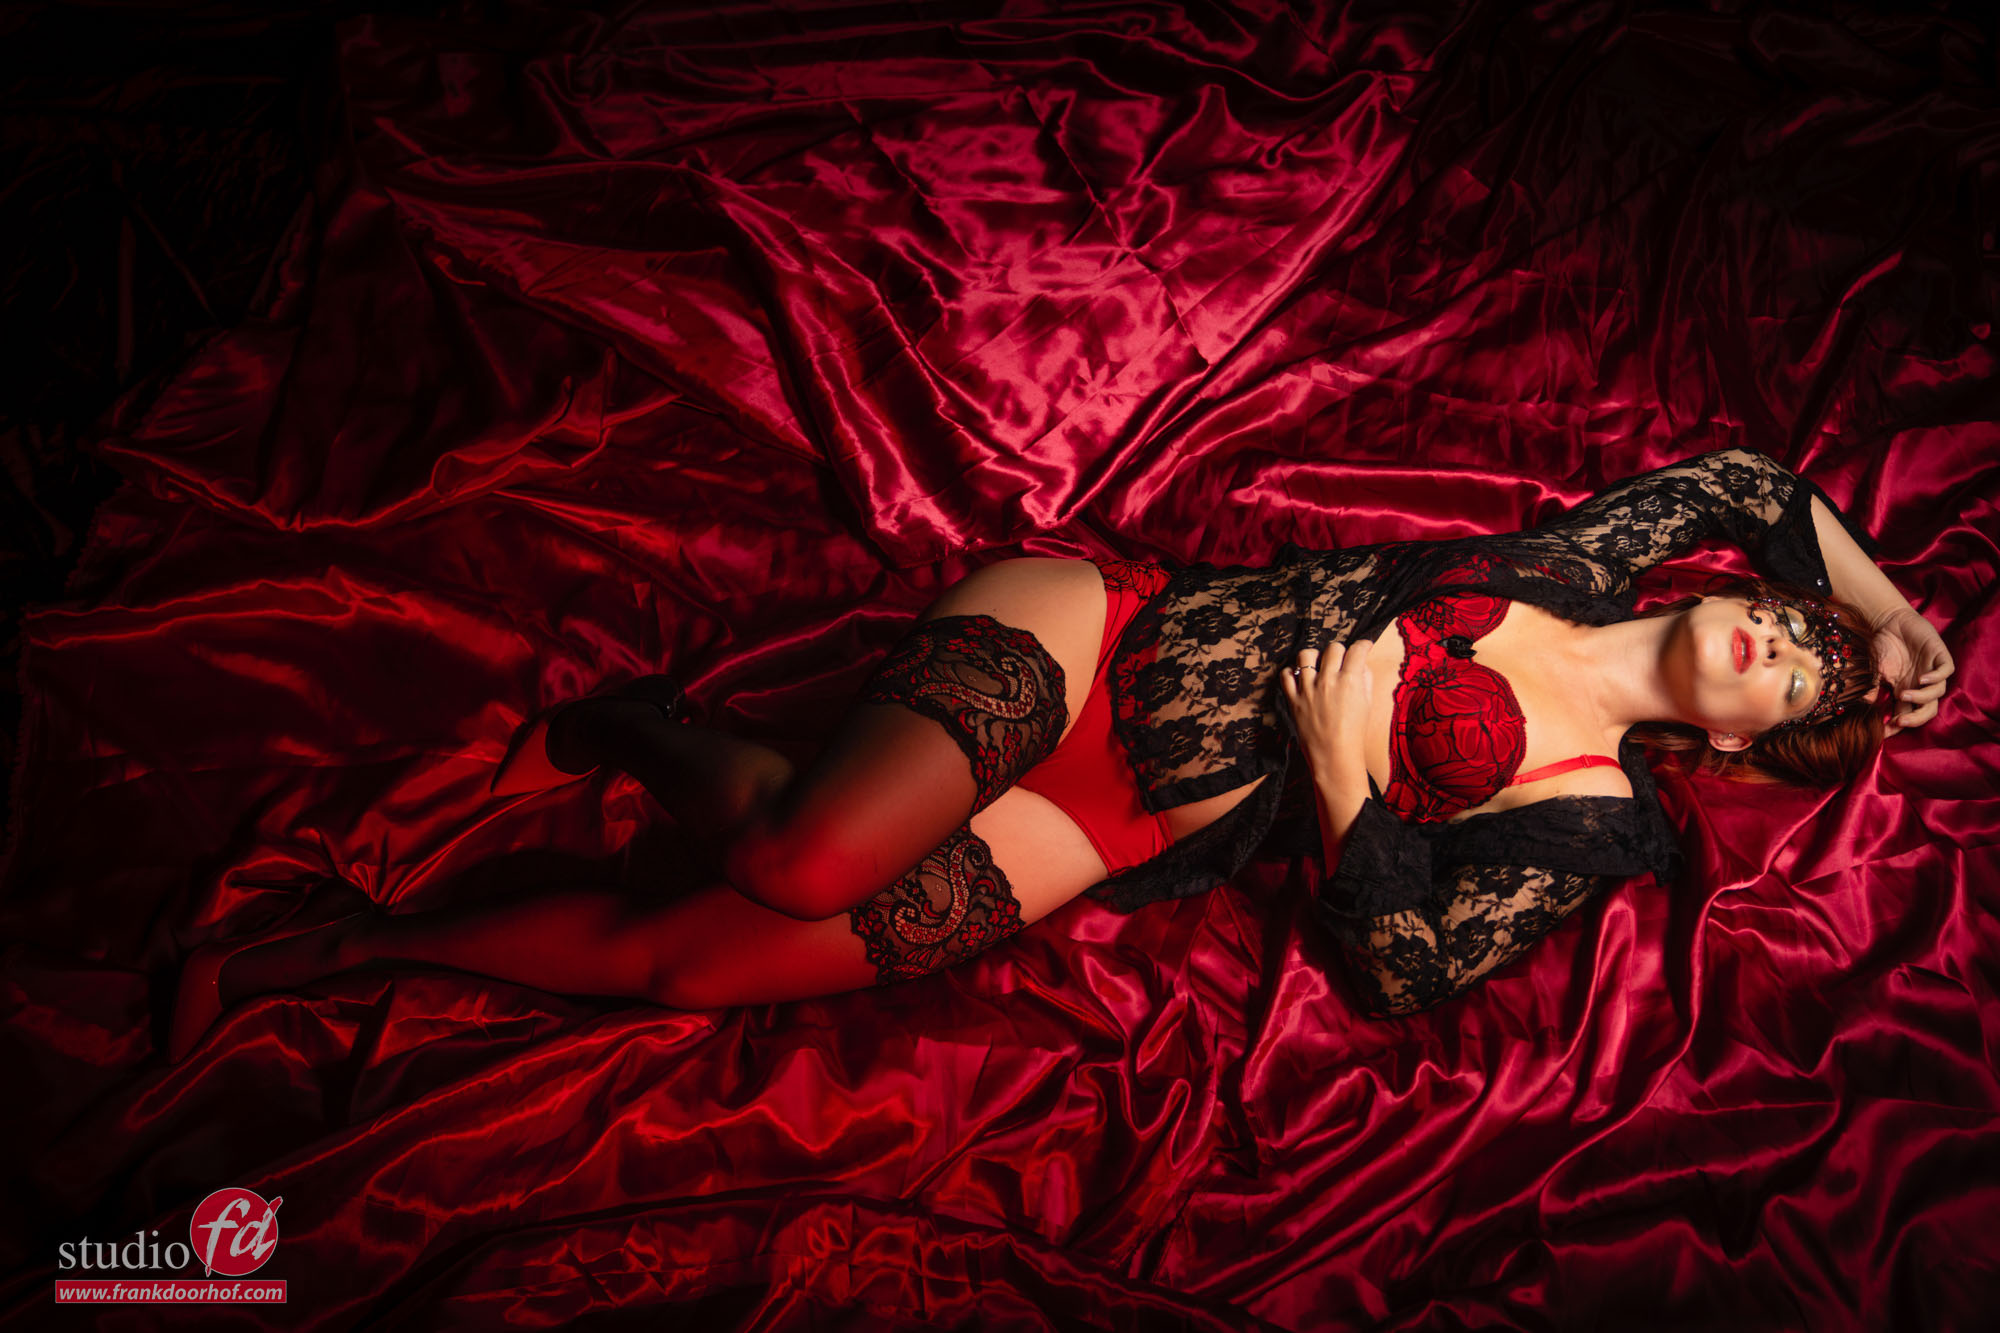
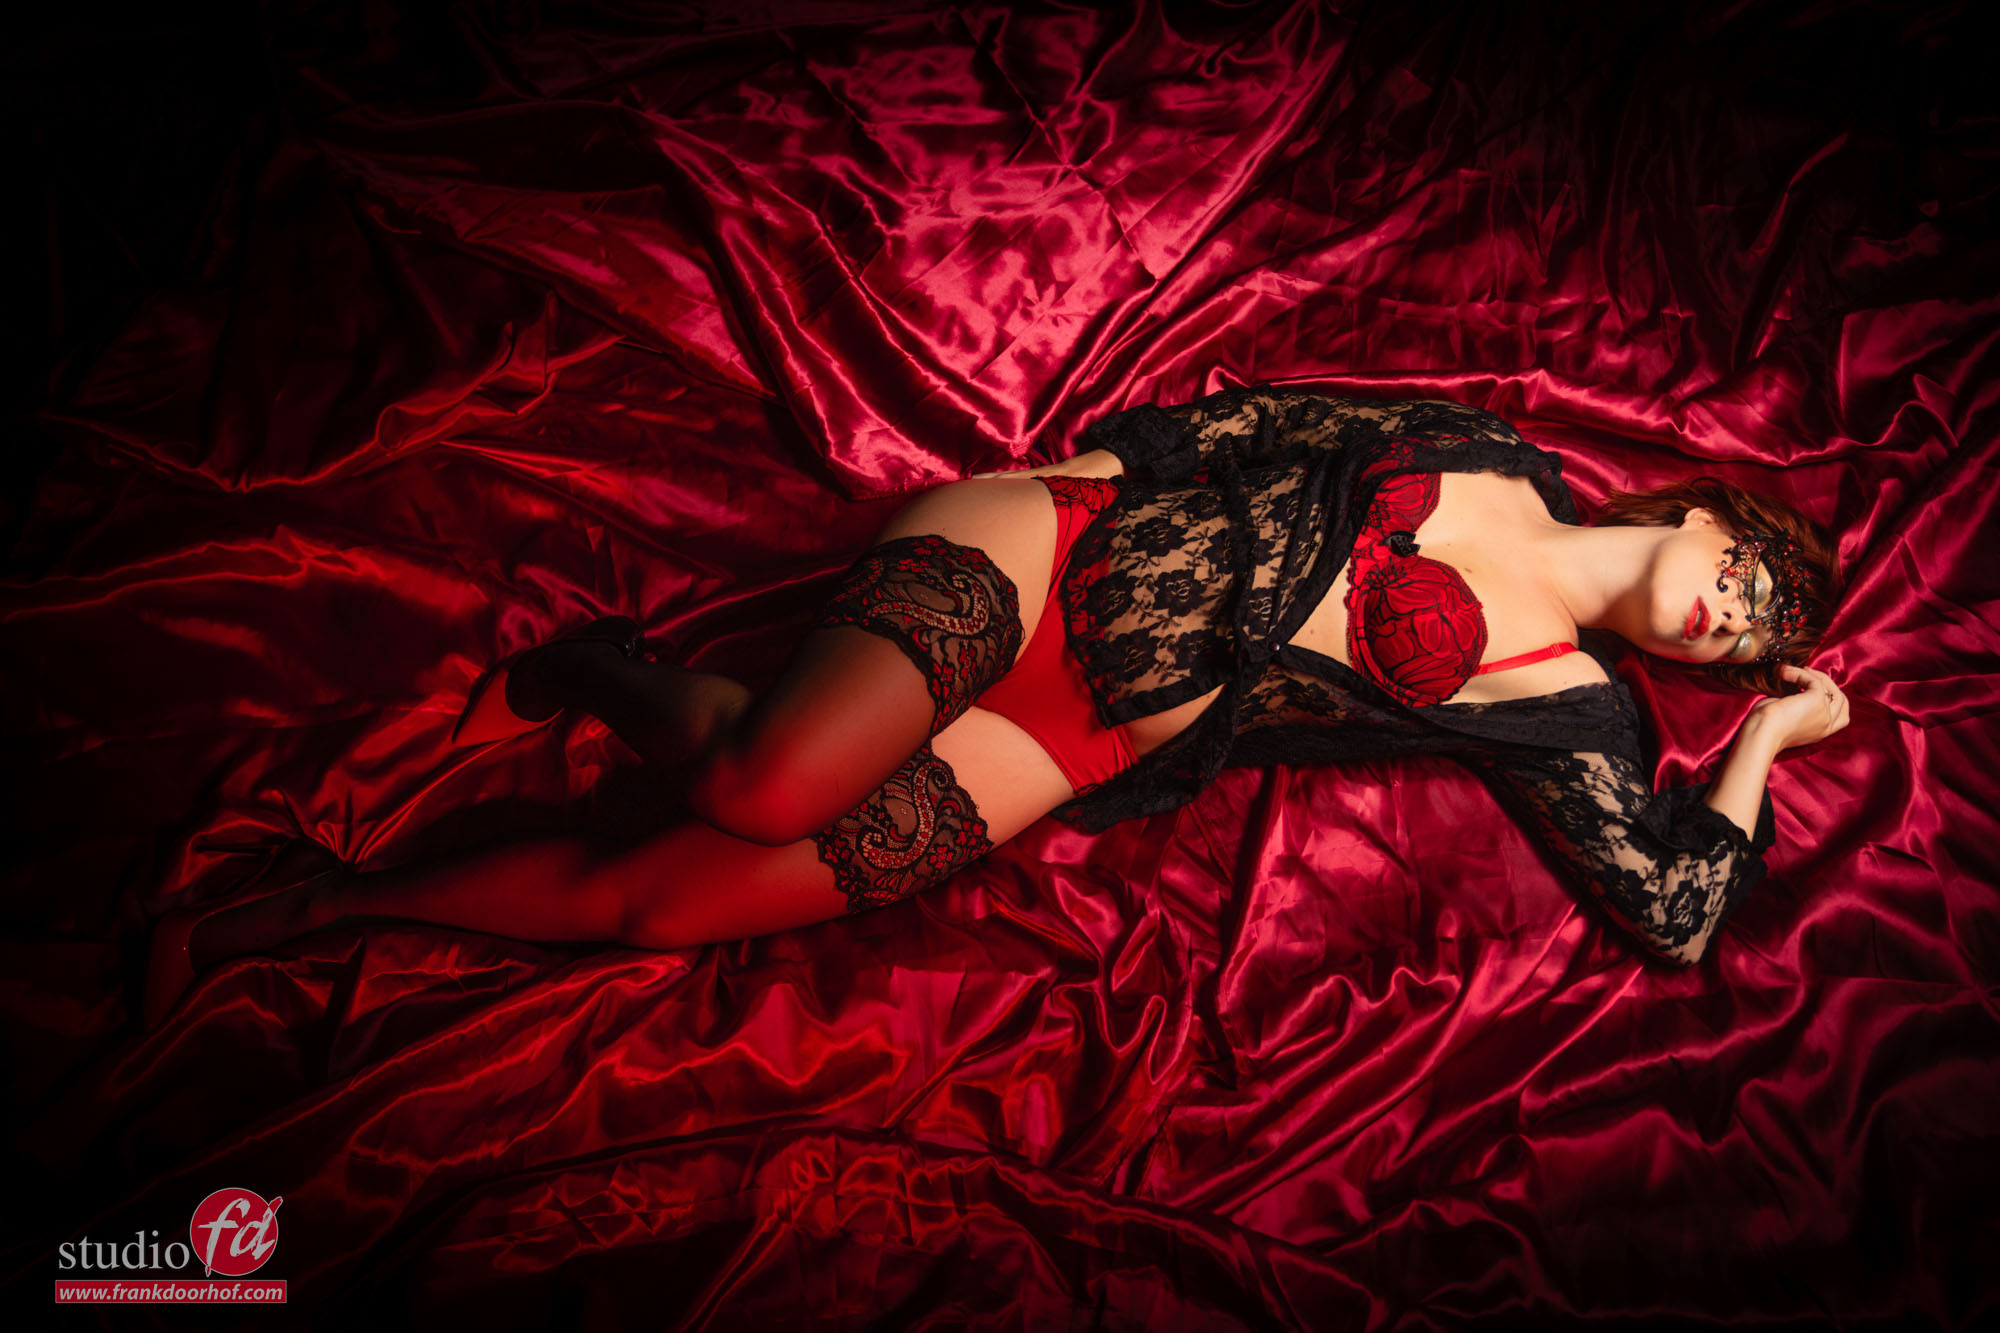
For me the red really adds to the image, so I wanted to make sure the color really jumped out. By using a smaller light source and a reflective material the colors really jumped.

The first images where shot from slighty above the floor.
For the images from above we used a simple kitchen ladder. (one of the best studio props)

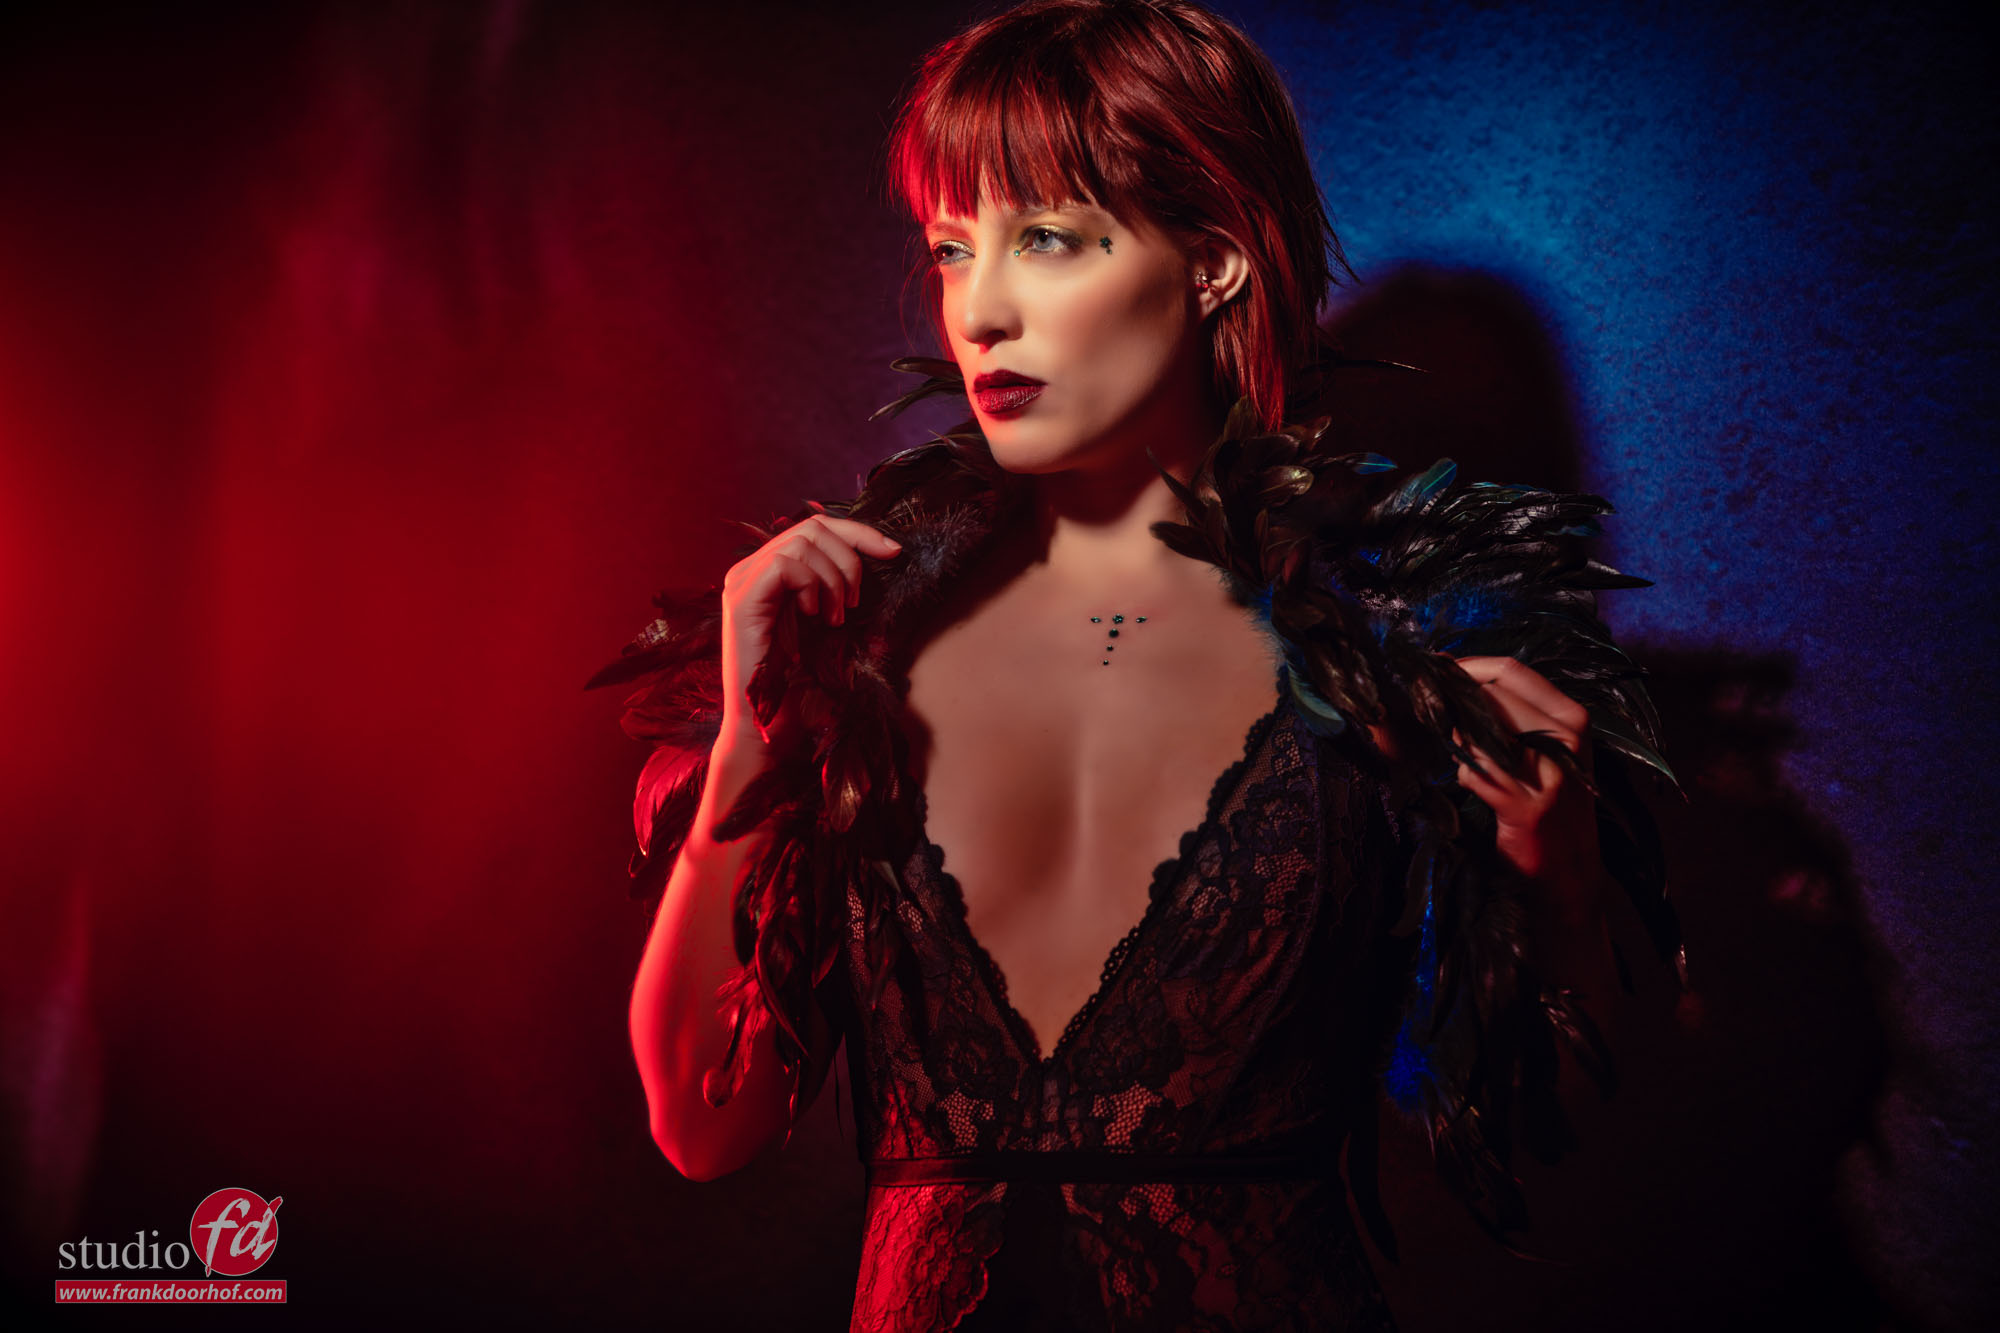
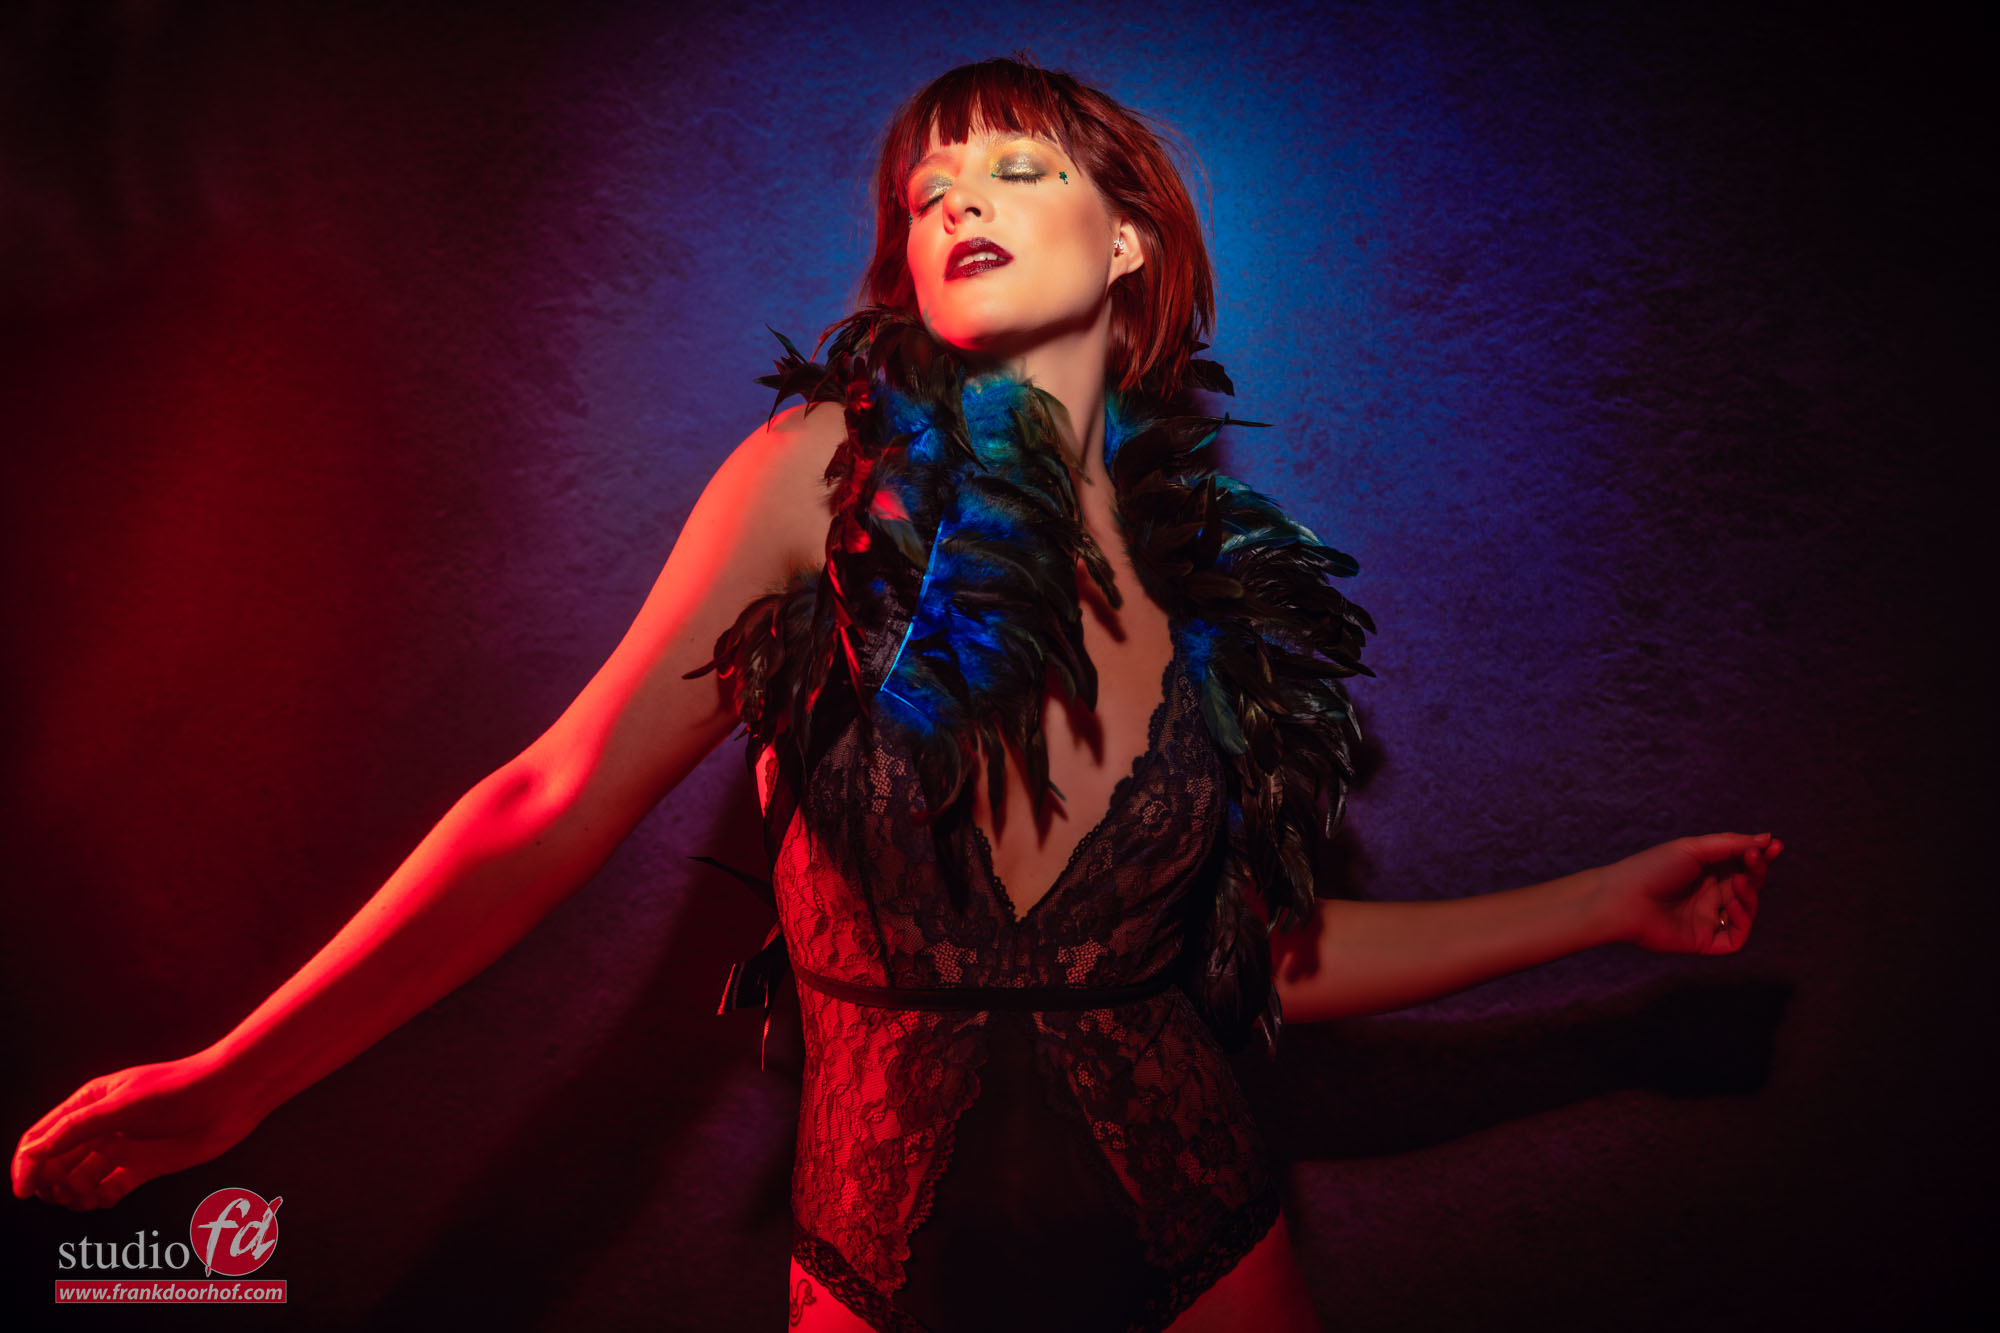
For the next setup we played around with lens flares and how one color can totally change the image.
I’m using our Clickpropsbackdrops here with a blue undertone, by adding red it creates a beautiful combinatie.

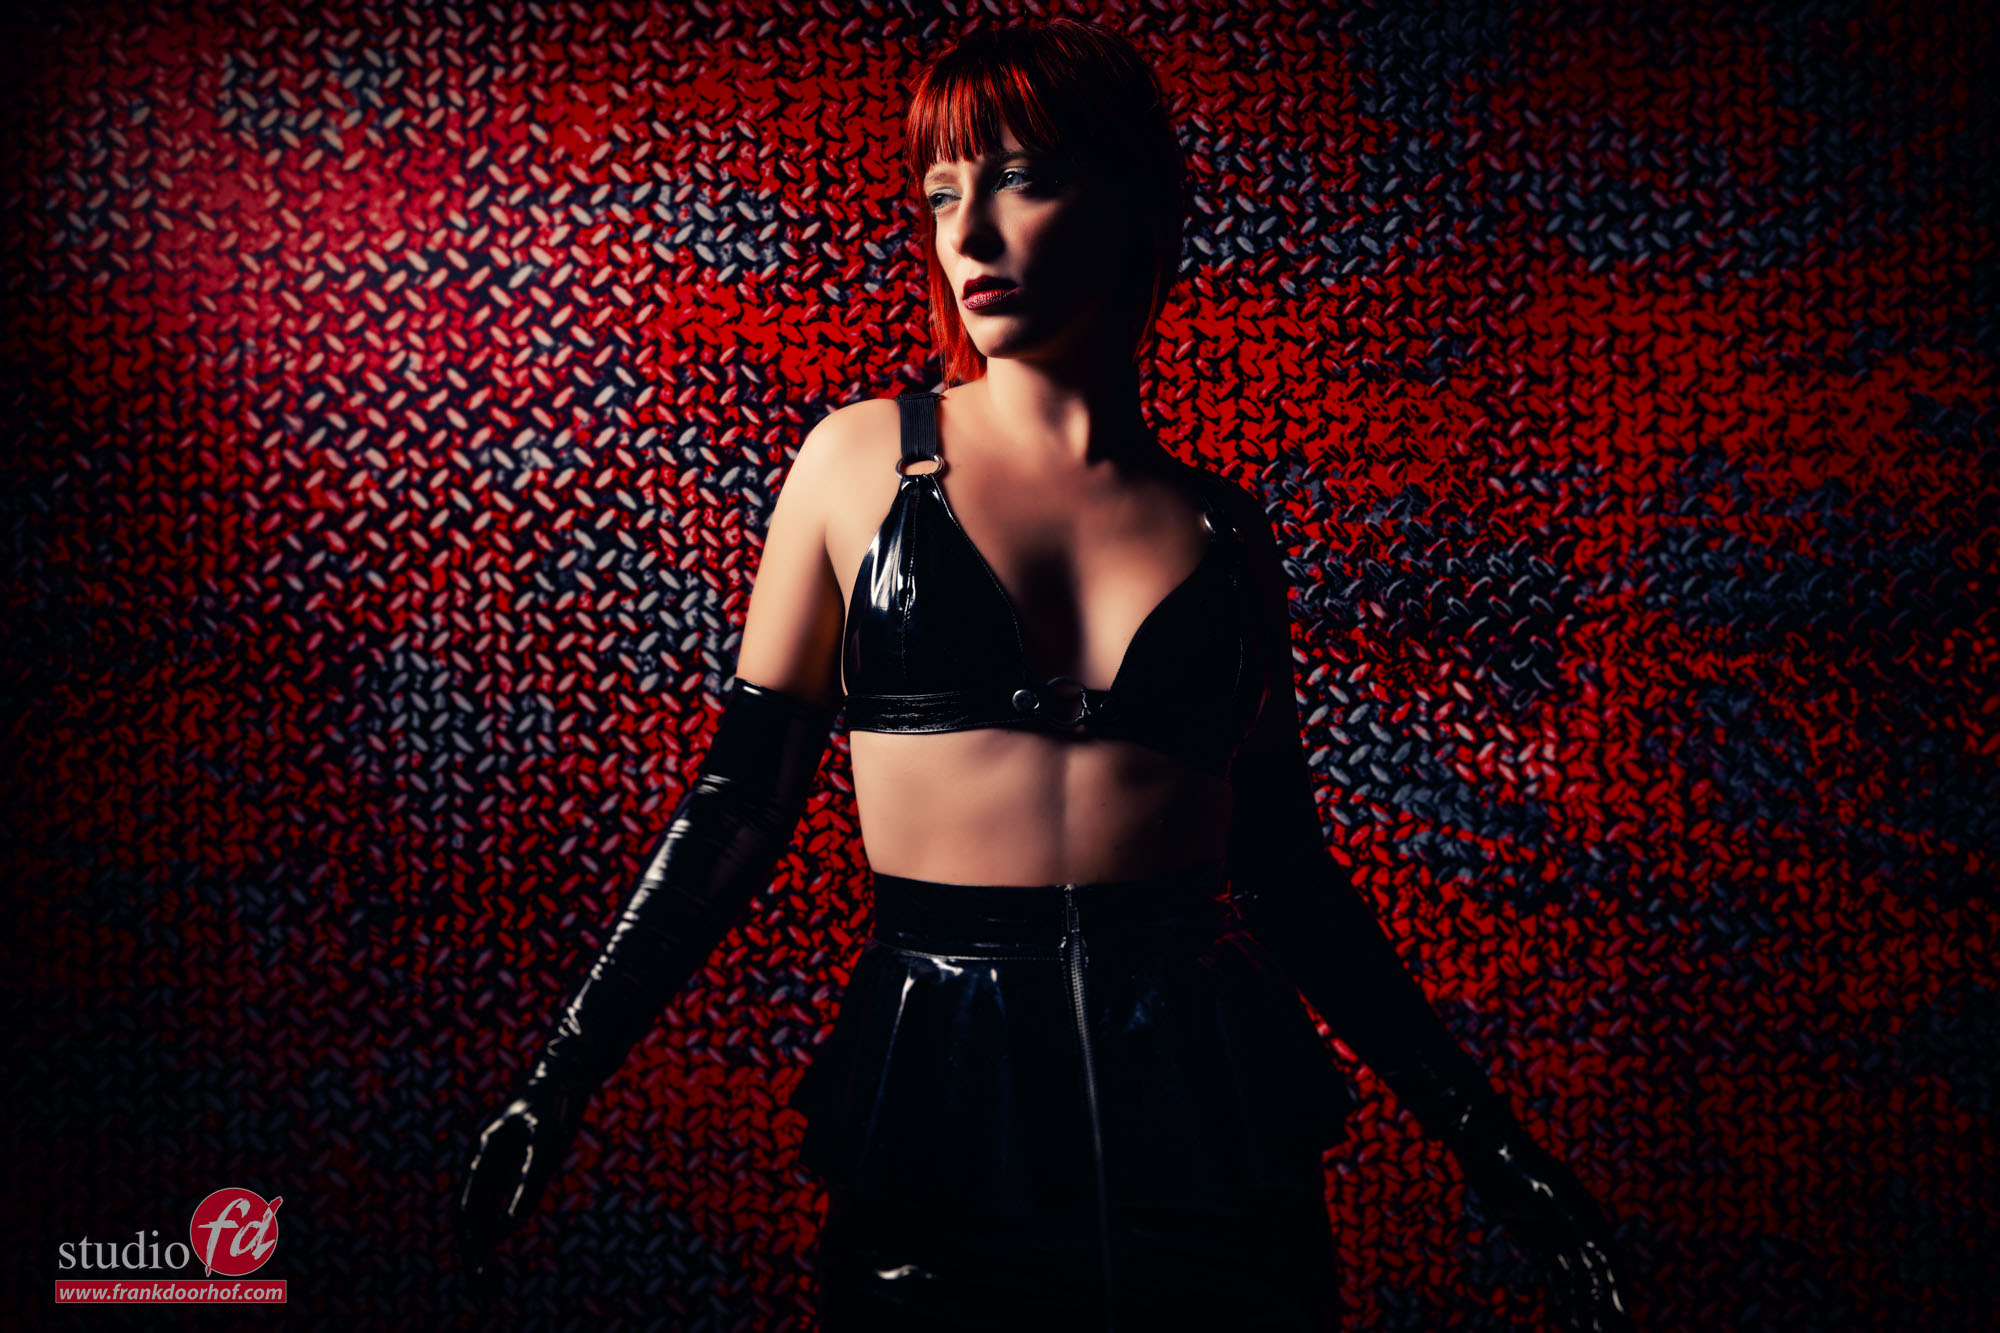
For the final setup we used our Red Metal backdrop which for me fitted the outfit perfectly.
Lighting was one Hensel striplight from the side.


For me personally lighting is very important, but you can have the best lighting in the world, if the model doesn’t look the part, or the background is not fitting for the shot it all fails and you end up with an beautifully lit image that isn’t pleasing to look at.

For me a successful image is a combination of the lighting, the color scheme and of course the styling/pose/expression of the model… If we look the last image for example, the background really makes the image look the way it does now, but imagine just a white background behind the model, or a forrest….. so always make sure you don’t just pay attention to the model and lighting but also for the backgrounds and the colors the model is wearing.