So much fun with cheap materials and lights
It doesn’t have to be expensive
There is often a discussion about what you need to get a great image. And often it boils down to “I can’t do it because I don’t have any budget”. Well, it might surprise you but 99% of the images I post are shot during workshops, events, and trade shows. So not really situations where I have time or even a budget to really use large sets. Today a blog post about model photography with cheap materials and lights. In our studio, we do use the ClickBackdrops backgrounds of course 😀
Experiment with cheap materials and lights
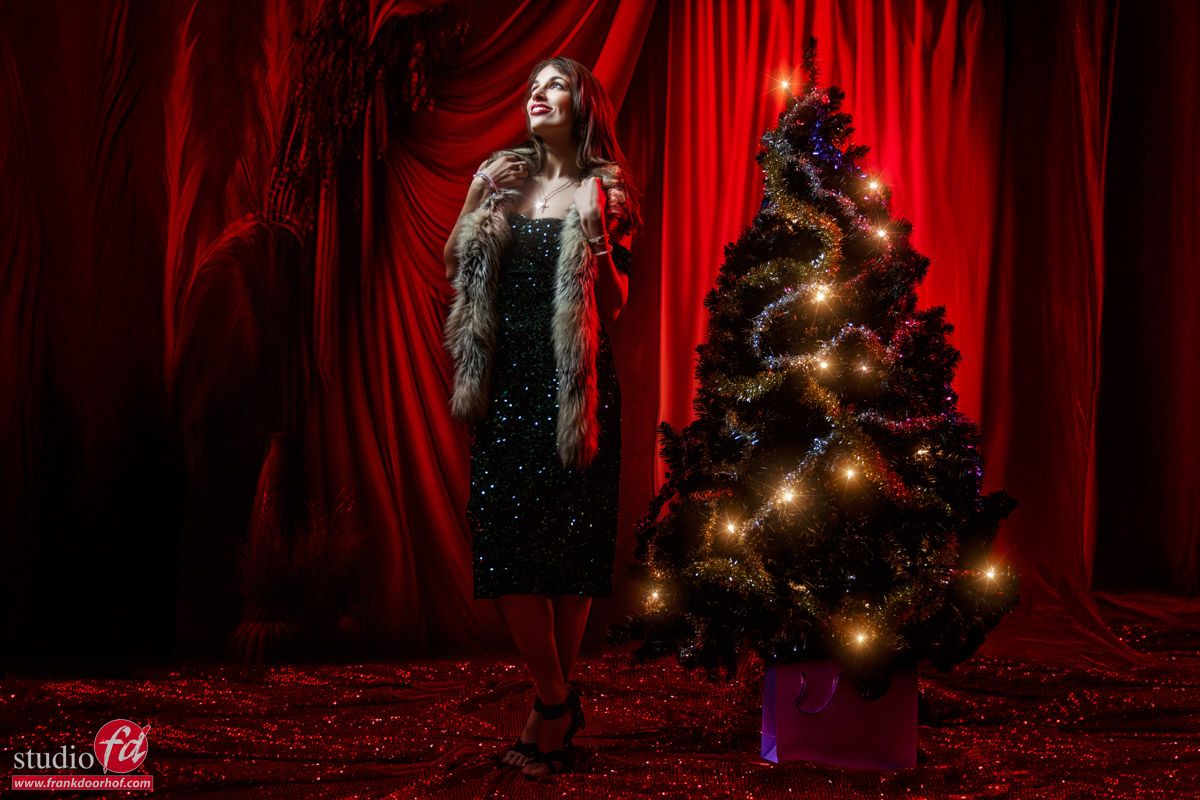
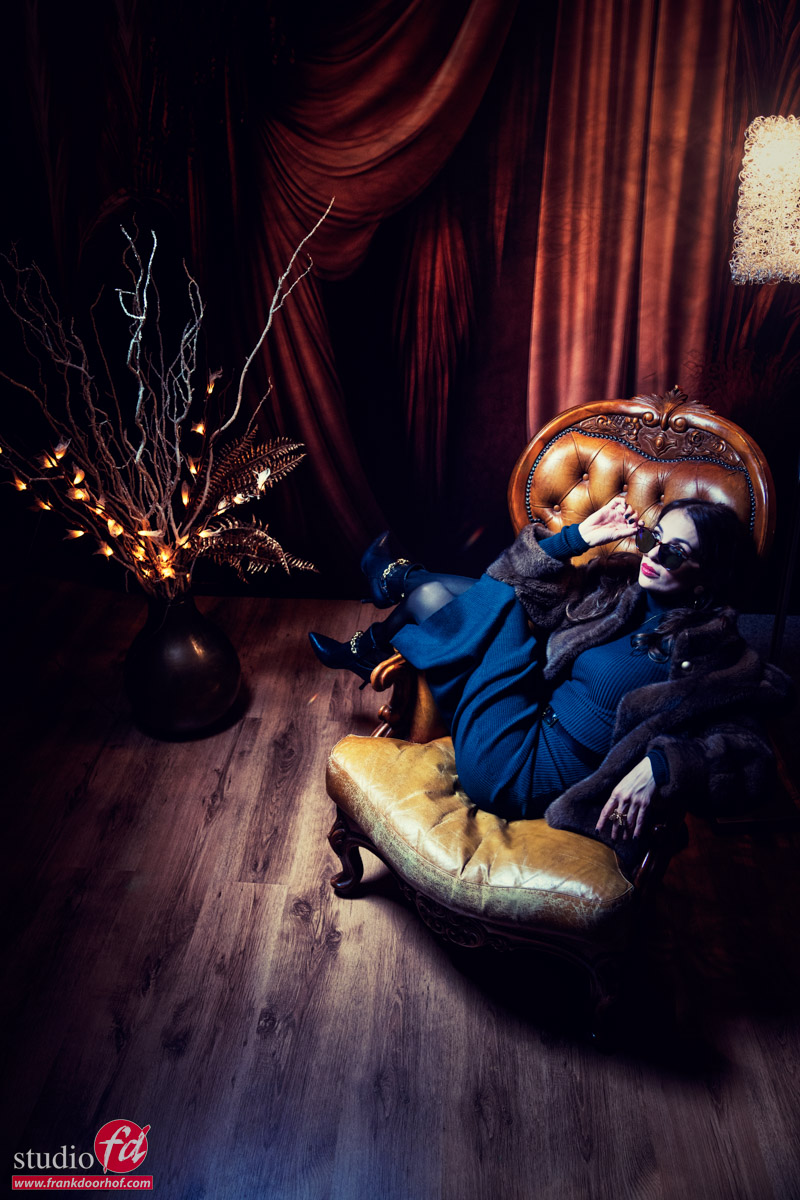
One of the things I love to experiment with ar cheap lighting solutions.
This can be a string of fairy lights, Christmas lighting, or a magic lantern.
With modern cameras and great noise reduction in Lightroom or Topaz, you can really push the creative limits.
One of the biggest advantages of the strobes (Geekoto) I’m using now is that they can be adjusted to output a very slight amount of light.
Because most of these light sources are very faint it’s great that I’m now able to mix strobes and continuous lighting much easier.
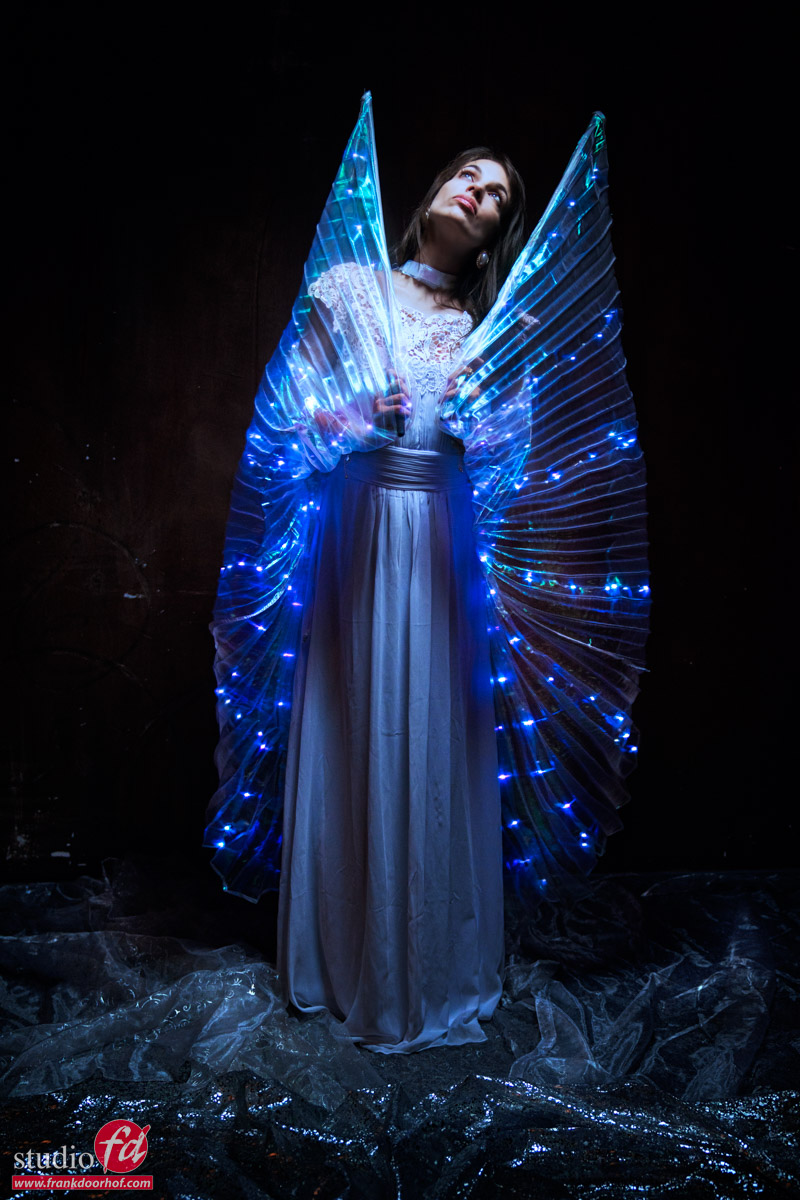
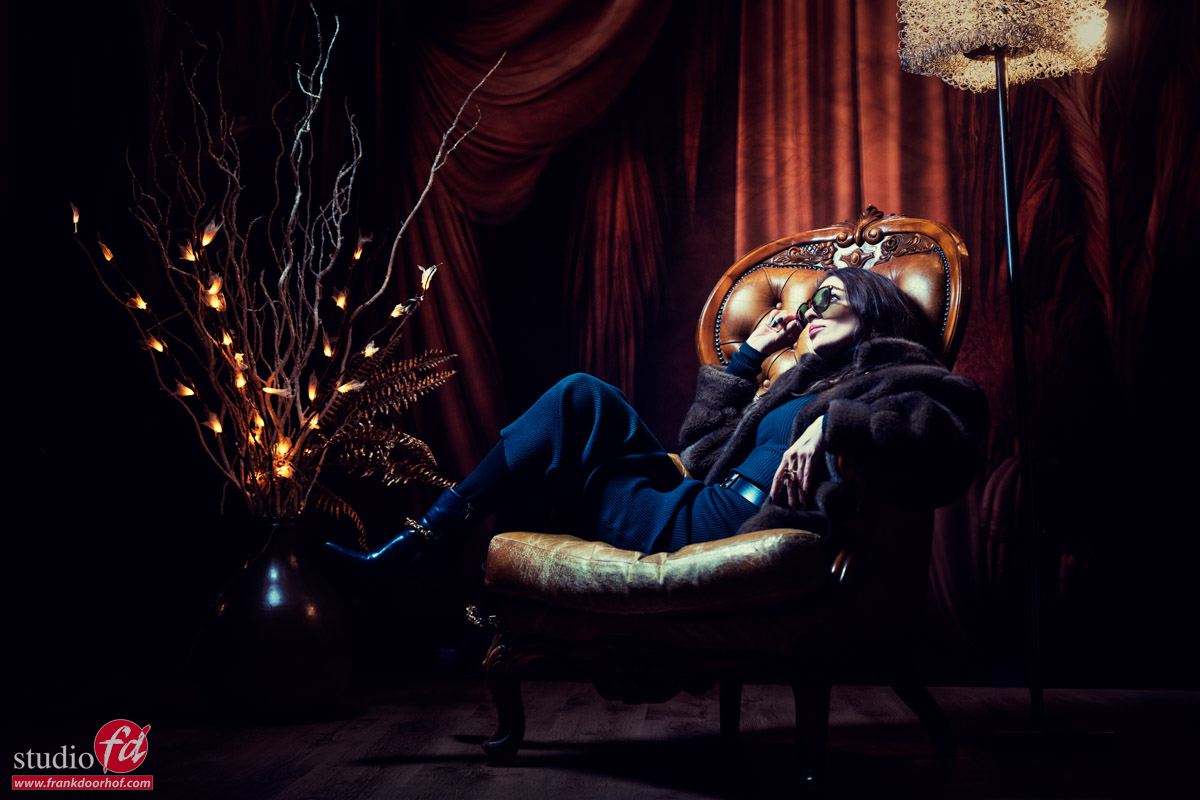
Setup
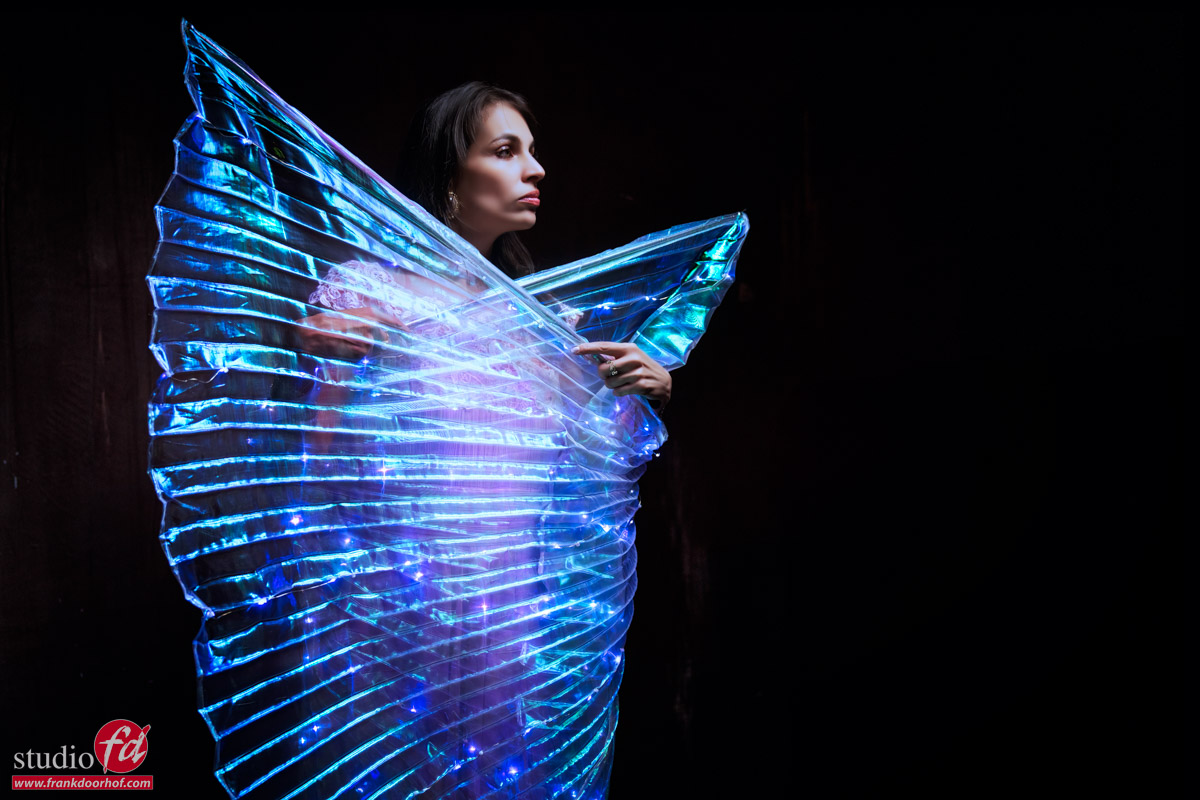
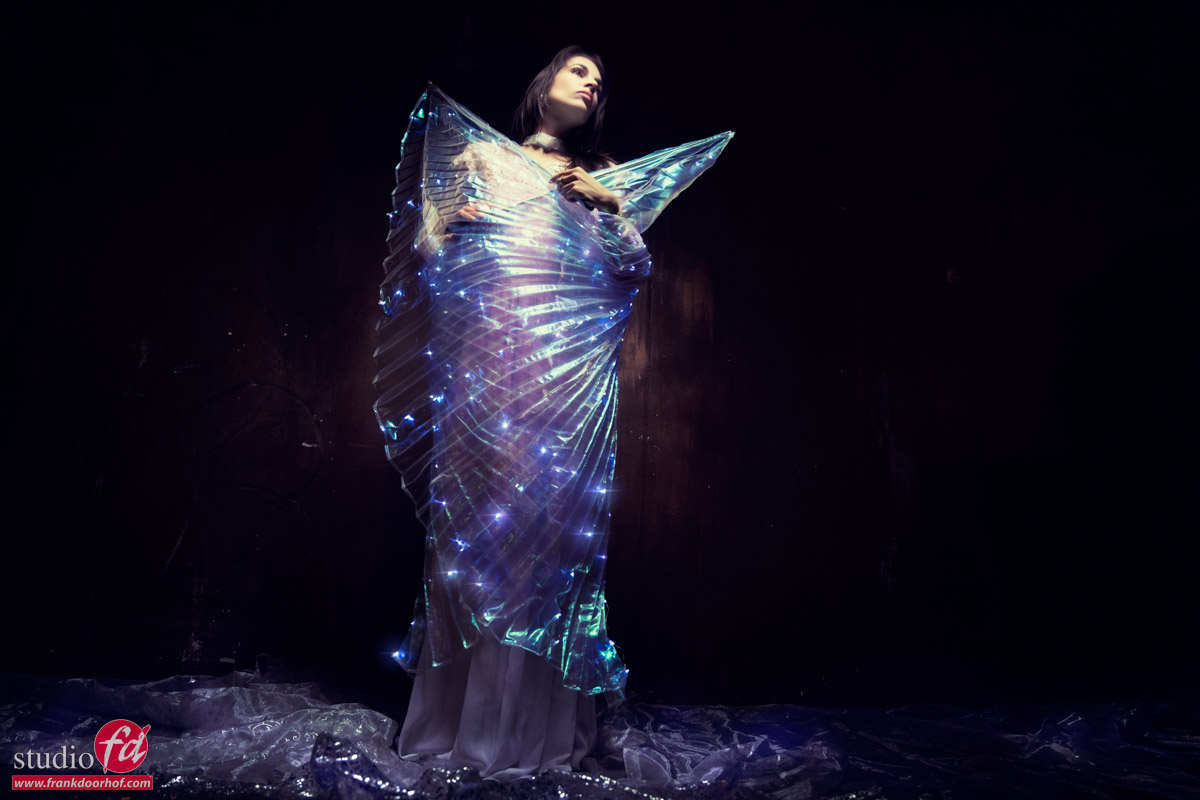
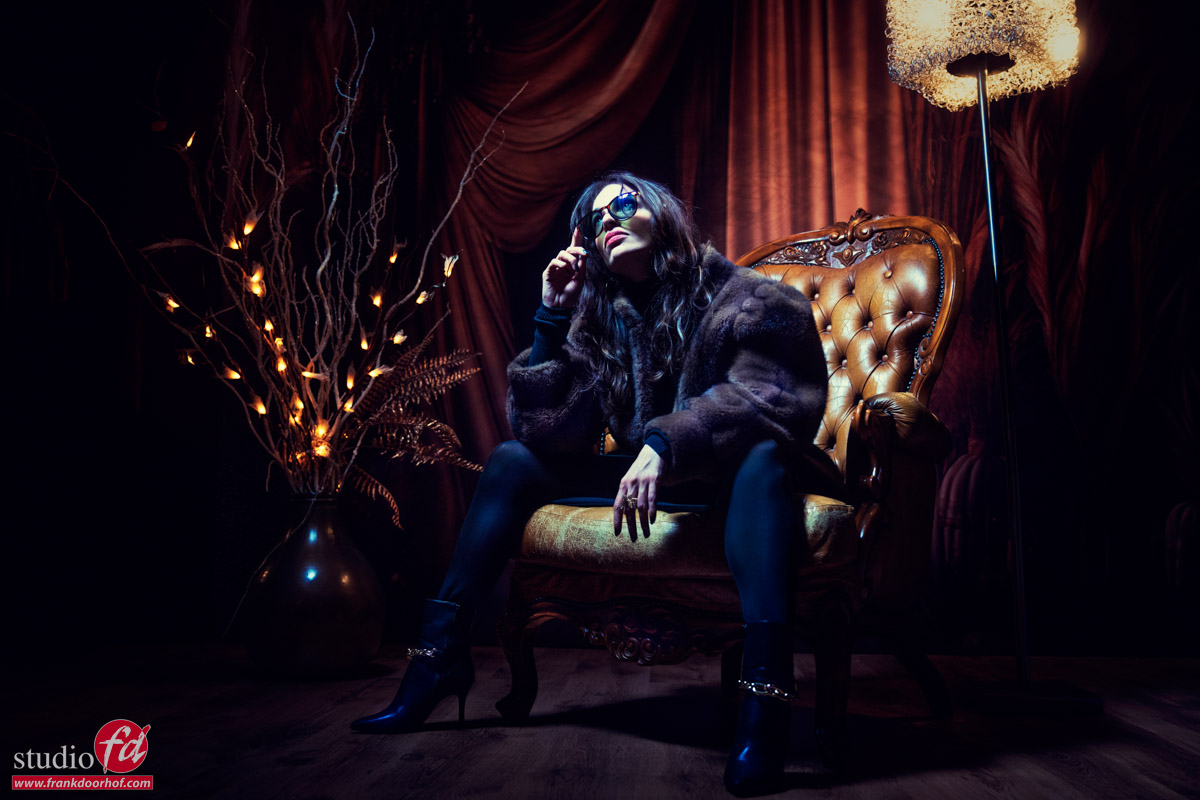
For this setup, we used wings with small lights inside. To make sure the lights show up you have to be able to capture enough light.
This can be done with a higher ISO or a longer shutter speed.
What I normally do is use the EVF of the camera in emulation mode. This way you can see what your setup in your camera looks like.
I would advise to set up with an option to lower the shutter speed. Often when you start adding the strobes you will find that you need a bit more light from the continuous light source. Especially when a model is uncomfortable it’s nice that you can quickly change the setup by just lowering the shutter speed.
Now that you have the perfect setup just use a light meter to set the strobe up to the ISO and Aperture you chose. And you’re ready to shoot *and probably lower the shutter speed.
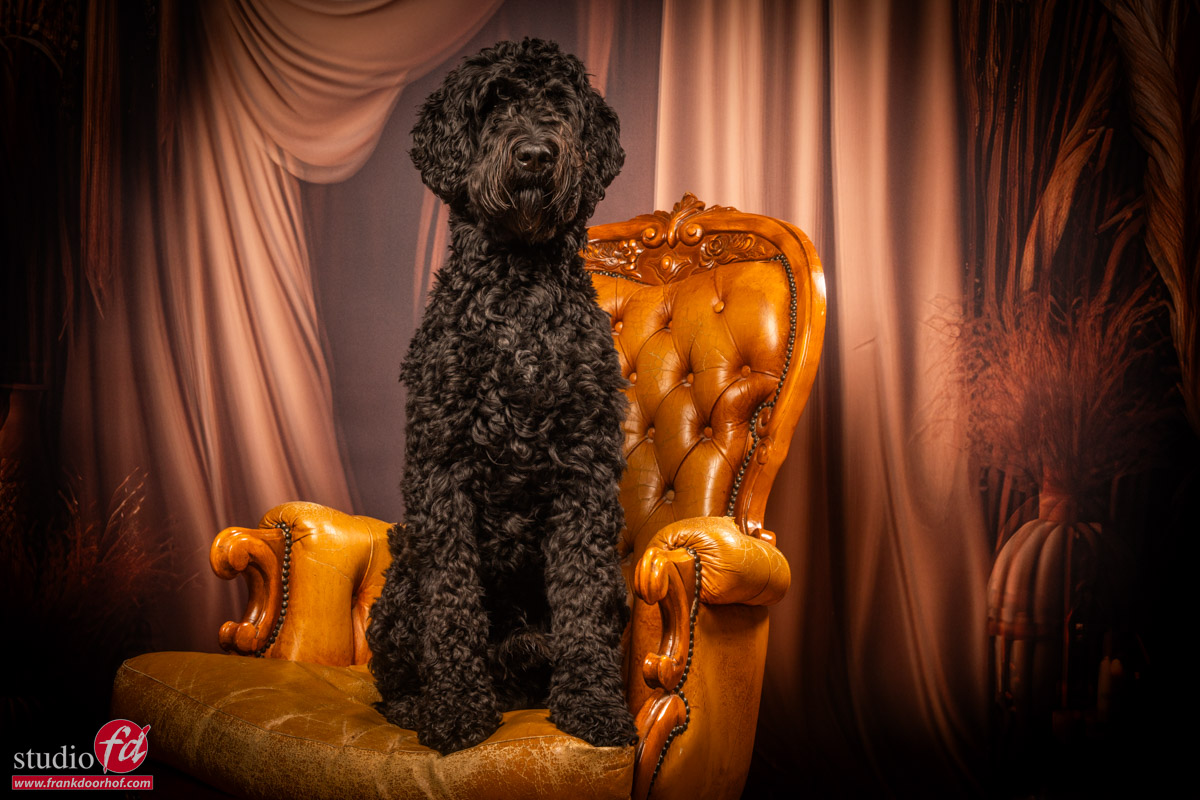
Background
A nice dark background is ideal with see-through materials and lights.
But it’s vital for these kinds of shots you use a focused light source, in other word,s make sure you only hit the subject with strobes where you need it. This way the continuous lighting will have a nice dark background to show up and show their color and brightness much better.
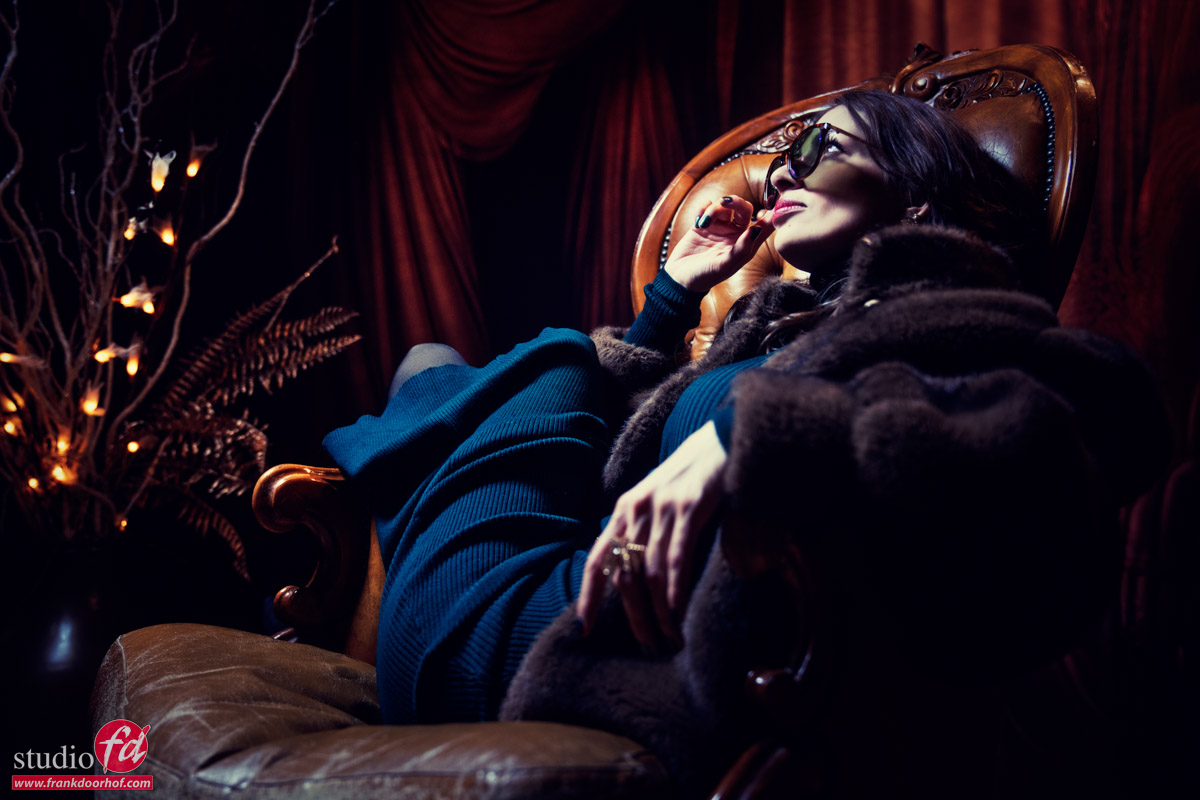
I’m using the Geekoto GT400 with a Geekoto Quicky softbox with a grid.
The Quicky is a smaller softbox that has a very straight light beam and is great for focussing light on your subject, even from a slight distance.
Model photography with cheap materials and lights, I like it!

Check out this video about being creative with 2 models dressed up as Barbie


You must be logged in to post a comment.