Tag Archive for: education

Why the blog or website is more important at the moment

Frank Doorhof blog

Back to square one?

When we started with the internet (ok now I feel old) we used dial-up connections and a small booklet to write down the websites. And of course, as a company, we dreamed about having our own website on this amazing (but incredibly slow) internet. This article is about our Frank Doorhof blog, and why we (and you) need a website.

It wasn’t long before that dream came true and our company was on the World Wide Web.. We have several websites. FrankDoorhof, Studio FD (Dutch) and Photography-workshops.eu 

You can read English blogs on FrankDoorhof.com and Dutch blogs at StudioFD.nl

More reach means more customers

But how do you lead people towards your website? At first via the (believe it or not) newspapers, flyers, and stickers on our products and invoices. But then….. the revolution of social media started to happen.
In the Netherlands for a lot of people, it started with websites and discussion forums. For me, it was a site called Dutchheaven which really made a huge impact on how to reach people and network Plus there was a discussion forum and chat room.

Not a lot later in the Netherlands, we saw a new network called Hyves. In essence, you could compare this to Facebook. It was not yet interesting for a company, but it was a great way to get in contact with people with the same interests as you. And slowly of course also companies started to discover “social media”.

Social Media took over

When Hyves stopped most people (if not all) went to Facebook.
This was the first time for us that we really started to use Facebook for our business including the Photography studio and workshops. And it worked like a charm. Direct contact with your audience, a nice and clean interface, great messaging, and no spam.
Frank Doorhof Blog

Social media? or filtered media?

When I take a few steps back and look at the social media landscape at the moment, I have to be honest it’s not good. Facebook filters a lot of messages and comments, which means I don’t see comments (random), followers don’t see all my posts, and the last year using the message function is a disaster because 90% is spam with messages about my page being deleted (don’t click on those links :D) and deleting them is a one by one deal (please add batch delete).

But it isn’t much better on other platforms.
Instagram is nice, but there is no real community with discussions, for sharing images it’s great just like Threads, but it’s hard to explain techniques or lighting setups in depth when you can’t use links or layouts.

LinkedIn is nice but not for everyone in your target audience.

And X (Twitter), what can I say?
It has changed a lot, some things are better but I have a lot of issues with the hate, no moderation, and an enormous amount of fake news and conspiracy theories. Plus the limit on characters makes it almost impossible to explain lighting setups etc.


The solution: Don’t build your brand on rented land

Our website has been online for a long time and has always aimed at sharing photos but most of all also sharing techniques, tips and tricks, videos, and of course, answering your questions. In the last decade or so, the focus might have shifted away a bit from the website due to the immense popularity of social media. But as mentioned before I think it’s time for our website to be the main focus again.

I’ve been adding loads of new articles about lighting, photography in general, results from Digital Classrooms, and a lot more in the last few months, so I’m sure you will find something you like. And I will continue to add articles to the blog, so make sure you add them to your bookmarks,  or……
Frank Doorhof's Blog

on our blog, we share how-to lighting setup, including results

Building a community

As mentioned before one of the strongest points for education is that you can always ask whatever you want and get an answer or opinion from the community or the site owner. And this is exactly what makes social media great for connecting people and education.

So under each article, you can leave a comment on the blog
Feel free to ask questions, share your work, or just share your tips about the subject. Registration is 100% free and you help us to build the community which leads to more articles.


Conclusion

I think a lot of people and companies have been focusing a lot on social media in the last decade or so. However, the generation now is leaving school is already a lot less active on social media. I think that’s why it’s now the right time to, besides your social media presence, also to focus on a nice website where your clients can connect instead of just watching static pages.

Feel free to add your opinions, and share the article with your social media followers 😀

Do you want to be updated on our news updates?  (We don’t send out spam)
Subscribe to our Dutch newsletter
Subscribe to our English newsletter

Responding to the Frank Doorhof Blog also helps our ranking on Google!  So other people can find us too.


Thanks again for your support

Frank & Annewiek Doorhof


A totally free 2 hour tutorial with Nadine and awesome lighting techniques “Surprise”

Digital Classroom: Surprise


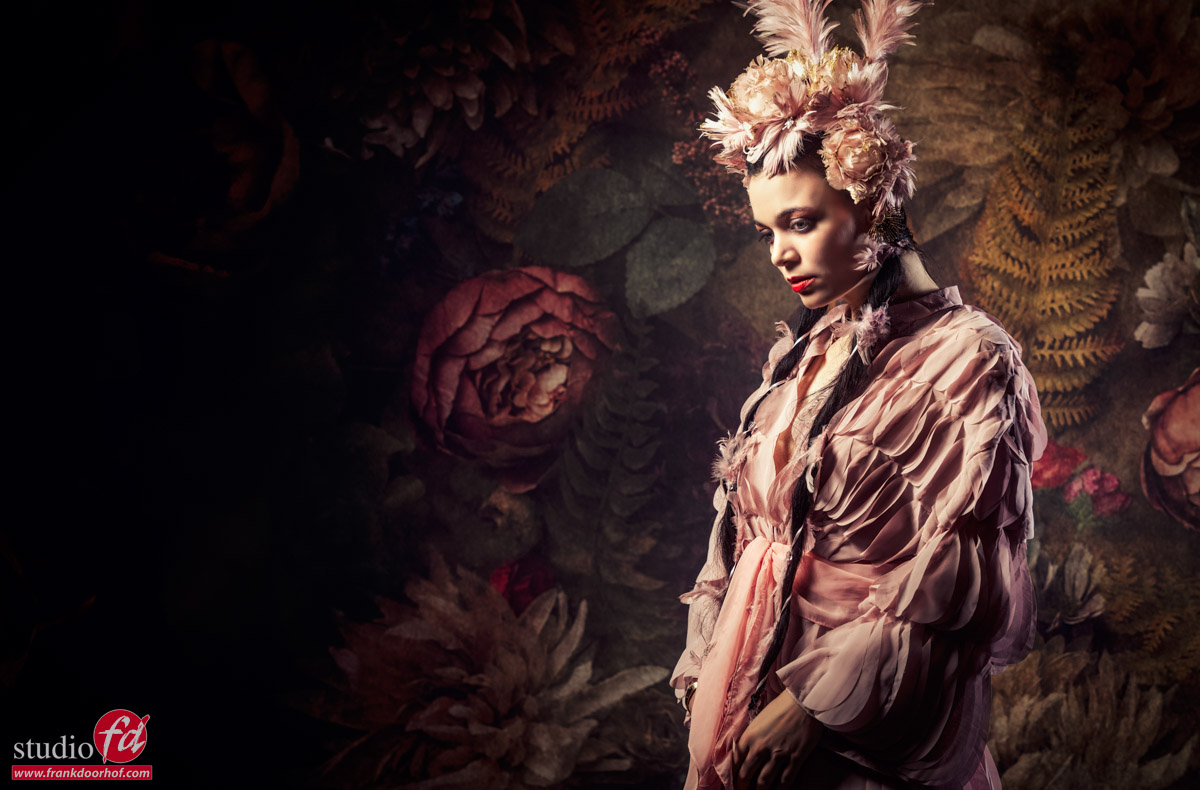
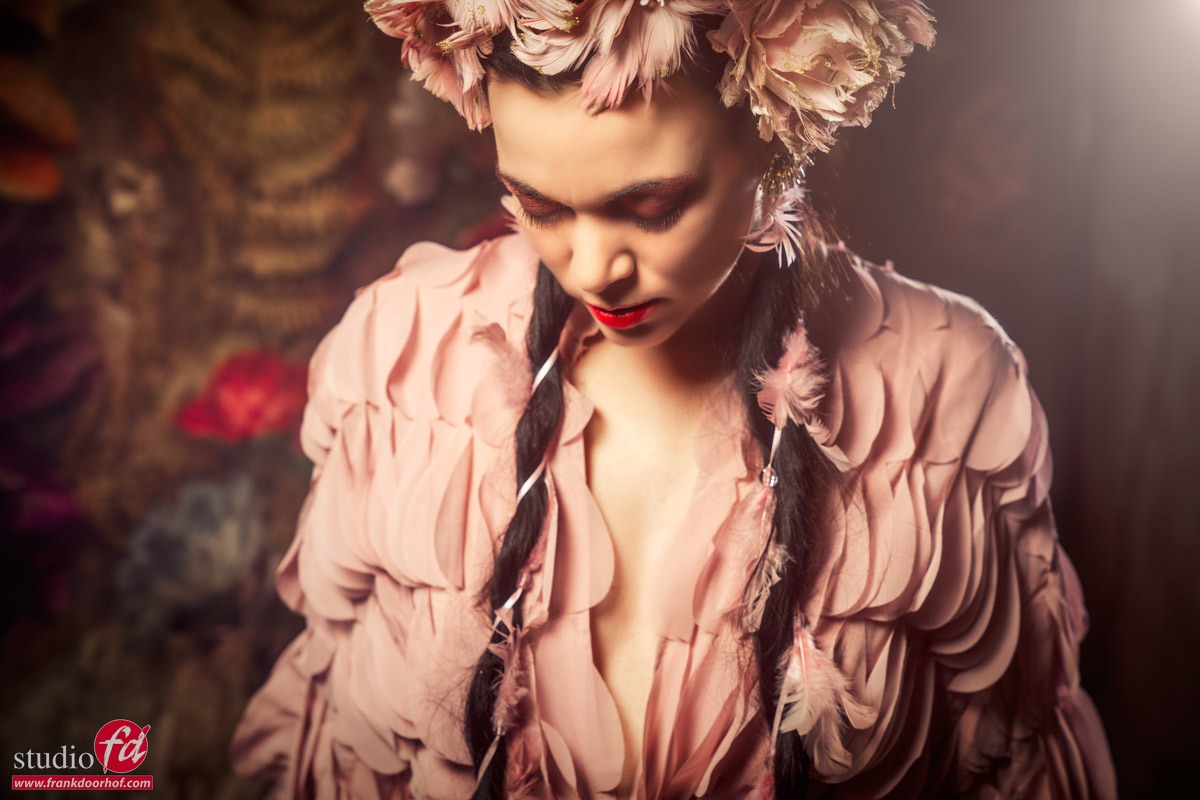
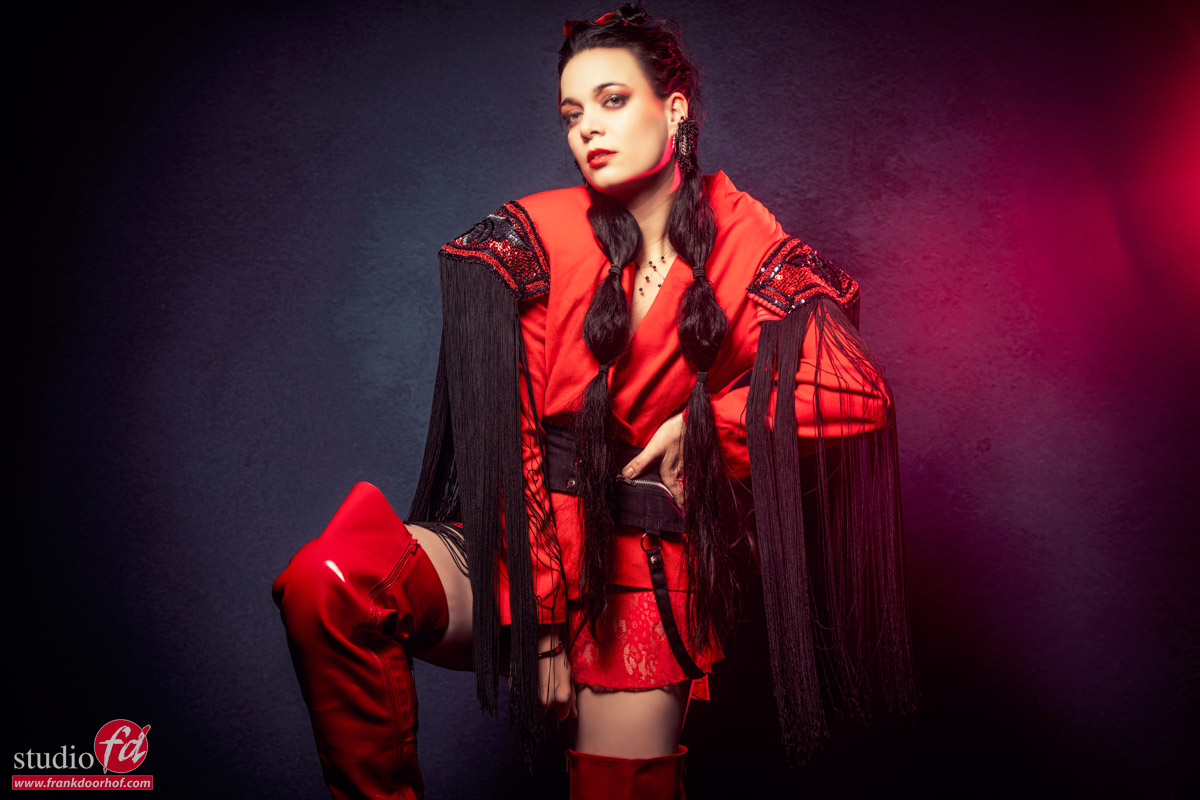
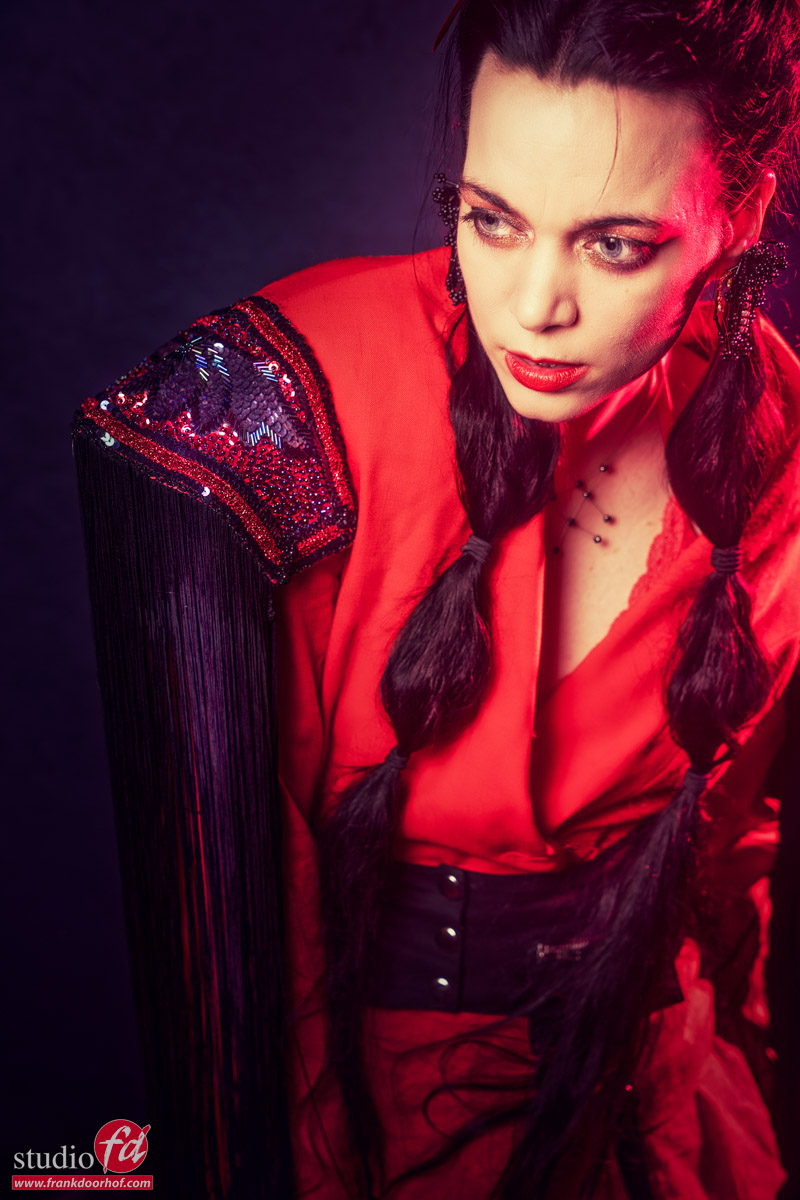
In today’s blog post the results from the latest digital classroom episode.

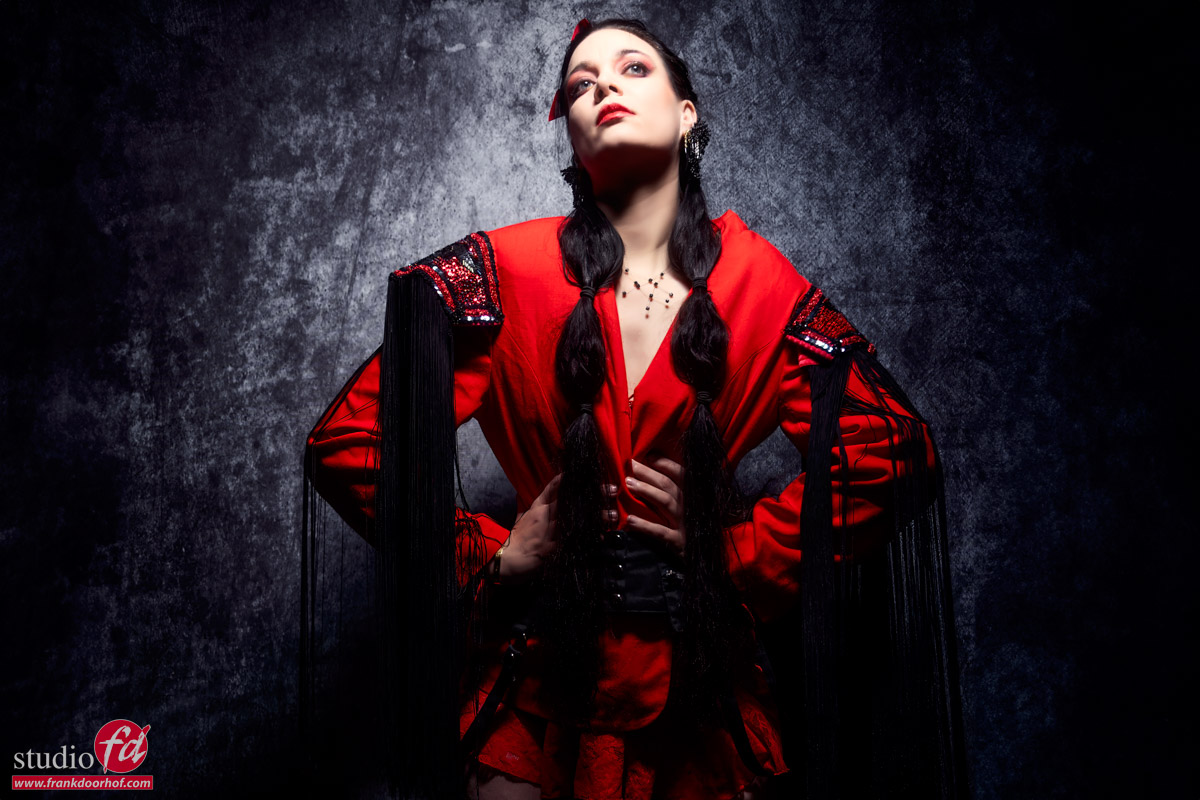
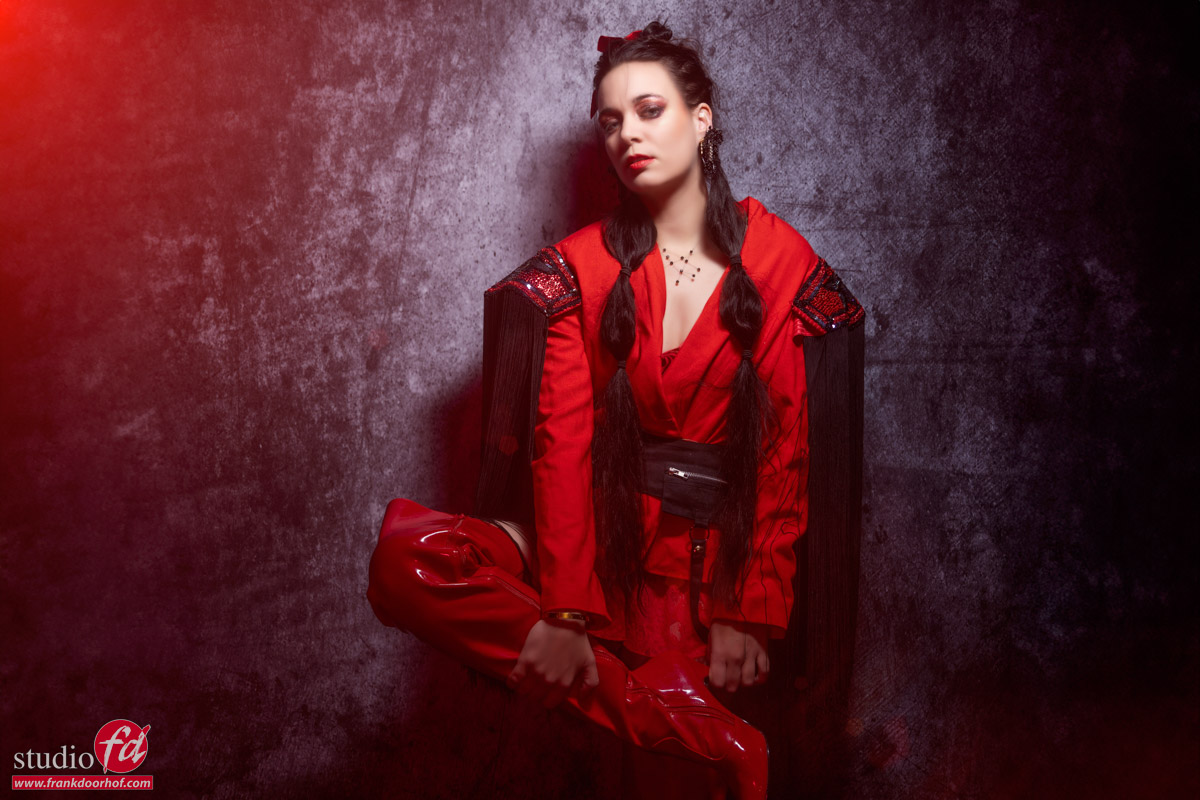
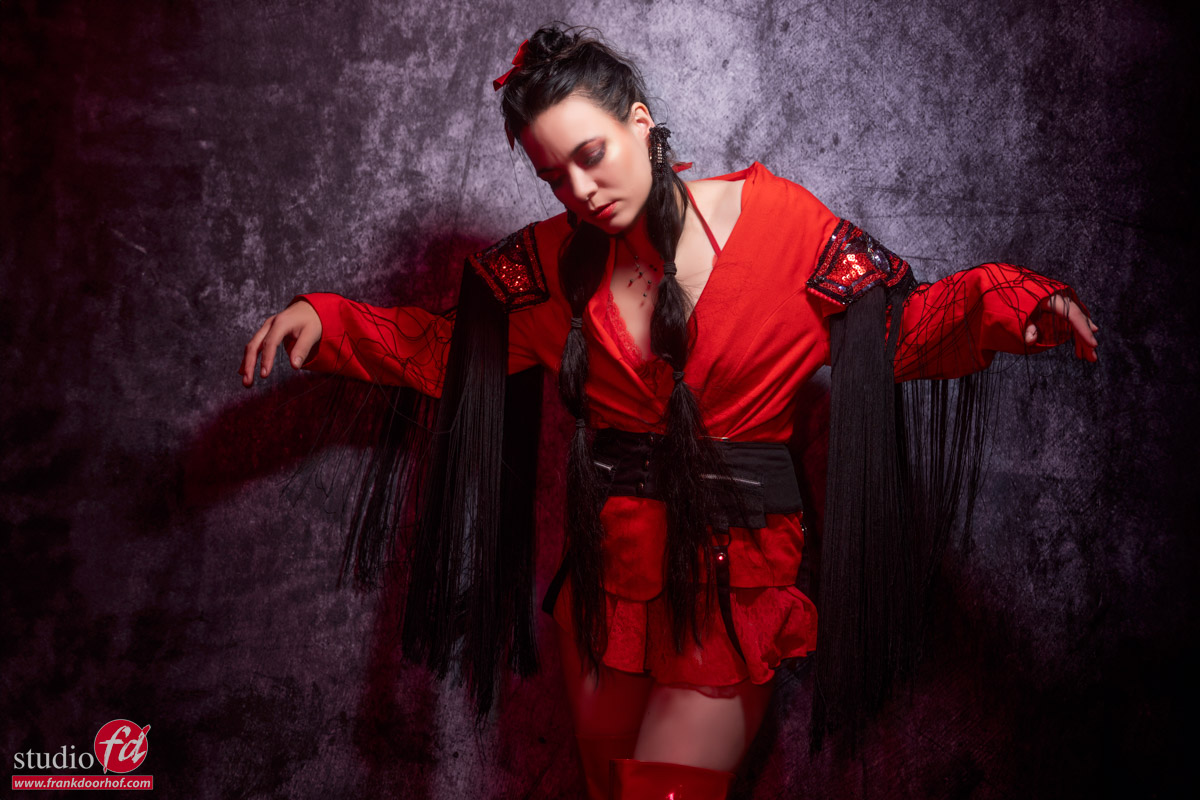
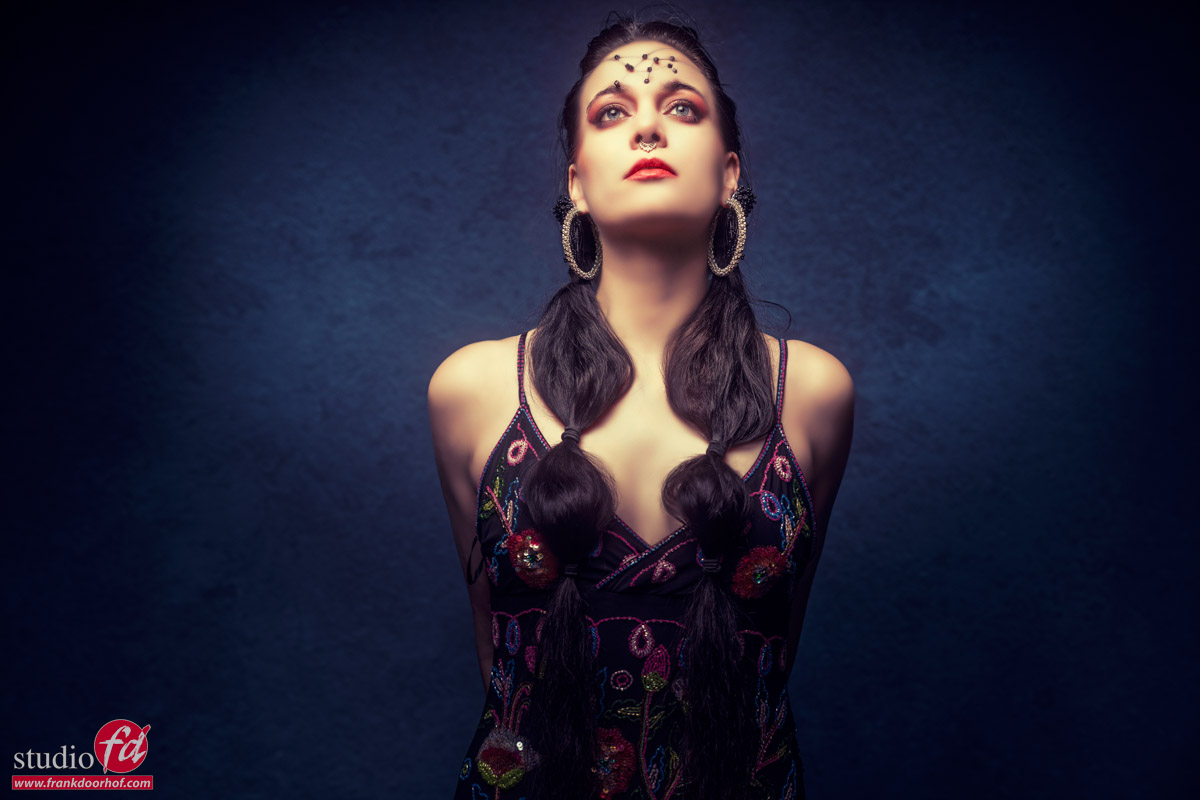
The theme this time was “Surprise” and when the model/stylist is Nadine… well you know it’s going to be interesting.

In the almost 2 hour free tutorial, I take you through several lighting setups, explain the techniques, and how to go from okay to wow.
Of course, we are using setups and gear that are easy to recreate/afford yourself.

During the broadcast I’m using the Geekoto hybrid strobes with our Rogue magnetic system and flashbender and of course the brand new Geekoto foldable softbox.

The link is below the images.
Do remember that these are shot during a live stream, so don’t expect perfect images of course.

A totally free 2 hour tutorial with Nadine and awesome lighting techniques "Surprise" A totally free 2 hour tutorial with Nadine and awesome lighting techniques "Surprise"

And of course, the link to the live stream.

If you loved this Digital Classroom and want to support us?

Please subscribe and share so we can grow our channel and keep creating material for you.


Results from one workshop….. probably more than you think

Results from one workshop

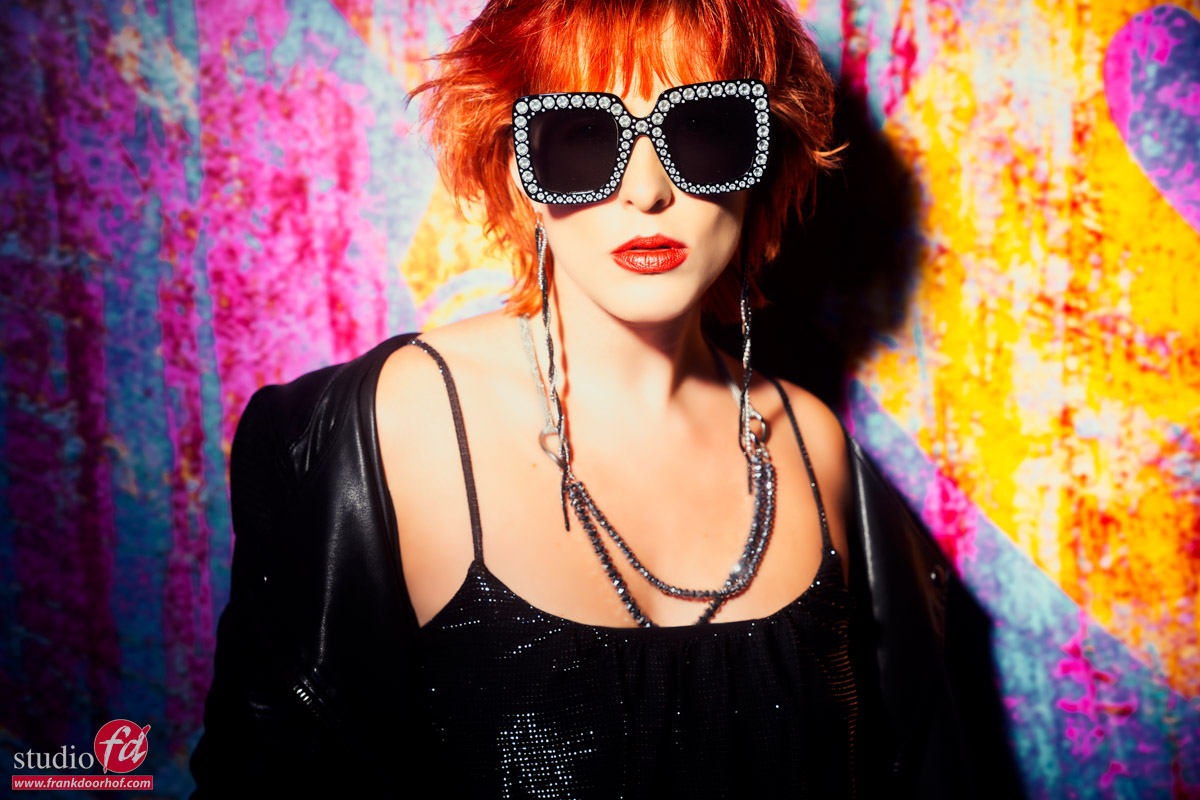
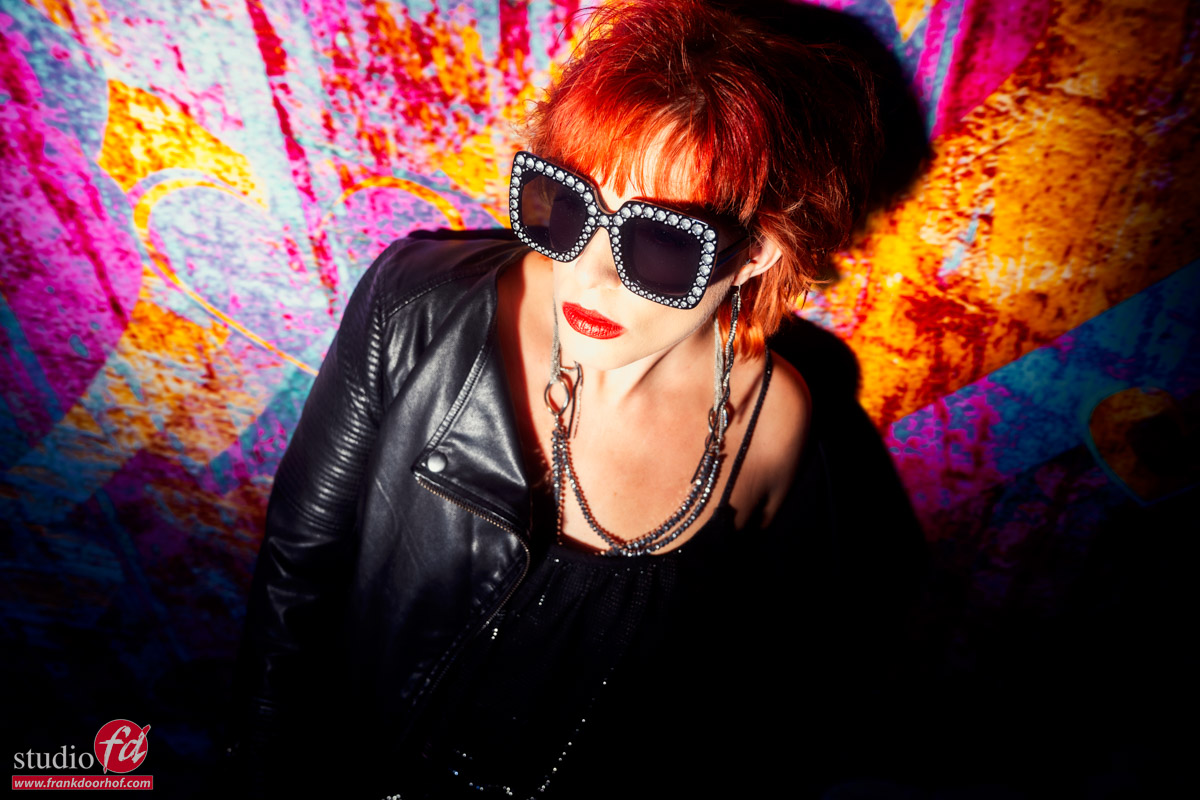
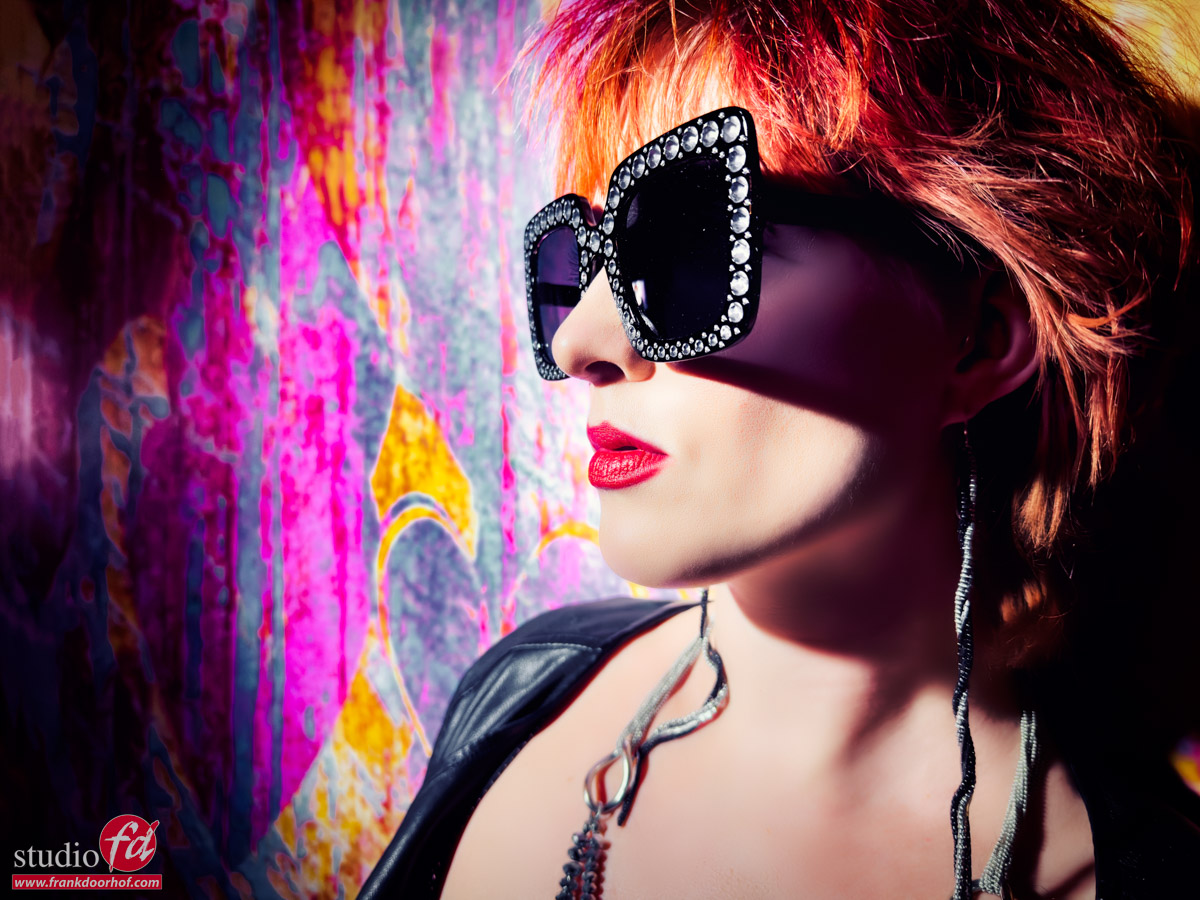
We get a lot of questions about what I teach during workshops, but mostly about what you can expect for results. So I thought it would be fun to post all the images I retouched from ONE workshop. Let me show you the results of this workshop.

Before we start

Now to make one thing clear before we start. Some people call shooting images of a model a workshop. I don’t… I strongly feel a workshop should be an intense learning experience with loads of information, tips, questions answered, etc. So in every set, I try to add some things I know people struggle with.

During the workshops, I always try to do at least 3 to 4 totally different sets with their own problems and solutions 😀

The used products are linked to our webshop. If you have any questions, let me know. I am happy to answer them.

In today’s blog post the results from one workshop with our model Claudia.


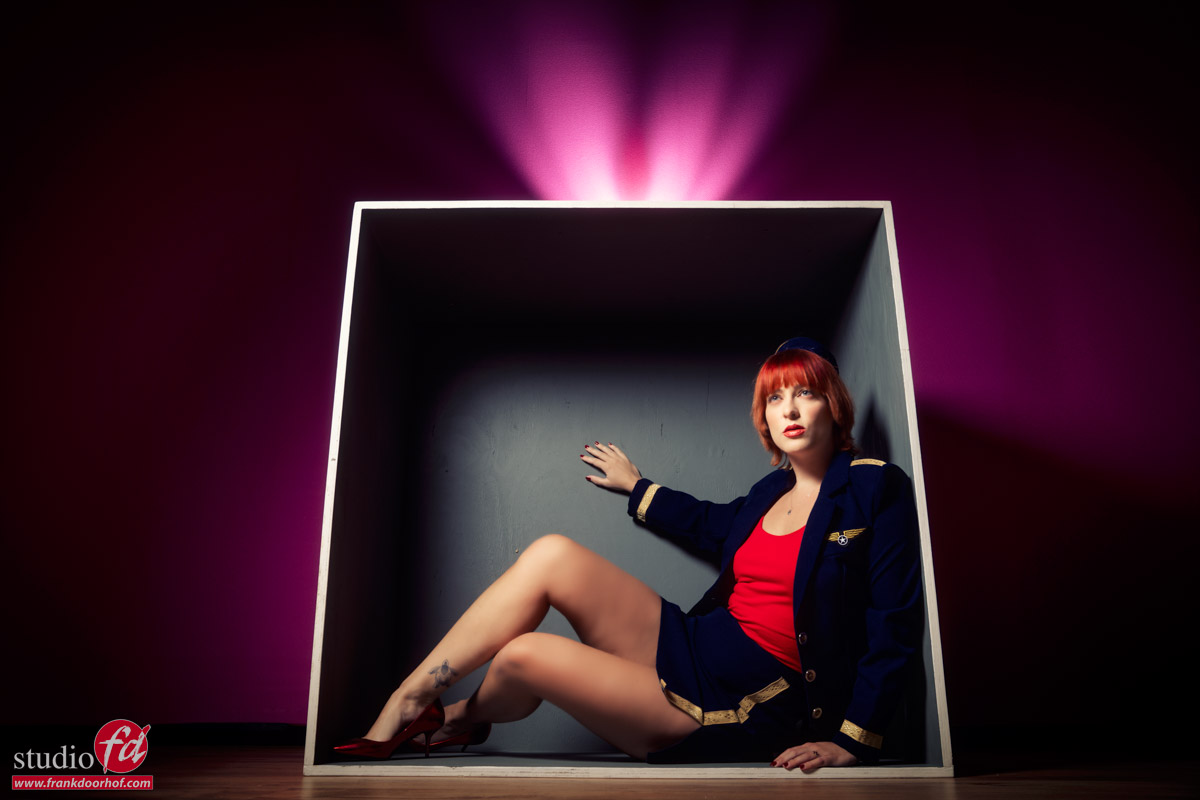
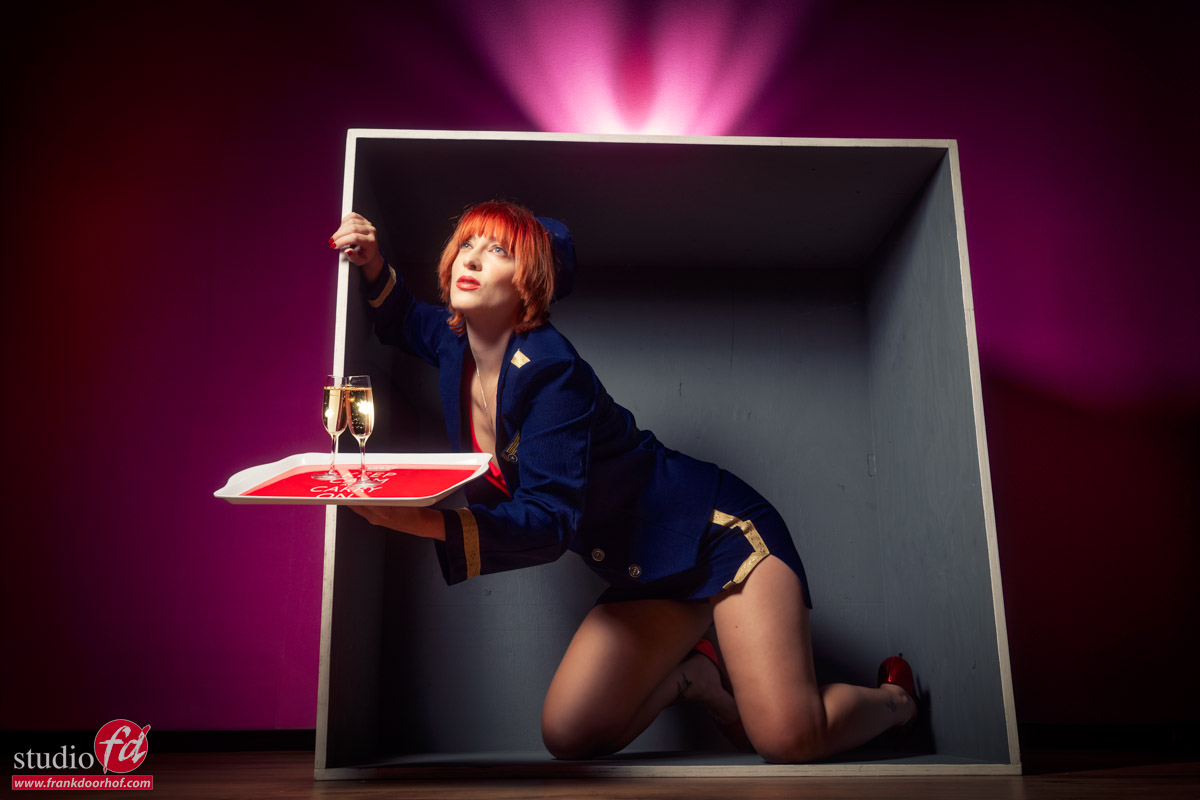
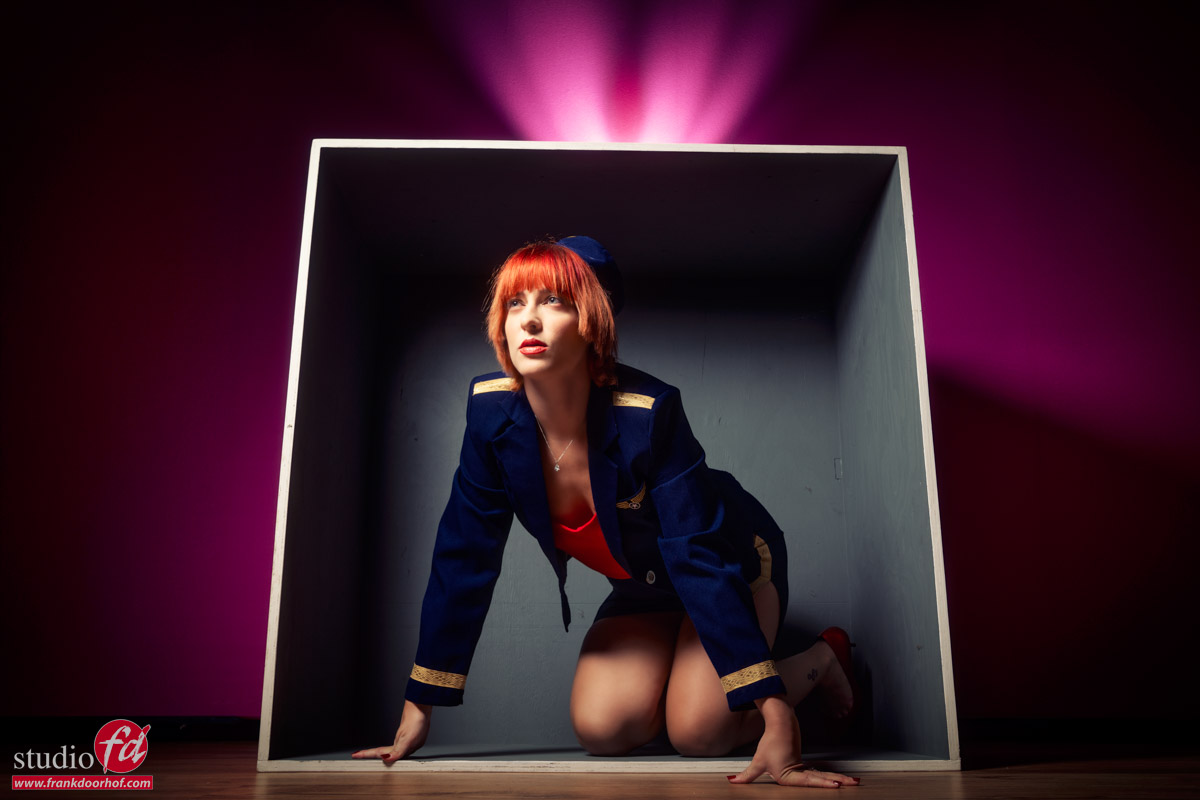
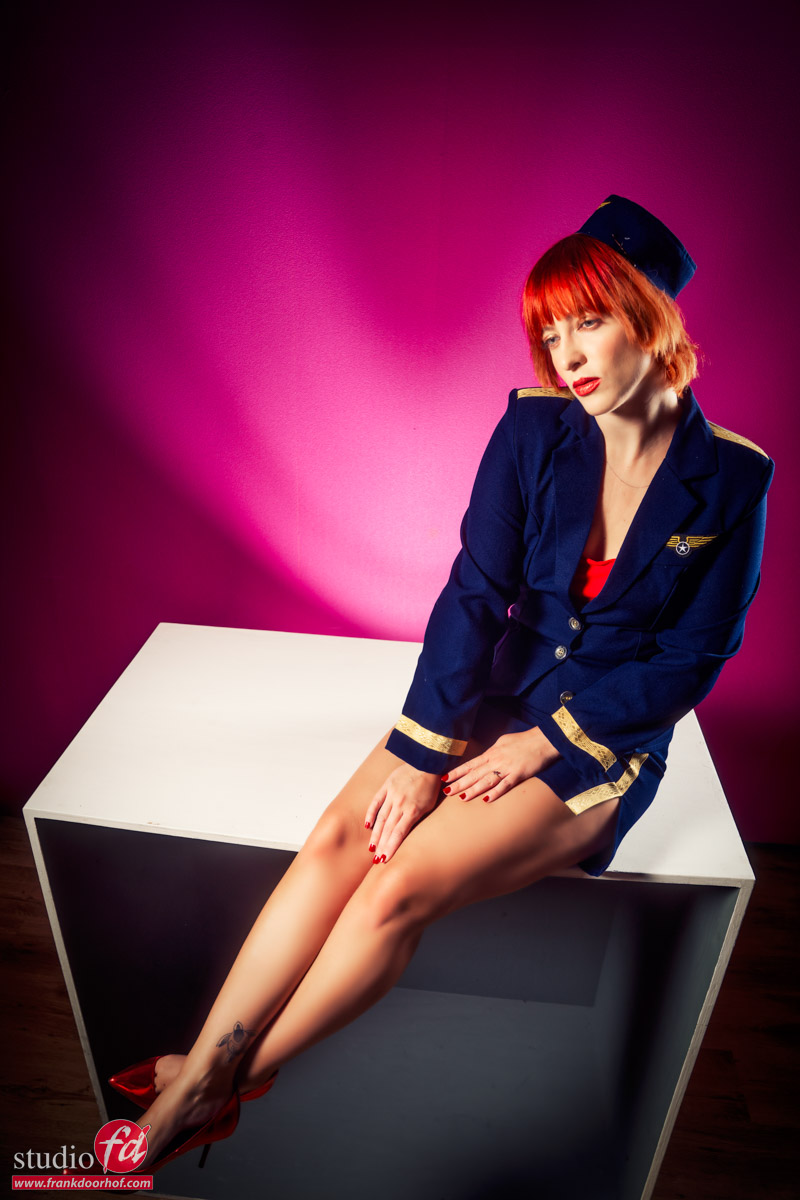
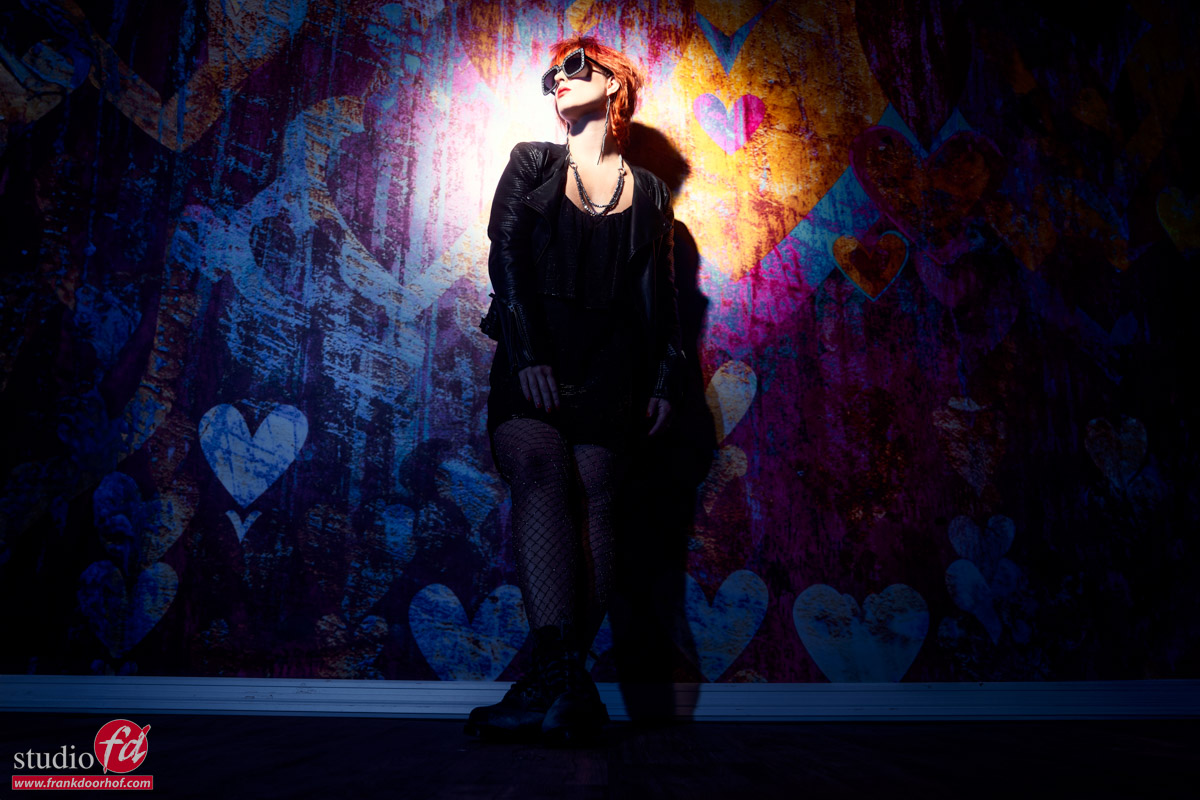
For the first set, we used a box to pose our model in/on. The main idea was to get interesting effects in the background and how you can manipulate these.
Of course, the added element of the box triggers creativity.

I’m using a Geekoto GT400 with the small Geekoto softbox as the main light.
In the back, I’m using a Geekoto GT250 with the Rogue Magnetic Snoot. The main thing I love about this snoot is that you can use it not only in 4 different configurations but also can be used with or without a diffusion panel (this is without) which gives it a multitude of different looks. It’s one of my (many) favorite modifiers.

Now do remember these are WORKSHOP shots, so I shoot them while teaching, meaning they are okay, but far from perfect.

Set 1.

Result of one worshop result of one workshop, adding more props

And of course, there are always more ways to shoot something than just one 😀


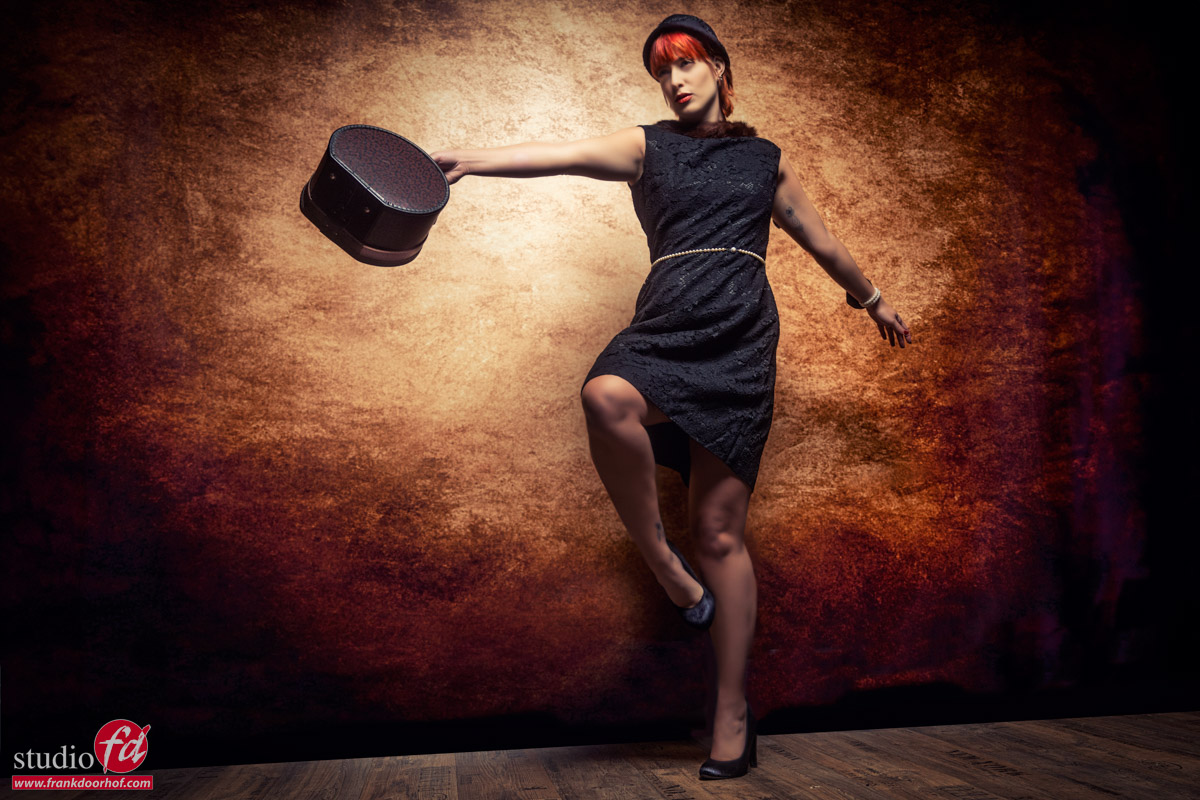
Motion

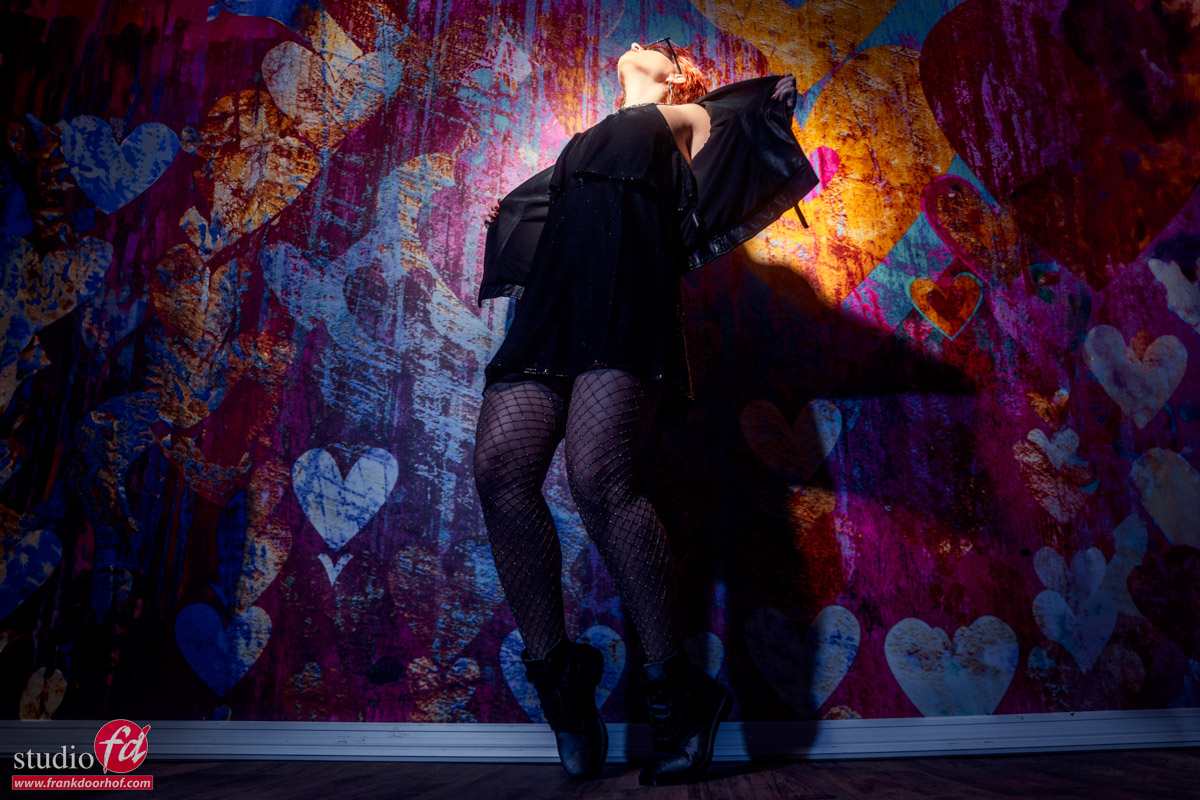
For the next set, it was all about styling colors and adding motion to a shot. To make sure you freeze motion it’s important to know on which setting your strobe has the fastest T01 value.  I’m using a Sekonic 858 meter for this, which besides the exposure, also meters the flash duration.

And of course, coaching the model and getting the right moment is vital.

As a backdrop we used the the Rembrandt Brown vinyl 300x244cm 

model in front of a backdrop

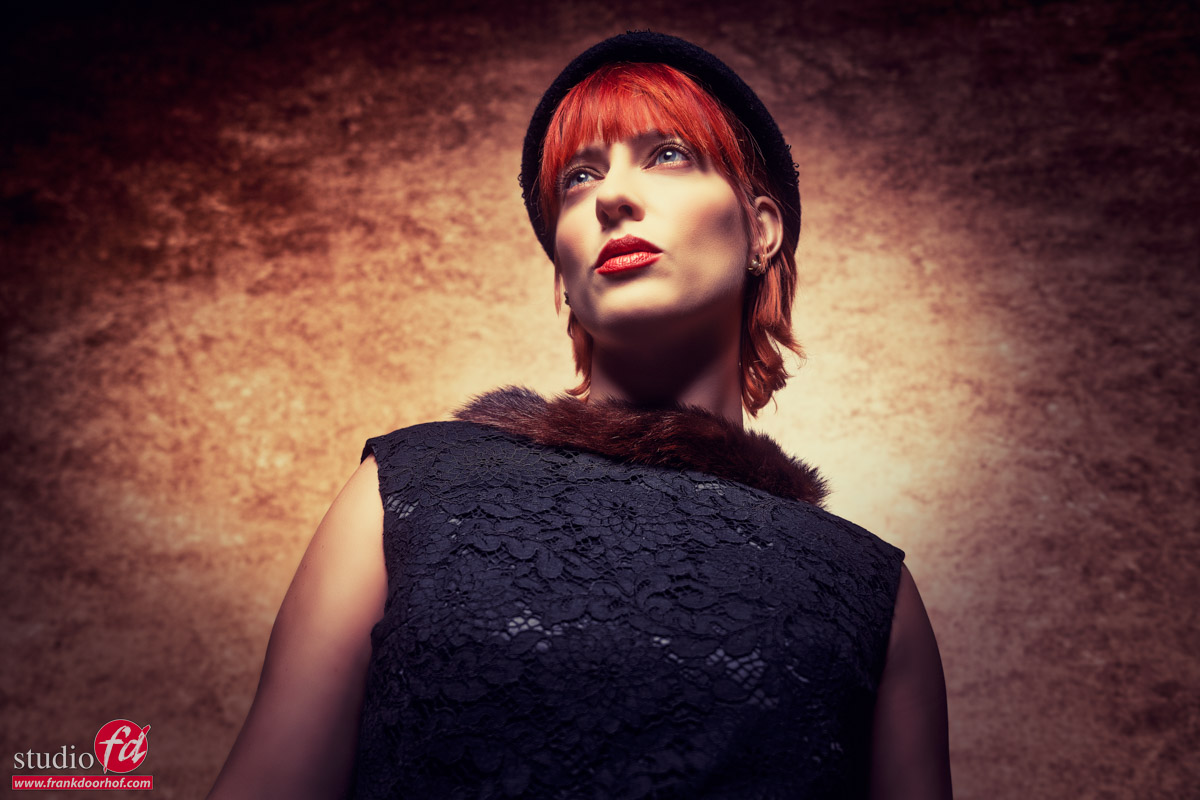
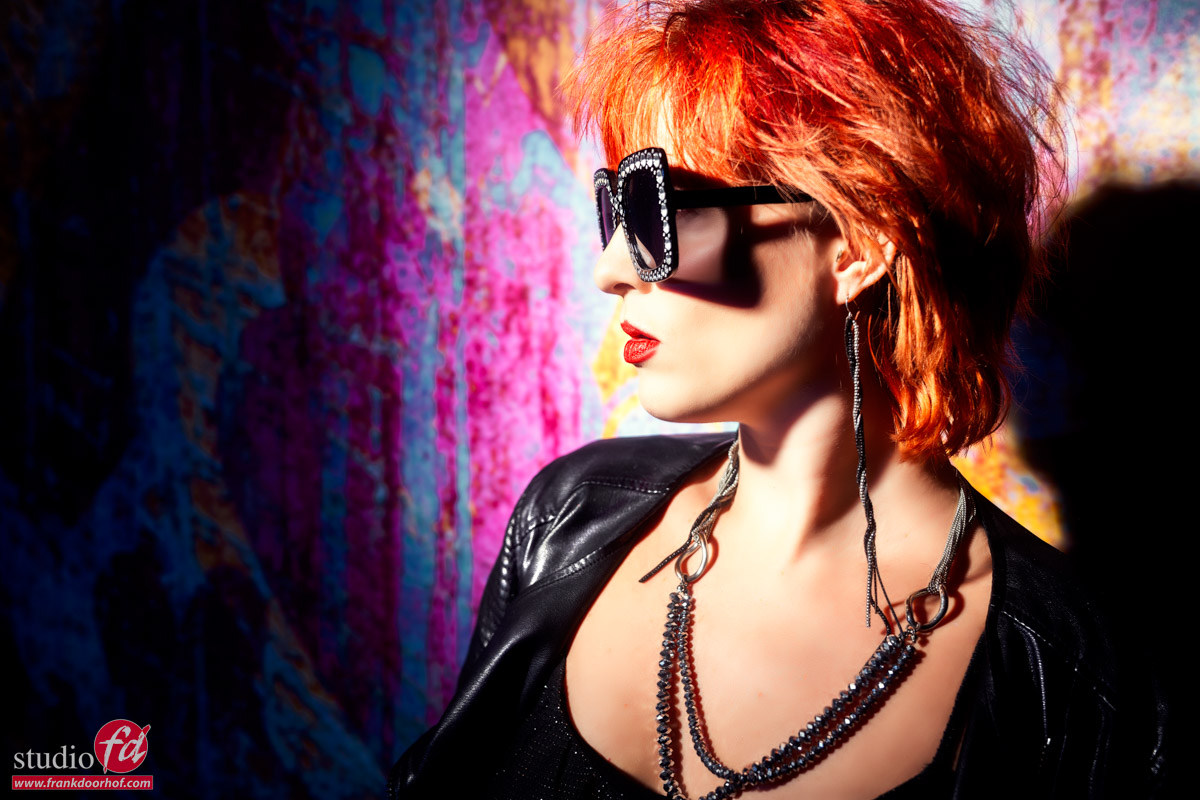
And of course, I couldn’t resist throwing in some different angles for a portrait.
It’s always fun to see the responses when I start shooting from “weird” angles and the attendees see the images coming in.results of one workshop: portrait shot from a low angle


Clicki

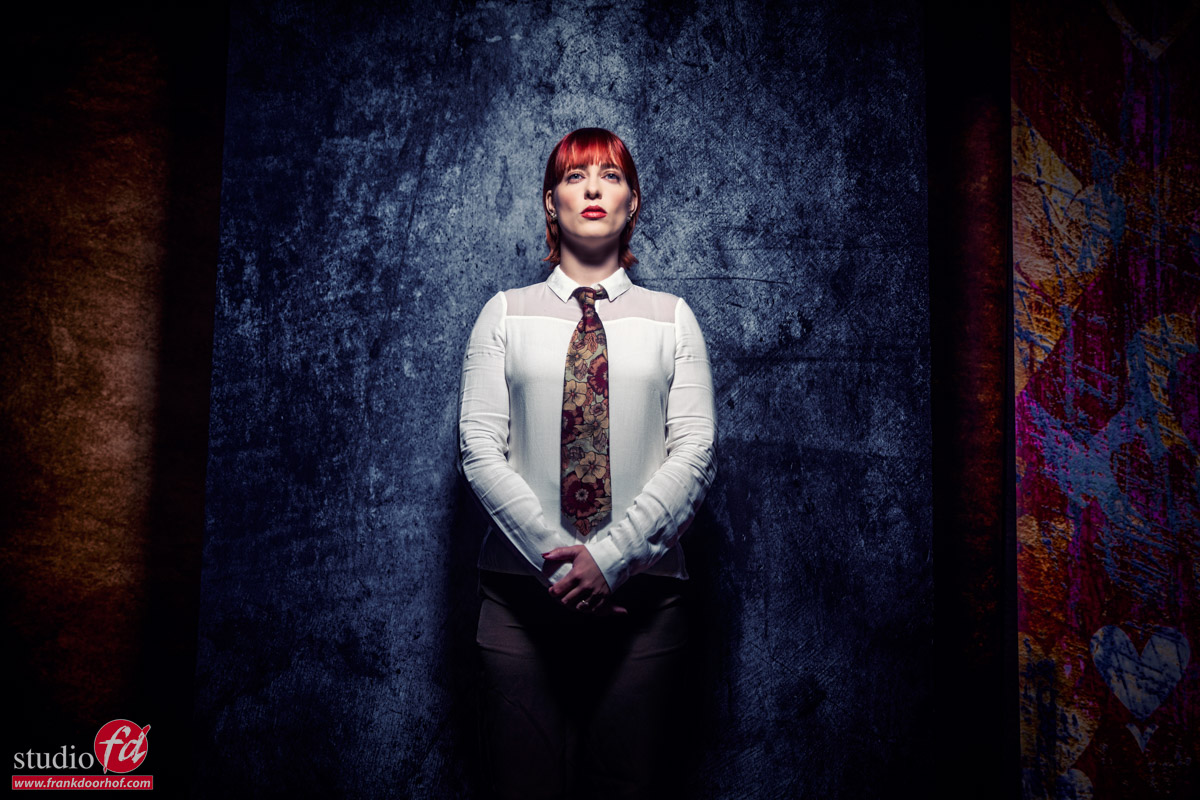
For the next set, we are using the brand-new Clicki system from ClickBackdrops. This is a great solution for photographers shooting on location who are not willing to make any sacrifice in background quality.

I’m using a pro fabric version here. But vinyl is also an option (same price)
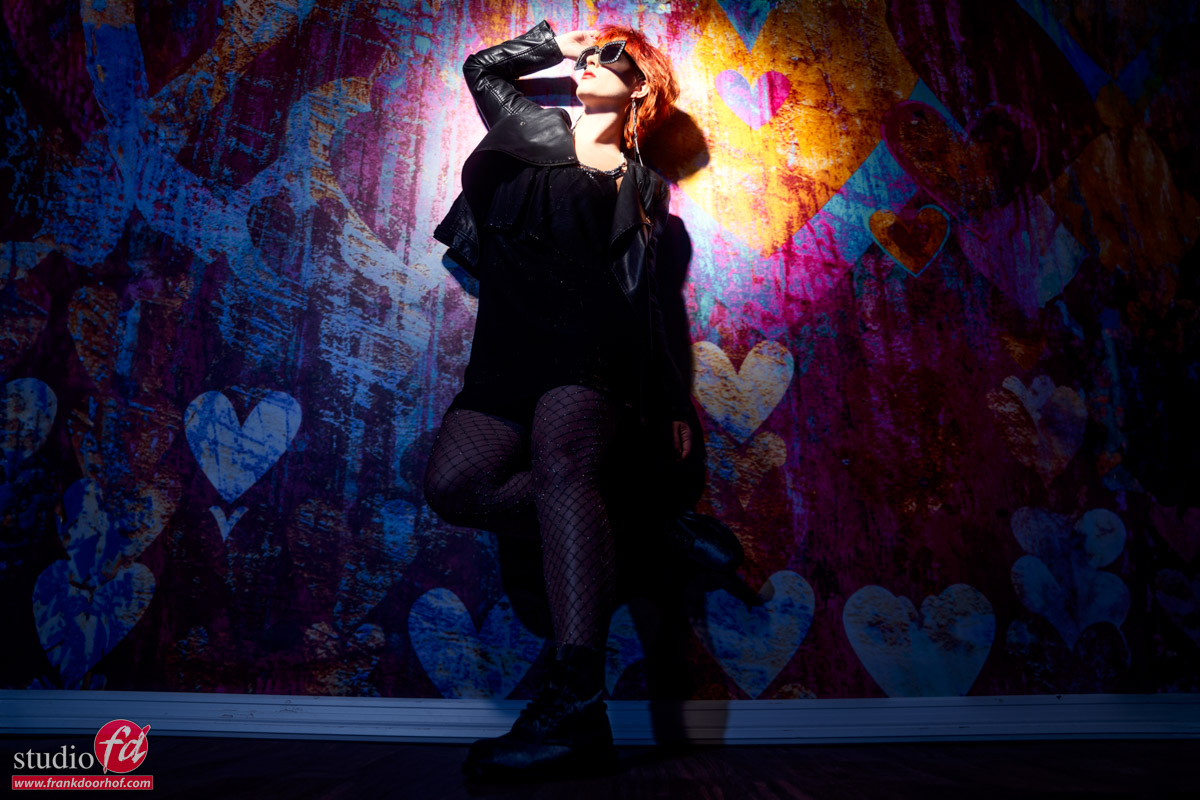
It’s great for portraits and 3/4 body. But I thought it would also be fun to use the backgrounds hanging in the back as a backdrop. So we placed the Clicki in between two other backgrounds, to create some more depth.

I mainly focussed on portraits and angles. Here are the results, and remember; this is still from one workshop.

result of one workshop, model claudia in front of a clicki backdrop

What gear did I use to get these results?


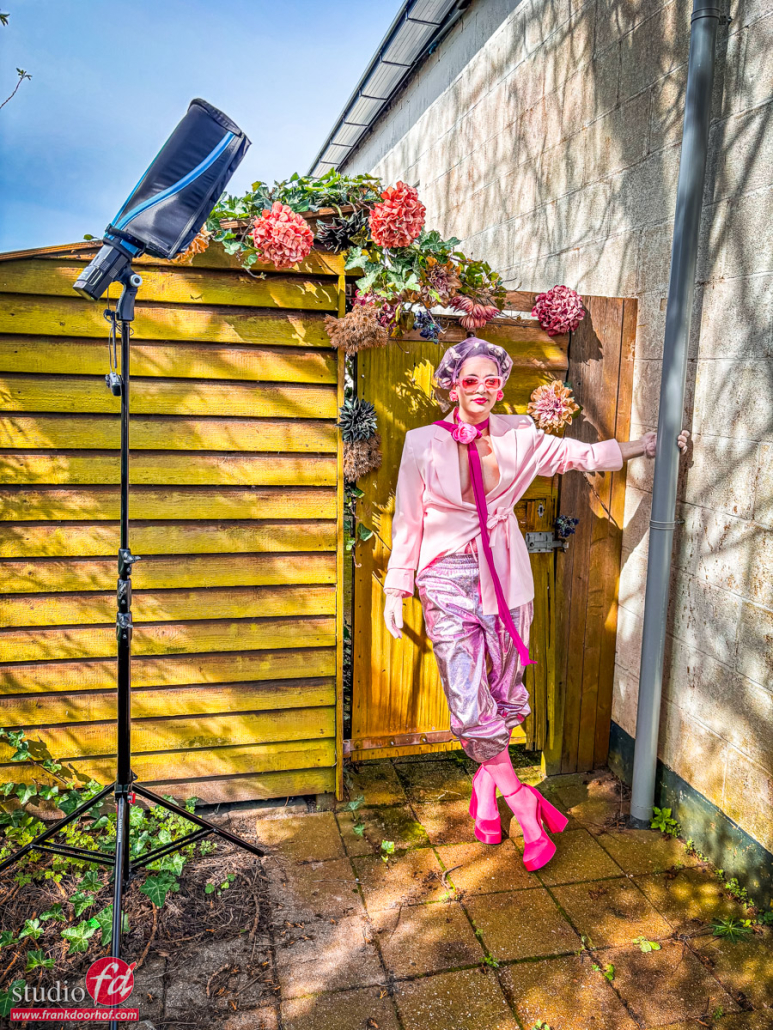
For these images I’m using a Geekoto GT250 with my all-time favorite modifier, the Frank Doorhof Rogue FlashBender.
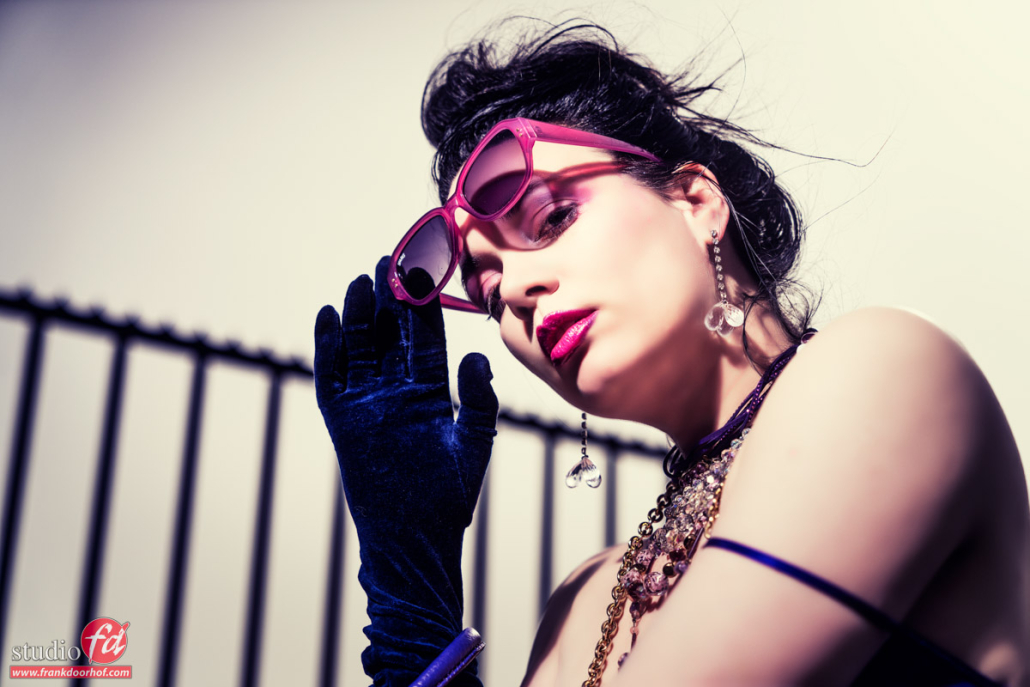
And of course, when it carries my name it should be my favorite right?
Yes and no.
The main reason I love the FlashBender so much is that it’s very easy to use a bounce card. You make background effects by bending the FlashBender. You can fold it as a snoot. And that is awesome during events to really make a couple or subject stand out, even if the available lighting is poor ( like on some weddings during the dance). Or use it as a small softbox…. but mostly I use it as you can see here, with the striplight attachment and grid.

The cool thing…. when you buy the Frank Doorhof FlashBender everything is in the box 😀
Results of one workshop; model in front of the clicki, ligted by only the FlashBender XL Pro


The next results


For the next set, we decided to play with “light in light” where we focused the light in the model. With for example a snoot or in this case a Fresnel, opening up the shadows with a fill-in flash, often with a colored gel. The main light is the Nanlite Fresnel on a Geekoto GT400. and the Rogue magnetic system on a Geekoto GT250 as a fill-in flash. I’m using a blue gel to very slightly open up the shadows.

results of one workshop. model in front of the backdrop with a fesnel and a bleu gel

Of course, we also shot some portraits.


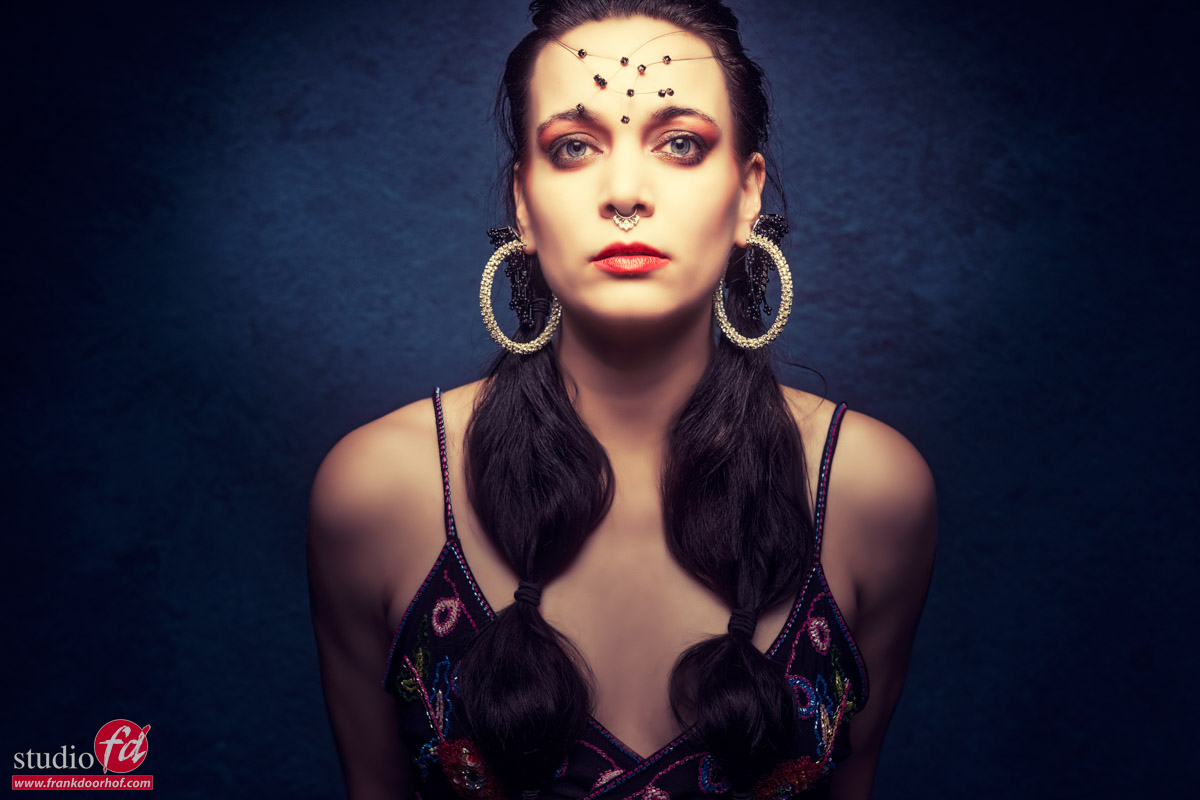
a portrait is also one of the results from one workshop

But there are more results


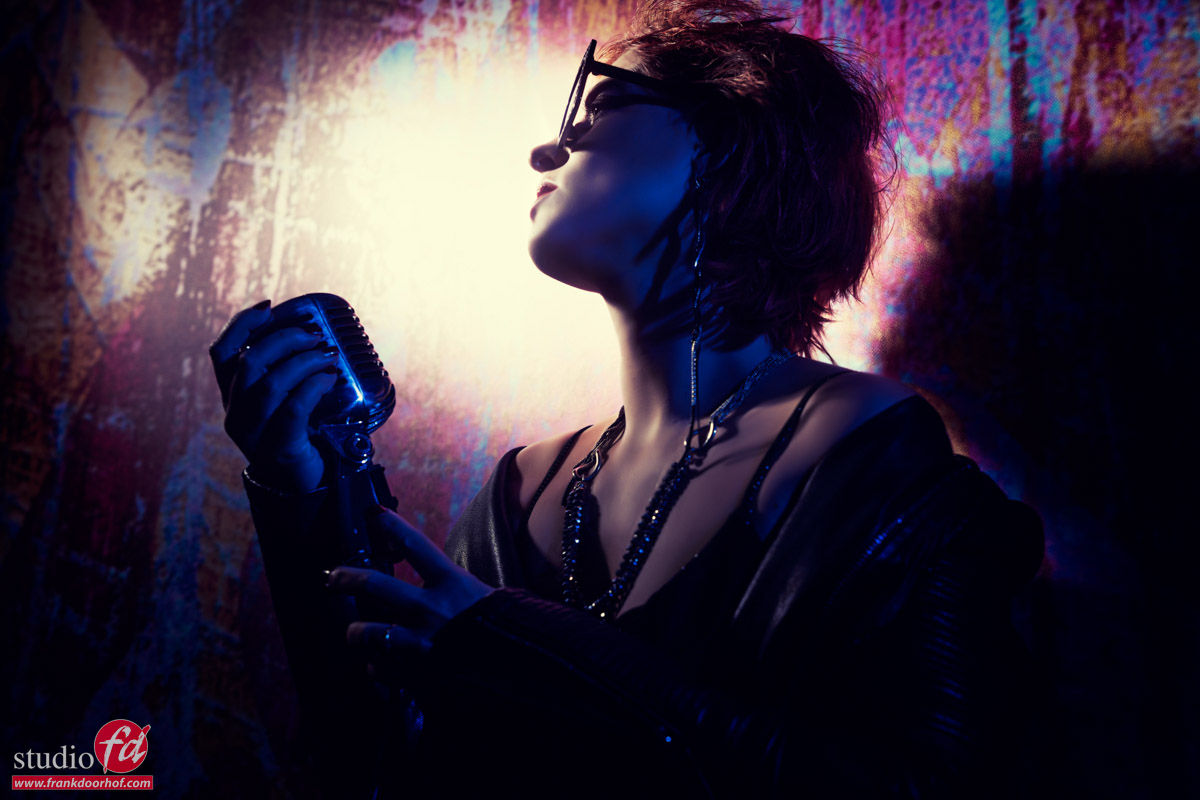
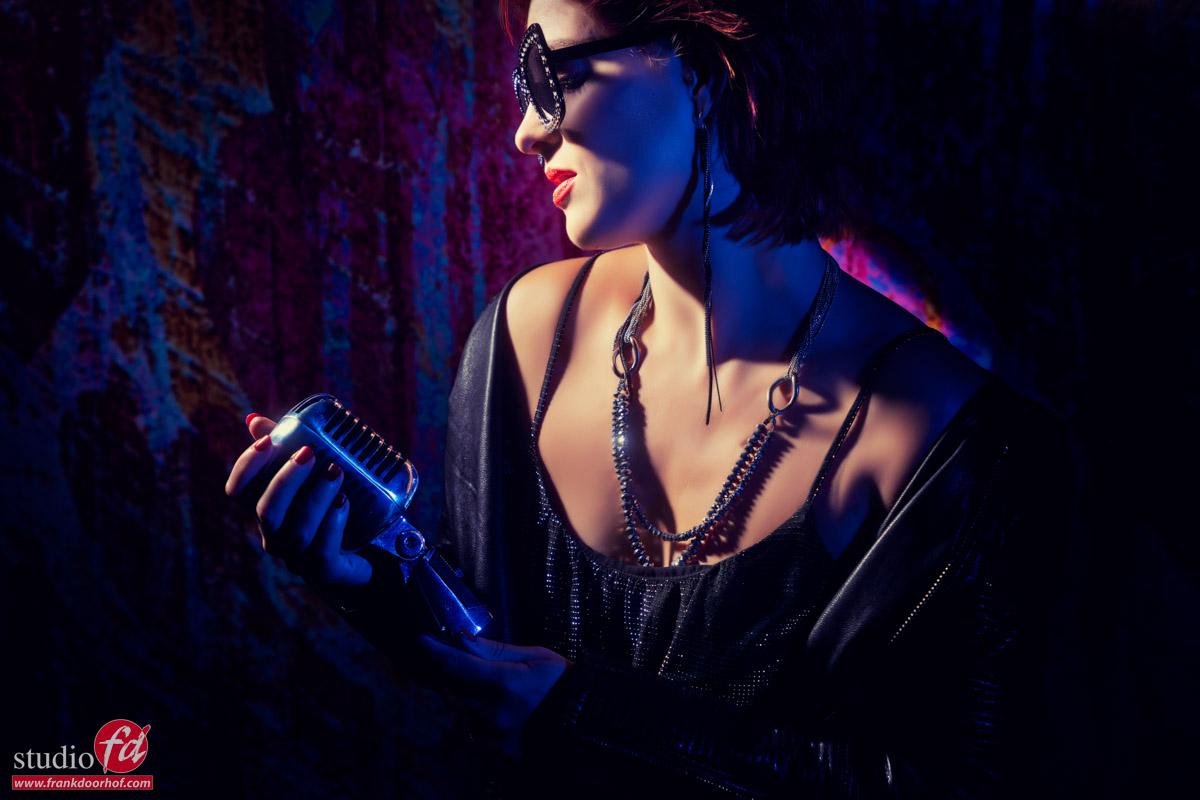
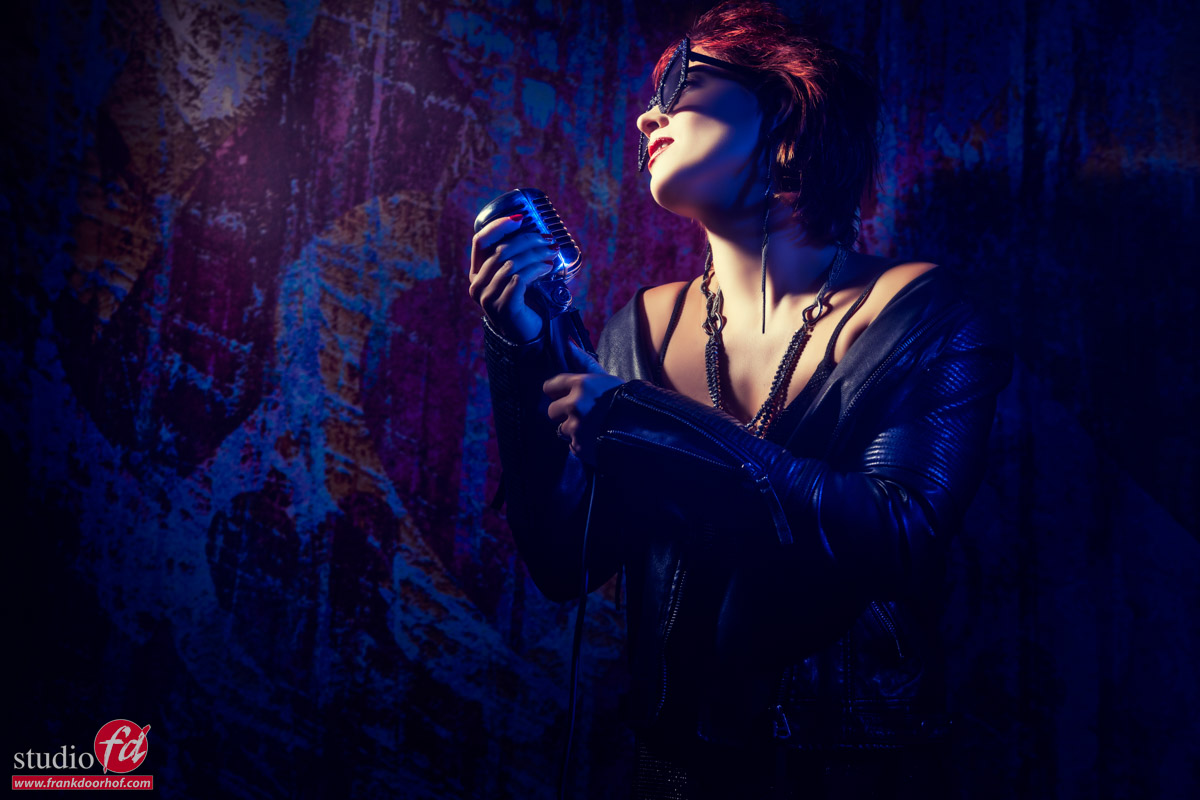
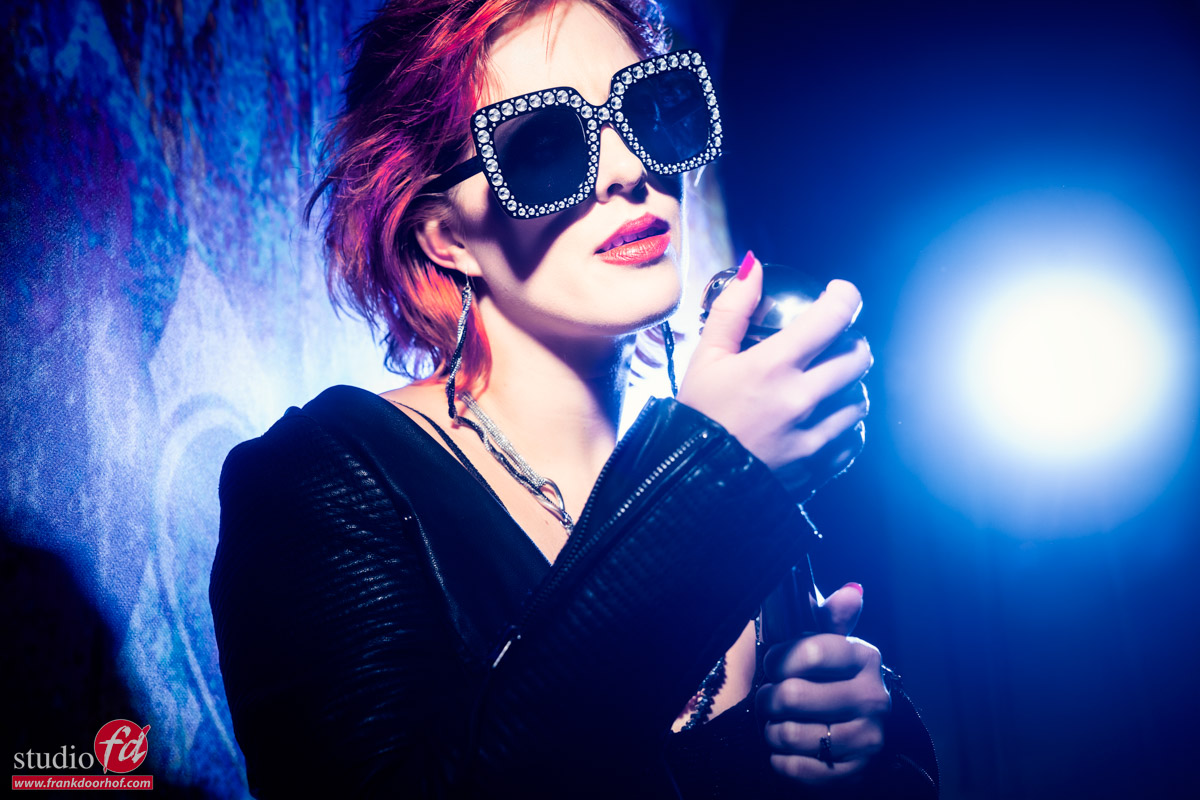
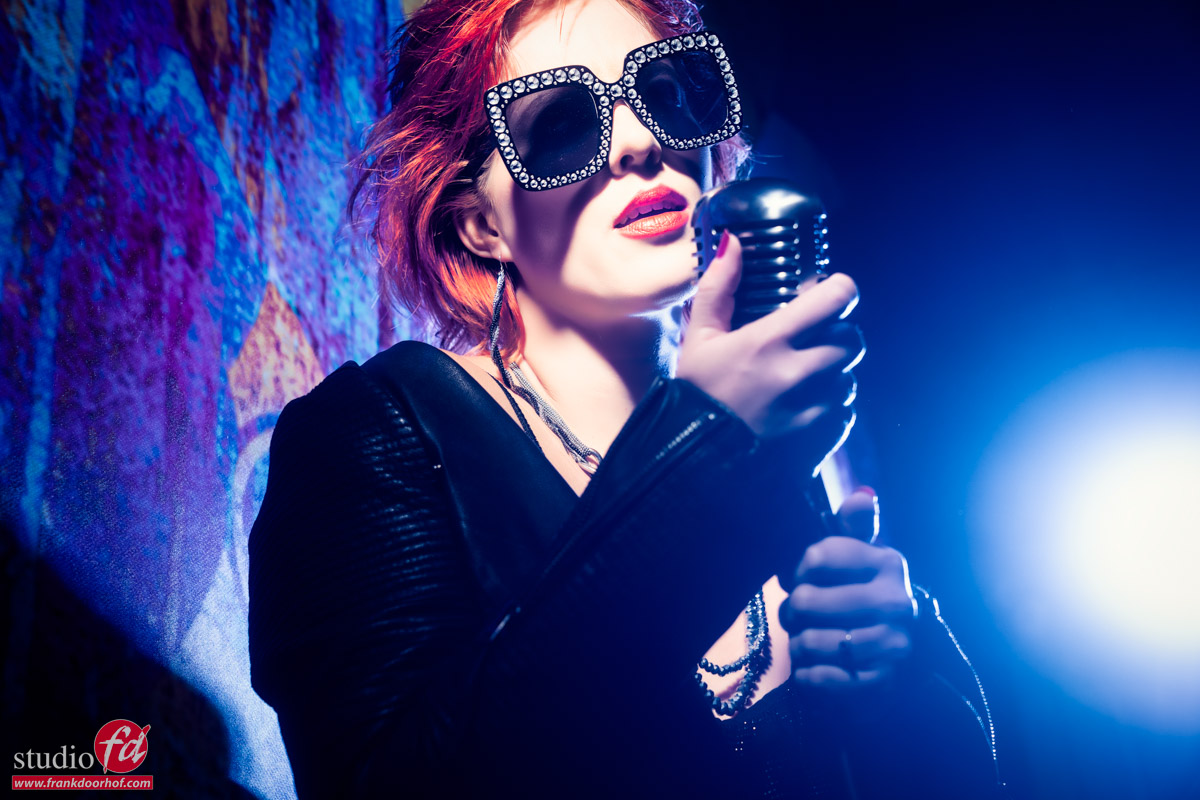
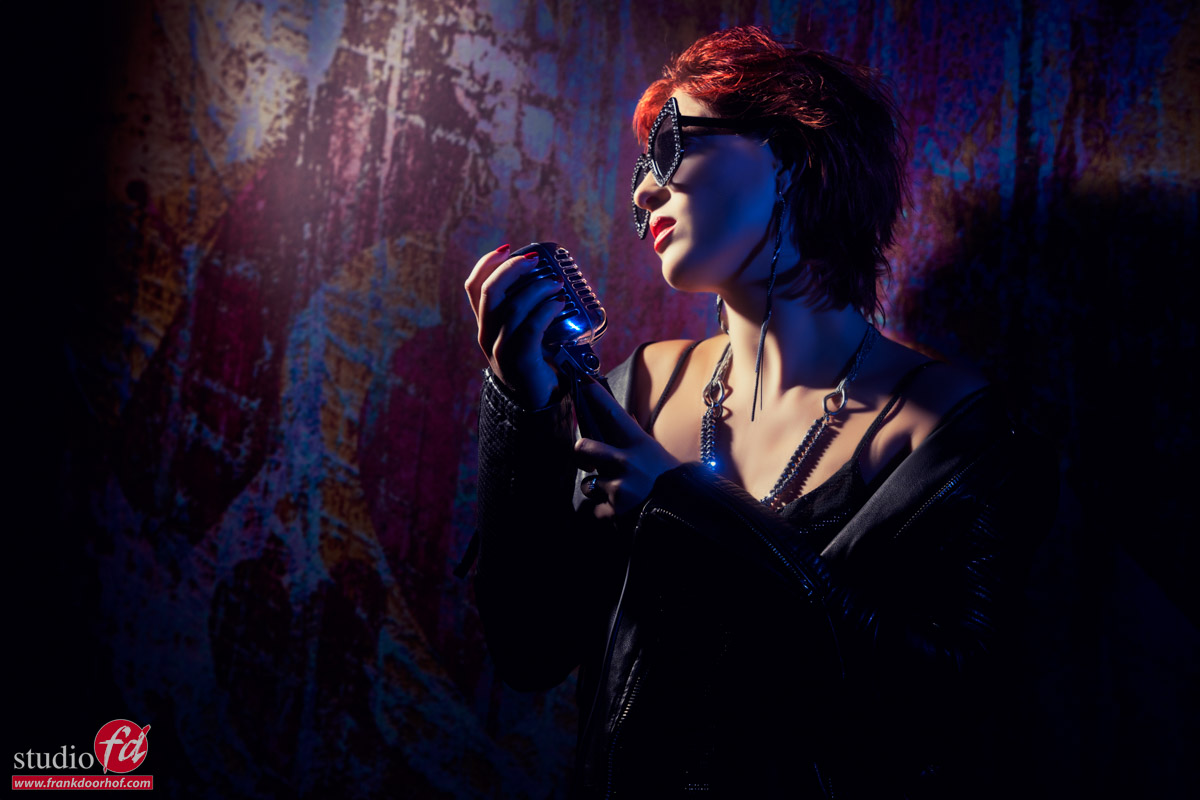
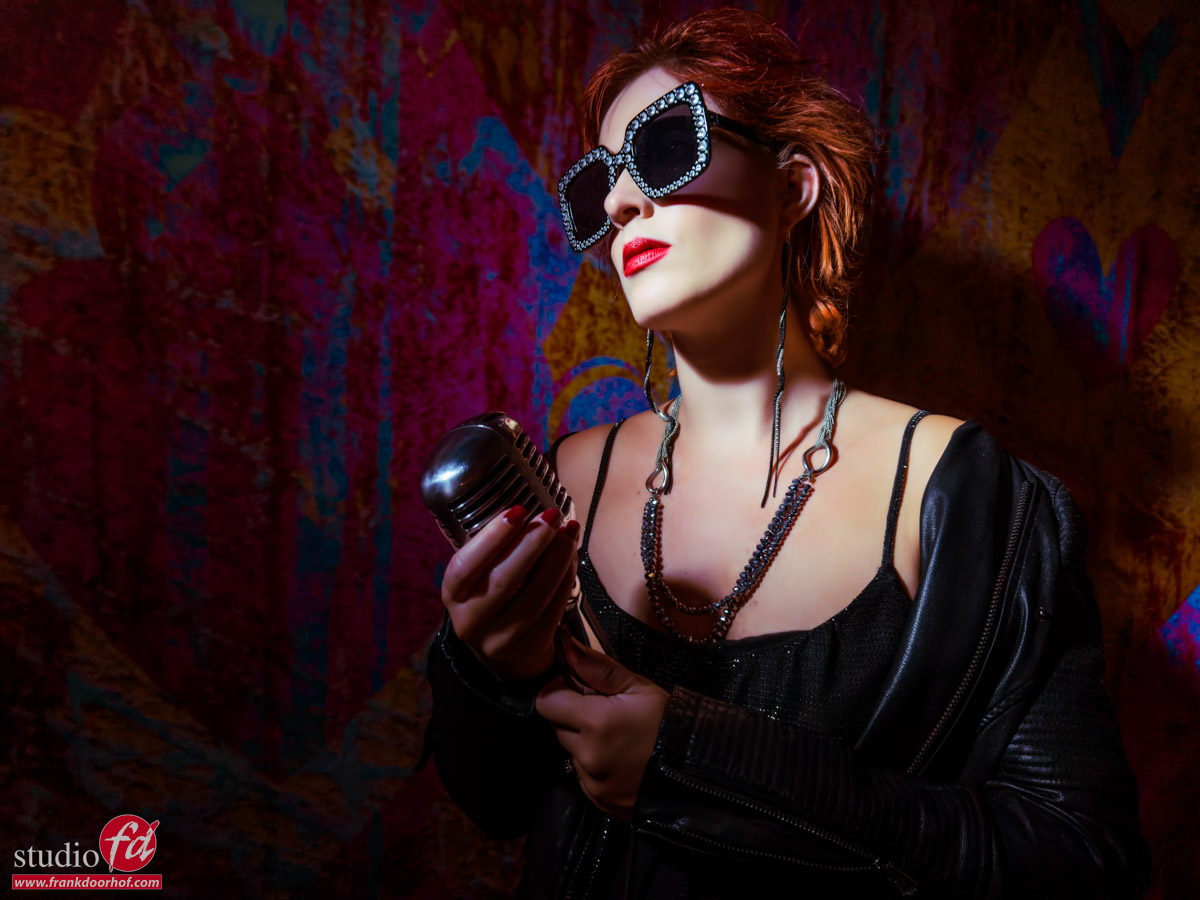
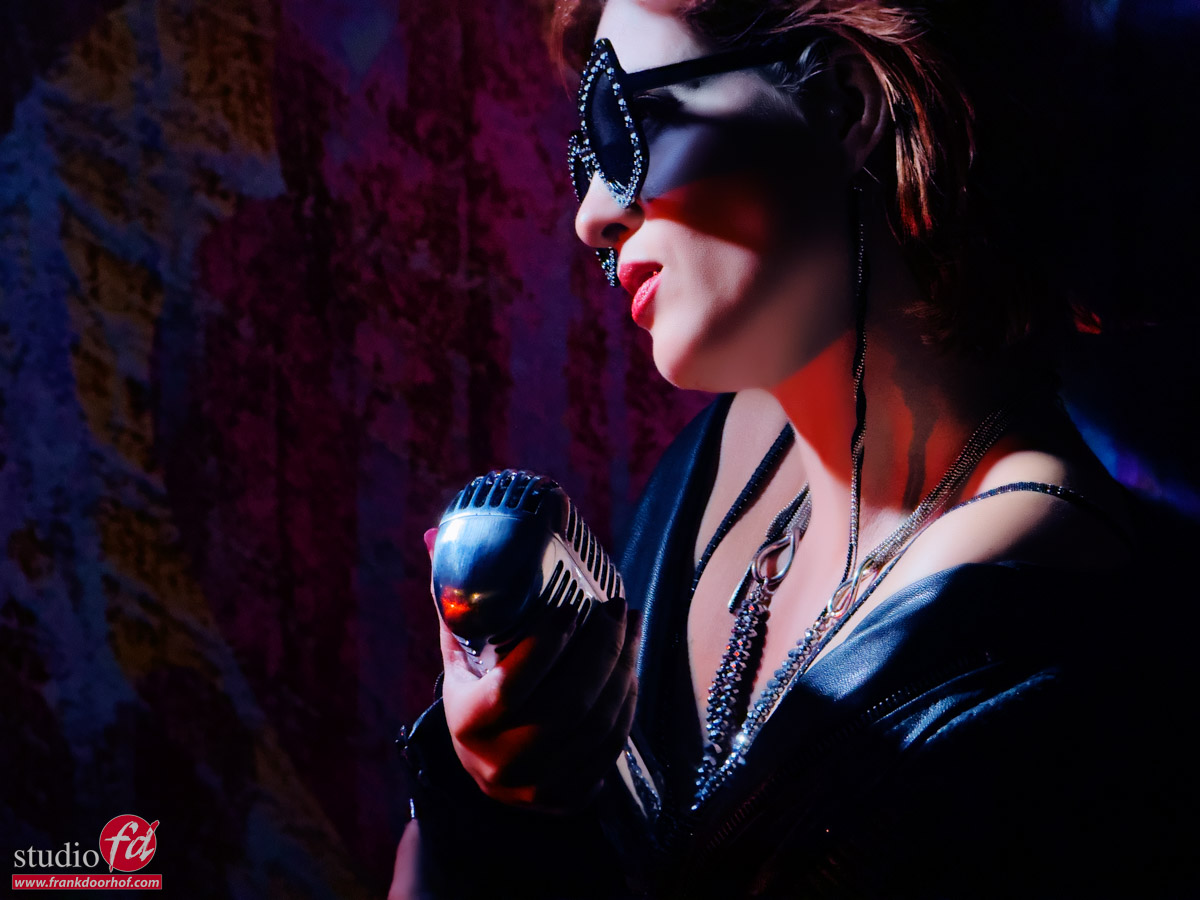
After these images, I thought it would be cool to throw in a microphone as a prop. And explain some very powerful techniques where I combine feathering with “fake” reflections by angling the light just correctly around the model. This is a very powerful technique to create stunning almost silhouette-like shots.

In this setup, I’m still using the Nanlite Fresnel on a Geekoto GT400. But the blue gel was now moved to the opposite side. Depending on the effect I wanted (the angle I’m shooting from) we just angled the strobe aiming it toward the camera. Love the results from this technique. When walking around your model you get a lot of different looks.

another result of one workshop. more silhoutte-like portrait with a vintage microphone

By adding the blue gel into the frame the total look and feel of the shots change.


Frank Doorhof Workshops
If you like these results and are looking for a workshop that’s totally different from just shooting images (a shooting zoo), make sure to check out fotografie-workshops.nl Here you can find information about the Dutch workshops (and location workshops abroad). Most workshops in our studio are in Dutch, but if you let us know in advance we can switch to English, most Dutch people speak and/or understand English.

1:1 workshops are always possible


PS: During this workshop, I also tried to shoot some images with the new iPhone 15 Pro Max. Can you spot them?

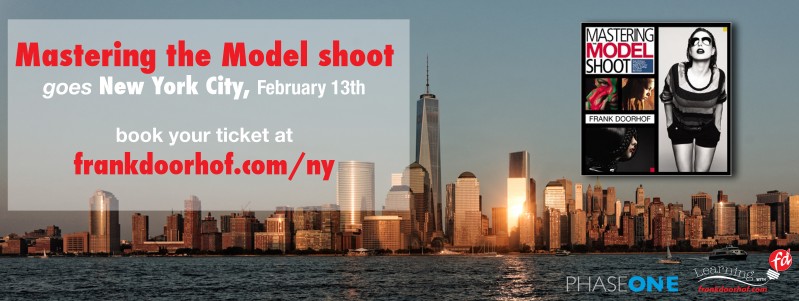
MTM goes New York

On February 13th I’ll be teaching a full day (small group) workshop in New York… the city that never sleeps.
And trust me… after this workshop you won’t sleep for a week…. it’s jam-packed with information on shooting models, understanding light, mixing light sources, shooting with advanced light setups and the bare basics (just natural light) and much more. The unique approach of the workshops is always that we start with a Q&A in which the participants can ask whatever they want and part of the questions will be answered right away and the other part will be incorporated into the workshop it self, this way the attendees always learn exactly what they want.


For this workshop we have some amazing dresses from our friend Lindsay Adler (they are stunning) plus the workshop itself is taught in a great studio with both day light and studio options so it’s possible to cover literally every aspect you can encounter, meaning you will get a very complete overview of techniques for both natural light and strobes (and mixing them of course).


During the workshop you will also get the chance to shoot with the brand new 100MP Phase One digital camera/back so you will be going home not only with stunning images… but also some very high resolution ones 😀


As an added bonus you will also see the whole retouch process from selection to finish with many tips in Photoshop and Capture One.
By the way… ALL participants will receive a free copy of Capture One 9 (valued at 299.00)


Topics will be :
Understanding/Manipulating/metering light
Using the light meter in incident and reflective mode
Mixing light sources
Coaching the model and working to a great shoot
Adding motion for that WOW effect
Advanced techniques for location shoots
Maximizing the location
The right gear
The complete workflow for model photography
Color managed workflows
Using Capture one during and after the shoot
Retouching and selecting images
And MUCH MUCH more…….

Retouching topics will be :
Skin retouching without spending hours behind the computer
Adding an unique look within seconds without plugins
Tinting your images 
Body shaping within Photoshop
Using BW convertors for stunning color enhancements
Adding skin detail back if necessary (this can save your shot)
Manipulating light
Adding atmospherical lighting to a shot
Enhancing the look of the scene
And MUCH MUCH more…..


Sounds good?
I think so, so head on over to https://frankdoorhof.com/web/tours/new-york-workshop-february-13th-2016/ and read more about this workshop and register.
CU in the big Apple 😀


facebook.4