Tag Archive for: color

What happens when you change it to Black and White?

What happens if you change your photo to Black and White?

The choice between black and white, or color can be tricky.
For me personally I sometimes shoot something with the intent to make it black and white. But then when I see the results I often keep it in color, because I just love the way it looks. And what happens if you change your photo to Black and White?

Sometimes you might shoot something that is very colorful and you don’t even think about black and white. That’s why I post this today.  Luckily with digital, we can of course do both 😀

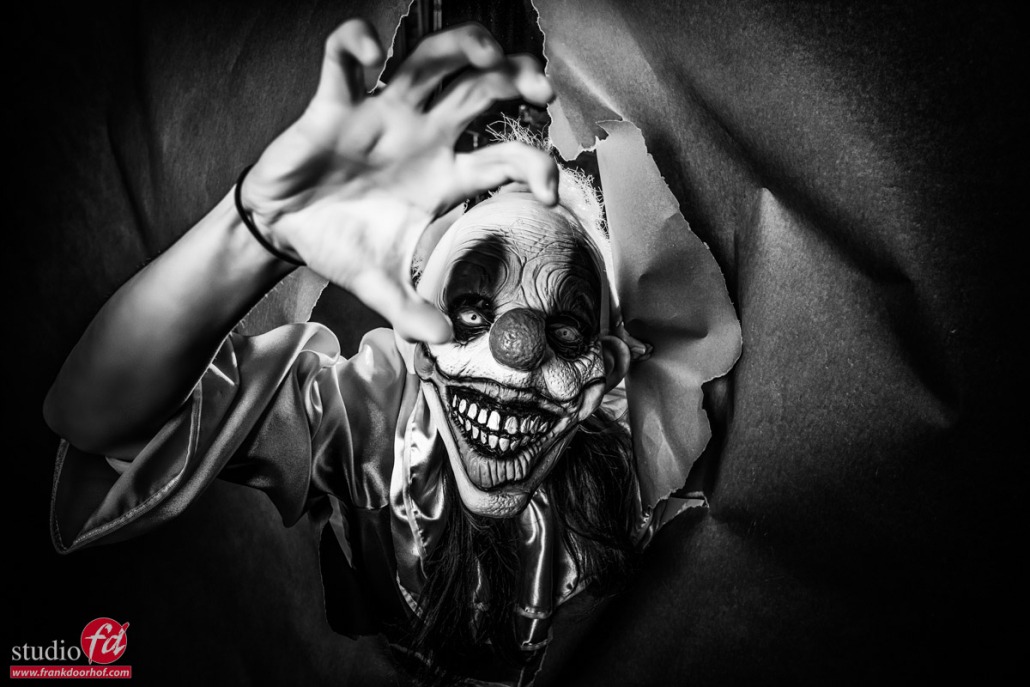
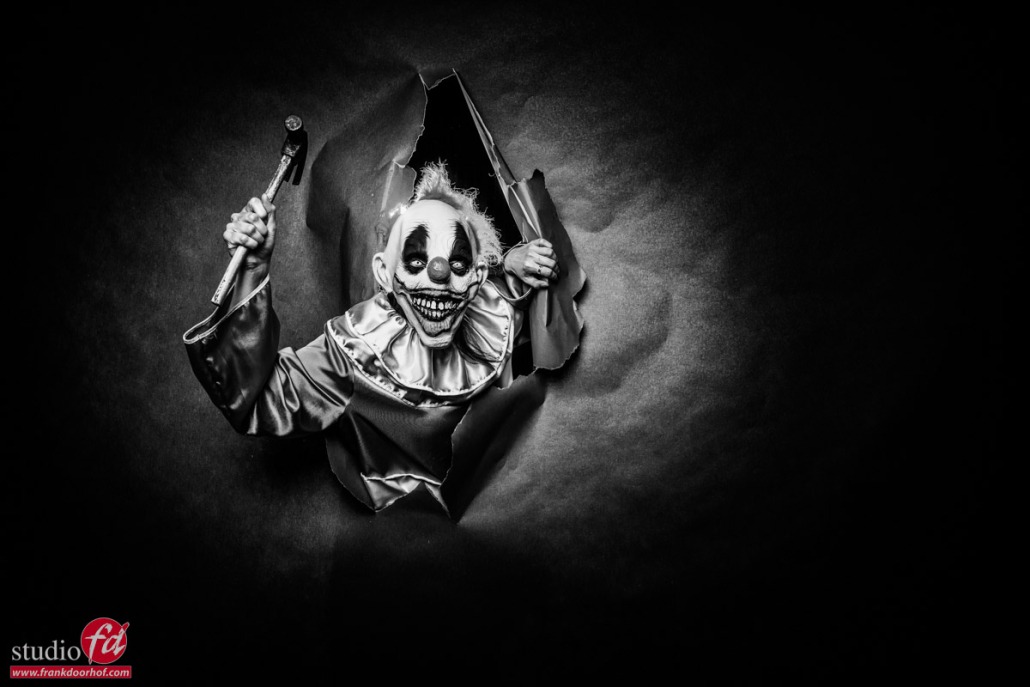
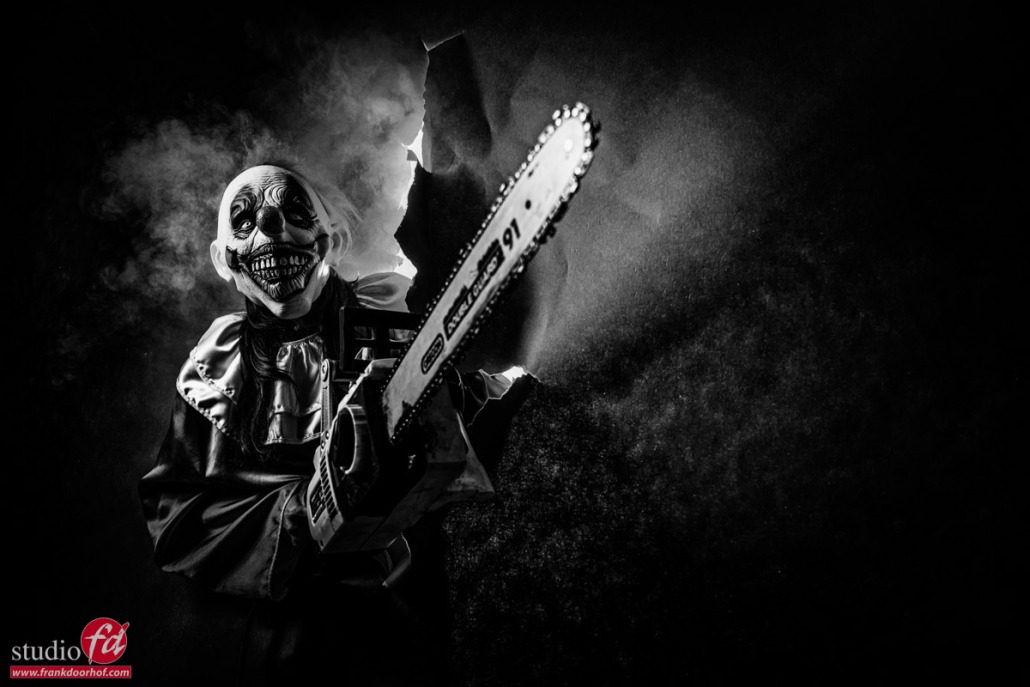
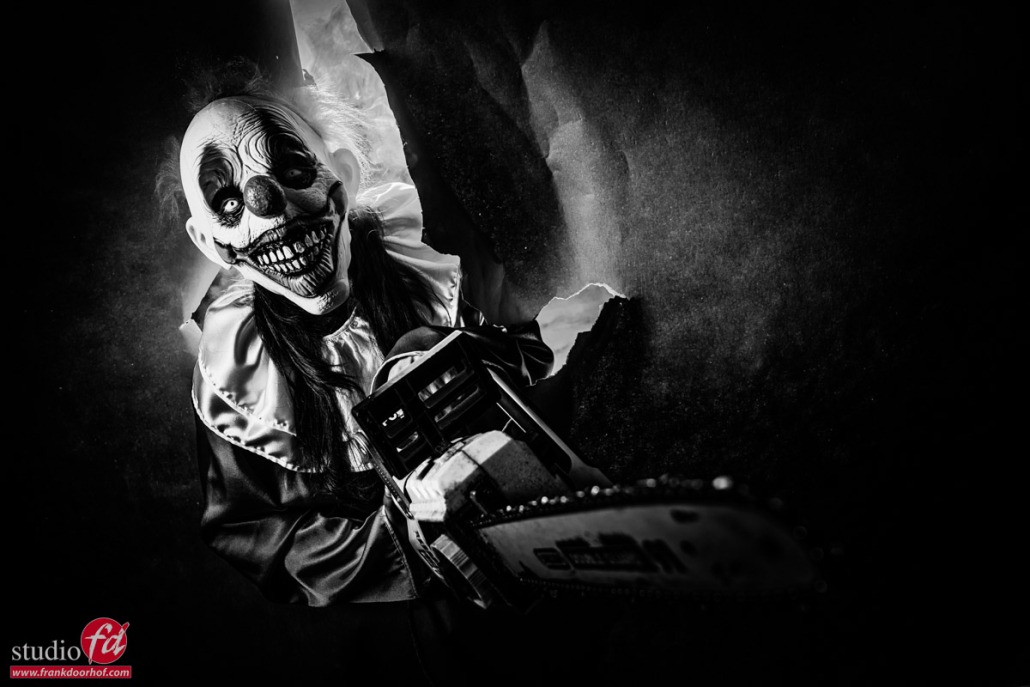
The horror clown is back!

Well she was here just 2 days ago, so she was not really gone 😀
But as you could have seen in the previous blog post about the horror clown, the color was pretty colorful. So this is the kind of set where you might not immediately think about a black-and-white conversion, but…. think about this.

Black and white doesn’t just mean we take out the color.

In fact, you can still manipulate the colors via the H(S)L adjustments in Lightroom. A bit like in the old days photographers did with filters. We can now manipulate images to our hearts’ content in our RAW convertor.

The idea of black and white in this setting is not to take out color but to inject a lot of mood and make the images more creepy. And that’s the cool thing about black and white. I sometimes make the joke

“if you mess up a shot, add a lot of contrast and noise, make it black and white, and voila instant art”

It sounds weird, but it’s really true.
If we look at a color image that is just slightly out of focus or has a shadow that’s not 100% correct in color we immediately see this as “bad”. But make it black and white and we see it as mood, or we don’t even notice it. Now that doesn’t mean that all my images that are black and white are “bad” images of course. But some street photography images have been “saved” that way in the past 😀

But let’s first take a look at the original blog post about the horror clown.
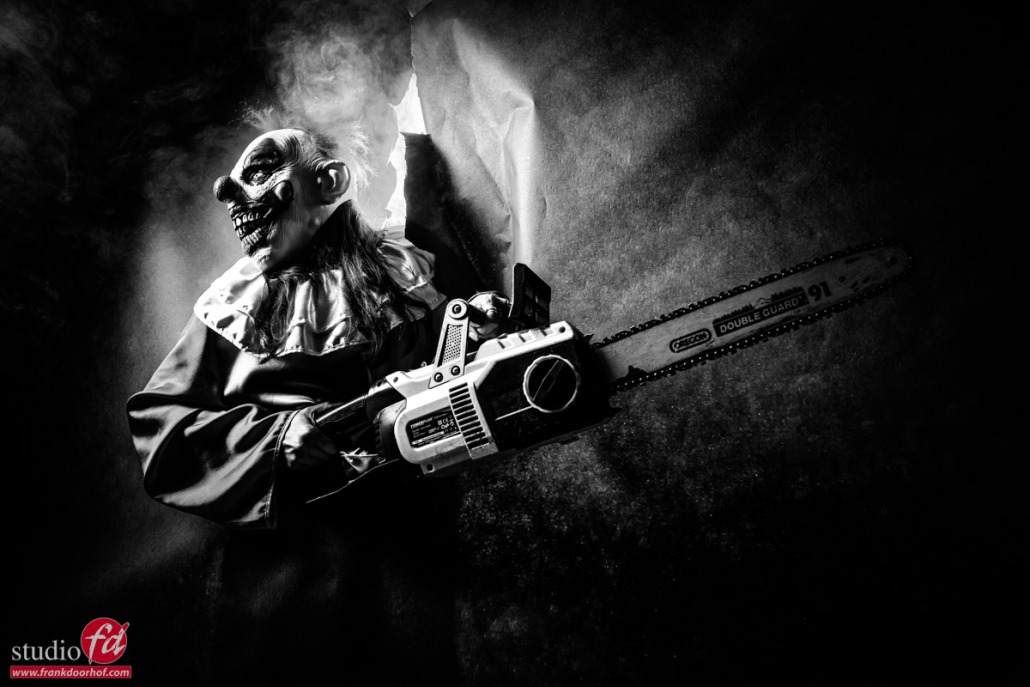
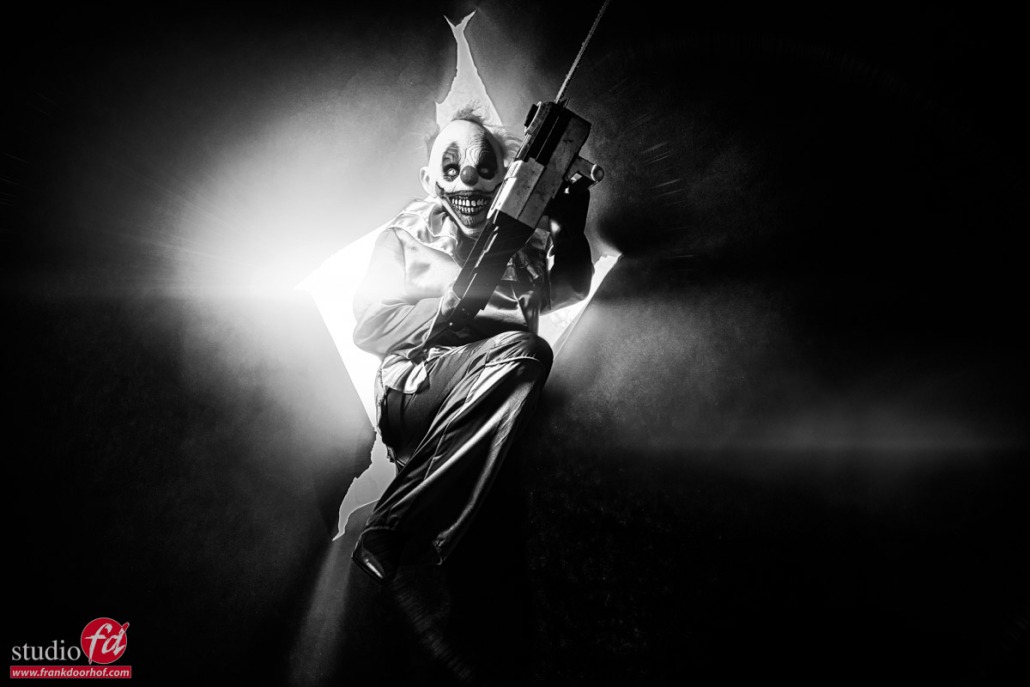
Now that you have seen the color versions, let’s go to black and white.
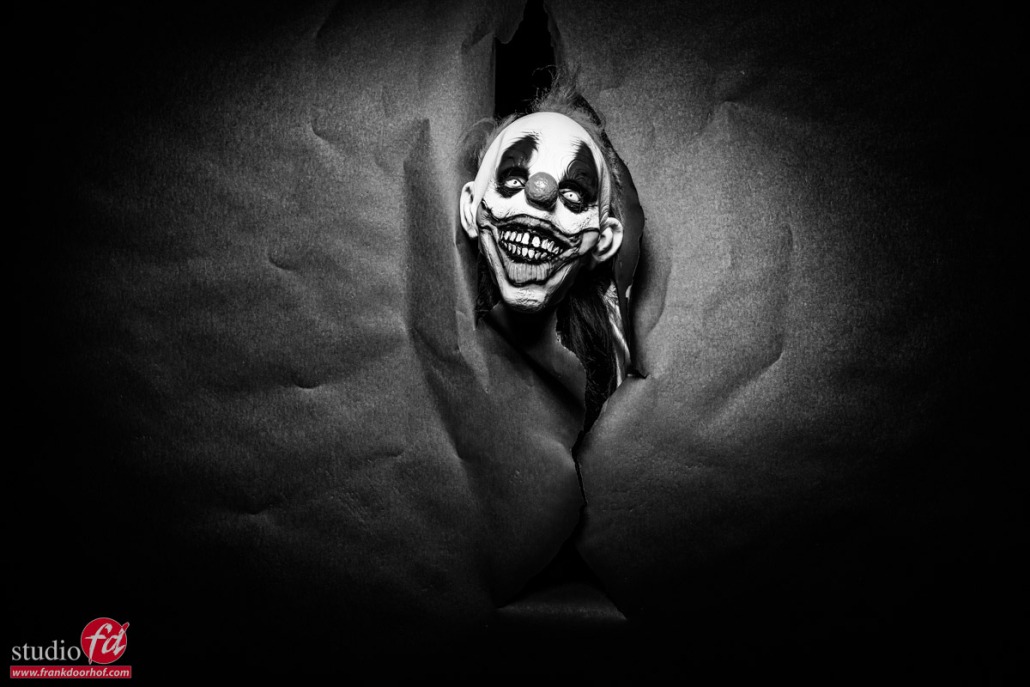
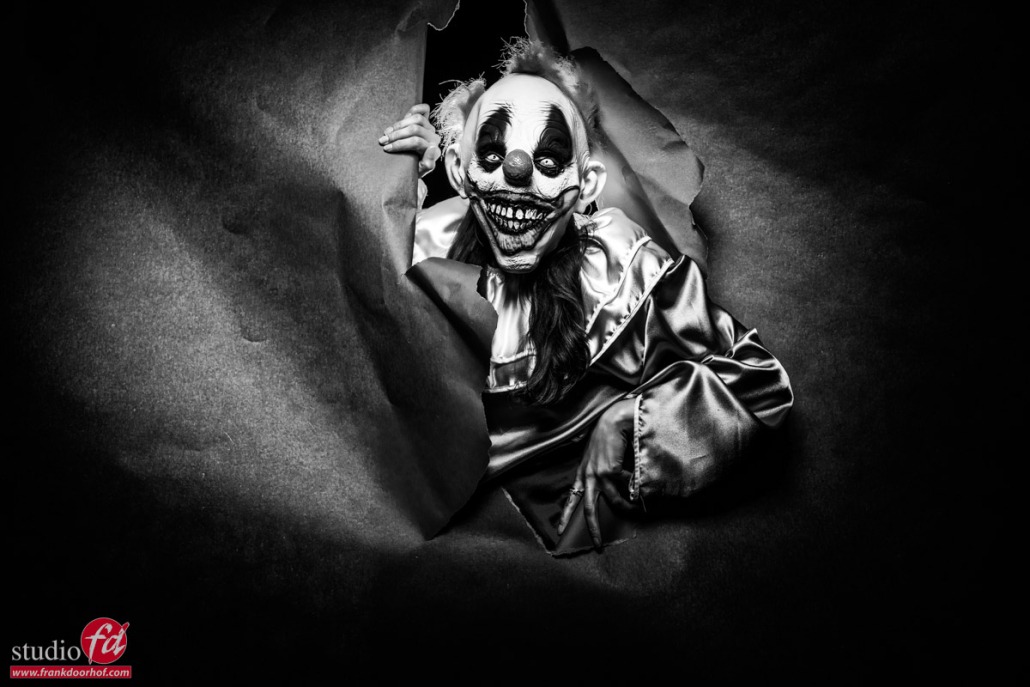
change your picture into black and white change your photo to black and white change your image into black and white

As you can see the images get a totally different vibe and look.
For me even more creepy than the color versions.

Learning all about lighting in our workshops

For me teaching the workshops is not all about lighting.
Personally, I think there is a lot more than just lighting or a cool/fitting backdrop.
A good photo is a cooperation between the model and the photographer. So coaching and making a model feel at ease is vital. But after that, the real creativity comes into play, and during the workshops, I try to focus at least 80% on creativity.

This can be with lighting, but also with the storytelling part.

As mentioned in the previous blog post, working in “super creativity” model can enhance your skills way above the level you would achieve if you only shoot what you are hired for. Plus if you can shoot images that your client is not used from you it could very well be that he/she asks for something a bit more creative.

Visit www.frankdoorhof.com and www.photography-workshops.eu for the workshops in Dutch and English.

Mixing ambient/available with strobes

A situation most photographers encounter many times is mixing ambient/available light with strobes.
There is however a pretty simple rule you can always use to remember how to influence the look of a scene.

Shutter speed controls the available light
Aperture is the flash
ISO stays the same

If you change the ISO you have to change the aperture (because this is fixed pulse from the strobe).
By changing the shutter speed you can let in more or less ambient/available light.
This way you can make a background outside darker (faster shutter speed) or lighter (slower shutter speed) while the exposure on your model (the flash) stays the same. Do remember this is of course with manual flash with ETTL this works slightly differently.

Also remember that there is a point where the ambient/available light can actually over power the strobe, especially outside when working with fill-in flash this can happen quite easily, that’s why I always advise to setup your strobes on full power first and lower the output by counting (if your system has 1/10th or 1/3rd digital settings and is reliable). If you change the shutter speed you have to remember that if you double or halve the shutter speed this is ONE full f-stop so if you know your aperture and the combination of ambient and flash you actually can very quickly calculate when the ambient is higher that the flash. If for example the setup is f11 on the model on 1/125 and you overpower the ambient with 2 stops, you know that when you shoot on f11 1/60 you are now overpowering the ambient with just 1 stop.

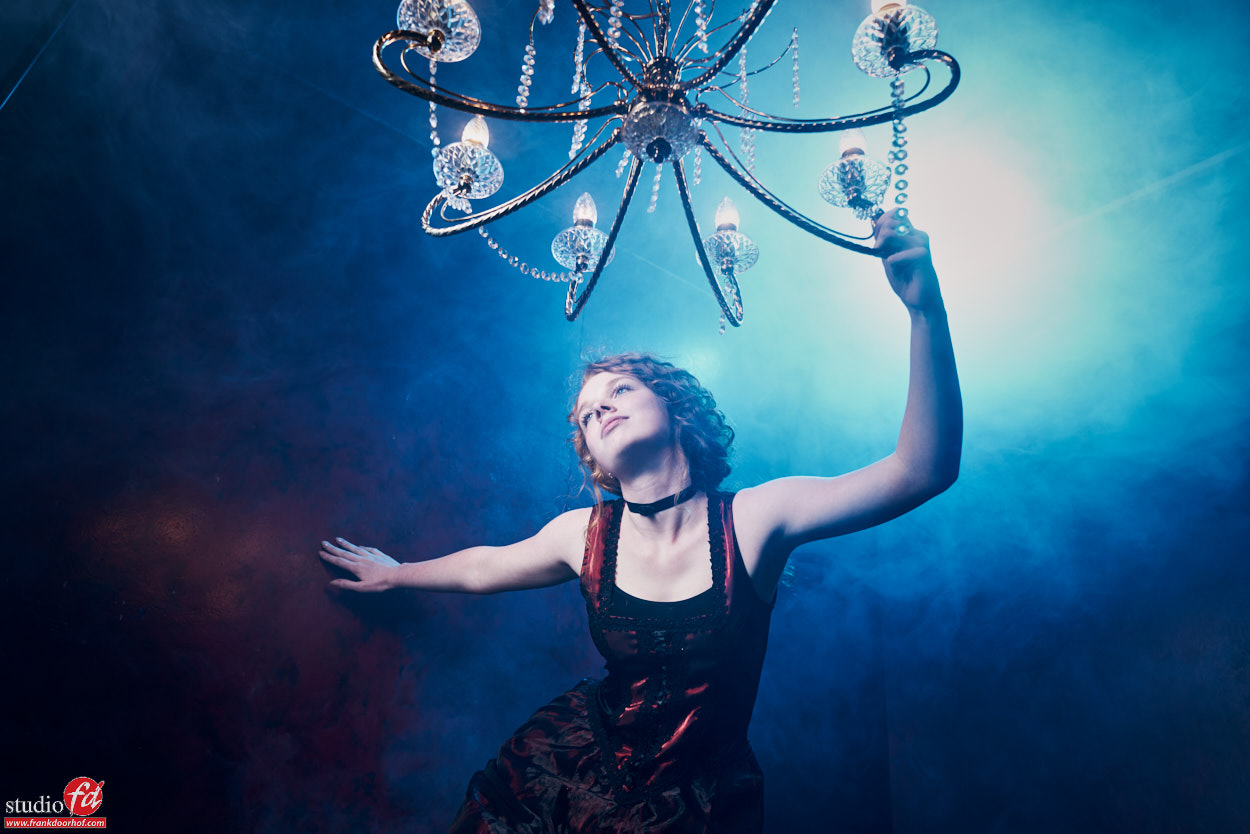
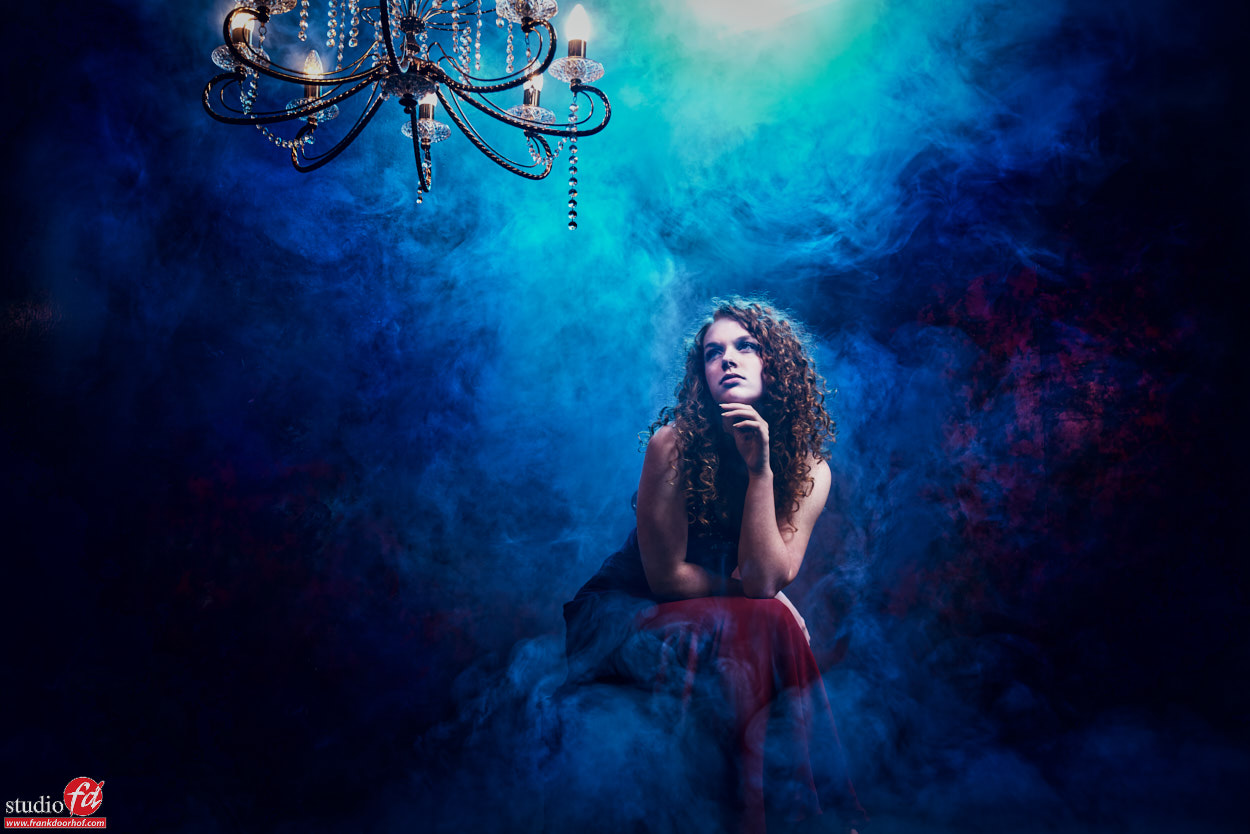
This comes in very handy when you start adding constant lighting to your scene like in these examples.
You can actually (to a certain level) control how much the lightbulbs emit, or how far they blow out.
I love using the Elinchrom ELCs for this because they can go down REALLY low in power, and that’s awesome for mixing them with this kind of light.

For this setup we used one strobe on the model and one blue gelled strobe on the back for the smoke effect. The chandelier was powered by 230V 😀

Mixing light sources can be incredibly fun but also a bit difficult at first. Also take into account that some light sources have a different color temperature (to be exact EVERY light source has a different color temperature, that’s why we use the X-Rite color checkers), you can solve this by gelling the strobes, or…. just leave it and play with it like I did in these shots, I love the cool hues you can get this way.

As a rule of thumb:
Outside light : no correction
Tungsten : Amber colored gels
Fluorescent : Green colored gels

Or find the proper CTO gels, you can of course also stack gels, I always advise to by them not to heavy and get two, this way you can stack them together if necessary.

Model : Danique
Dresses (black) by Sinister

Danique June 17 2016 2441

Danique June 17 2016 3408

Rocking the BW adjustment layers

Today a new episode of Quite Frankly, Episode 61 already pffff time flies.
In this episode a REALLY cool trick with the Black and White Adjustment layer to really rock your colors.

Tip on using colored lights

You have probably seen them in kits… color gels.
Most used are the so called CTO gels which can be used to correct colorcasts for example when mixing strobes and tungsten. However there are also the “special effects” gels, for example bright red, green and blue (and many others).


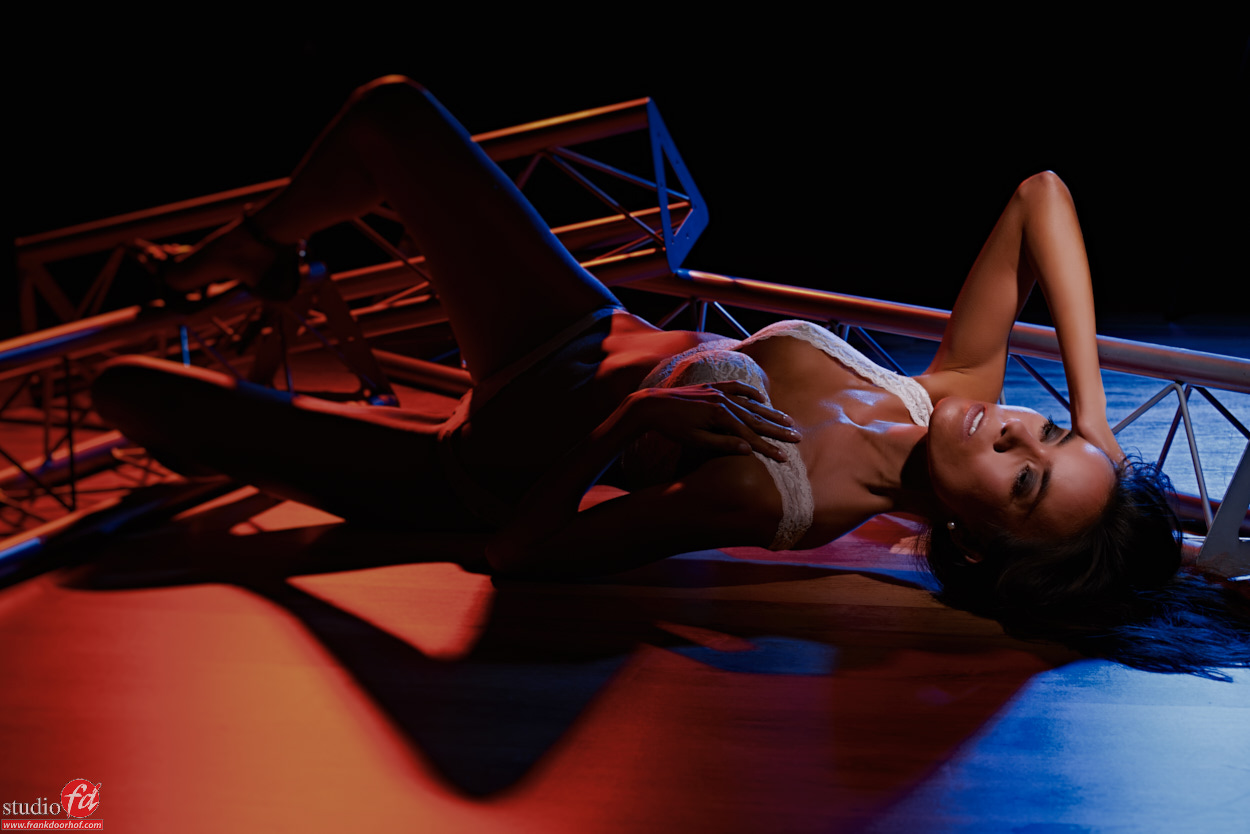
Now when I started out using these some years ago I used them on my black background to give it some color and this is probably how most use them. Later I used them (a lot) when working with smoke for that real “live concert” feeling. However they can also give some great results when you use them as accent lights, which we did during the last glamour workshop of 2015 with Jade.


Today some of the results and some more tips.

Jade December 18 2015 0139

Jade December 18 2015 0406

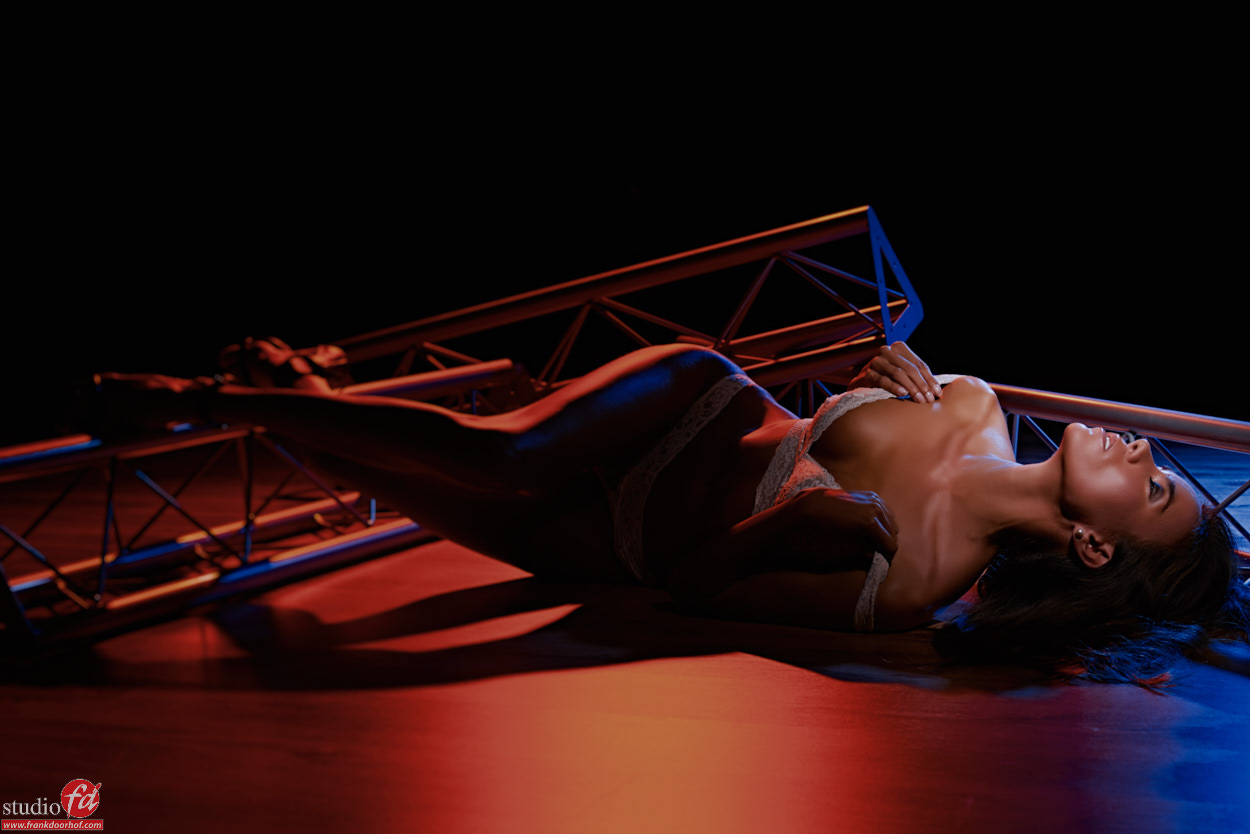
As you can see I did not just use them as accent lights but also to light the floor.
The main light in these shots is an Elinchrom snoot aimed at the face of the model and the rest of the lighting is all from the colored spots from the back (gridded reflector with gels).


If you start doing this, make sure to not overpower your strobes because in that case the nice tints will be replaced by blowout white areas and only sides with the original color, you can better feather the light slightly away from the model and use the light that way, the benefits from this technique is that you can actually get some funky lens flare if you want but most of all the light fall off is much smoother on the wall, ceiling, model or floor.


If you like these kind of tips make sure to check out my book “Mastering the model shoot” or one of our instructional videos (you can order them from the menu on the left).