Tag Archive for: Capture One

Looking back at the first year of problem-free tethering and connecting photographers…

Exactly a year ago we introduced a new tether brand: IQwire. We used the 10-meter cable a lot. Problem-free! But there is more. Read this update about 1-year problem-free tethering with IQwire.

Facebook sends you reminders of what happened a year ago. And today Facebook showed the official announcement of us distributing IQwire in Europe.

What is tethering?

Shooting tethered is one of the best upgrades you can do to your workflow. In case you wonder “Tethering?” When we talk about shooting tethered we mean that we connect our camera to a larger display to see the images we shoot right away. This can be on a tablet like Android or iOs, but also Windows or Mac of course.

In the studio or on location this means you can immediately judge your images for focus, lighting, etc. But you can also add presets to the images so your client (or yourself) can get an idea about how the final image will look. Especially when shooting in BW this can be an awesome tool that really makes the difference. But also think about overlays where you are able to shoot the images straight into the publication with all the headlines, text, etc. already laid out so you can get perfect results.

What you might not know is that most modern cameras support shooting tethered. In most cases, software like Lightroom or Capture One supports your camera. But there are also alternatives, most cameras even have their own software which can or cannot be incorporated with Lightroom. Tethering is a serious workflow enhancement, and might I say probably one of the most important ones.

But time moves on and demands also grow

A camera that was cutting edge a few years ago is already surpassed by many generations that followed. This also means that the files are getting larger, but most of all the buffers of the cameras are getting larger, cards are getting faster and we are also able to charge our cameras via USBC. This means that the demands we have for our tethering cables are getting higher and higher.

Today it’s exactly a year ago I made a post on the internet that we would be releasing a new brand for Europe that would be able to solve most if not all problems that people experience when shooting tethered, and after a year let’s look back and continue reading about 1-year problem-free tethering with IQwire

the IQwire logo with slogan

Experience is key

I’ve been shooting tethered for as long as I can remember. It started with the famous yellow composite cable to a CRT monitor. A simple connection from the video out of my camera to the TV. Nothing fancy but it worked like a charm. Later of course I switched to wireless tethering with a special battery grip which in all honesty worked ok for JPGs but was way too slow for RAW files (nothing changed here). I believe that when I switched to Medium Format it was the first time I really was able to shoot tethered the right way via Leaf Capture. At that moment I was running Windows and there actually was no Windows version of Leaf Capture. But thanks to the awesome team at Leaf I was able to run an alpha/beta version of the software. Later I switched to Mac also due to the fact my Windows laptop was way too unstable in heat or wet environments.

Sony A99 could not tether

Fast forward a lot of years and I was asked to do the introduction of the Sony A99. At that moment a groundbreaking camera with an EVF and …. well…. no tethering. Seeing I was asked to do the official introduction in Dubai for an audience this was really a big issue. So I started working together with a small company that actually managed to get me a “working” version of their tethering plugin for Sony cameras, with the STRONG message, please don’t shoot more than 25 images, and please not too fast. To make a long story short it was a demo with not that many shots but I was probably the first one in the world that actually shot tethered with the A99.

Tethering can be complicated

We never stopped looking for better tethering solutions and for many years Annewiek and I worked effortlessly to make tethering problem-free for every photographer. You have to realize that just adding a cable to your camera doesn’t warrant that tethering works. It’s actually in some cases a very complicated process where drivers can block the tethering or power saving can cause lost connections. Dropbox can even totally shut off tethering, hardware drivers aren’t updated or not correctly, etc. I could write a small book about all the problems we experienced over this period.

But as mentioned times changed and we found that more and more photographers (including myself) demanded more from our cables and solutions. For me, it was important to be able to use 10 meters (33 ft) cables without any hassle of adding two different cables together. I want to tethering to work problem-free. Extending cables in reality just doesn’t work reliably. Even when using locks after a few months I started getting lost connections and we had to tape the whole system together. And let’s be honest if you walk on a stage you don’t want to worry about losing connection, you just want to shoot and trust your gear.

And we found a brand that does exactly what the modern photographer wants.

IQwire

And the IQ is not there for fun or advertising. We deliver the IQwire cables in 5 and 10 meters lengths. So one problem for me was solved (length). However, when using 10 meters you are going beyond the limits of USBC (4.7 meters) so how do we make it work you might ask?

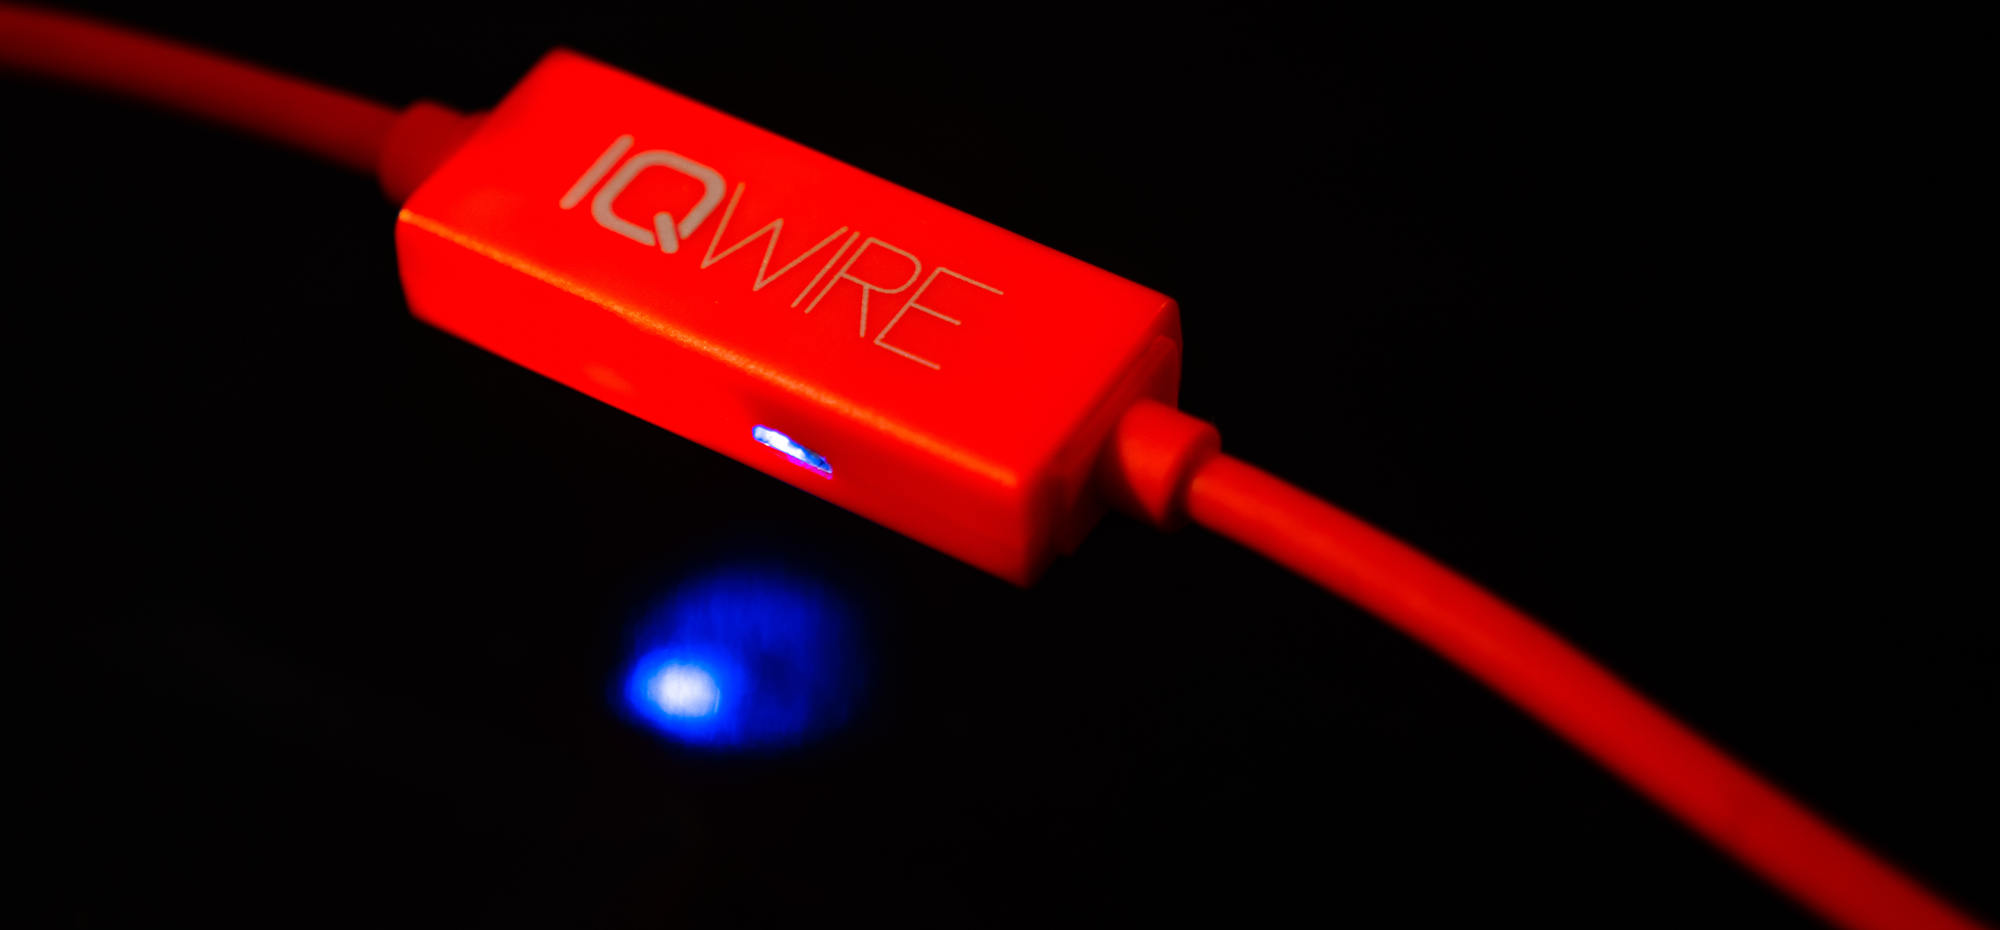
Well in the 10 meters version, you will find 2 boosters, and by using 2 boosters we have some advantages that no other brand has.

First of all of course the length, finally 10 meters without any extra connections.
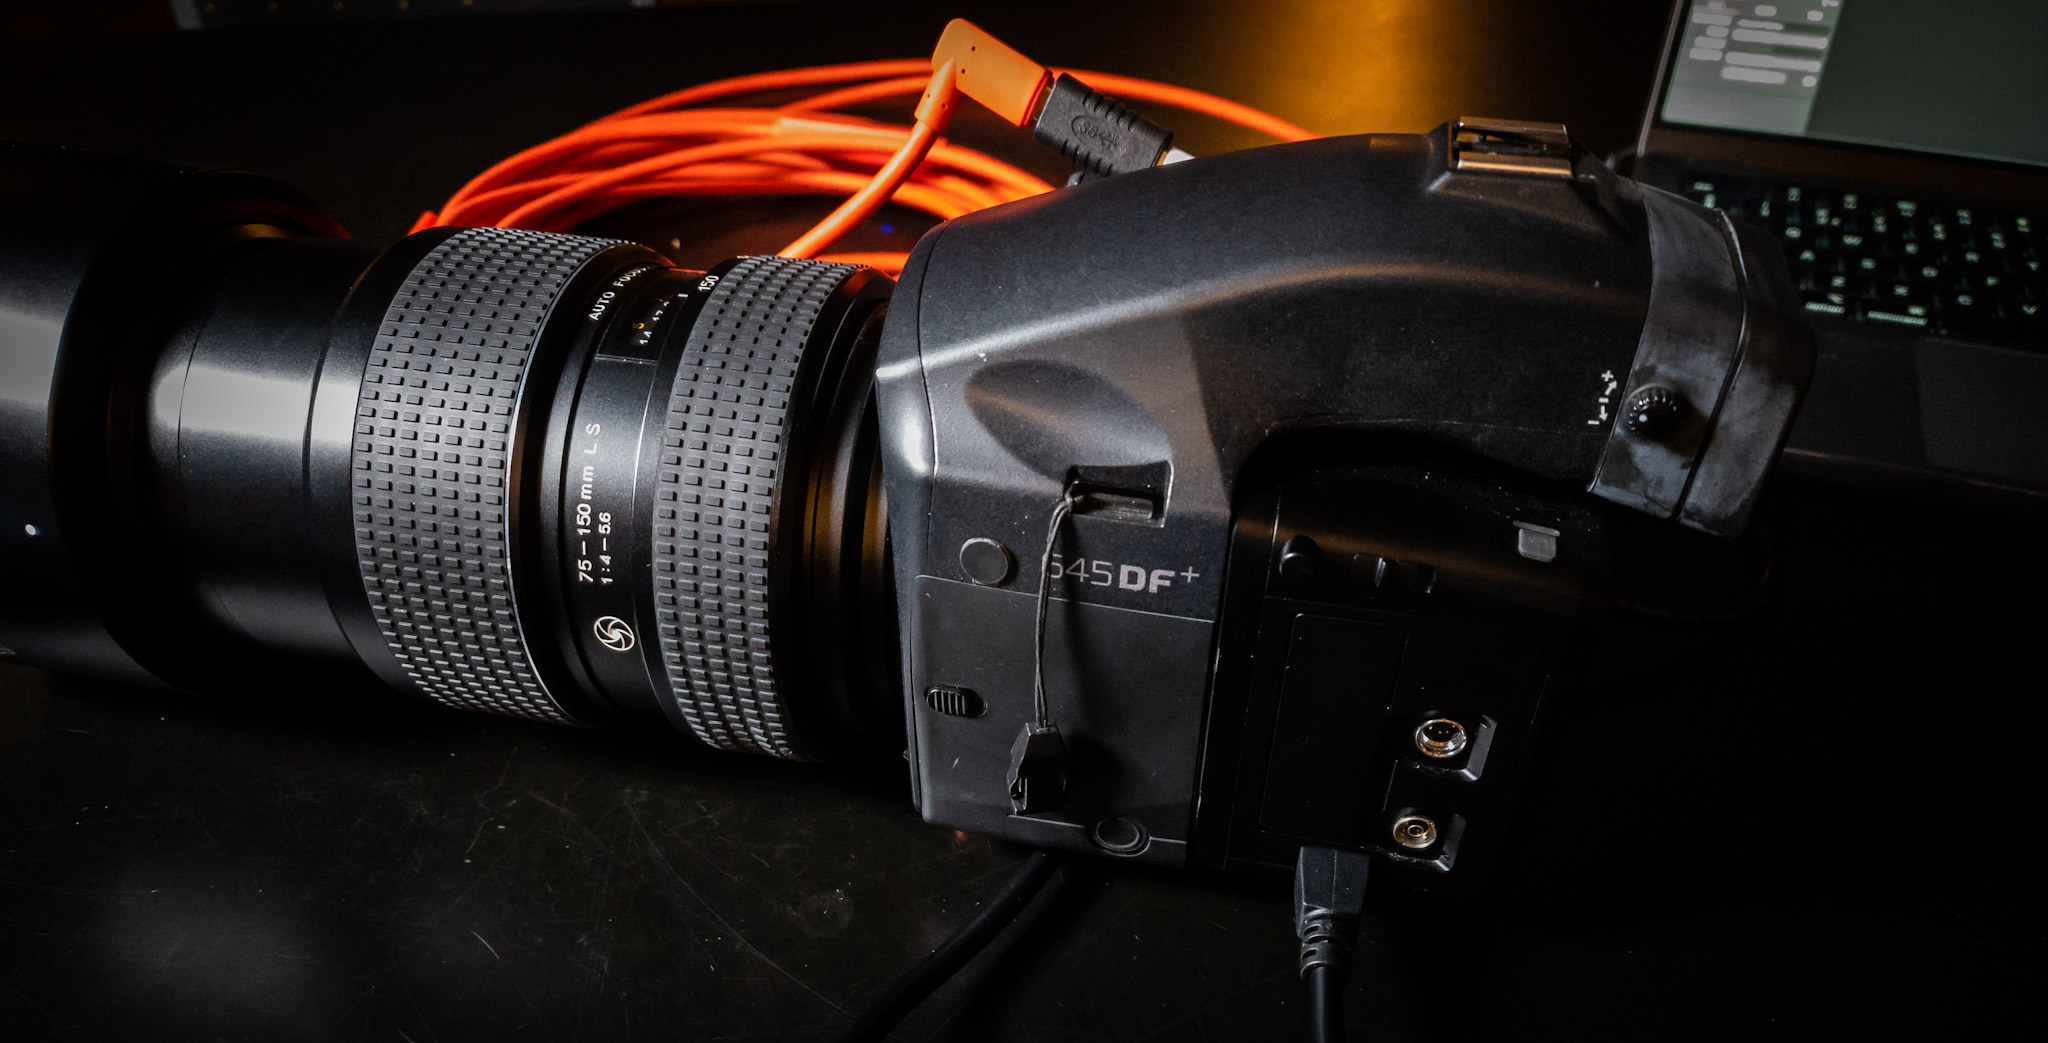
But by using two inline boosters we are also able to solve another huge problem. The fact that most professional photographers use several cameras. With the IQwire, we are also selling several pigtails and even a USB-A converter. This makes the IQwire literally one cable to rule them all. When you shoot USBC you just use the cable as it is. But if you need USB mini/B/micro or any other connection you are able to connect a so-called pigtail cable where you go from USBcC female to the connector you need. Our pigtails are app 15 cm in length but I did some tests with adding a convertor PLUS a 4.7 meter cable and to my surprise my Medium Format camera didn’t just shoot without any dropouts but even was able to charge on the lowest setting which proves how stable and well build the IQ-Wire system is. So that is what we call problem-free tethering!

And although you don’t really need a booster on 5 mtrs also our 5 mtrs cables have one booster.

But there is more

As soon as you connect your camera for the first time you will notice that the connection is blazingly fast. The camera is recognized almost immediately and there are no more pauses or hiccups during the session, all images come in at the same time and speed.

We did several tests ourselves and clocked a difference of up to 20% compared to the best other cables. According to a recent review, the reviewer actually claimed even faster speeds compared to an off-brand cable. The impressive fact from that review was he compared a standard 1-meter cable with our 10-meter cable.

Part of this is of course due to the boosters. But also due to a small piece of hardware called IQ-connect. With IQ-connect you are always sure your camera and computer/tablet have the fastest connection and don’t disconnect the camera during the shoot.

With modern cameras, you can still shoot with standard cables of course, but if you want a reliable professional solution that can take a beating IQwire is the best choice in our personal opinion.

Read this update about 1-year problem-free tethering with IQwire.

Cascable logo, tethering software for the iPad

And more

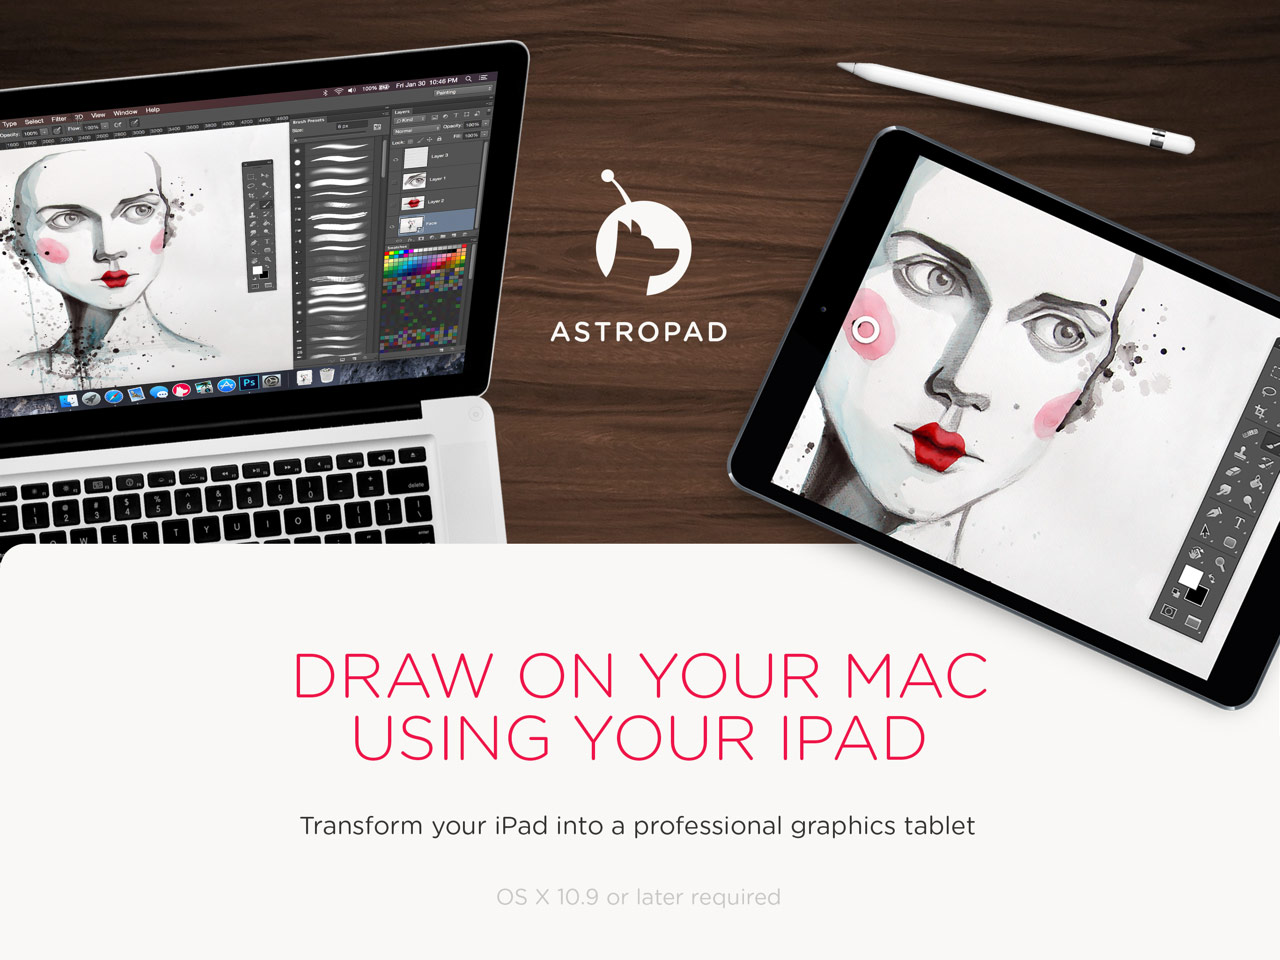
When we look at the demands from photographers besides length we also hear being used iPad more and more. And let’s be honest, being able to shoot to a laptop is great, but you always have to carry an expensive piece of gear into environments that are far from friendly for anything that has air vents. Take your laptop to a beach with a little bit of wind and you know what I mean.

The iPad is the perfect solution for shooting tethered. I shoot with the iPad almost exclusively now and would literally never go back to the laptop. More battery life, much more light output, and much much easier to mount on a stand without the risk of falling over.

But you need software for this of course. And as mentioned before we always look for great solutions and found this in an app called Cascable on iOS. Do make sure you check if your camera is supported for wired tethering (they support a lot of cameras and even more wireless so make sure you check for wired too).

You guessed it… there is more

Now that we have the perfect cable in the perfect length, and a good tethering solution there is one thing missing.
When we connect something to our camera there is always a risk of damaging the port. This is one of the reasons I never advise people to empty their cards via the cameras, so how do we solve this with tethering?

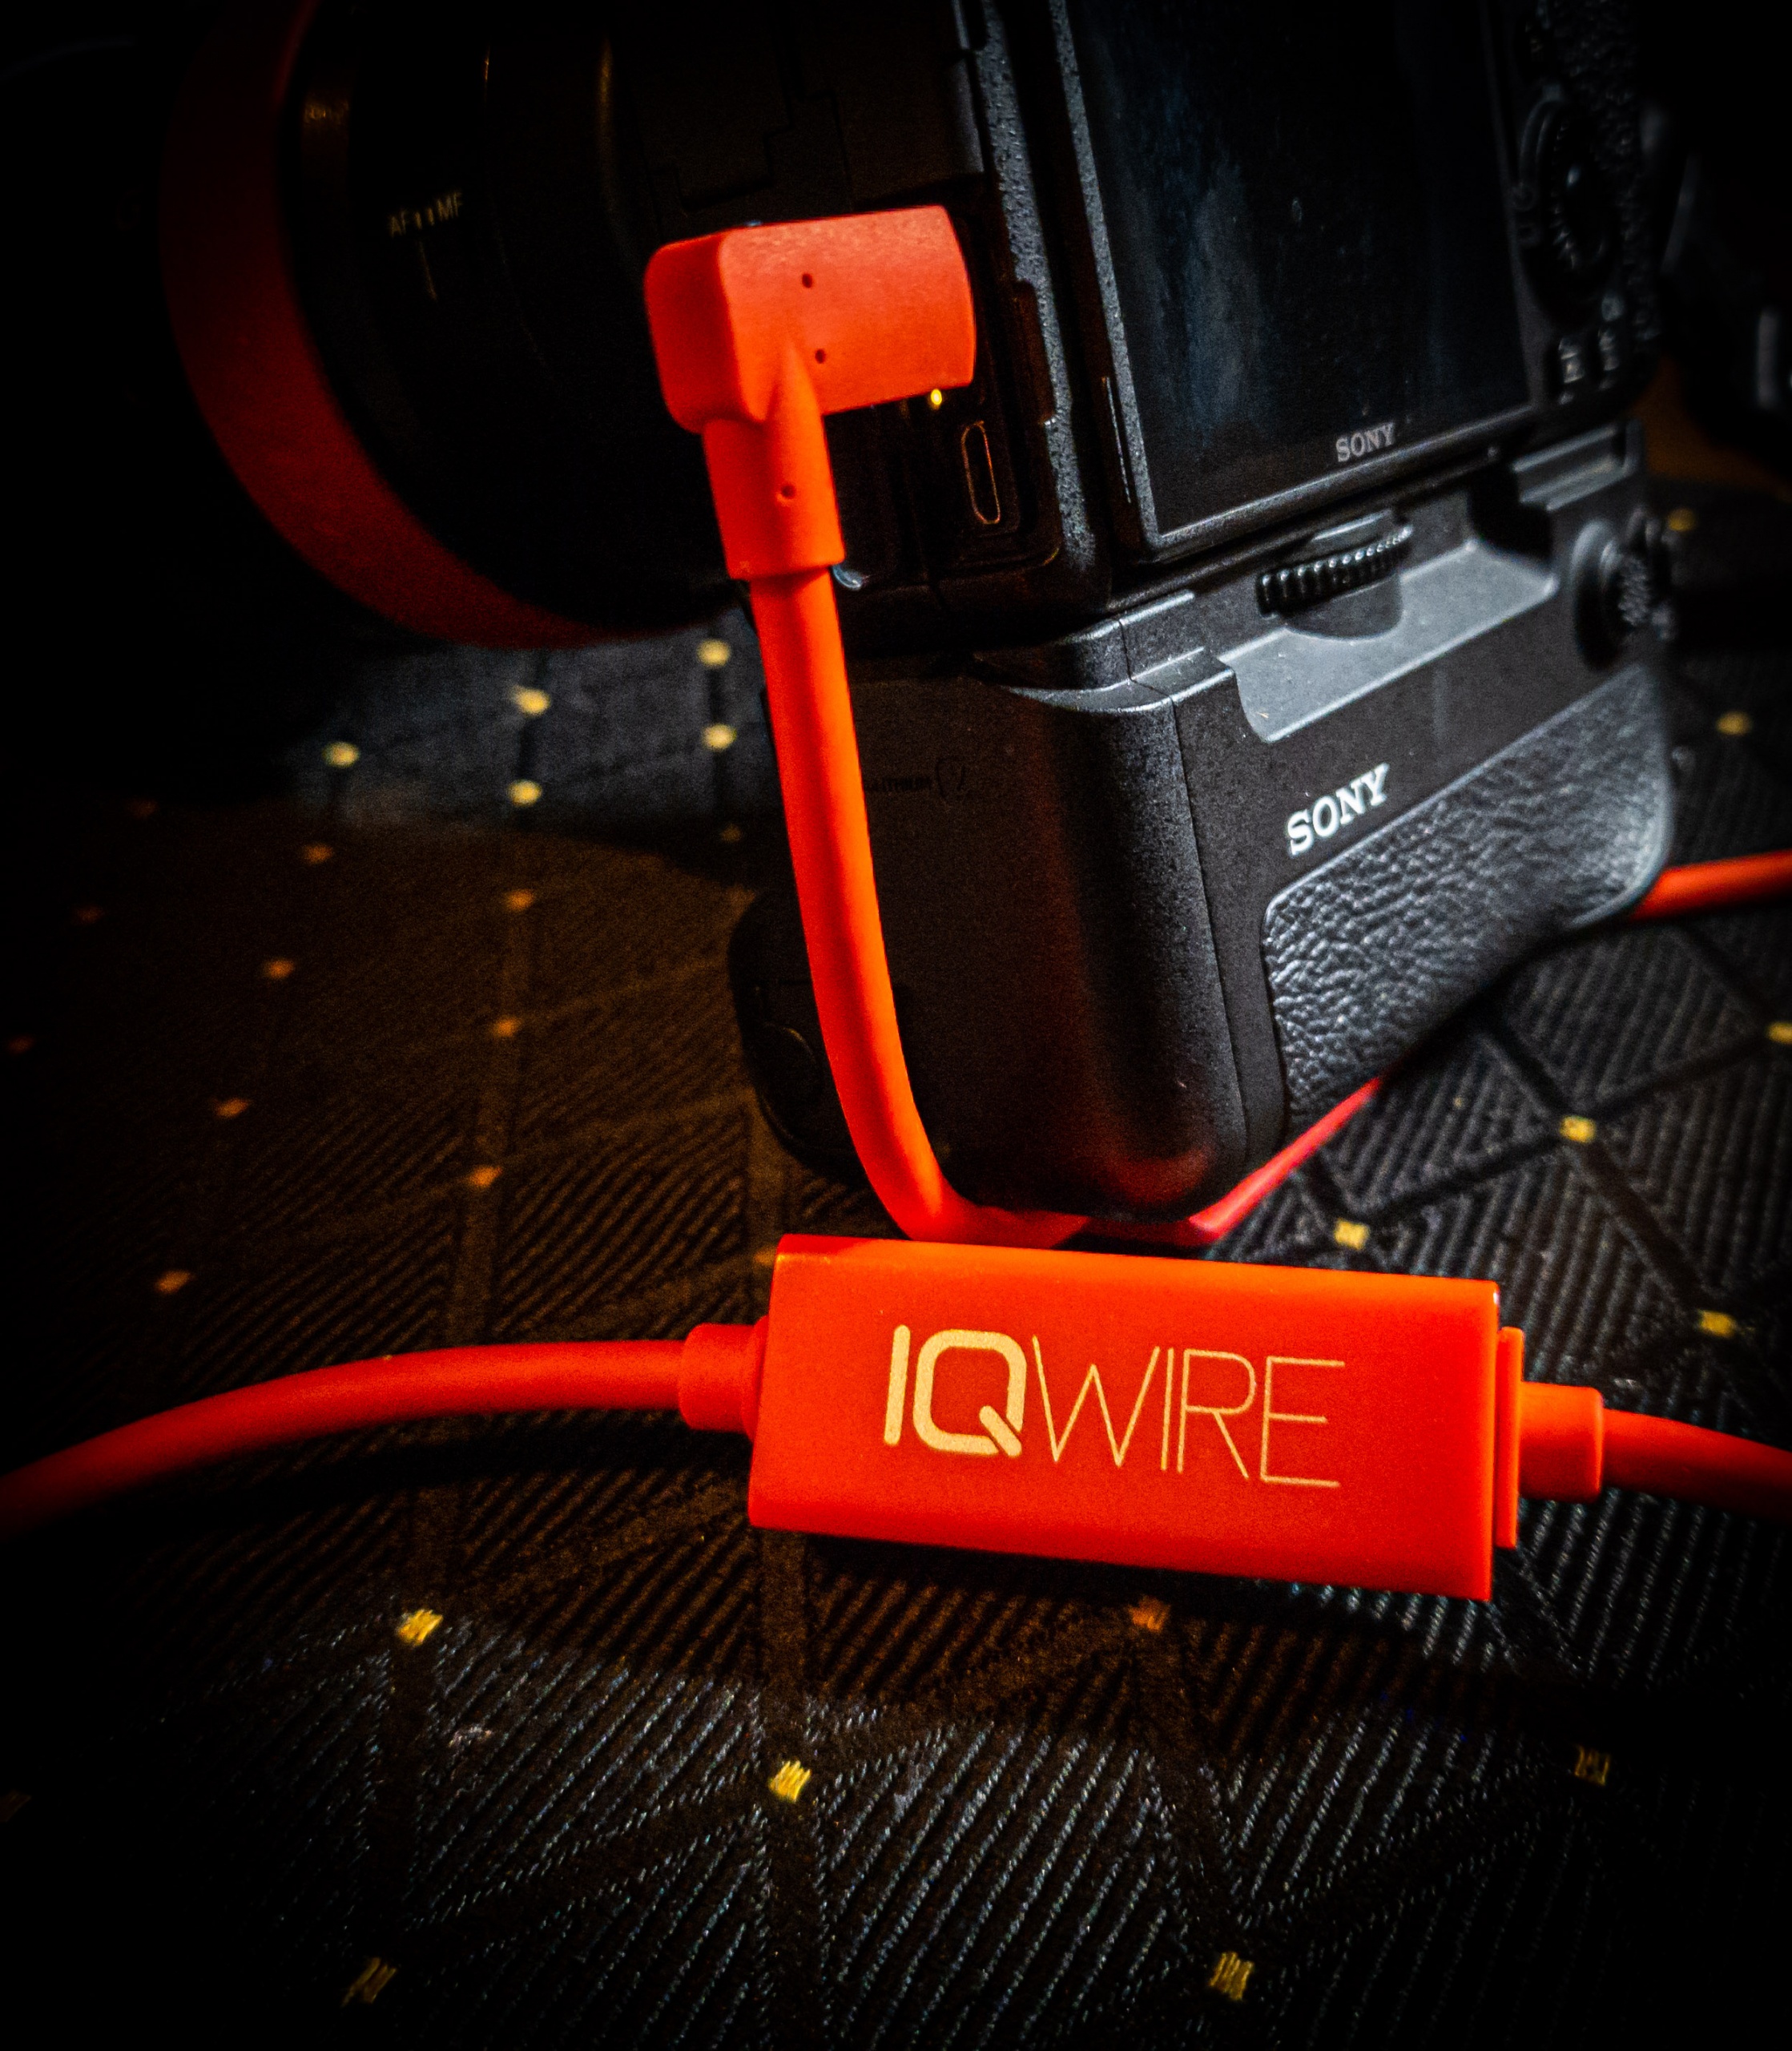
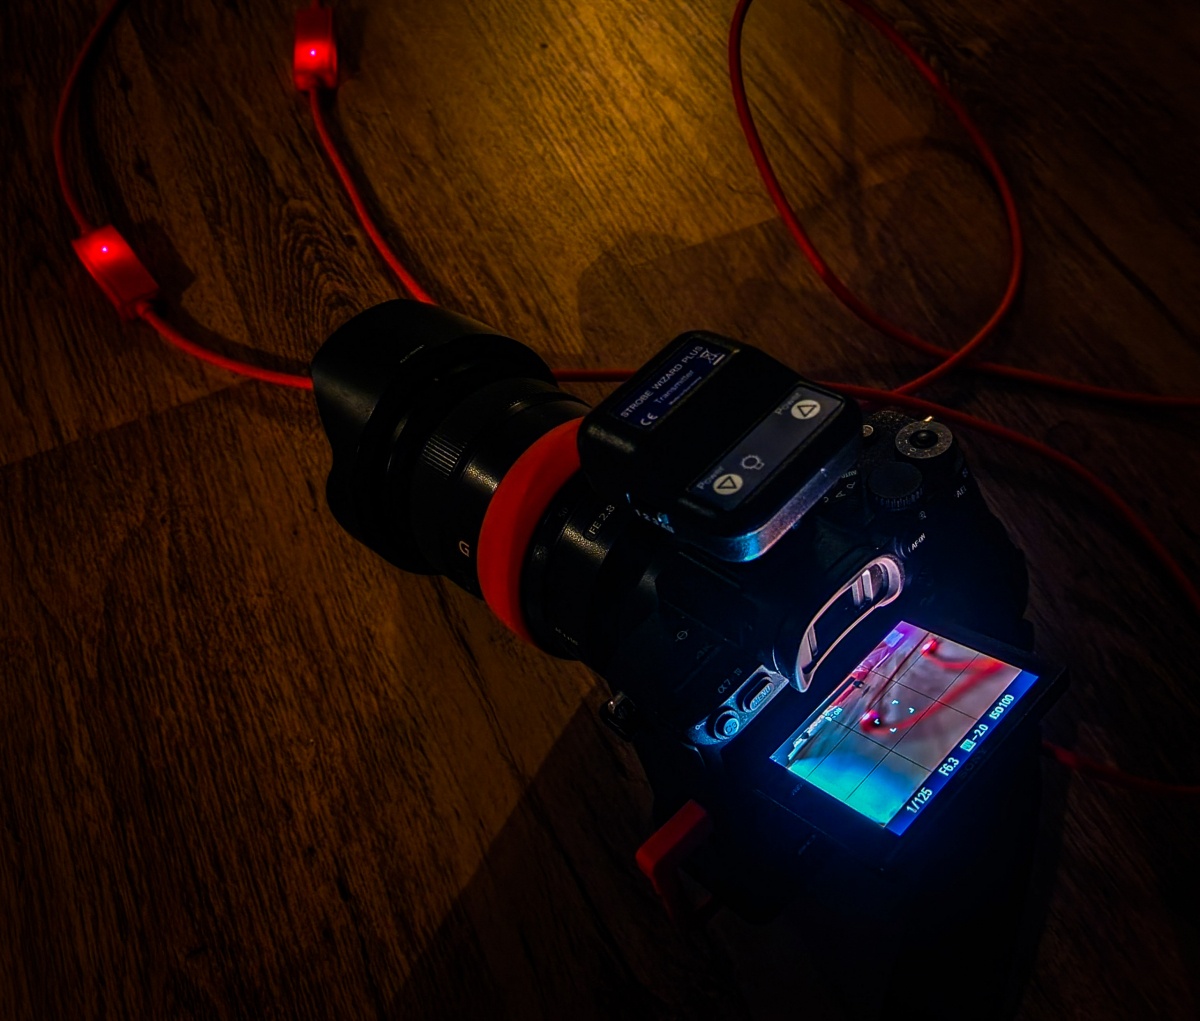
First of all, IQwire uses angled connectors which already bring the risk down when a camera tips over when on the floor. (Never ever place your camera when connected on a stool or table, if someone hits your cable the camera will fall and probably not survive, so always place a connected camera on the floor). Due to the angled design of the IQwire the camera will literally turn over the cable protecting the port. But that doesn’t help when someone stands on your cable (of course you never do that yourself :D).

This is the first reason everyone should consider a 10-meter cable

When you use a 5-meter cable you have to take into account your own length (in my case 1.97) and the height of the laptop or tablet (mostly 1.50 meters). This means that if you don’t want your cable to “float” you already lose roughly 3.50 mtrs which means you can move around 1 to 2 meters around your laptop/tablet before the cable becomes a danger to trip over. With a 10-meter cable, this is much more than double. Now you can move roughly 6.50 mtrs around your laptop/tablet. This makes it not only safer to shoot but also hugely benefits the way you can use your set creatively. Being limited by length is incredibly frustrating.

But even when you use a 10-meter cable the port is still very fragile.
So you need something to connect the cable securely to the camera. Anything that moves around is not safe enough and just a small protection, as long as the cable moves there is a constant movement to the port which will eventually weaken the port and this will lead to lost connections.

For years I’ve used a solution that was expensive, very troublesome to take off and put on and was often cut into my hand. So we decided to create something that would work much better and would be a LOT cheaper.

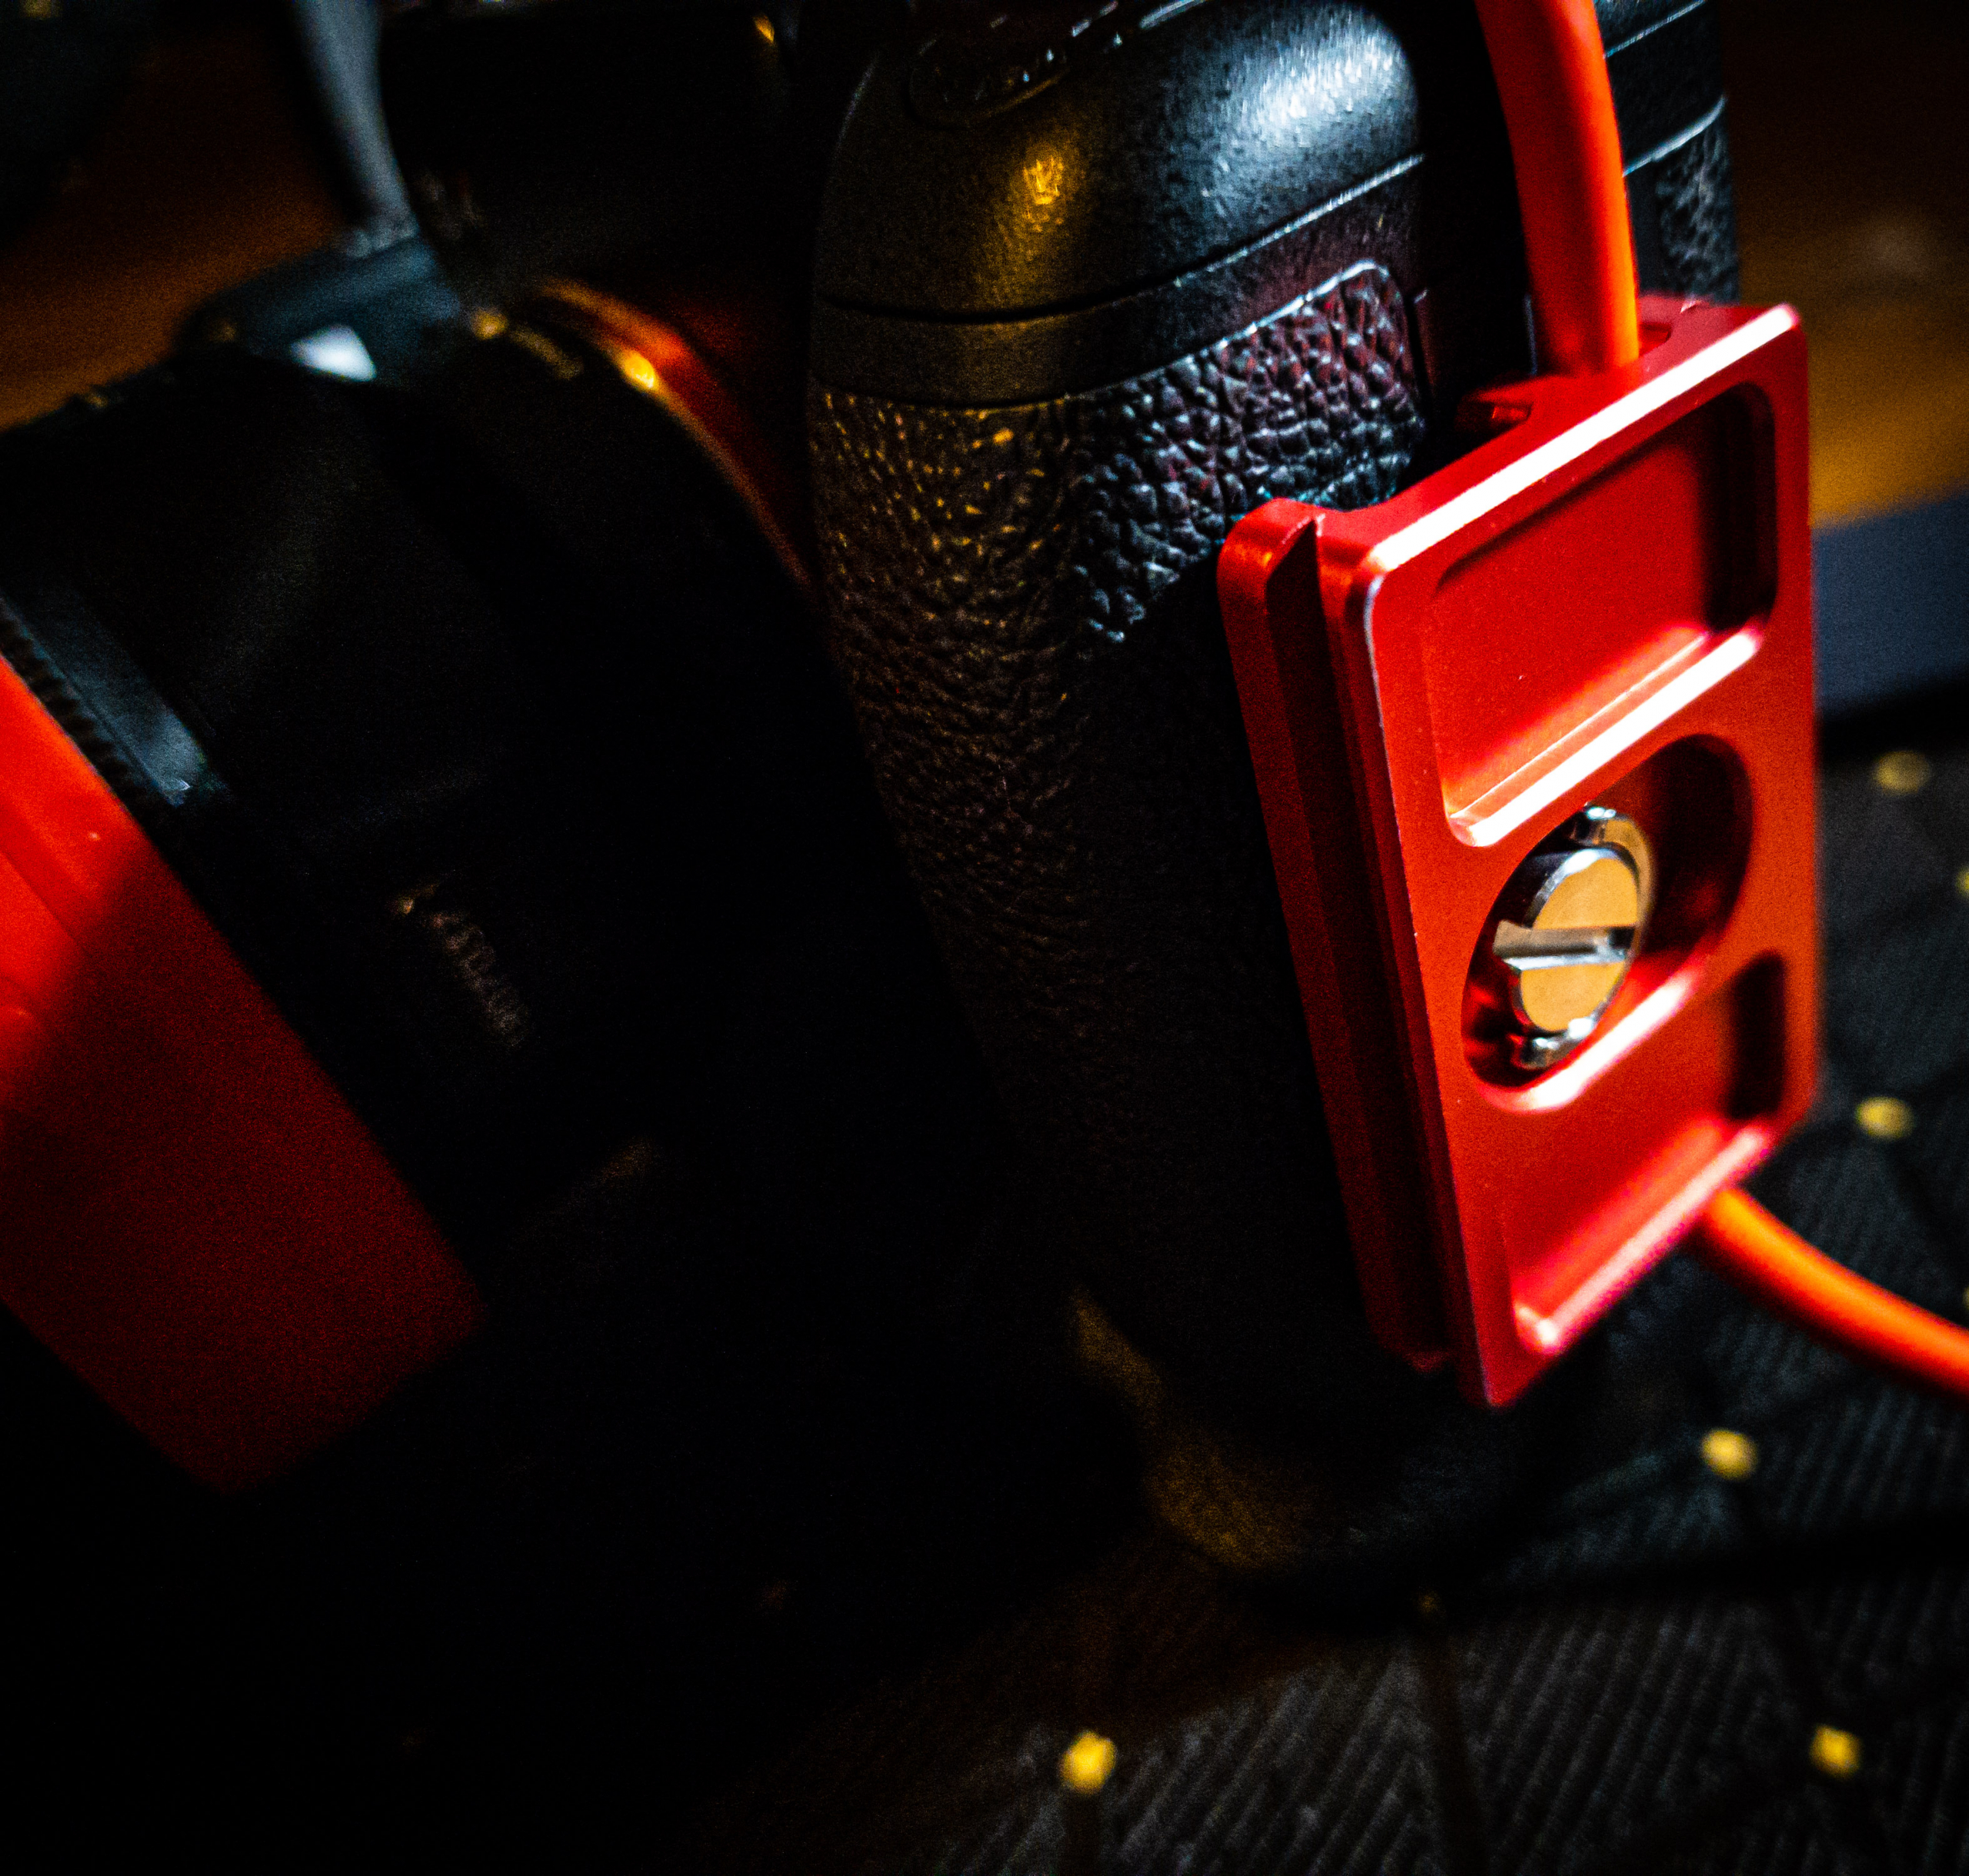
our CableBlock is red,small and also arca compatible for problem-free tethering

Enter the CableBlock

Our StudioFD “We Know Tether” CableBlock solves many problems you can find in competing products.
First of all, we opted for a smaller form factor. This means that on most cameras you can still access the battery compartment and the CableBlock doesn’t cut into your hand when using smaller cameras. But most of all we wanted an easy way to take the CableBlock off the camera, so we added a clip which you can quickly take the CableBlock off your camera or put it on of course. You can still use a coin or screwdriver but you don’t need to anymore.

And of course, the CableBlock is fire red which makes it stands out. It’s fully Arca compatible and the best thing …. we are able to sell it for 35,00 euros retail. And for the time being it’s actually delivered for free with the 10- meter IQ-wire when bought from our dealers.

Looking back

Introducing a new brand on the market is always a problem. But realizing it’s just one year ago we did the introduction it’s stunning to see we are now being sold in most camera stores in the Benelux. And getting orders from other countries far out of our sales region is nothing less than awesome.

We are very pleased with all the positive reviews we get from magazines, websites, and most of all our users. Everybody seems to love IQwire, and reading that people can shoot without any problems or hiccups is the icing on the cake of course, and the reason we always find the brands that deliver.

For myself
1 year using a 10-meter IQwire meant
ZERO lost connections
Still using the same cable
No visible degrading on the connectors and housing and even the cable itself still looks brand new although there were quite some instances where people and dog stood on the cable and I even (by accident) rolled my chair over the cable during a shoot a few times.

So do you also want to shoot tethered problem-free?

Like with most products there are brands that innovate and brands that keep everything the same. With IQwire we are ready for the future, are you already an IQwire shooter?

For more info see www.iqwire.nl
Buy the cable block here from us
Buy IQwire directly from us

You can buy IQwire and CableBlock in your favorite camera store

Why StudioFD?

Of course, you might wonder “Why should I choose to work with StudioFD?”
First of all, we have an unsurpassed experience with tethering. Without going into details (don’t want to hurt other brands), we’ve been working in the business of tethering for over 15 years building brands from the ground up with almost 24/7 365 support.

As a dealer, you don’t have to think about solving problems for your customer which costs time and often will not solve the problem. Instead, we take over the complete after-sales and will support your customer with all the questions they have and if something doesn’t work… Well, we will make it work (unless a camera doesn’t support tethering of course). Besides an extensive experience with tethering, we also ran a PC/Mac shop for over 20 years so we have a proper knowledge of the software and hardware needed to create a flawless workflow.

Dealers are welcome.

A distant modelshoot in a time of social/physical distancing

One might say we woke up in a “bad” sci-fi or horror movie.
No more going outside for a lot of people, no more photoshoots, no more….. well in the Netherlands we are “happy” that at least we are not in a full 100% lockdown but still have some things we are allowed to do. And don’t get me wrong, I’m not one of those protesters that believe the government is keeping us inside for other reasons. Trust me if they want the damage to the economy to be limited they will open up as soon as possible, if your country does not yet open up, don’t do it yourself, this is a virus we are fighting with each other not an enemy you can see.

So of course one of the things I miss most is doing photoshoots. I know some people still do it, but I think that’s irresponsible, you have to move to the location, there is a huge chance of infection during that travel or on location, if you do it in your studio you have to clean literally everything and they still don’t know for sure how long the virus will be active in a room where there is little to no ventilation, in fact they already know it can be spread via the HVAC system, so you might not infect yourself but maybe someone in that building. So just don’t take the risk.

To show you guys that you can do photoshoots even without leaving your home my friend Andy set up this special photoshoot (and all credits go to him for this).

Andy is a dear friend of us, but he lives app. 6000 miles away. So talk about keeping your distance.
Andy is also a photographer, but also a good looking dude, so he came up with the idea to do a long distance photoshoot. And with todays technology this is of course very possible.


Our setup.
During the lightsetup I switched between the small camera and the desktop. So for the shoot the desktop was large and for setting up the lights I switched the two cameras so I could clearly see what was going on.

So what did we do?
Andy put his camera on a tripod and connected it to his laptop via a Tethertools cable of course.
Thanks to Capture One I was able to switch between shooting modes, settings and very importantly live view (without live view forget about this).

One camera (from his laptop) we set up so I could see most of the room, this made it easy to see where the lights were placed and give directions to how to angle the lights. Of course Andy was able to do the metering and place the lights.

As soon as everything was setup I switched over to the live view mode inside of Capture One and posed Andy. Now to be honest when we started this shoot I didn’t expect it to go as smooth as it actually did. For the “meeting” software we used ZOOM, but you can also use Skype or any other software that supports both taking over someones desktop and using a camera at the same time. Zoom actually worked like a charm (this was my first time using Zoom).

When everything was set up correctly I could see Andy posing via the live view and getting the shadows right was easy. When I started this my initial idea was to just use flat lighting, this is easier to get a good shot, but when we saw how smooth the connection was we just immediately went for the more contrasty lighting. Now I have to add Andy was a real champ and stayed exactly the way that I told him, there is always a slight delay between shots and directions but in all honesty it felt almost instant, so this is without a doubt usable.

Now in real life I can make better shots, will experiment a bit more with different positions, fine tune the light, freak a bit more with flares etc. but I have to be honest for a remote shoot this was not only a boat load of fun (thanks buddy) but the results aren’t that bad either, in fact if you take more time for it (we did a session of 30 minutes) I think you could do some really cool stuff.

So what do you need?
Make sure you connect your camera via USB to your laptop/tablet.
Make sure you use software that can show you the live view of your camera, for example Capture One.
Place one camera that can see the whole room and use this as the standard “webcam”
Use software that is pretty solid in the connection and has the option to take over someone’s desktop, you have to have mouse control.
The software you use to make the connection has to support also the option that both the desktop AND camera stay active
Make sure the software makes it possible to see both the desktop and the extra camera

Now if you want to go fancy (and who doesn’t)
You can use a dedicated videocamera and connect that to your desktop. We use a blackmagic HDMI to USB device for this and in our home studio a Magewell HDMI to USB device. Both do the same thing, they get a HDMI signal from your camera and convert it to something your desktop sees as an extra camera in “all” software. It replaces the often bad webcams and gives you more room to move it around and show the room.

And… well that’s about it.
After the shoot Andy send the files to me and I retouched them to show you guys the results today.

There is one thing that was a bit more difficult than expected. In real life you see everything in 3D, in other words you see depth. On a screen this is highly reduced, this made setting up the accent light for example much more tricky than normal, but in the end we got one shot out of it, I wanted to play more with that but Andy’s room was pretty bright and small so the light scatter was very hard to control, so we opted for the more darker looks 🙂


New instructional video “A guide to Capture One 9 Pro”

We just released a brand new instructional video, and this is a LONG one.
With over 190 minutes of information it’s actually one of the longest we ever released, and the best thing… for a limited time only it’s priced at only 10.00 euros.


Often people forget the importance of the RAW developer and how much of a difference it can make on your final images, let alone what you can do in the RAW convertor as retouching. As soon as you open up Photoshop you are not working in the RAW convertor anymore so it’s vital to do as much as possible before that.

For years Capture One has been on the top of the list of best RAW convertors and not without a reason (of course), Capture One has many retouching and developing options that for some people will even make it possible to do the complete workflow within Capture One. 
 But that’s not all, in studio or location setups many photographers love to shoot tethered, and this is were Capture One in my opinion really shines as being rock solid and incredibly versatile.

When you first open up Capture One everything can look a bit…. frightening, especially when you are used to the industry standard Lightroom, but in all honestly the layout and options are actually very easy to learn if you get a little bit of help, and that’s where this video comes in.

In over 3 hours (190 minutes) I walk you through the way that I use Capture One.
You will find chapters on the tools, tethered shooting, retouching samples and workflow.
All videos are kept as short as possible and are very easy to understand.

Topics include :

BW modes, integration with Lightroom/Photoshop and plugins, exporting recipes, styles/looks, synchronizing, using local adjustments and layers, advanced color adjustments, advanced and simple skin retouching, masking possibilities, folder structures, overlays, watermarks, customizing the look and layout, HDR from one image, making images pop, using processing in batch, all the tools you need to know explained, auto masking tips, skin tone smoothing, tricks with the skin tone smoothing for skies, removing spots and dust, using healing for removing hair and blemishes, using capture pilot in a tethered workflow, RAW developing explained, lens correction, adding grain for a great look and evening out retouches, noise reduction, stacking effects in layers and styles, sorting and rating in the browser, creating your personal layout and much much more….

If you want to get the best out of Capture One in your workflow and setup a great integration with Lightroom this is without a doubt the best way to start. All videos are high resolution captures and the standard video is 4K so you can see all the settings and details the best way possible. The video is available now via www.frankdoorhof.com/videos

I’m 100% sure you are gonna love this one.


iPad pro, Surface Pro4, Wacom Cintiq… which one…..

A while ago I posted a video online where I showed an app called Astropad.
This app is pretty awesome, it makes it possible to do some retouching in Photoshop/Lightroom etc. on your iPad pro with the Apple Pencil, and it works pretty well, although it has limitations (later more). This video got an amazing amount of views, actually it’s nearing the 180.000 views on YouTube. It also got some remarks which literally puzzled me but also motivated me to write this very short (well ok I’ll try) review on 3 amazing devices, but all in their own right. So…. ladies and gentleman hold your horses, buckle in and if you want to comment please read the article very well and read your reply before pressing post.


The weird, dumb, crazy remarks 
Now as you know me I’m a pretty laid back kind of guy, you can’t get me angry very quickly and I’ll always try to answer any question you guys have, but sometimes……

On the video on Astropad I clearly demonstrated an APP on the iPad pro that MIMICS what you can normally do on a Wacom Cintiq. I loved (and still love) this app, but it has limitations. First of all it has to be run on an iPad that is connected to your Mac, this means you ALWAYS need a mac close by, but as long as you are in the same network this means it can be anywhere in your home, this makes it possible to retouch in Photoshop while sitting on the coach.. pretty cool. Now that’s the app, and I think I was pretty clear in that video what it did….. Still MANY people asked me if it ran Photoshop and NO it doesn’t (clearly).

The thing that did get me a frustrated a lot were the many many people starting “wars” on that the iPad pro sucked, I was a fool and I needed to get a surface pro 4. Yeah well…. that wasn’t the idea of the video right? you don’t tell someone that owns a Volvo that he has to get a tractor or plane. But…. it did motived me to call up our friends at Microsoft and arrange an Surface pro 4.

And this…. is where I start this review/opinion on 3 great devices.


maxresdefault-2

iPad pro
Let me start with this one.
It retails for app 1200 euros and you have the familiar cool stuff that you are used to from Apple (or if you’re not an Apple fanboy, the bad stuff), it’s a great device to surf the web, you can watch a LOT of movies while traveling, you can use Lightroom mobile and now with the Apple pencil you can get incredibly creative with software like Pro-create and the Adobe suite or MediaBang etc. etc. there is a lot.

I got the iPad pro for one very simple reason, I LOVE to draw. I haven’t drawn in a long time because I never felt the digital way was my way and to draw on paper… well I don’t know why I didn’t do it but I just didn’t (end of story), with the iPad pro and the Apple Pencil I loved the way it felt and I was immediately sold, plus I like the larger display to watch movies on in the RV or while traveling, although in the plane it can sometimes be a bit too big, but then when you read a comic….. ahhhhh heaven, it’s amazing.

card

Astropad I already mentioned and is a great app if you ALREADY have an iPad, you buy it for a very reasonable price and you can retouch on your iPad pro. However it’s far from perfect and for one simple reason… the hover over option. When you do street/travel photography it ROCKS and I dare to say you hardly need anything else, but if you need some serious cloning or selecting… well how much I love Astropad it…. well isn’t usable for that. With a Wacom you’re used to see where you place your pointer BEFORE you hit the surface and this makes cloning a breeze, with Astropad, it’s a matter of… well guessing it and trust me, that’s a BIG frustration. But again if you don’t clone a lot (or just need to remove some dust) it works like a charm.

Now for serious photography the iPad pro is not what you need, there is no way of working on TIFF 16bits, there is no good software for retouching although Pixelmator and Enlight come very very close the end result is still not pro quality. There is some action from Adobe expected and one of their competitors Affinity is claiming to have a great solution next year but let’s see what happens, if Affinity really delivers what they promise… wow.

Video editing on the iPad pro is awesome, you can start in iMovie or Adobe clip and finish it off when you’re home on the Mac/Pc, this workflow actually surprised me in how efficient and easy it was, I expected photography to be better.

The iPad pro and the already mentioned Pro-create and other drawing solutions make that part alone already worth the money to spend on the iPad pro, it’s really VERY VERY good, if not the best device for creatives.

Watching movies, reading comics, playing games, surfing the web, all as we are used to from the iPad/iPhone very solid and great to kill hours on a plane or evenings at campgrounds/home.

The disadvantages are many if you compare it to a laptop or surface pro 4.
No USB ports, although the USB/Lighting sticks solve this pretty well, but still also there you miss a real file system where it becomes possible to open up comics for example from a stick or copy them to a certain app, now it’s all very basic, great for movies and video/photography but that’s about it. BUT if you know this it’s a “perfect” working solution. Also no full blown photoshop or lightroom, Lightroom mobile ROCKS but only if you have a great internet connection which when traveling well let me say this… sometimes sending a letter is faster than sending an email.

The advantages are more in my opinion.
The apps are made for the screen, they are rock solid, they start very fast, they do what they have to do and the touch interface is better on Apple than on any other device I every tried add to this the Apple pencil and you will know why I (and so many) love our Apple iPad.

4a85d889-a6e1-404b-bacf-ec681e64bcfb

Surface pro 4
Microsoft was so kind to send me their Surface pro 4
The version I got retailed for app 2400 euros, twice the price of the iPad pro, and I loved it.
Running full versions of Photoshop and Lightroom and Capture One is great of course.
But that’s on paper…..
And I know I can’t run them on the iPad pro but somehow I know that, on the Surface pro 4 I can so I expect to be able to use them, right?
Well that’s where it goes wrong.

Let me first tell you that I’m NOT an Apple Fanboy, I own a lot of Apple gear, but if something better show up I’m switching without any problem, they are just tools, but somehow when Apple makes something it always seems to work. That being said I also know the limitations and that also means I would LOVE a macbook with a touch screen or an iPad Pro that runs MacOsX (APPLE!!!!) but that’s not here (yet). The Surface pro 4 promises to be just that… so I expect that, this is very important to say before I continue because although I love the product I also find some problems with it.

First off all let’s look at the software.
I love to shoot tethered in Capture One, and that works like a charm, awesome freedom, just walk around with the tablet on a stand and shoot.
Now the retouching part, the display is too small to use Capture One comfortably, and this trend continues with Photoshop, you can scale Photoshop but when you scale it up the work area is WAY too small, when you scale it down it’s more than enough but for the best of me I can’t control the settings or click the right buttons, it’s just too small (Adobe make a zoom function thats flexible or just in between, that would solve this).
Lightroom works ok, although also here zoomable interface…. thank you very much that would be handy.

The touch in Photoshop is awesome, you can easily zoom, rotate and drag around while retouching with the stylus, now this is what I want, this rocks, this is awesome this is…….. hmmmmm battery empty…. yep that’s the main thing I have against the Surface Pro 4, I could retouch 4 images and my battery was dead, now I retouch FAST, but I use 3 plugins that are pretty CPU hungry on my shots and this meant that after app 1 hour my battery was dead as a rock, totally empty.

By the way one quick side step.
The thing I did miss in Photoshop were the keystrokes, and attaching a keyboard… well that didn’t work for me, I choose a tablet to draw on for a reason and than attaching a keyboard doesn’t make sense, I was about to give up when I found a cool little app called tablet pro, this gives you an extra floating or locked keypad where you can program your keystrokes, like the Wacom has it’s expresskeys, this REALLY made the difference for me between sending it back and using it with loads of fun.

Now when an iPad/iPhone is nearing it’s empty state there is not really a problem, you just connect it to a 12V outlet, or a spare battery like the HyperJuice, Mophie etc. there are plenty of them out there, for the Surface Pro 4….. NONE, meaning if you take this baby with you on a 10 hour flight the fun stops at app 9 hours to go, probably already before take off if you are so lucky they have to de-ice the plane and the rest of the time you… well just sit.

Of course it’s not that bad… watching movies the battery actually copes pretty well, it’s not as good as the iPad pro (which I never emptied not even on the longest flights (10+ hours)) but it manages pretty well and if you also take something else with you for entertainment you will probably love the Surface Pro 4, but don’t start retouching because you will run into problems with the battery and there are no external solutions (unless I miss something).

The other thing I experienced as negative was the ONE USB port.
Yes I know the iPad has none but that’s not a laptop….. (see why I told you to think about it before replying), and from the Surface pro 4 I actually expect to leave my laptop at home. Now why is one USB port bad… well you can’t make any backups. The unit I got had a 128GB internal memory and when I travel that’s not enough so we have to use an external drive for storage which…. is connected to USB, so if I want to make a backup of that drive……. yep no luck, unless you also bring your dock which gives you a minidisplay port, USB and some other goodies, so in all honesty it’s something that you CAN solve. But…. when I don’t bring a laptop I also expect my device to run all day during a photoshoot in the field, my MacBook Pro with Capture One running and tethering with full screen brightness can stay “alive” for app 4-4.5 hours, after which we connect it to the hyper juice (actually when it’s half empty), the surface pro 4 ran empty after app 2 hours, which means I can NEVER do a full workshop or even photoshoot with it in the field, unless….. we have power and in most cases we will have power but in some cases we don’t and certainly not close to the laptop.

Now it seems like I’m negative about the Surface Pro 4, but I’m actually FAR from negative. I absolutely loved working on it, Windows 10 is nice although I prefer the MacOs but it’s good enough. The stylus is pretty good and when used in Photoshop or Manga Studio (thanks to Smith Micro for supplying me with a test version for PC and Mac so I could compare) it’s a dream to work on. For drawing itself I still VERY MUCH prefer the iPad pro, the apps are designed for the iPad pro and this means you have the maximum space to draw and no clutter around the edges with menus like on Windows, let’s be realistic this is a full version you’re running and they are not designed to be ran on a small screen.

In essence I loved the surface pro 4 but the problem I have with it is the working space in Photoshop, the very limited battery life and the one USB port on the device. If they would add an option to charge via USB that would make the Surface Pro a MUCH better device for guys like me who really use the device in the field.


dth2700-02-g

The Wacom
Now this is a weird one in this list I think, but bare with me.
Due to the drawing experience on the iPad pro I wanted to do the same thing on the Mac, but in all honestly eye hand coordination with the normal tablet didn’t work out for me, for normal retouching I couldn’t life without my Wacom but for drawing it just doesn’t work, now there were two options for me.

  1. The Wacom Companion
  2. The Wacom Cintiq 13HD

In all honestly the Companion as it is now is pretty awesome but a bit too large for me to travel with and too limited because I also bring my laptop, so I can much better just bring a travel tablet and draw on the iPad pro which I also carry with me. The Companion idea is great and very similar in my opinion to the Surface pro 4 except it has all the express keys and when you connect it to your mac or PC you have a full blown cintiq, but it’s bigger than the surface pro 4, so for traveling…. well I’ll let you decide.

Unknown

When you get used to drawing on the screen with both retouching and drawing it’s very hard to leave that experience and go back to the normal tablet, so I knew I wanted a cintiq. My first choice was the 13HD but when I tested that one out at CameraNu.nl I had to be realistic with myself…. it’s just a bit too small, so in the end we decided to go for the 22HD touch. As you probably know we really ended up with a 27″HD demo model from Wacom which I can try out and show so I’m very happy.

Now when I look at my retouching at home I absolutely love the Wacom Cintiq, compared to Astropad it’s not limited by the hover function, it’s much bigger and it shows my selections crystal clear (Astropad does show some flickering with the marching ants), Thanks to Smith Micro I can also use Manga Studio on my Mac and has become my favorite drawing program for sketching and line work, after which I finish everything in Photoshop. The experience on the Cintiq is absolutely breathtaking, on the iPad pro the lag is VERY low and the overal experience is great, but… the surface can be a little slippery where the Cintiq really feels like a more tactile surface which I actually prefer, I do feel that shading with a pencil is MUCH cooler on the iPad, everyone I show this is just stunned, but…… psssst I never shade like that…….so I don’t miss it.

Traveling with the 27″ cintiq is out of the question, Annewiek told me so herself, so you better believe it.


so…… why all these devices in one post.
As mentioned before it started with a review of Astropad (a cintiq like app) on the iPad pro, which I bought to replace my iPad and to draw. Due to all the remarks about the Surface pro 4 I got one from Microsoft to compare and I think that there will be a Surface Pro in my future if they make it slightly bigger and add an option to use external batteries. Because I got so used to retouching on the image itself and drawing is something I’m more and more in love with plus I want to do some new stuff with my photography I actually ended up with a Cintiq, so I think this is the only place where you will find a review with these 3 together but I hope my insights gave you some ideas and maybe tips if you’re also looking for a solution.


Conclusion
There is no spoon….
Oops wrong blog….
There is no perfect solution.
I hope for the day we have macbook pro keyboard with an iPad pro screen, take the screen off and the iPad pro becomes an iOS device with all the apps etc. put it back into place and it’s a dumb screen for a laptop, this should be no problem at all for Apple so I wonder what they are waiting for…..If they would also make it possible to RETOUCH on the screen while connected it would mean I would have one device with me during travels.

For now I’m using the following.
iPad pro for media consumption, drawing, reading comics, surfing the web, the perfect traveling companion.
MacBookPro for shooting in the field, in all honesty a tethertools table on a stand is not that much more work to carry around than a tablet on a stand.
Wacom Cintiq for studio use.

That last one I don’t see me replacing by ANY device, working on the 27″ cintiq is VERY addictive and going back to a smaller one…. well no way (well maybe but than it has to be a lot better), the iPad pro and MacBook Pro I’m afraid that for the coming time that will stay my combination up until ONE device can REALLY replace them both, let’s hope on the Microsoft Surface Pro 5/6/7 or if Apple wakes up and does something amazing 😀

Feel free to leave comments but keep it respectful please, this is MY opinion and only MY opinion.