Tips on fleamarkets and buying old cameras and lenses
In todays blog post some images I shot with the Huawei P20Pro during a visit yesterday to a flea-market, but also a few tips and visions, because a lot of people have been asking me questions about where to get those cool old lenses I shoot with, and how much they costs.

“This one really damaged nicely….. you can see the bottle and the text….”
Yep… but 165.00 was a bit out of my price range.
Fleamarkets
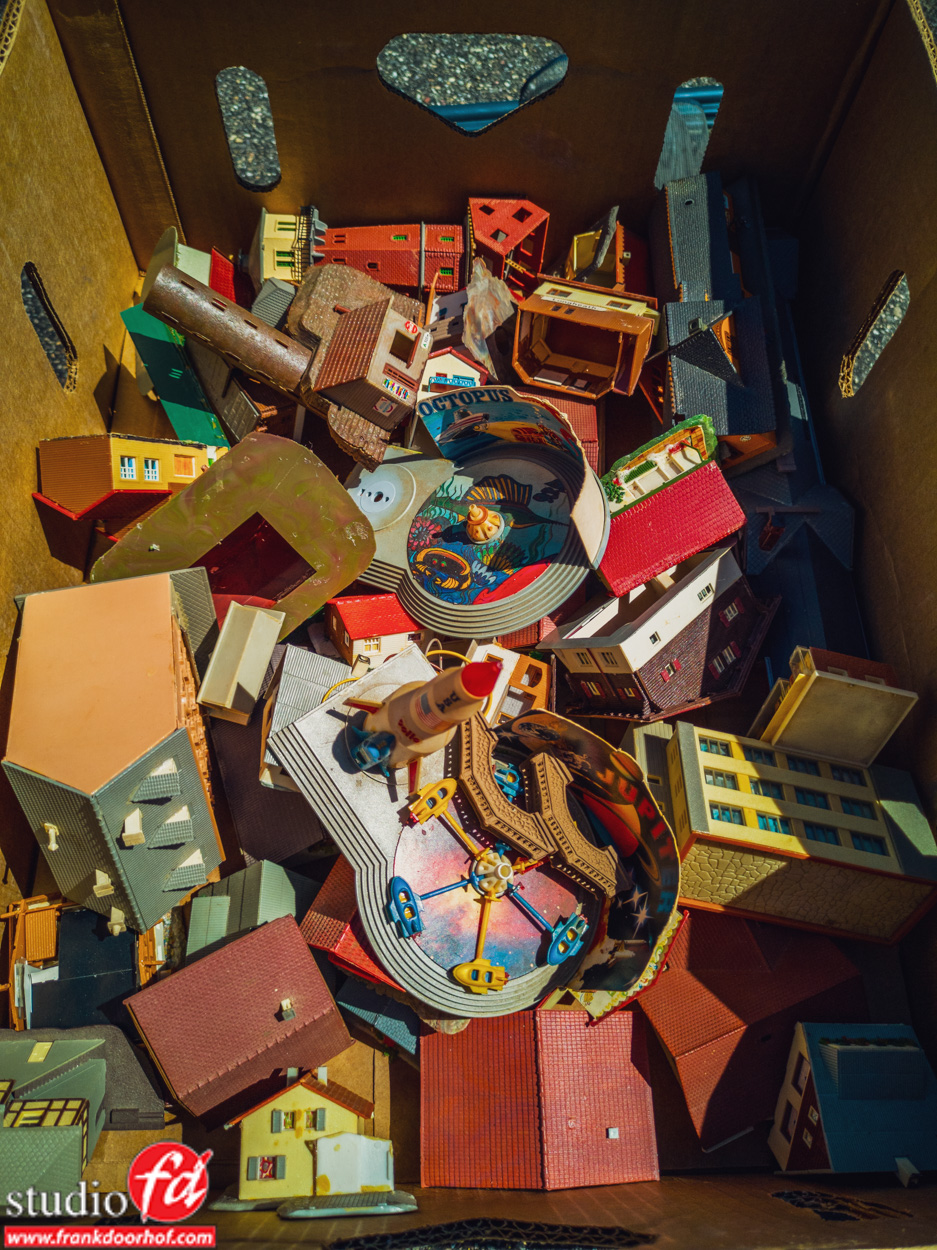
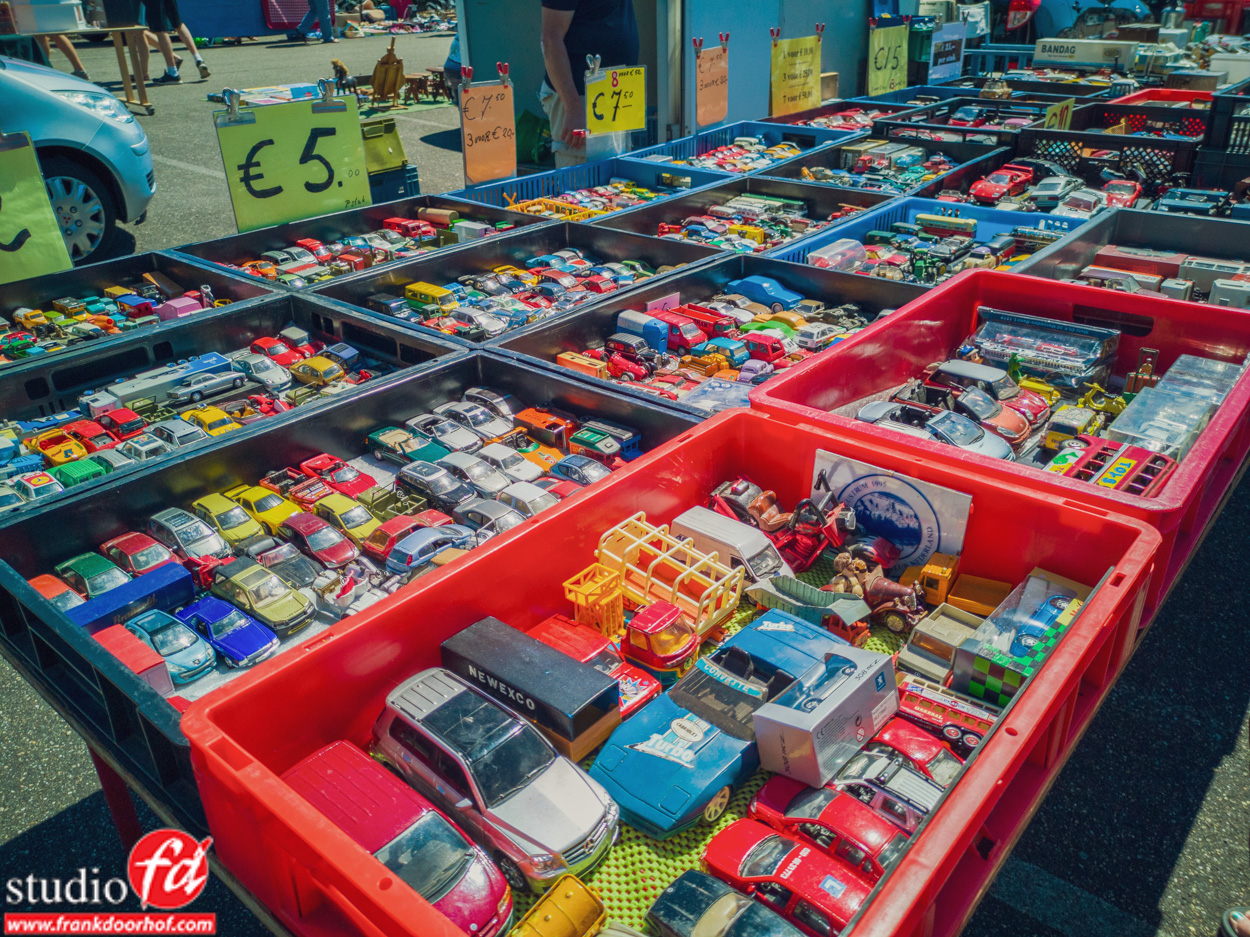
Now a lot of you guys ask me about my “obsession” with flea-markets, and in all honesty it’s not that hard to explain. As a photographer it’s just a mix of colors, old fashioned stuff, structures, characters (oh the characters you sometimes find are amazing), and …. well not unimportant we actually buy a lot of the props we use during the workshops and shoots at flea-markets, but there is more.
When you go to second hand stores often the people know exactly what they are selling. They get the stuff for free (in most cases) and make it look nice again (if necessary) and sell it. Don’t get me wrong I absolutely love the concept but over the years I did find out that it’s not always the cheapest way to buy, flea markets are.
Most people selling on flea-markets are consumers just like you and me the stuff they sell are in 99% of the cases not the stuff they want to carry back home again, this really helps when you want a bargain (trust me), so the larger the object the more you can probably get the price down. We have bought some larger objects for the studio for half of the asking price.
But also when you shop for vintage lenses, flea-markets are absolutely awesome….. I hope I don’t push you all towards my hunting grounds now…. but hey here we go.
Now this might sound mean, but it is absolutely not meant that way.
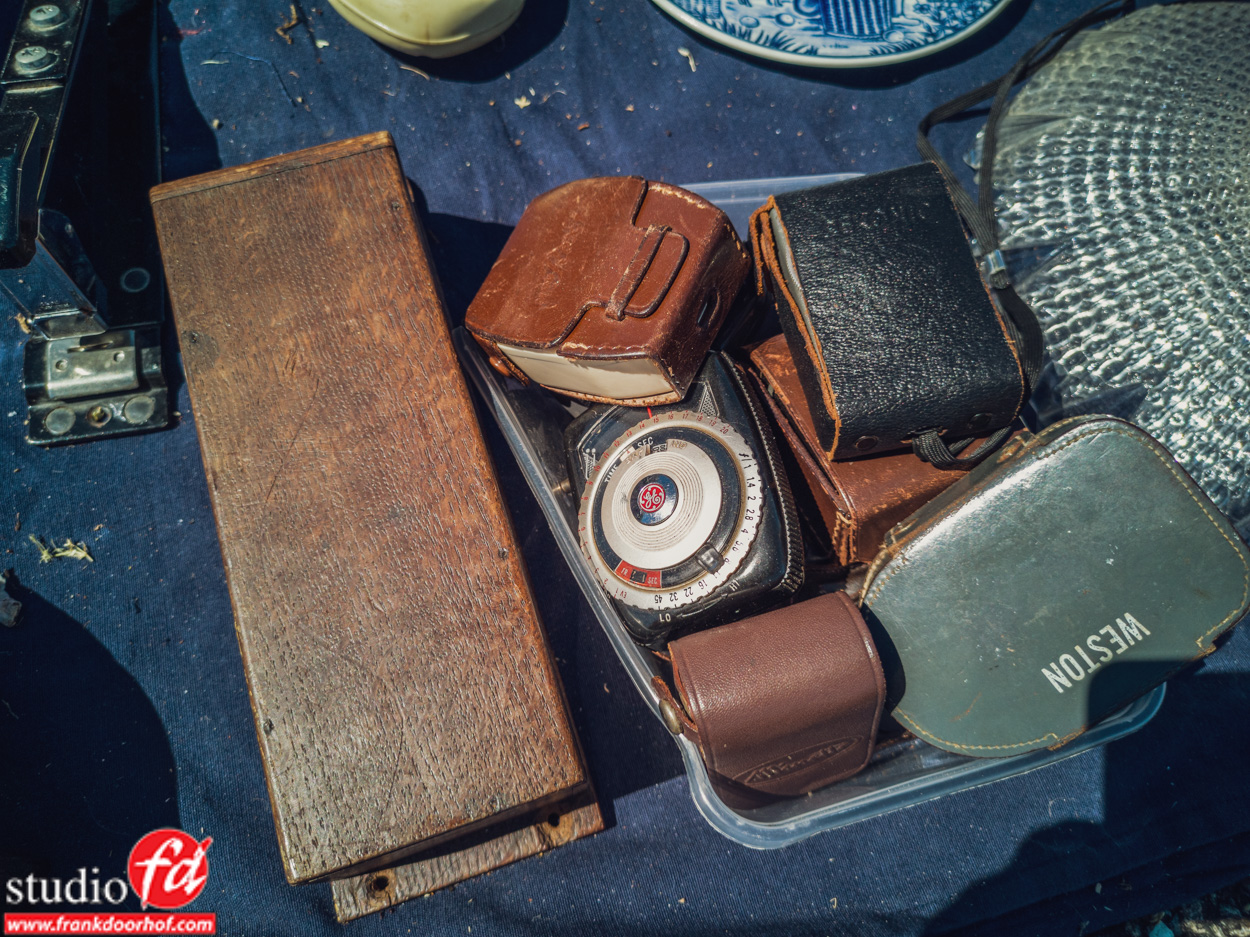
On almost every flea-market you will find some cameras with lenses, for me the cameras don’t really excite me (although I’m still dreaming about finding a Leica somewhere for 10.00) but the lenses I just love to collect and shoot with on the Sony. They all give a unique look so you can buy 10 50mm lenses and they will all give you different results, it’s a fun hobby. Now we can actually start to see the difference between a place like e-bay, marktplaats, second hand store and a flea-market.
When you’re shopping for old cameras and lenses the most expensive often is e-bay, people can start to bid and before you know it prices have gone up, and sometimes so much that you might wonder why someone would pay that amount of money for old “stuff”. In second hand stores you’re sometimes lucky with lenses, unless someone knows what it’s worth. In Emmeloord they often have cameras etc. behind glass so you know that you pay for it, I also saw some second hand stores where they actually have like bins with old lenses, those are often treasure hunting, but in all honesty I don’t see them a lot.
So that leaves us to flea-markets.
Often the products sold there were found on the attics, or somewhere in a closet and you can really get some cool bargains. Over the years I’ve learned to recognize certain lenses and series and cameras that might be interesting but even then, there are so many variations and versions that it’s almost impossible to know for sure if you hit the jackpot or if you just bought a lens with (let’s keep it positive) a lot of “character”.
So what to look for?
Well in essence you can get convertors for almost any lens out there for the Sony system.
When you’re shooting canon or nikon you have to be a bit more careful, due to the flange distance (distance between the lens and the sensor) not all lenses are working good on your camera, often losing the ability for example to focus to infinity, which might not be that bad for a portrait lens, but can be a disaster for another. When you’re shooting Sony… well almost anything goes.
My main focus is however on :
M42, M39 and Leica-R
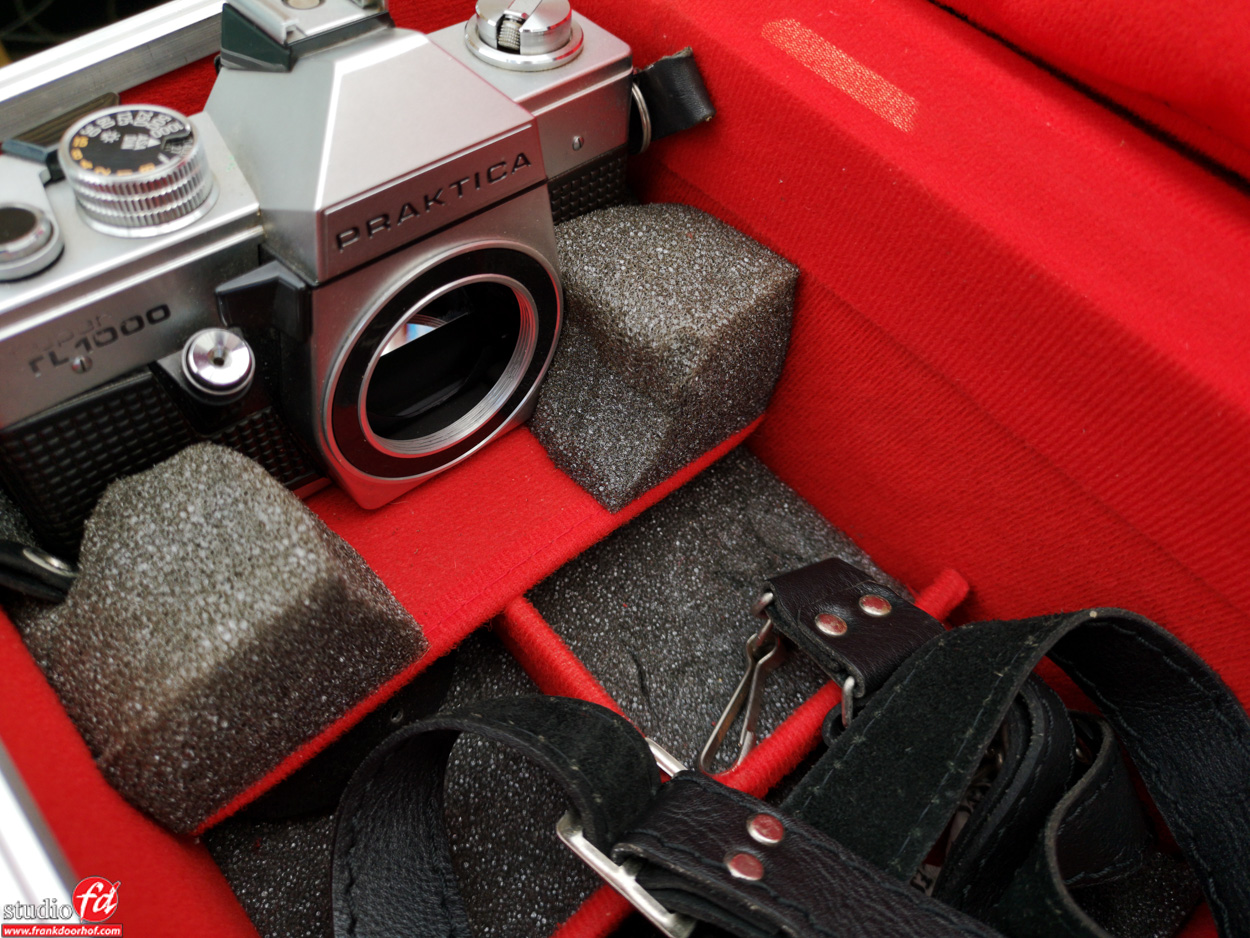
M42 is the most found lens, it’s a screwmount that has been used for many years, mostly we find Praktica cameras over here that have used that mount. But you can also find it on Pentax, Yashica, some Olympus FTL, Voightlander Bessaflex and some more, it was a very popular mount.
Now Leica-R I can be very short…. never found one on a fleamarket
M39 you might see more than you think, this is actually the Leica M (rangefinder) mount, but was also used by several older cameras, this means that if you use a Techart AF module (like I do) you can actually mount these lenses straight on the Techart. And because sometimes companies tried to “copy” Leica you might end up with really glass on a “crap” camera or you can get a real “Lomo” experience (meaning, really bad glass in a “Leica” mount and look).
Look for cameras from Leica, Voightlander, Zorkis, etc. there’s a book with more than 300 copycat cameras that copied Leica. Again don’t expect a lot from these lenses, but if you’re in the Lomo movement these rock and are probably exactly what you look for.
Now let’s talk about pricing
Online you can often see what lenses are going for….
Sorry
Online you can often see what people think the lenses are worth
Sorry
Online you can often see what people hope to get for their lenses
Ok sorry that was not nice, but it does represent some prices.
I’ve seen Leica R lenses go for double the price I can pick them up at B&H for. But if you look at the right sites (there are many) you will get a good overview of what other people paid for it, and also how the lenses perform and which versions to look for, personally I often surf to https://www.pentaxforums.com/userreviews/ And although I don’t own a Pentax this site has almost all the lenses I own listed with good reviews and a proper pricing range (what others paid).
So what do you do when you see a camera with a lens
Relax and take a deep breath.
Just ask what they ask for the lens, I’m always straight to the point with this, this really helps because they often only want to sell the complete kit, and by showing you only want the lens this helps to get the right price (well I think it does). Often the seller will ask you what you would like to offer. Now please try to be honest, if I know something is worth a lot of money I will not start at 10.00 Euro but I will actually just offer about 1/5th of what it’s worth, remember that they probably think it’s worthless and the prices online are “for the ones looking for it”, so it’s never a real market or fixed value. In other words when you have to sell it… well try it, it’s much harder than you might think.
If they sell that’s great, if they don’t I can always go up just a little bit, but in most cases they take your money and look all happy, well great… they are happy and I’m happy.
Now overall this means that you buy lenses on flea-markets for anything between 5-10.00 euros. And sometimes you’re really really lucky. I recently bought a zebra lens for 2.50 Euro which online goes for anything between 100-450.00 and mine is in mint condition. But this is actually the biggest “BINGO” moment I ever got, and the reason I got it so cheap was because of the “behavior” of the seller, I just didn’t feel that he earned the money so to say… in short he was very rude and not interested in selling it seems, it was all junk… well ok than I offer junk prices, and to my surprised walked away with it… well ok that’s cool.
So what lenses can be cool?
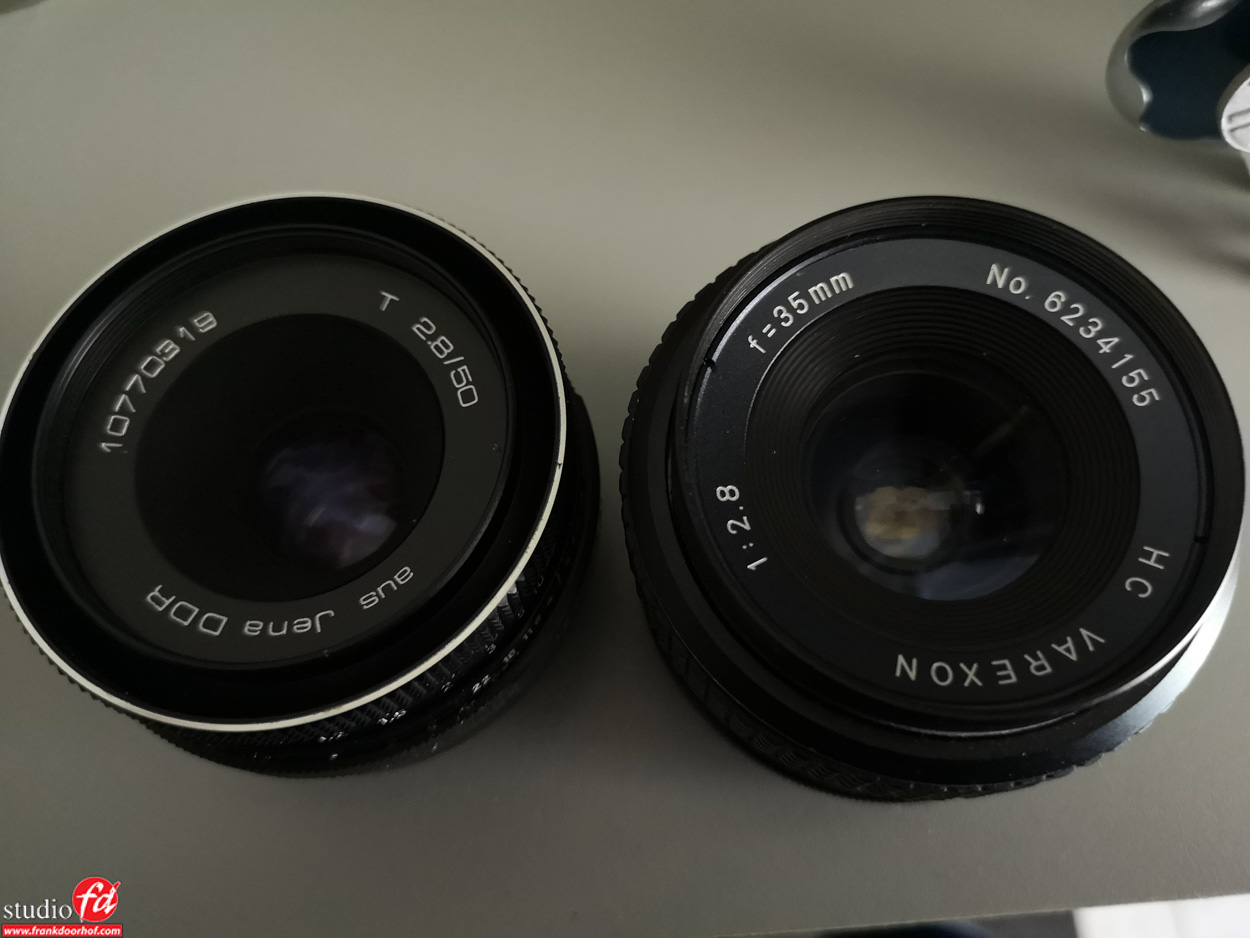
Personally I really love the Zeiss glass, you sometimes also find these with the designation Jena.
Also lenses from Voightlander (don’t own one yet), Takamur and for example Leica M and R (good luck with these last two) are very nice.
There are however also a lot of brands that have a huge Lomo feel, think for example about the weird bokeh of a Helios lens, or the incredible lensflare you can get from some russian made glass, it’s really a matter of buying and testing and having fun. If you go into it by expecting unique looks that sometimes can be very “bad” you will love every single lens. If you think you can buy very cheap lenses rivaling modern lenses…. well it’s possible, I own several vintage lenses that are razor sharp, have amazing bokeh and are very nice in color, but those are often indeed the Takamurs, Zeiss and Leica lenses, and those were not cheap (or let me rephrase, they are not supposed to be cheap), you hardly see them and when you do just jump on it and get it you will love them.
When buying online you take the fun out of the “hunt” but you also probably pay way too much money. Although sometimes adjusting your search will help a lot. Searching for “Takamur” will often give you a lot of results with higher prices, while searching for “old cameras” will give you way more results and you have to look for the lens designation yourself but it can save you a lot of money. For me however…. finding it on a flea-market is way more fun.
Now when you’re like me a Sony shooter there is one extra brand to REALLY look for.
Minolta lenses are “always” good, but did you know that Sony in essence is using Minolta techniques in their modern cameras? The Sony A-mount is actually “100%” compatible with the older Minolta AF lenses. I did make the “” for the reason that I have two lenses with autozoom (internal motor) that don’t work on the E-mount (you have to use a A to E mount convertor) but they did work on the A-mount, which later on I really felt bad for because one is a so called superzoom 35-200mm and it was amazing. But if the lens doesn’t have any internal “fancy” stuff like motor zoom you should be fine. And this is a really cheap way of getting your Sony system up and running because the Minolta AF glass can be bought pretty cheap and is top notch quality.
So that’s the blogpost for today, I hope you liked my insights and I would love to hear your best flea-market find.










































You must be logged in to post a comment.