My view on AI, please read before judging
It’s everywhere, and it’s even worse than the .com hype.
Even things that are so far away from anything even coming close to intelligence is labeled as AI just to ride the wave.
So why this blog post?
I recently did a review for Topaz Photo Ai.
I absolutely love this app and use it for old scans, event shots that are slightly out of focus or are shot at very high iso’s.
When Topaz asked me to use the video for an add I never expected what happened.
This is the video
ps :
Support our work and order your Topaz software via: https://topazlabs.com/ref/84/
Over the years I’ve tried to build a community that is based on mutual respect, the need to learn and to inspire each other. And I can honestly say I actually never got any negativity. Up until now.
Good griefs, the replies to that add are sometimes bordering on insane.
So let me put some things in perspective about what I think about AI and what it can bring us, or take away.
Chat bots
Yeah, I agree it can get very scary.
And also sometimes very worrying realising that the development is going so fast that it’s already possible to let a mother think they kidnapped her son. This is very scary.
Now do we feel like Skynet is here?
Maybe yes, if it falls into the wrong hands (which it will eventually). But let’s not think about that for now.
Think about the positive things it can do, finally solve some of the worst deceases, or solve our climate problem, design the super efficient new battery for our electric cars and homes, and help us solve world hunger.
But this is a photography blog, so let’s say for now I’m in the centre about my opinion on AI, it scares the living daylights out of me and I can’t wait to see what it brings.
But let’s talk about some other things, more on topic.
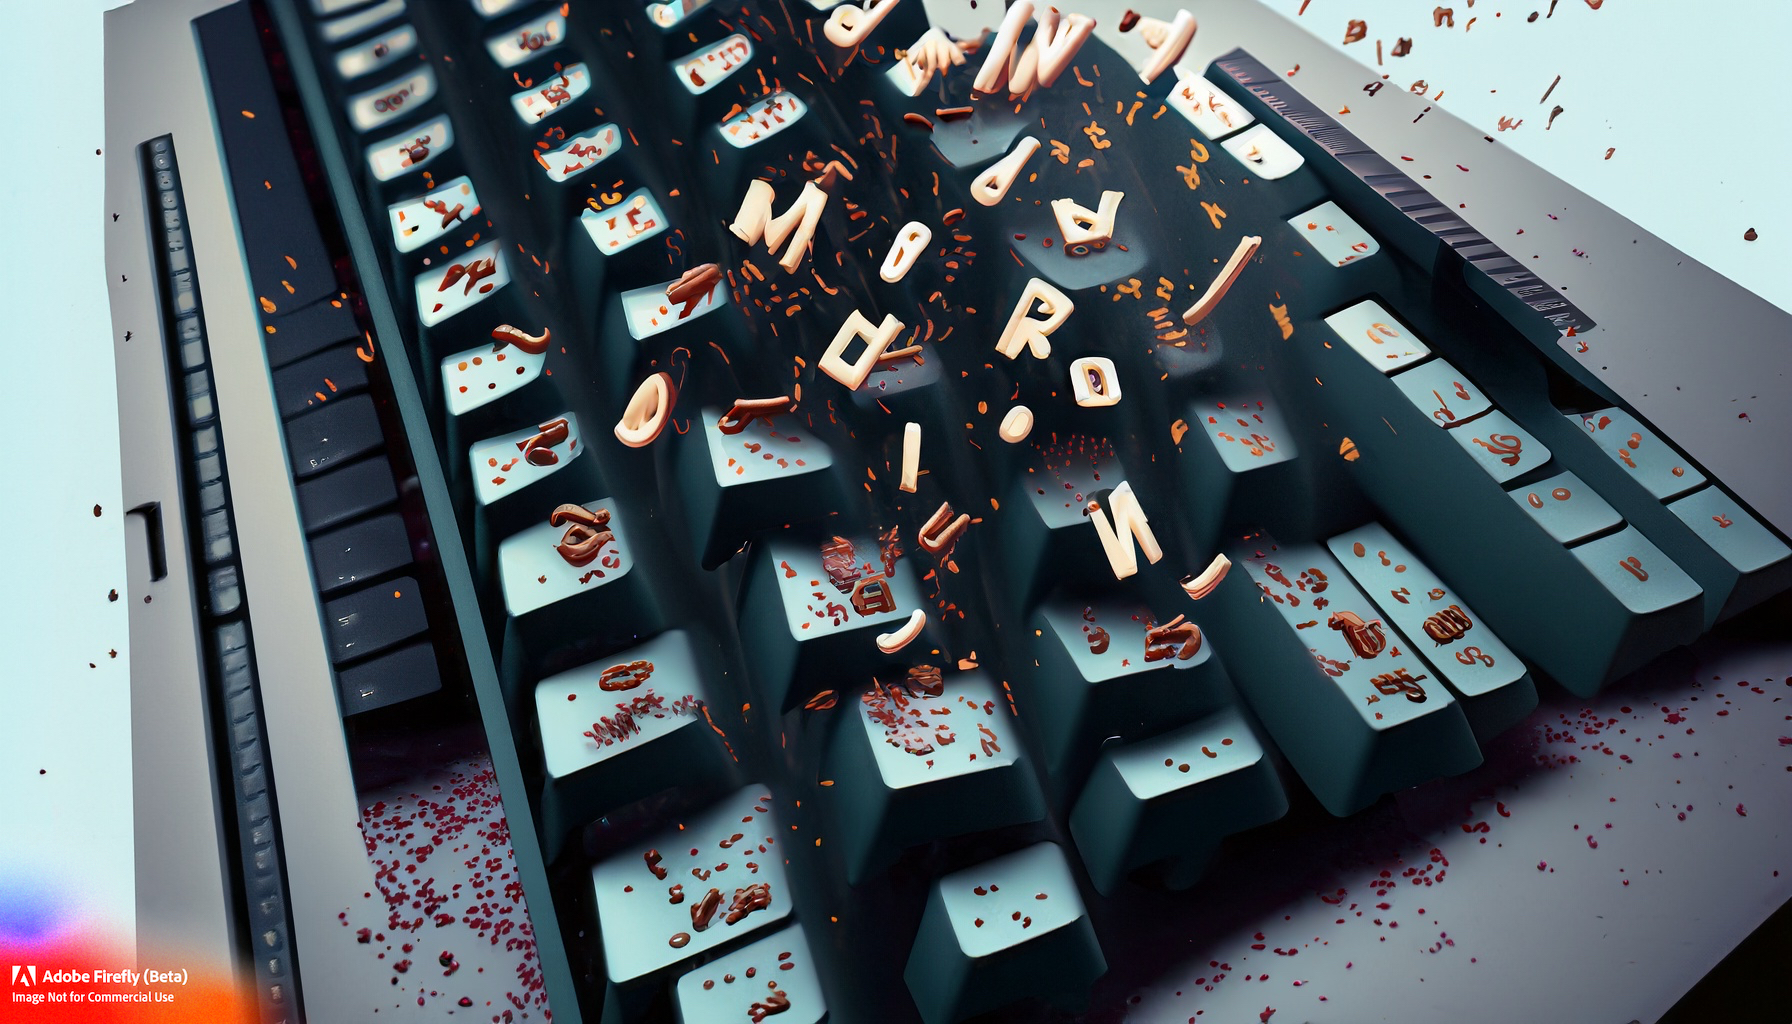
Text to image
My opinion on this is pretty straight forward.
It’s not your art, unless YOU create it.
As you can see I also just leave the firefly logo in the images I use that I created with it.
When you type in numbers and words you are NOT creating something I feel, you let someone else create it in a style that’s NOT yours but based on stock, or other peoples work. I also don’t understand the feeling of “look at what I created”.
Now I have to add something to this.
When you write a book you create an imaginary world where the reader can be transported to and if you read a good book you can almost feel and smell the rooms/areas described. Still for me this is different from just text to an image, the imagination of the reader is 100% triggered by what the writer wrote down, meaning he/she has to be genius to make it all real for the reader. But it’s the reader that makes the world real with the help of the writer.
It doesn’t mean I say that AI generated material can’t be art.
Because it is, when you really refine your images, retouch the results to an end result I have no problems with using that for certain things, but I would highly recommend clearly labeling something as AI and when entering competitions it should be a separate category and not within photography, drawing or painting.
Now let’s refine this a bit….
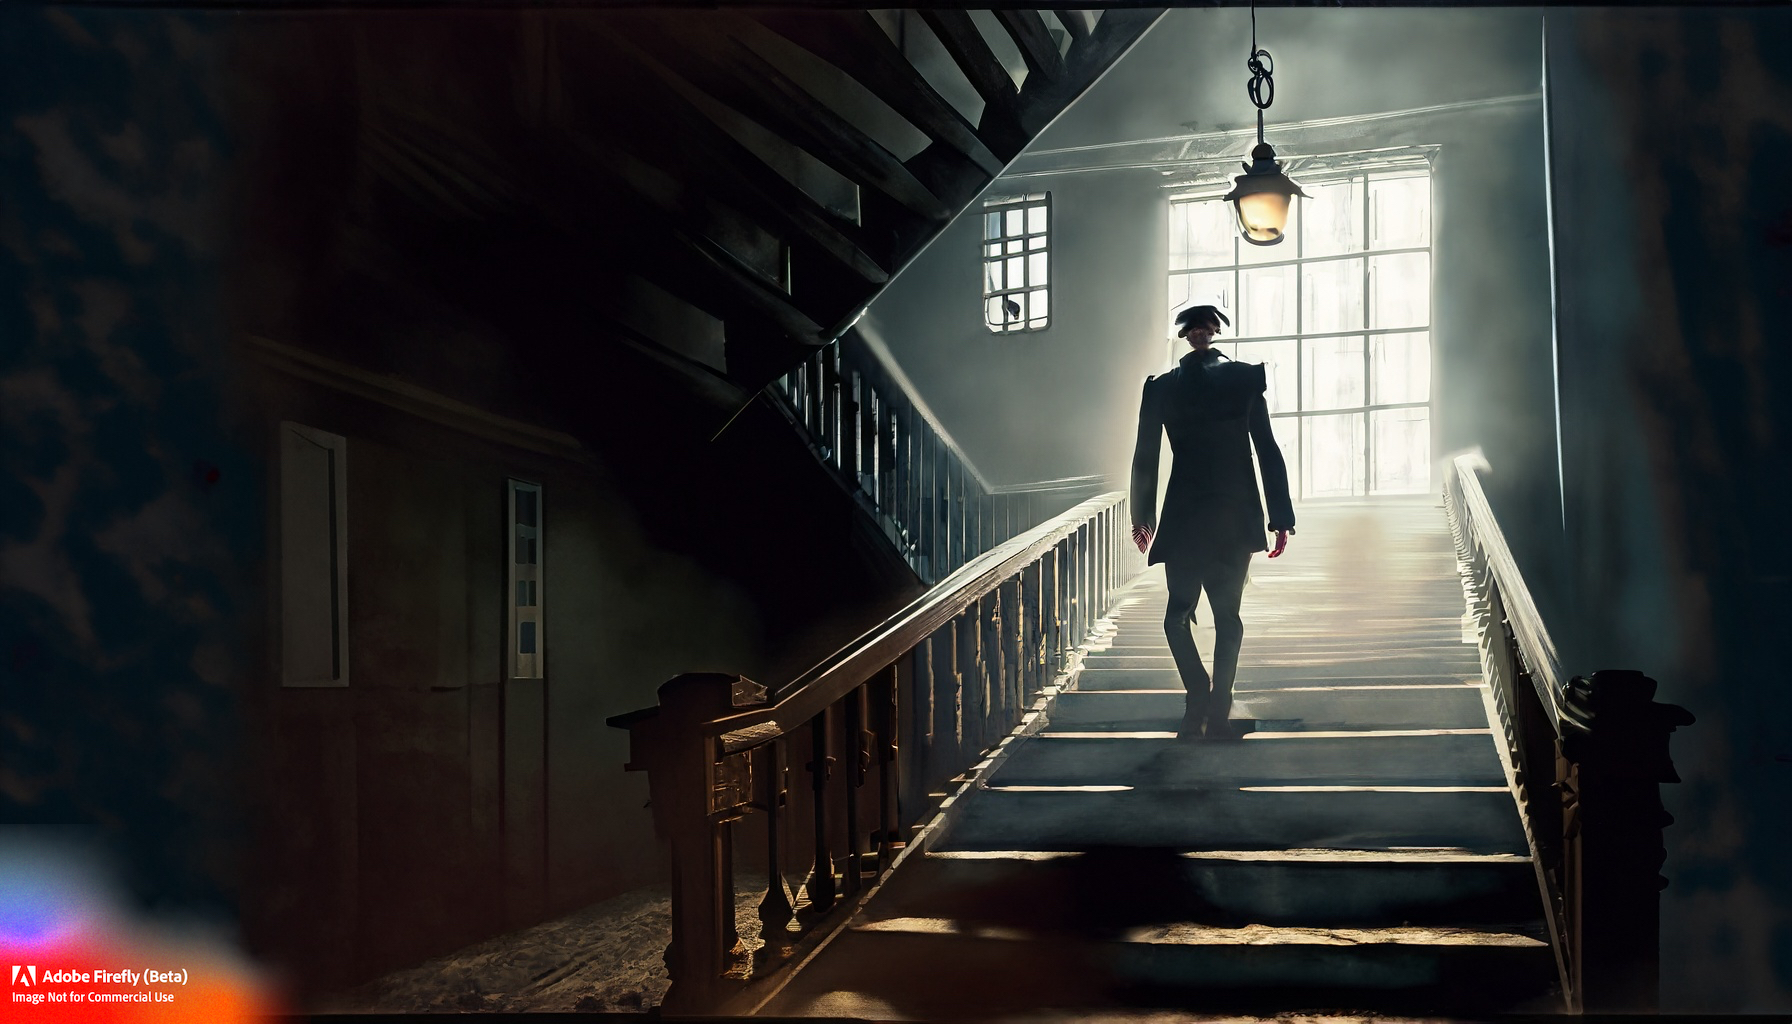
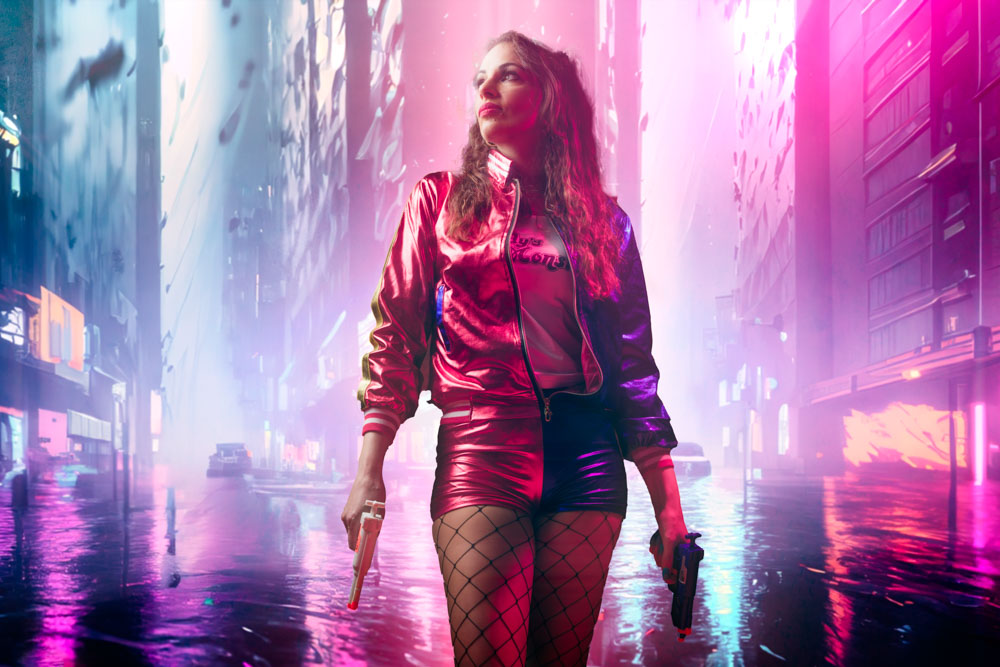
One sentence to create this…. is it fun yes. is it mine…. no
Text to image part II
By now you all probably heard about Adobe’s Firefly and the brand new Photoshop with AI added.
The first thing Adobe does right it using material that is not “stolen”, they will actually work out a form of payment for the creators that offer their material (at least that’s how I understand it). This is not only the right way to do it but the only way I think.
Now there are some examples online about the new “expand background” tricks that Photoshop can do, and let’s be honest it looks fricking amazing, you start with someone on a rock overlooking a lake and you end up with a huge landscape with someone in the distance on a rock. One would almost say “wow look at that insane resolution camera and how far you can zoom in to that person on the rock”….
Personally I would prefer to choose another lens and take a few steps back and shoot it in real life, but I can see loads of situations where this can be very handy.
The difference is for me that we did start with a real photograph setting the mood. Although I have to be honest it’s still not “my thing” to extend something too much.
It does change for me if you look at it from a slightly different angle.
AI to add something
I love creating and recording music.
I know my way around a guitar and a bit of bass, can play keys a little bit, and have some feel for rhythm.
When I write a song I start with guitar and build a base with chords.
When the chords are done I change my simple drums to a more complete drum track.
Now I add my own bass playing.
After that some keys.
Now we have a complete song.
Because I can’t play the drums, I now change the programmed drum track for an AI drummer (build into logic or a plugin) which will follow what I play.
I also add some percussion tracks.
Now the bass is being enhanced by some AI bass, it doesn’t replace the bass but it adds to the bass track.
Same with keys.
Now we have the whole structure and guitars are played again, and again till it works.
The problem is that the song at that point doesn’t flow yet, we need dynamics and soundstages so this is where you start to add samples, loops, arpeggiators etc (don’t worry if you don’t know the terms), now the song really builds, pushes and comes to life.
One could say that in the end only my guitar playing is my own.
The drums overpower my programmed simple drums, the bass and keys are much better than my own playing and the samples really push the music forward. So is it true that I didn’t create the music and it’s all AI and samples?
No of course not, I played everything and used AI and samples to create the song I had in my head, the AI is used purely to save me time and makes my creativity stand out more.
I can actually say that the song is 100% my own, I use the AI drummer, BUT I never use it as it comes out of the software, per bar I change slight things like an extra cymbal hit, maybe some double bass somewhere, maybe a nice break somewhere etc. you keep fine tuning the drum track and same with bass and keys.
The difference for me is that this is something I build from the start with proper knowledge of harmonics, chord progressions, possible and impossible parts (a drummer only has 2 arms, unless you use 2 drummers/percussion so both will sound slightly different) instead of just typing in something and refining something that I never created and also don’t understand how to make it.
In other words, my music I can create from scratch even without the assistance of AI, it will be less produced but the power of the song is there. Take away the text in Text to images and you’re left with…. yes nothing.
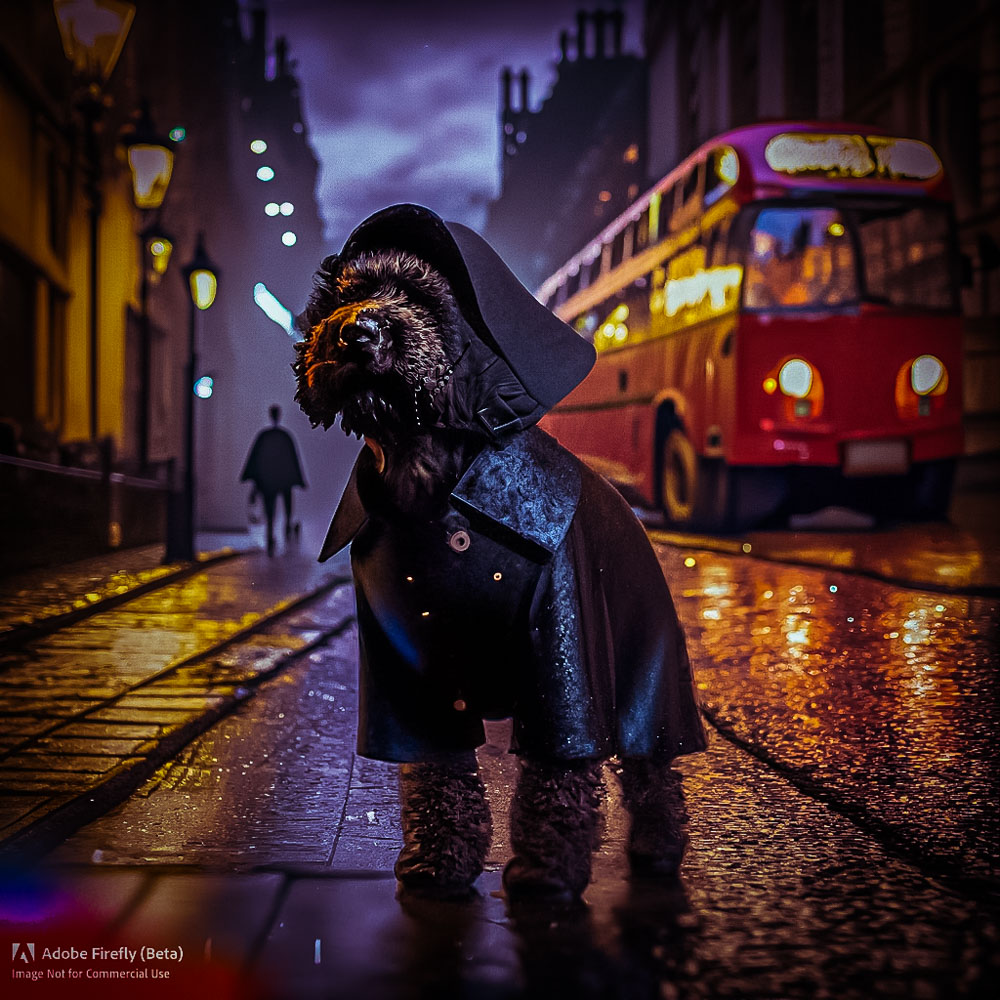
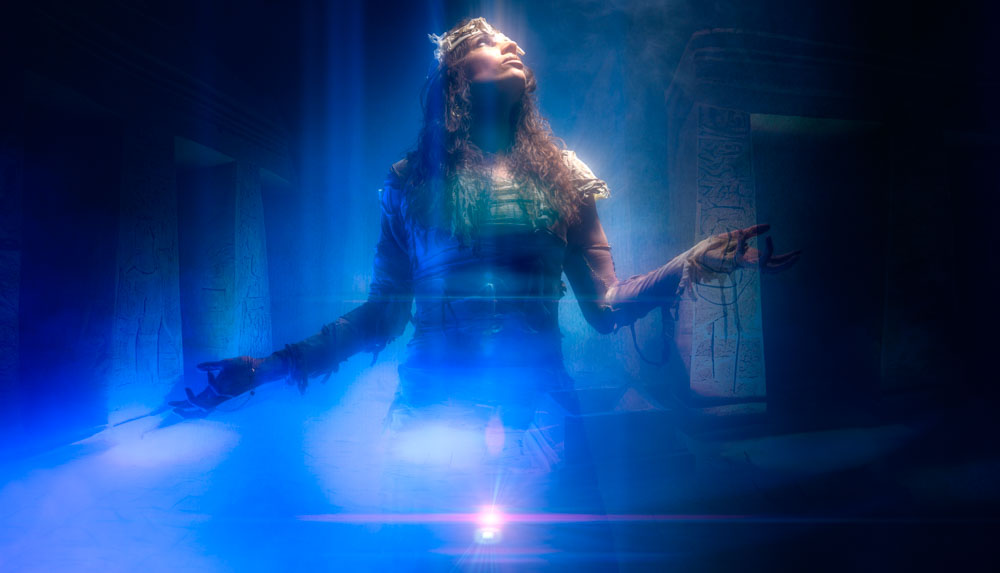
Took a bit more time to create this one. Again, loads of fun and impressive but I don’t feel it’s mine.
How I will probably use AI
I’ve been playing around with AI a lot.
I think it’s not a time to resist AI but learn about it and see what it can do in your work, and use it the way you see fit.
For me it will be a super valuable tool for for example my cosplay shots.
I know how to make a selection with the lasso and pen tool, but I use select subject most of the time and just refine it.
I know how to change the background and make it look the way I want it (yeah I pretty much suck at composites, but it’s fun), but I always have to look for something that fits my ideas and in 99% of the cases it means I have to cut some corners because I didn’t shoot every situation in the world I would ever need…..
You see where I’m going?
When I shoot a model in a cosplay workshop I know for 90% where I want to go for the end result.
In the past I was only limited by the availability of props and scenes.
Of course we love using our ClickPropsBackdrops but in some cases you want a more surreal look and it doesn’t really matter that the light doesn’t mimic the background. By using the new AI options in Photoshop it takes my creativity to a whole new level.
During a recent workshop I shot this image from Nadine.
I knew I wanted a really red surreal forrest scene where it almost looked like a mix from Alice in Wonderland and a vampire nightmare.
Now the AI in Photoshop really helped me out.
Normally I would select an image of a forrest, tint it all red, change some of the lines with warp or lens effects, and combine it, and the results wouldn’t be as on point as what Photoshop did.
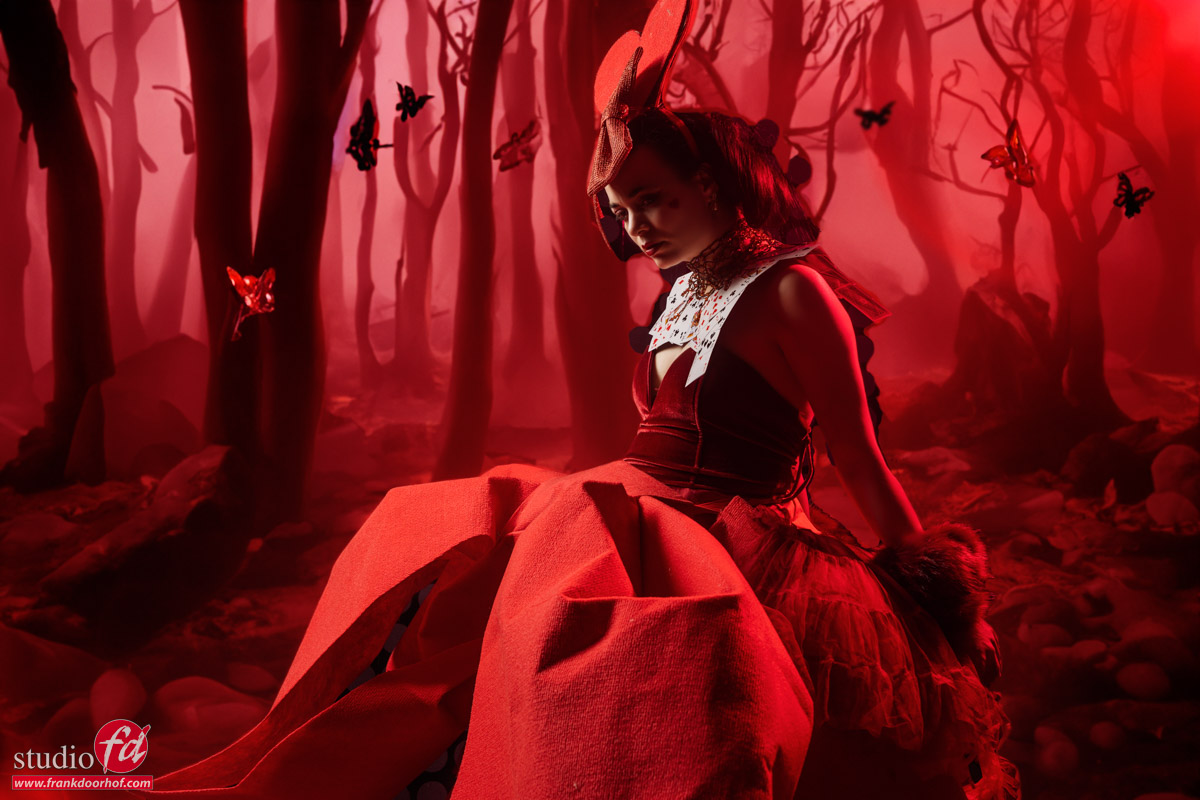
I also wanted some butterflies around Nadine and those were also added by AI.
Make the selection where you want it and type in Butterfly and voila you get several options to chose from.
One could say that this is also fake and you are 100% right.
However the difference is that I already set the mood with lighting, colors etc.
The background I tried to blend together better by adding some lighting effects on a separate layer, played with the focus plane and doubted about changing the shadows the trees cast, but somehow I also like that weird unevenness it creates (still in doubt about that one).
In other words, if you understand lighting, position, focus behaviour, colorblending etc. AI can be a TOOL, and although it creates something that wasn’t there I see it the same way as a movie where you use special effects.
In the next two shots I didn’t think about shadows, composition etc.
These were my first experiments with creating custom backgrounds into a shot.
Personally I still prefer real backgrounds.
A real background responds to the light and the gels you use.
But also the lines in the backgrounds are always fitting for the angle you shoot from, this is one of the things AI at the moment can’t get right easily when you start adding backgrounds to models you shot separately.
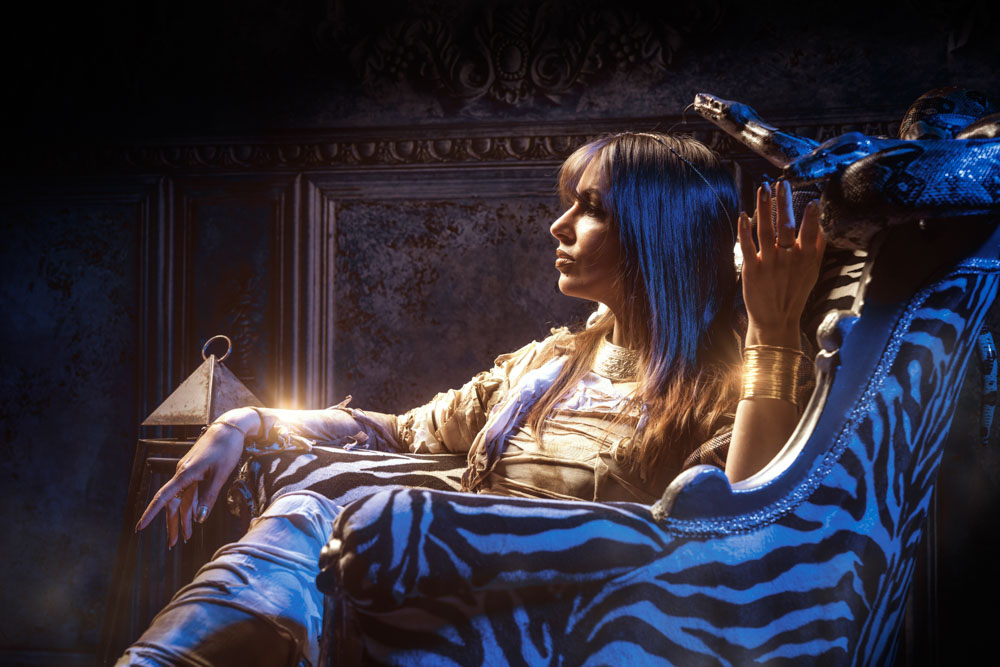
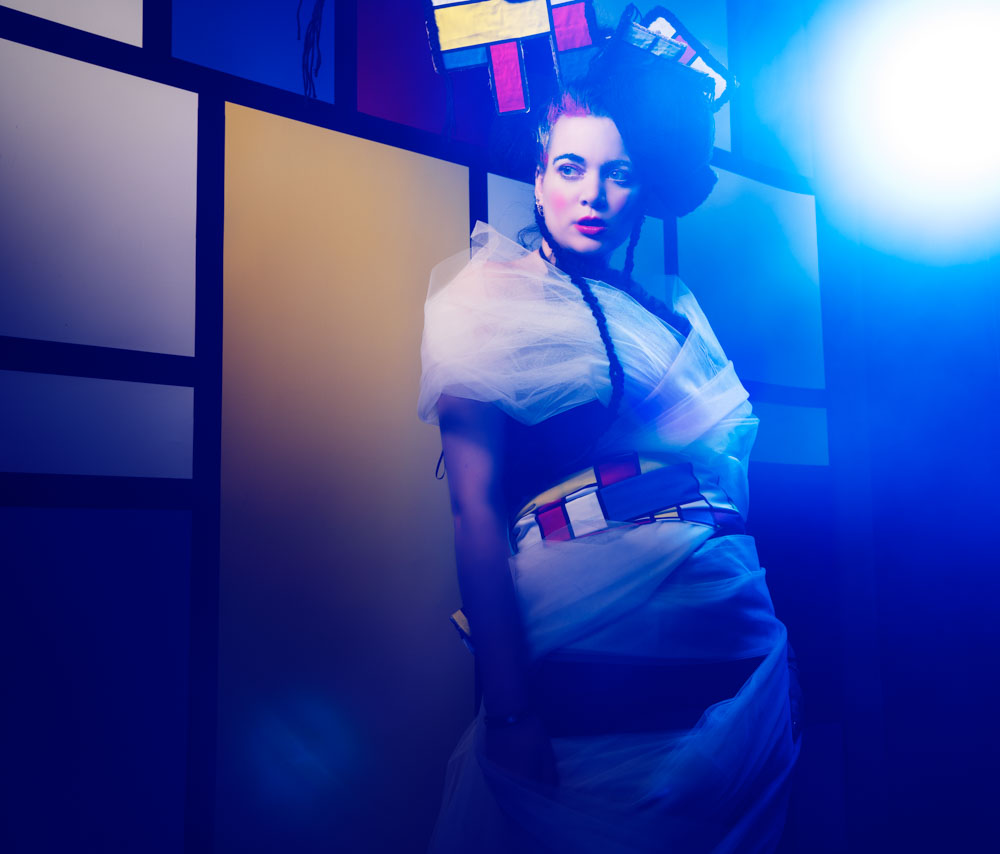
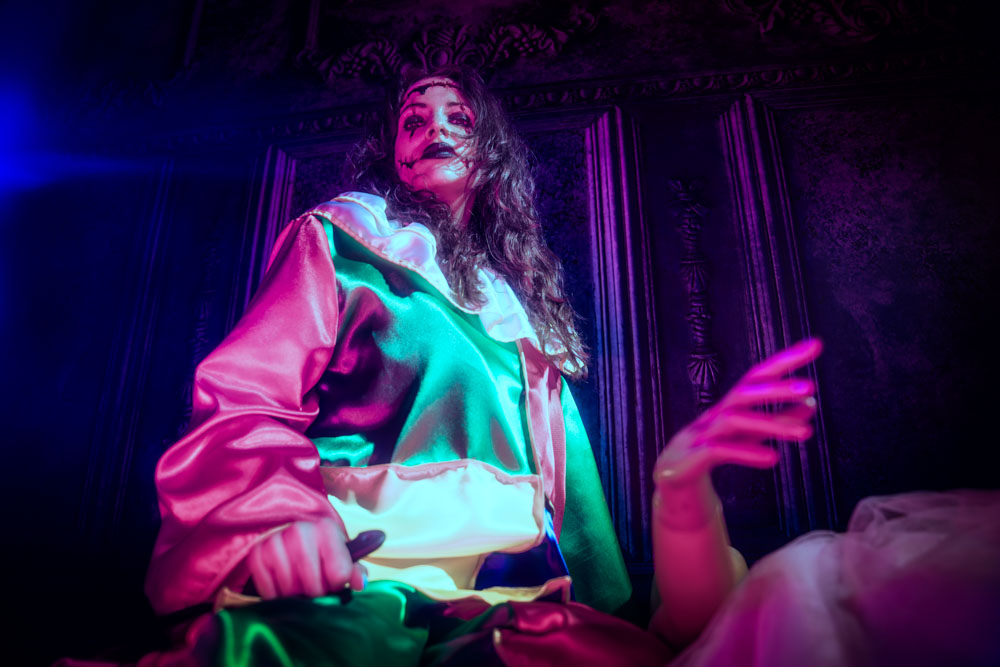
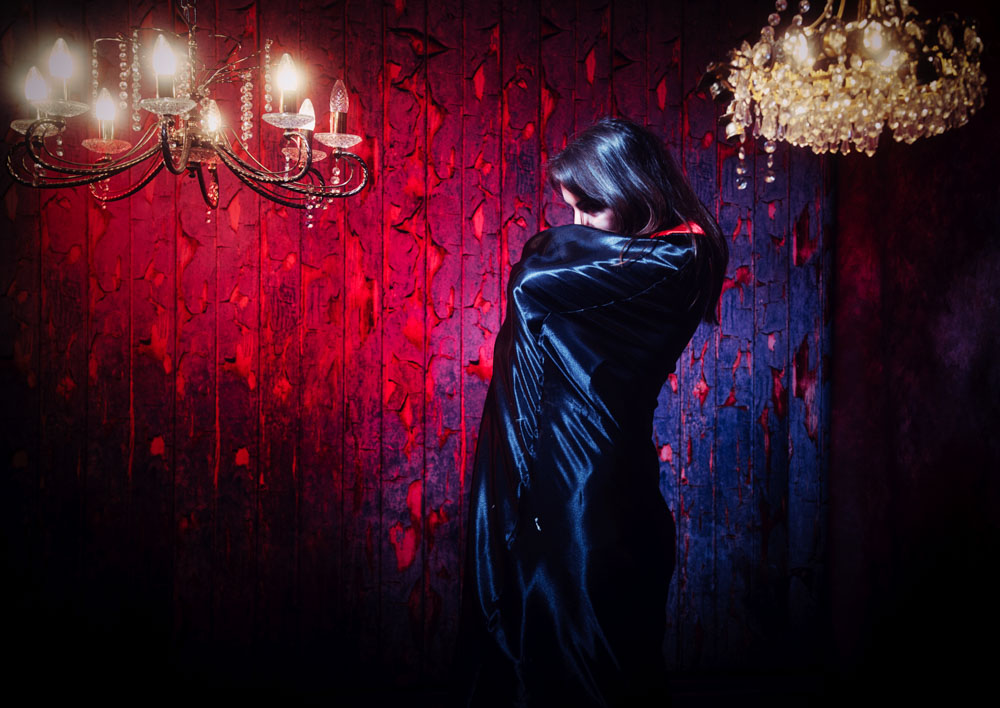
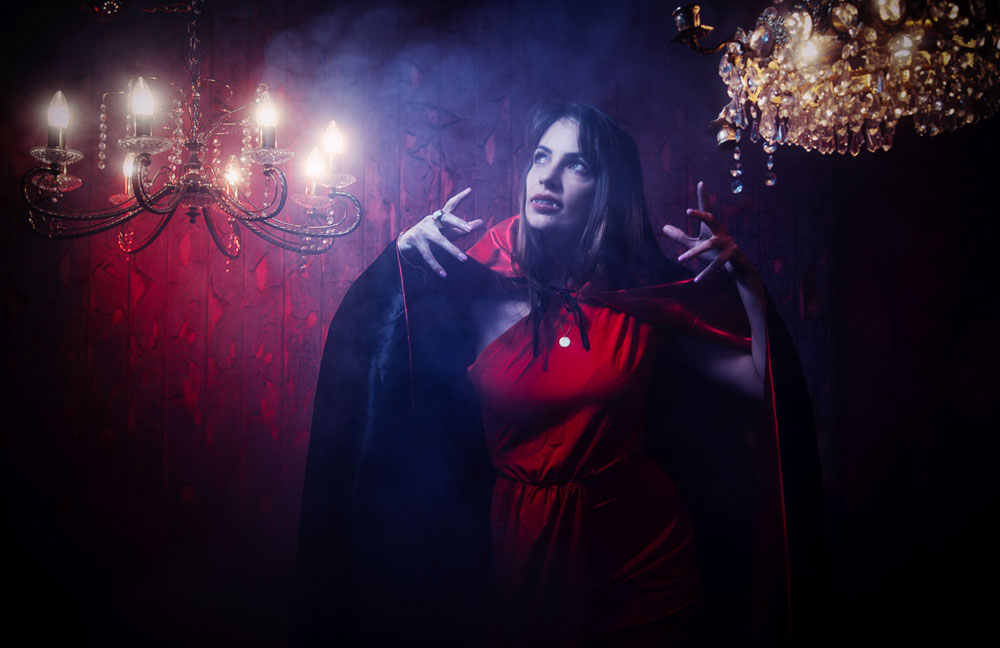
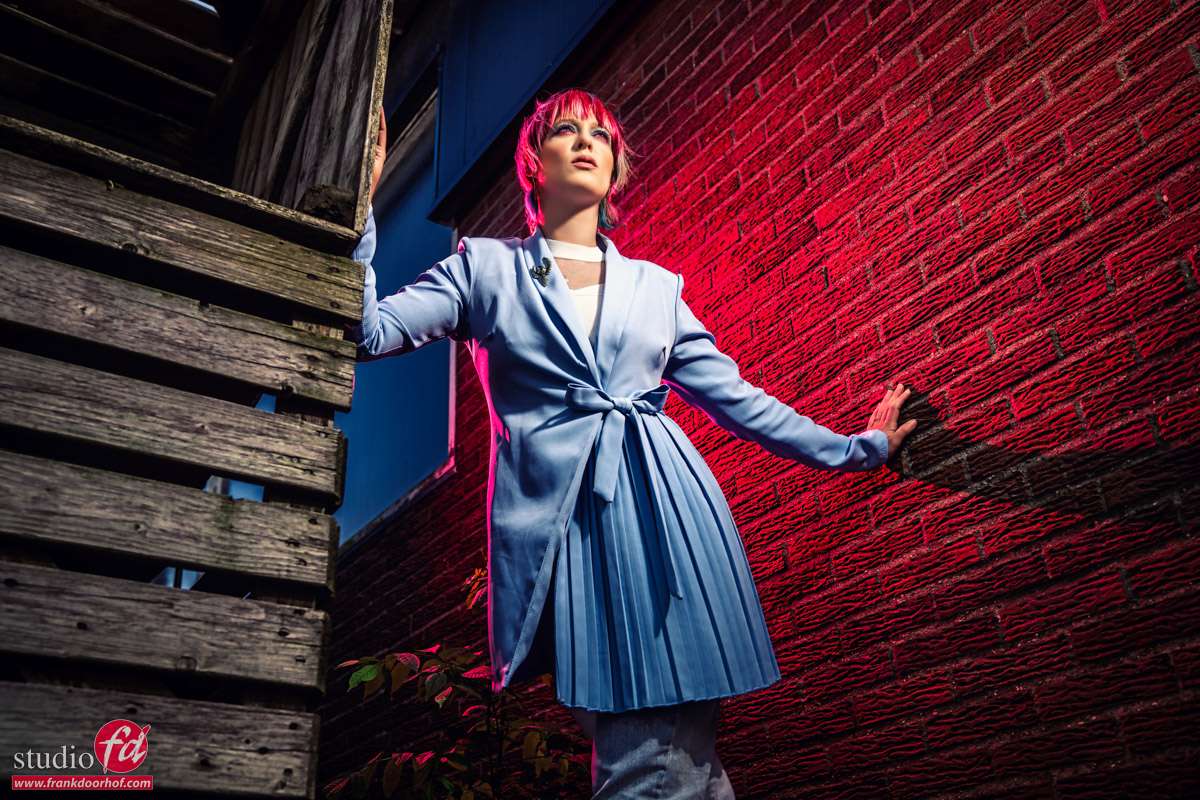
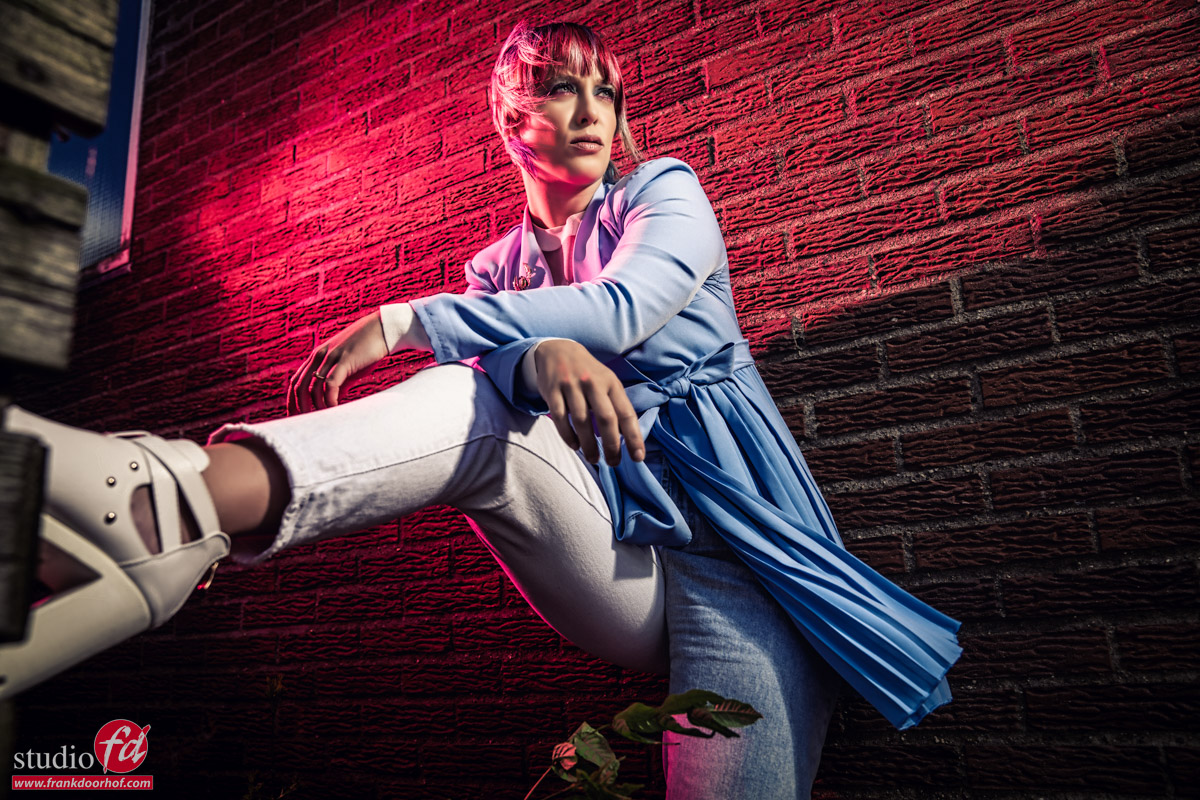
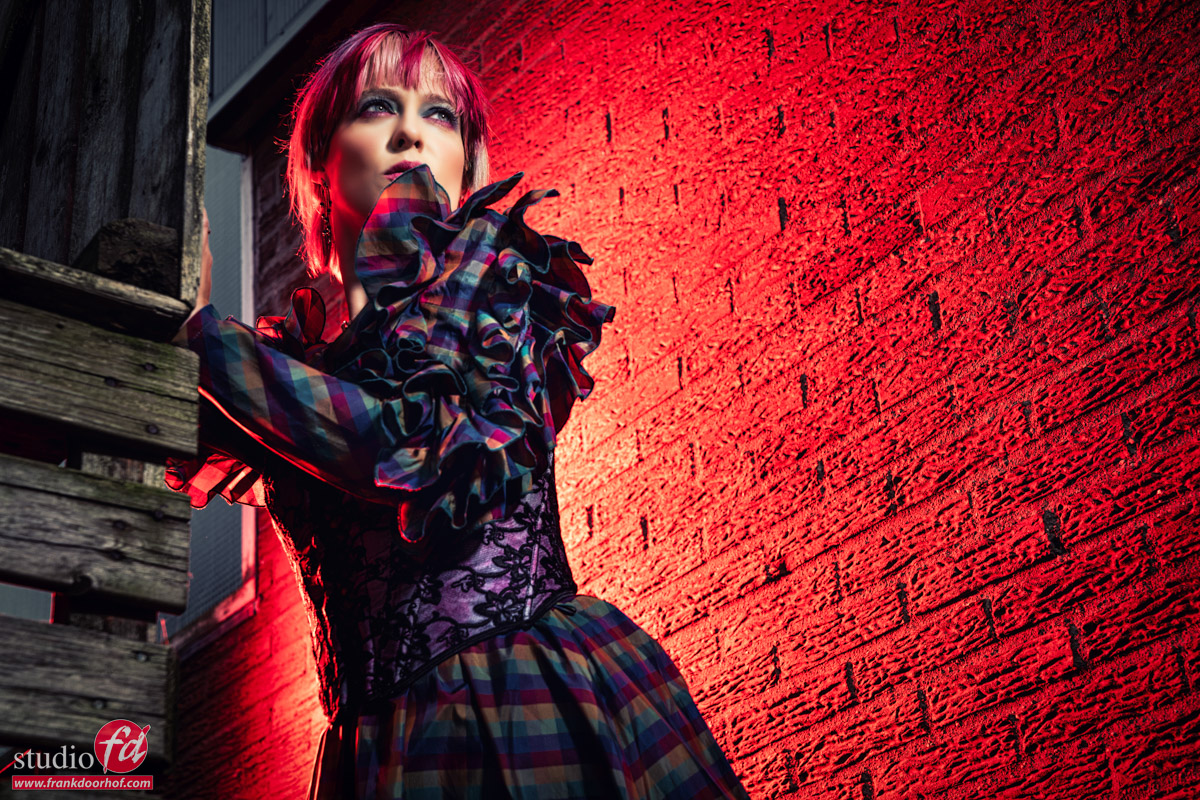
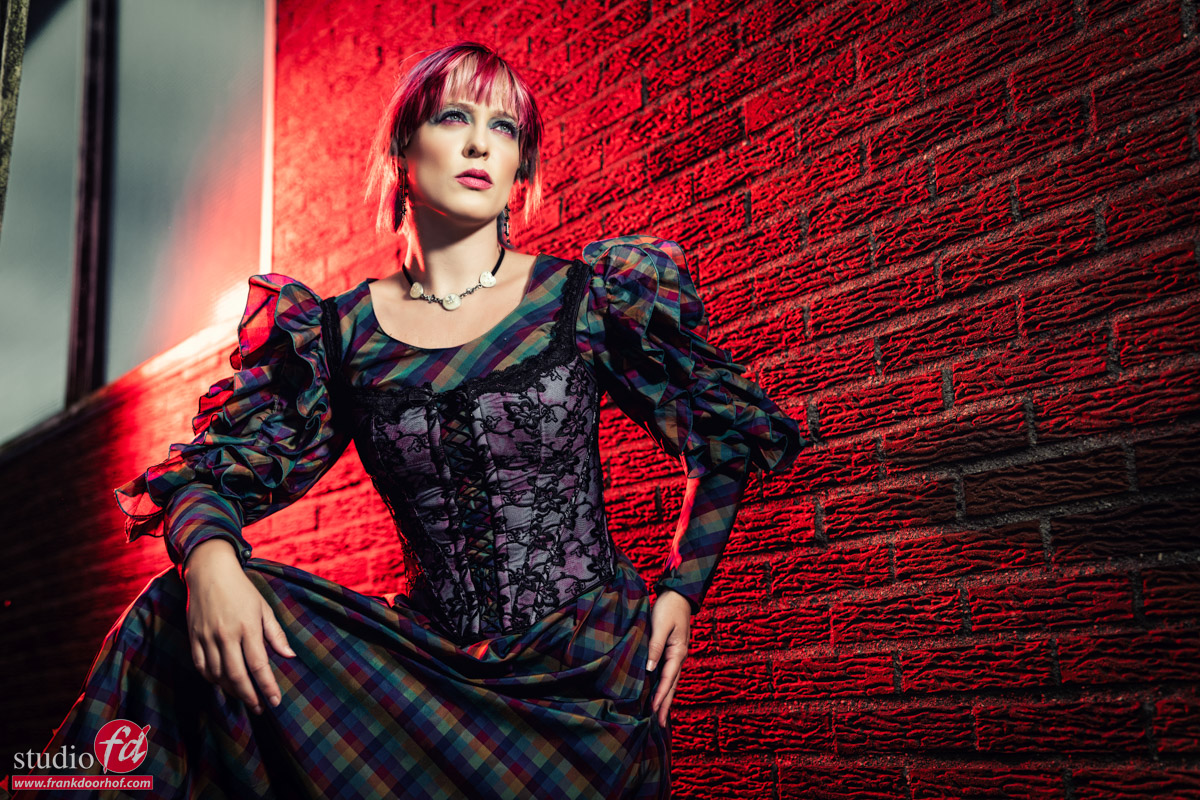
Here some samples with our own ClickPropsBackdrops backgrounds.
By changing colors, light angles etc. you can always make your background look different, but most of all they “just fit”.
Every time it’s the end of the world and a war online
When the first TVs were released the world would end.
When we saw Photoshop it would destroy photography.
When Apple released the iPhone life would never be the same.
Etc.
Every time we make a jump in our evolution there are people that think the world will end and people that embrace the new technology.
AI is different in the fact that it actually has a very dangerous side that should be very well regulated. But it doesn’t mean that all AI labels means there is a little digital demon in your device out for world domination. (I hope).
When I look at the remarks I got over the Photo AI add from Topaz I think people don’t get this last part.
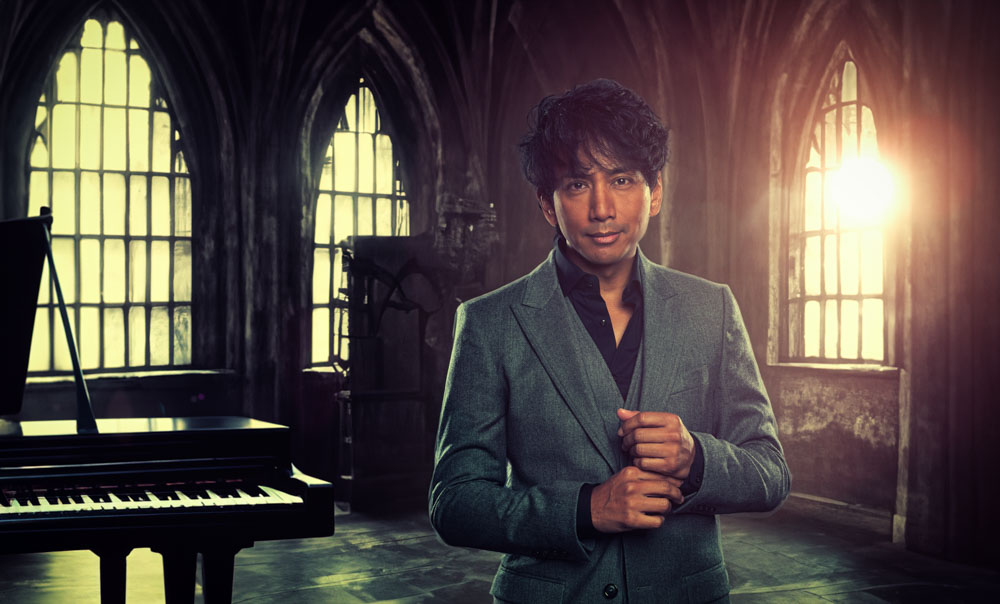
Now we are getting somewhere. It’s one of my shots and I selected the surroundings to fit the mood and also the artist but also added lighting effects, props, changed things in the background etc. this actually took some work.
AI as a “dumb” tool
Up until now one could argue that AI is having an active creative task in the workflow. And I can agree 100% to that.
However when we look at a tool like Photo AI I think we are totally judging this from the wrong angle.
Software that HELPS the photographer to solve problems are in my opinion (and this is personal) something completely different and could also be labeled as smart software.
When I feed Photo AI an image that is crap it will never create a masterpiece.
If I tell it to add smoke to a shot it will not do anything at all.
The only thing it does is remove noise and sharpen images based on learning models on how images are build up.
The most heard remark was that it changes the images and it’s all fake.
I have to disagree there and it’s actually super simple to explain.
When you are reading this post on a display you are using a form of AI, but rather basic.
The image in this post has a certain resolution and your screen has a certain resolution, and I’m almost sure your display will not show images 100% pixel for pixel on most devices. We call this scaling. And you are doing it constantly when you work in Photoshop. The reason you can zoom in and out is actually a little bit of magic, because it means that in real time your display is able to scale a 60MP file to any zoom you ask it to and it looks great.
The same happens in most TV’s now a days, called frame interpolation.
In simple terms extra frames are created in between the existing frames to make the image look smoother.
Is this really AI?
No, not really.
It’s actually not that difficult as a concept.
If this is 24 frames . . . . . . .
It’s very easy to make it into this ………………
Meaning if this is a ball being shot from left to right it just means the ball doesn’t stutter but it moves smoothly.
Now don’t get me wrong, it might not be super complicated as concept, but making it work is something completely different and that’s where you need soms “smarts”
For EVERY pixel the software needs to determine which position it’s in next by comparing contrast, color, size etc. but it also has to keep it within a certain time frame, otherwise we would have major problems with so called lag. So we need ways to do this smart, and this one could call AI. By using matrix readings you can cut some corners, and the more power you have the finer you can get.
For me this is without a doubt intelligent but it doesn’t change the content, it just makes it easier to watch without the stutters of 24 fps material.
For me personally software like Photo AI, Portrait AI etc. are not the AI programs that are taking away the work from designers or photographers. In other words it’s not a threat to our creativity. By using very smart algoritmes that analyse the content in your images it can determine what is noise (other colors and shape) and what is content, and by changing the color and size of the noise to match the surrounding pixels and making them fade over when needed you are in fact getting your original image back instead of it being covered by a layer of noise. When we dust our home we also don’t create something, we actually take it away so we can see the original scene.
Same remarks I got when demonstrating the focus possibilities.
This shot I took of Nadine during a workshop to see how far I could push the focus engine.
By shooting it in the studio I could see in detail how far the software could be pushed before making it into the familiar water painting effect. As you can see there is a lot possible.
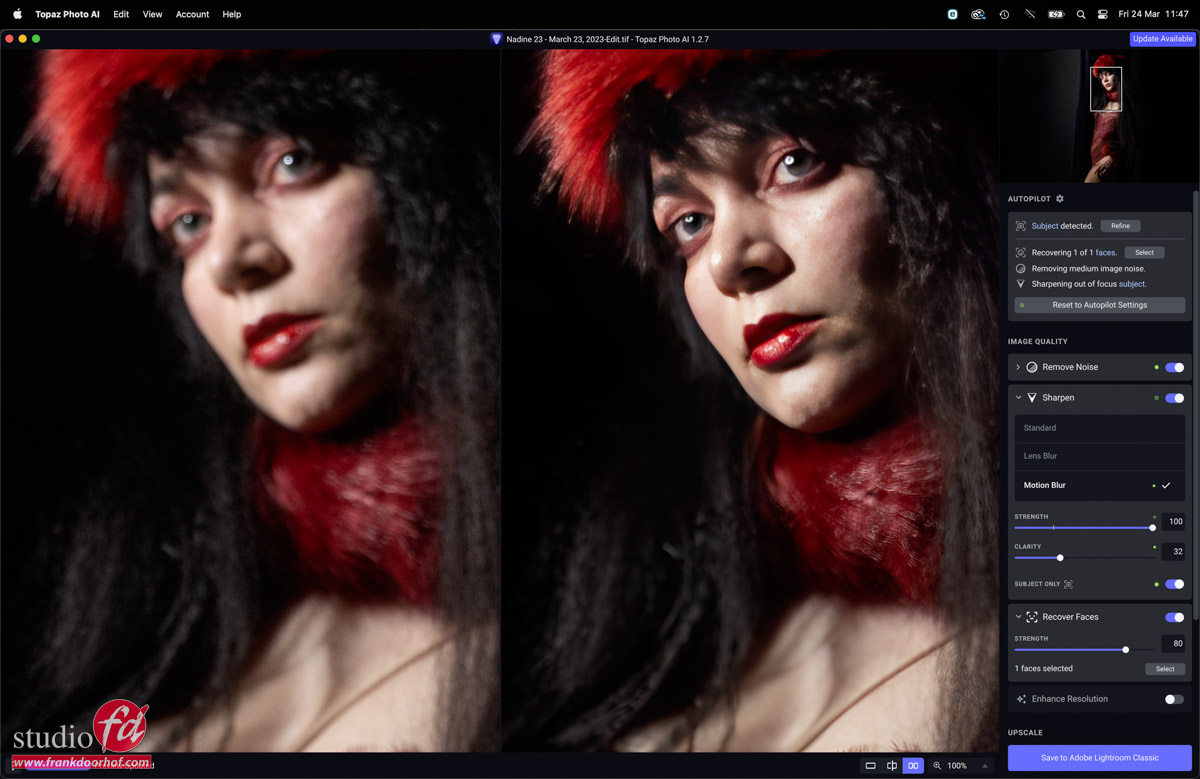
As mentioned before I did this intentional.
The left side would normally end up in the thrash, and to be honest the right one is also not really usable as you see it here, but realise this is a 60mp crop, and that means that if you miss focus just a little bit you can actually save an image quite good.
Now think about using this on your old family photos, in restoration situations etc.
Often we have people visiting our studio with very low resolution images of a dearly departed that needs to be blow up for an A4 (letter) display print, and in some cases you have to work with material that can maybe be printed on a poststamp but not A4 (letter).
In my personal opinion this is where I make the distinction between using AI to create an image out of nowhere, add something to an image you already took and set the mood, or just use smart algoritmes to recover details that were already there in real life but were covered by noise or where the photographer missed focus.
Do remember that focus adjustments can be based on the same concept as upscaling, it doesn’t find a new mouth online and replaces it, it changes the pixels and matches surround pixels based on contrast and depth calculations to get the image back to the original scene you shot and imagined as close as possible.
Conclusion
For me AI is something very scary but also exciting.
It will take jobs away, but it will also give us as creators tools we never had before.
Just like when Photoshop appeared it will make some jobs disappear but look at all the Photoshop experts that are now working in businesses all over the world.
My conclusion is very simple.
Creativity is human, you can type in whatever you want but only a good writer can transport you to that new world. You might be able to create stunning images but if you don’t have the creativity or understanding of story telling, lighting etc. it will never be anything else, just loose images without content. Just like a movie from Bruce Campbell will always be great even if it’s a B movie, but there are plenty of Hollywood movies that are shot with 100x higher budgets and better special effects but they are terrible.
You can record everything to a click track with the best virtual instruments and autotune.
But nothing, nothing can beat the creativity bands like Queen, The Beatles, Led Zeppelin etc. pulled off in the studio. It might sound less polished but at least it’s super creative and even now still sounding fresh.
Real creativity can be enhanced by AI, but it cannot give super powers of creativity to someone that doesn’t understand the basics of story telling. It will be a one hit wonder that will be forgotten with the next release of the software. The real story tellers will embrace AI for what they need it for, telling their stories with more polished looks and giving them options like the green screen once changed the movie industry.
But for the most of us it will also be part of our workflow as just smart algoritmes that have nothing to do with artificial intelligence but just the raw power of modern CPU/GPUs and smart programming.
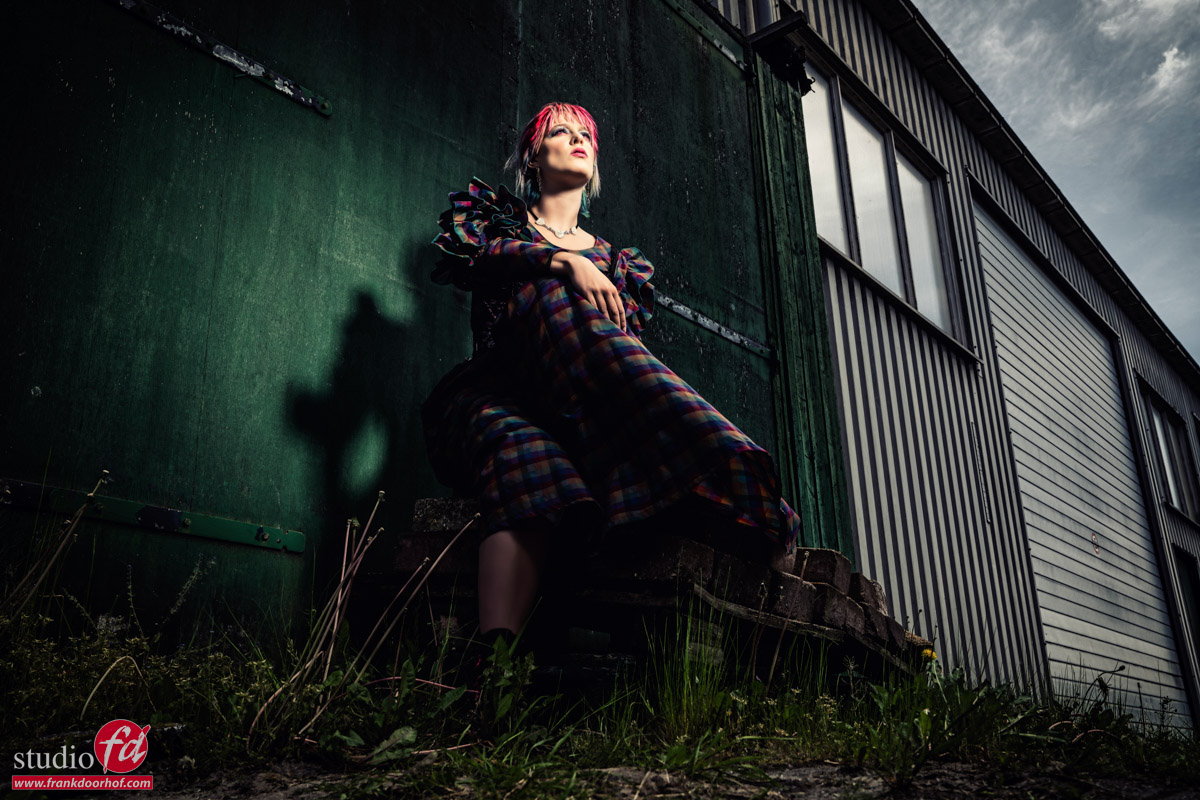
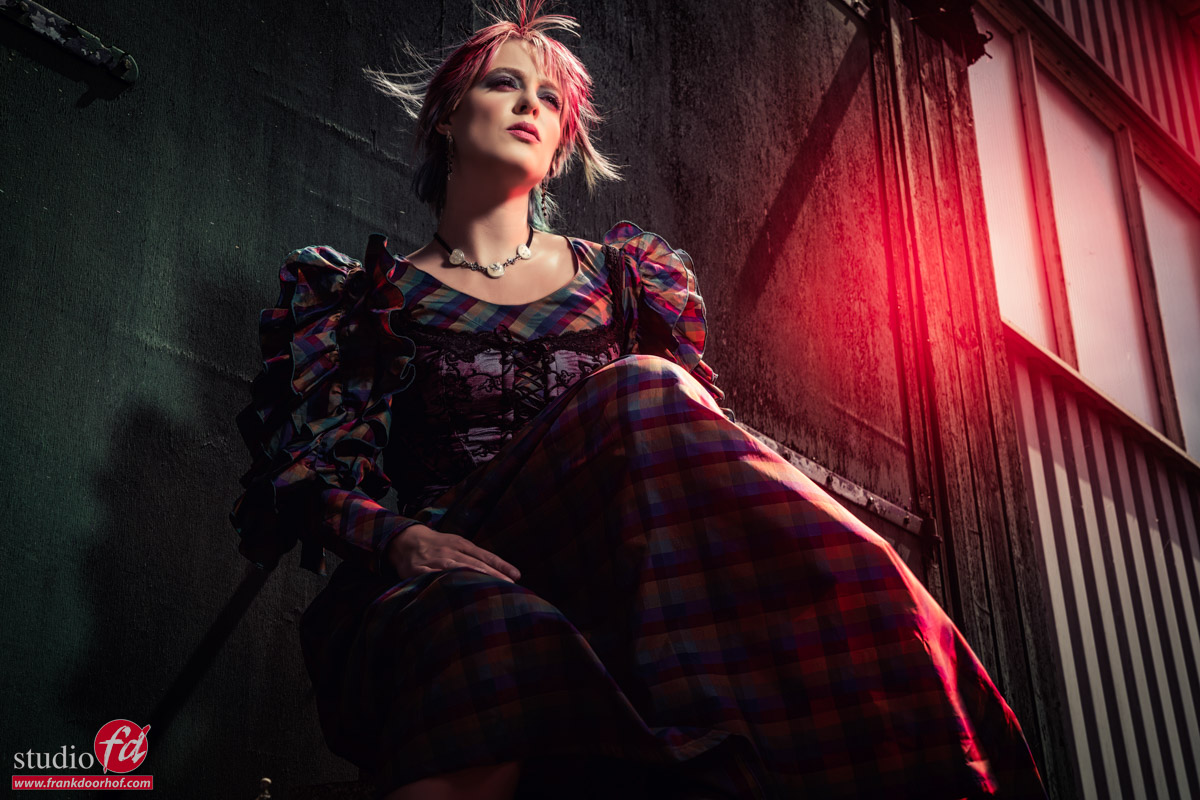
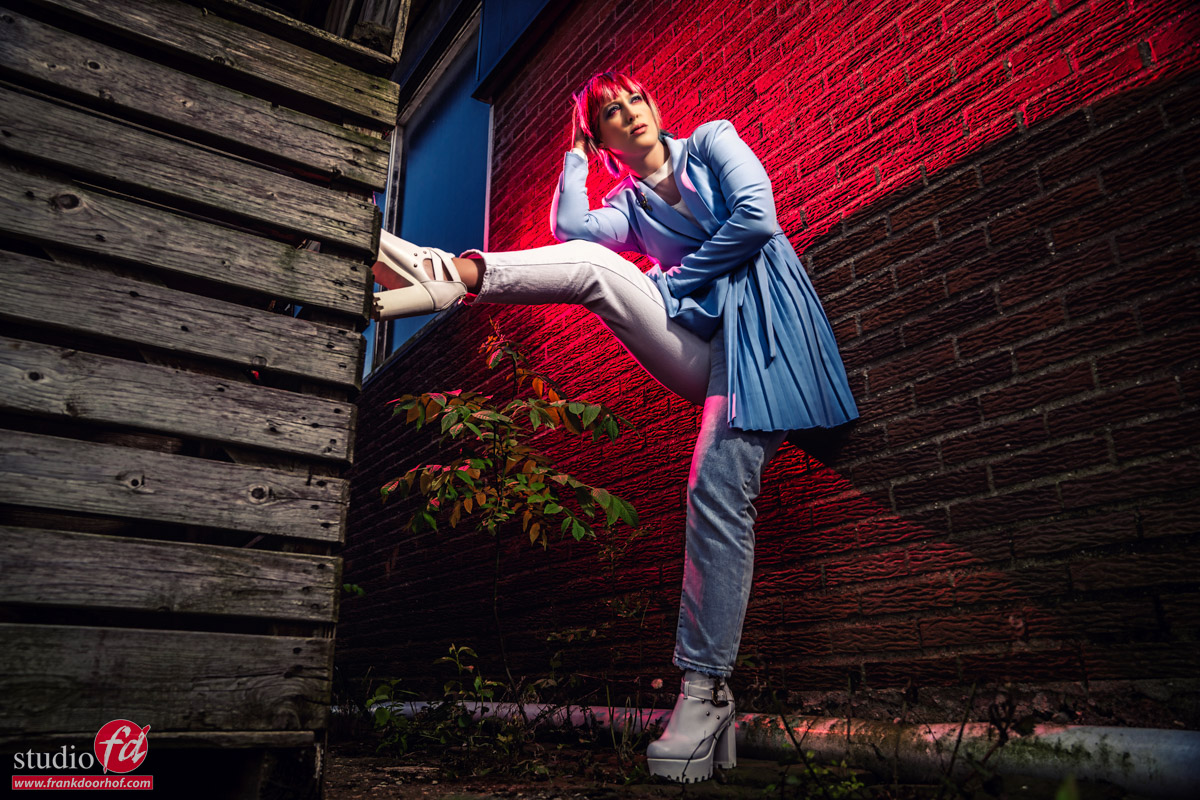
Tomorrow some fun images I played with for a friend.


You must be logged in to post a comment.