My blog, although I don’t see myself as a blogger but as a Photographer I will try to blog some interesting material during the weeks.
Expect at least 2 updates a week.

Wonder Woman in our studio…. oh yes

Today a few images from Jona in her wonder woman outfit.
Shot during a 3 day 1:1 workshop with Gabe who actually brought all the costumes with him for the workshops.


All shot with our Geekoto strobes.
Mainlight is the Nanlite Frensel.
Background : ClickpropsBackdrops
You can get all the gear I use, tutorials and backdrops via frankdoorhof.com/shop


And for the best colors 😀

As a Star Trek nerd I love these workshops

One (of the many) things I love about my work is that no workshop or shoot is the same.
I actually never prepare my workshops or demos, this way I keep it fresh for myself but also for the attendees that visit our workshops regularly.
This also means that I often listen to the questions the attendees have before the studio part starts (the Q&A) and base my workshop on those questions.

Besides the group workshops I teach weekly in our studio in Emmeloord I also do 1:1 workshops of course. And the cool thing about these is that some people just show up and use it to ask loads of questions and practice in the studio, but there are also workshops where there is a whole story board and idea behind the workshops.

When Gabe asked me if it was possible to do a 3 day workshop with me and work towards end results with several Cosplay outfits I was really looking forward to it, but than Corona hit and travel wasn’t possible for over 2 years. But finally this year Gabe was able to travel to the Netherlands.

Today I want to share three images I shot myself during the workshop.
All three were shot agains the emerald punch from ClickPropsBackdrops. I did this because it is a backdrop that blends really nicely together when you want to add some special effects. Now the idea was to test out the new AI options in Photoshop…. and I actually loved the outcomes, I hope you like them too.

For the first one I thought about the first series and the strange “fake” planets they would visit and where there was always something going wrong of course. So I thought it would be nice to create a sand planet with an obvious fake planet in the night sky.

When I cut out our model Jona and placed her on a separate layer the idea was to create a sand planet where she would be standing. But Photoshop AI had a much better idea and created exactly what you see here the sand part. I immediately admitted AI won here with the idea. I started adding some alien tentacles and bones, a night sky and the planet. Some mist effect and small details and in all honesty it didn’t take me long but most of all I think this way of using AI is SO much better than just using it to go from text to image for a whole scene. The fact Photoshop clones the background and makes everything fit is just insanely handy and really triggers your creative mind.

So for the next one I went a step further
We knew what I wanted as an end result, so the smoke and phaser are all real.
When I had the base image I started adding the light bars on the floor, the hallway was two separate parts, all the lights are of course fake. but the colors were determined before the shoot itself. And this makes it much easier but also more frustrated to get to your end result.

In this case it was exactly what I wanted. Blue light from a large window (like the engine room), a dark corridor with blue and red lights (like an alarm) some smoke and ambient effects and a phaser firing. And the AI did exactly that… wow.

Full of confidence I started with the final image. Picard period.
Well I can say that the end result is what I wanted, but this time is was a disaster to get there.
Loads of times I got messages I broke the rules of Adobe because asking for certain words or selections. So I decided to started with much smaller parts and build it up part by part. This went a lot better and especially the sides have turned out pretty cool. In the back I wanted a large window with a warp trail and although it could have been nicer I think this one looked the best.

And of course we also did one just agains the backdrop.

Working with AI in Photoshop beta is pretty awesome.
But literally in three images I had three different experiences, and I had this before.
Sometimes the AI seems to read your mind and does exactly what you want it to do, or even better, and almost every “guess” is right.

Sometimes it just does what you want, sometimes you refresh the idea and you put it together.

And sometimes it just doesn’t want to do anything.
You type in realistic laboratory wall with computer panels and cables and you end up with something that could have come out of a lego movie and doesn’t make sense at all, and that’s how that last image actually turned out. Where with the second one everything just clicked together the last image was really an image I almost gave up on, but when I switched to much smaller parts I really came together I think.

Hope you guys enjoyed this overview of the Star Trek series.
Gabe brought all the clothing and from our side we would love to thank him not only for visiting us but also for giving me a great few days shooting cosplay :D.


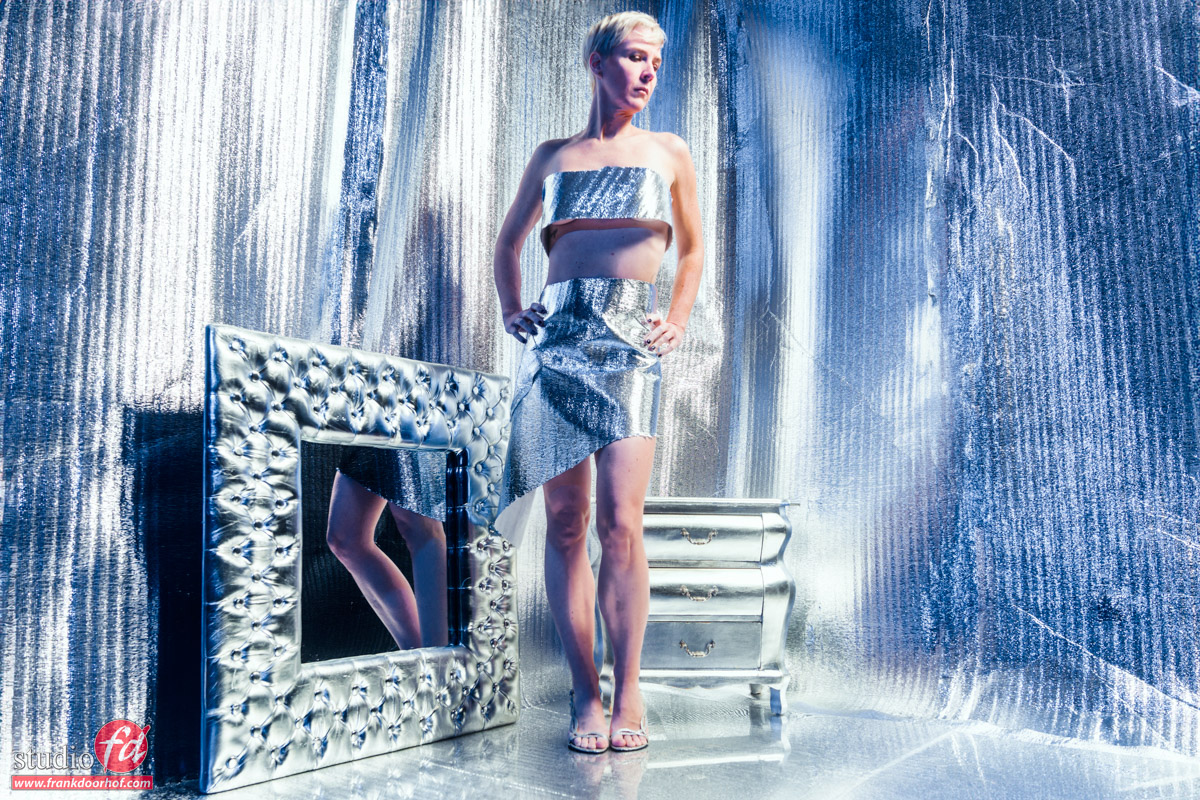
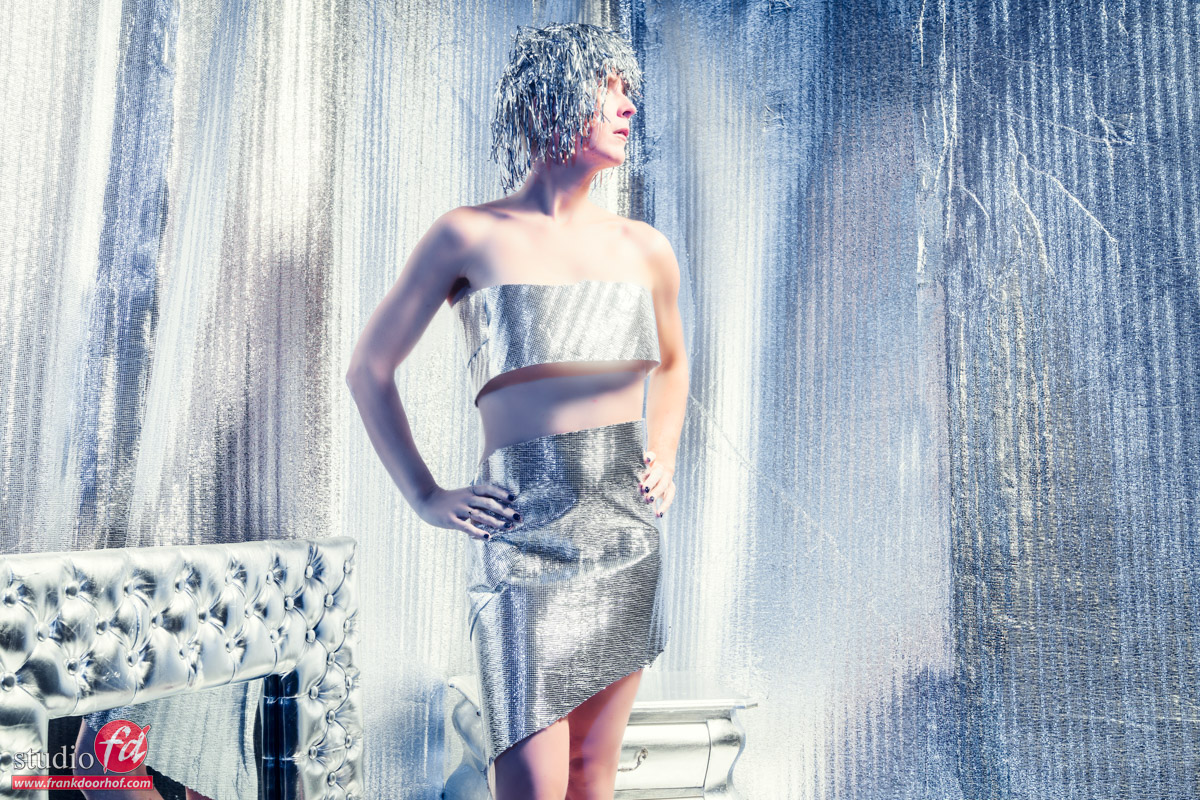
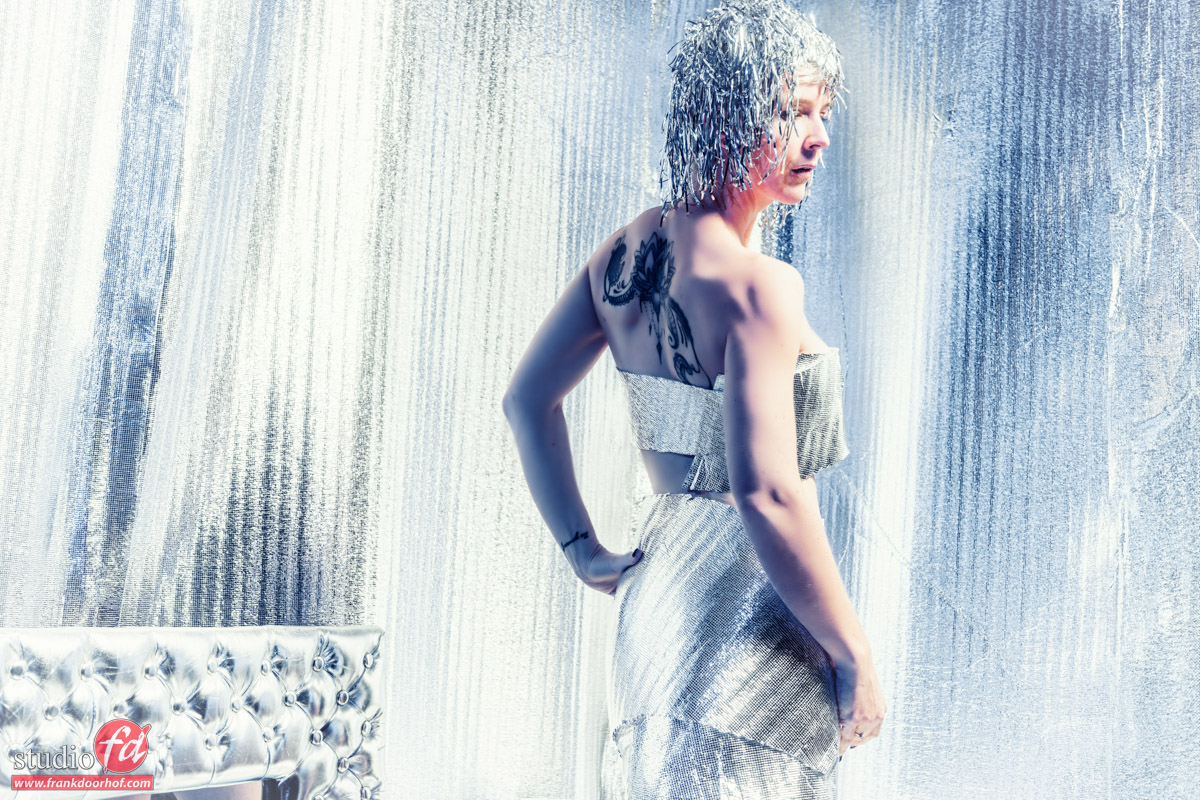
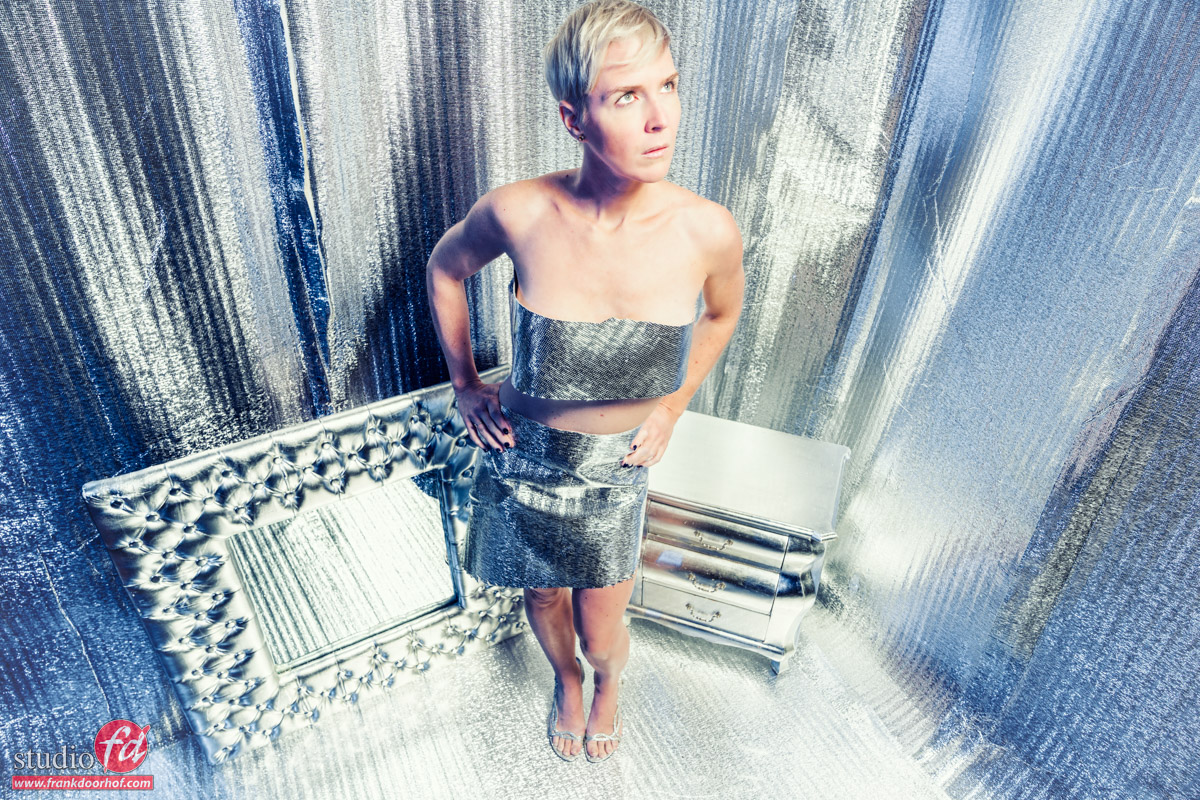
Gold it almost hurt your eyes so much Gold

A background really makes the shot for me.
I recently had a whole discusion with someone about how AI would replace backgrounds and no-one would ever shoot against backdrops anymore. I don’t think I have to tell you guys I did not agree 😀

One of the reasons we sell our ClickPropsBackdrops is not just for the print on a backdrop, but also the material and how it interacts with lighting. Every backdrop I use will respond differently. For example our vinyl backdrops are more harsh and really pop when lit with hard light. Awesome for modern looking images where you really want some content that adds to the scene.

On the other side we have our Pro-Fabric which looks and shoots very like the old canvasses we all love but no-body really can afford. Plus they have huge disadvantages with tear and wear and wrinkles which means you can’t really do a spontaneous shoot unless you prepare your background.

During the workshops I could always shoot with the backdrops we have and never feel bored, but I also love to “freak out” with other materials and building (sometimes over the top) sets.

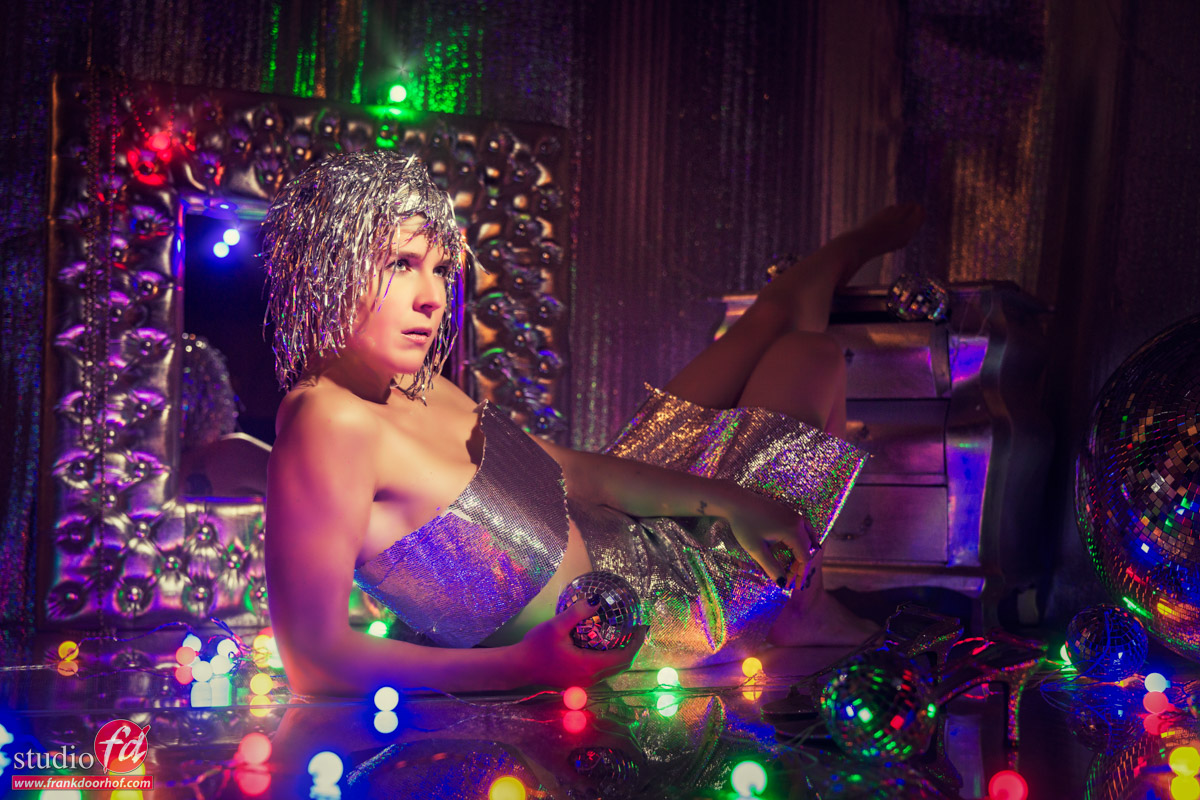
I always wanted something really eye-catching and we decided to build something with gold as main theme…. in all honesty it turned out WAY better than expected.

Lucky workshop
As soon as I took the first shots with my phone I already saw the quality of the background, this was going to be fun.
The idea was to let the light bounce around the set and just let it reflect where it “wanted” and see what happend. Normally I try to get the reflections out by using the angle of incidence is angle of reflection rule, but in this case I thought it would give a really nice look, and it was impossible to prevent because it’s not a straight wall but there were angles in the material all over the place, so keeping reflections out… impossible, and when something is impossible….. embrace it and make it part of the image, you will be surprised how often problems become awesome parts of a shot 😀

I started with just the fresnel on our model Claudia. And although I loved those shots, I also got a package in that morning with a special new guitar. My first headless guitar actually, and I just loved the look and thought it would look great in this set, so of course I could not resist (I always love shooting my guitars during workshops).

For the guitarists :
This is a Latitude low budget headless guitar.
But I can highly recommend it, it plays like it costs at least 700-800 euros, but is sold for under 300,00

Ok let’s take a look at the first shot.

As you can see the light scatters around very nicely on the set.
But this was a bit too dark for my taste, for this set I really wanted something that gave a lot of power.

So I added a Geekoto small softbox next to the Fresnel and used a yellow gel from the back hitting both the model and the walls which were setup in a 90 degree angle. The result was a lot better. Still attention to the model with the Fresnel, but a nice fill from the small softbox and the backlighting really added the glue to put everything together.

Sorry for the many photos but part of the workshop was also how to find poses with something like a guitar and I ended up liking way too many images.

Hope you guys enjoyed todays blog.
If there is anything you like to see in the blog just let me know.

See frankdoorhof.com/shop for the Fresnel, strobes and light shapers I use.

That beautiful old glamour light, nothing like it.

I’ve always loved one certain lightsource.

The Fresnel
It’s actually a funny story, one of the first times I demo’ed during a trade show I was actually using a Fresnel as a prop and also several demos as a main light source. And although at that moment in time I was not really yet into the more classical looks I immediately fell in love with the awesome look of the Fresnel.

The look of the Fresnel is really hard to describe (that’s why I use images), but it’s almost immediately recognizable.
Think about almost all the old black and white (and later color) images from the movie stars from the golden era and you immediately know what I mean right… well that era was dominated by the Fresnel look, you found them everywhere in studios. But now a days I hardly see them anymore. Mostly due to price but also I think because people just don’t know the funny looking Fresnel.

I always describe it like a mix between a very hard light source and a nice soft beauty light effect (told you it was unique and hard to describe)
The main thing about the Fresnel is however that it’s not a light source you can use in one way, you can actually zoom the modifier to create a wider or more narrow beam of light, but in some Fresnels you will also get a very nice/nasty spot in the center of the light which can be terrible (just zoom back a little) but if you really want to draw the attention to a model and she/he is sitting still it can work great.

As you probably guessed by now the main thing about the Fresnel is the lens. You probably already have several Fresnels in for example your speedlights, although often in speedlights they are more rectangular, or if you’re an avid nature photographer you might once experimented with a Fresnel lens in front of your speedlight to “throw” the light a lot further and lighting birds or other wild life on distances you normally could never use a strobe. The Fresnel makes it possible due to the unique design of the lens, and the fact (with studio lights) you can zoom the lightsource to create totally different looks depending on how the light hits the Fresnel.

On the other side of the spectrum (zoom the other way) you get a much wider and beautiful hard/soft quality of light. It does give deep crisp shadows but not with the intense look you can get when using a reflector with grid. It’s a more friendly light source with a bite 😀

Now you might wonder :
“why didn’t you use it more before?”
Very valid question.
The thing a lot of people don’t realise is that 95% of my portfolio is shot during the workshops I teach, events we visit for workshops etc. And when I teach I don’t think it’s very handy to demo setups with modifiers that nobody can afford, yes indeed a Fresnel can be incredibly expensive.

Nanlite Fresnel
Recently I started testing the Geekoto strobes and because these use a Bowens mount I was looking at modifiers and actually found that Nanlite was selling a really nice looking Fresnel for under 150,00 euros which is pretty cheap seeing I bought a theater spot online for 150,00 used and using that one with strobes is far from a working solution, well ok it works but it’s not something you easily setup, using two stands te be able to zoom for example 😀 so the idea of having something that works like a Fresnel for under 150,00 really caught my attention. So we ordered one.

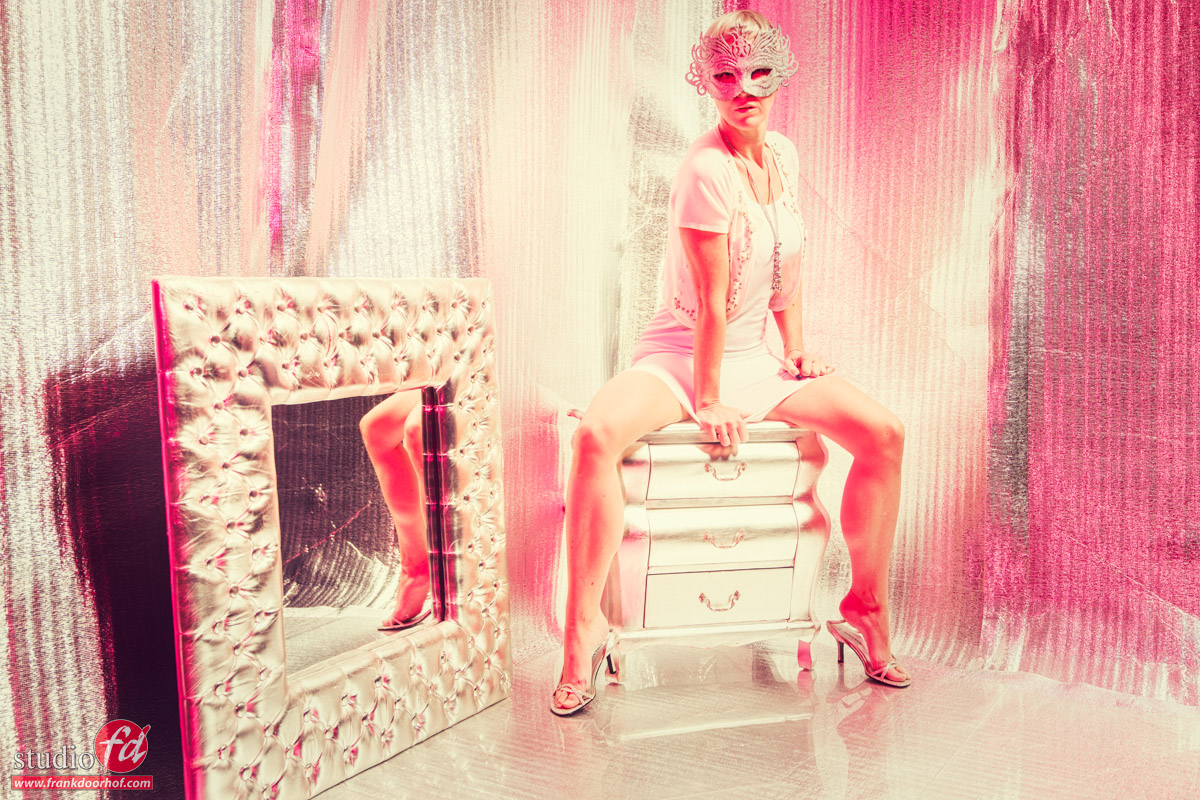
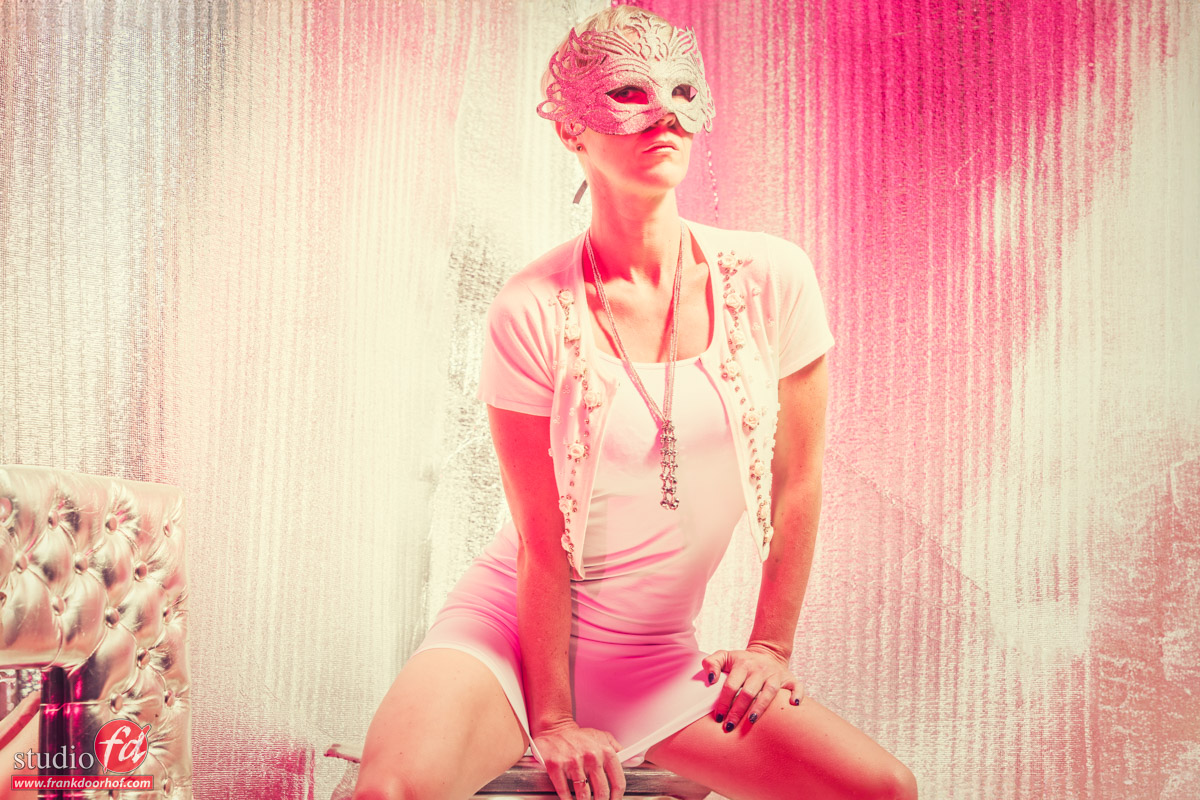
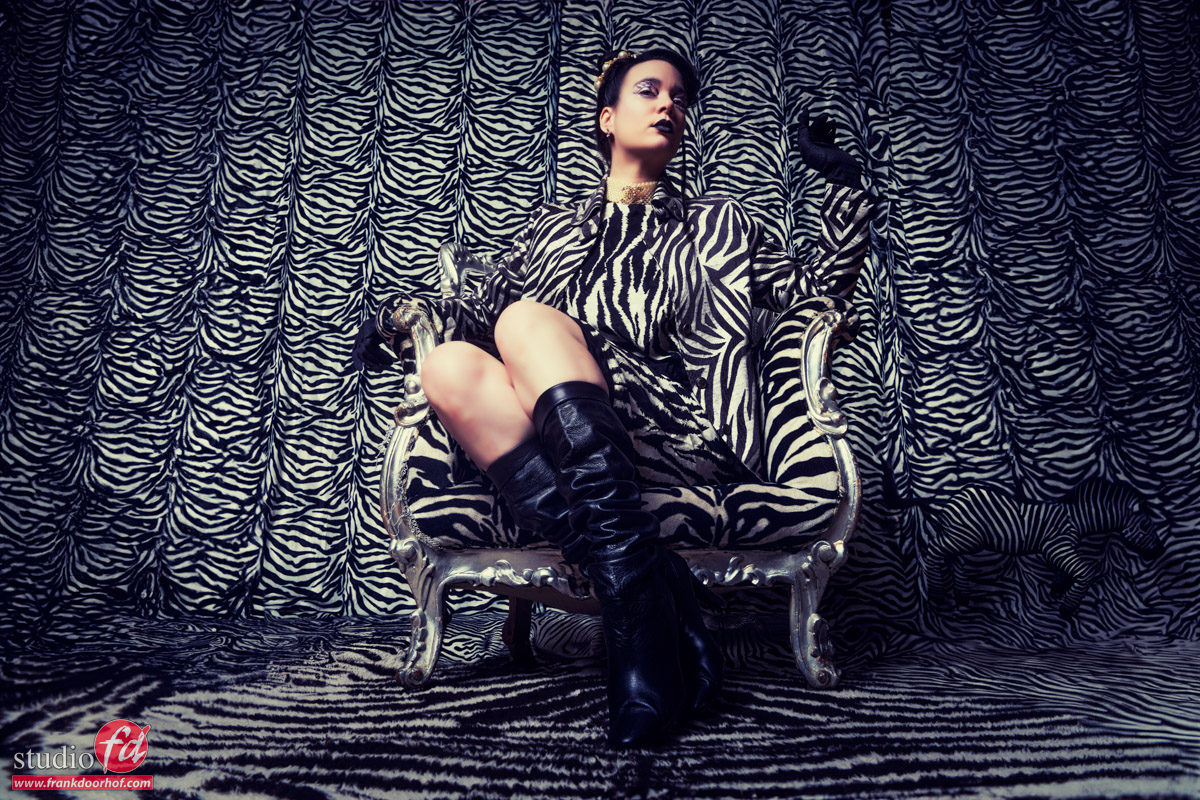
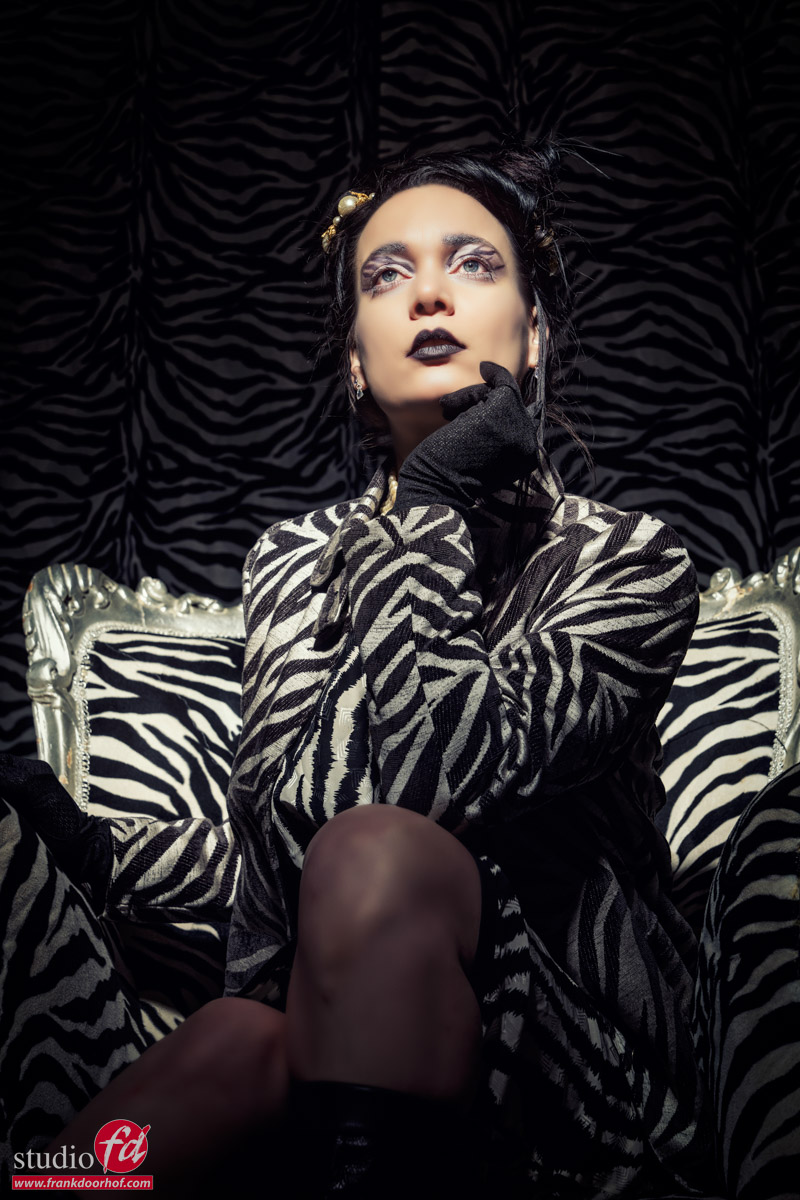
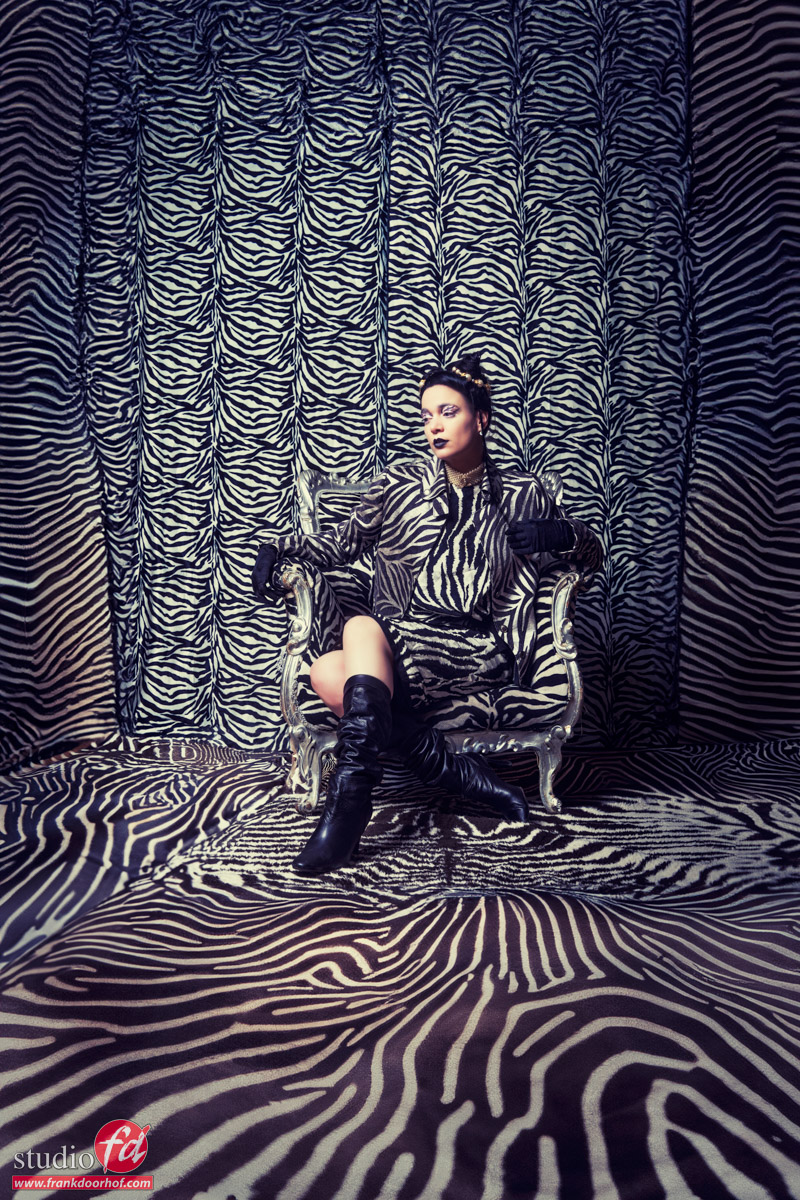
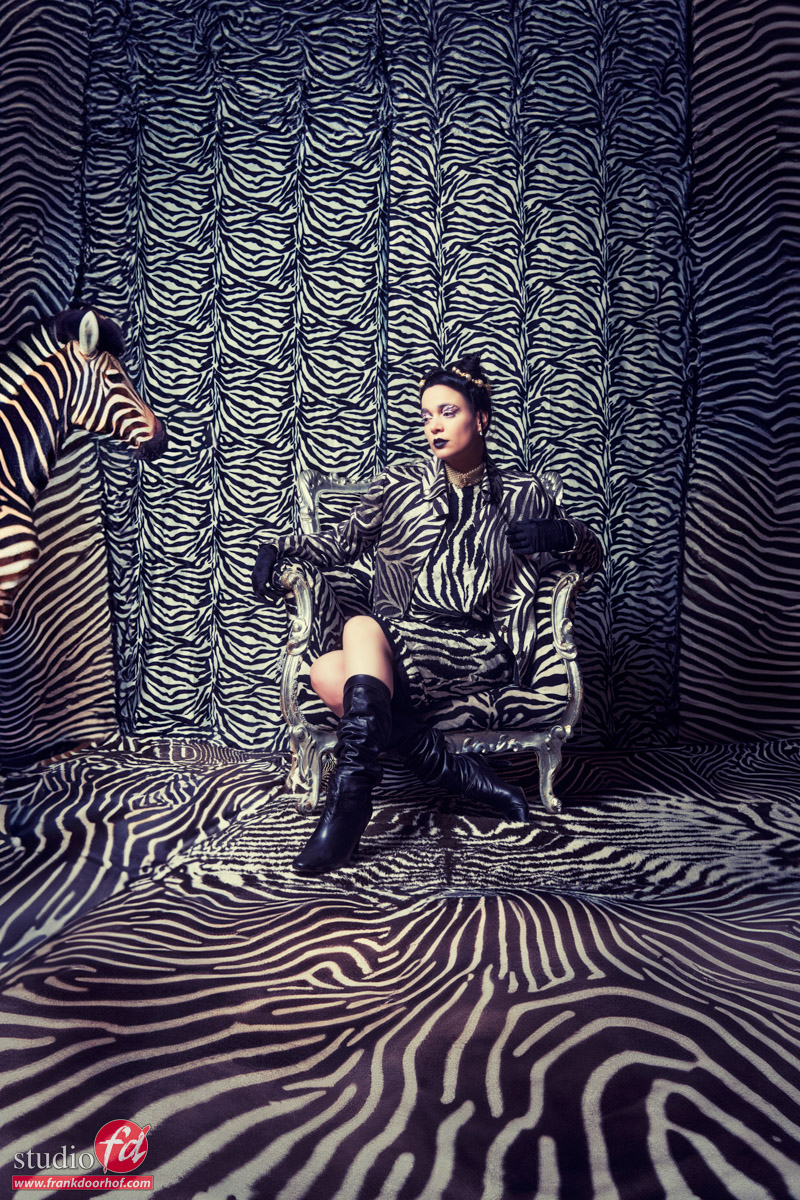
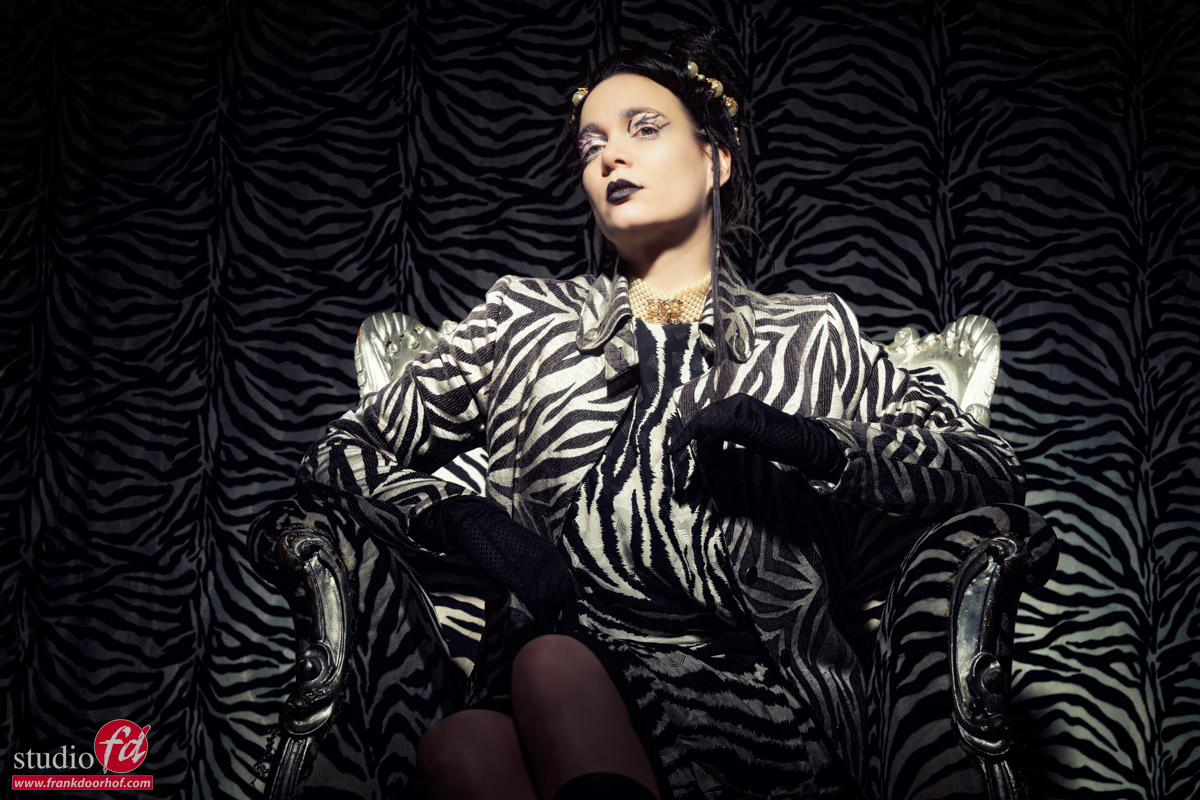
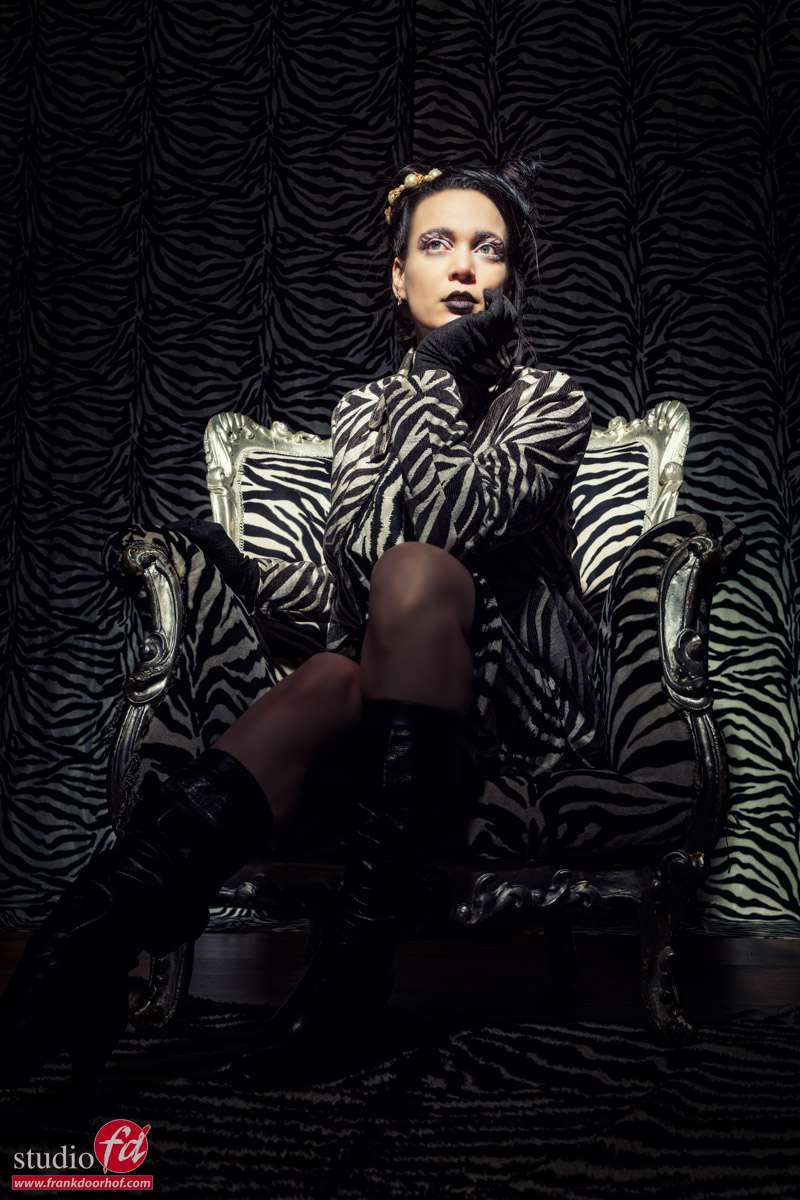
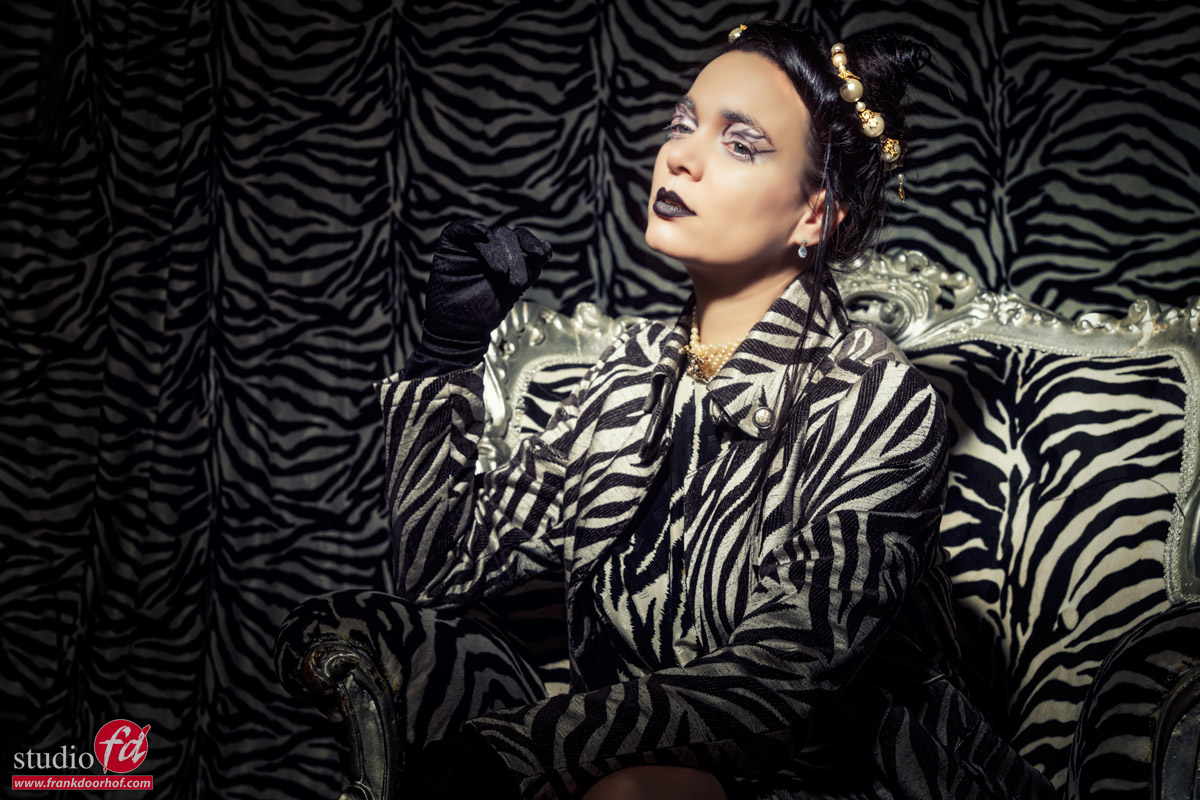
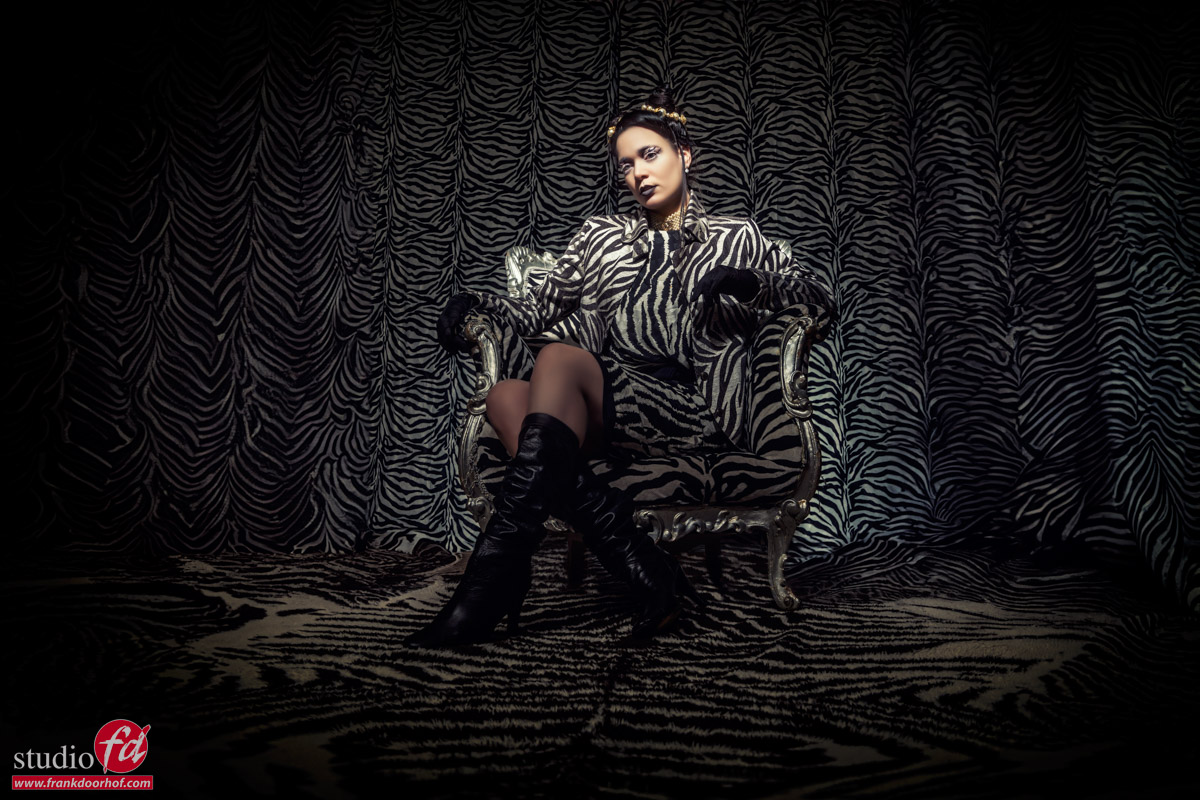
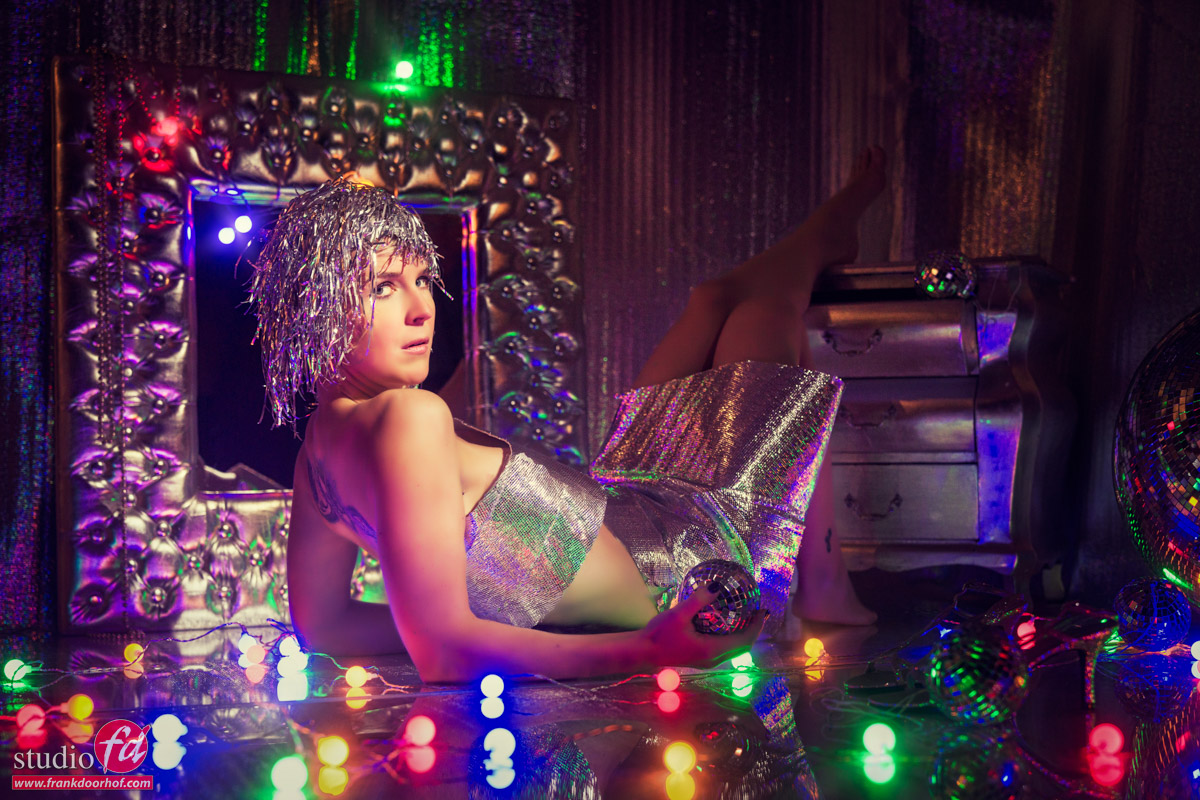
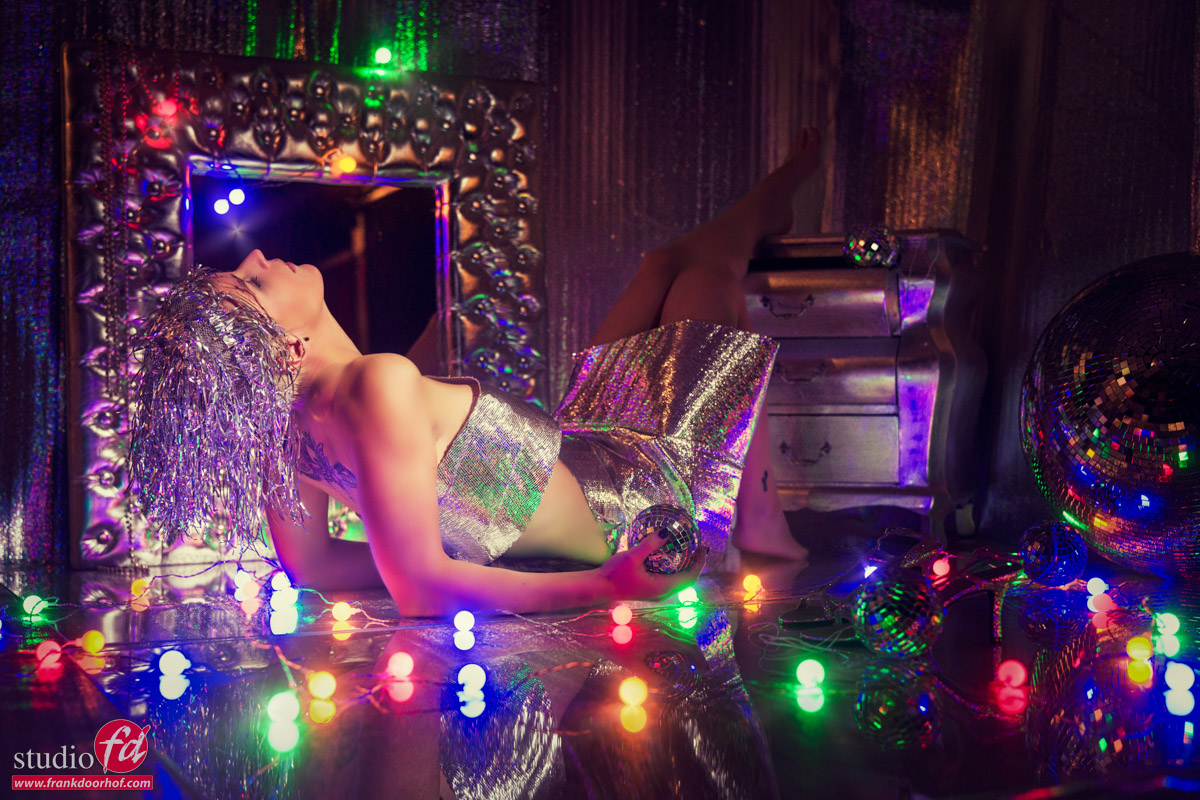
The images you see in this blog post are all done with the Fresnel as main light source and as you can see they have that really nice Hollywood like style light quality.

For portraits like these the Fresnel is a great lightsource.
Add some accent lights for extra depth and you can keep them in color or convert them to Black and White, whatever your taste, the Fresnel will look great.

But it doesn’t stop with portraits.
I also love to use it for a more rough looking full body shots agains for example seamless. The shadows are very defined and sharp and you can play with them by angling the light and really create a nice combination of model and shadow.

As you can see here the Nanlite Fresnel has more than enough reach to light a full body model from app 3 meters distance, and the cool thing is of course that if you can really fine tune the look of your images by simply zooming the Fresnel.

Lets take a look at a few more images I shot with our model and awesome stylist Nadine.
All done with the Fresnel as main light.

But let’s take a quick look at the next blog post.
Because believe it or not, I used the Fresnel also for these shots….

Conclusion
For me the Fresnel is one of those light sources a lot of people don’t really know about but when they see it…. let me put it this way, since I’ve been using it several students immediately bought one after the workshop. So I think it was a logical solution to also add the Fresnel to our webshop.

On our webshop you can find of course our tutorials, books and presets, but also our own products IQwire tether cables (5-10mtrs), ClickPropsBackdrops, Rogue, Expoimaging and Geekoto but we also created a special category for the Nanlite accessories I’m using myself.

Here is a link straight to the Fresnel.
We can ship it ourselves in the Benelux, for outside orders check the Nanlite website for dealers in your area.

Our Geekoto GT200 on the Nanlite Fresnel