One of the best tips ever
And also one of the most simple ones
And the moment I tell you, you probably go like “yes of course….. but I sometimes forget indeed”
Today I’m sharing one of the best tips, and it’s mostly about keeping your customers, or getting more.
Over the years I’ve done a lot of sessions, assignments and events, and if I learned one thing it’s that you always have to be prepared for everything and also take into account that people change (a lot and always). So what do I mean with this?
In most cases when you are hired there is a certain plan.
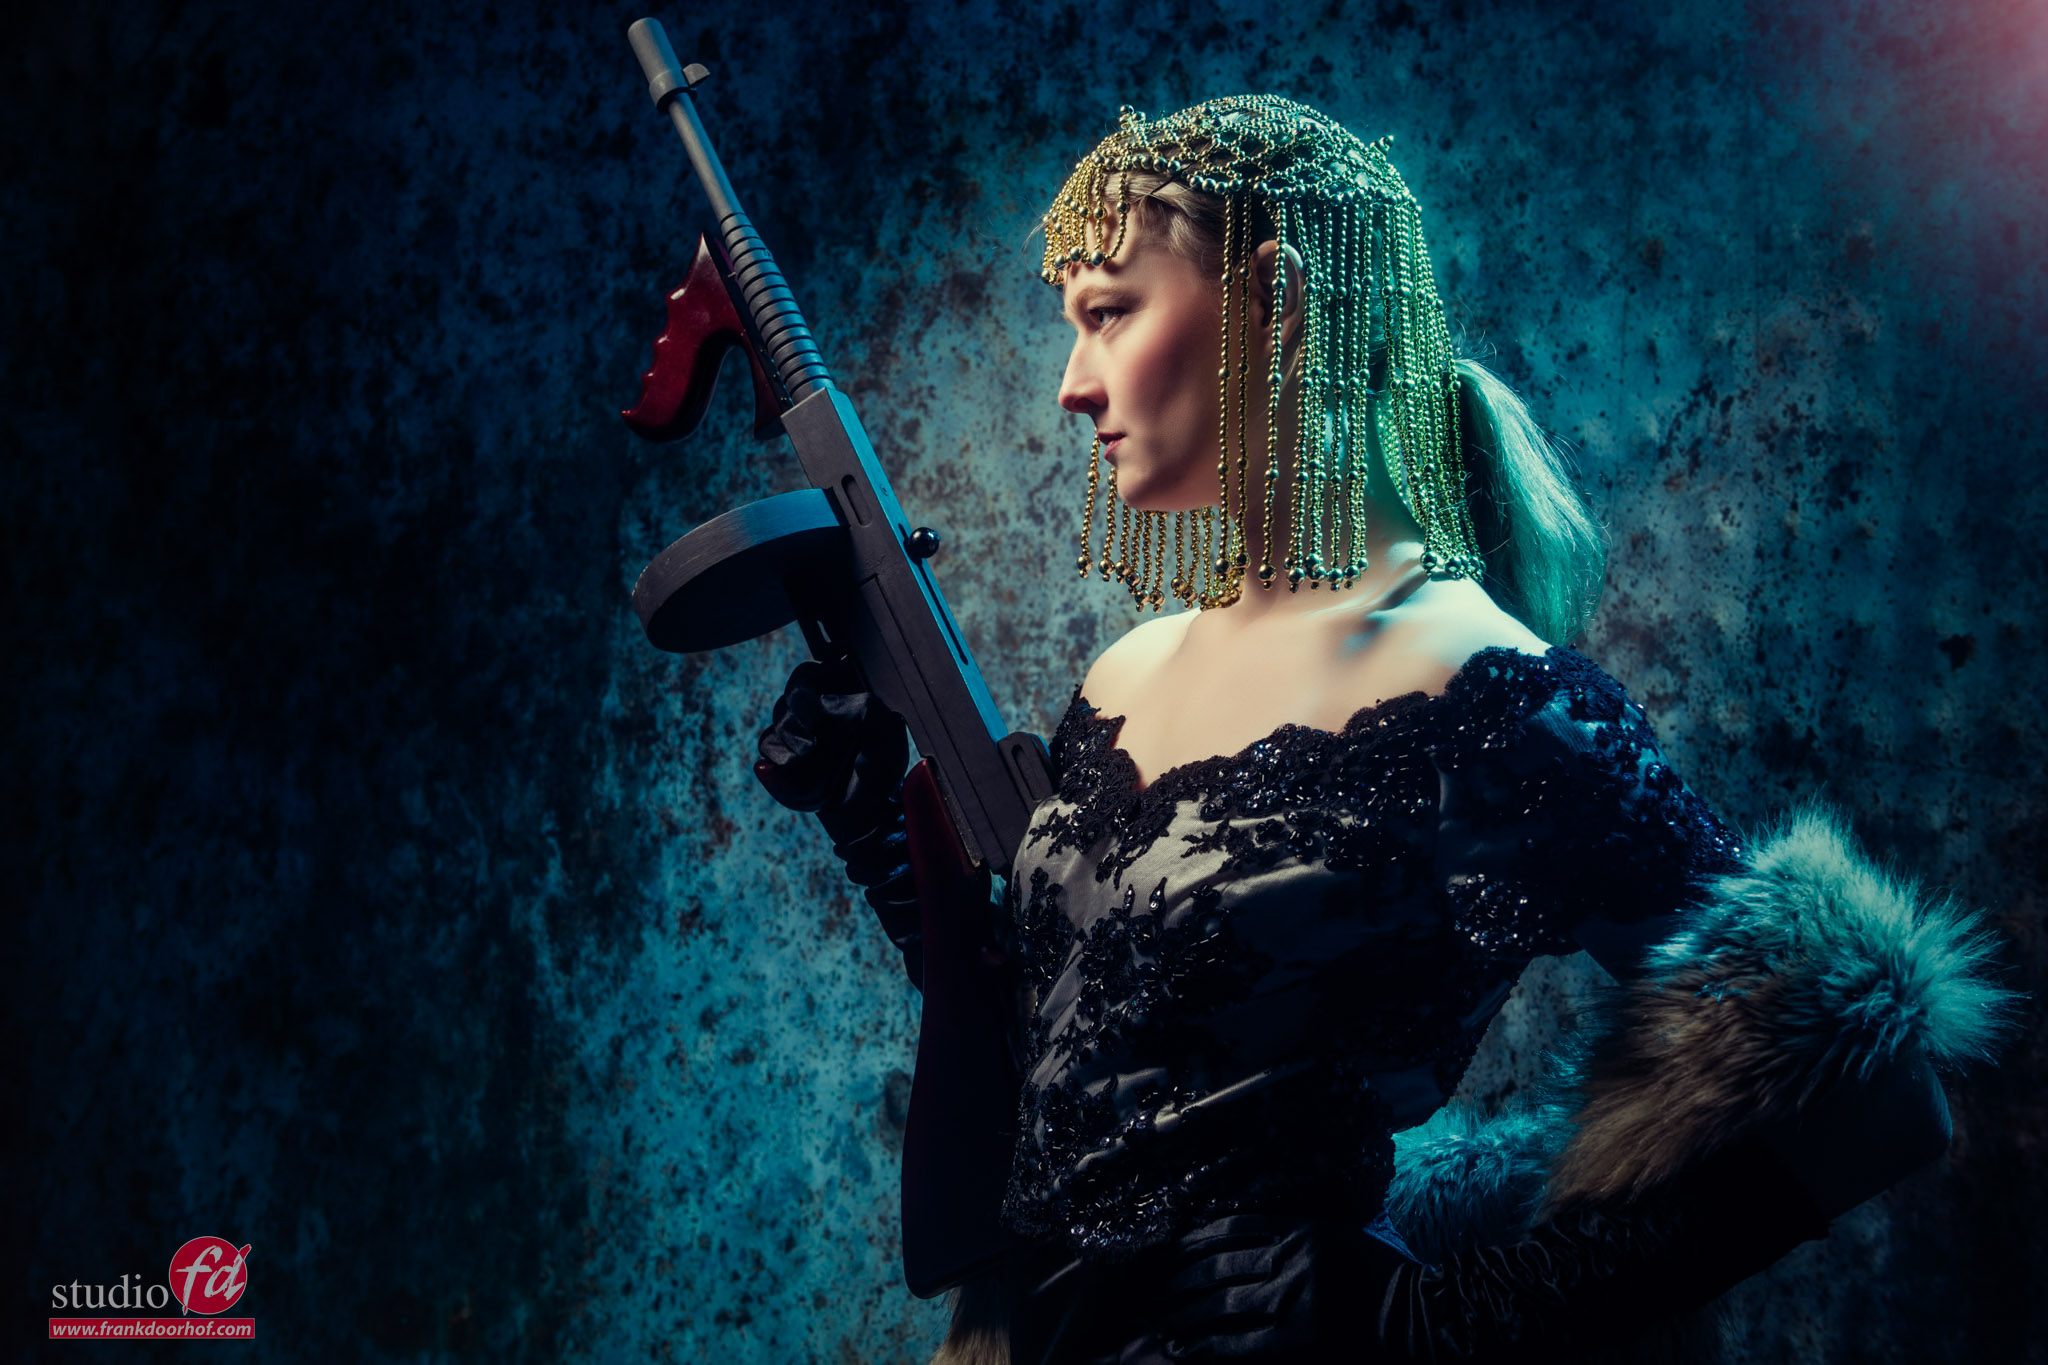
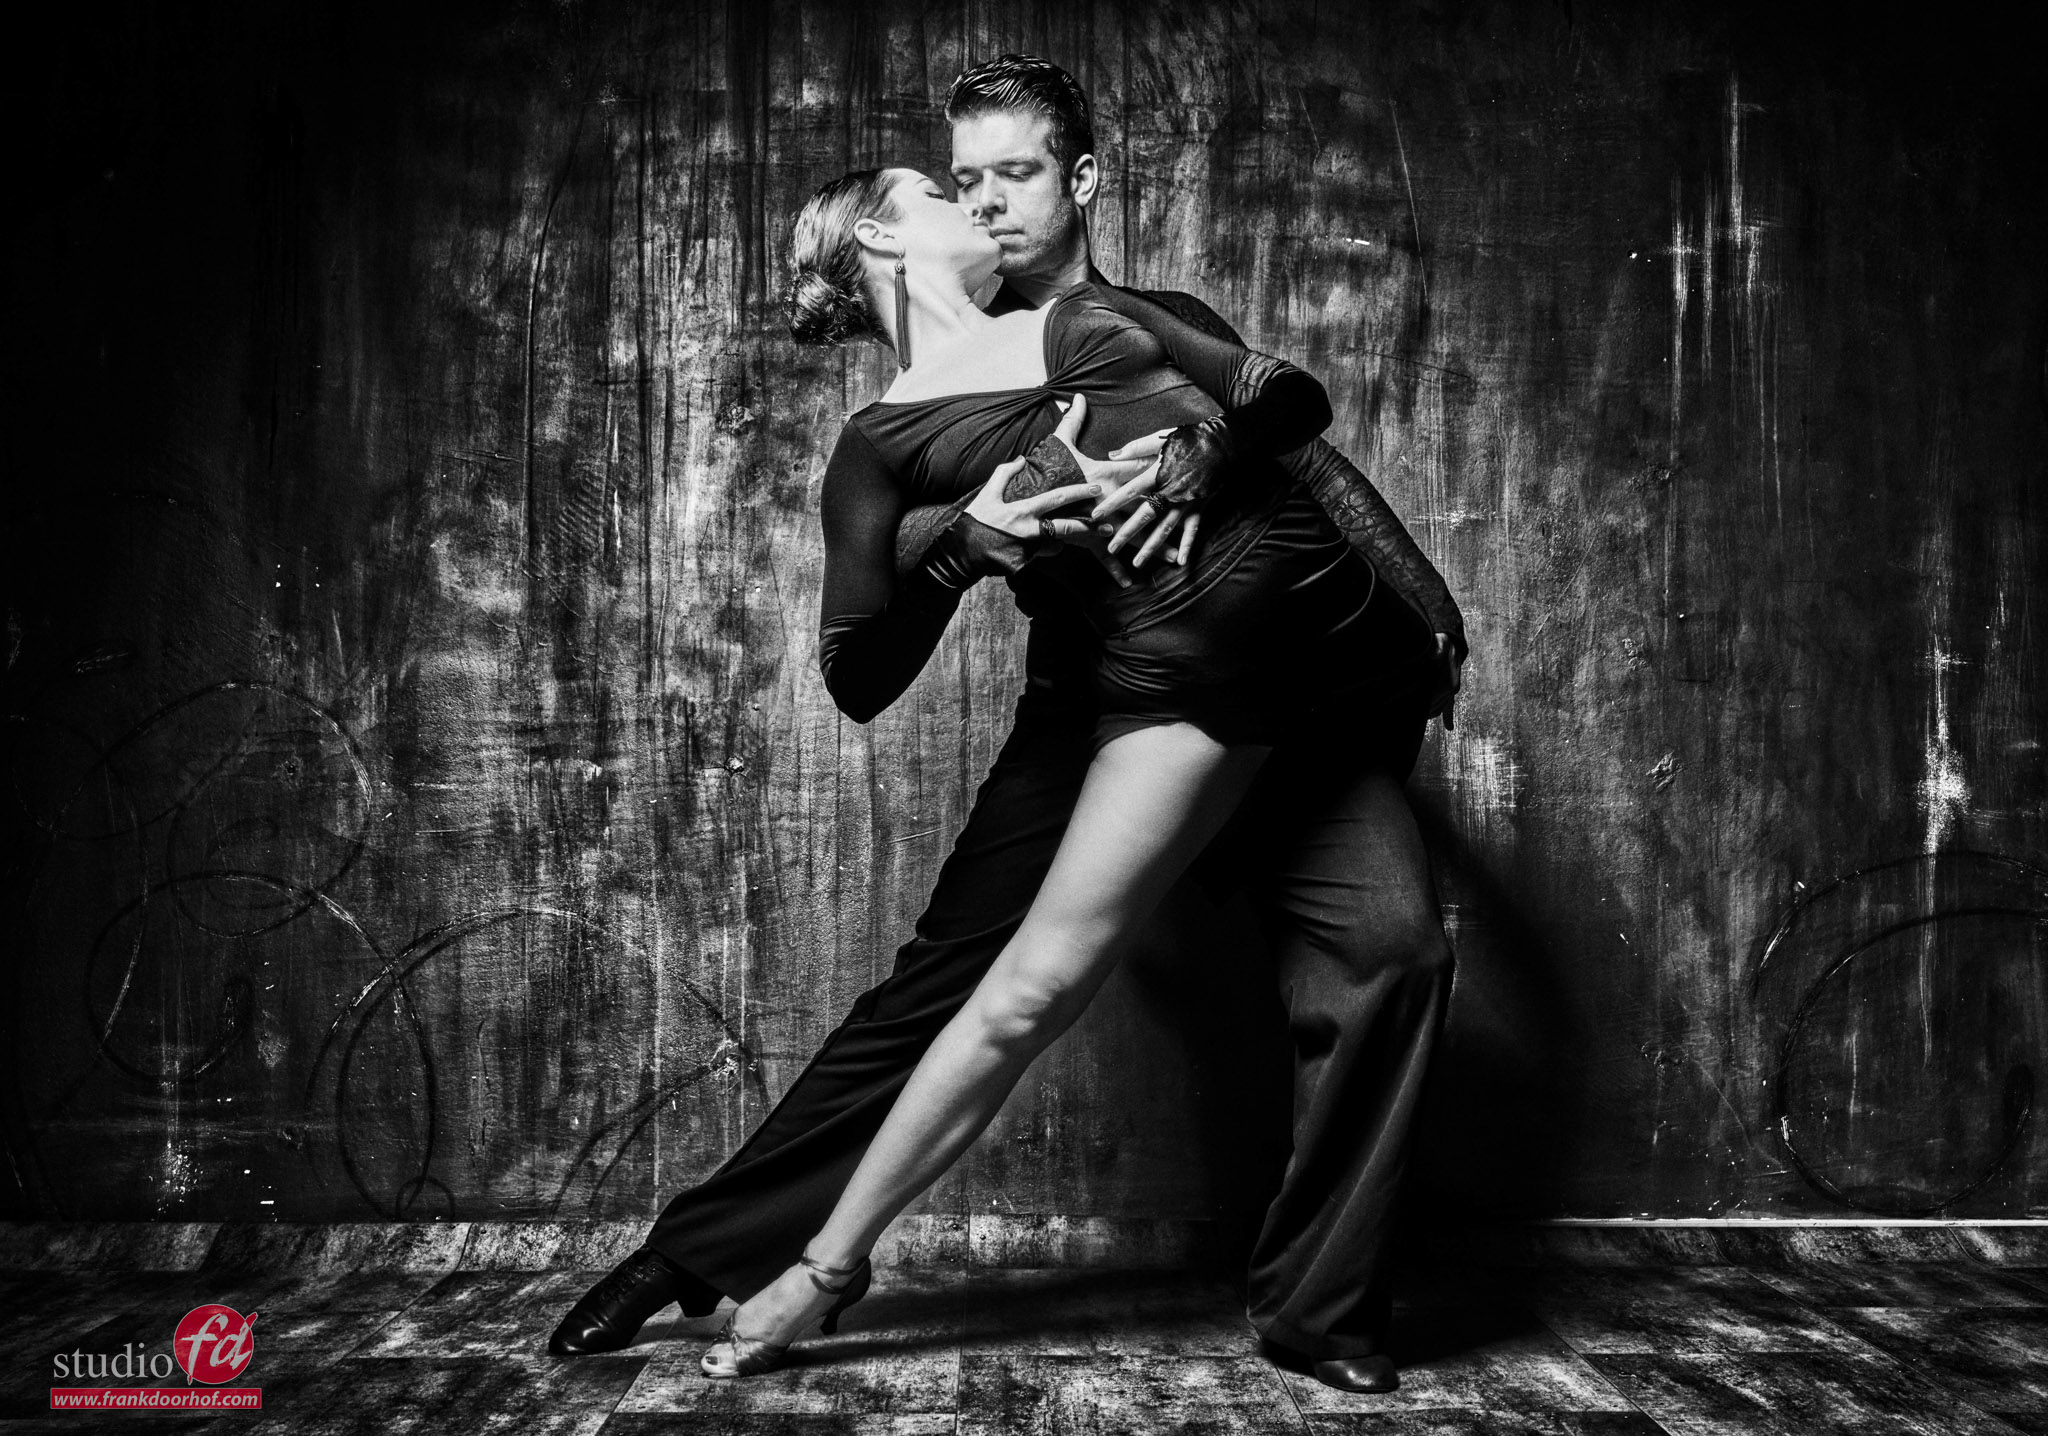
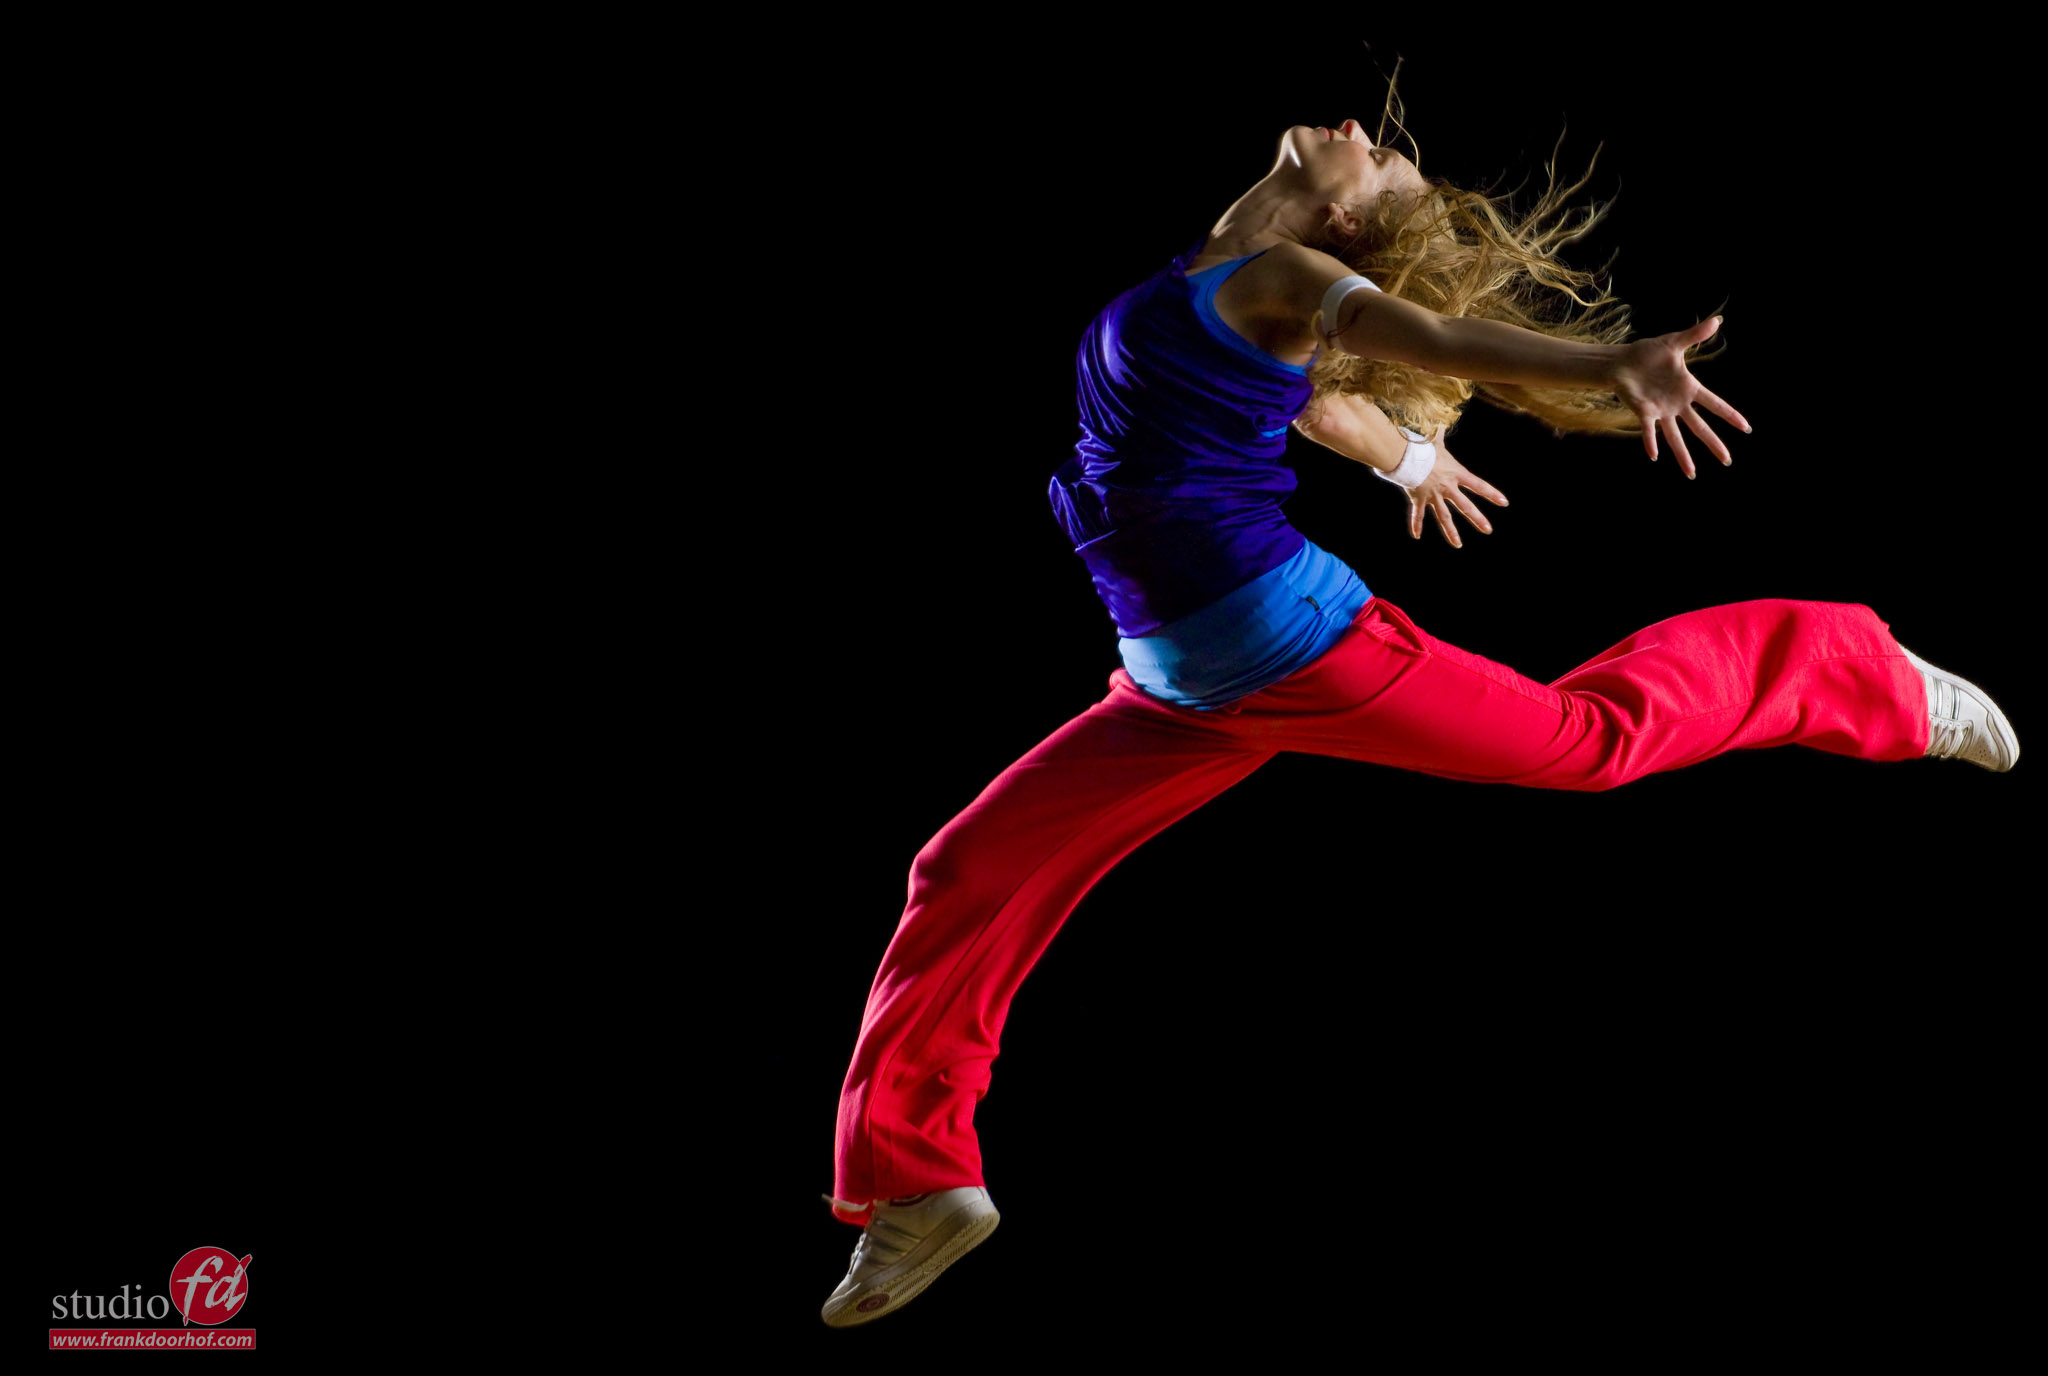
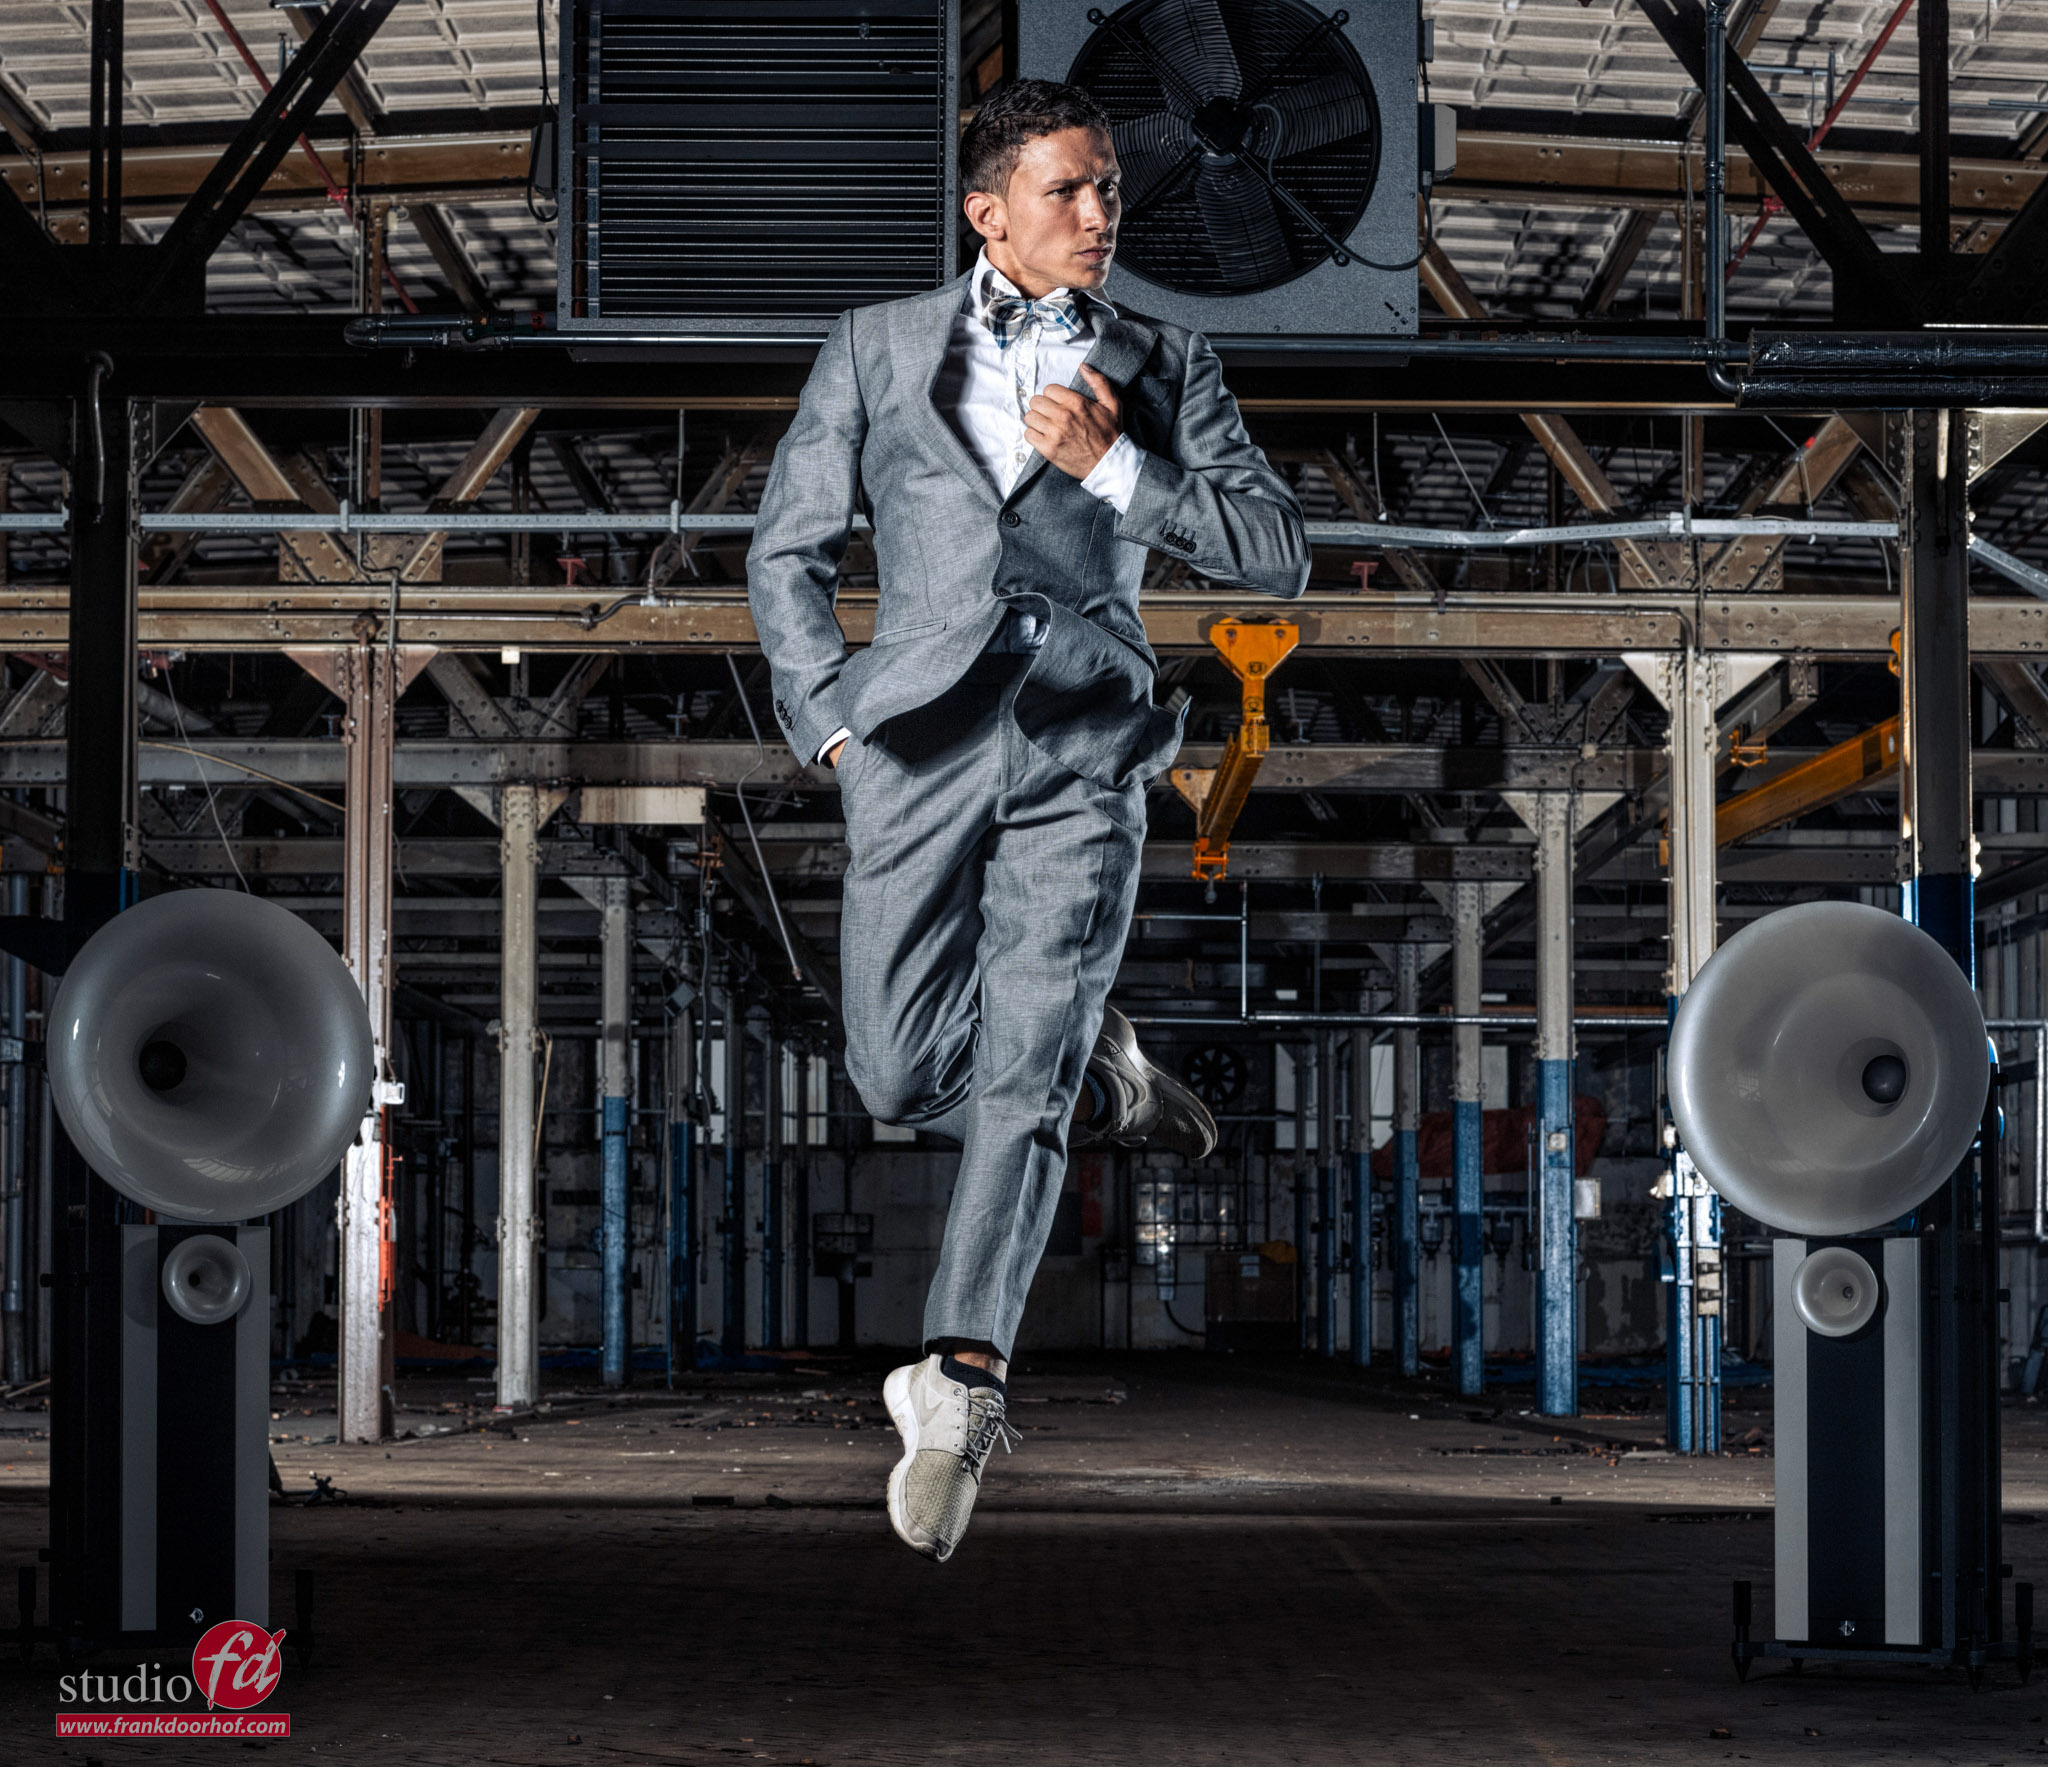
This can be for example “shoot a model screaming with a Tommy gun shot from a slightly lower angle”
And of course an image like this is exactly what the client asked.
When working very focussed it often means you are totally locked in to the image your client describes.
And when you get it and the client goes like “WOW LOVE THIS” it’s so easy to call it a day and write your invoice. but…..

But what if a few days later he/she realizes that a screaming model with a gun might be a bit too aggressive or simply not exactly the vibe fitting the campaign.
Of course you can rehire the photographer, model, build the same set and do it again. But you can easily prevent this but being pro-active in your session. And sometimes that means going against your client, who is happy with the shot and would prefer to just pack up and go home. For me it sometimes means that I just tell the client that whatever I do now is free of charge.
For example when the client orders a series on a white background I also always add some images against black and a few where I show the product with some props, smoke etc.
In most cases the client still uses the images he/she ordered, but we always get a very positive response and in a lot of cases they are using the other images also in another context and we hear a lot from customers they hire us back because we are always delivering the assignment but also some extra options. Plus often the client is so focussed on that look they don’t even know how it would look with another color, or for example within a set. This is one of the problems we all know… being to focussed and missing the bigger picture.
So back to our screaming model.
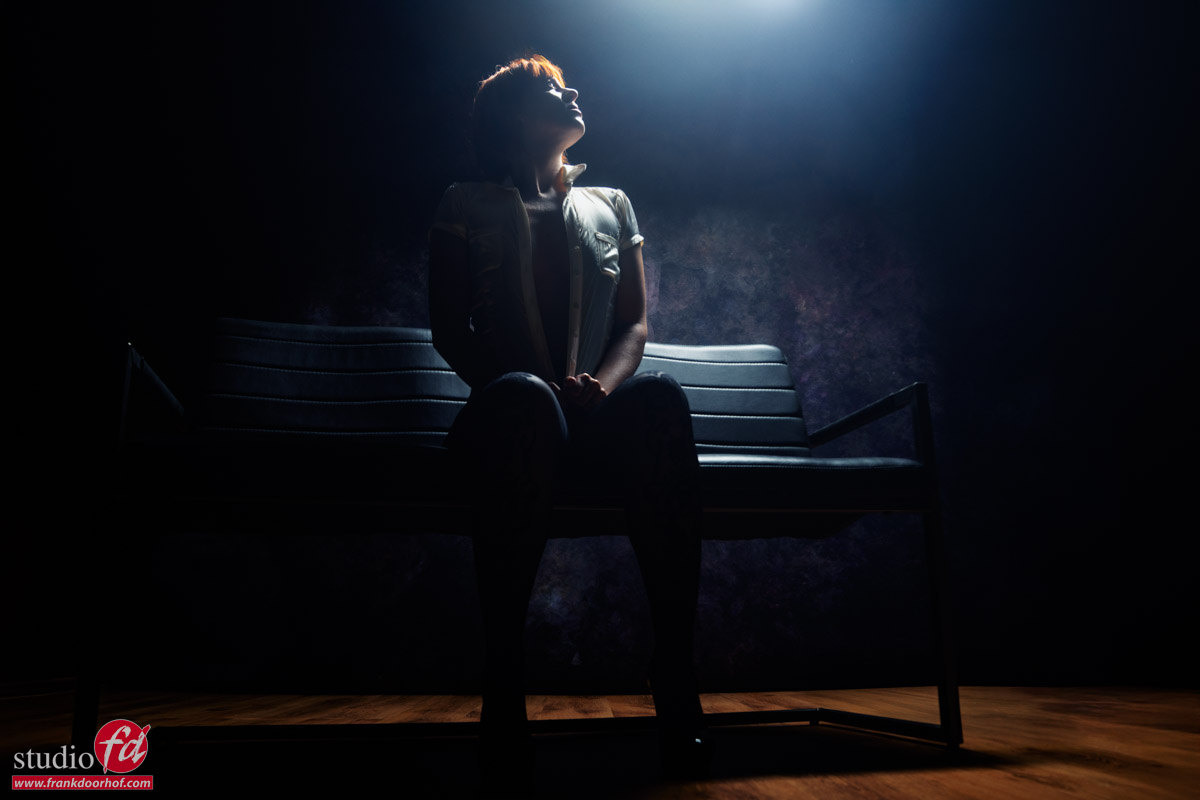
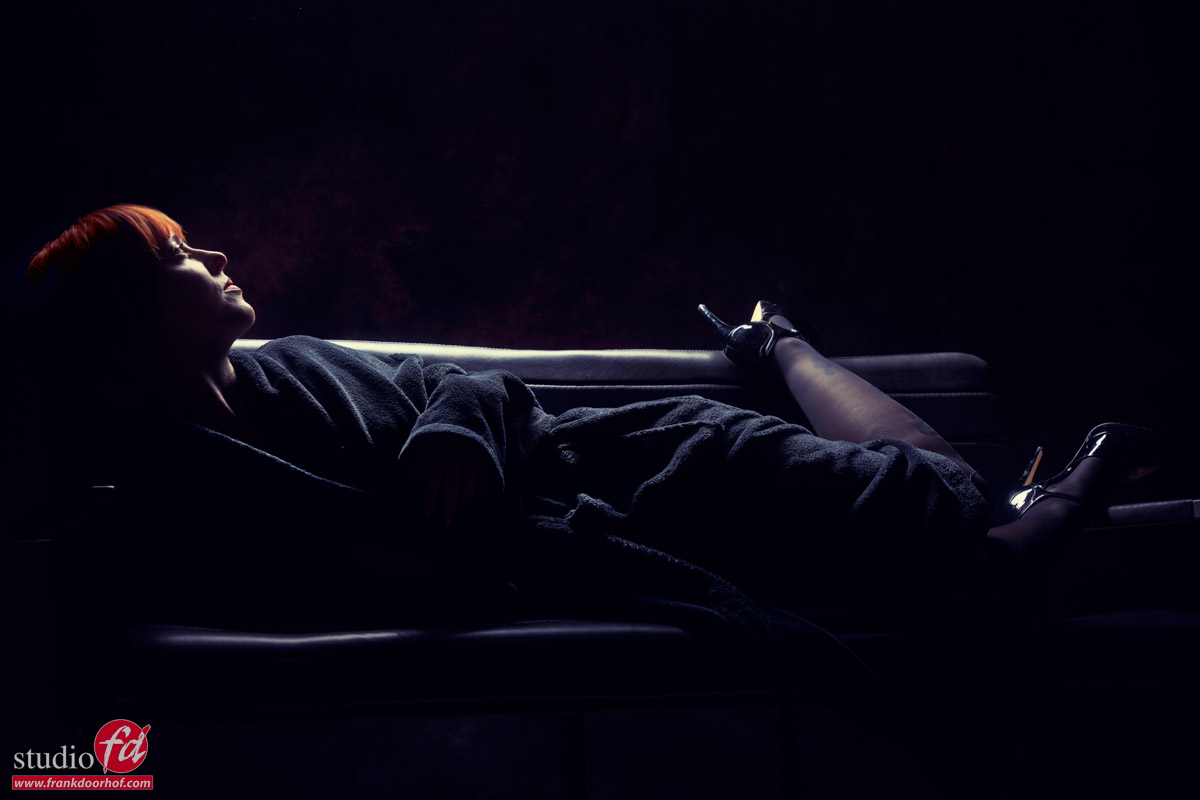
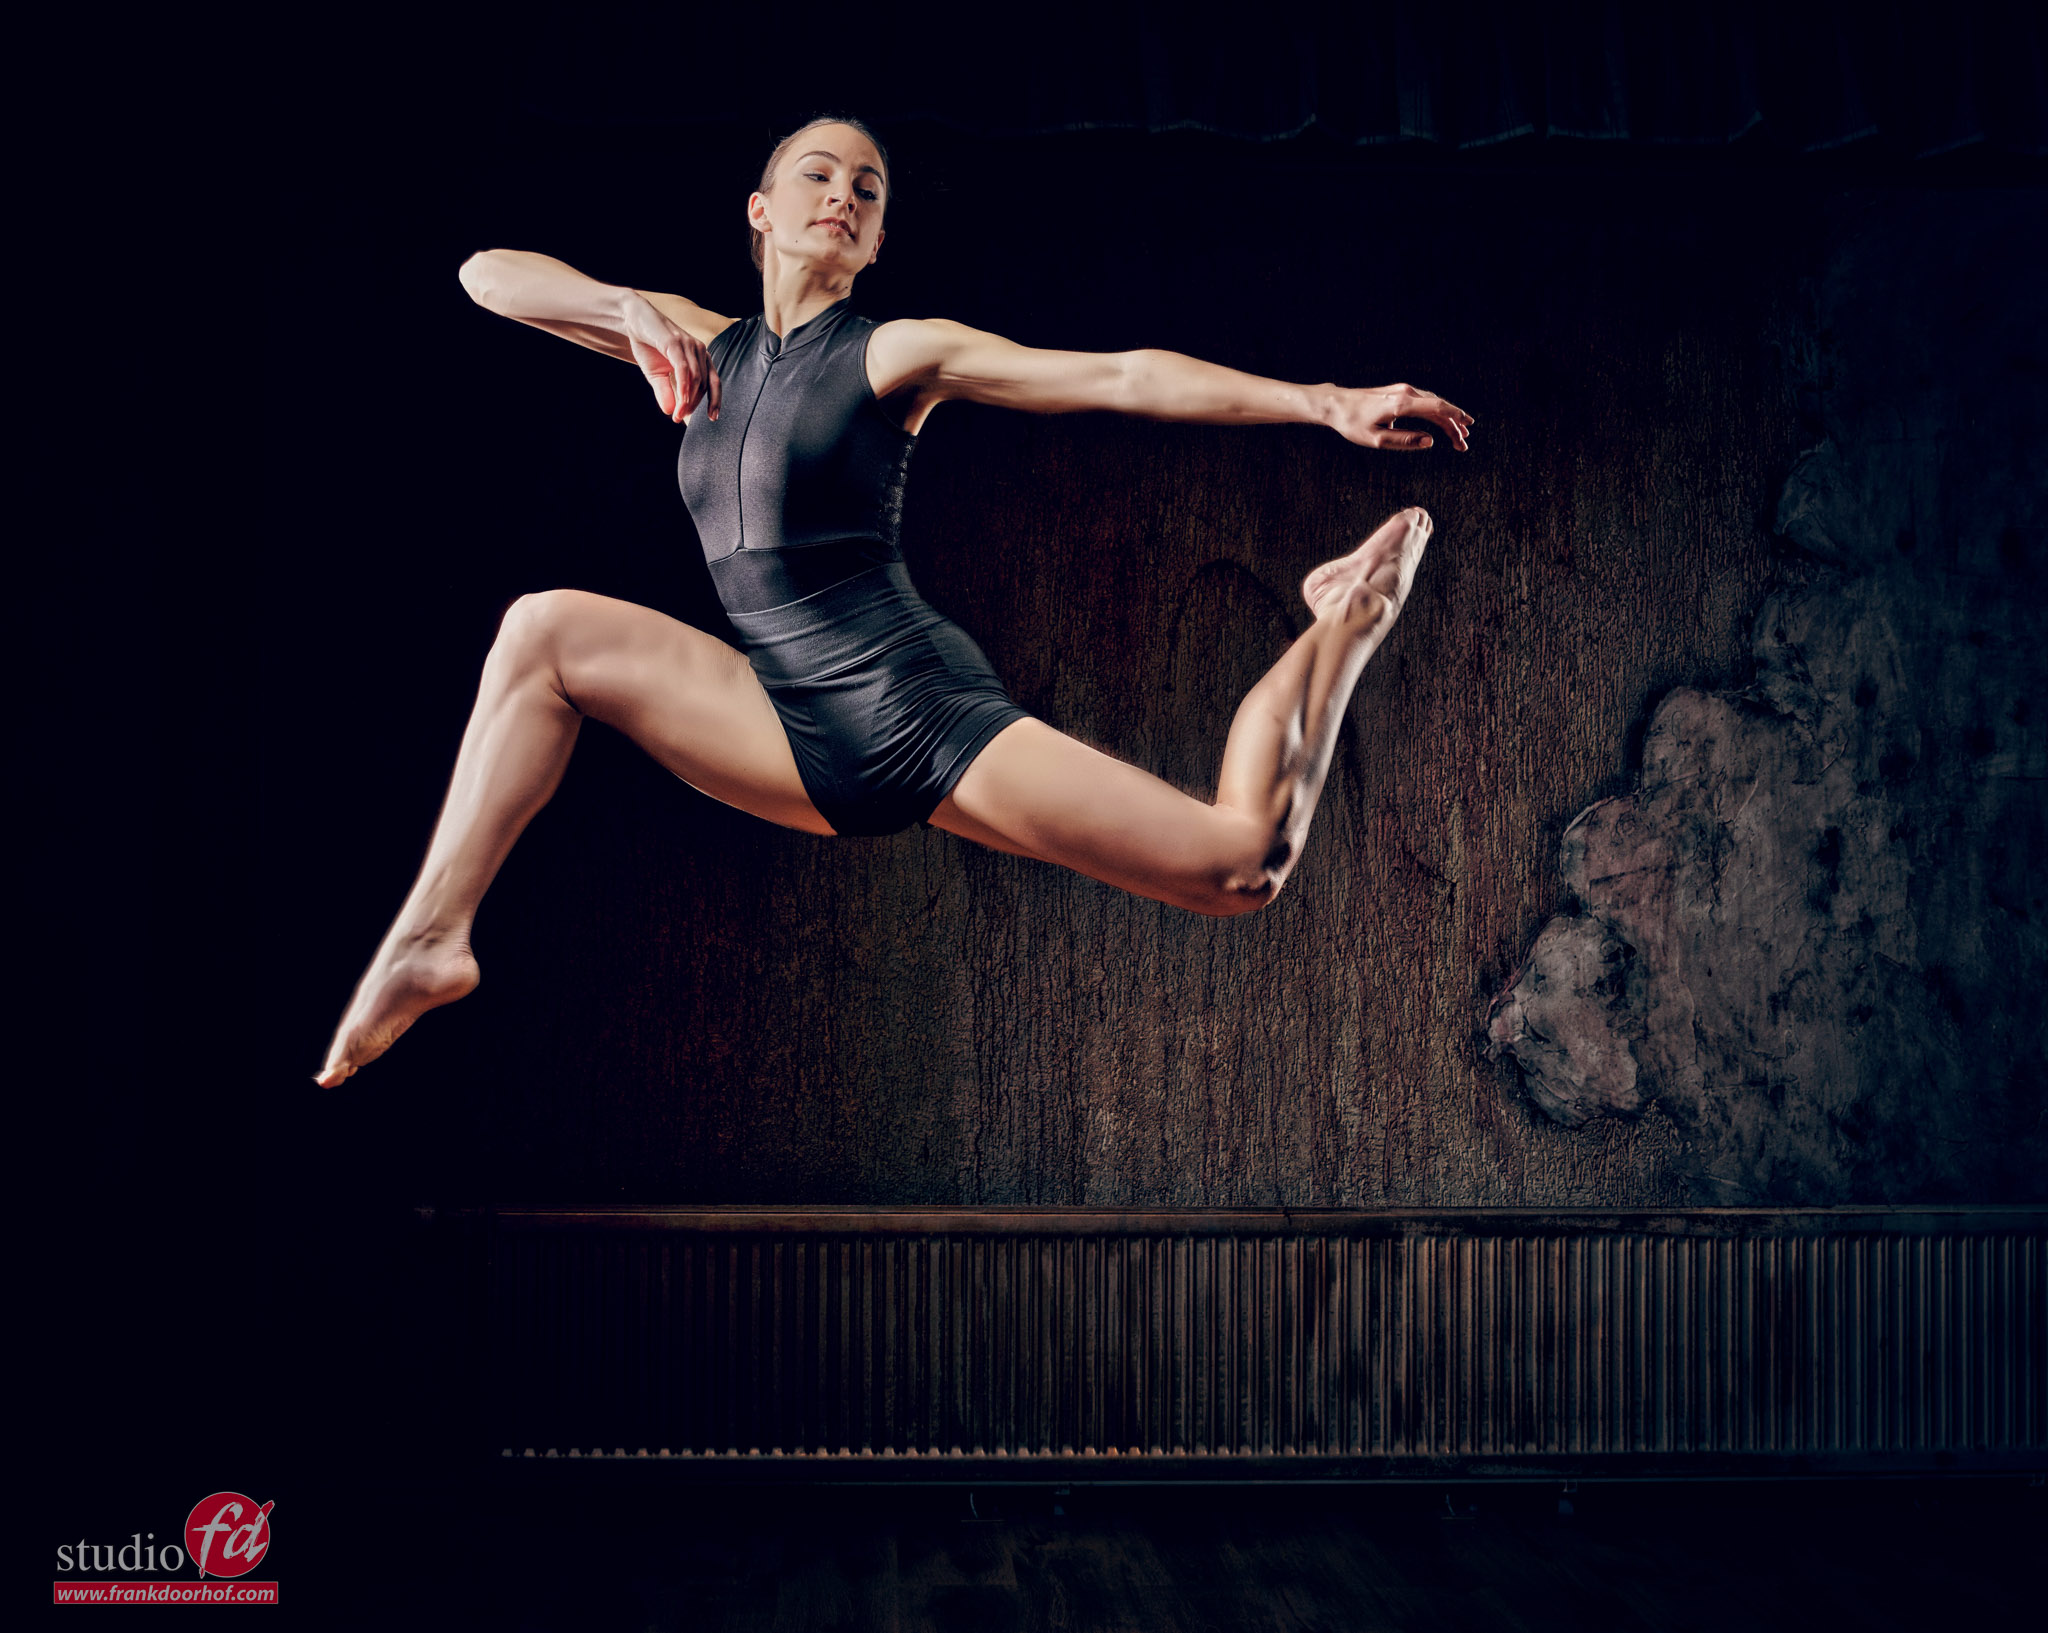
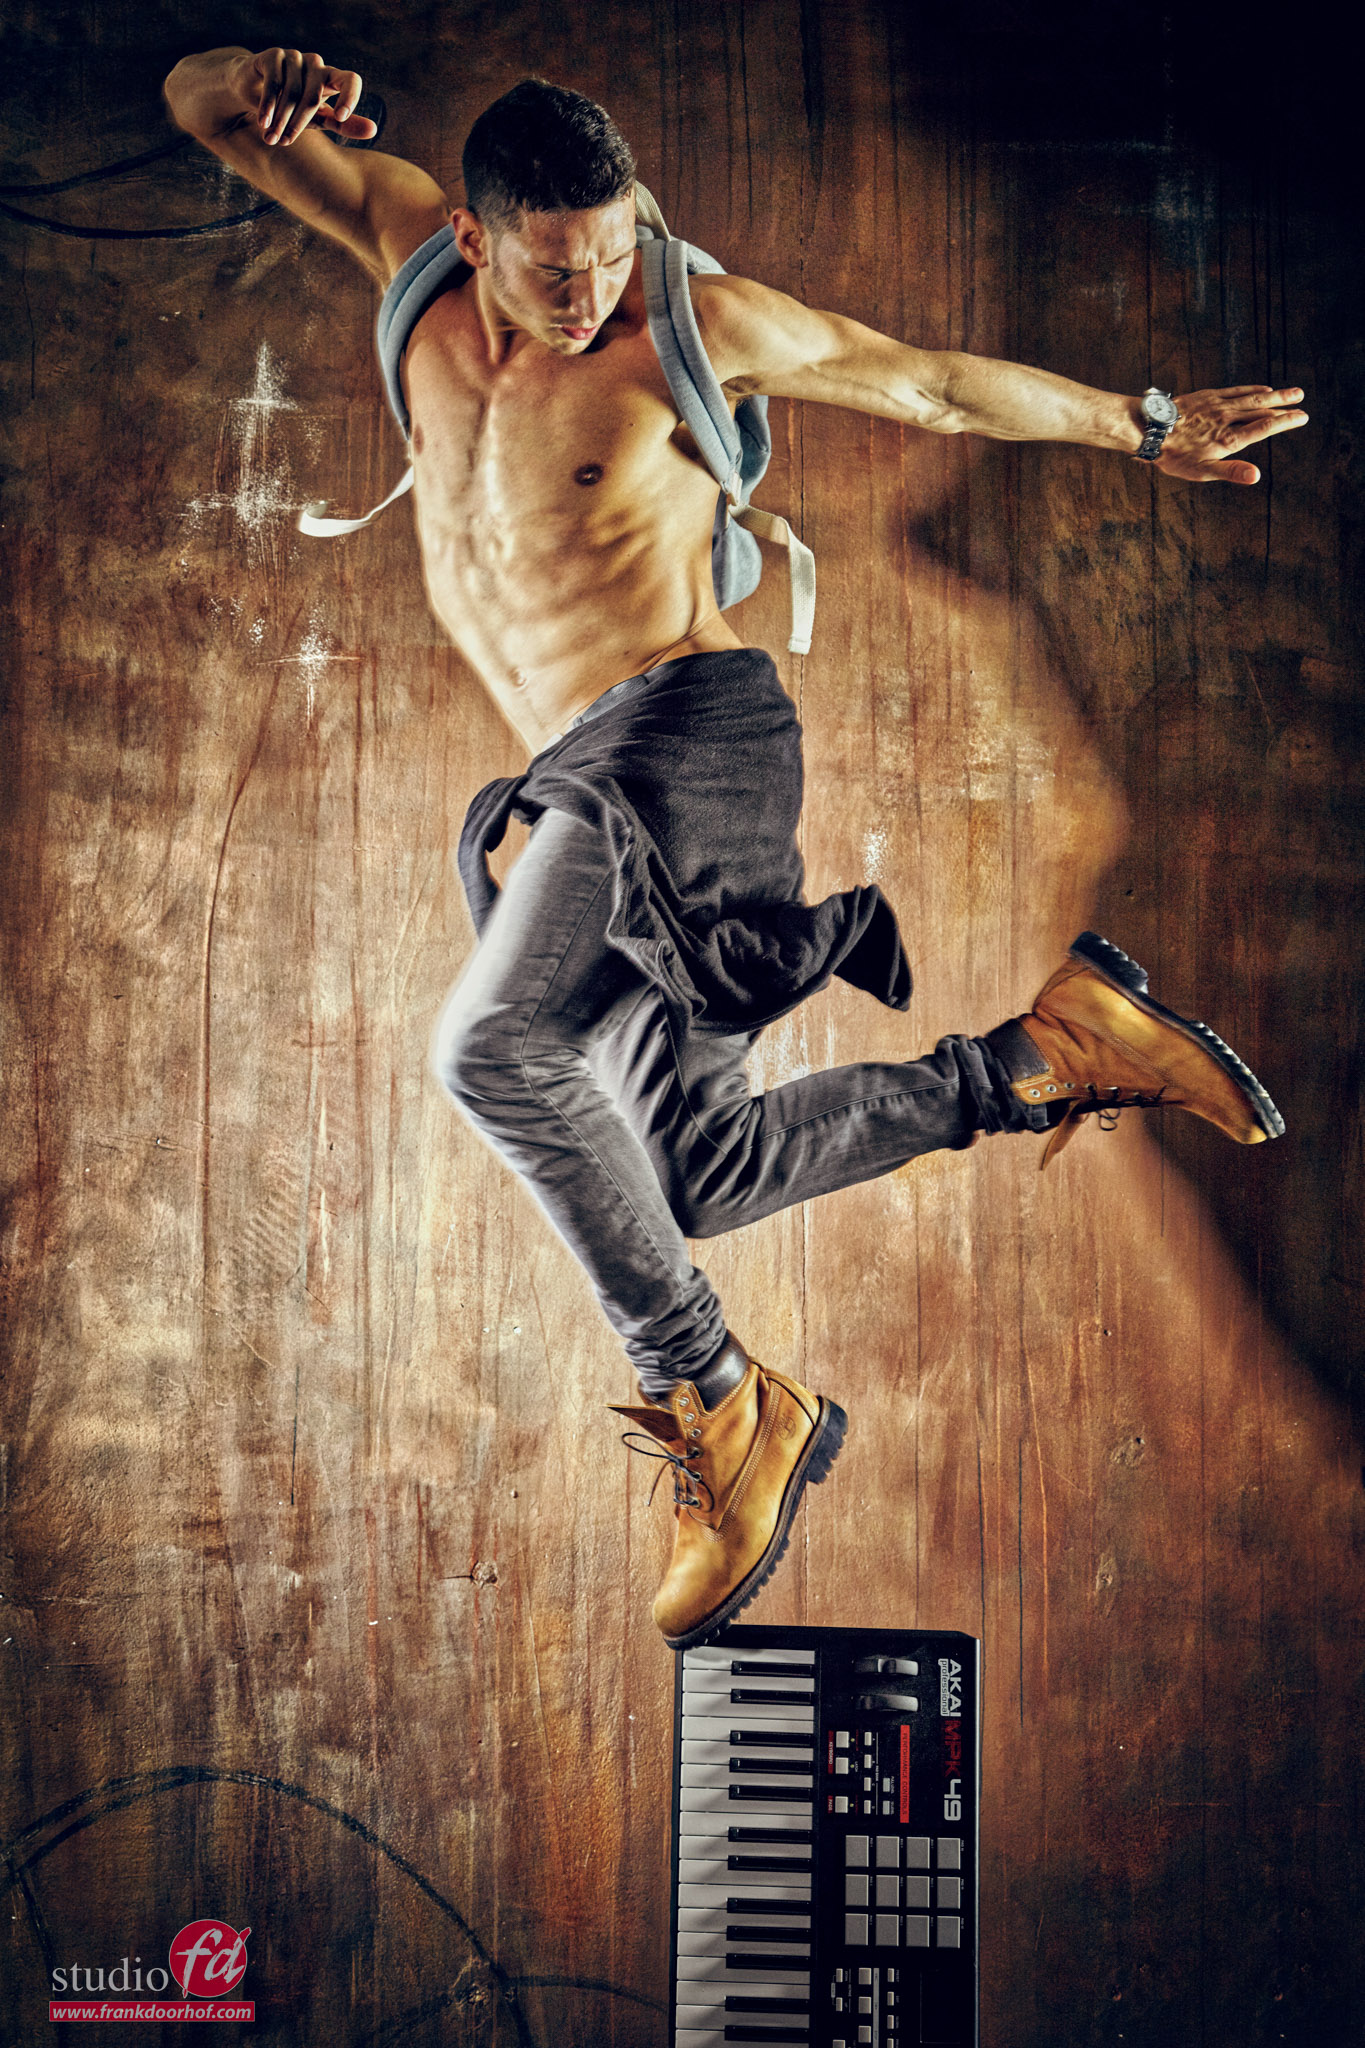
It’s of course very easy during the shoot to also shoot some images where the model doesn’t scream, or maybe even has a totally different pose, or shoot it from a lower/higher angle.

And this doesn’t just go for expressions, sets etc.
Also think about the layout.
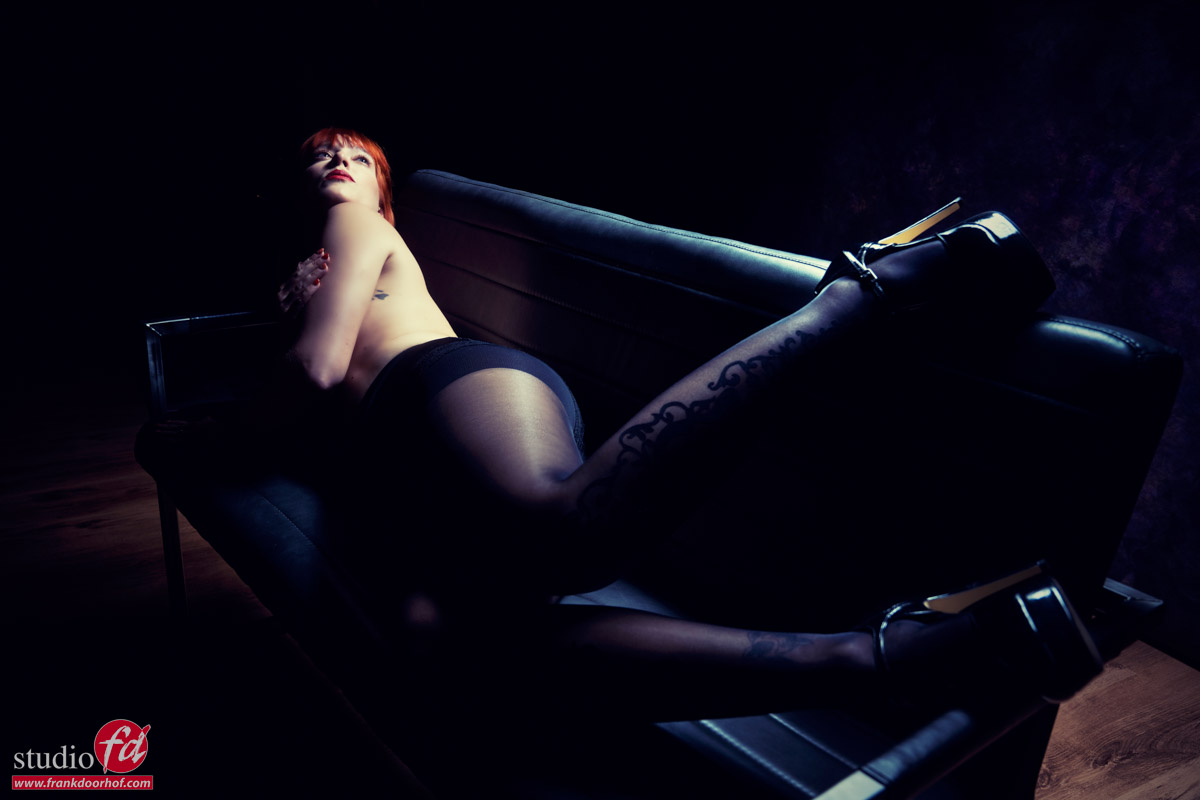
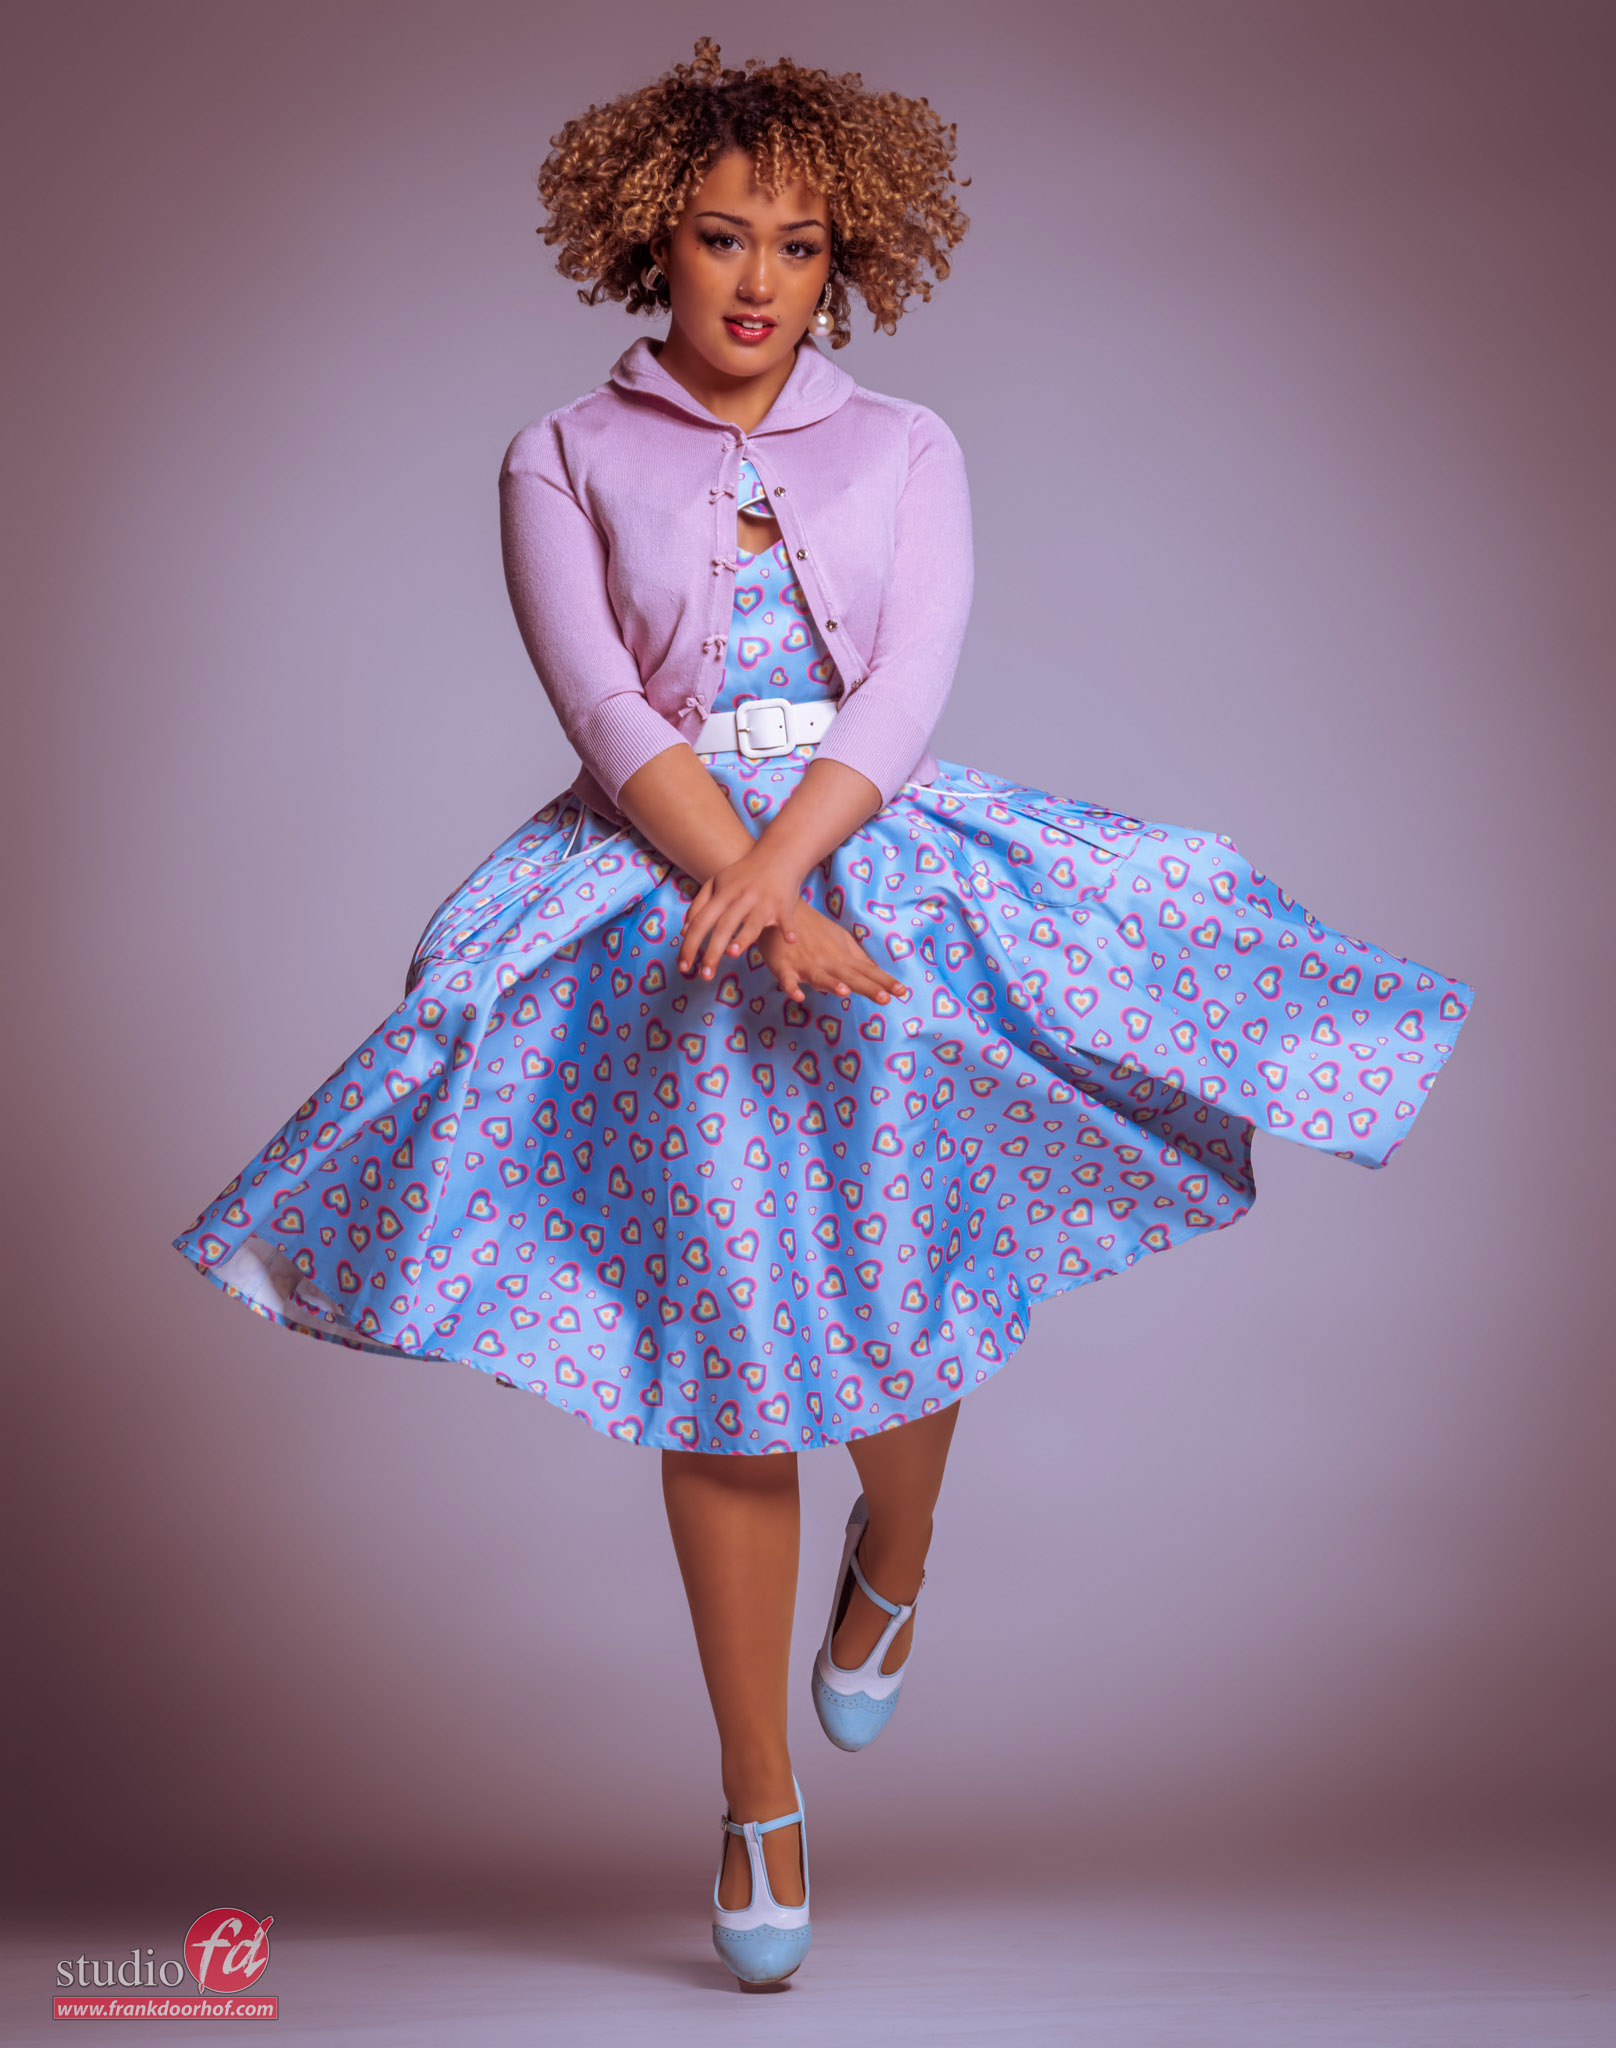
Personally I love shooting in landscape mode. The negative space (I would love to call it positive space) gives your model so much more room to draw the viewer in and for you as photographer to play with composition. But often a client “demands” a portrait setting. Also in this case shoot some images in landscape because they might not use it for this campaign but it could be used for something else, and again if your client can use your images more than he/she expected the chance you get hired back grows.
When I started with photography for clients one of my first assignments was for a clothing brand and the assignment was very clear. Written down with all the specs.
And we did exactly that and the client was happy. But a few weeks later I got the question “We want a nice billboard in the shopping centre, can you crop one of your images so it fits”
And…. that was not possible for the image they wanted. Now a days it would probably be possible with generative fill but at that time it was just a no-go, also because it was shot on a 10MP camera so cropping too much would not make it good enough for a billboard in a shopping mall. End result, they hired a local photographer to do that one shot… and I never heard back.
If I would have shot a few images against their plans I would have probably kept the client.
Fast forward to a few days ago.
I was asked to shoot a team photo in front an office for an official letter, in this case it has to be landscape for the simple reason otherwise it would not look nice in a letter. But I also shot one set in portrait mode, because this was due a corporation between two companies the landscape image is great for the official letter, but the portrait mode can be used on the website where it’s easier to incorporate and when the session was done I asked them for one more shot. sitting on the ground and have everyone looking down at the camera. Totally not fitting the official photo, but I am pretty sure that that last shot will be one of their favorite for more casual use.
So even when a client has a 100% vision and urges you to not shoot anything else because this is it. Always try to shoot some extra material, and if the client is up for it just show what you can do more and I promise you, you will get more clients and keep them longer.


You must be logged in to post a comment.