Different looks with one backdrop
Its happens…
You think, “This is the perfect background,” and you start shooting… and it doesn’t work.
Do you stop?
Or do you find a way to make it work? In this blog I talk and show you how I made different looks with one backdrop
Some backgrounds work great out of the box. Some backgrounds need some extra thought, but then reward you with awesome shots.
Let me make one thing clear before I continue.
This is an awesome background for commercial shoots. For my work, I like to have a realistic or over-the-top surrealistic background, and especially with lighting, I’m pretty picky where someone else might not even see it. So keep that in your mind.
The backdrop
Today we are taking a look at the new Profold background from ClickBackDrops.
The Ornate drapes gold. When I saw the background I immediately loved it. I’m a big fan of horror movies and gothic styles so this one really fitted the bill.
The thing that I did not think about was the lighting that is incorporated into the backdrop in the form of chandeliers.
It looks great as a catalog shot. It looks great for family portraits, but for my work I use a lot of light fall off and the chandeliers didn’t look right.
There are several solutions.
You can choose to crop them out or use them just inside the lightfall off, which I did in the following shots.
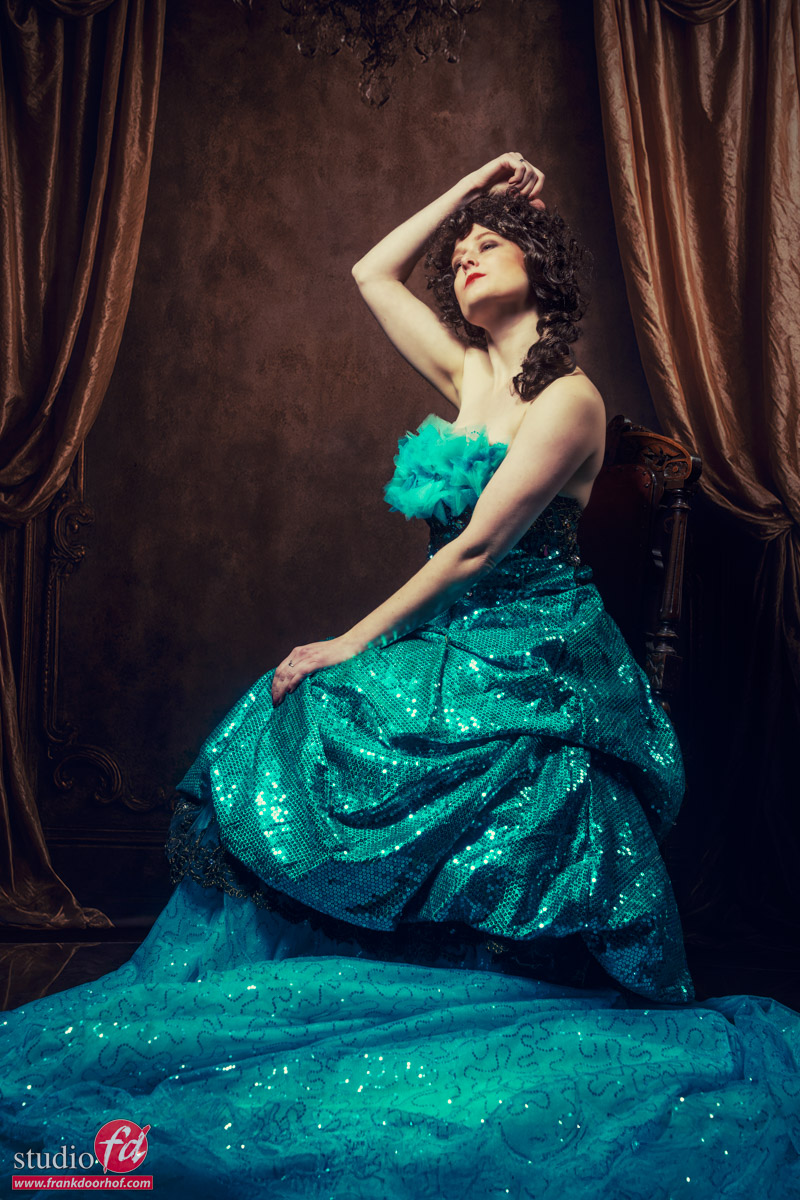
here, I cropped, so you don’t see the chandeliers in the backdrop
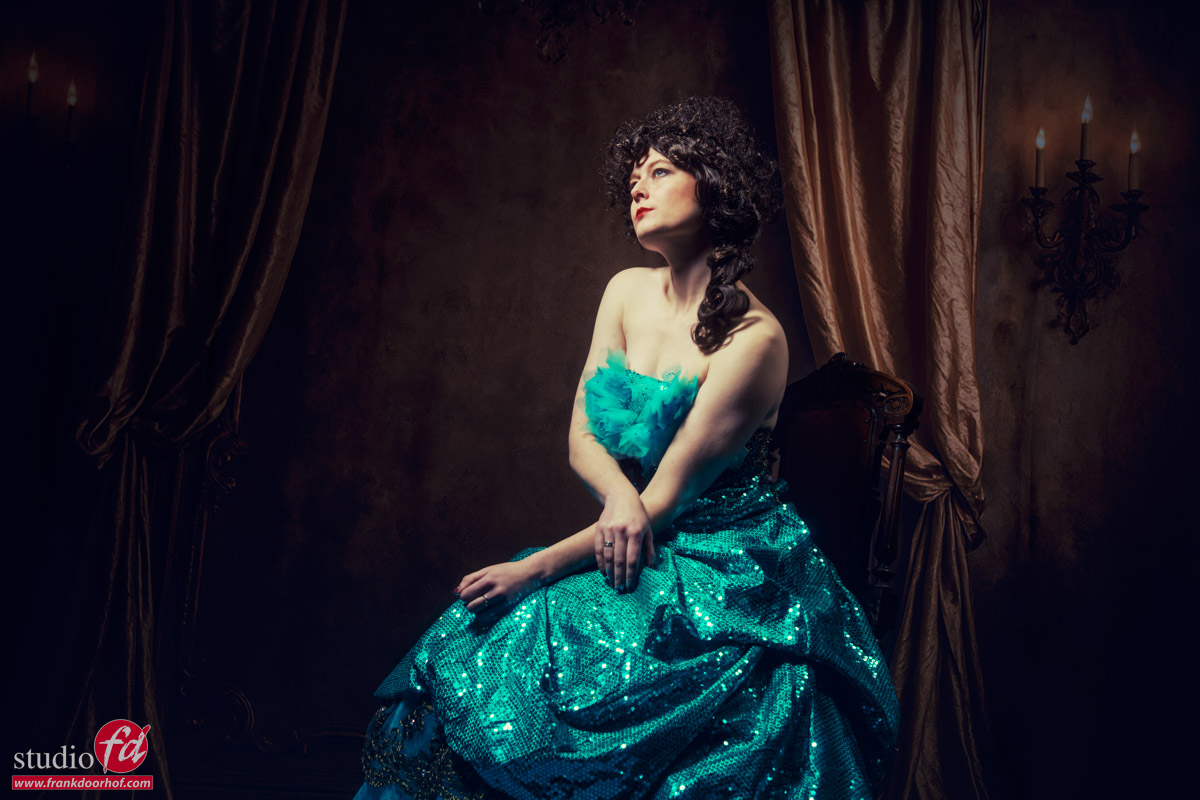
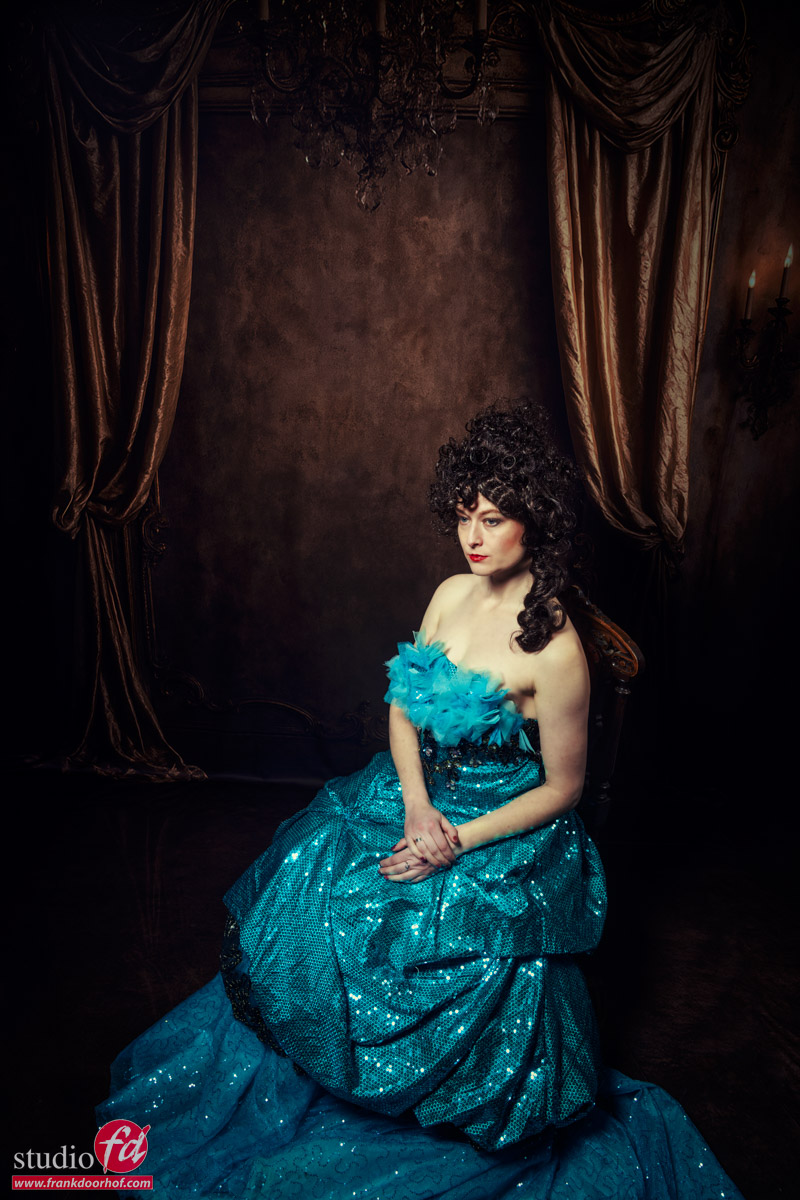
A step further, with the same backdrop
It works and gives you great shots, but I also wanted to do something with the chandeliers.
And sometimes the solutions are much easier than you might think.
What about using the studio lights, for example, this gave me already a nice glow which could come from a chandelier.
We are going in the right direction.
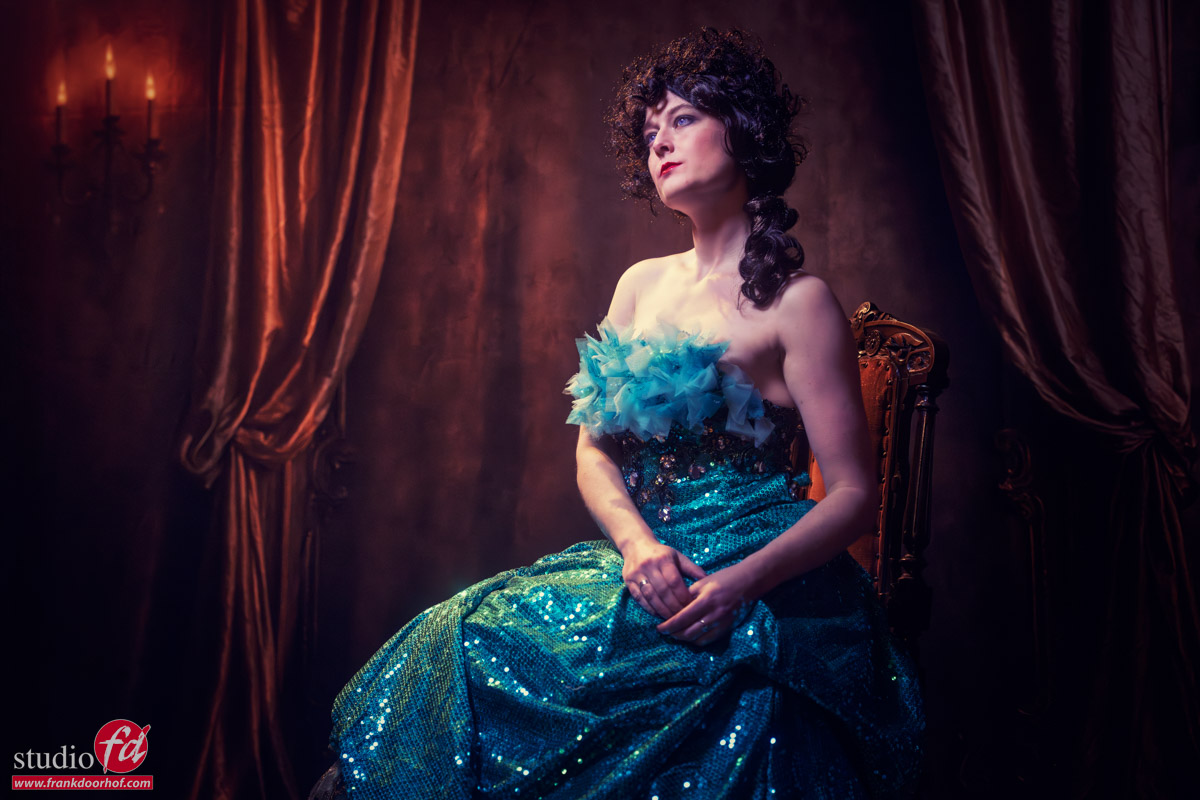
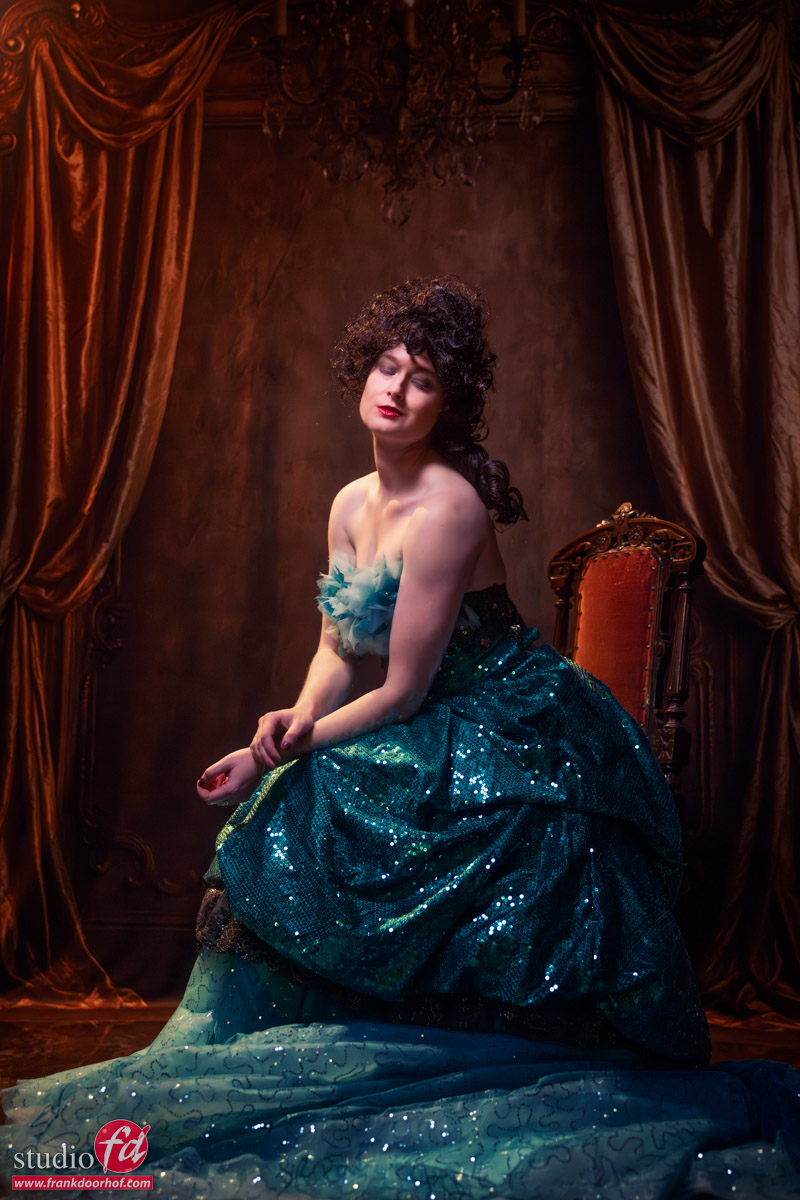
Storytelling with your backdrop
A model on a chair, a beautiful dress, and an awesome backdrop, who wouldn’t be happy?
Well, I do miss some storytelling parts.
Don’t get me wrong, not every shot should be a storytelling masterpiece. But with a background like this, my imagination starts to work in overdrive.
So continue reading how I made different looks with one backdrop
Because the studio lights worked great, we included a real chandelier.
Our model Linda was asked to imagine she was in a Scooby-Doo movie, and walking through the corridors of an old castle looking for the ghosts.
By using a longer shutterspeed you can let in more or less available light when you combine it with strobes.
If you use LED panels to open up shadows make sure you can control the LED panel to balance the chandelier and LED panel. If your LED panel doesn’t go low enough you can always move it further away, or bounce the light via the ceiling or walls.
I absolutely love these shots. This is another way to get different looks with one backdrop.
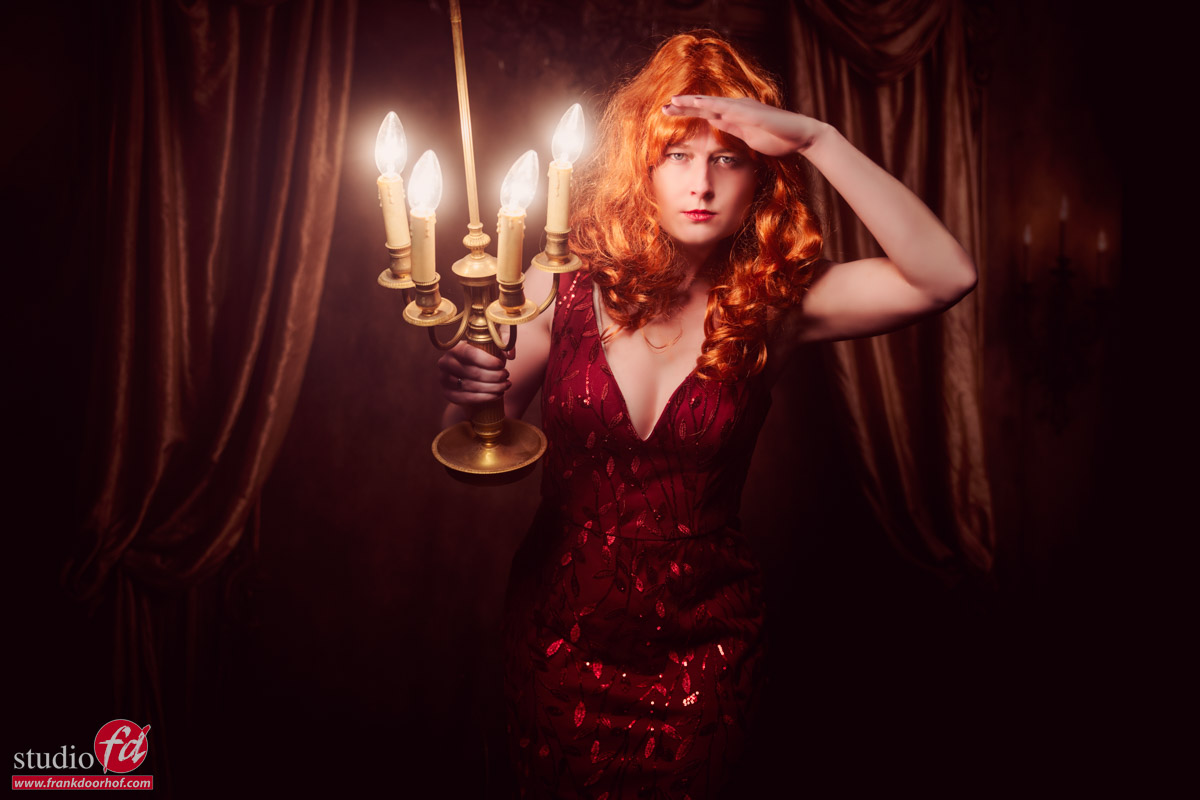
The lamps of the chandelier are a little crooked, but you can imagine the wind…
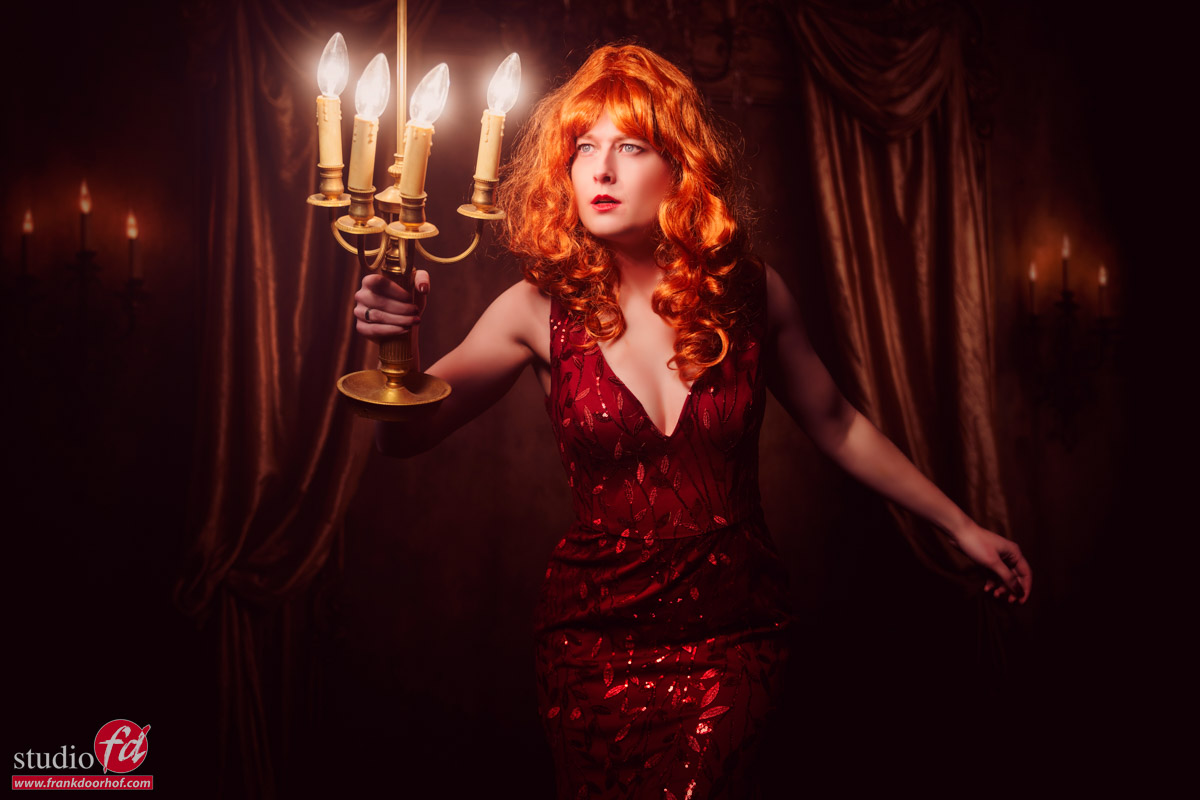
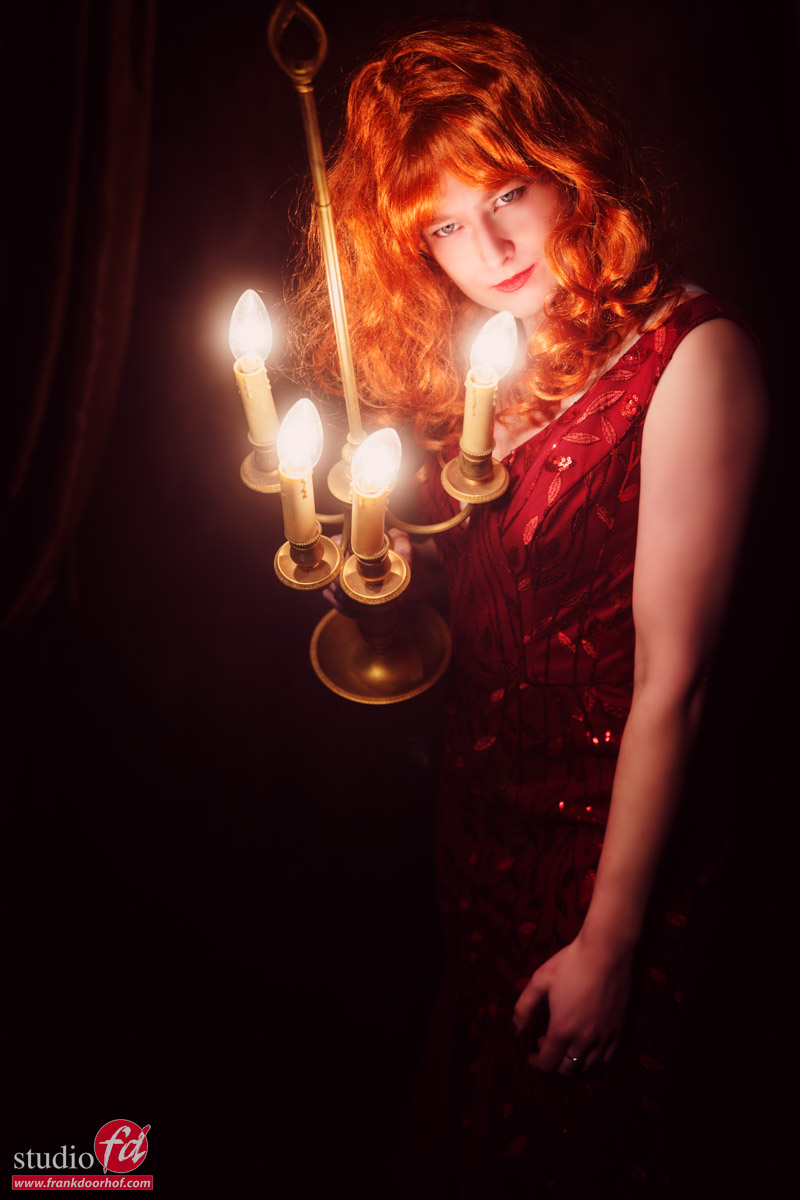
Due the inverse square law (light falls off over the distance), the chandeliers in the print are again a bit more convincing, but…. we can do better.
The movie buff
As mentioned before I love horror movies.
And after the “Scooby-Doo” set, I thought it would be possible to make the chandeliers work a lot better and create a cool spooky vibe by using a bit of an alternative lighting setup.
Lensflares always give the impression of light. And when you don’t see the light source, it works. But what if you can see the printed chandeliers and combine this with the lens flare?
That’s exactly what we did here.
I’m using a Geekoto lantern hovering above the model and slightly behind her.
The problem is, of course, that the model will be very dark from the front.
The advantage is that you get a very nice edge light and the lens flare from the lantern blends very nicely with the chandeliers on the print.
I could have chosen to let the model take a step back and use the light from above to light her face. But she has to look up for this which is very limiting in the poses.
I could have chosen to add a light from the side or even from the front. But that would take away the mood I was after.
The image I saw in my mind was like a clip from a 70’s Italian horror movie in an old theater with lights hitting a mysterious figure.
Search for props
One of the things I always advise is to visit flea markets, ask parents or grandparents if you are allowed to raid the attic and get as much “cool stuff” as you can store.
There is always a time when you can use something in a shoot that really makes the shot.
I always try to get masks when we visit markets. And this was the perfect moment for a mask.
The advantage is the same as with sunglasses; you can solve the problem of “raccoon eyes” by letting the model wear sunglasses or a mask. Our brains will now forgive us that the light is not aimed at the eyes. Or in other words, it just looks cool with high contrast lighting.
The next step is opening up the shadows.
In this case I wanted to use colored lights to hit the model. However, I did not want them to clearly come from left and right, but to stay in the style of the movies I wanted them to nicely blend together.
To achieve this I’m using a mirrored surface in front of the model with two strobes aimed at the material which bounces the light back to the model perfectly blending the red and blue gels.
I will upload a video in the next blogpost showing the complete setups.
Here we use the surface as a background.
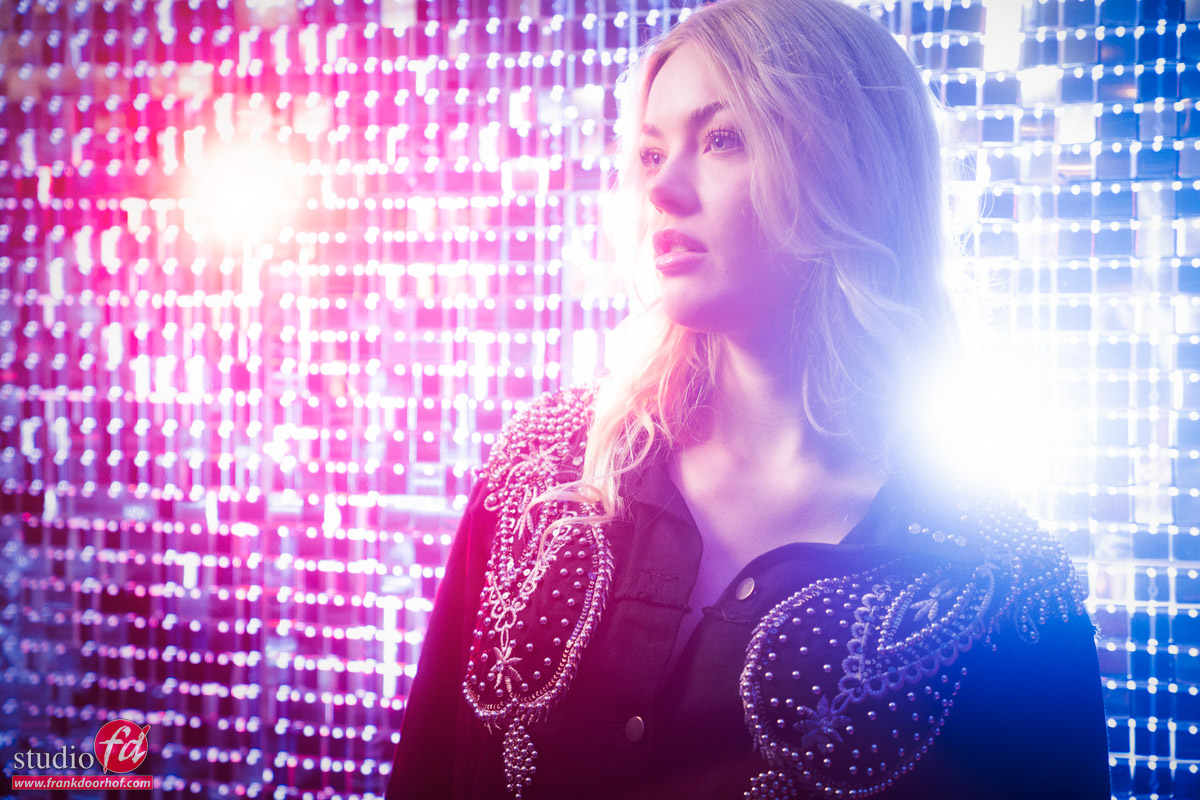
By changing the balance between the red and blue I could get a nice variety of results from this setup.
I started with the front lights just as a very slight fill, and slowly started to add more power to the colored strobes.
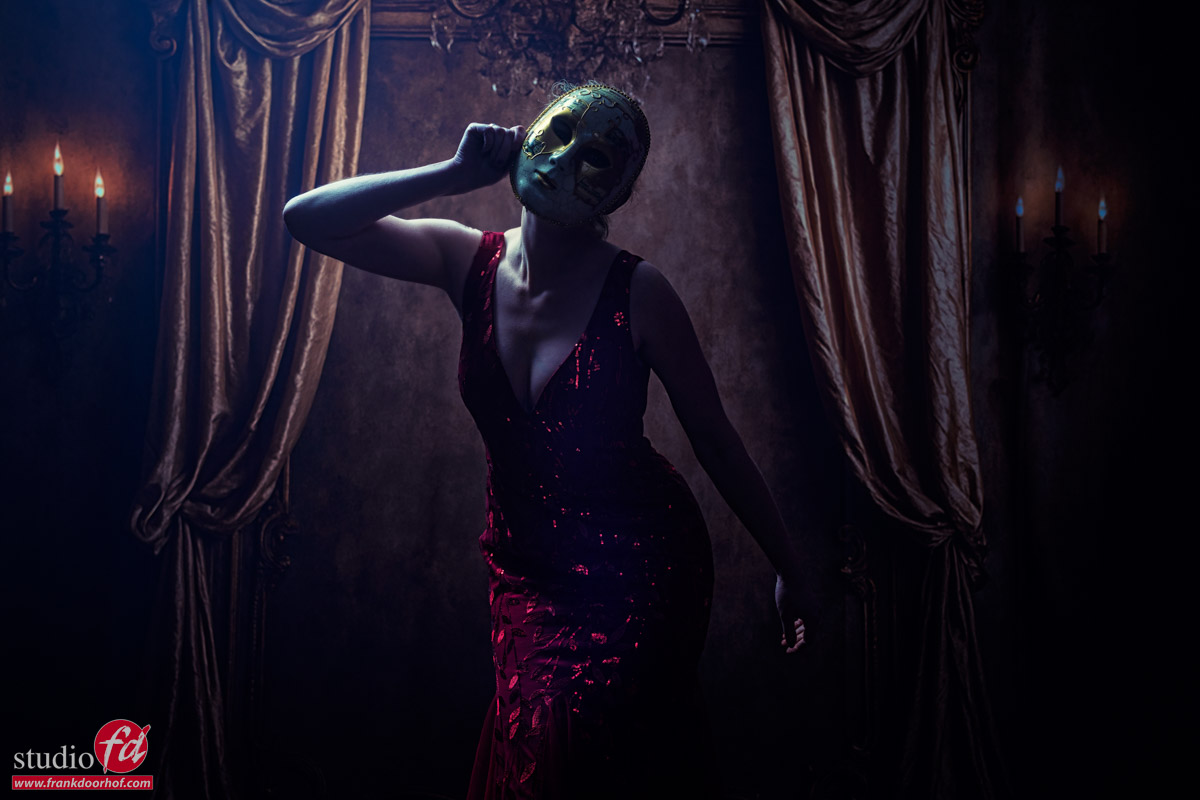
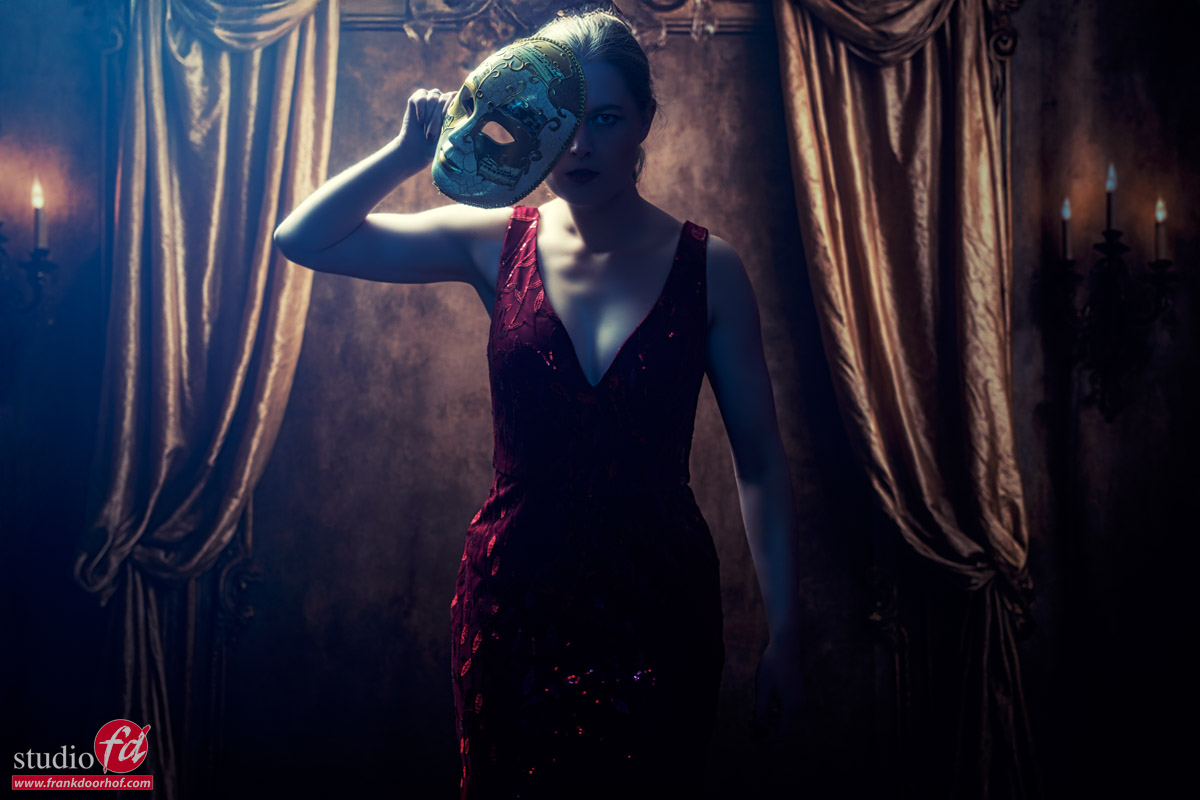
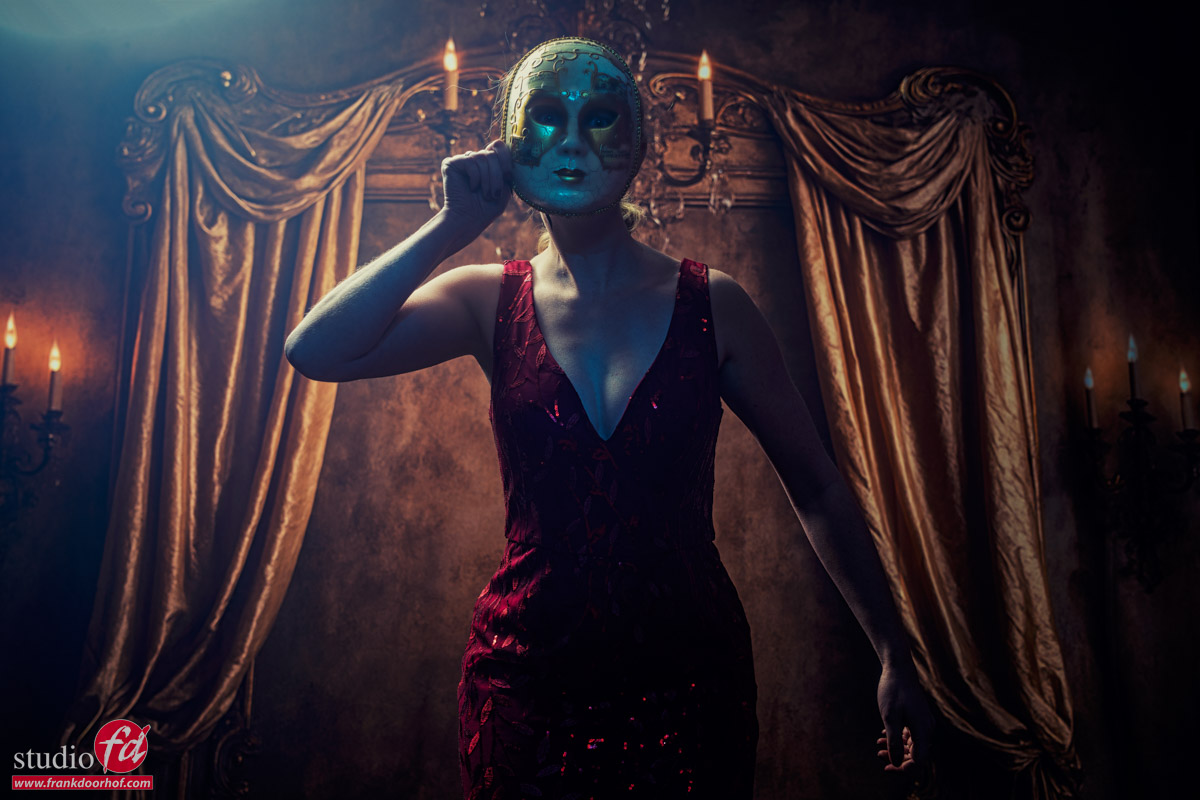
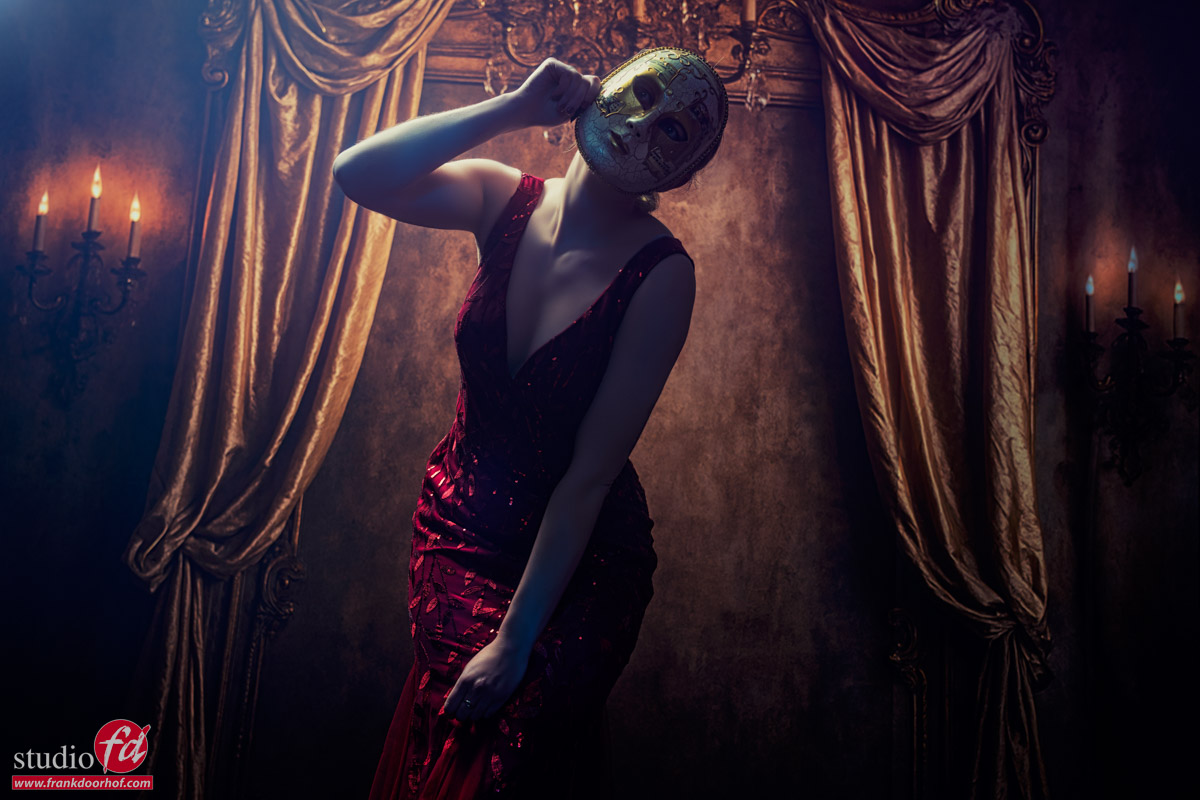
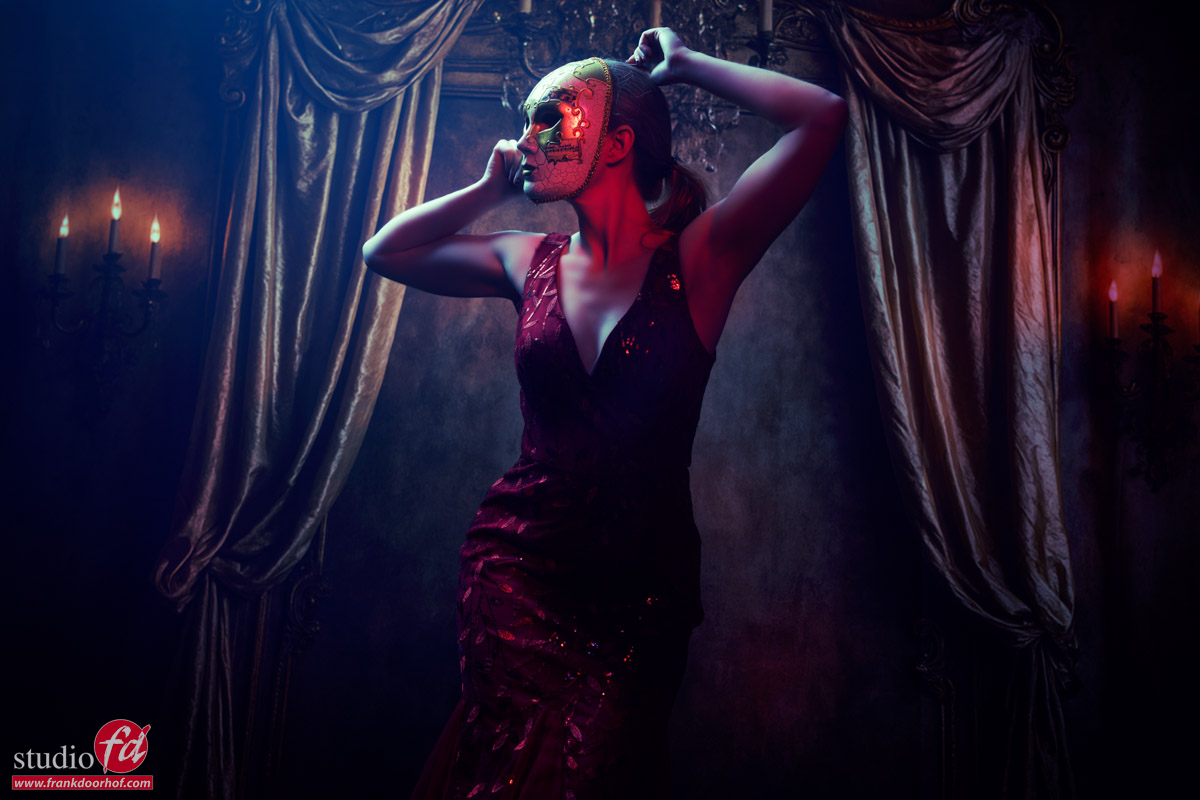
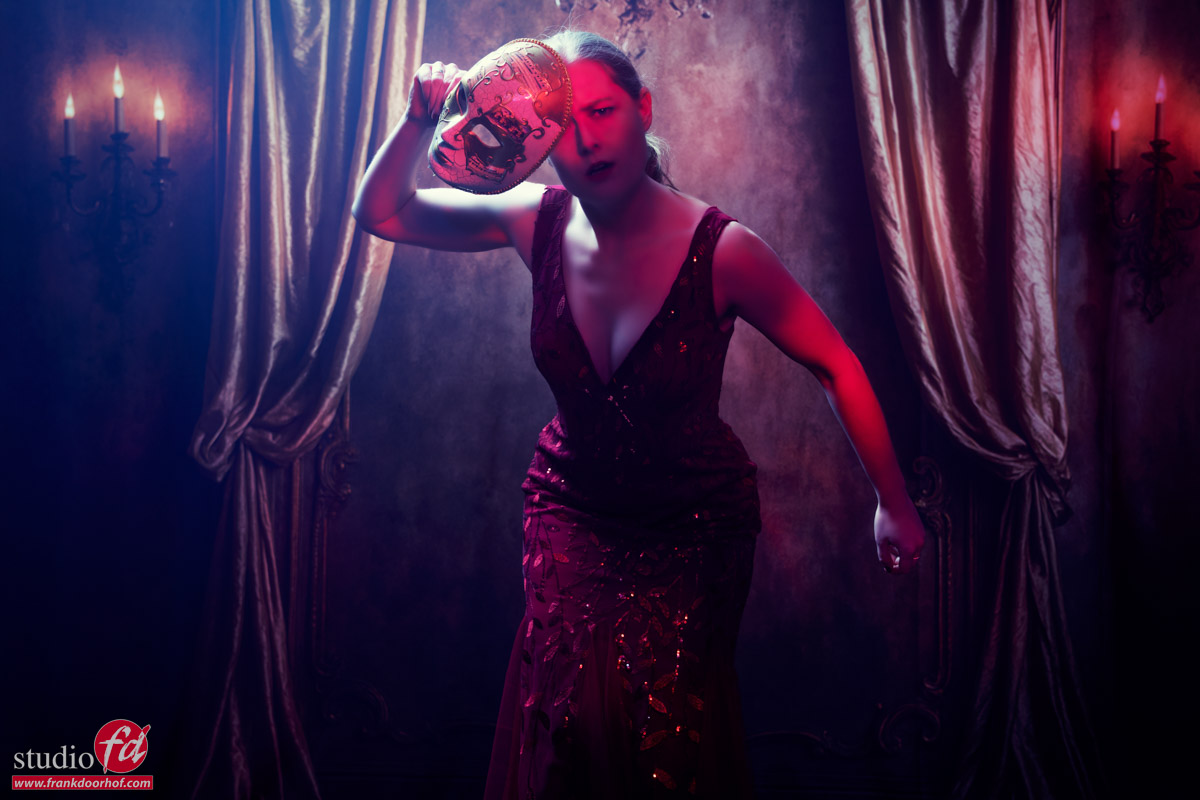
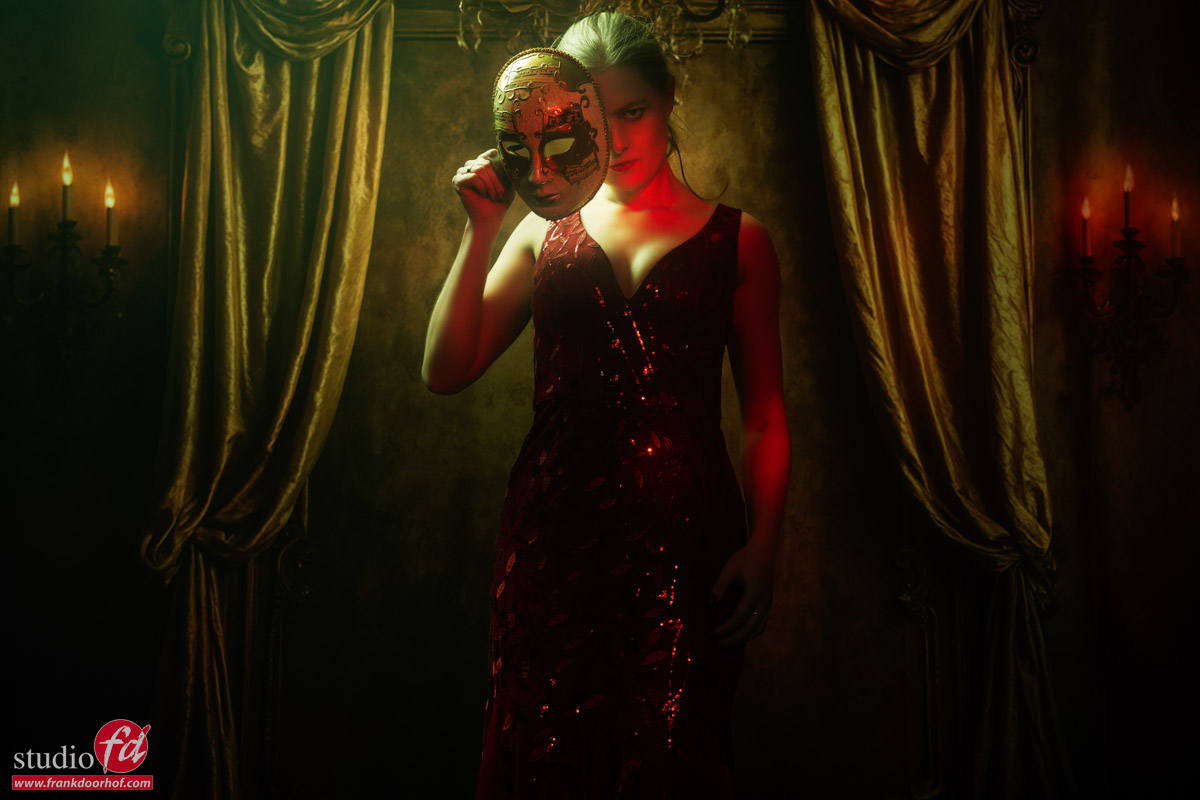
Play with colors, so you get different looks with one backdrop
You probably already guessed, seeing the number of shots, this was one of my favorite setups of the day.
By changing the balance between the strobes with gels you can get a lot of different looks. Don’t be afraid to change the output from slight fill to “almost” main light source. As you can see, I did this with the red gel in the final shots. In Lightroom/Photoshop you can also manipulate the colors by using the temperature slider (Red and Blue are on the same axis).
And of course when you play with color, we also have to include… a BW version.
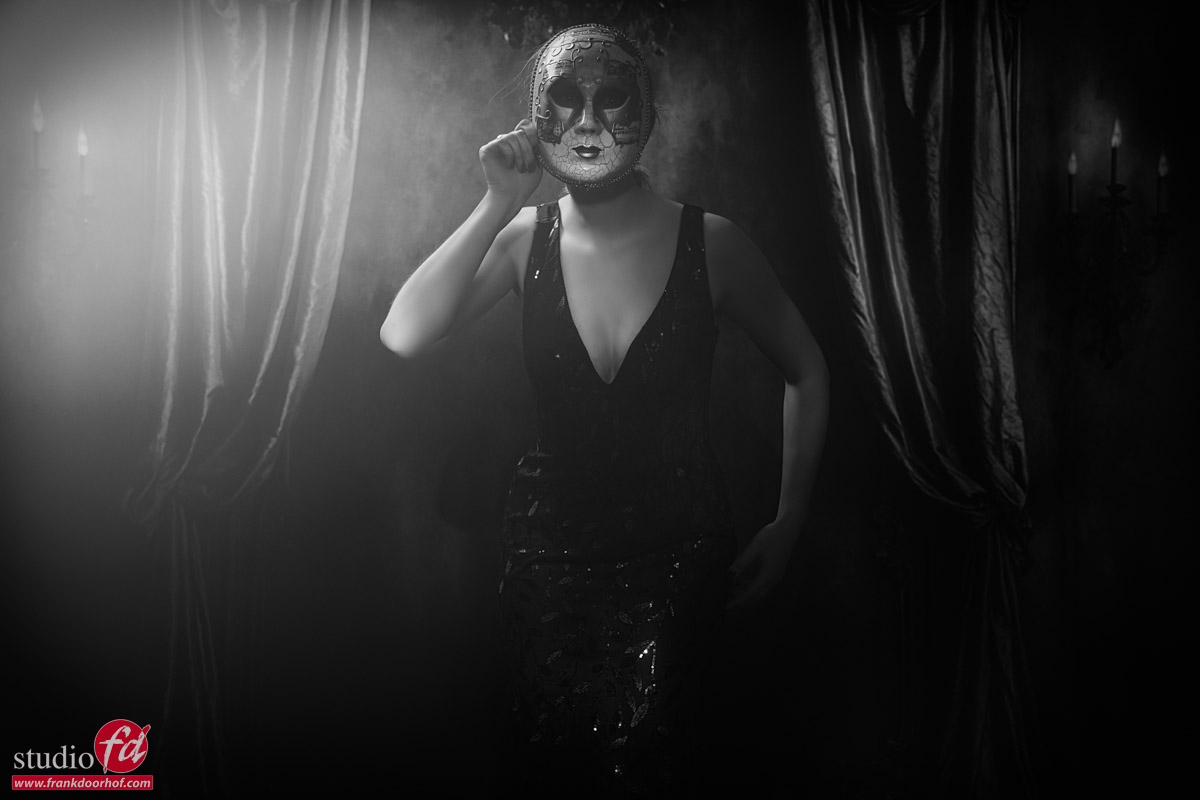
Conclusion: different looks with one backdrop
99.9% of the backdrops work straight out of the box.
With 90% of the backdrops, you can a lot more than you might think at first.
But sometimes you get a background that might not immediately work.
Don’t give up right away. By experimenting, you can probably get much more creative shots, and also learn new techniques you can use for other shoots. So try to make different looks with one backdrop.
Workshops
Believe it or not but this was just one of 3 sets we did during a workshop day.
There are a lot of workshops out there that are aimed at shooting great portfolio material, and there is nothing wrong with that.
In my workshops you will shoot great portfolio material (see above results) but most of the time is spent explaining the setups, why something works, or not.
How to coach the model for the perfect expression/pose, the retouching process and a lot more.
Most attendees are pretty tired at the end 😀
If you also want to experience a workshop that really goes in depth about lighting and model photography?
Visit www.fotografie-workshops.nl for the Dutch workshops.
If you don’t speak Dutch, let us know a few weeks in advance and we switch the workshop to English.
Can’t travel?
Also no problem, you can book one of our online 1:1 workshops which can be taught at the time slot that fits your time schedule.