Frank Doorhof
  • Blog (articles)
  • Rent our studio space
  • MAIN SHOP
    • MAIN SHOP
      • Orders
      • Account details
      • Downloads
      • Addresses
      • Lost password
      • Cart
      • Checkout
      • Terms webshop
      • Return policy
      • Privacy Policy
      • Privacy Statement in3. Dutch customers only. When you want to pay in 3 parts
  • IQwire Tether Cables
  • Rogue Modifiers
  • Geekoto Flash and Modifiers
  • Platypod
  • Click Backdrops
  • PORTFOLIO
  • Learning with Frank
    • Dutch workshop agenda
    • Workshops
    • A Year With Frank
    • Online 1:1 workshops
    • 1:1 workshops in English
    • Portfolio review by Frank Doorhof
    • Patreon
  • Support our work
  • Merchandise
  • Digital Classroom LIVE
  • Our YouTube channel
  • Biography Frank Doorhof
  • Services
  • Discounts etc
  • I need help
  • Menu Menu
  • Shopping Cart Shopping Cart
    0Shopping Cart
  • Link to Facebook
  • Link to X
  • Link to Youtube
  • Link to WhatsApp

Become an instant lighting expert (sort of)

29-10-2025/in blog, Visions and technique/by Frank Doorhof

Some lighting setups are special

It’s no secret I love to work with the more focussed light sources.
Let’s first explain what a focussed light source is.

When I talk about focussing the light it can mean two things.

  1. We use an optical snoot like the Westcott Lindsay Adler projector.
  2. We use grids or narrow light sources to aim the light on our subject.

Today it’s about the second one.

See what your light does

We get a lot of questions about what kind of light shapers someone should get to start with a studio.
In all honesty it’s very hard to tell, it all depends on the work that you do, and sometimes a Lantern is great, and sometimes you really need something like the Quicky.

But there are some things you might not know/realize about the design of a softbox that can help you determine which softbox fits your needs.

It’s all about the design

Let’s take a look at two of my favorite Geekoto soft boxes for focussed lights.
First up the 26″ softbox and next to it the Quicky
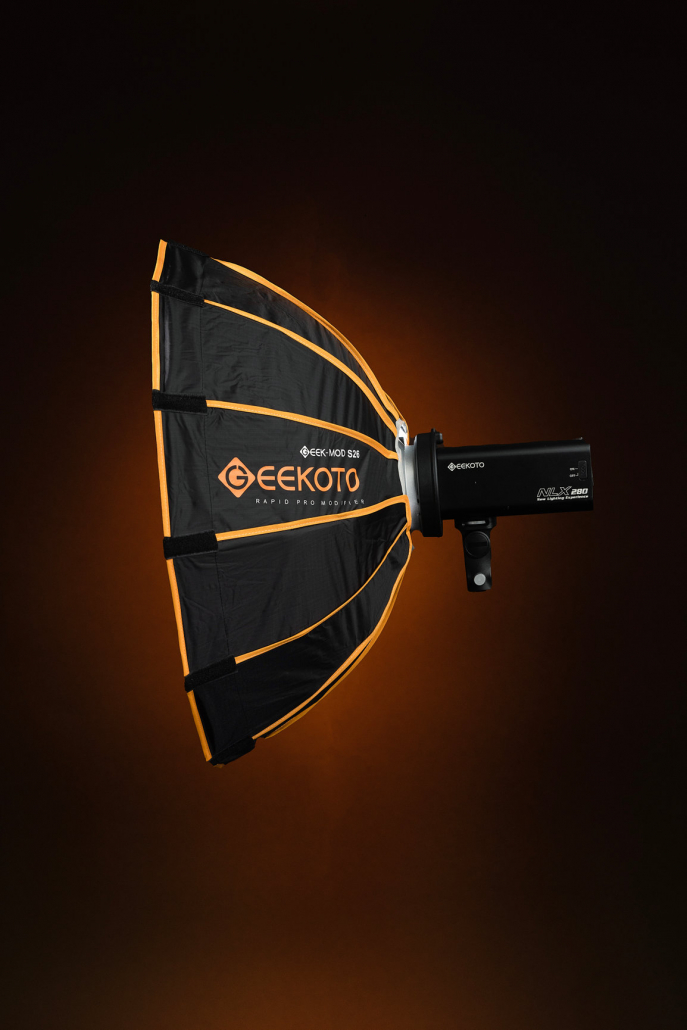
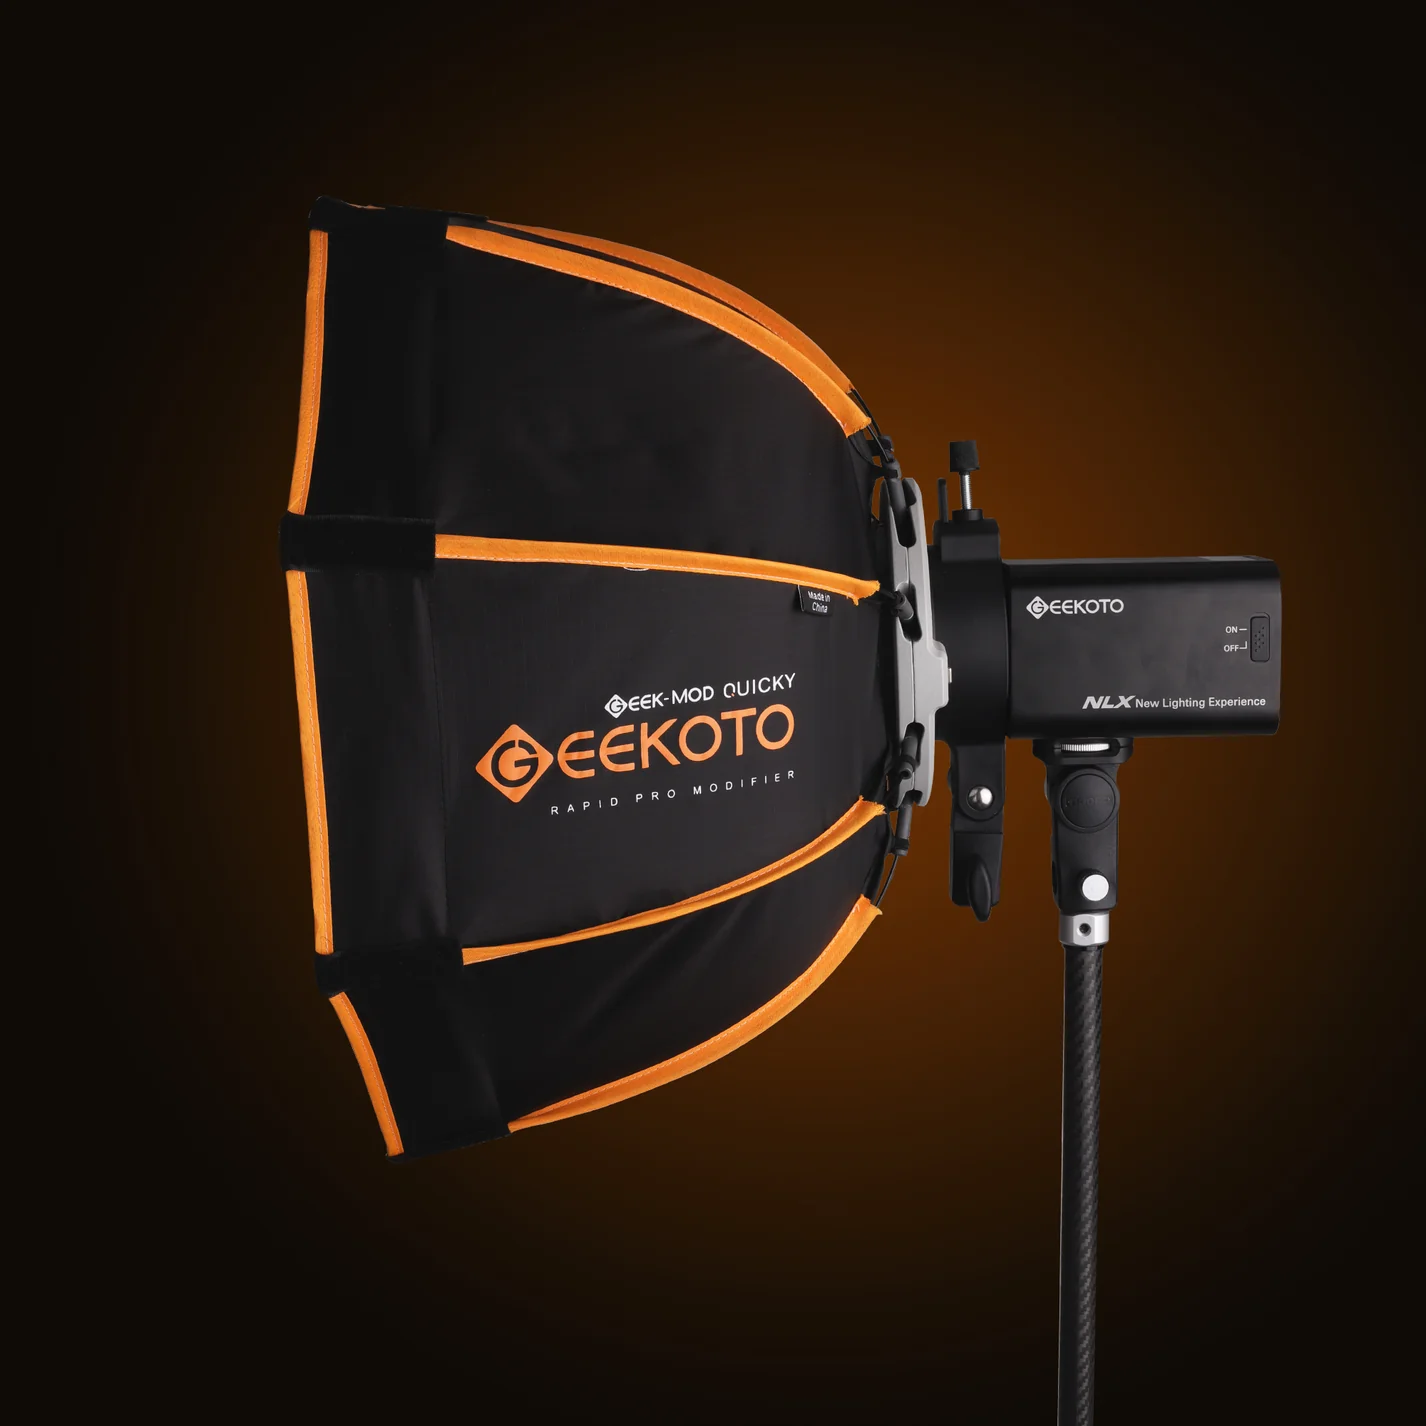
When you follow the rods of the softbox you can see that both soft boxes are totally different in the way they aim the light.
And this gives you some really nice lighting options.

With the S26 you can light a model from pretty close by and still get that nice “focussed” look but benefit from the very fast light fall off. which makes the S26 great for on location work where you want your model to jump out, but also want a very rapid light fall off. The S26 is great for this kind of work
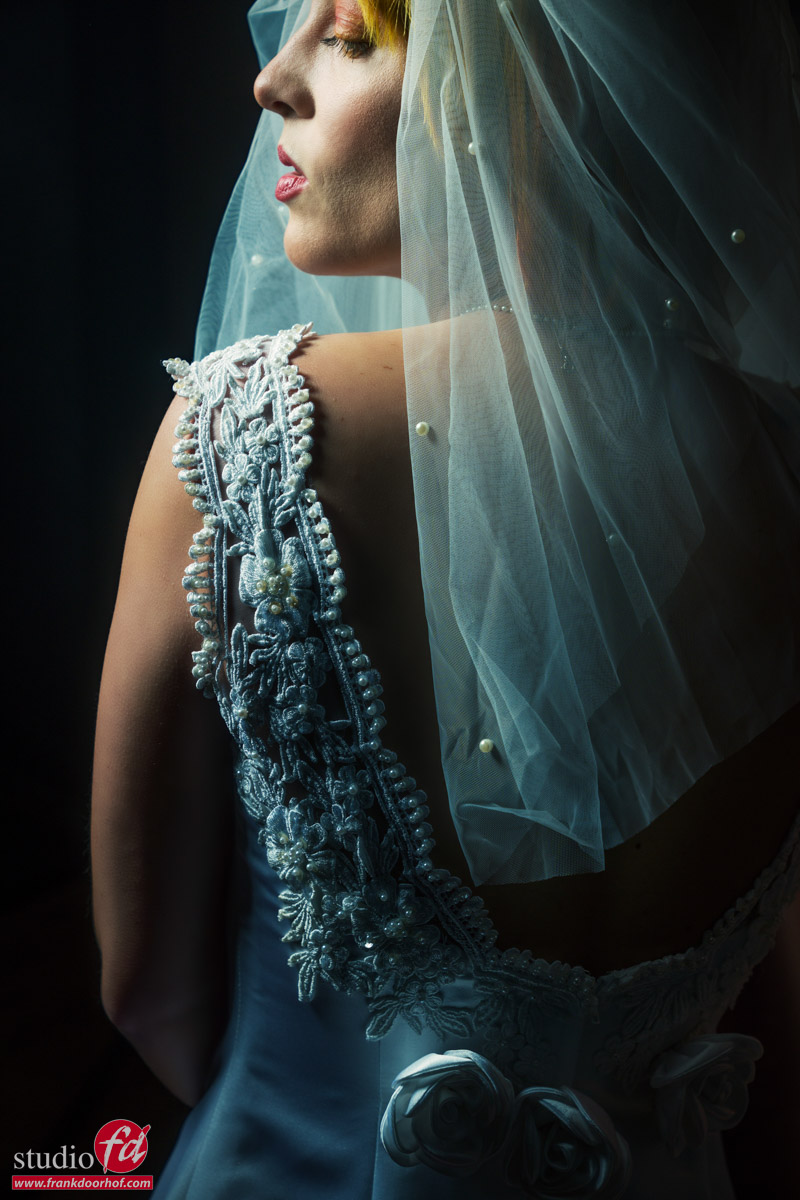
When we look at the Quicky you can see that the rods are much more bent, and this means the light is much for focussed. This has a very nice advantage I personally love to use.

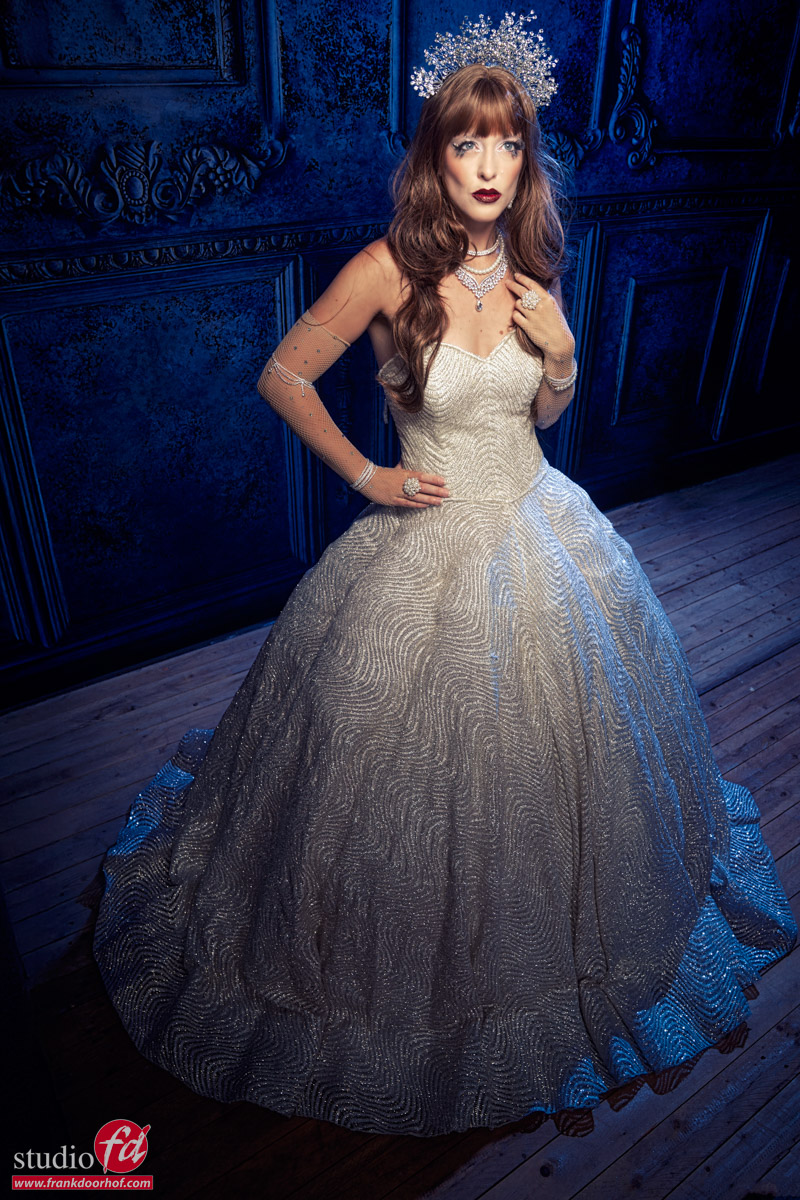
When I shoot a full body model I love to have the effect of a spot light on her face with a very nice light fall off showing just enough detail at the bottom to let the model blend nicely with the floor. (of course depending per shot). In the past I would use a snoot or reflector with grid on the face of the model. This meant a rather harsh light source on the face (so loads of makeup) and also a rather fast light fall off.

Light fall off can easily be solved with a large umbrella or for example the Geekoto lantern to fill in the shadows to the point you like.
There is one problem with this technique. The more I have to fill the less control I have over the light fall off. I can control a focussed light source but a large umbrella is a lot harder to adjust for light fall off when used as fill.

This is where the Quicky comes in as a huge problem solver.
Because the Quicky has a lot more diffusion and is in essence a “soft”box the quality of the light on the face of the model is a lot nicer, especially for female models, but due to it’s design it can be placed a lot further away from the model and still get a very nice “spot light” effect on the model. Because I can move the Quicky further away I can now also light more of the background with a less harsh light fall off than a snoot or reflector with grid.

And, for me the biggest advantage, the light fall off is a lot smoother than a snoot/reflector and larger, so I only need my fill light for the last part, which makes the final results a lot smoother.

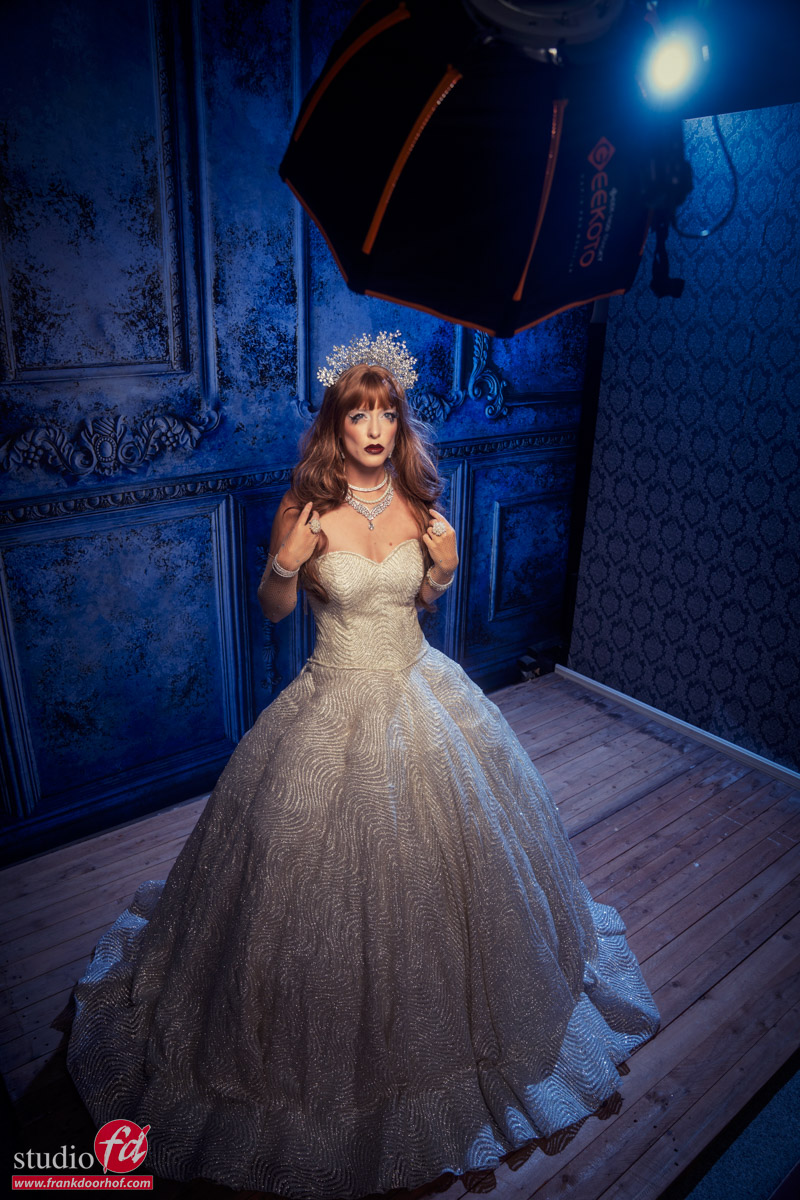
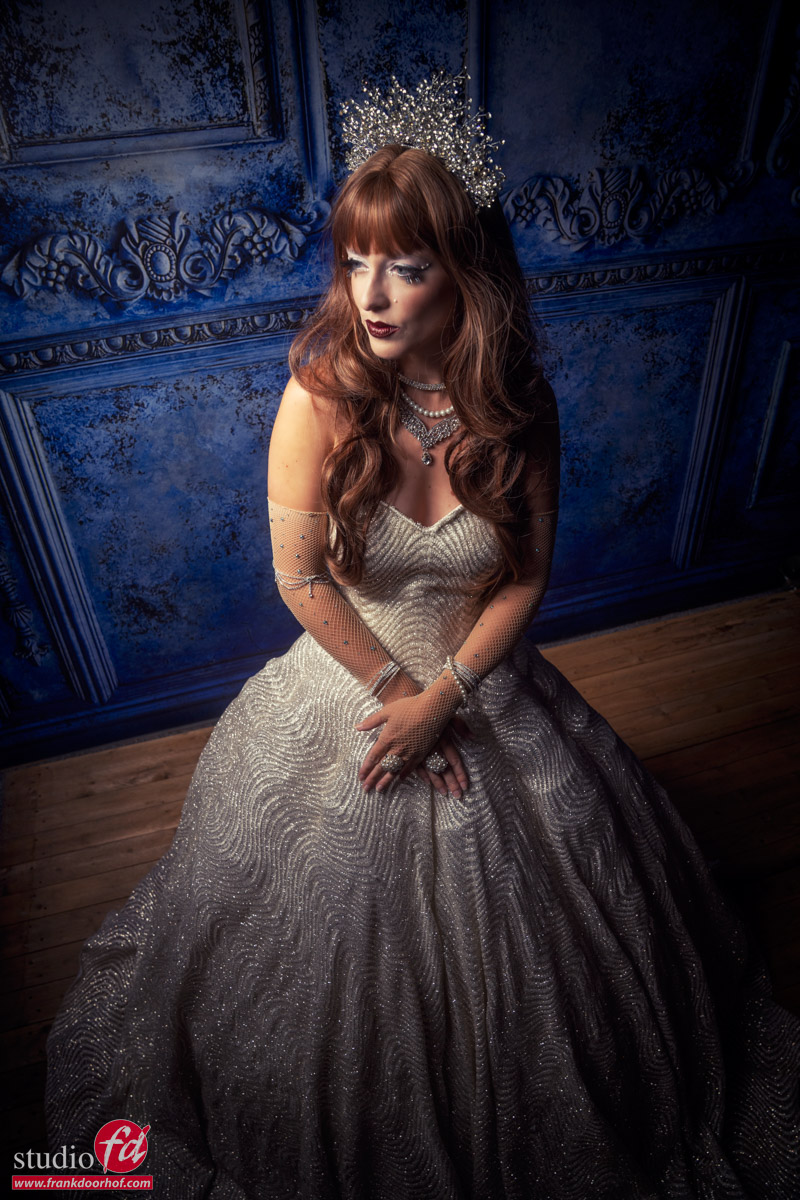
Here you see the Quicky lighting almost the complete model, and the Lantern is used in the back just to open a the shadows ever so slightly.
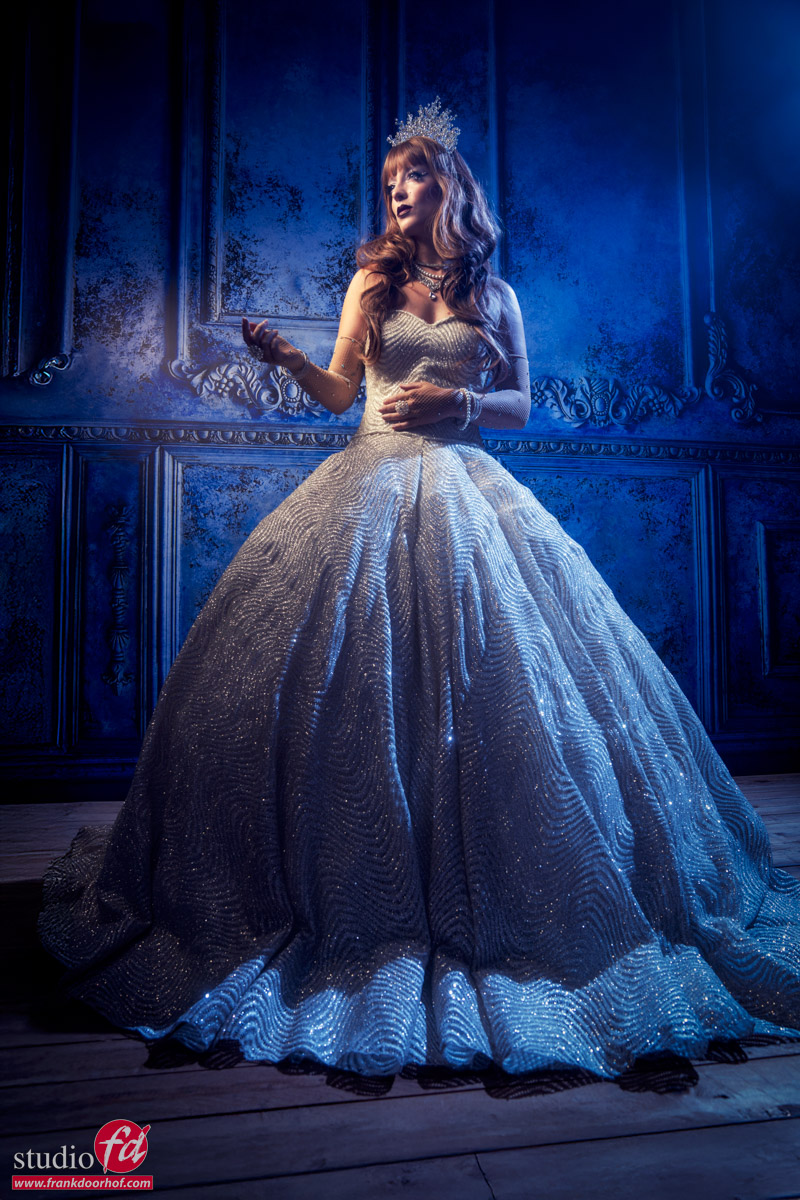
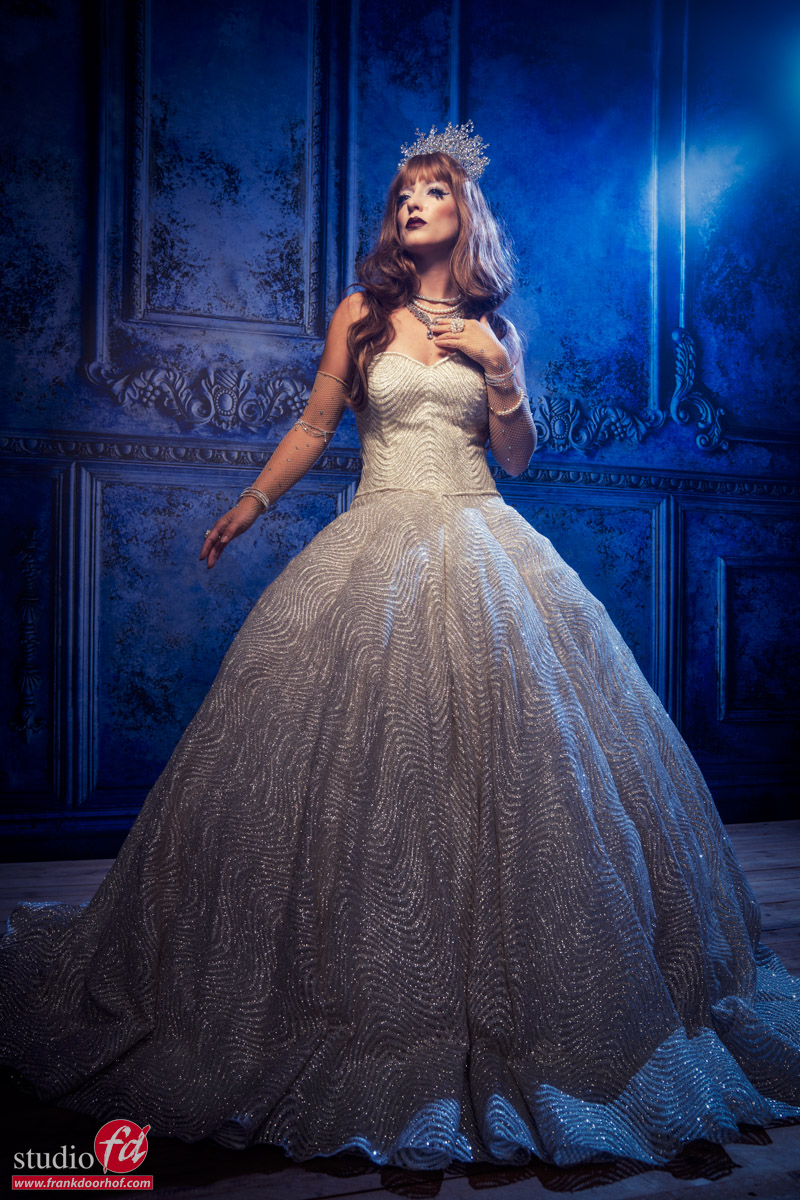
Lighting setup :
Geekoto GT400 with the Lantern as fill
Geekoto GT400 with the Quicky as main light

And one without the blue accent light.
(a Geekoto GT200 with a Rogue magnetic blue gel)
If you buy products from our Webstore you support our work.
We are the official distributor for the brands on our website, I use them in my daily work and highly recommend checking them out.
https://frankdoorhof.com/web/wp-content/uploads/2025/09/Claudia-DC-34-September-17-2025-Edit.jpg 1200 800 Frank Doorhof https://frankdoorhof.com/web/wp-content/uploads/2015/03/studioFD_Logo-1FV.png Frank Doorhof2025-10-29 09:00:112025-10-29 09:27:20Become an instant lighting expert (sort of)

Finding the right angles and visualizing them

26-10-2025/in blog, Visions and technique, Webinars and instructional videos/by Frank Doorhof

This is one of those things I struggled with a lot

and still sometimes it totally surprises me when I check my images later in Lightroom.
When someone asks me “what is the perfect lens” I often tell them my story.

When I started with photography I thought the 70-200 f2.8 was the lens that ruled the model photography business. (don’t ask me why).
And in all honesty it is an awesome lens for portraits, it’s great to fit your model jumping around on a relatively narrow backdrop, and the lens was razor sharp and focused great. So no reason to switch.
Due to a defect I had to work with my 24-70 for a while and although I was a bit worried that I would miss the 70-200 I was actually pleasantly surprised. To make a long story short, my 70-200 f2.8 is still unused in the safe.

Why the 24-70?

Working with the 24-70 gives me a few different choices I did not have with the 70-200.
The 70-200 always compresses the scene and that’s great for throwing the background out of focus, but at one point it also becomes a “trick”.
When I started with the 24-70 I found I loved to actually shoot at 35-50 a lot more than with I thought.
And slowly I started to experiment with 24 and that was it.
The extra depth you can give to a shot, and draw the attention of your viewer to the your subject is highly addicitive.

There is however a problem

With a compression it’s important to not go too far, because you will just squeeze your model to a flat 2D looking cartoon character.
But with the wide angle the same can happen, but in this case it can also give you the result you like when used correctly.
So it’s important to know how to work around this “distortion”.

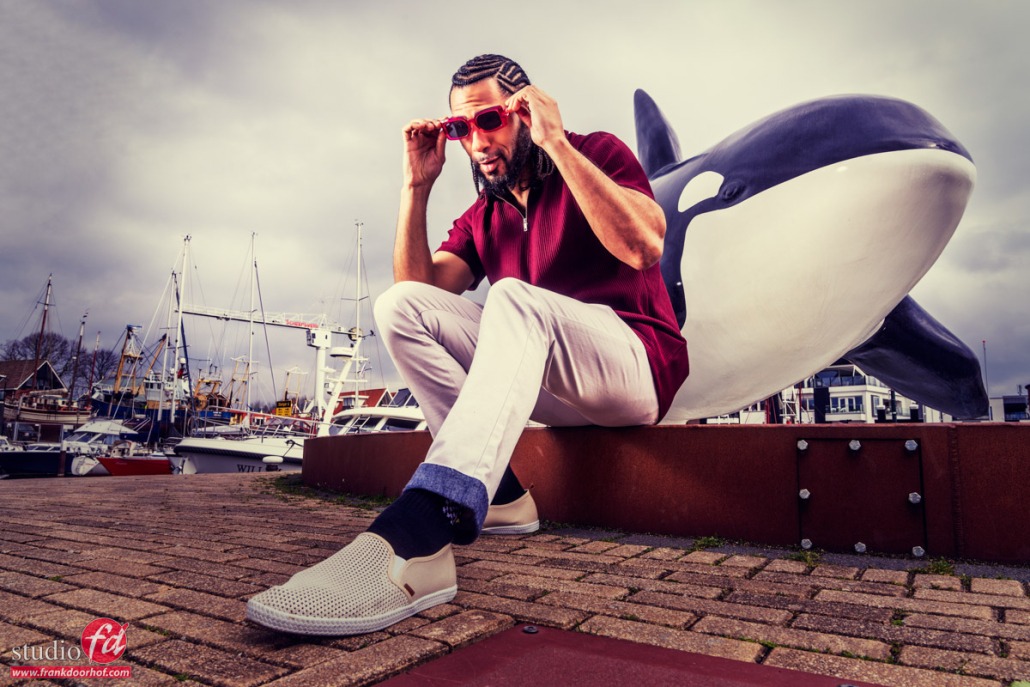
A camera doesn’t see “depth” it will render objects closer to the camera larger than objects further away from the camera in relation to the closest distance. In other words if you stand really close to your model and use a 24 mm you will get a lot more effect than the photo you see above.

Now this can go wrong when we start to introduce props into the set.
And because video is always easier in these kind of situations we shot a tutorial.


https://frankdoorhof.com/web/wp-content/uploads/2025/08/Lisa-65-August-30-2025-Edit.jpg 800 1200 Frank Doorhof https://frankdoorhof.com/web/wp-content/uploads/2015/03/studioFD_Logo-1FV.png Frank Doorhof2025-10-26 18:00:262025-11-03 16:22:15Finding the right angles and visualizing them

Behind the scenes during the Scott Kelby Photowalk

10-10-2025/in blog, Webinars and instructional videos/by Frank Doorhof

It’s always fun to be an intern

Twice a year we select an intern who will be a full part of our team for at least 5 months.
During the internship we try to show all the areas of running a business in the creative sector. And one part is of course creating content.

During the Scott Kelby photowalk Silke filmed some behind the scenes video and edited it into a short fun video.
The weather was not perfect (to say it mildly) but we did manage to get some cool shots.

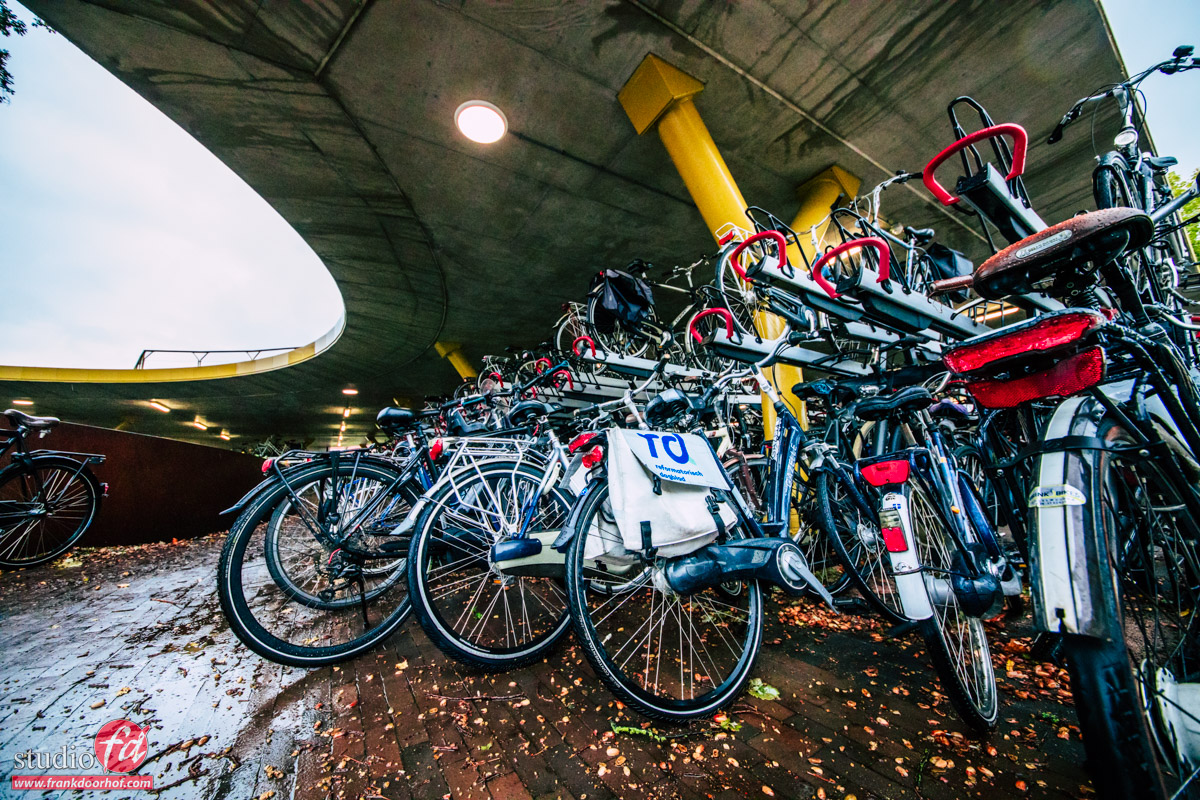
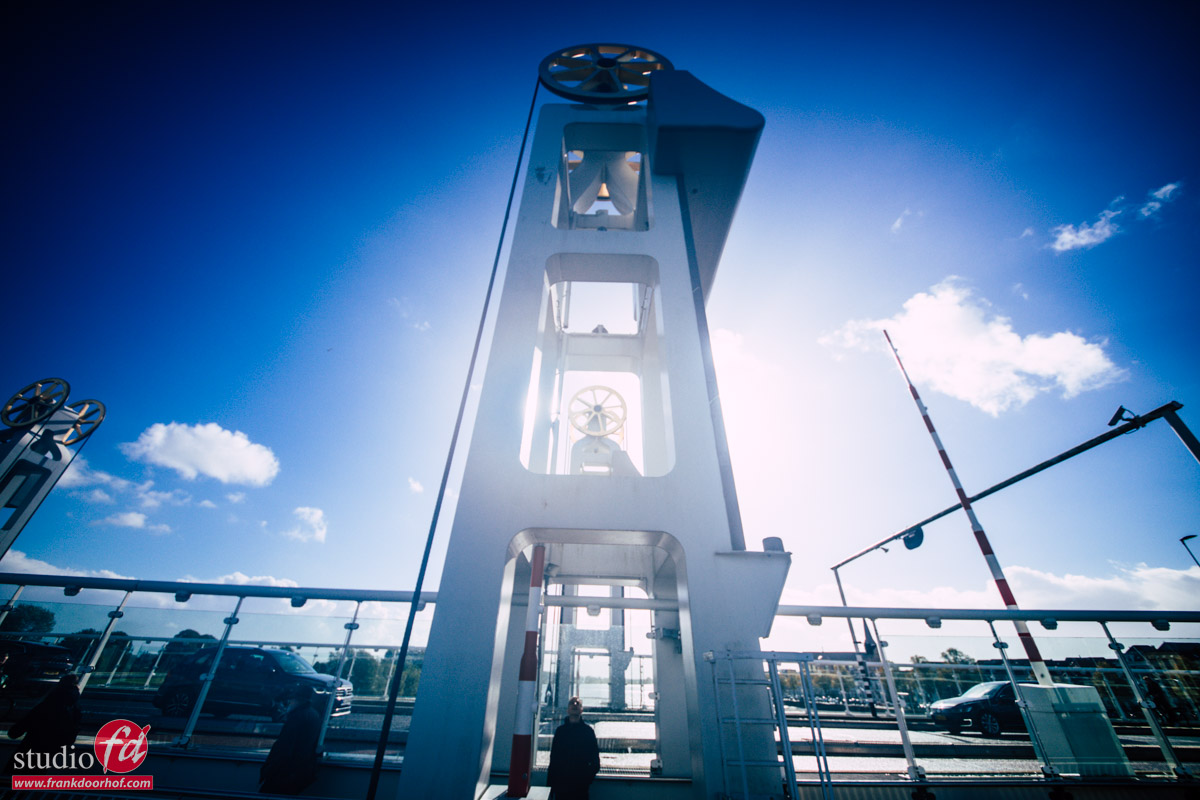
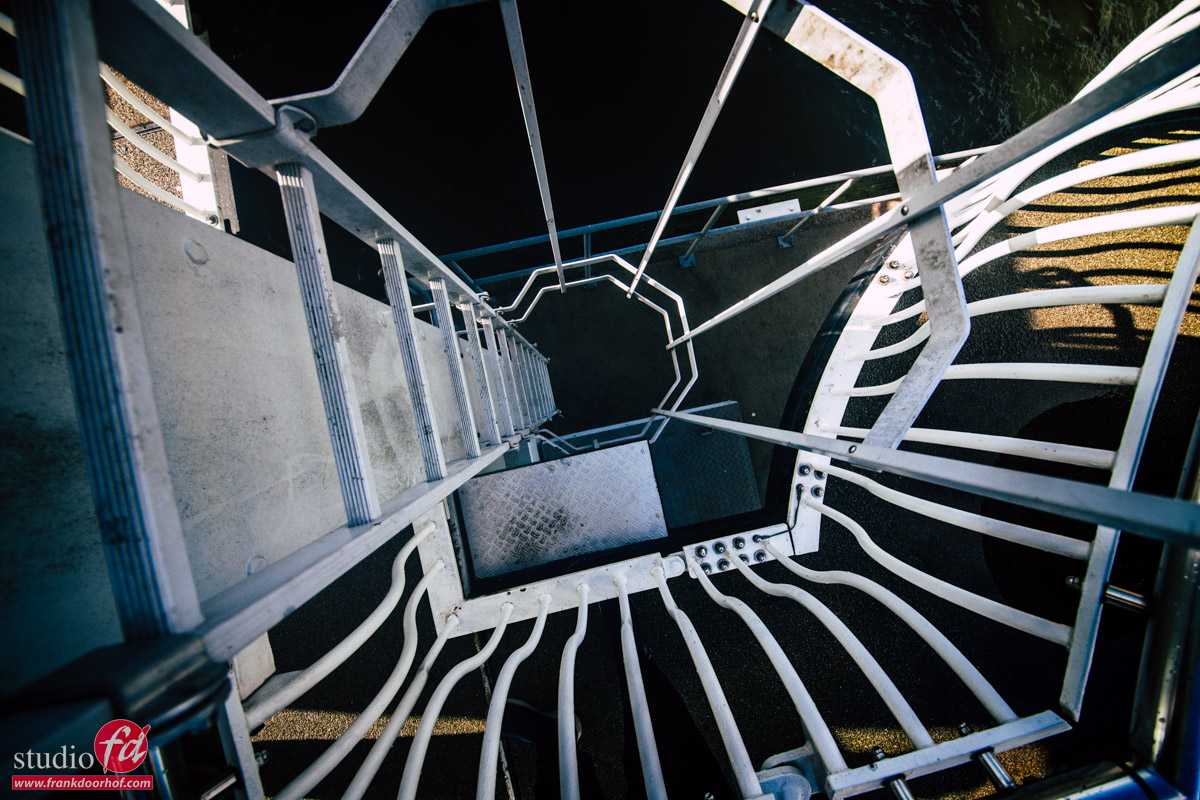
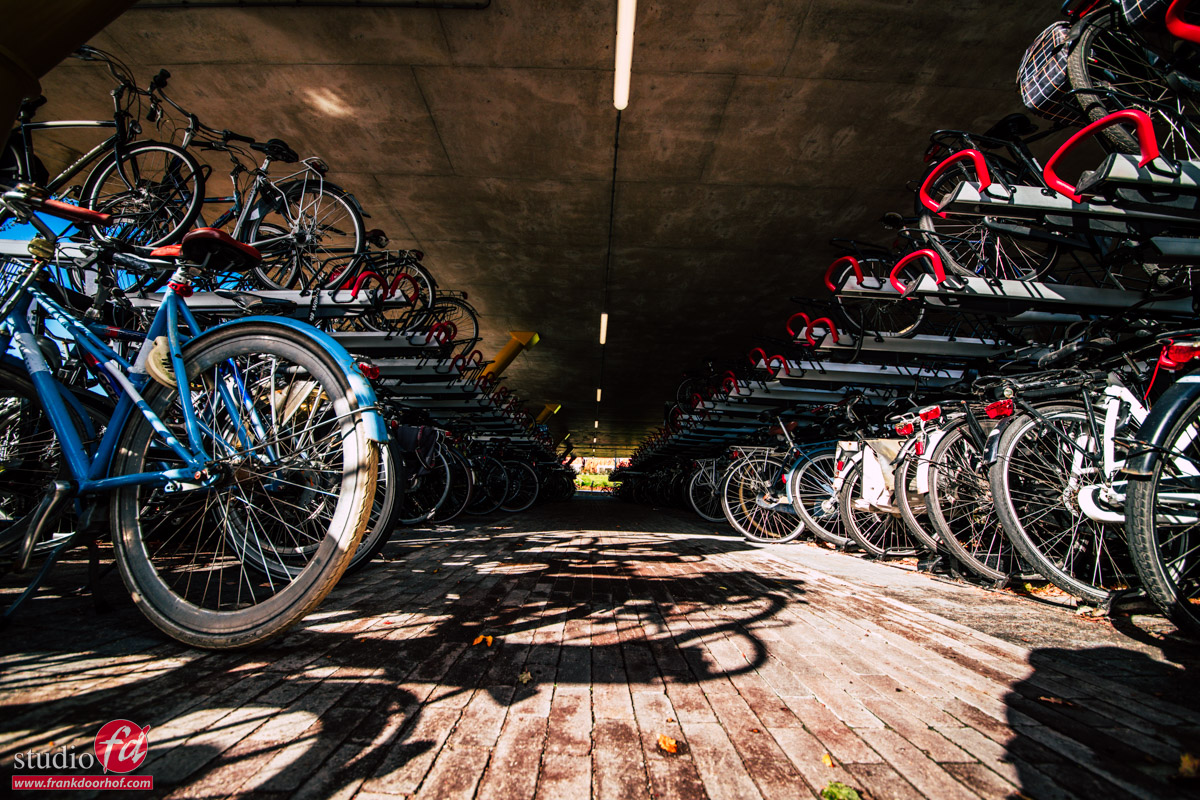
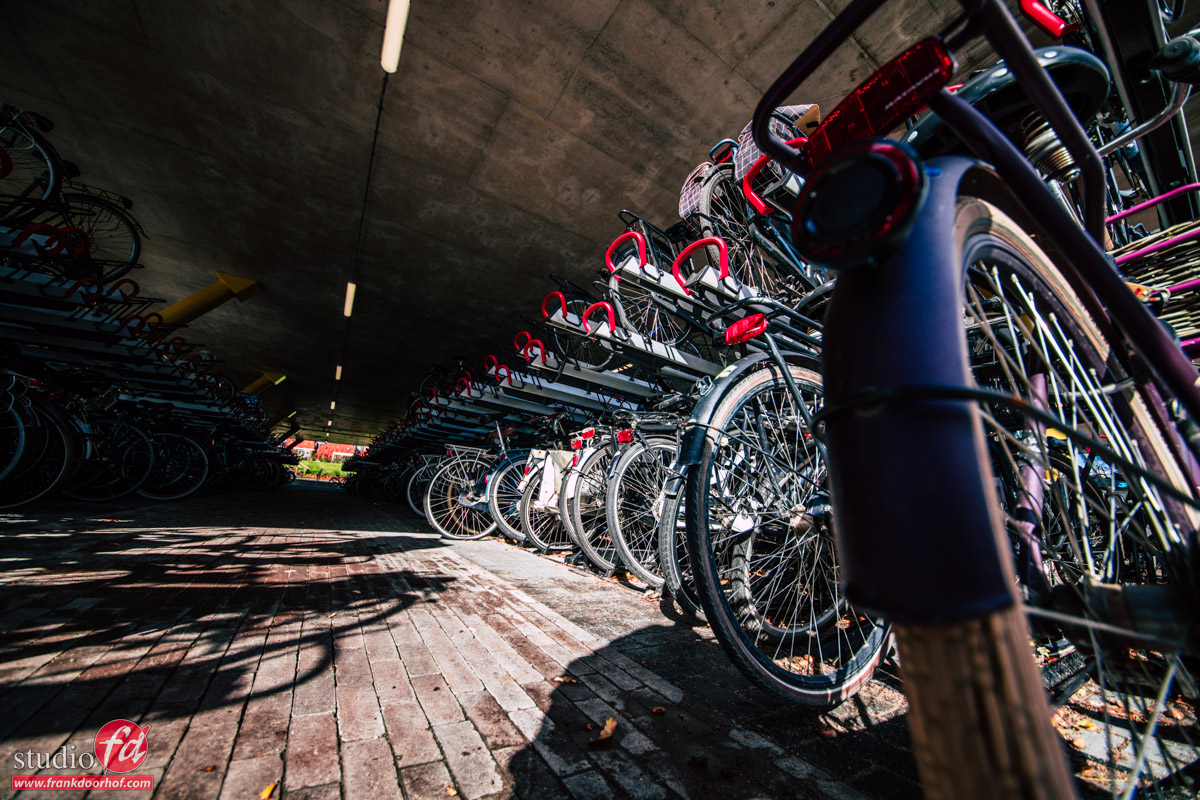
During the photowalk I limited myself to the Sigma 12-24 on the Sony A7R5.
I absolutely love that lens and although it’s still an A-mount lens it’s working like a charm on E-mount cameras via the Sony convertors 😀

I hope you enjoy the short behind the scenes video.

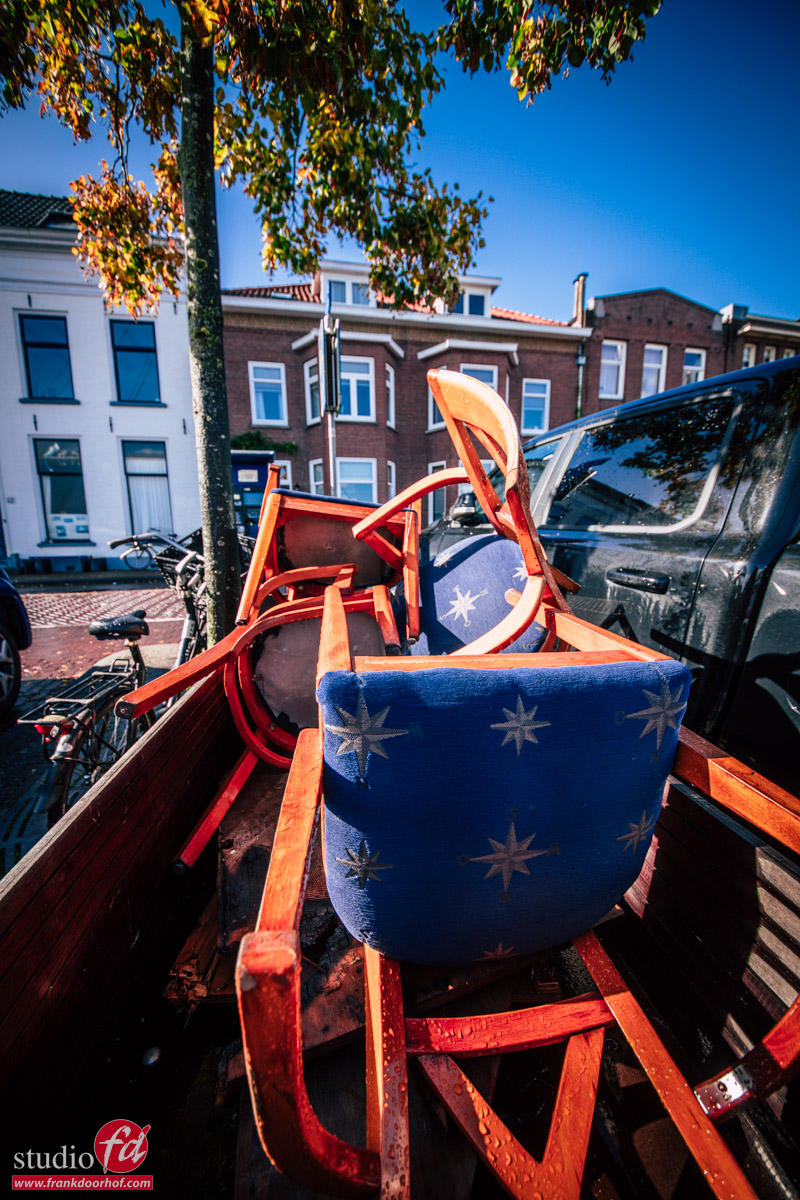
https://frankdoorhof.com/web/wp-content/uploads/2025/10/Kampen-PhotoWalk-257-October-04-2025.jpg 800 1200 Frank Doorhof https://frankdoorhof.com/web/wp-content/uploads/2015/03/studioFD_Logo-1FV.png Frank Doorhof2025-10-10 18:00:292025-10-10 10:02:56Behind the scenes during the Scott Kelby Photowalk

Worldwide Scott Kelby Photowalk Results

4-10-2025/in blog/by Frank Doorhof

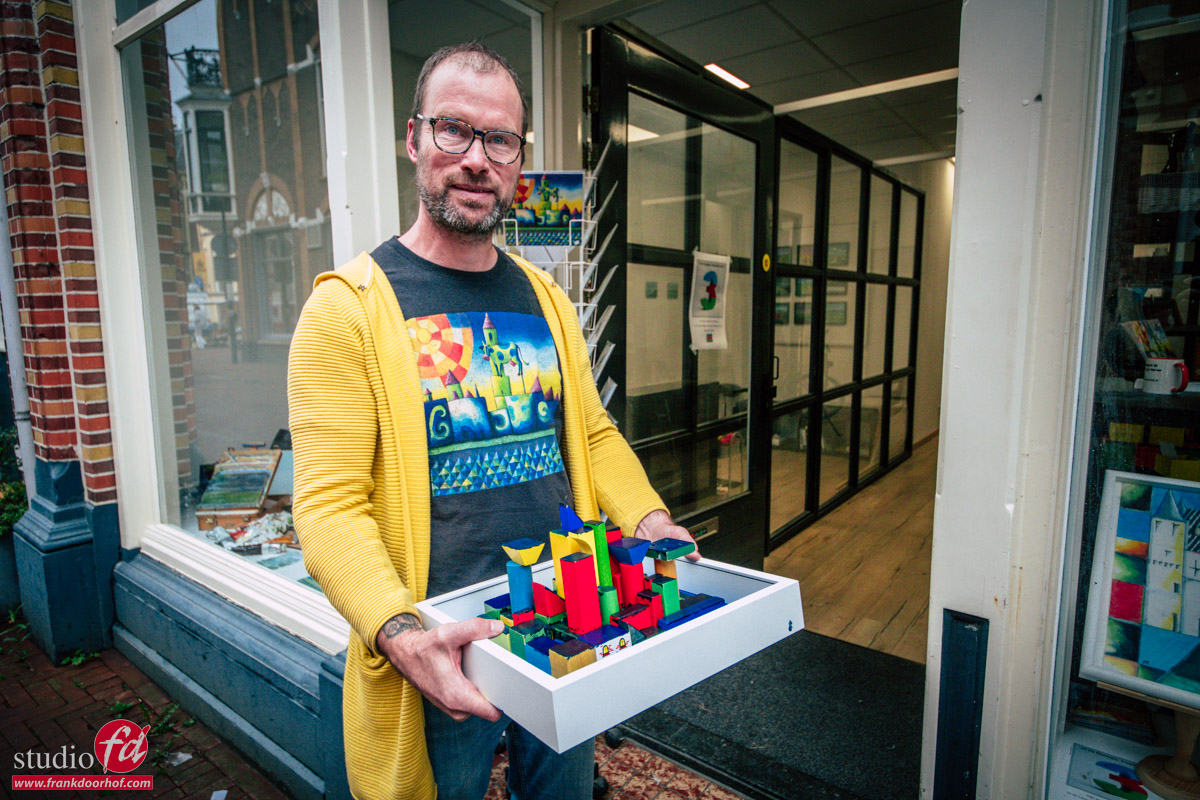
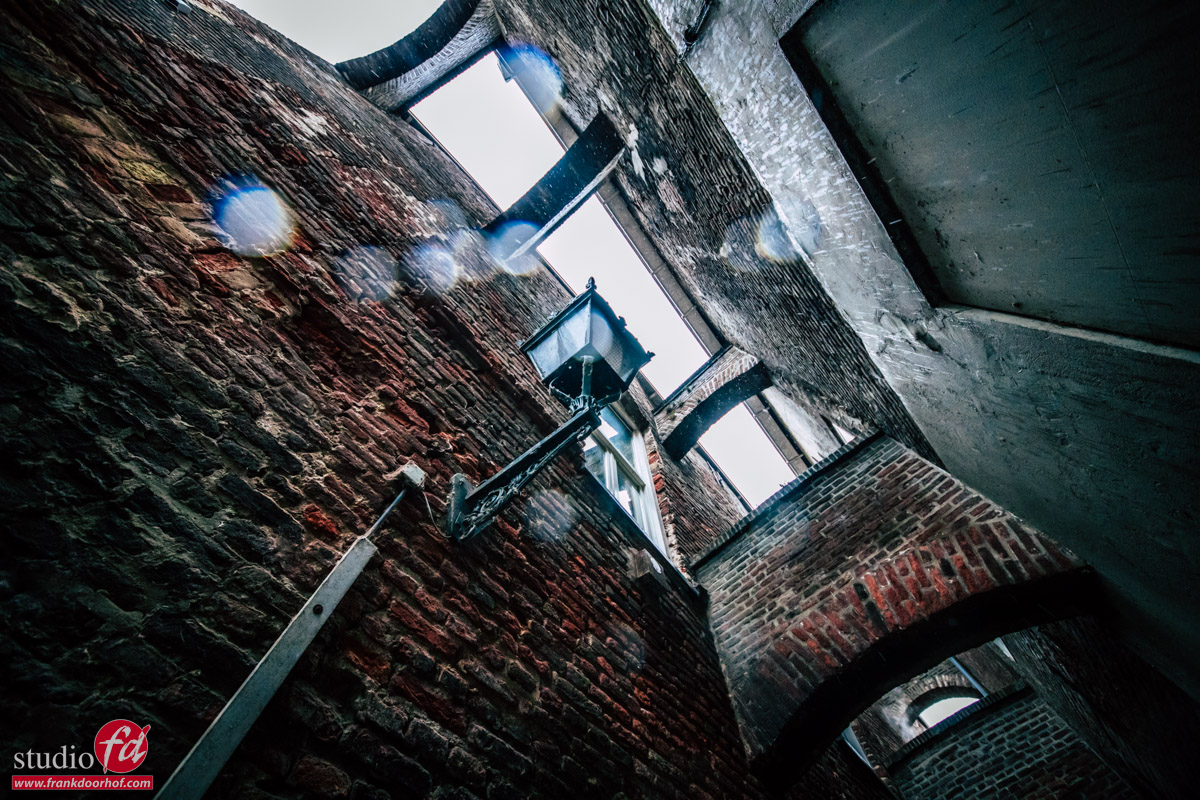
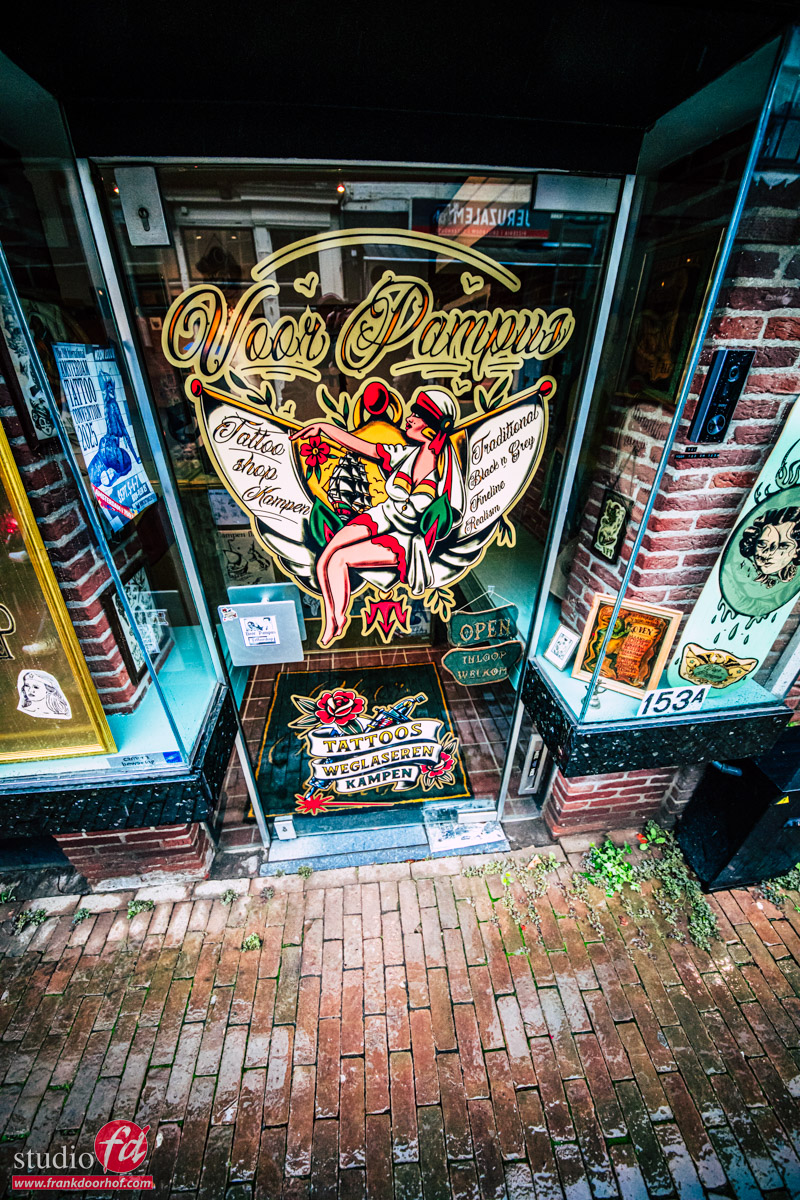
Today loads of photos

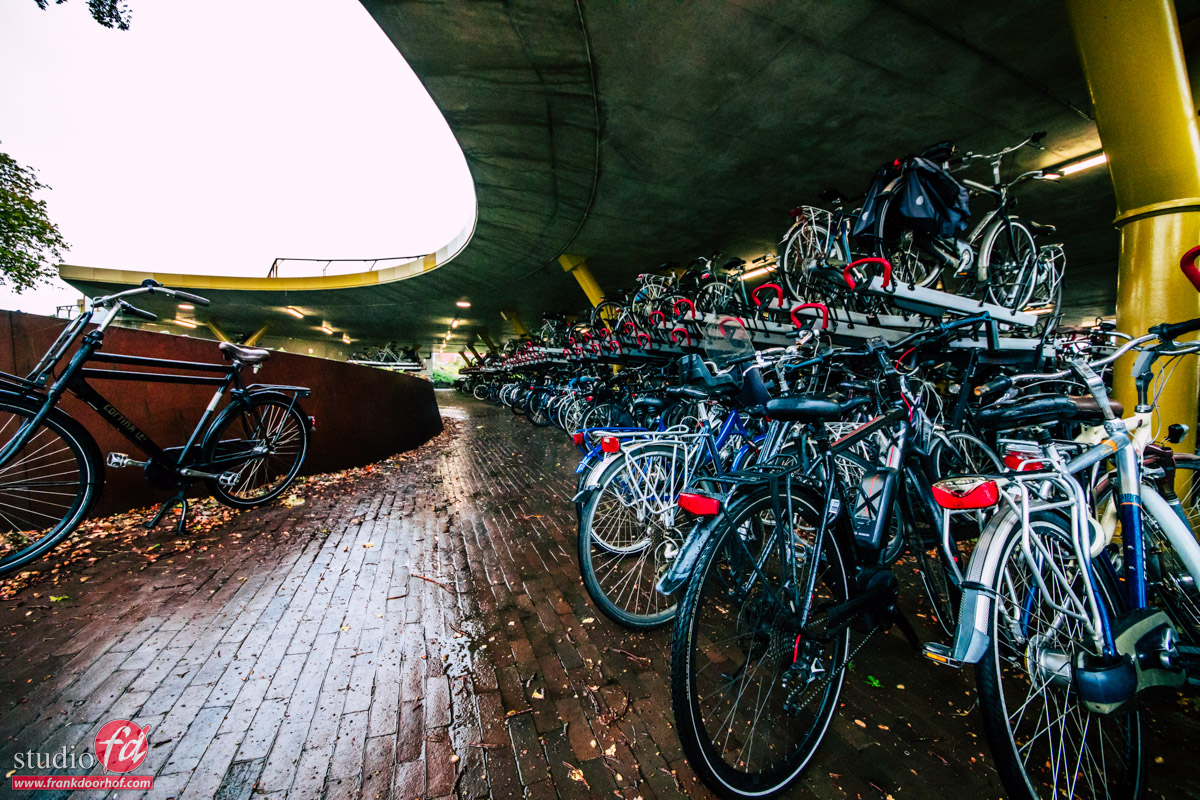
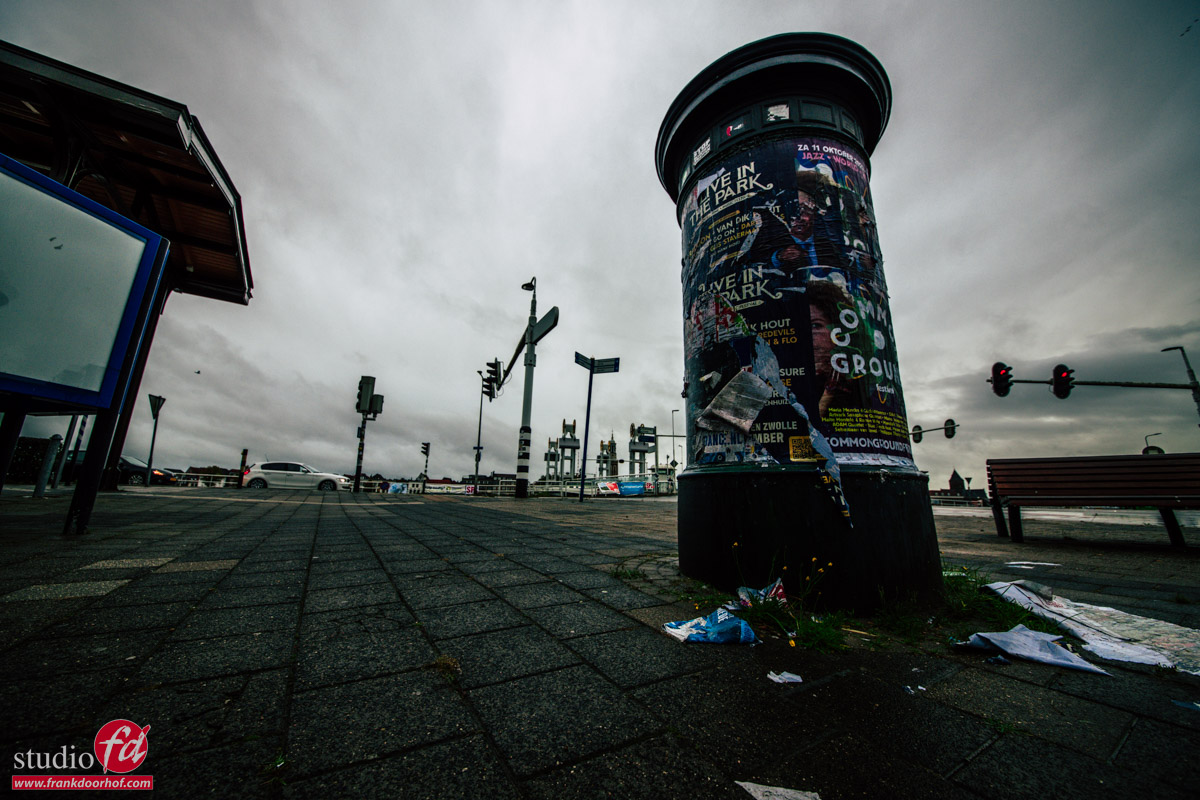
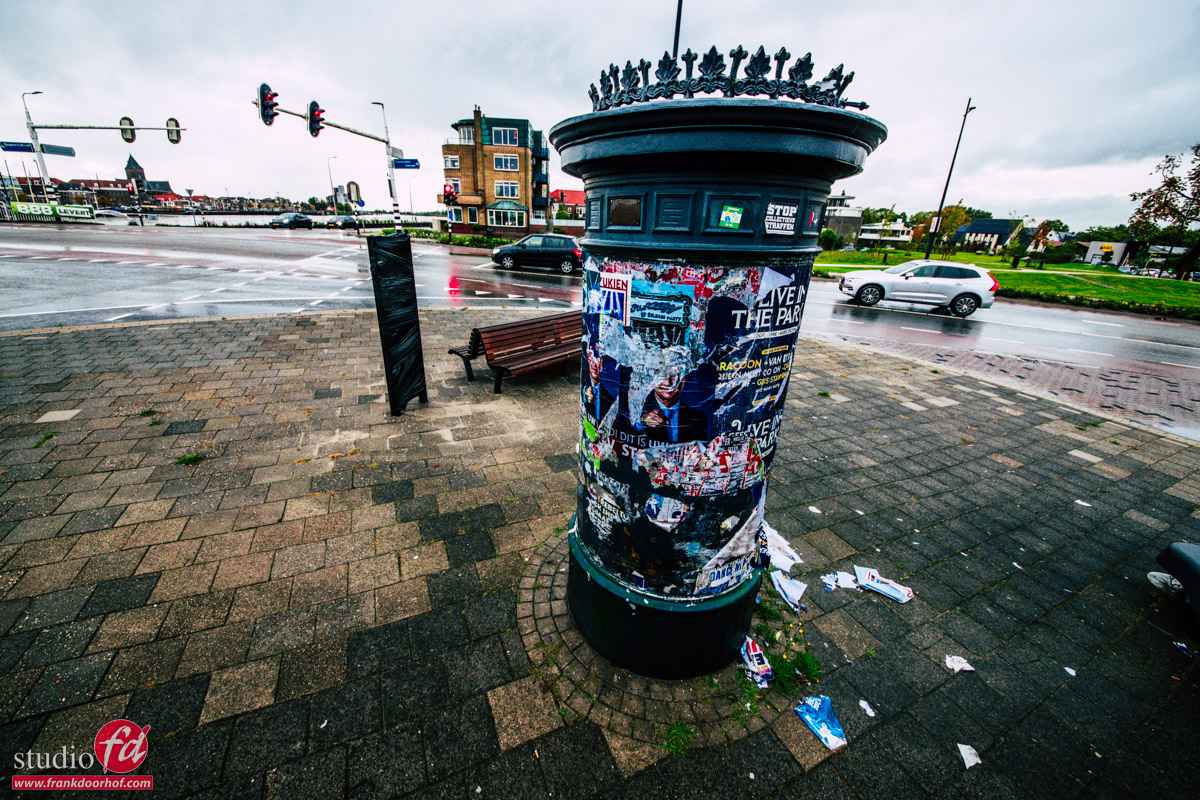
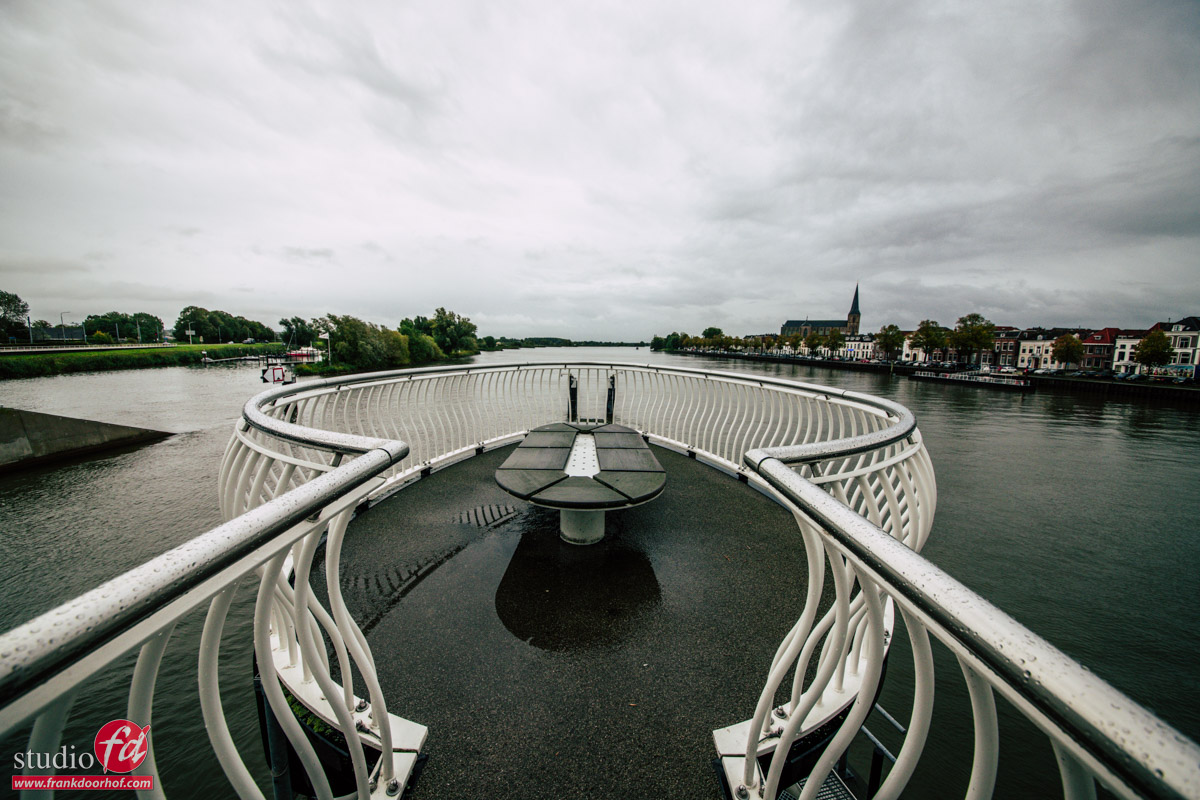
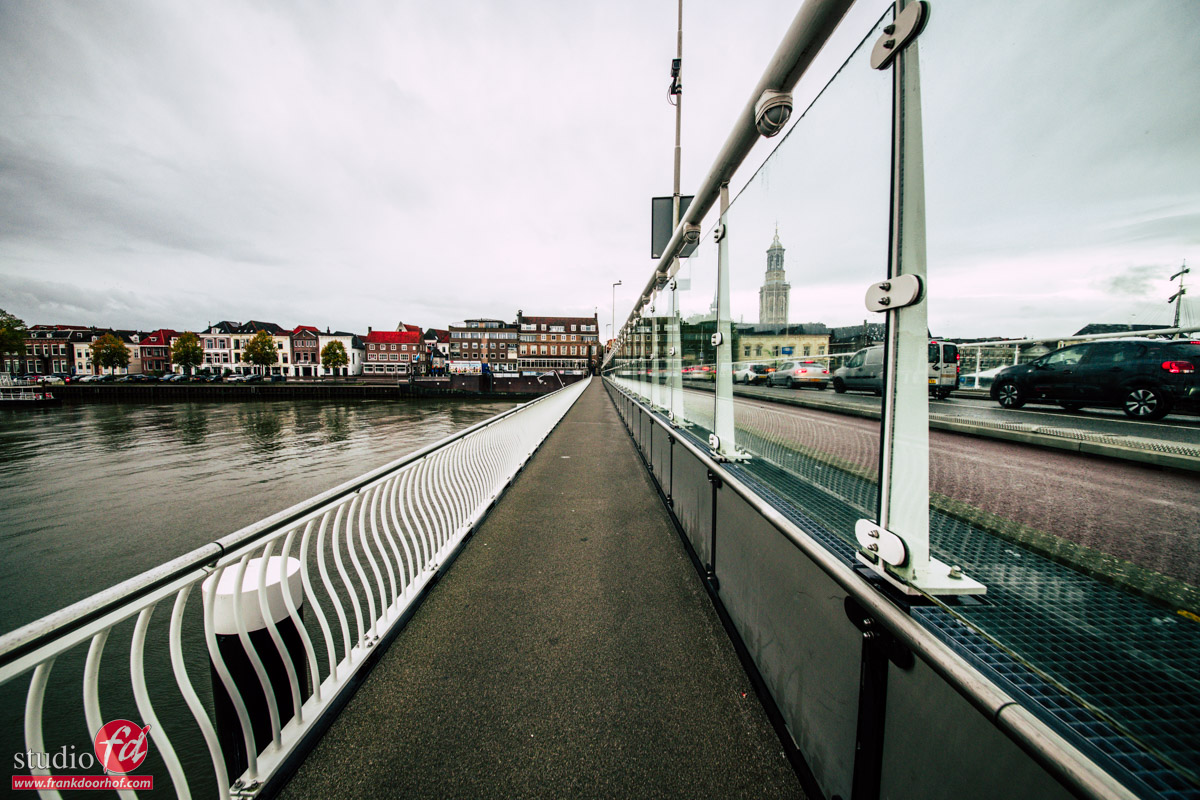
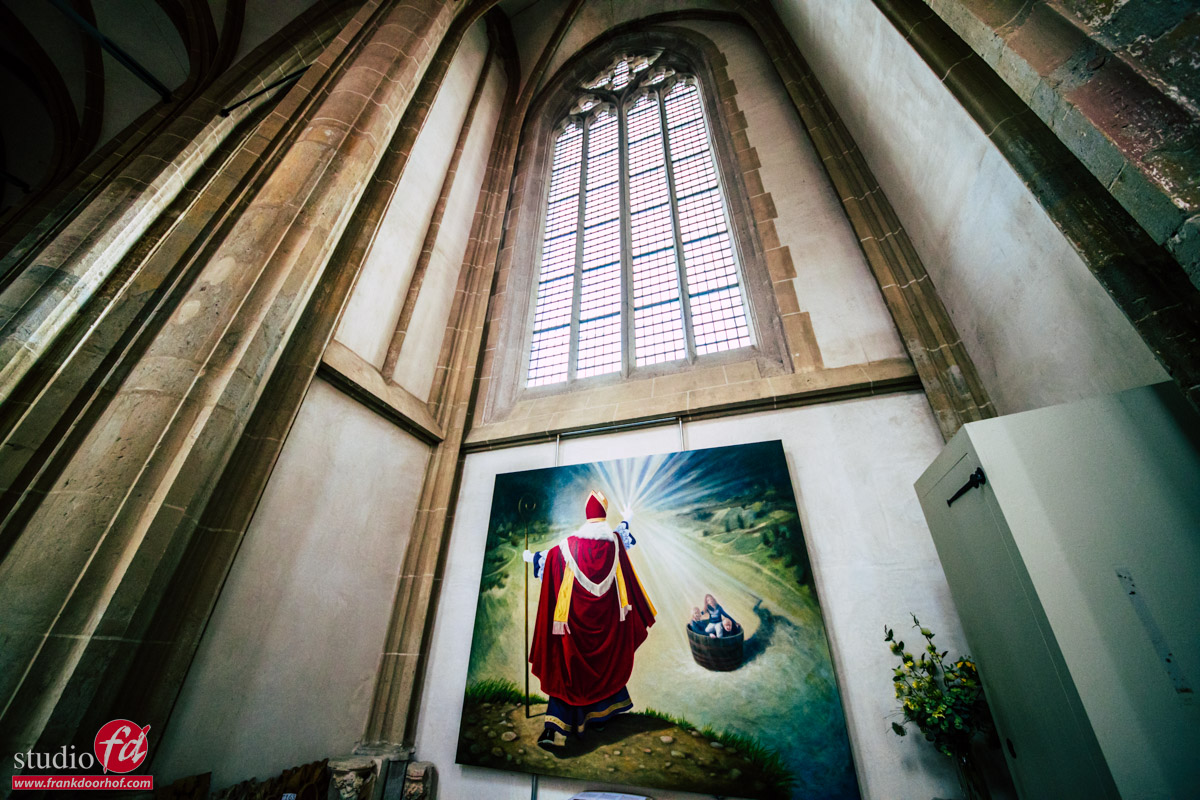
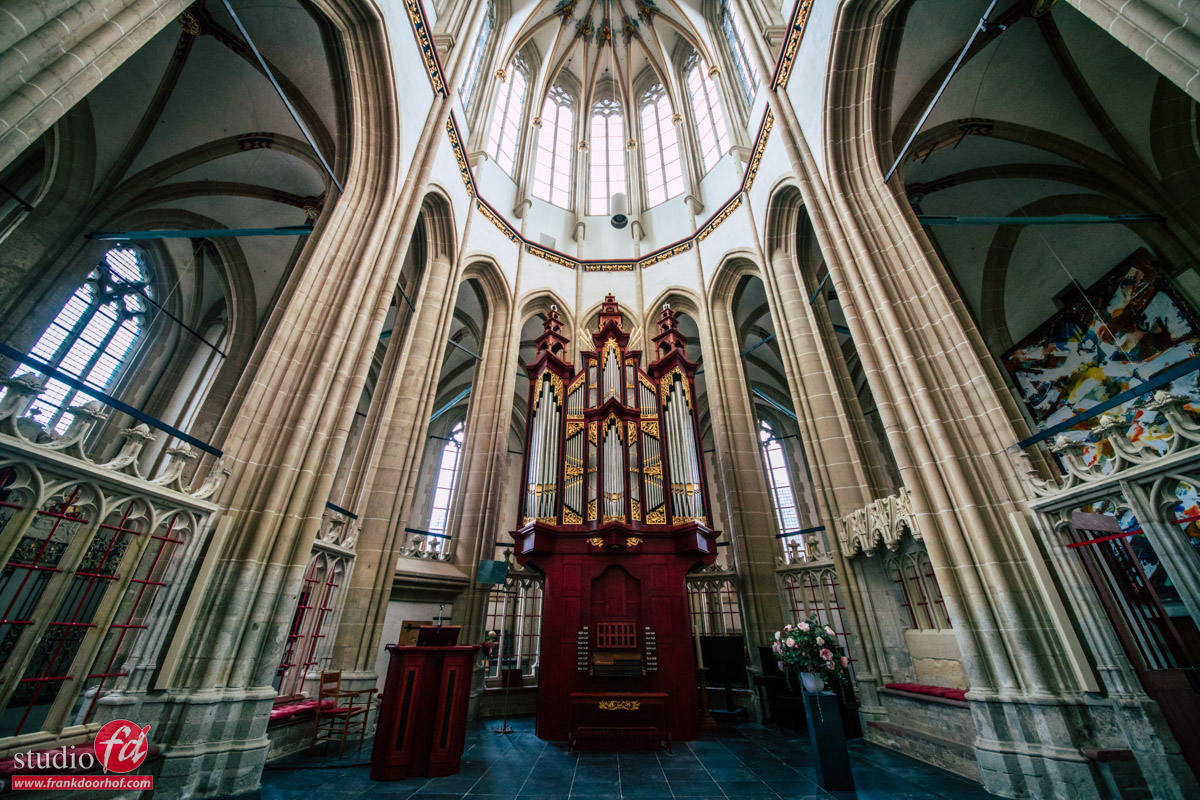
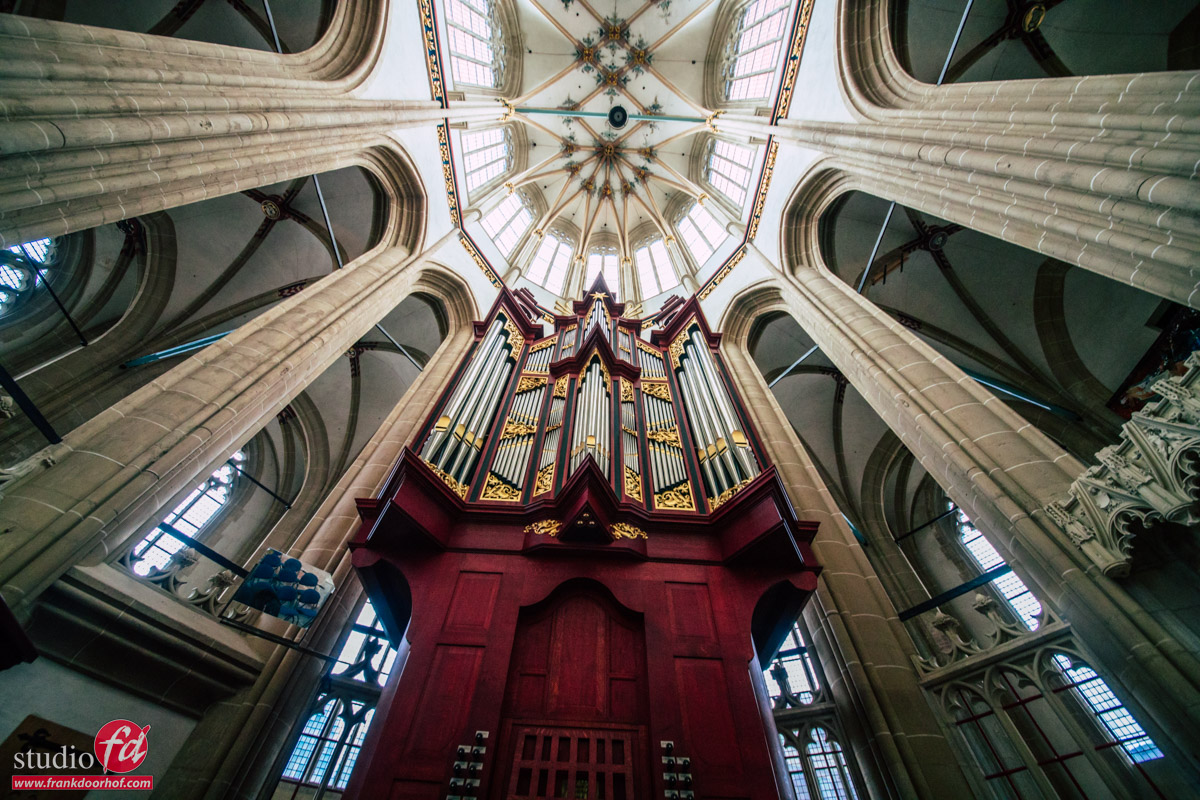
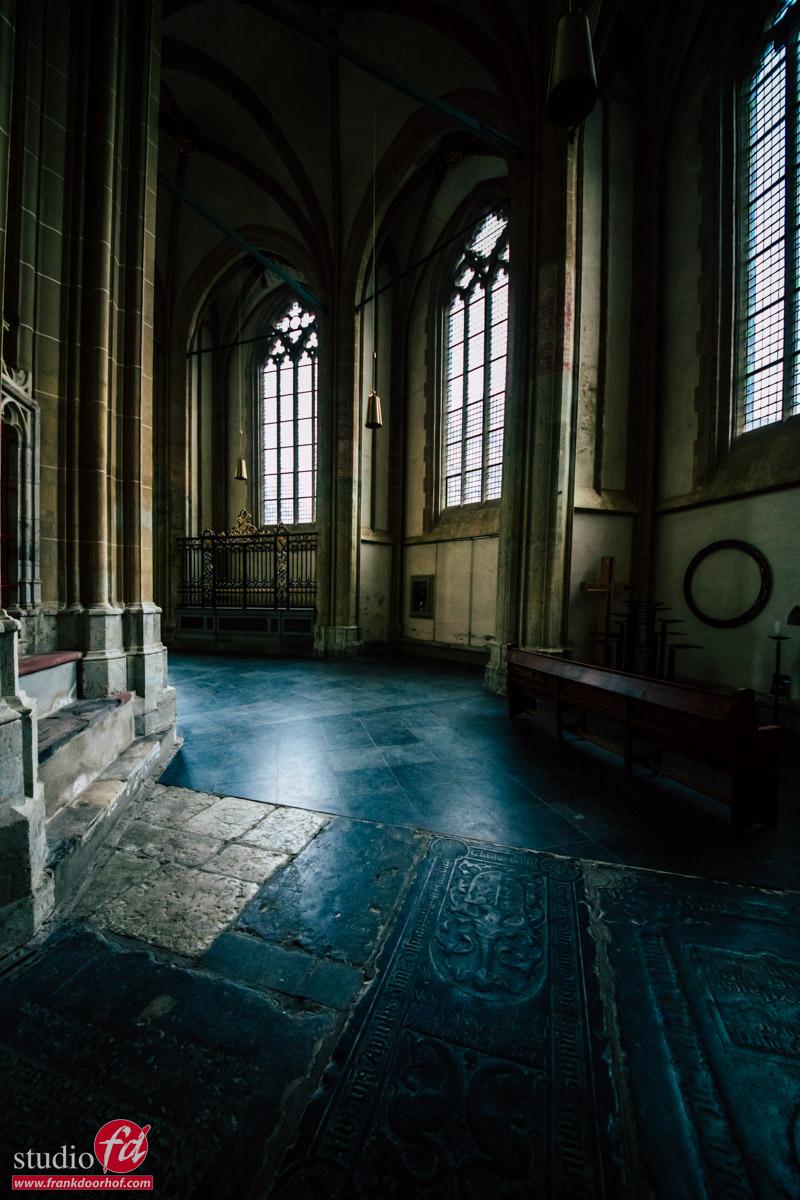
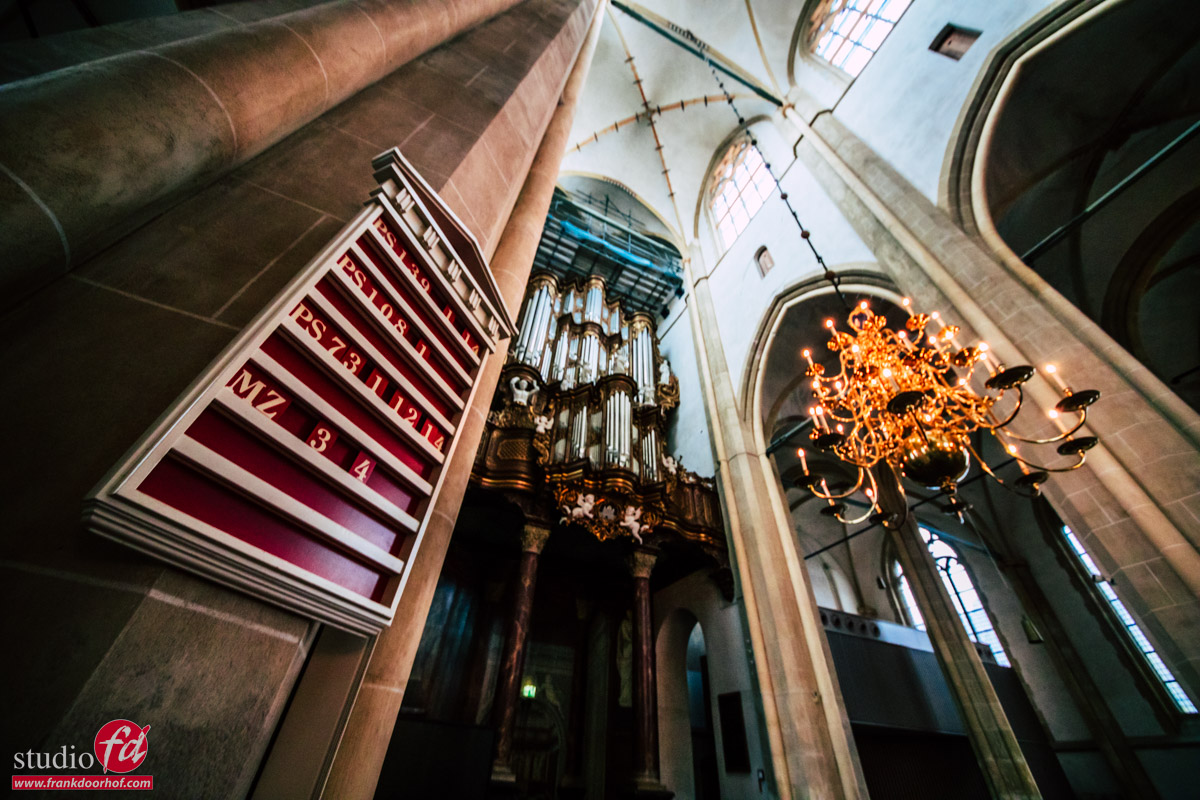
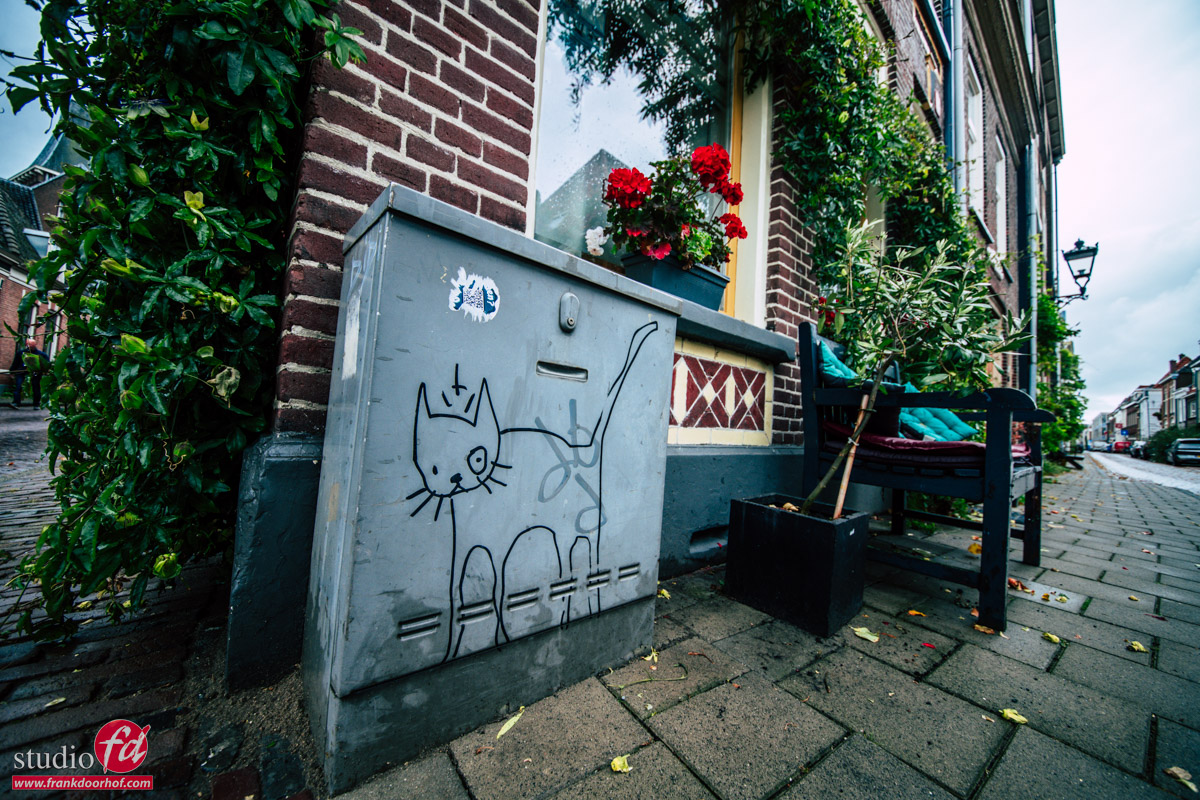
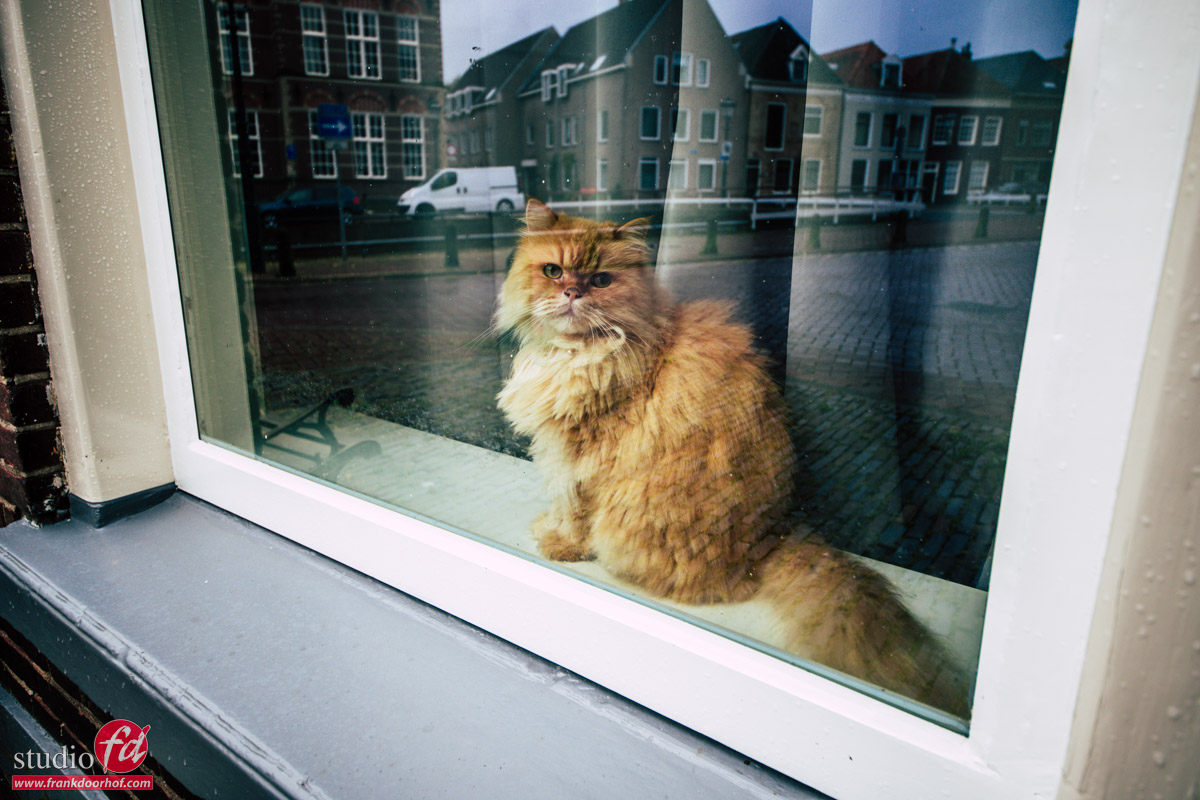
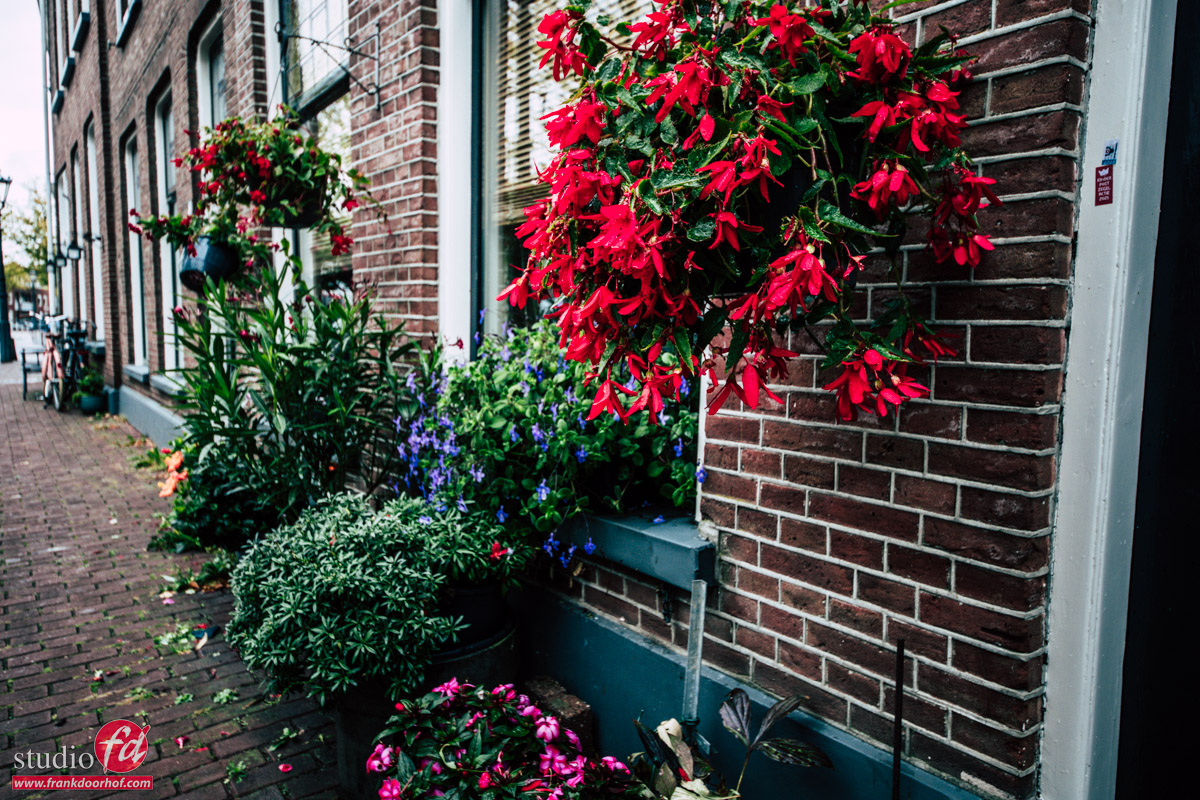
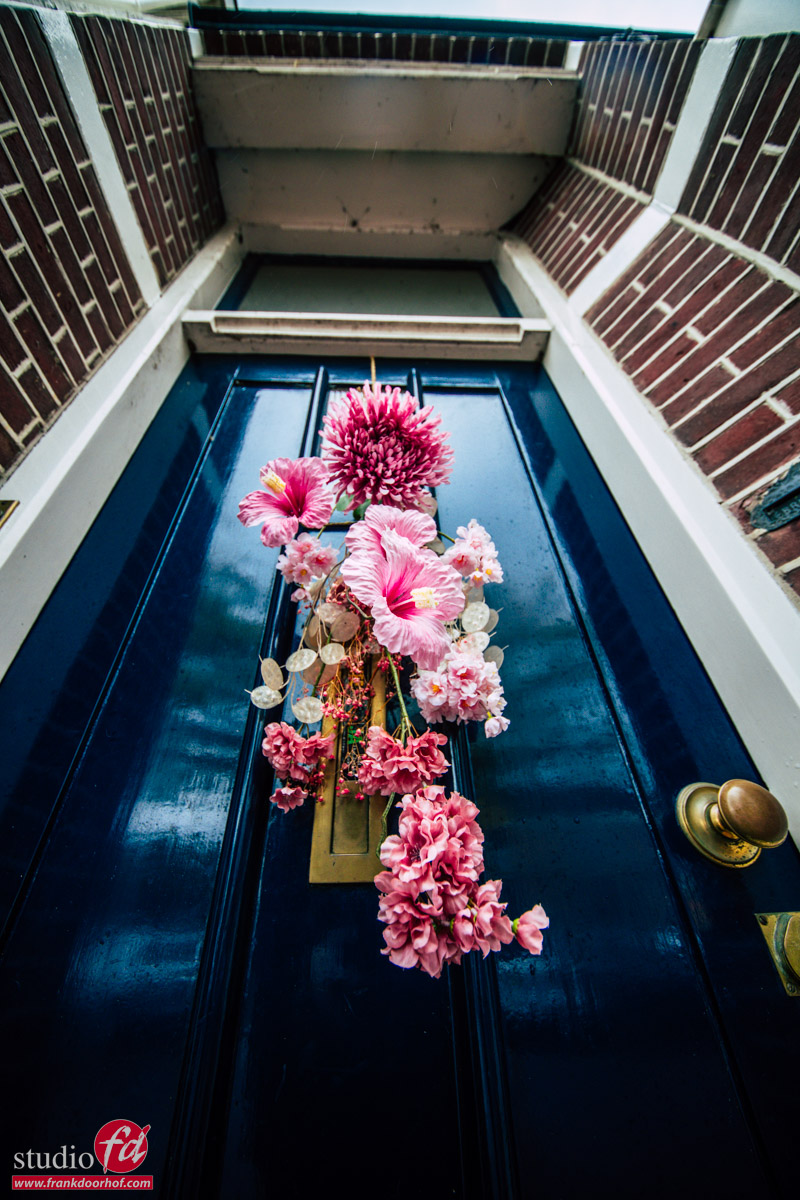
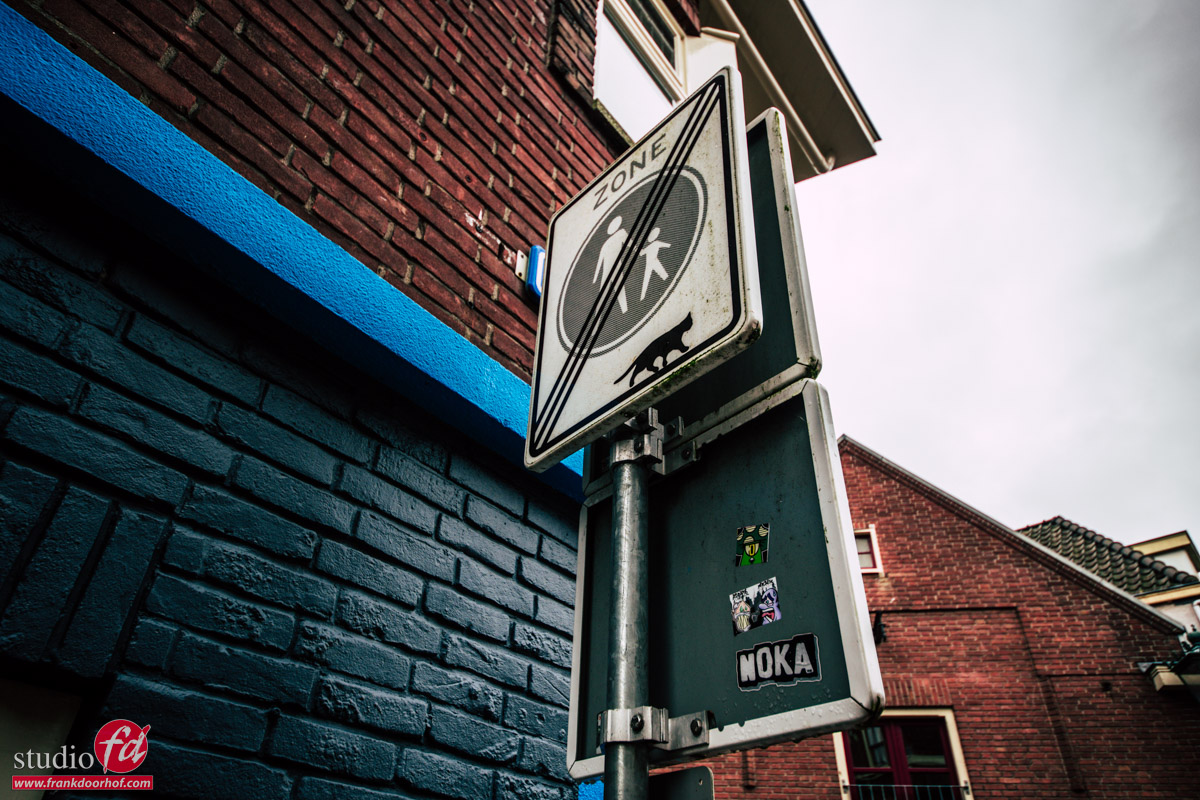
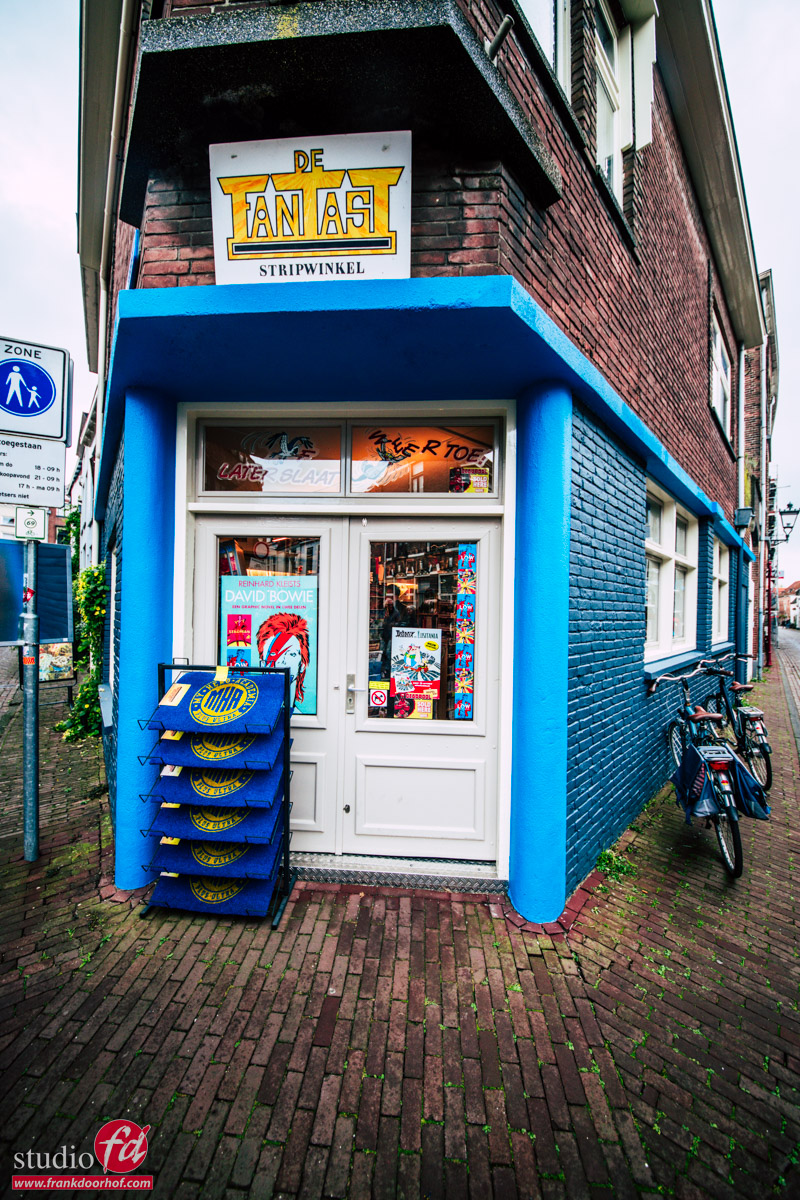
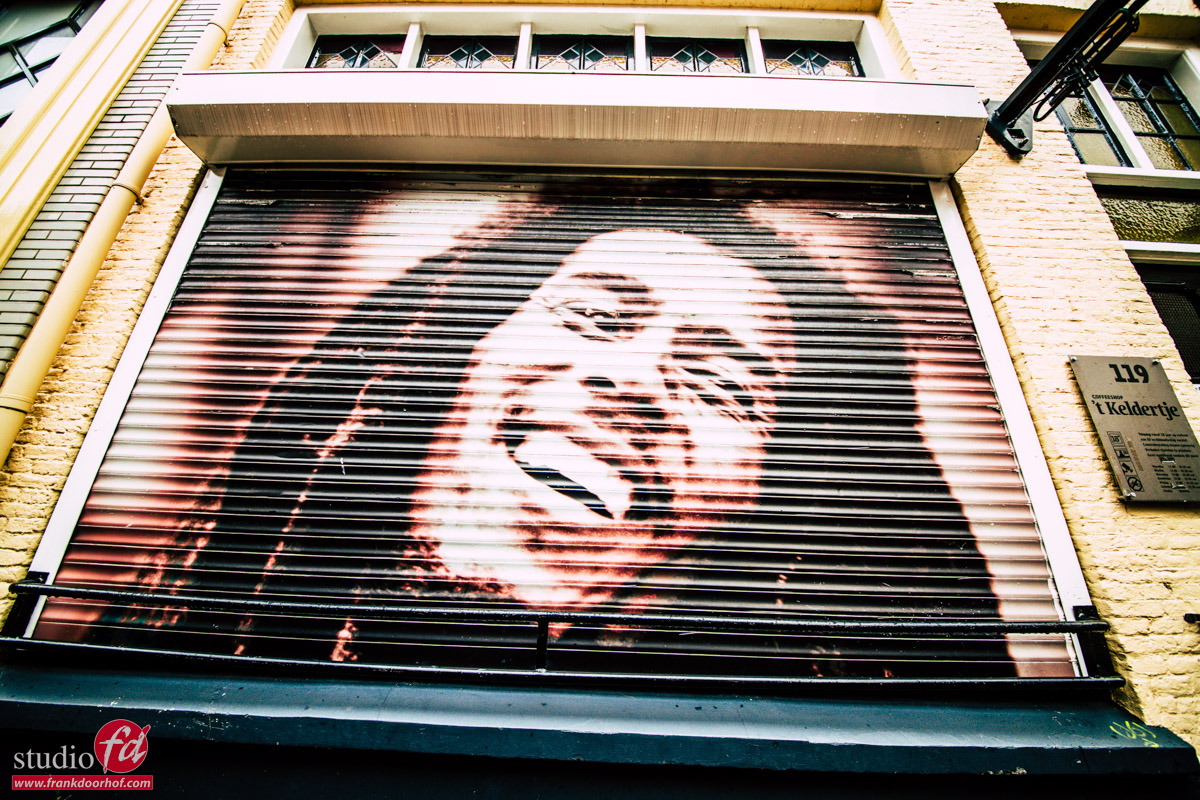
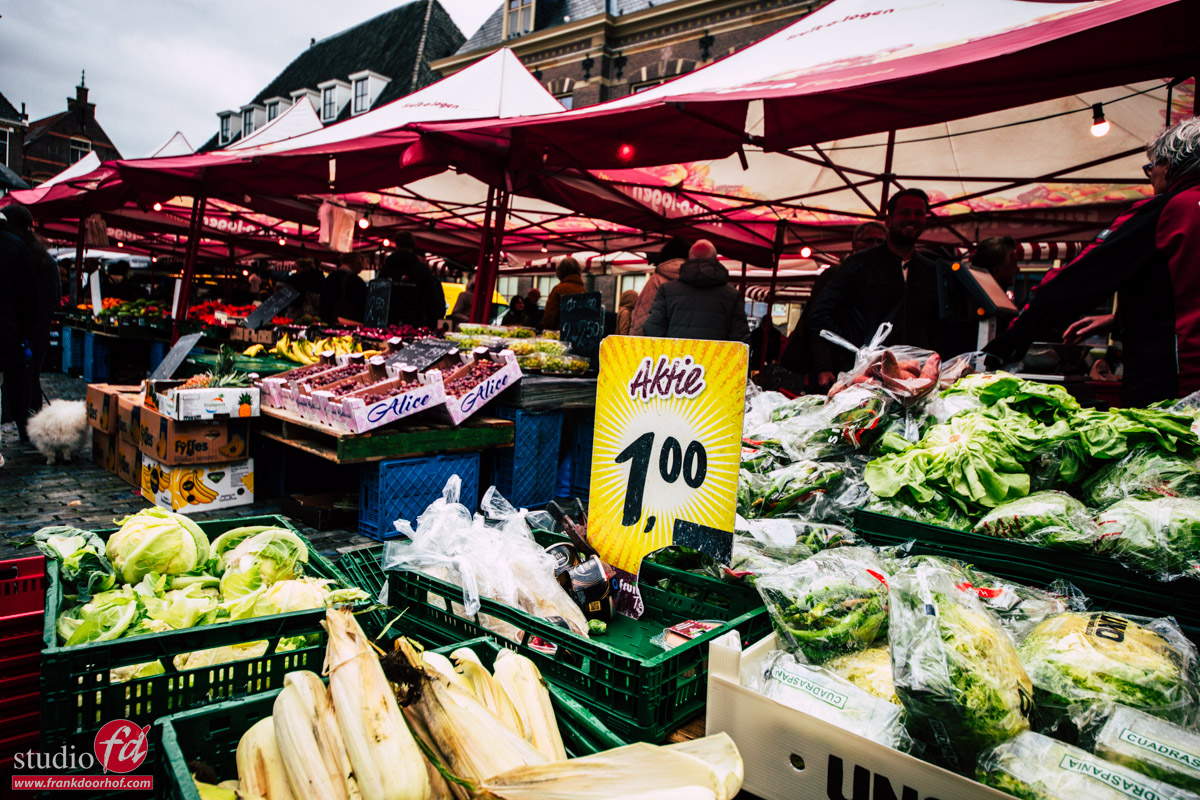
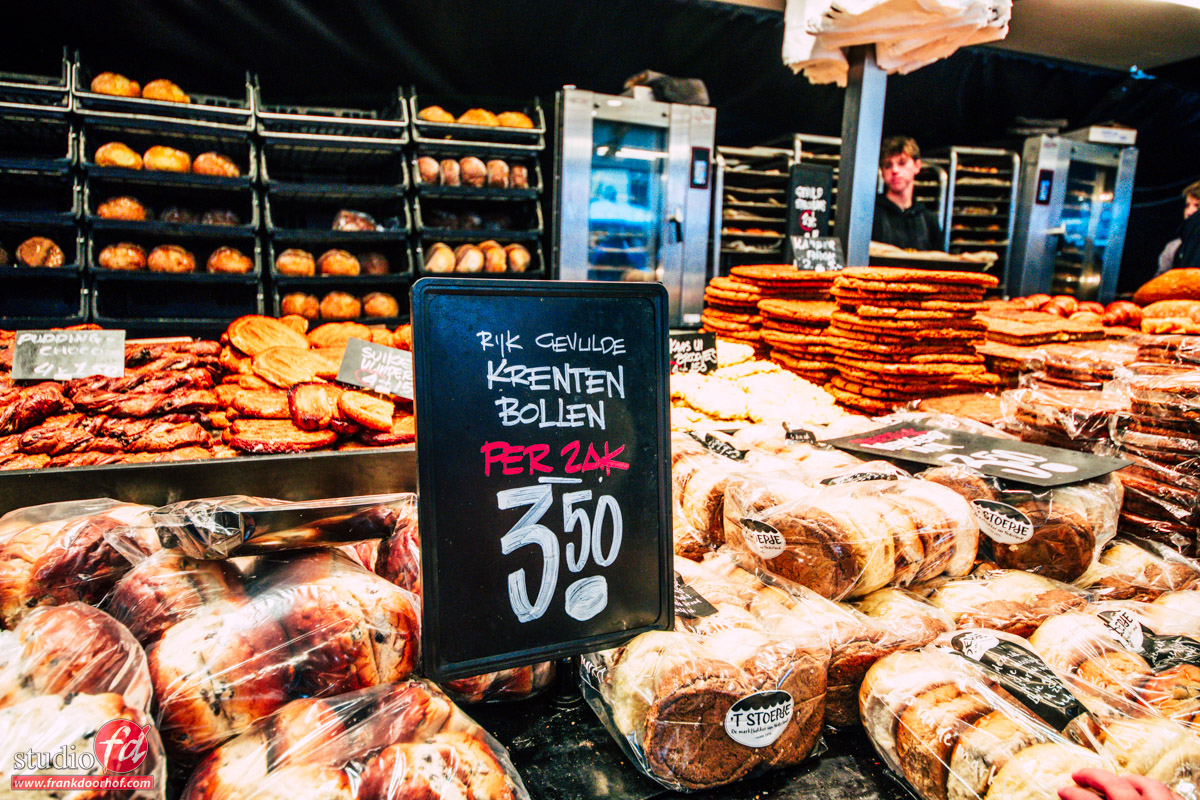
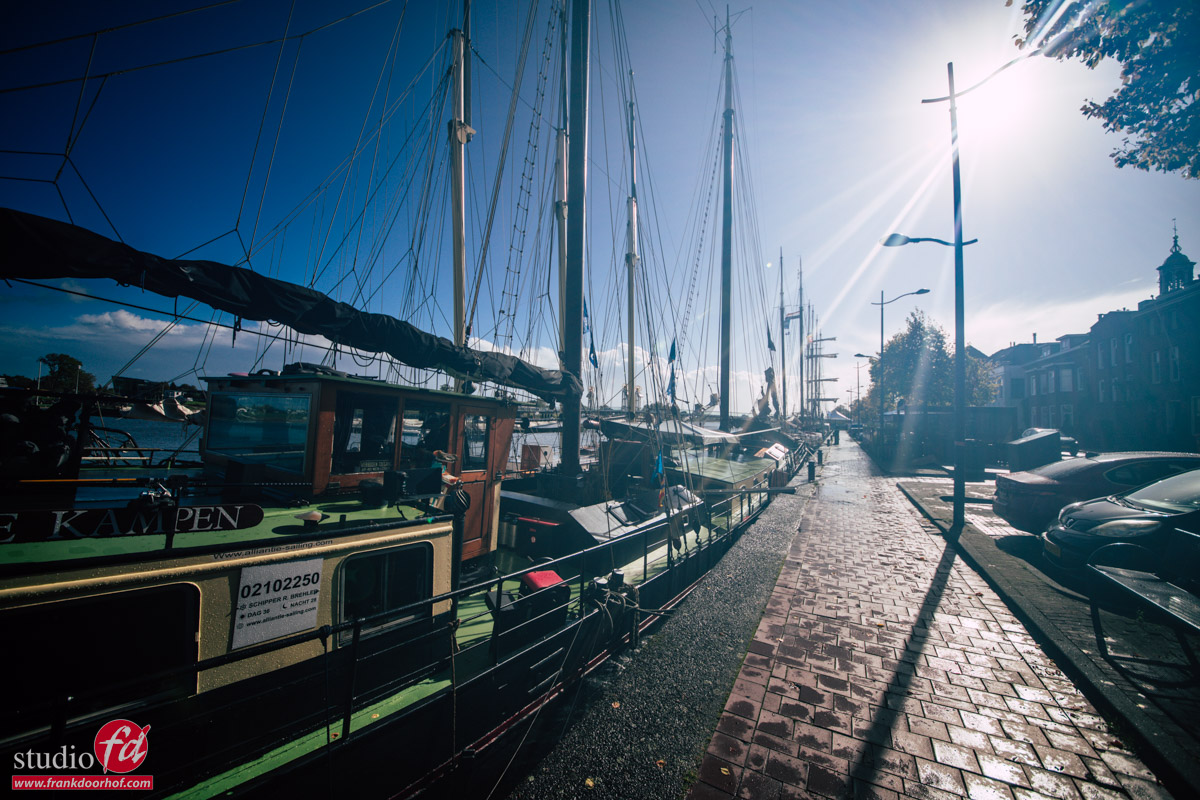
Besides model photography I love street/travel photography, and today it was time for the Scott Kelby worldwide photowalk, so the perfect opportunity to grab my camera.
When possible I always try to host a Photowalk in the Netherlands.
Over the years we have done several cities and for today I selected Kampen.

Kampen

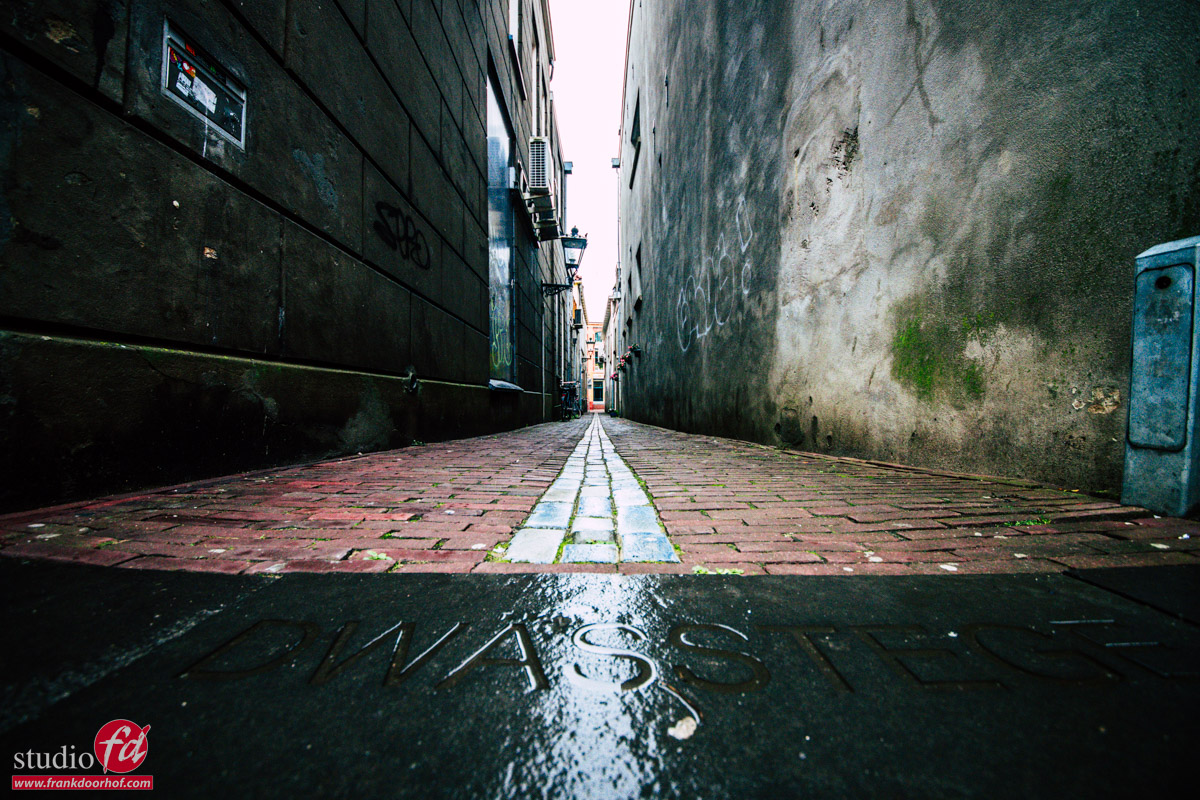
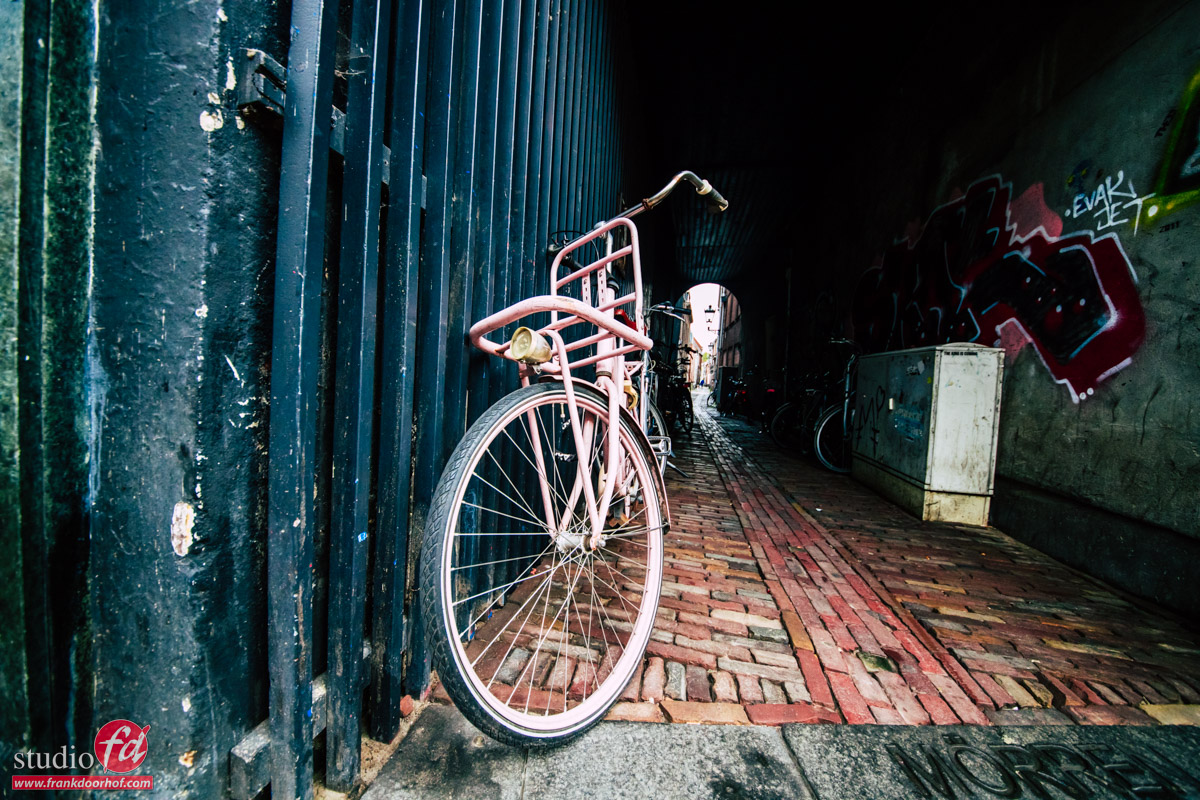
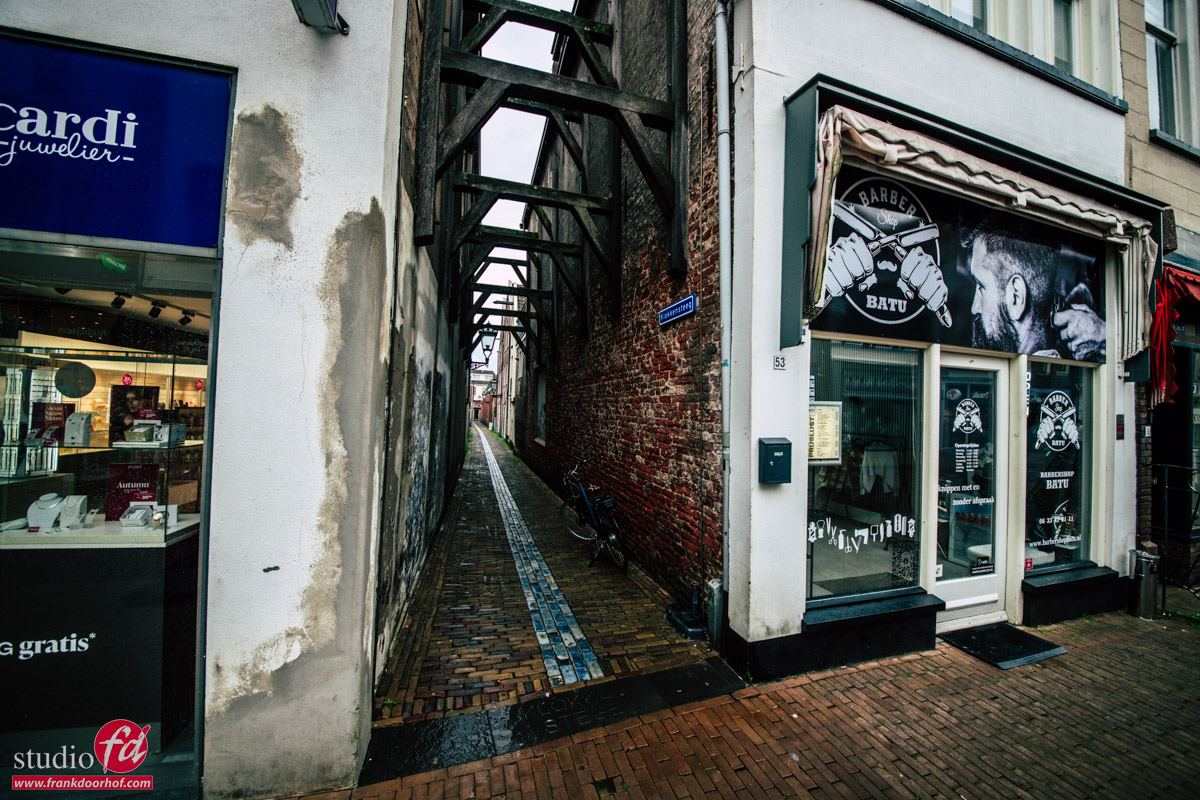
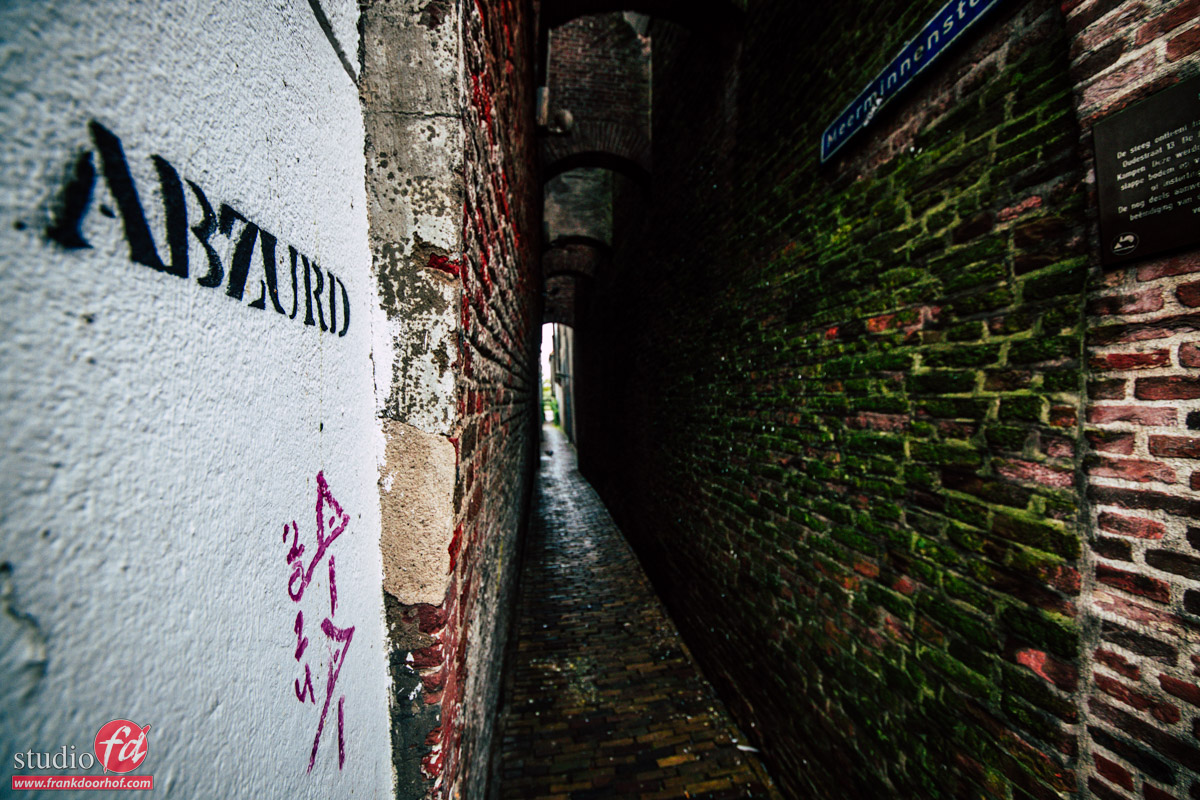
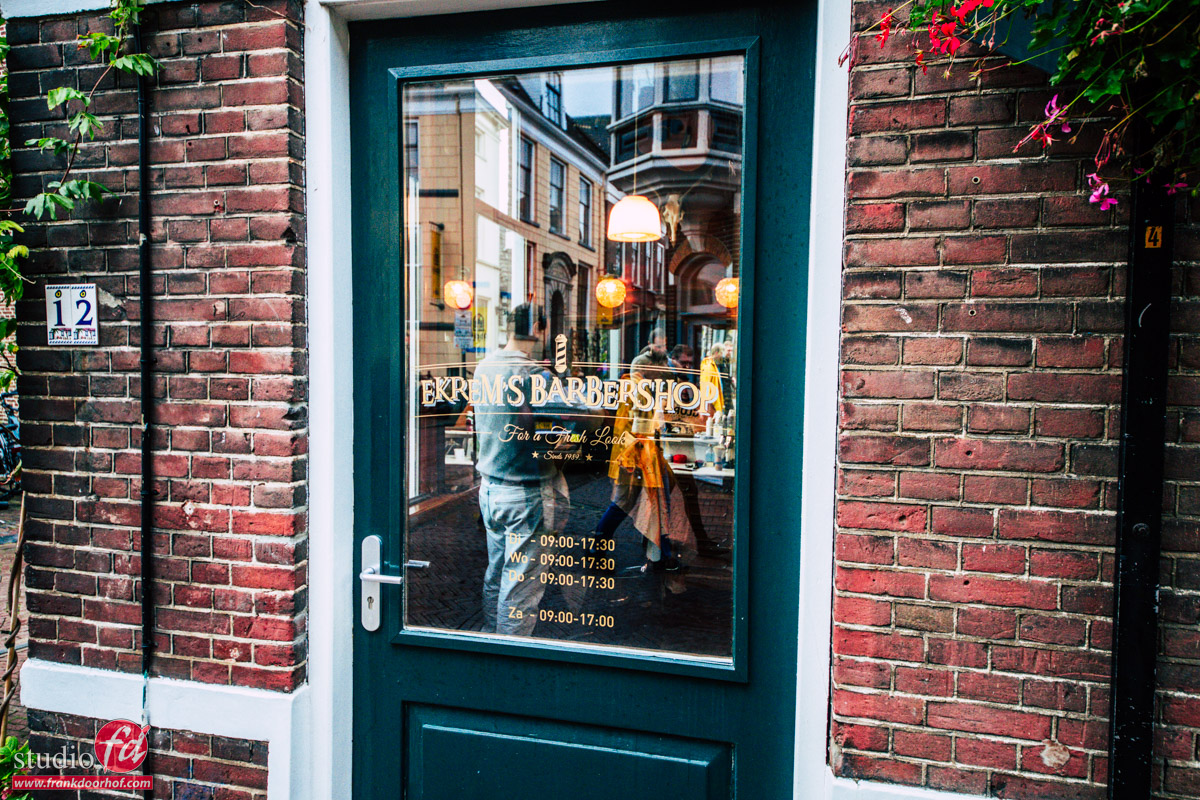
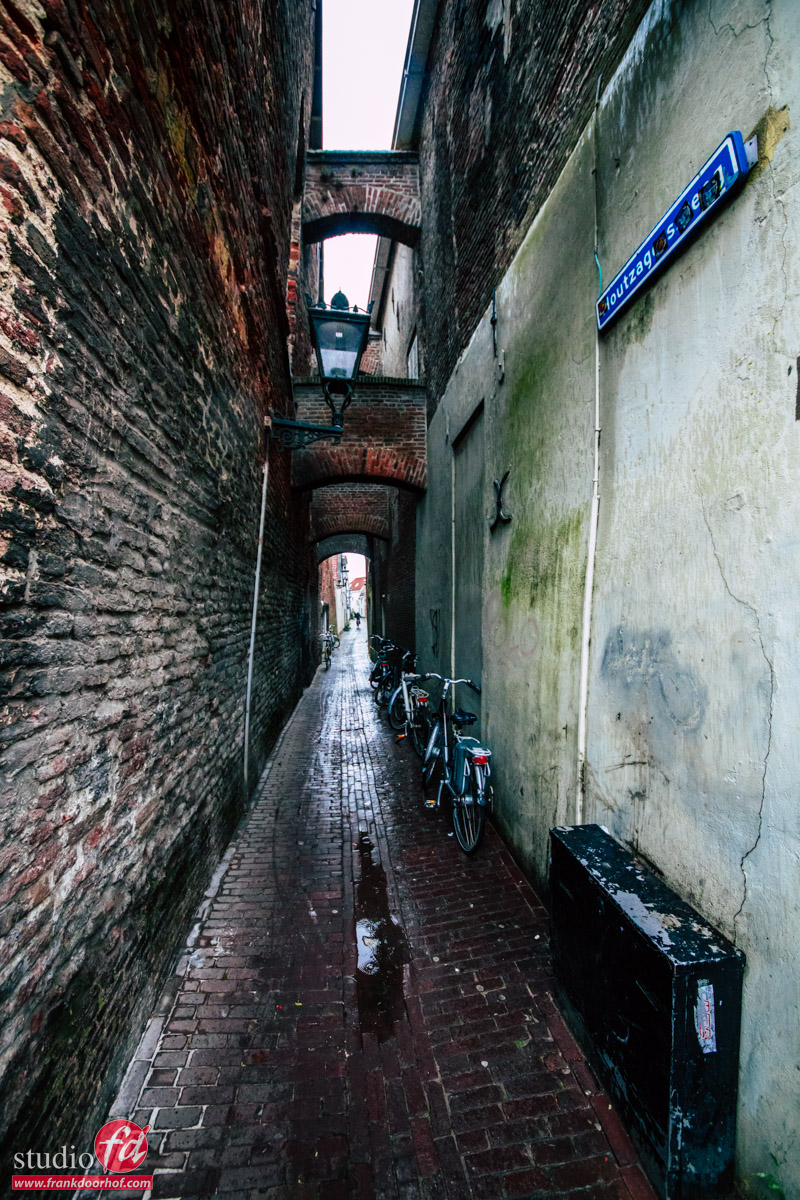
Kampen is a great place for street photography.
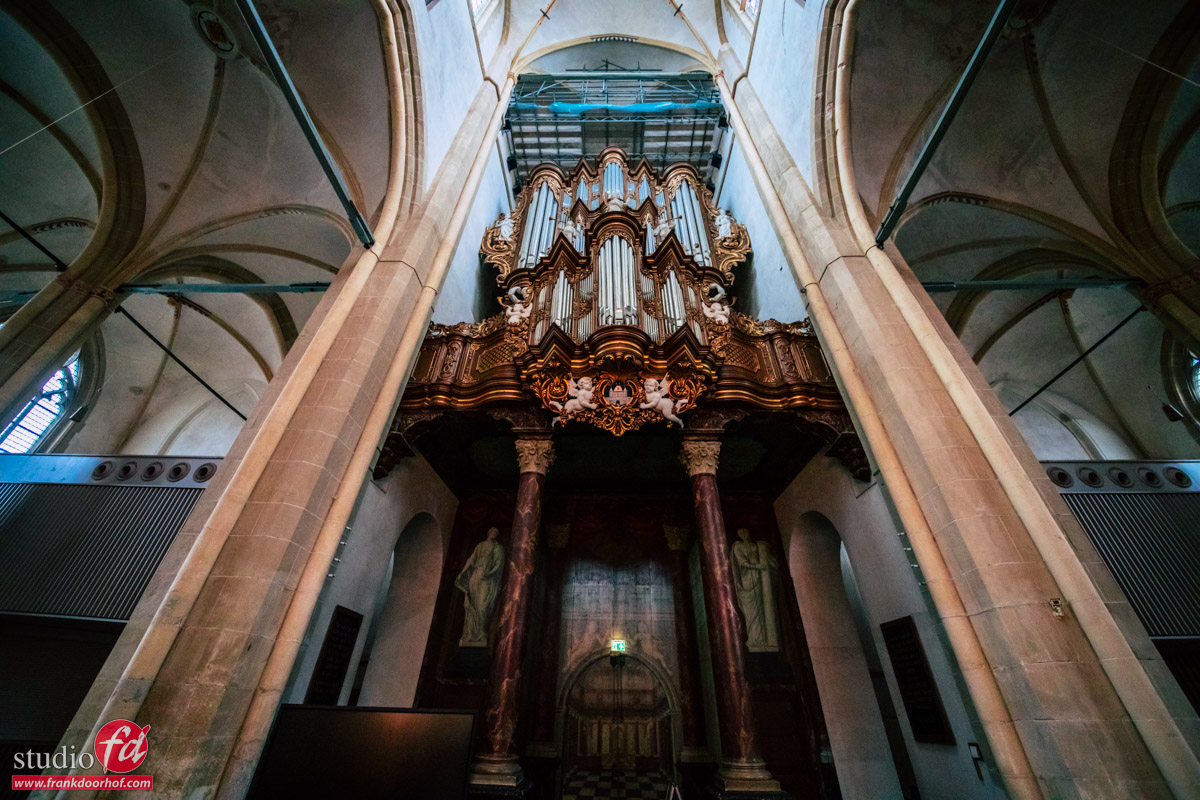
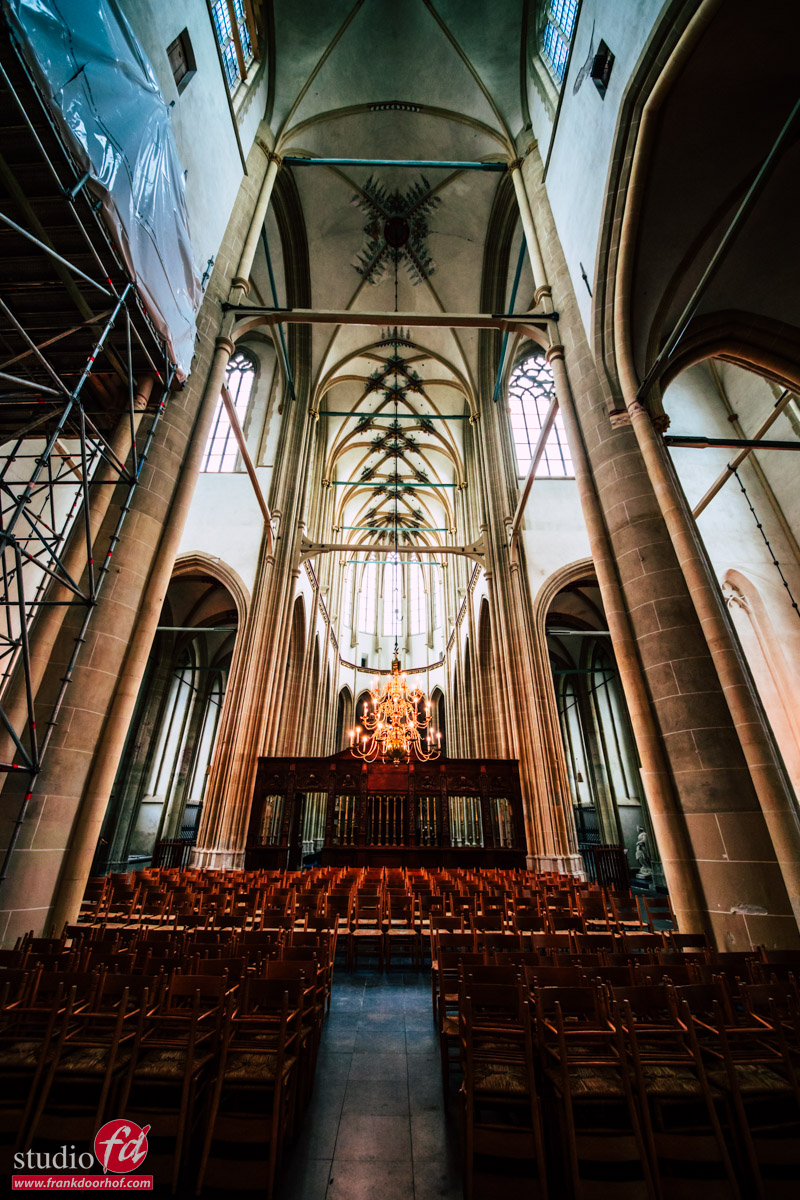
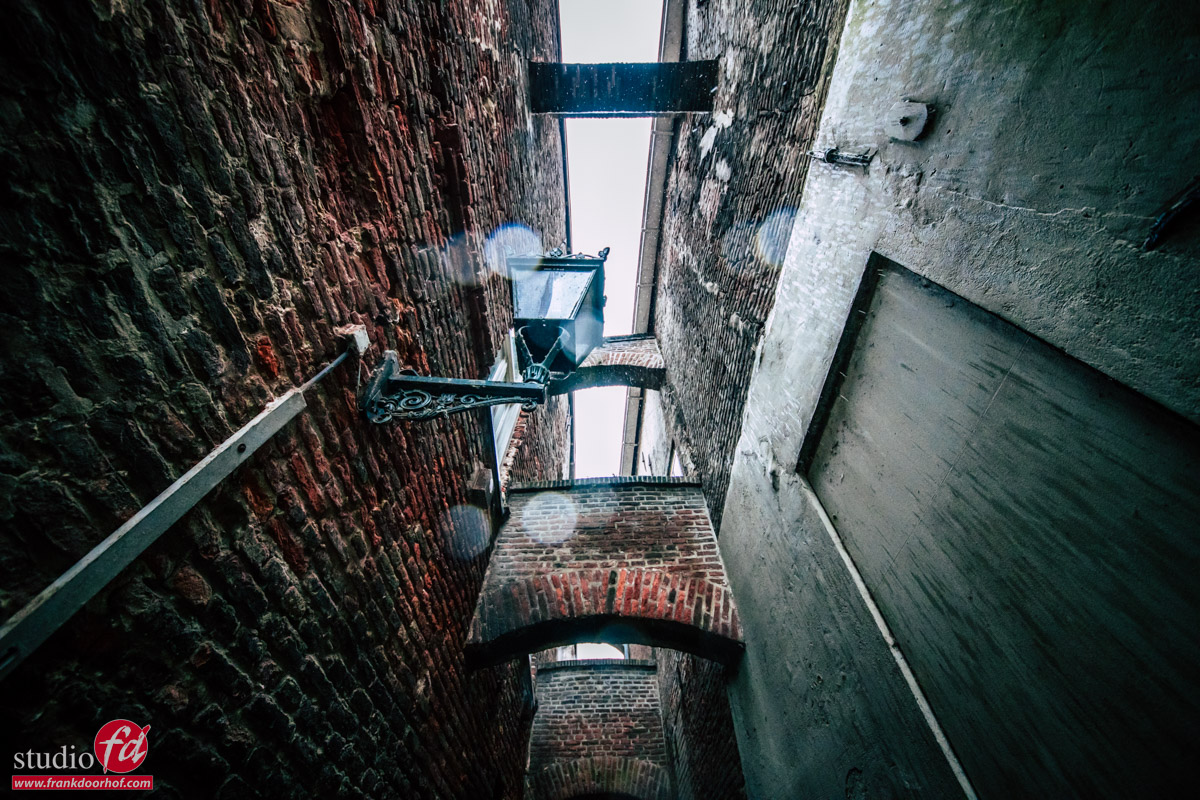
It has a lot of great narrow alleyways and interesting streets, all within a reasonable walking distance.

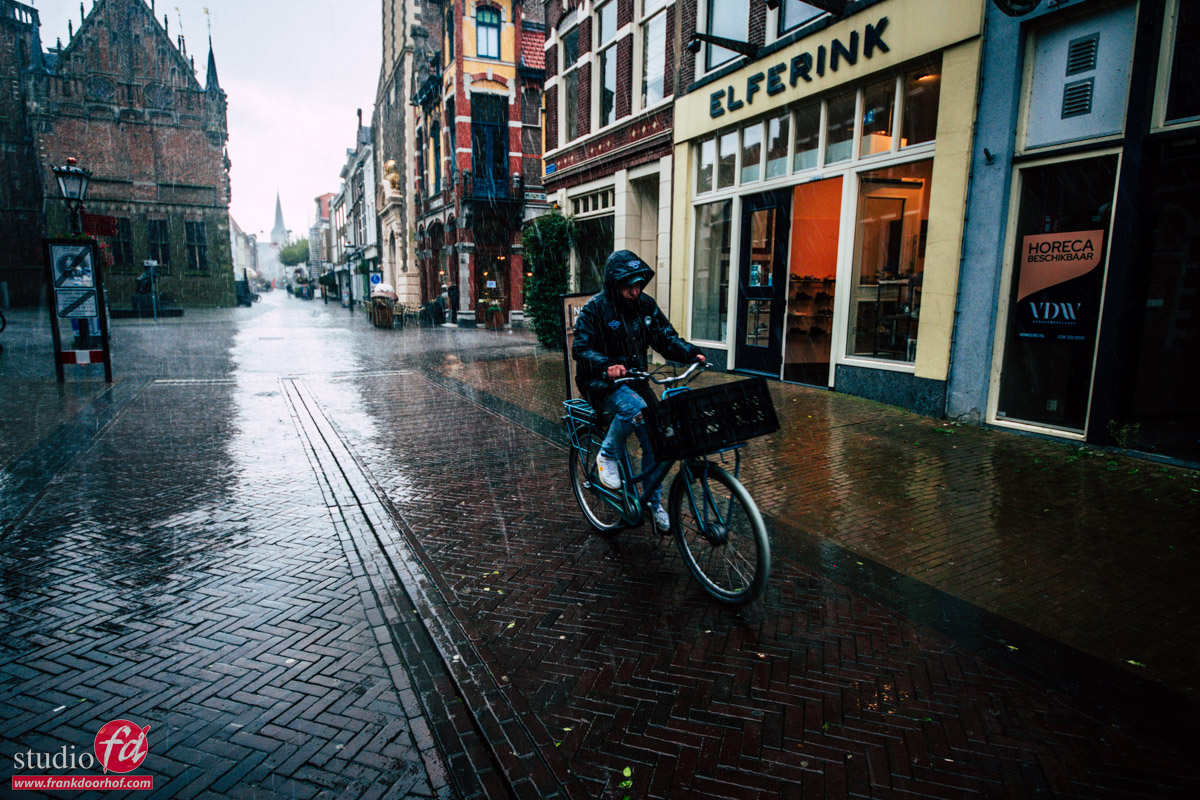
The prediction for the weather was code yellow, so the perfect weather for a photowalk.
You might ask “Why ?”
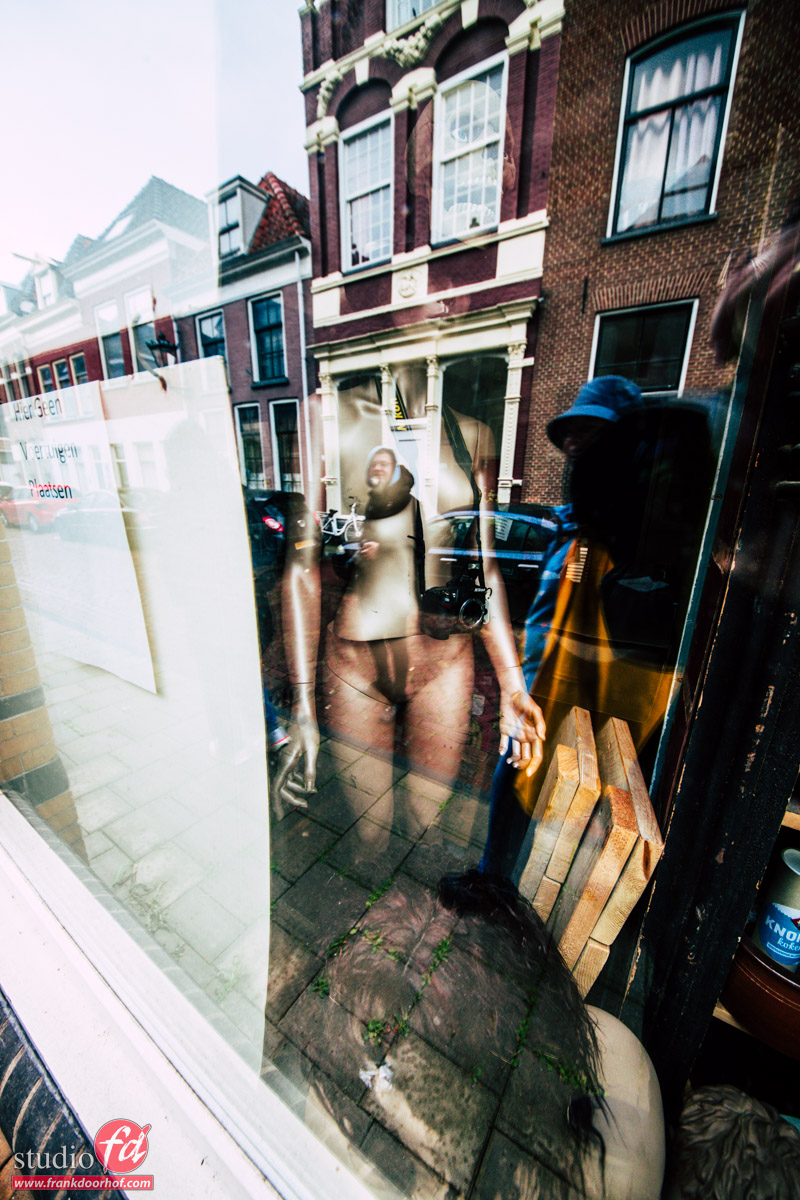
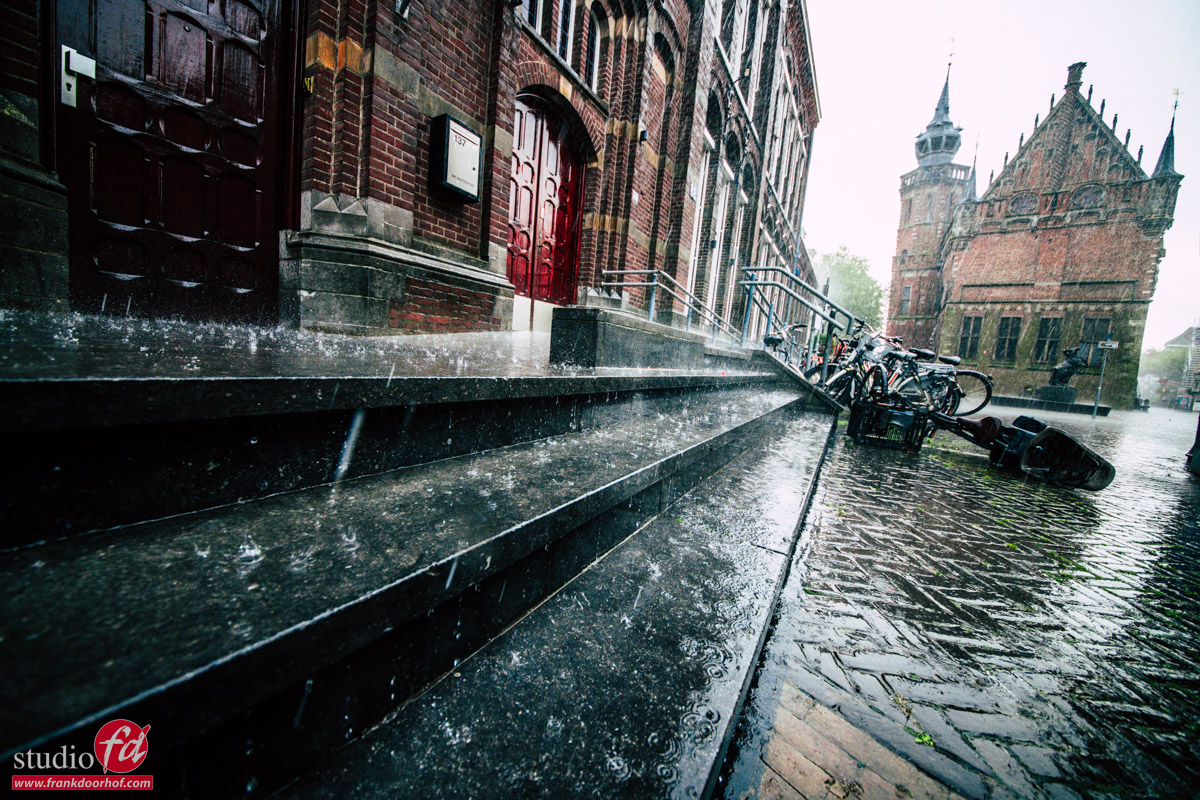
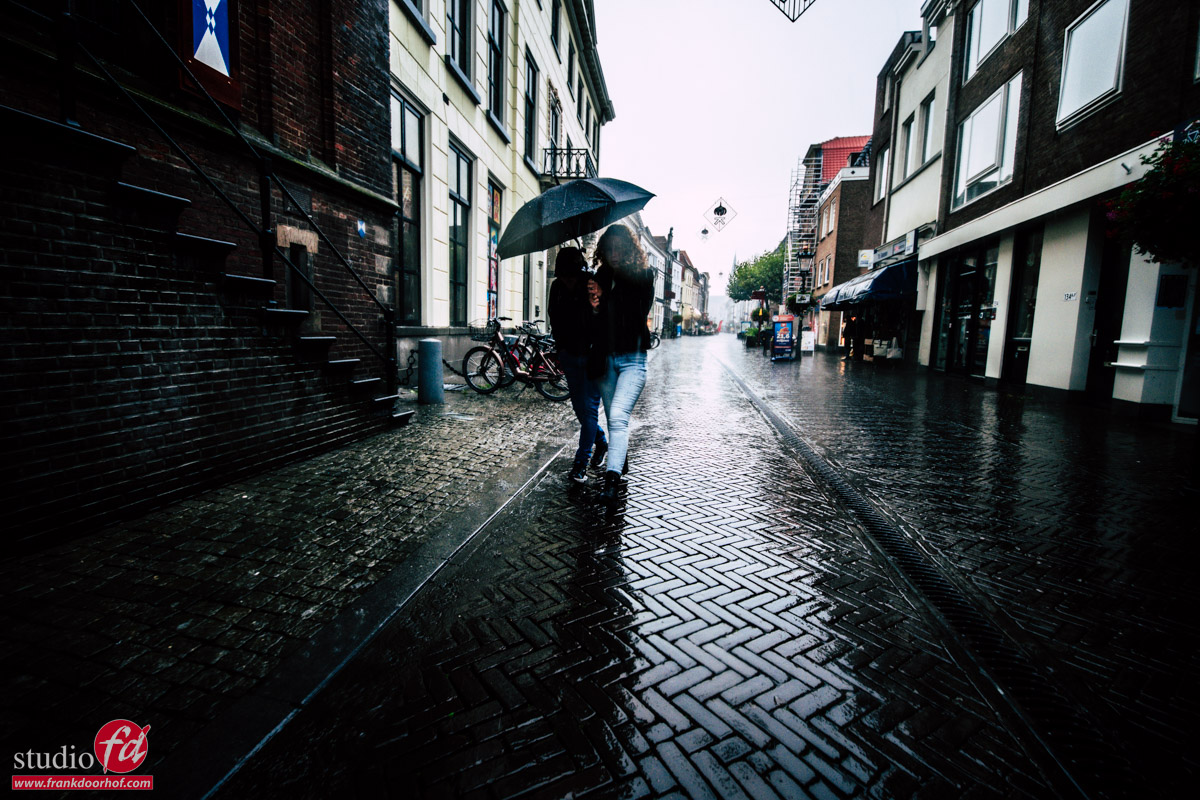
With rain you can get some interesting shots with reflections, people that rush by with water splashing. Make them Black and white, add loads of contrast and add some noise… instant art.

For today I decided to keep the images in color, but did wanted to give them a look that mimics the weather.
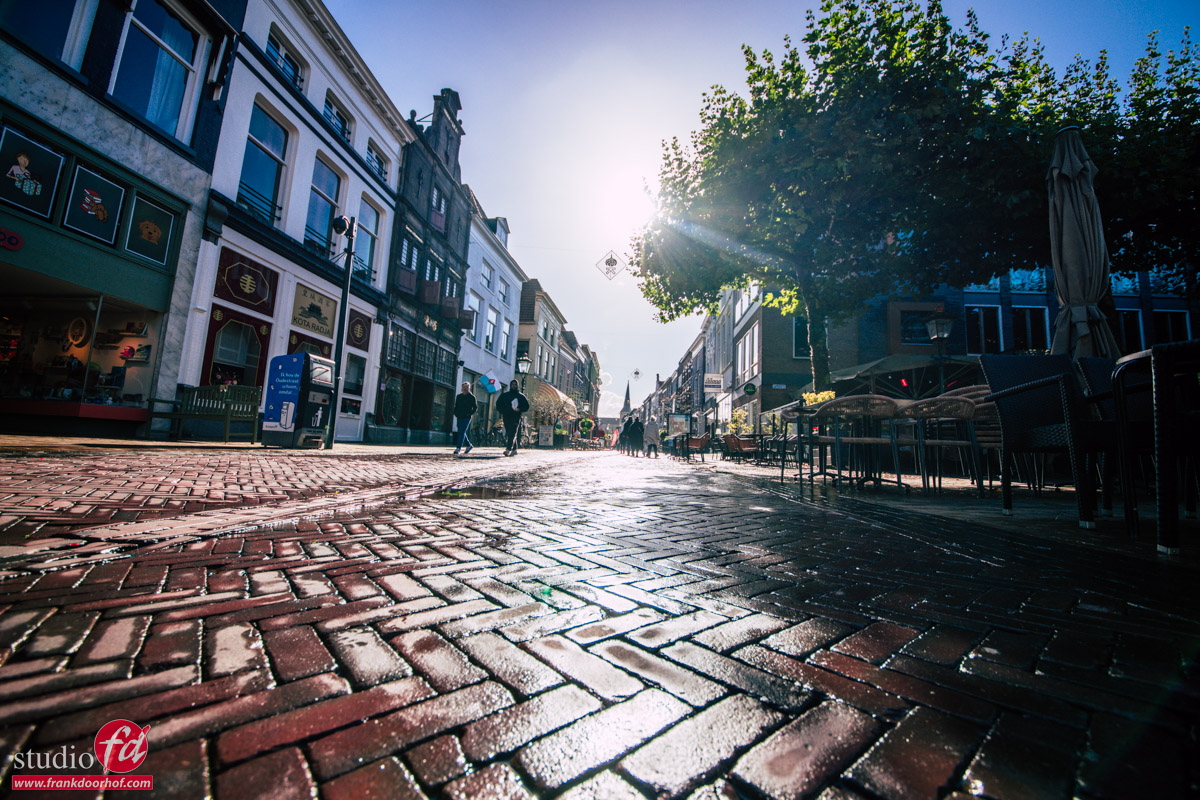
We were very lucky till about an hour in when it started to rain cats and dogs (not literally), but getting a drink is also part of a photowalk of course, and after that the rain like magic stopped so we could finish the photowalk.

My results

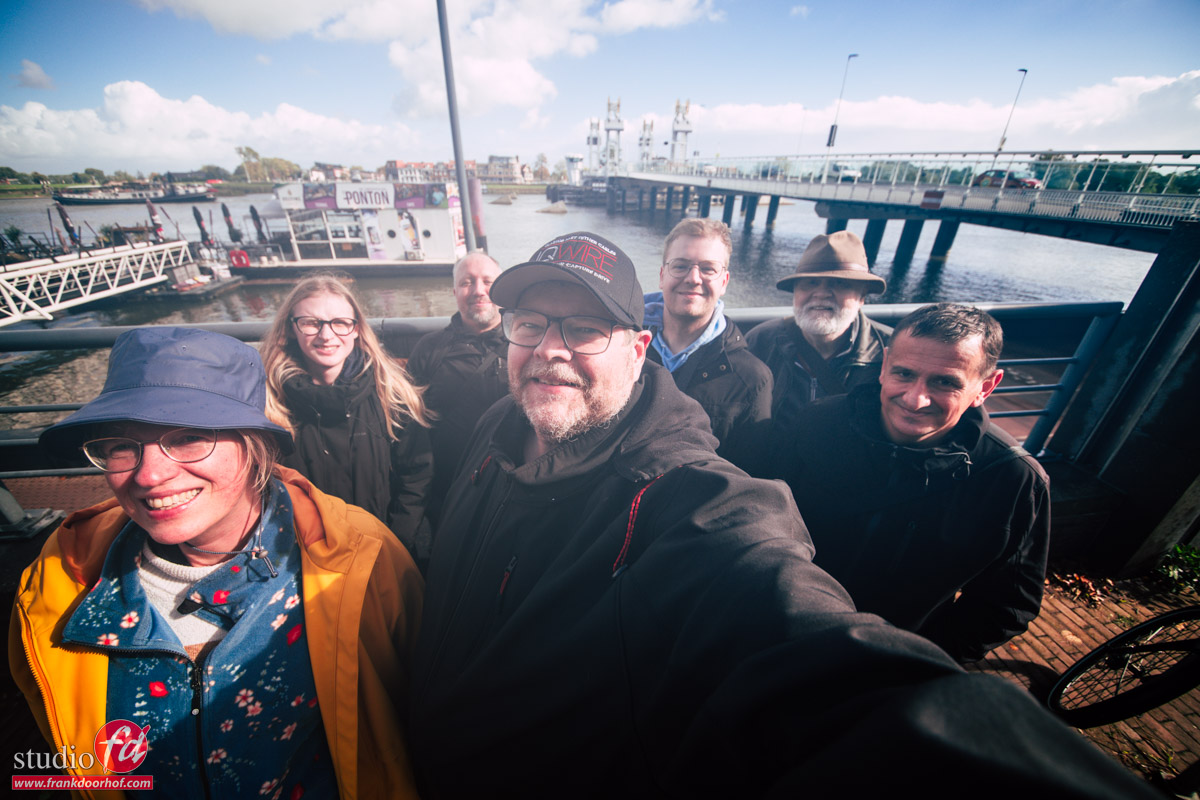
Due to the weather we ended up with a small group, but I think it was worth it.
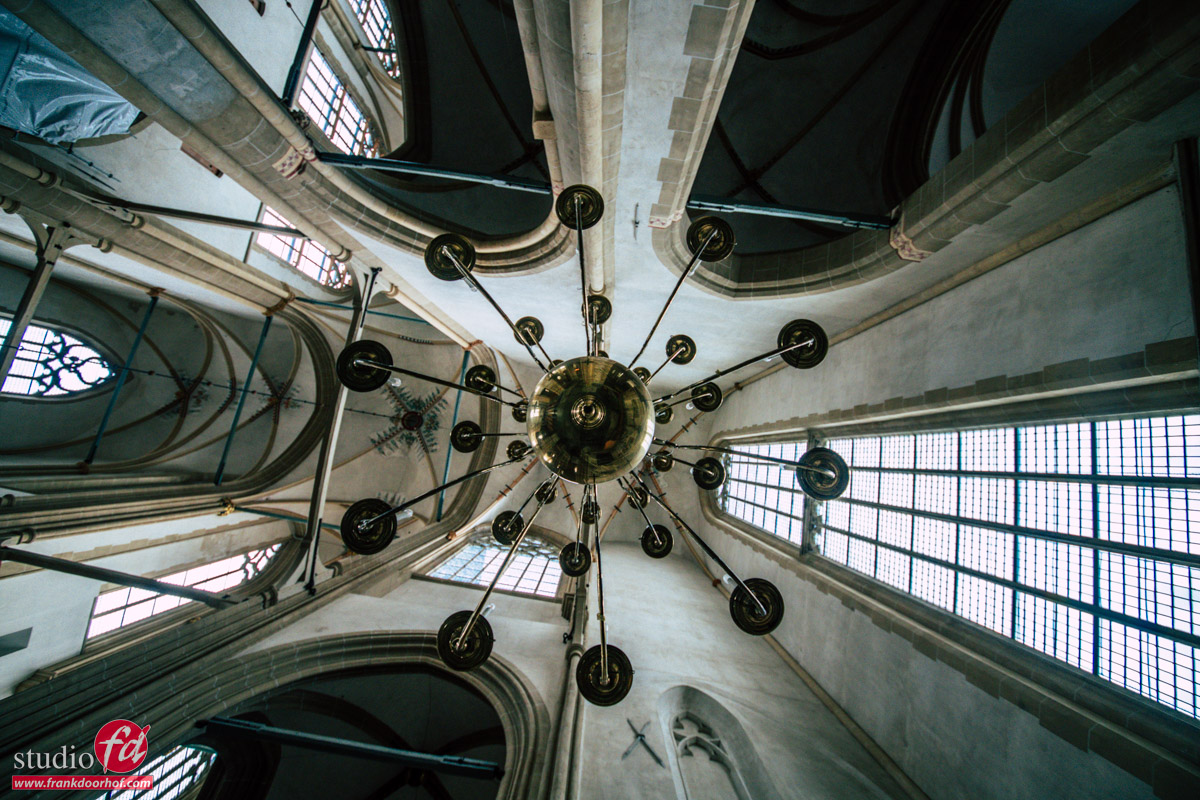
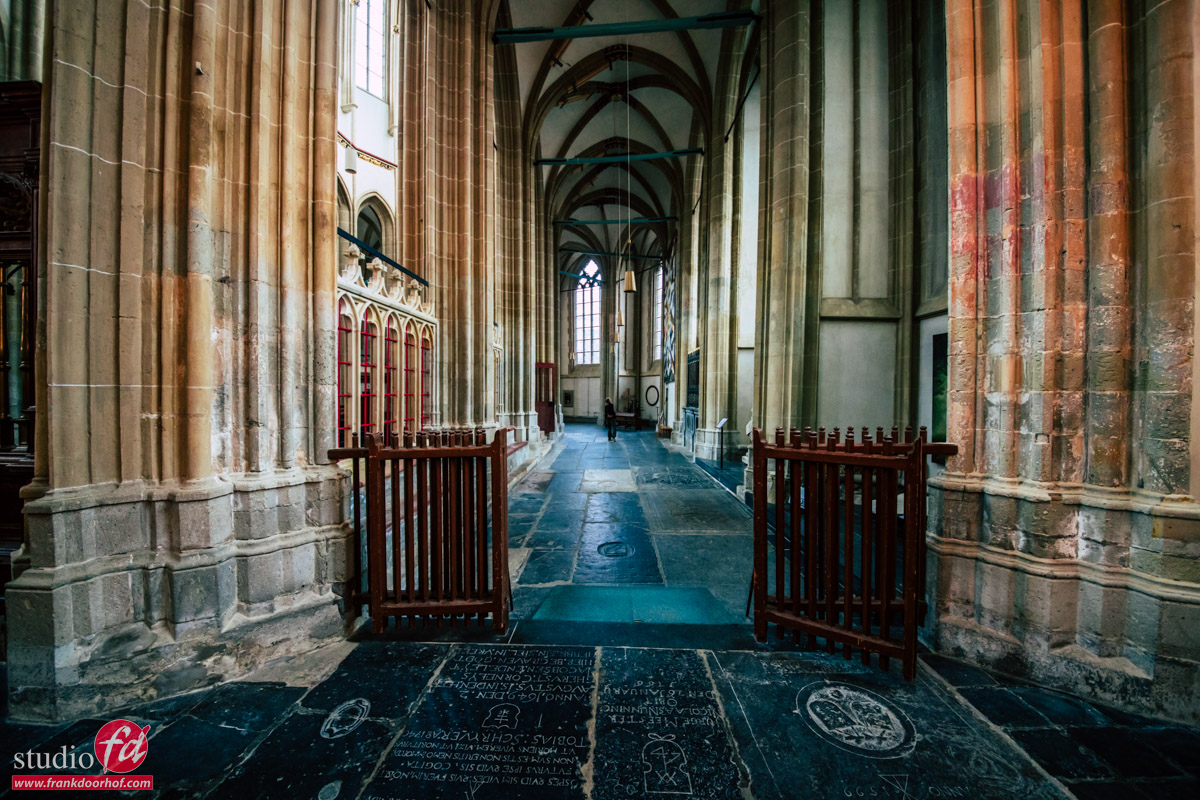
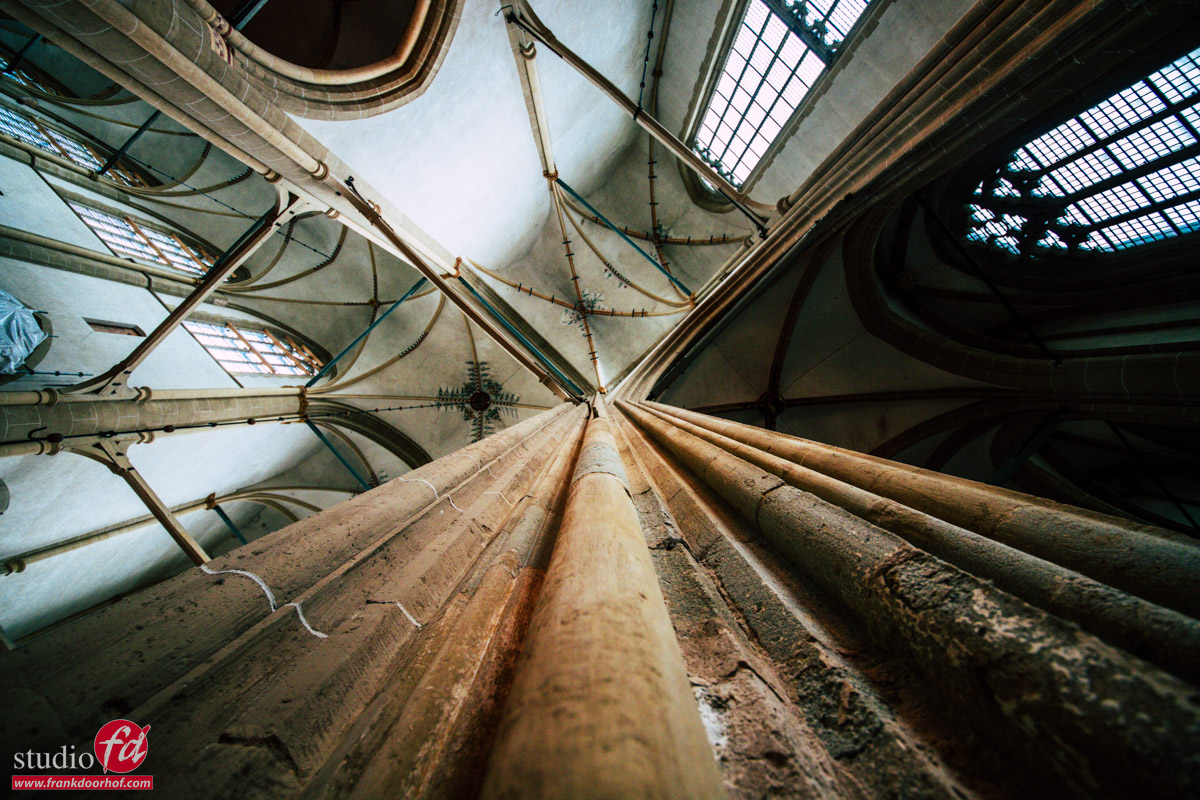
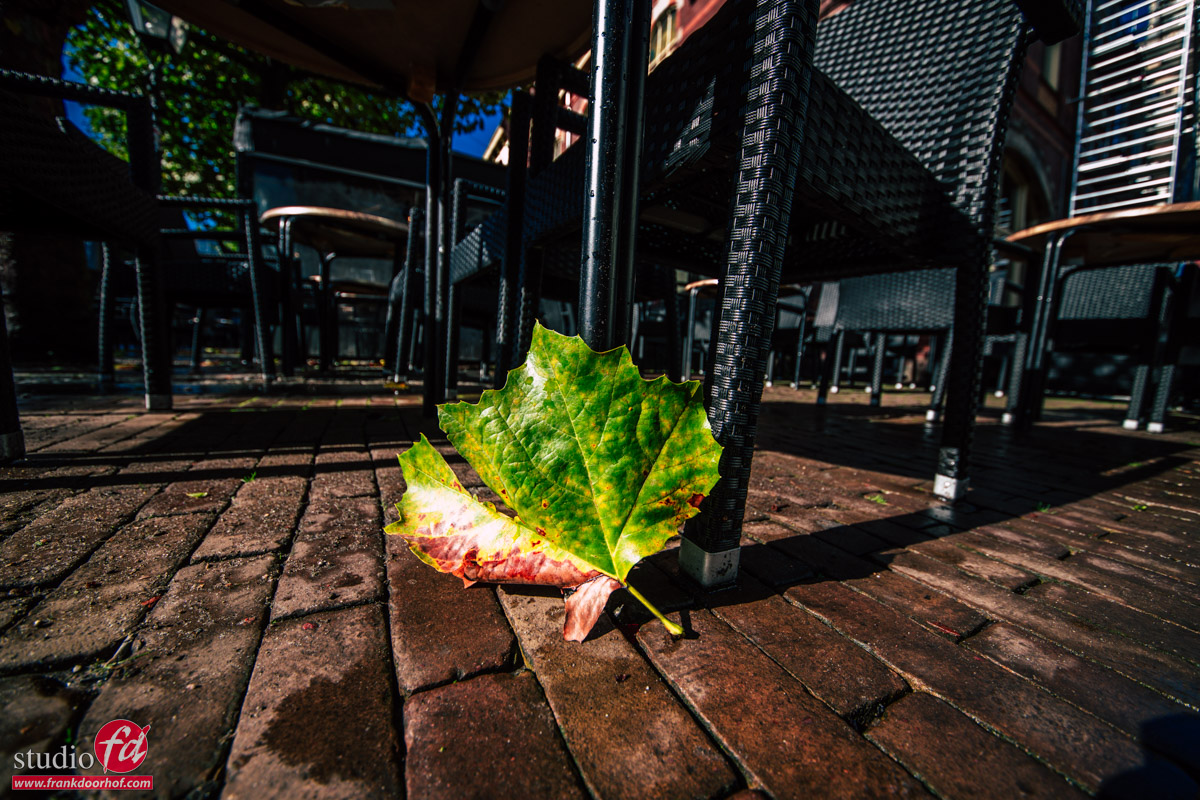
Hope you enjoy my selection of the 2025 Scott Kelby Photowalk in Kampen.

Click on the first photo for the gallery.


https://frankdoorhof.com/web/wp-content/uploads/2025/10/Kampen-PhotoWalk-68-October-04-2025.jpg 800 1200 Frank Doorhof https://frankdoorhof.com/web/wp-content/uploads/2015/03/studioFD_Logo-1FV.png Frank Doorhof2025-10-04 16:26:112025-10-04 16:26:11Worldwide Scott Kelby Photowalk Results

Newsletters

Subscribe to our newsletter for updates, discounts, and much more

English news letter
Dutch news letter

Interesting links

Here are some interesting links for you! Enjoy your stay :)

Snel naar

  • Blog
  • Learning with Frank
  • News etc
  • Reviews
  • Shop products & books
  • Contact

Contact

Studio Frank Doorhof:
Constructieweg 8
8305 AA Emmeloord

The Netherlands
+31-6-14522327

Or Email : info@frankdoorhof.com


© Copyright 2000 - - Frank Doorhof
  • Link to Facebook
  • Link to X
  • Link to Youtube
  • Link to WhatsApp
Scroll to top Scroll to top Scroll to top