A 100MP Workshop and review

One of the things that I really love to do is test new gear….
Often it does mean that I have to keep my mouth shut for a long time (sometimes short) but being able to work with gear in beta is very exciting, especially when you can still have input.

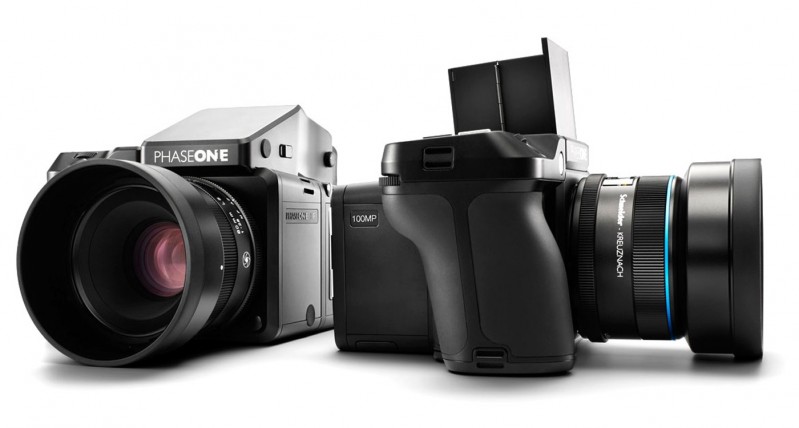
One of the companies I’ve worked with in the past is Mamiya/Leaf now part of Phase One, I always loved their backs and when they released their brand new XF camera system I was immediately in love, for the first time in a long time there is a REAL upgrade to the DF(+) system and the cool thing…. you can even switch to waist level finder mode on the camera, for people not knowing what this means… it means you look down on the camera and can have contact with your model much easier, wait let me show you….. here you see the camera with the normal viewfinder and with the waist level finder. This is really an incredible cool feature, especially because you now also have auto focus of course and that’s very handy. It’s not the first time there was a waist level finder camera with AF but the XF is one of the most complete systems I ever tested.

phase-one-xf-100mp

But with a camera there should also be a back right?
Well that’s how Medium Format works, you have the camera, lens and a digital/analogue back (in this case digital only).

Now Medium format was always known for the high dynamic range and high megapixel count, but in all honesty with the new Sony sensors Medium format was playing catch up, it was still better if you stayed under ISO200-400 but in all honesty above that…. well give me SLT or DLSR.
A few years ago Leaf/Phase One introduced the first Sony Sensor in a Medium Format camera and I was able to test the 50MP sensor on the road during a road trip through Denmark, it was the first time I didn’t touch my SLT camera at all, in fact I didn’t even took it out of the case, the 50MP sensor did an amazing job in both low light as in day light, the only “problem” it was a crop sensor, and in all honesty I also love to shoot with the back on a Mamiya RZ67ProII and having a full frame sensor on that camera is already a pretty tight crop, so I gave it back with the comment…please make a full frame sensor 😀

It took a while but now it’s on the market, and what a nice back…..
100MP (actually 101MP) and a TREMENDOUS dynamic range and great high-iso performance. Of course I wanted to test this camera and back. This is how the idea started to teach a one day workshop in New York with the new camera in cooperation with Phase One. And I can be very short about the experience….. this is an AMAZING camera (and back).

Now most of the attention will mostly go to the camera, this is where you really see the difference with the “old” system, the XF is MUCH faster with it’s auto focus and also much more accurate, where the DF+ is already very good but sometimes slow, the XF feels very snappy and is spot on. Also the speed in which the 100MP files are dumped over the USB connection is nothing less than stunning. The camera has a lot of new features including an automatic Electronic first curtain which makes the camera more “stable” (less vibrations) and with 100MPs to shoot with that’s not a bad thing.

The first thing a lot of people ask…. “What about dynamic range”
well this is always hard to say, because although the older backs were much less “dynamic” according to DxO labs than my Canon for example I had to disagree because my Aptus series really blew my Canon away with dynamic range, but agreed there was a bit more noise in the shadows. Now with the new backs Phase One claims a 15 stops dynamic range, I don’t know if that’s true or not, but what I do know is that it’s one of the most dynamic cameras was that I ever tested, I could get detail back in areas where I would (even with my Sony A7RII) would have said “ok this is ridiculous, it’s gone”.

The second thing is…. “What about compression and bits”
Now this one actually got me into some sort of a dilemma a while ago with my A7RII, a lot of people complained online that Sony was “butchering” their files and didn’t get the maximum quality out of the sensor, Sony responded with a (first on the market I think) totally uncompressed data output, resulting in HUGE (double the size) image files, the critiques were silent, and I still shoot “compressed” for the simple reason I can’t see a difference in 99% of my work and if I see the difference it’s not worth that I shoot the other 99% of the images in that setting taking up a load of my drive space. So that being said, the Phase One stores in different formats, which gives you the option to choose, but the best option is a real 16bits storage in their IIQ format which is handled marvelous by Capture One (the software I use for most of my RAW developing for fashion work).

But most of all people ask…. “Do you really need 100MP”
Well it depends.
For some applications 100MP is not even enough, think about people making replicas of art pieces for example, but also for the “normal” user 100MP is not as “weird” as it might sound. One thing a lot of people don’t take into account is the resolution of modern day monitors. When we edited our 16MP files most monitors topped out at 1920×1080 which at that time was HUGE, you never needed more, but most monitors also topped out at 24″. Now a days most monitors are in the 24-27-32″ range and to be honest I think most people will be on 27″ within a few years. Now size also means higher resolutions, most aRGB monitors are 2560×1440 which is a lot more pixels which in essence means that if you zoom in on your picture the “zoom effect” will be less. This means in real life that if you do a retouch on for example a pattern you have to zoom in to 200-400% to make sure you don’t mess up and have the accuracy you need. If your camera has a higher resolution zooming to 100% is often enough (although I also love to work in 200-400% with tricky parts).

Now if you travel and shoot and work on a nice new MacBook retina you might not realize that your images are actually “scaled” on a 2880×1800 display, which is even worse because it’s “only” a 15″ screen, meaning zooming in becomes very difficult. And it doesn’t stop there, new monitors with higher resolutions are coming REALLY fast, 4K (4096×2304) and even 5K (5120×2880) resolutions are hitting the market as we speak.

Editing a 16MP file on a 5K monitor is “madness”, the resolution of the file is 4608 x 3456 which would actually mean that if you zoom in to 1:1 there would hardly any difference….. well that’s not a nice way of course to edit.

To make a long story short, for print you still have more than enough resolution from a 16MP camera, but resolutions of projectors, TVs, monitors jump forward at an almost alarming speed the last few years and this means that having a 100MP camera at once isn’t that “weird” anymore especially if you do retouching (or just love to zoom in a landscape or street scene (something I LOVE to do). In fact when I zoom in on my iPhone shots on my MacBook retina there is hardly any zoom effect, and when I zoom in on my old files actually really nothing happens.

In this blogpost you can see some of the finished results from the New York workshop.
My overall opinion on the new camera is STUNNING, it’s very fast and accurate and I love to work with it, the waist level finder is great and the way the camera handles is what you expect from a camera in this price range (because it’s not cheap). The back itself is simply put breath taking, for me personally it will be a while before I will be shooting with a 100MP back myself (I also have to earn my money and can spend it only once) but if you are in the market for a camera/back combination like this… I don’t think you will find anything better… IT ROCKS… the files literally sang in Capture One and Photoshop, I could push the shadows and pull the highlights as far as I wanted and the sharpness was absolutely breath taking, but most of all I REALLY loved the skin tones, this is something that I always miss in certain cameras, even with the use of a color checker the skin tones often are just…. well…. a bit off, but the XF100 nailed it, and even although I tint all my images, it’s incredibly important to have a file to start with that is as clean and perfect as possible.

If you have the chance make sure to test the system yourself.


We started the workshop relaxed with some expression and portraits.

Karina Feb 13 2016 Phase One workshop NY 0022

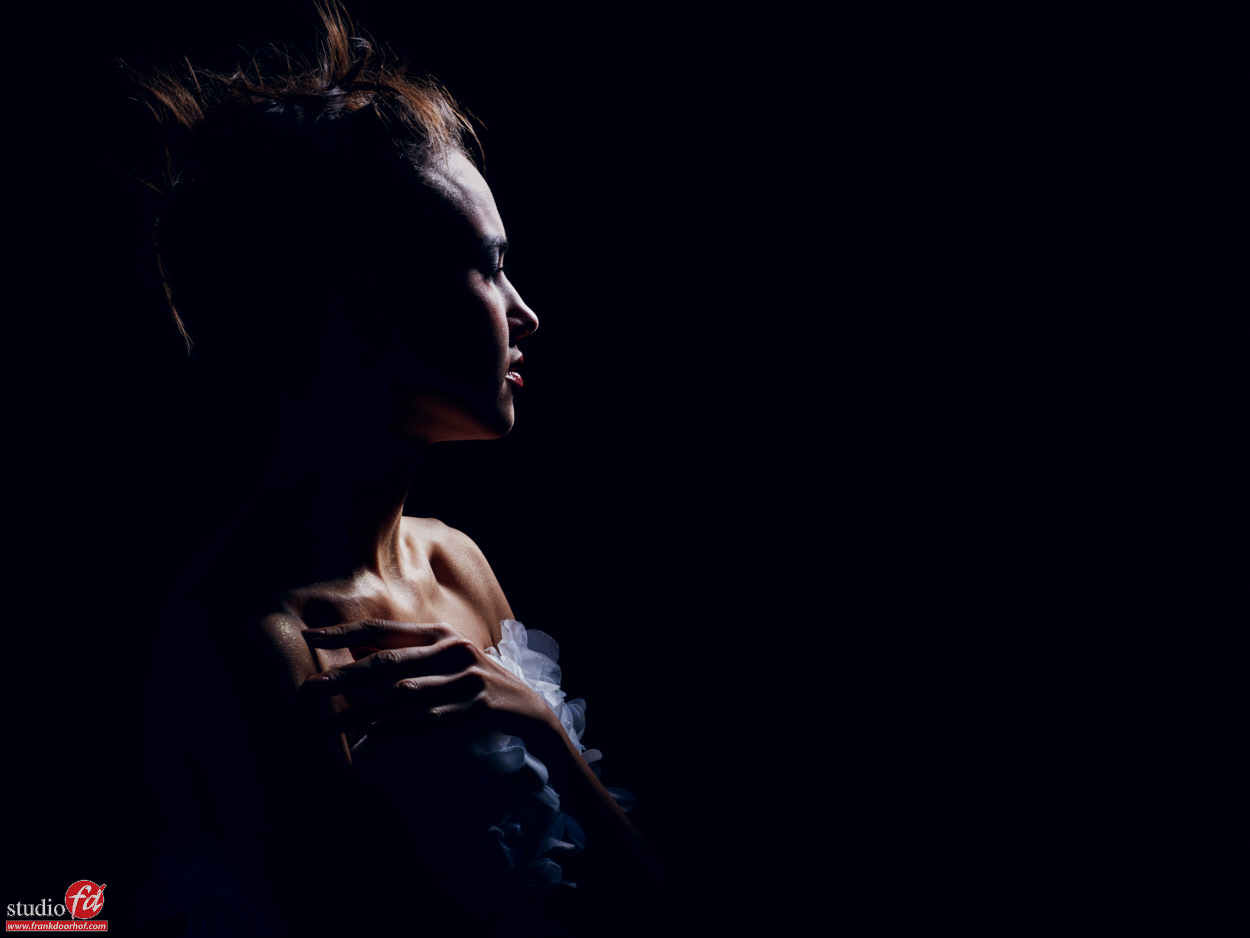
And playing with some contrastKarina Feb 13 2016 Phase One workshop NY 0031

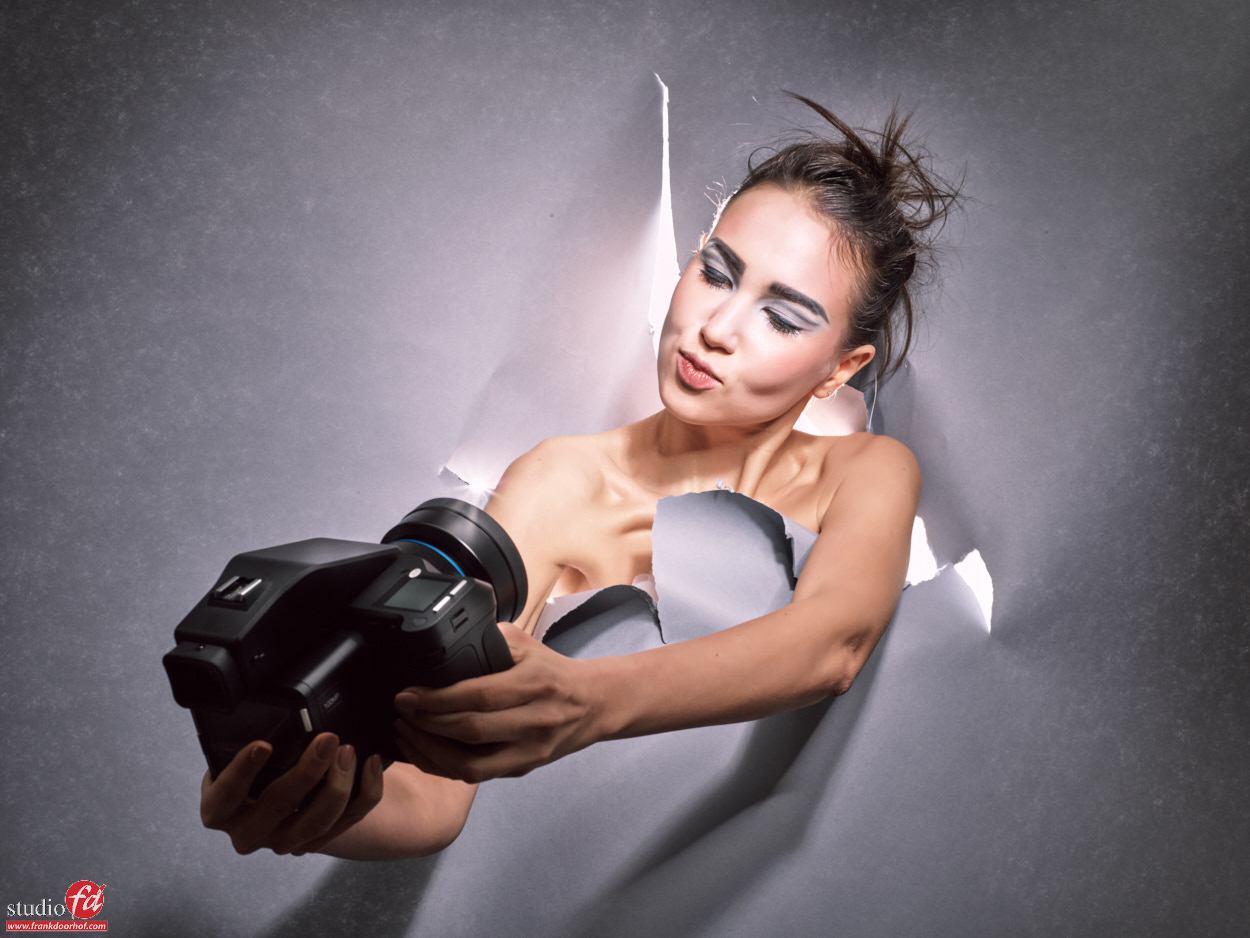
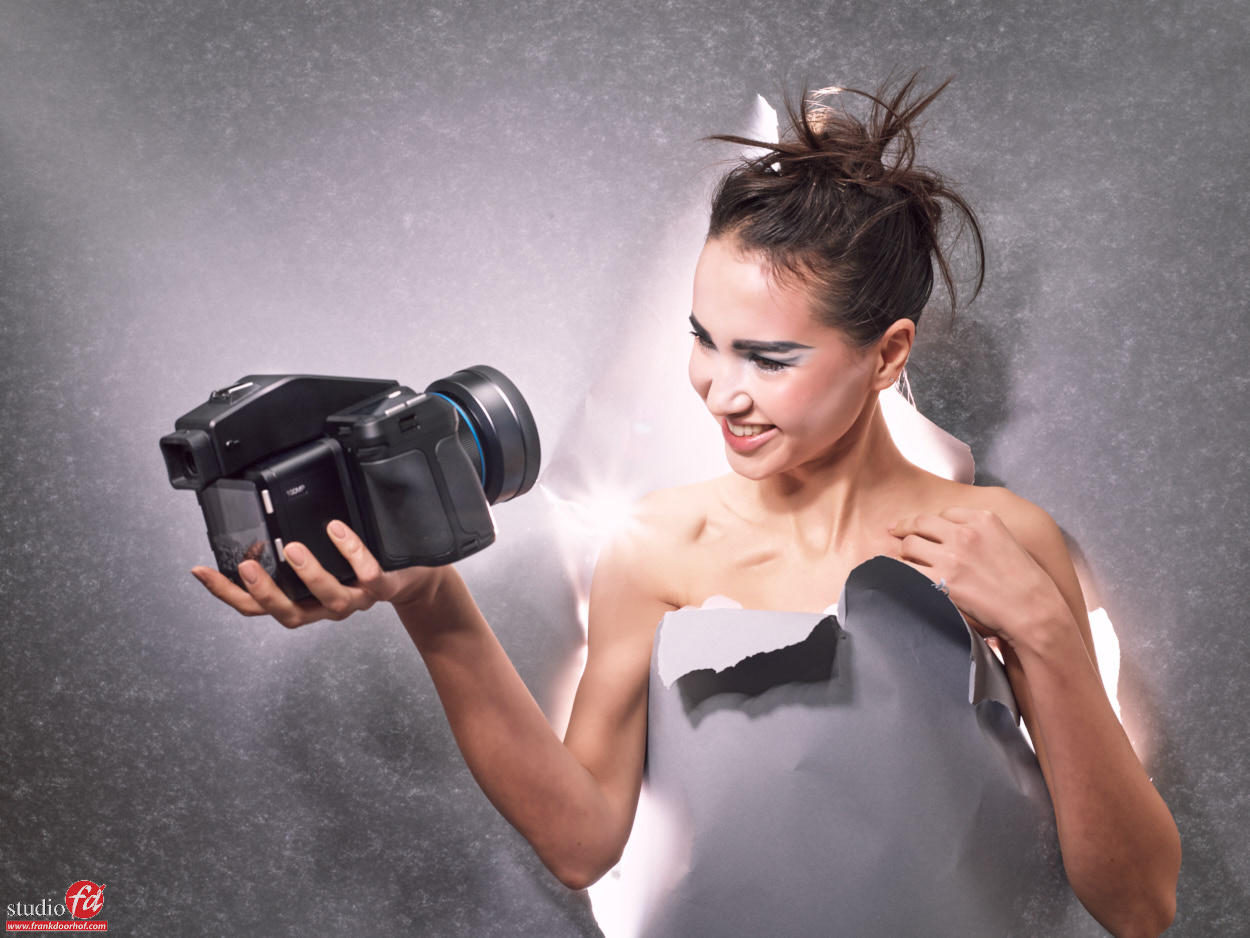
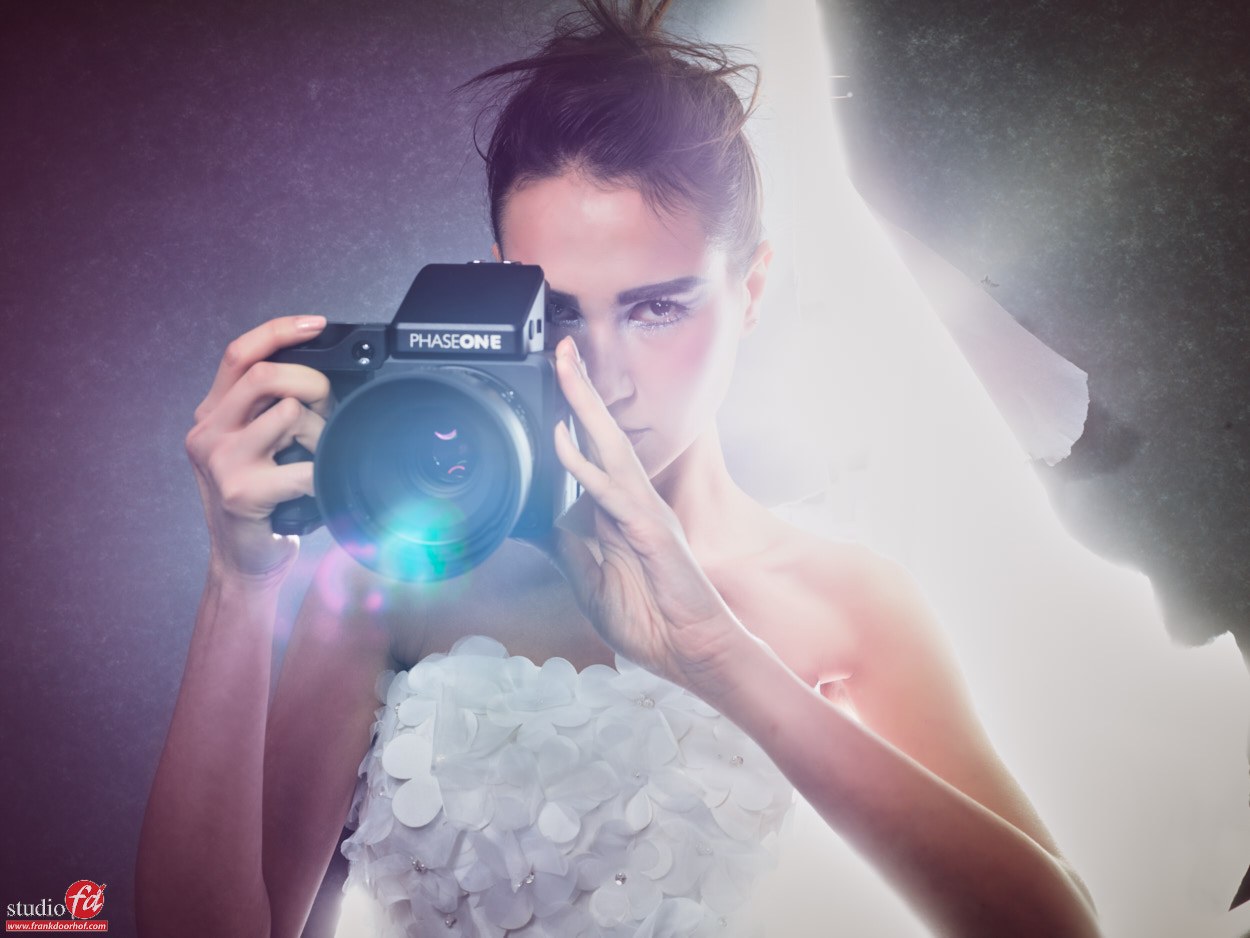
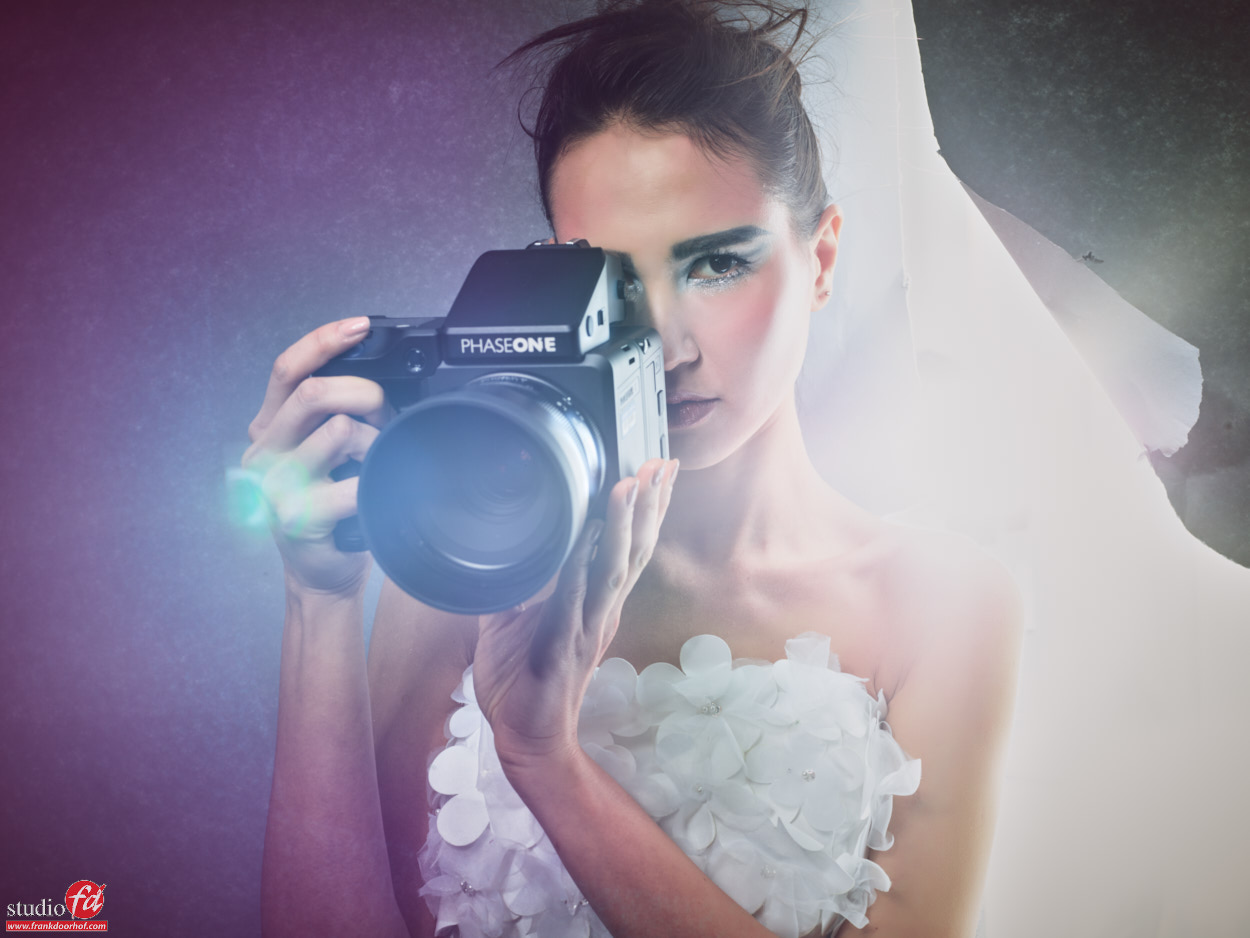
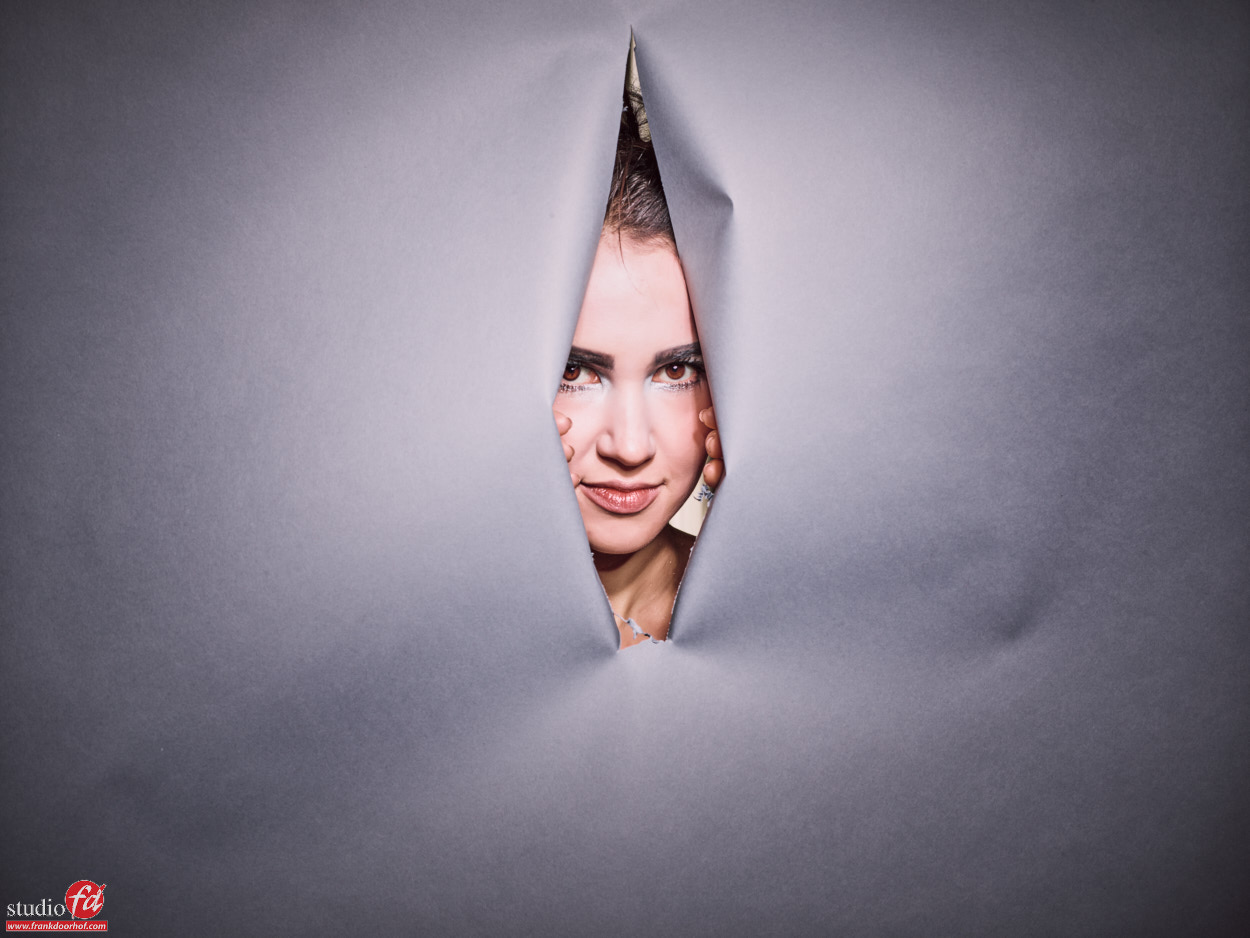
Creativity within a photoshoot is always important so why not use the background in a different way, and throw in a prop (in this case, why not try to make some images for Phase One) 😀Karina Feb 13 2016 Phase One workshop NY 0055
Karina Feb 13 2016 Phase One workshop NY 0064

Karina Feb 13 2016 Phase One workshop NY 0067

Karina Feb 13 2016 Phase One workshop NY 0093

Karina Feb 13 2016 Phase One workshop NY 0099

Karina Feb 13 2016 Phase One workshop NY 0102

As you can already see in the backlit images, the dynamic range is awesome, you can still see details in the models arms and the white areas aren’t blow out where I didn’t want to blow out. Pretty cool.


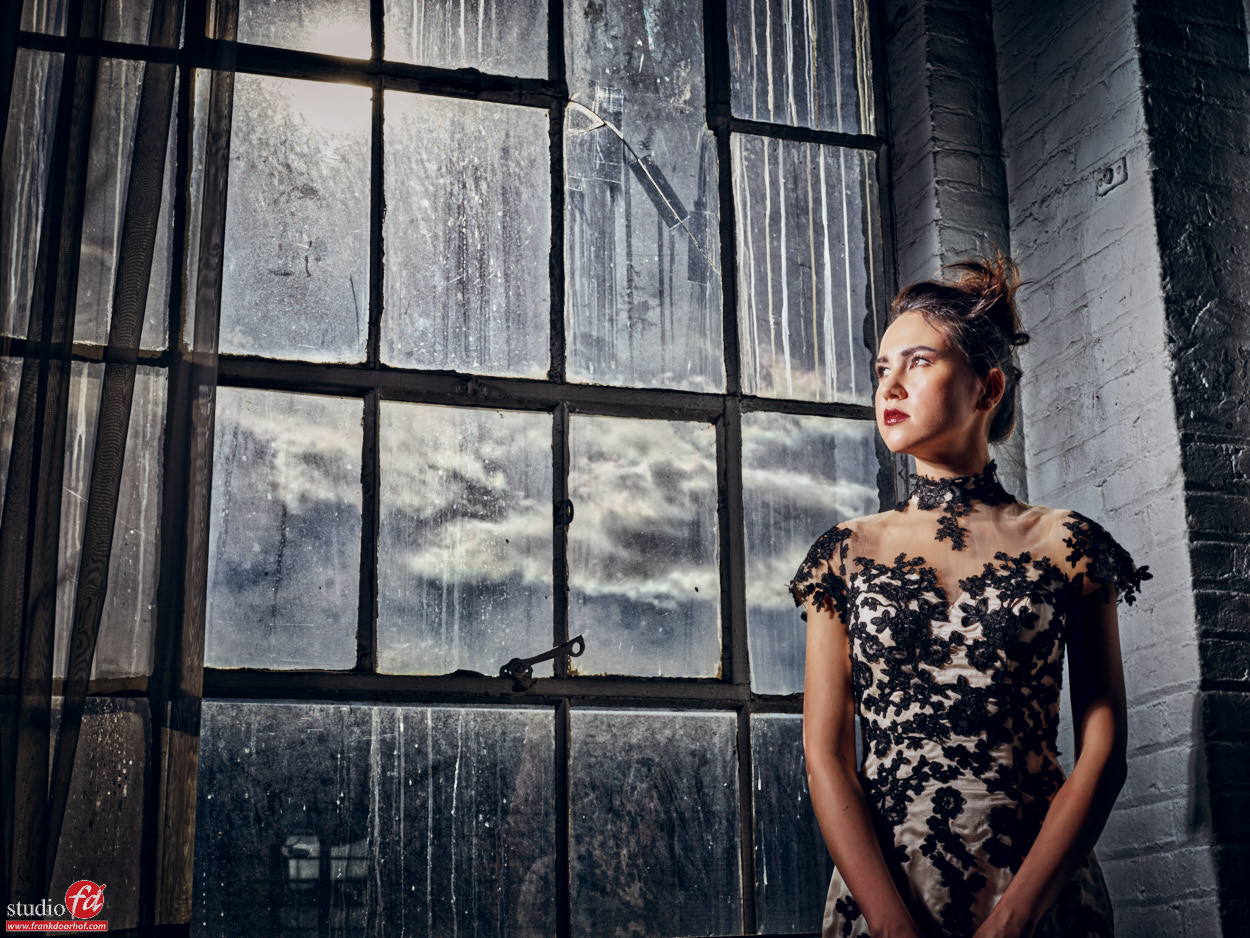
So we thought let’s up the ante a little bit. The next shot was done without any strobes, just using the windows and kicking up the dynamic range in Capture One, pretty impressive. Shadow detail and no blow out areas. Don’t try this with an old camera.Karina Feb 13 2016 Phase One workshop NY 0119
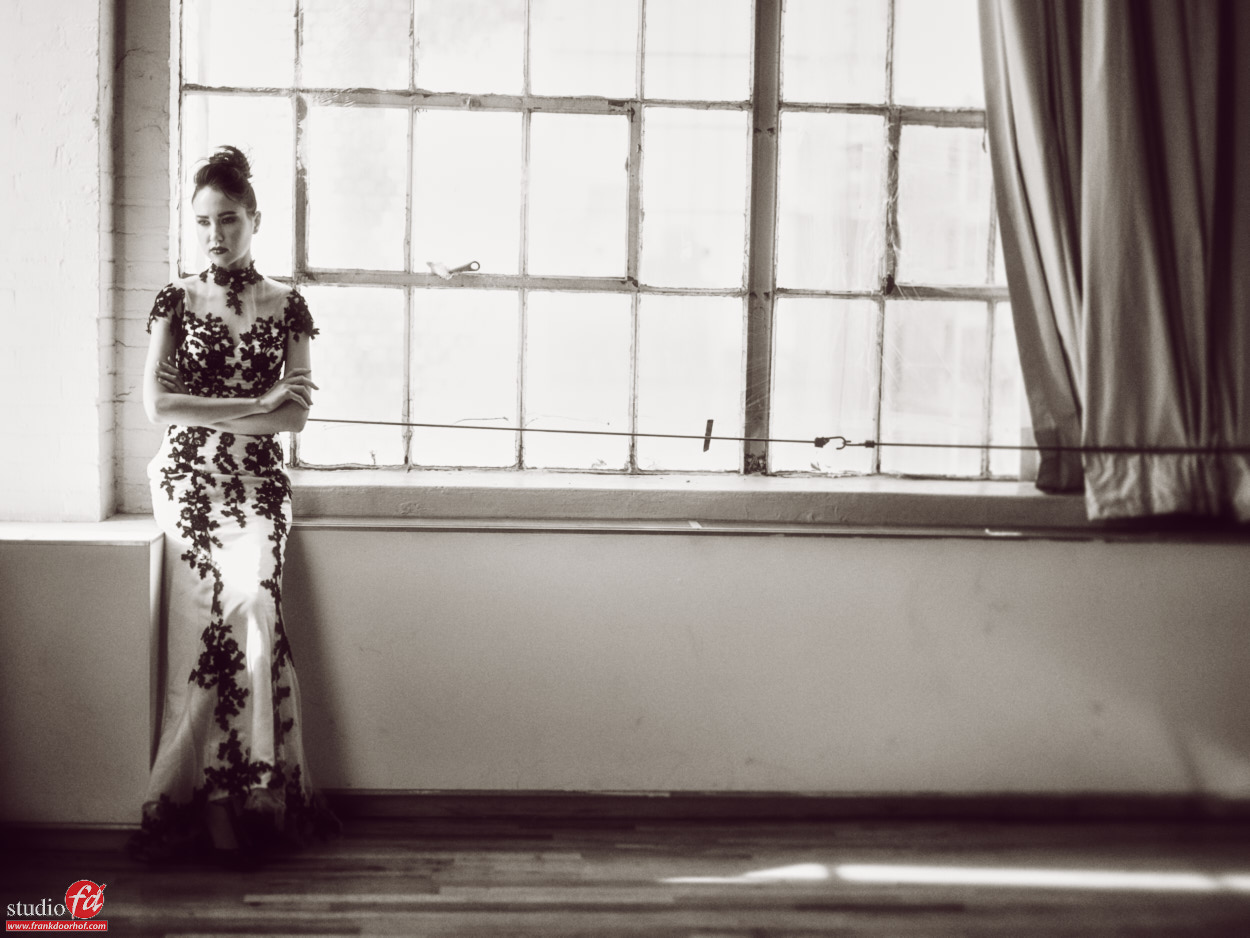
Here you can see that I included the bright sun in the frame and by using the leaf shutter lenses you are able to cut the ambient light, with shutter speeds up to 1/1600 you have a great range to work with to let in more or less ambient light.

Karina Feb 13 2016 Phase One workshop NY 0130

Karina Feb 13 2016 Phase One workshop NY 0144

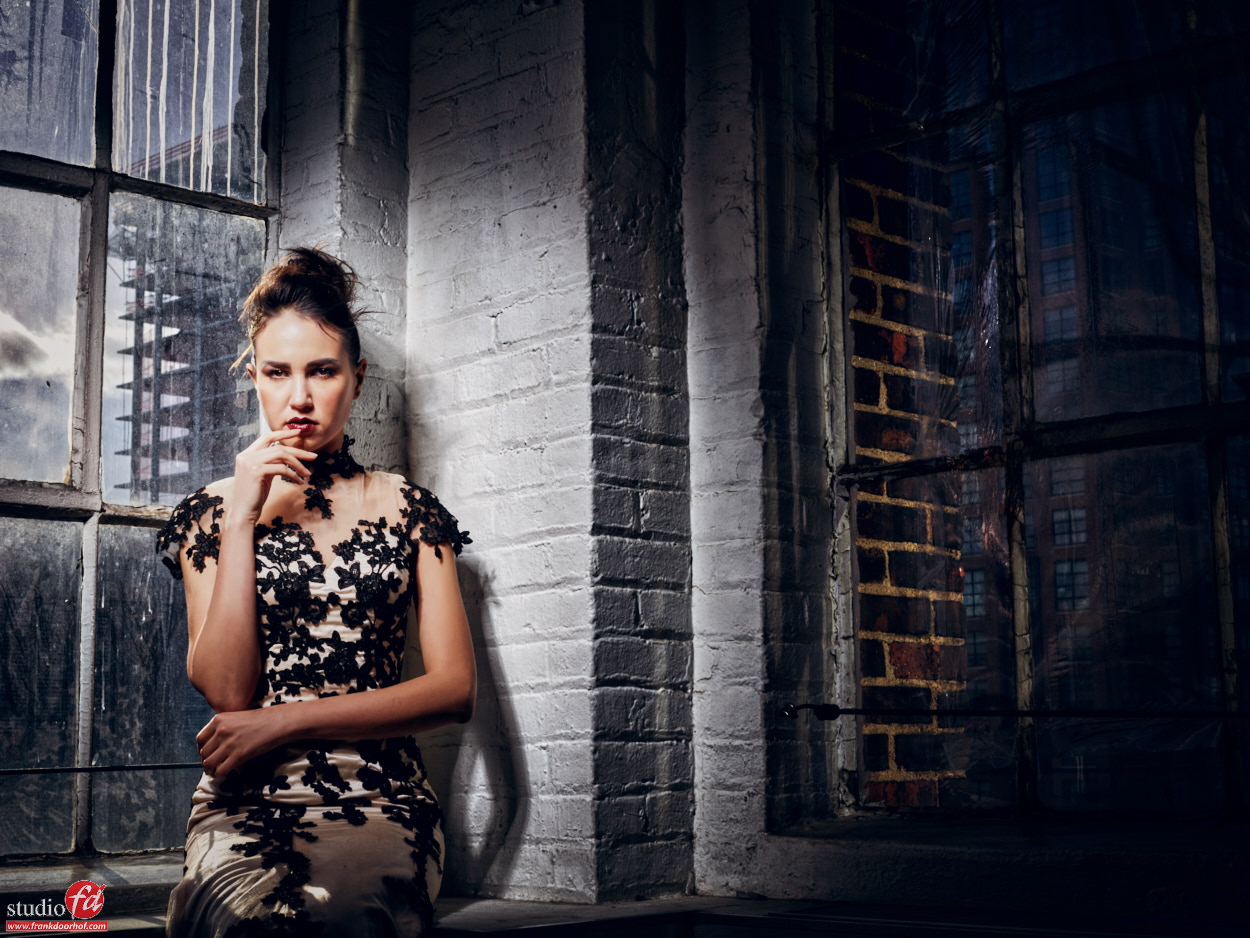
The final shot we used both window and cut the ambient light with a combination of strobes and shutter speed.Karina Feb 13 2016 Phase One workshop NY 0177

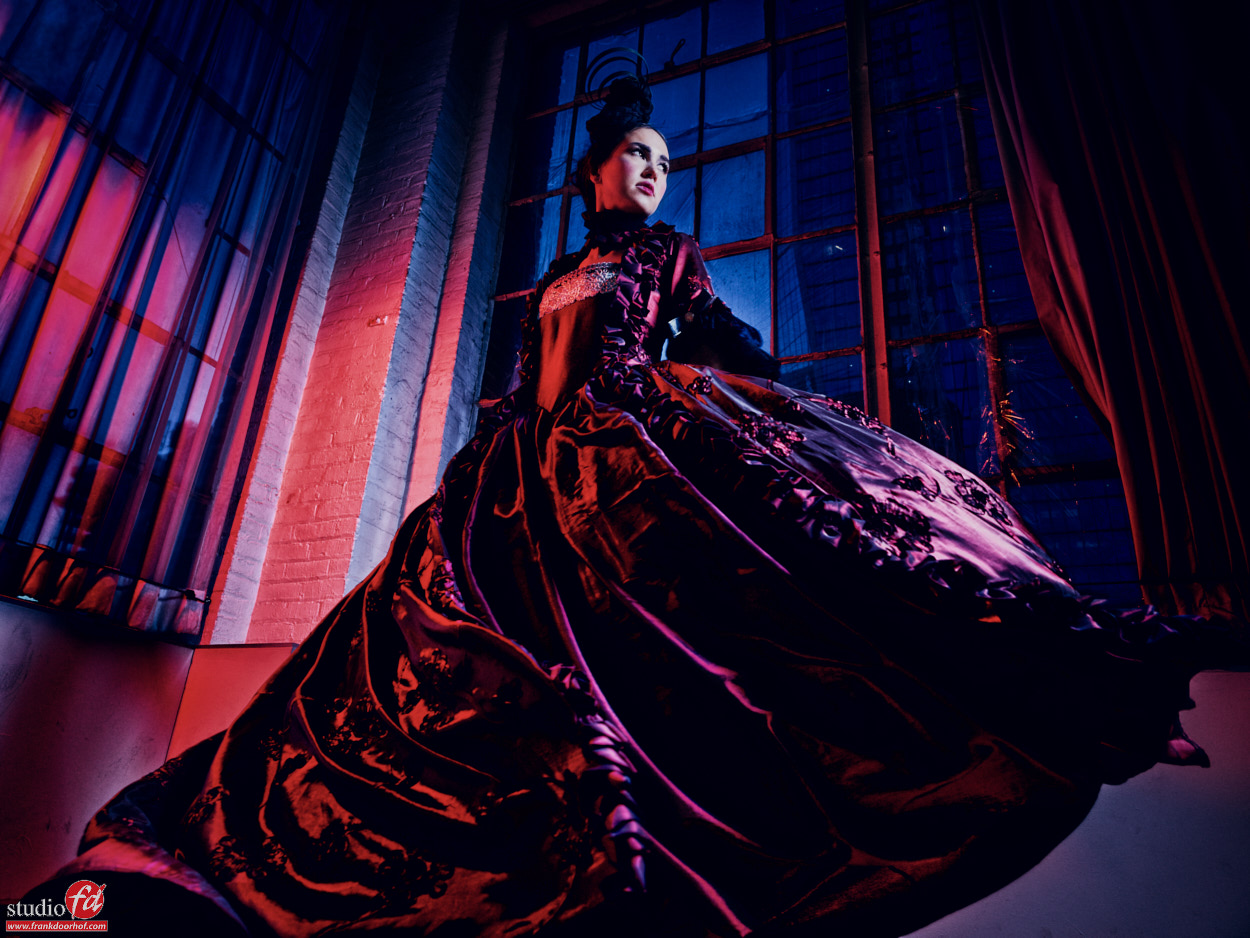
And finally adding some color with gels for an extra effect.Karina Feb 13 2016 Phase One workshop NY 0225
 

Comic Con get your geeky side on

I strongly believe that the best thing you can do is to never completely grow up. Now don’t get me wrong I don’t mean act and behave like a 6 year old, but I think it’s very important to always keep that inner child alive and well.

So do I have a geeky side?
Yeah well of course.
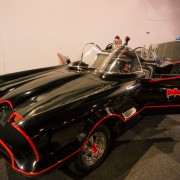
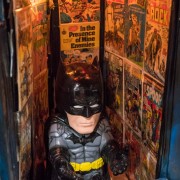
I love old arcades and pinballs and of course movies, and recently we started a Batman collection (so if you want to make us happy… bring something Batman:D)….. a vist to Jay and Silent Bobs Secret Stash in Redbank actually started it all…..

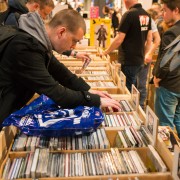
One of the nice things about this “new found” hobby is that instead of sitting at home we now have a real purpose to go out and visit flea markets and book stores whenever we travel or are at home (its the fun of the hunt), one of the biggest problems when you’re busy is that your day is just work, and although I love my work a lot (and it never feels like work) you should also do something else sometimes.

According to some of you I had to visit a Comic Con, it’s awesome and we would love it.

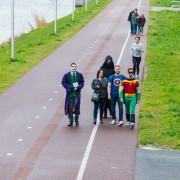
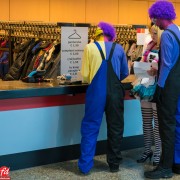
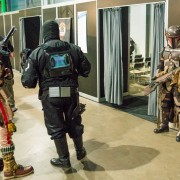
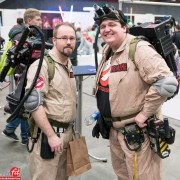
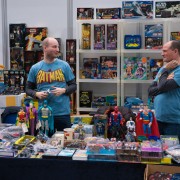
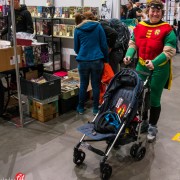
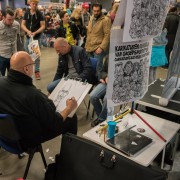
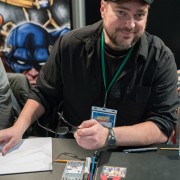
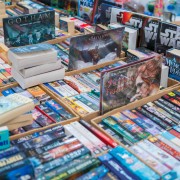
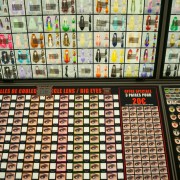
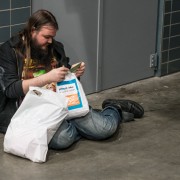
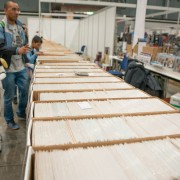
Well luckily for us there was a Dutch Comic Con this weekend so Annewiek and I decided to visit it on Sunday, today on the blog some images I shot that day, now I have to add that I did not take the time to bring strobes and “drag” the people in a set, I just enjoyed it and took some quick shots.
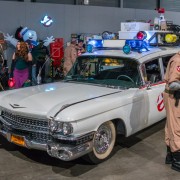
Now this was the first time ever we visited something like Comic Con and I have to say…. it was pretty cool.
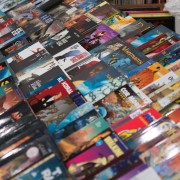
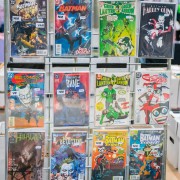
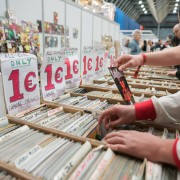
The merchandise was priced pretty high, which is logical I think because the vendors know the fans are visiting, we did score some cool things but most of all I took the chance to get some cheap comics, and also here it’s “weird” to see that some vendors charge 1.00 for a comic while others without a problem ask 2.50-4.00 for the same series (and similar conditions). Seeing my Dutch upbringing you found us more in the 1.00 boxes 😀

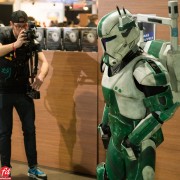
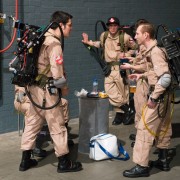
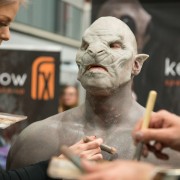
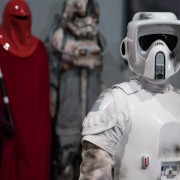
The thing that I found fascinating were the costumes, I’ve seen of course some of the videos from the American Comic Cons but the Dutch can do it too, we saw some real amazing outfits and most of all I loved the fact that everyone was very friendly and “open” for some quick shots.

In this blogpost you can find a selection of the images I took, again it’s more to give you an idea about what we saw, it’s not a professional registration or photoshoot, just for you guys to enjoy and watch.

So what brings out your inner geek?


Click on one of the images for a larger view.

Interview with Joel Grimes

We travel a lot to teach on trade shows and of course our own workshops and one of the most exciting things for me is meeting up with other photographers and pick their brains about what drives them, pushed them forwards in their careers and their visions on our trade.

After professional imaging (the largest Dutch tradeshow) we invited Joel Grimes over to our studio to show him our area and of course squeeze in an interview for our videowebpodcast “Quite Frankly”, today you can see the video via our blog. Joel and me talked about a lot of topics ranging from working with handicaps to inspiring other people and of course the “perfect” lightsetup.

Enjoy.
And please subscribe to our channel.

Backup strategies and the place of a NAS in this

For almost 22 years Annewiek and I ran a computer company next to my photography activities.
One of the things that always struck me was the amount of people that did not make any backups at all, somehow people don’t realize that with our digital workflows there is absolutely ZERO room for error, if you delete a file and you don’t IMMEDIATELY take action it’s gone forever. Also harddrives are notorious for failing, actually one of the things we always told people was :


“There are a few things that are certain with harddrives… they WILL fail, you never know when and it will always happen when you don’t want it”


Now that sounds like I’m a doom thinker right?
Well experience learned us that this is however the reality, believe it or not but we had at least one person every week in tears because they lost everything. Now if you think this only happens with consumers…. well you are very wrong, it happens in all areas of work. In some cases we could get a lot back with recovery software (and in some cases we even had to hire a specialized company because a company lost their whole bookkeeping records).


So what can you do?
The first thing you have to do is REALIZE that you are in CONSTANT danger and act that way.
I’m gonna give you some tips in this article and also a great solution that we use in our studio that works very well for us.

First of all make sure you have backups
This can start very simple with a single USB/TB harddrive which mirrors your harddrive from your desktop. This will be more than enough for most people, however I always advise to have two of these drives, it can be a worst case scenario… but they do happen.

Spread the risk
Don’t store all your drives in the same location.
It’s not a matter off harddrives crashing, but it can also be a matter of fire, flooding or break ins that take away your data, so always store your backups in 2 different locations (at least)

Make it easy
If you have to do 3-4 steps before you can start backing up you simply knows it will never happen, make it a routine that you do everyday.
Make sure one drive is always connected (this is the backup for a harddrive crash) and create a shortcut on your desktop that starts your software to create an incremental backup, this can be time machine from Apple, or for example a setting inside Carbon Copy Cloner (which we use next to time machine). Now that extra drive you store somewhere else make sure you at least ONCE a week (or after every important session) you make a backup, make sure the USB/TB port is easily accessible and also here the process is really simple. In Carbon Copy Cloner you can for example create a separate recipe for the extra backup.

Online
For us this is not really an option because we are still in the stone age with internet, we do have fast internet (60/60) but that’s limited to 100GB a month so that will never be enough for our data backups, but if you have a fast fiber connection make sure you check out several options for unlimited online storage. We use Smugmug for storing our files, at the moment we only save the files we consider our best shots, but in the future we will just “drop” everything there.


So now that we have this in order, let’s look at the larger data users like video and photo studios.
Now we have a LOT of data, we film in 4K, we shoot high resolution and I edit in TIFF 16 bits, so to be short…. we need more than one drive.

There are several solutions you can use, and in the end it’s all up to you of course, what I’m now describing is OUR way, it could very well be that you do it differently, in the end it’s very simple, it has to work and you have to keep your images save.


Main system
As my main system I use an external tower with e-sata drives all connected to a port multiplier that runs to my MacPro.
This is not a cheap solution but it works very fast and it doesn’t have any problems with open files in Lightroom (more about this later). The main problem with this solution is when you upgrade drives…. it’s a disaster. Copying for example a 2TB drive to a 4TB drive will take you several hours and that’s of course something that is no problem to do once but it can be very cumbersome (anhttps://frankdoorhof.com/web/wp-admin/admin.php?page=all-in-one-seo-pack/aioseop_class.phpd expensive) to do this often, for the main system it works, but for the backup…. well that’s why we use something else for that.


Backup system
As the backup system we switched to using a fast NAS, in our case the Synology DS1815+ which has plenty of room and can also be expanded with extra slots, in other words…most normal people will not fill this one up. But if you don’t need that much room the new Synology DS416j is awesome (later more on this NAS).

One of the advantages of a good NAS is that the speed is very good for storage (it’s limited to your network speed of course) and you can also combine network connections for extra speed when accessing the NAS from different workstations, if you work with more people on the same NAS make sure you buy smart and get a NAS with this option, it really makes a difference when you need it. We tested several NAS units and the Synology works very well with our Mac’s we have had some other NAS units that work considerably slower (in all honestly they were cheaper, but not much, especially if you consider that the drives actually take the most of the budget).

The main advantage however comes into play when it fills up.
With our main system we will have to really schedule the upgrade, if you run out of space you are in trouble (happened to me once, I didn’t check), you have to place a larger drive and copy everything over, in essence you are closed down for that period although you can work of course but in my opinion it’s better to first complete the copying before storing files again, especially when working with Lightroom etc. With a good NAS upgrading space is a dream… you simple take out a drive (hot swap) and put in a larger one, in most cases the NAS will recognize the drive and start rebuilding the NAS with the new drive, this can take hours but…. you will not have any problems during this process because you can keep working.

Another advantage of the NAS is that when a drive fails you will get a message (with the Synology you will receive this via mail) and you only have to change that drive and you can continue your work.


So why not use one NAS as main system if it’s that safe?
Well in all reality it’s not safe “at all”.
A NAS is really safe as long as one (sometimes two) drives fail, but if more drives fail, or the machine itself you are still left with some exciting moments (the wrong kind of excitement), in the case of for example Synology they claim you can just replace the unit and you should be fine, but you have to wait for the device to arrive and in my experience you have to remember how the drives were stored (replace them in the same order), all in all I would not advise to trust just one NAS.

Ok so 2 NAS units would be fine right?
I wish, honestly I really wish this would work, however in reality it doesn’t.
As most people I work with Lightroom and this is the limiting factor why you can’t use 2 NAS units, or a NAS unit as your main storage. In 99% of the cases there is no problem, BUT if you open up a TIFF from Lightroom into Photoshop and edit the original (you forgot that little dust spot) you will get a nasty surprise when trying to save this file over the original one… with a NAS this will NOT work (at the moment), this is not a problem of Synology by the way, we tried several other solutions (including a dedicated server) and on all systems we got the same behavior, it can store, it can edit but you can’t EDIT ORIGINAL from within Lightroom, a work around is saving it with a different name, delete the original and rename the edited… but come on 😀 so we opted for the external tower for the main system and the NAS for backup. A solution I absolutely love.


So which NAS should I buy?
There are many options, however over the years we found out that Synology is without a doubt one of the brands that has the best performance and the best fail ratio, during the time we ran the computer company we actually hardly ever got Synology units back with problems (non user errors).

Synology is also constantly releasing new versions of their NAS units and updating their firmwares/apps with new options so it’s a company that is on the “cutting edge” of their business, and in all honestly I would much rather trust my data to a company that is specialized in NAS units than to a system that “also has a NAS”.

So just buying a NAS is enough, and I’m safe?
NO…. NO…. You still have to be “smart”.
Make sure you setup the NAS the correct way, make sure your Email works (test this) so the NAS can tell you if something is wrong, also make sure that you buy your harddrives the smart way. In all our years with the computer company we found out that IF we had harddrive failures from customers it would often be “just one drive” that failed, but if we got a drive back within 2-3 weeks….. well we knew a lot more were coming back, and in most cases this proofed to be 100% right, so if you need 4 harddrives make sure you don’t order them from one company, but spread the risk and buy them from several suppliers, also don’t be afraid to just simply ask different series (serial numbers).

In most cases it’s not as “catastrophic” as I describe but over the years I learned to be very “paranoid” when it comes to harddrives, this is however based on years of experience of running a computer company, most consumers will never ever experience a problem because they buy 1-2 drives, we bought a lot of drives and of course most of the time in the same “series” and it did happen more than a few times that we had whole series of harddrives that failed from brands that normally hardly had any problems… a long story short it’s better to be paranoid than to have several drives fail 😀


A look at the DS416j
A very interesting NAS is the DS416j from Synology.
We have it running in our studio next to our big NAS and use it for video backups.

First lets look at the specs: https://www.synology.com/en-global/products/DS416j#spec
As you can see it’s a 4 bay unit which means that for most smaller and medium sized studios this will be more than enough to store your files.
Now specs are nice for the freaks… (don’t mean anything negative with this)… but most people just want to know how easy the unit works, what you can do with it and most of all “is it a good buy”.

Well that last point I can quickly say…”It’s a very good buy, I highly recommend all Synology products and if you need this kind of space it will be a great asset to your workflow”.

Is it easy to setup?
This freaks out a lot of people, setting up a NAS in the past was indeed something that was not really plug and play, it wasn’t hard when you knew what to do but in most cases it was a job for the “professional”, well a lot of changed. In todays systems it’s almost as easy as plug and play. The only thing you actually have to do (what I advise) is give the NAS a fixed IP number, you can get away with leaving it on DHCP (if you freak out at the moment, just leave it as it is, it will work just fine). The advantage of the fixed IP number is that you always know where it is and you can easily approach it from a web browser and even from outside your studio, in the case of Synology approaching the NAS from remote locations is very easy to setup.

Safari 2

DiskStation Manager
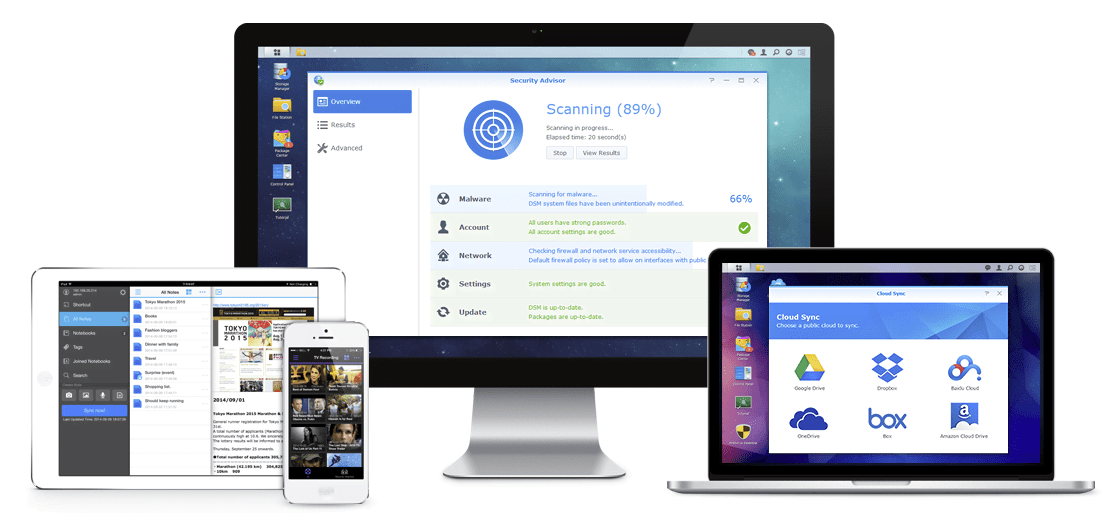
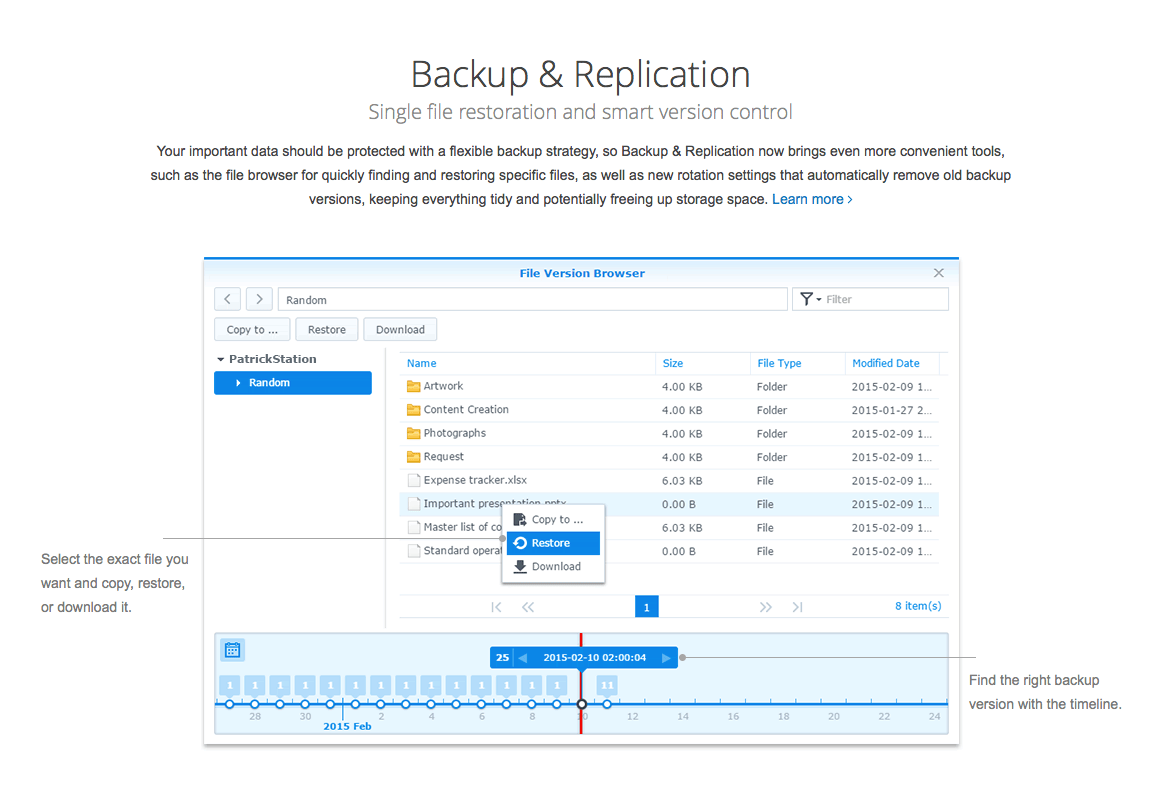
One of the things I love about Synology is their Diskstation Manager software. It’s very easy to see how your NAS works, what the health of the drives are and of course how much space you have left, however as mentioned before if you set everything up (which is very easy) you will get mails and reminders from your NAS, including a monthly overview, the only thing you have to do is follow up of course, because however you look at it….. you are still responsible.
Via your browser you can acces your NAS and the setup from there is incredibly easy, and there are also apps for your iOS or Android devices but it doesn’t stop there.
Apps
We all know Apps on our smart devices of course but also NAS units have gotten apps over the last few years. Some apps are for checking your drives, or backup tasks, but you can also run complete services like a FTP server, cloud syncs, photo albums and you can even let the NAS do all your downloads and unpacking (although this can be illegal in your country of course). We even have an app that makes shooting tethered with an iPhone possible, the app on my phone checks the film roll for new images and uploads them to my Synology NAS and I have Capture One setup to that folder, making it “appear” as I’m shooting tethered with my iPhone. Normally this app is of course meant for backupping your images while you shoot them.

Safari

However it doesn’t stop with the “boring” stuff like backups…..
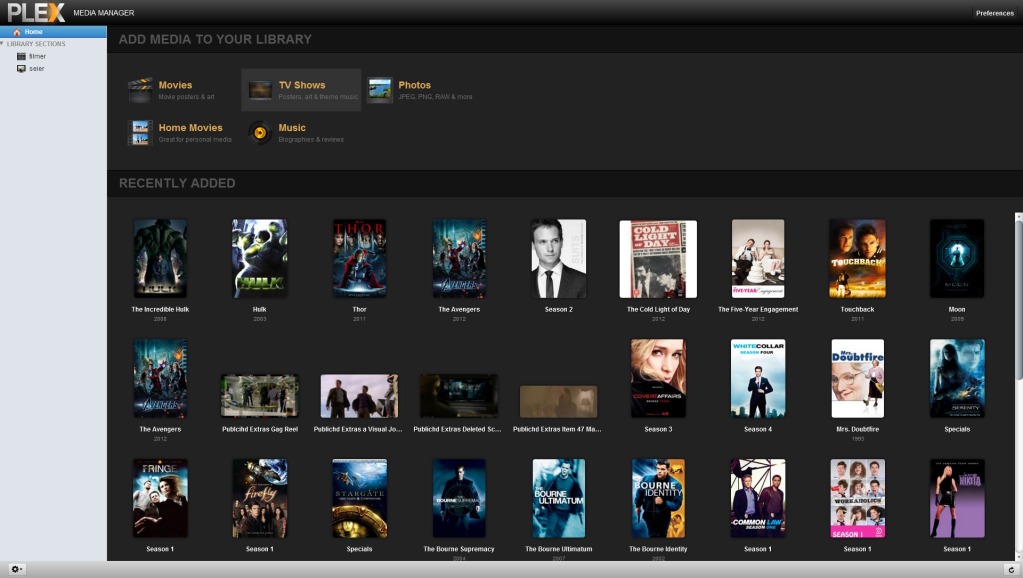
Most people now a days have an extensive library of movies, series, recordings etc. which they watch on their big screen TVs or projectors (Home Theater), but how do you browse through all these files?

One very popular solution has been PLEX over the last years and you can of course also use your Synology for this.

Tainnheleskjermen28082012202842

As you can see there is a lot possible with the Synology NAS, but most of all what I like about Synology is their support. We never had a real “crisis” situation (which we did with another brand, which they solved very nicely but we couldn’t use the NAS for 4 days) but overall their response is very quick and they actually assured me that IF someone would have a problem Synology will always do it’s best to get the customer up and running as fast as humanly possible. Well we will take their word for it because as mentioned I never had a crisis with a Synology.


Conclusion
Making a good backup strategy is UP TO YOU…
There is no short cut if it goes wrong so make sure you have it working in order.
For me the Synology NAS units are the “perfect” backup system and I would highly recommend in getting one as your main backup system, but as mentioned in the article make sure you don’t rely on just one device, even if people tell you it will be ok…..

Digital files are gone if they are gone… make sure you are smart and make a backup.
Now if you look at the costs it might seem steep but imagine loosing everything…. how much would you be willing to spend on getting everything back… but also calculate what it will cost you if your company has to close down for several days, or the fine you will get from the IRS (taxes) if you can’t show your books….. as you can see you must be pretty “dumb” if you don’t make backups….. and still many many people have it on their list……. and that’s where it stays.