Light in light….. metering tip
During our trip to Vegas PSW I will of course keep you updated with small videos and photos and a few questblogs, however I will also start a new series with small and quick tips, I hope you guys forgive me that I won’t write long blogposts during these two weeks, but I will make sure it’s still very interesting to visit the blog every day.
Do you also reach for the fill slider often ?
Do you also find that there is to little detail in the shadows ?
If so…. maybe this quick tip will help you out.
Using the fill slider is in fact adding some extra boost to the shadow areas, this can be done when you use a light source with a rapid light fall off or when you shoot in a location were the background is not rendered the way you wanted it to look. This last problem can be solved on location very quickly by simply setting the shutter speed just a little slower which in fact lets in a bit more ambient light and showing more details in the ambient lit areas.
However when you shoot with let’s say a deep octa with grid, and you feel that the light fall off is just a bit too quick, but you also don’t want to loose the effect you have thanks to this rapid light fall off you can solve this quite easy during the shoot. You could of course use a different grid, but let’s say that’s not an option…..
Light in light
Do remember that this is the name I gave to the solution, so when you google it, it will probably not give you any results.
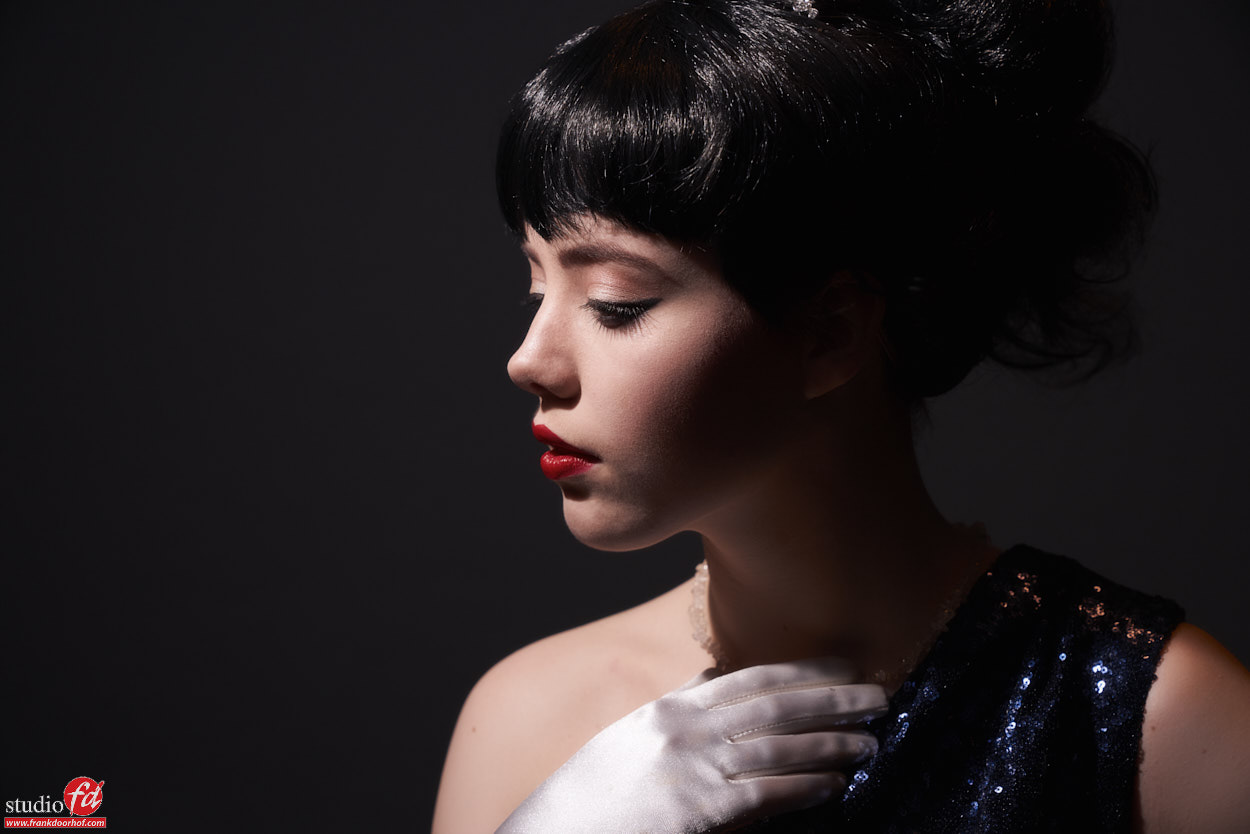
What you have to do is in fact very easy. You just set the light with the main light source exactly the way you want it, so with the rapid light fall off. You now determine how dark you want the rest of the image to be, let’s say you want to have some details but not much. As explained in previous blog posts you know that when you meter reflective the “threshold” for detail is approximately 4.5 stops down, meaning if we meter our main light at F16 and we switch to reflective metering and aim on the darkest part of the image we have to make sure that that part is not lower than 4.5 stops down, actually 4.5 would be black, so it’s best to stay in the 4 stops area…. meaning metering reflective that part of the image should not be below F4.
The reason I call this technique “light in light” is because we are adding another strobe. I strongly recommend to get the biggest one you have, or use an umbrella with a wide spread, or bounce of the feeling. The reason why you shouldn’t take a harder light source is that this will give you a lot of “weird” looking shadow problems using two light sources under the same angle. You now power down the main light and set the “fill light” at 4 stops lower than the main light, now add the main light again and remeter the whole scene, the reason for this is that if you add a fill light that’s large, it will also add some light to the main light, meaning you will probably have to set the main light slightly lower. This will however depend on the mood you are setting… if you want it all to be very dark and just want the fill light to give a little “kick” you will have to adjust a little, when you want to open up a lot more you will have to adjust a bit more.
Using this technique you can work very quickly and you don’t need a lot of Photoshop to open up shadows. The main advantage of this is that you have a much better image to work with and you can push it much more.
One final tip on this topic:
If you are in doubt, it’s better to add a bit more light than a little less. You can always very easily make things darker in Photoshop without loosing any quality in the image, but making things lighter actually always costs you detail and adds noise to a shot.


That was one of the greatest tips ever. Just wondering how the effect would be if I use a gridded Maxilite with a white defelector as the main and a deep octa 70cm as the fill in the same angle! I must give it a try and see it for my self but don’t you think that becuase the fill light is bigger than the main gridded light, it spreads more light to enviroment? Thanks again,
Great Tip Frank. Nice to play with setups and metering several lights seperate to get the total picture just the lightfall you want on the right places. There are examples, for example some great centerfold pics made in Hollywoord where every lightsource is on several parts of the body. The poses of the model should then not change a lot because lights are set on small area’s More info on http://shootthecenterfold.com/about/
It depends on how you do it, I have to be 100% honest and I’ve seen a lot of 9 light setups (and more) where it could easily be done with half, sometimes it also just looks “cool” I guess 😀
Frank, I look forward to more “metering tips” . . . I find these to be most helpful. Please keep them coming.
Just ask what you’re struggling with…. I’ve already done a lot on the meter in previous blog posts, you can find those in the technique section.
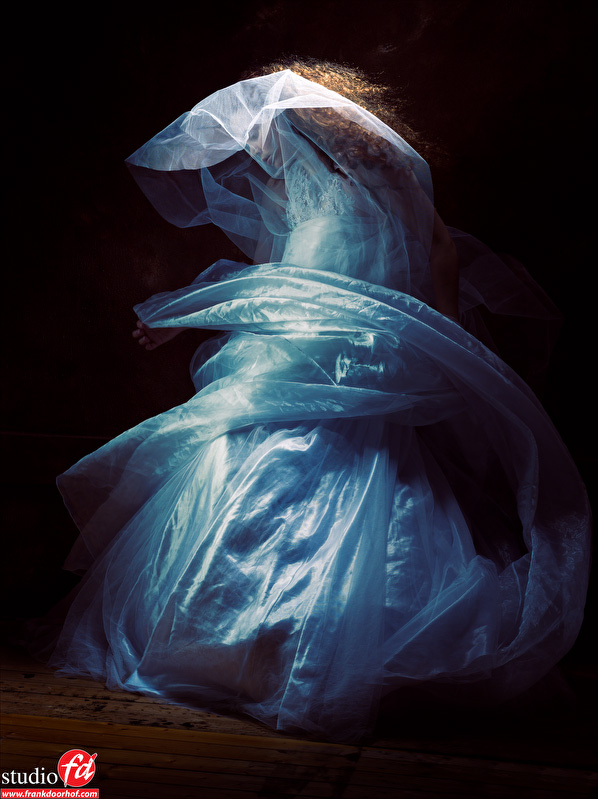
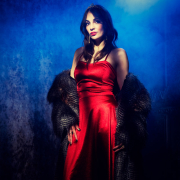
Wow Frank that a good tip, never came to my mind to do it that way and meter it 4 stops below. I need to try this, “fixing” it with photoshop is not the best way I know. Is this Fire Cloth again? I can’t find it anywhere. How you call it in Dutch (and at what store?) so I can ask my family to send some.
Organza 😀
Hello Frank,
In the 2nd paragraph Light In Light you write: ” use an umbrella with a wide spread, or bounce of the feeling.”
I’m sorry, but I don’t understand. Did you mean bounce off the ceiling?
Ceiling indeed, sorry