Images Nadine, workshop
This blog post I will talk you through some images I shot during a workshop with Nadine.
Last weekend our painters finished a new scene in our studio.
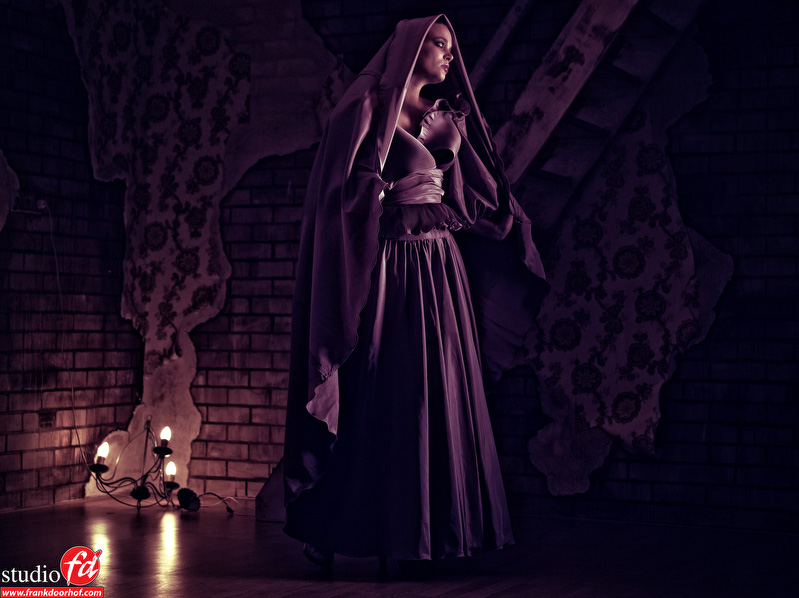
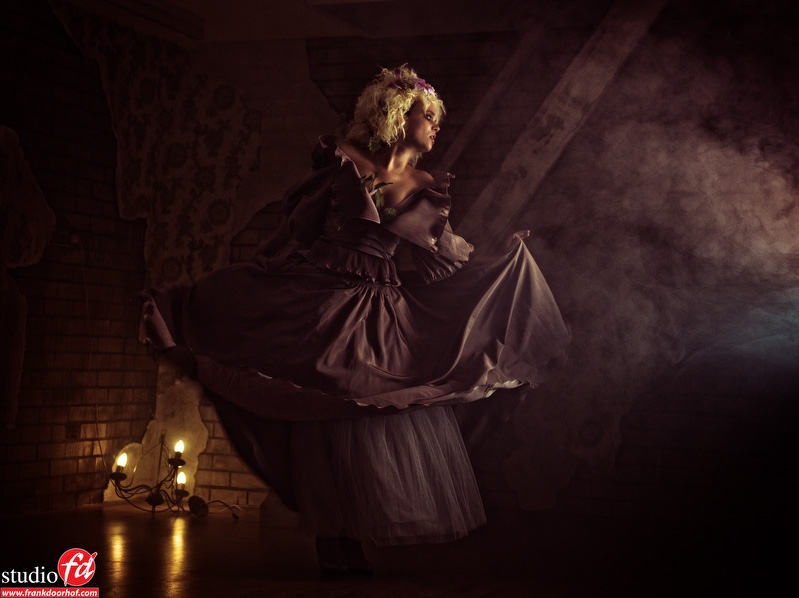
I love those scenes. In fact they use our original walls and create something “unique” for me to use in the workshops and photoshoots, and let’s be honest why would we keep the walls standard. In this case they created a scene that I call “de Doel scene”, for people not having a clue of what I mean. Doel is a small town in Belgium that has been more than 80% empty for some years and you can really shoot there for days if you have the time, If fell in love with the more gritty and urban look years ago (even before I did model photography) and when our staircase was added to the studio I just knew that this would be an interesting scene if we would be able to make it more gritty. So our painters worked very hard on the ideas I threw at them and created the scene you see in this shoot, and I love it.
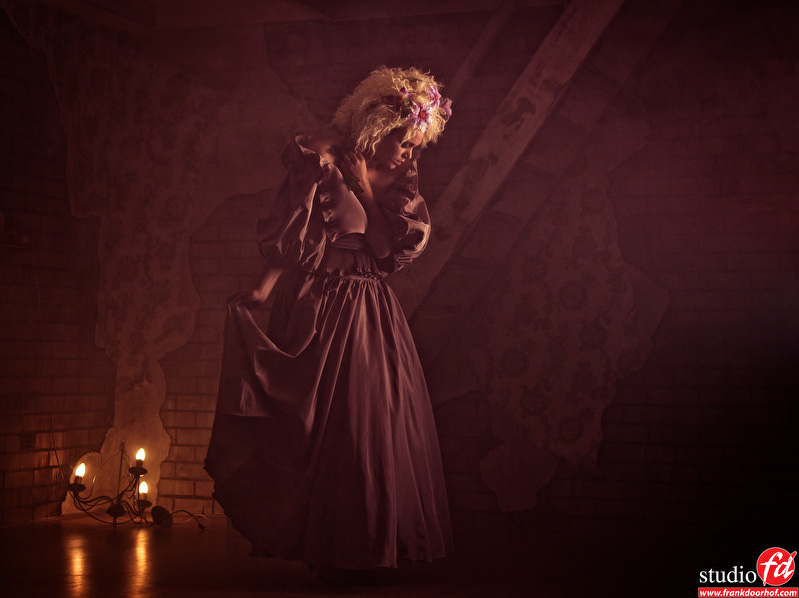
For the first setup I used one Chimera strip light and a light tools grid. This gives me a great light tool which I can really pinpoint the way I want it. In this case I aimed it slightly up to make sure there was not too much light hitting the floor. You can very easily meter this with a light meter and see what light hits the floor. When you aim it straight at model the floor will be a bit too bright and by angling it slightly up you take away this problem, just make sure that the light does still hit the bottom part of the dress, because the dress in this shot was rather light you are actually a bit more flexible than with a dark dress.
As you can see there is also another light source.
At the back I placed some tungsten lights, for these I use 100W bulbs so they give me enough light to mix with the strobes. However the color temp of these bulbs is different from the strobe. To solve this I used amber colored gels on the strip light and get the light temperatures approximately the same. By changing the thickness of the gels you can play with the amount of change. In this case I left the bottom part of the strip light without gels to create a “moody” effect in the smoke I would be using.
About smoke
Smoke is often used in scenes were I want to add a bit of mood/atmosphere.
I even think it’s one of the best kept secrets for many photographers, I’ve shot in terrible locations were I got amazing shots because we added some smoke to the scene, I always call it my “magical wow ingredient to make every location look cool”.
Dragging the shutter
To make sure the tungsten lights show in the images you will have to balance them with the strobes.
The strobes are of course much more powerful than the light bulbs in the light in the back. This means that I will lower the strobes to the minimum I can work with and raise the ISO to 200. Where you would normally shoot with a shutter time of 1/125 in the studio you will now drop this to 1/20 or even slower, use a tripod for maximum stability. The effect you will have to check on your screen (one of the reasons I LOVE shooting tethered).
The end result will look like this.
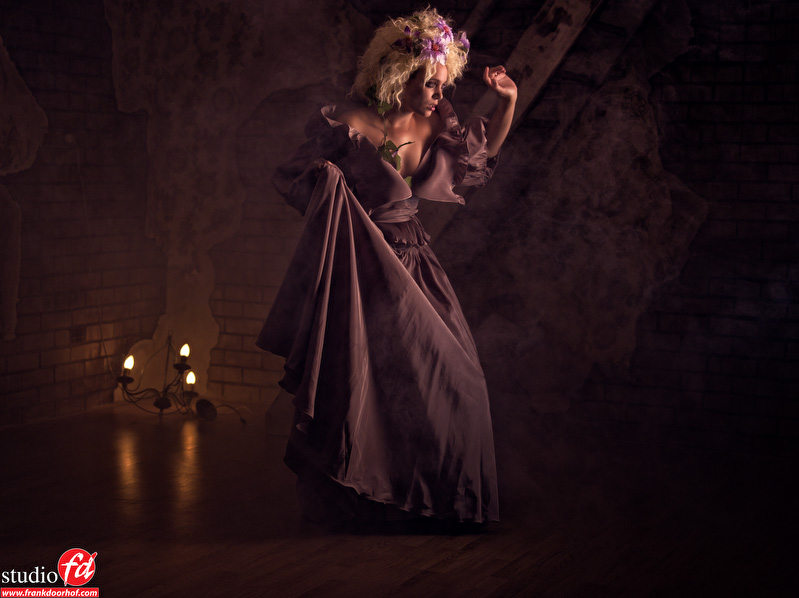
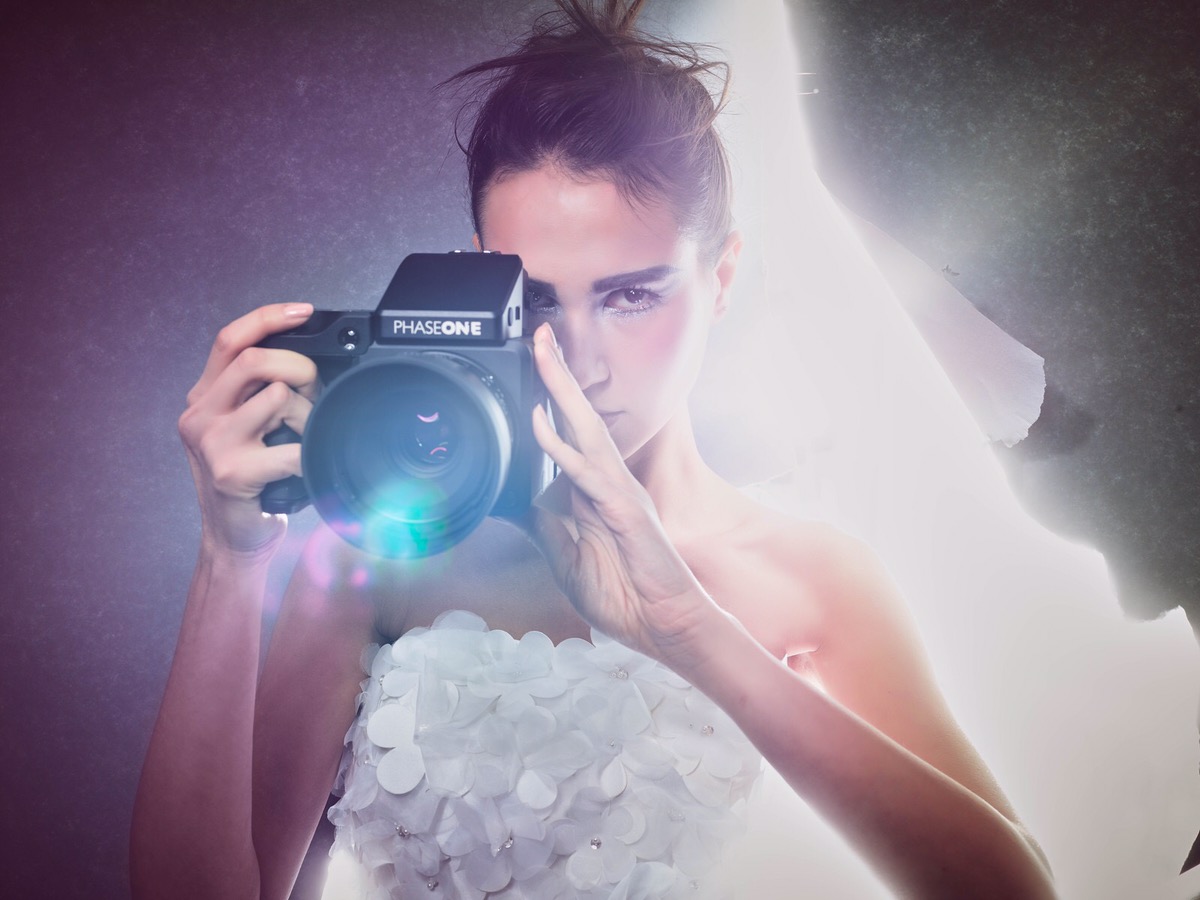
And when we add some smoke we will end up with the final result.
Do remember that you can use smoke many different ways. In the image above you can see the smoke clearly on the right side of the image. In the next image you don’t really see the smoke but it does add a lot of mood to the image and creates a very nice end result with a sort of mist like look compared to the clear smoke figures. I really don’t know which one I prefer, both have their own “personality”. So I advise you to experiment with both and see which one you like best.
Do remember to NOT light smoke from the front because it will just create a thick white mist, light smoke from the side or back and it will really enhance the image. For some cameras it will be necessary to go to manual focus.
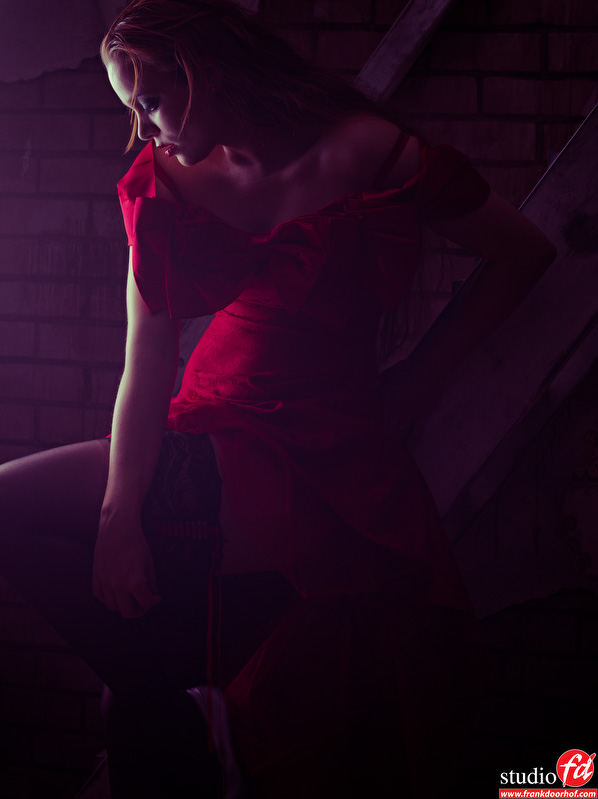
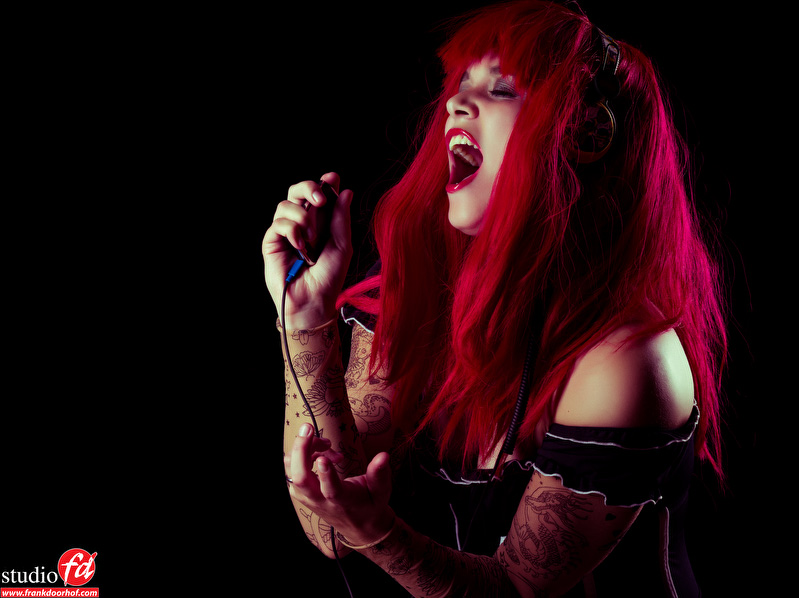
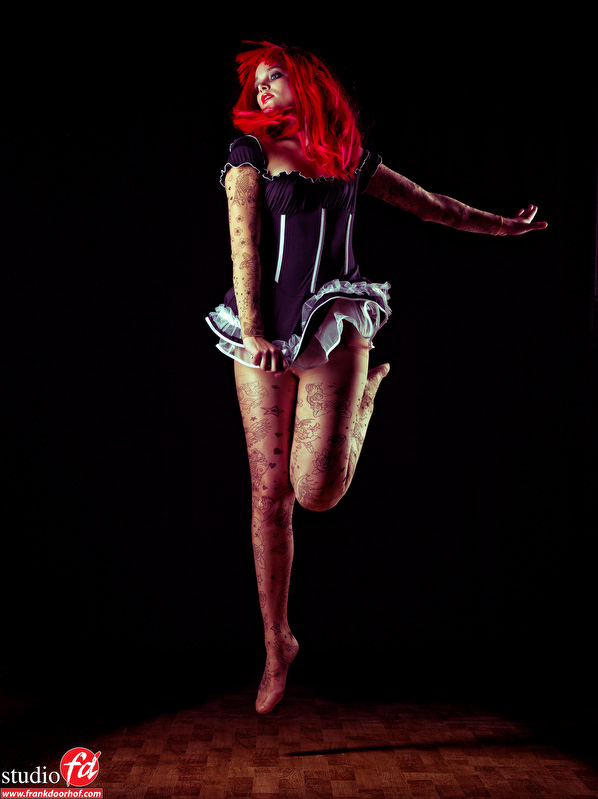
After this setup we went into some more movement images. And because I loved the outfit I could not resist to also shoot some close ups and a full body shot in between. With motion you have to be aware that you need strobes with a fast flash duration. In my case I often use the Elinchrom RX600’s which are fast enough to freeze the action if timed right. Other options are the Elinchorm BXri500/250, the RX1200 and D-lite series from Elinchrom are not really good at capturing action. And if you want really fast you should go for the Ranger RX speed with A heads or the Elinchrom Quadra with A heads (connect both heads for the max speed)
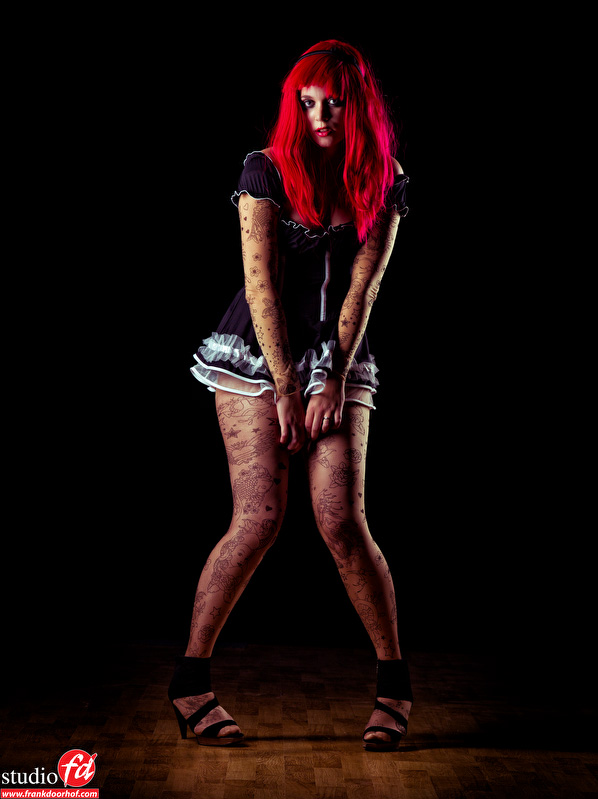
In the next setup I used two strip lights from Chimera as my main and accent light.
You just got to love lens flare
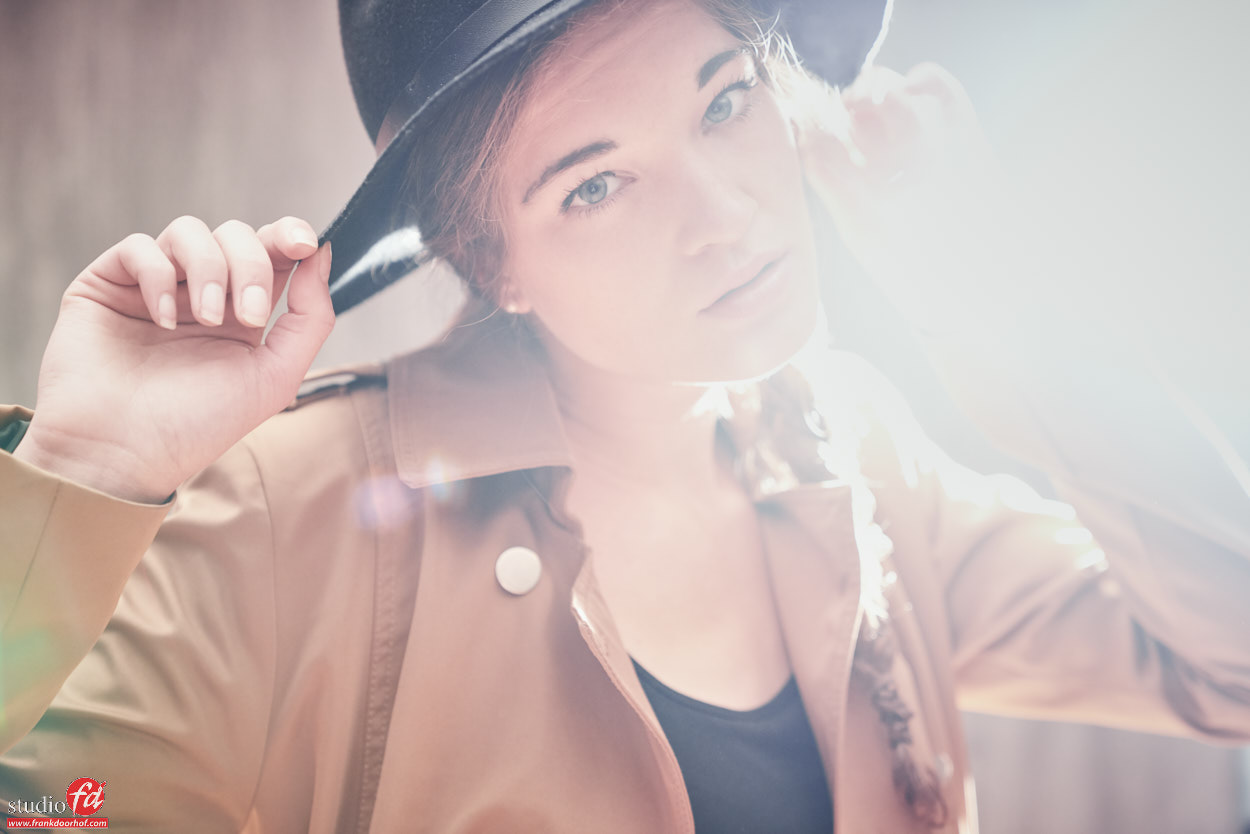
I already mentioned this in previous articles but lens flare is often something that photographers try to avoid…. and although I have to add that I understand this in many cases, and am a big supporter of fighting lens flare with flags or choosing your angles when you don’t want it, I’m also a big fan of lens flare to add mood, choose your angle correctly and you can get a very moody image, straight of the camera.
 And don’t you just love it when images come in like this ?
No Photoshop work is needed, just a small adjustment in color was added here.
Conclusion
When you do a photoshoot it’s important to add some mood to the images, smoke and mixing ambient light can be a great mood maker, but just using your lights creative (lens flare) can make it much more easier to add some real mood to your shots. Play with your lights and master the different looks, you will work much more creative and create images you never thought would be possible without Photoshop… in other words:
Why fake it when you can create it.
If you like what we do here, and want to support the blog please buy from our affiliate companies by following the links or the links below.



Very good use of the new wall 🙂 very creative 🙂
I couldn’t resist that wall lol
WOW! you have done a fantastic job. All the pics are Awesome. Good work dear
I agree with Leo here, very creative and many good ideas. About the color in photo on the top, I don´t like it. But that´s me. Number two is awesome.
Absolutely incredible. Stunnig lighting and atmosphere in the images. Wall does a great job, but at the end it is master who has this in his head and brings it to reality. Awesome!
Gorgeous shots as always Frank.
May I ask why you prefer the Chimera strip lights to the Rotalux ones?
Actually it’s only a size thing. I love the size of the Chimera ones.
The Elinchrom indirects are also great but a bit too small or too wide for my personal taste, the Chimeras are just perfect.
But that’s very personal.
Thanks for that Frank.
I might look into them. I agree that the EWlinchrom small srtip light is to short and the large one is to wide.
BTW. I am looking into the Light tools grids, but having never bought one, I am not sure which to get (30 degree, 40, 50 or 30/50)
Do you have any suggestions as to which you find most practical? I love the effect you acheve with your strip boxes.
Most of the times I will buy the middle ones, or in this case 40.